Crochet amigurumi is all about the interplay of tension, texture, and shaping. There is a specific satisfaction in watching a flat circle transform into a three-dimensional form through carefully placed increases and decreases. This zebra pattern embraces that tactile journey, utilizing plush yarn to create a soft, cuddly companion that rewards the maker with its quick work-up time and distinct, chunky stitch definition. The alternating colorwork adds a layer of visual rhythm, keeping your eyes engaged as you navigate the rounds.
Texture and Stitch Notes
The choice of yarn here is pivotal to the final aesthetic. Using a size 6 blanket yarn, such as Premier Basix Chenille or Bernat Blanket, creates a “chubby” body with a defined, plush texture that traditional cotton or acrylic yarns might lack. The key to success with this texture is maintaining tight stitches. Because the yarn is bulky, it can easily hide your work if the tension is loose. The goal is to keep the stitches snug enough that the stuffing remains invisible, yet comfortable enough to work without straining your hands. This approach results in a finished toy that looks professional and holds its shape beautifully.
Project Overview
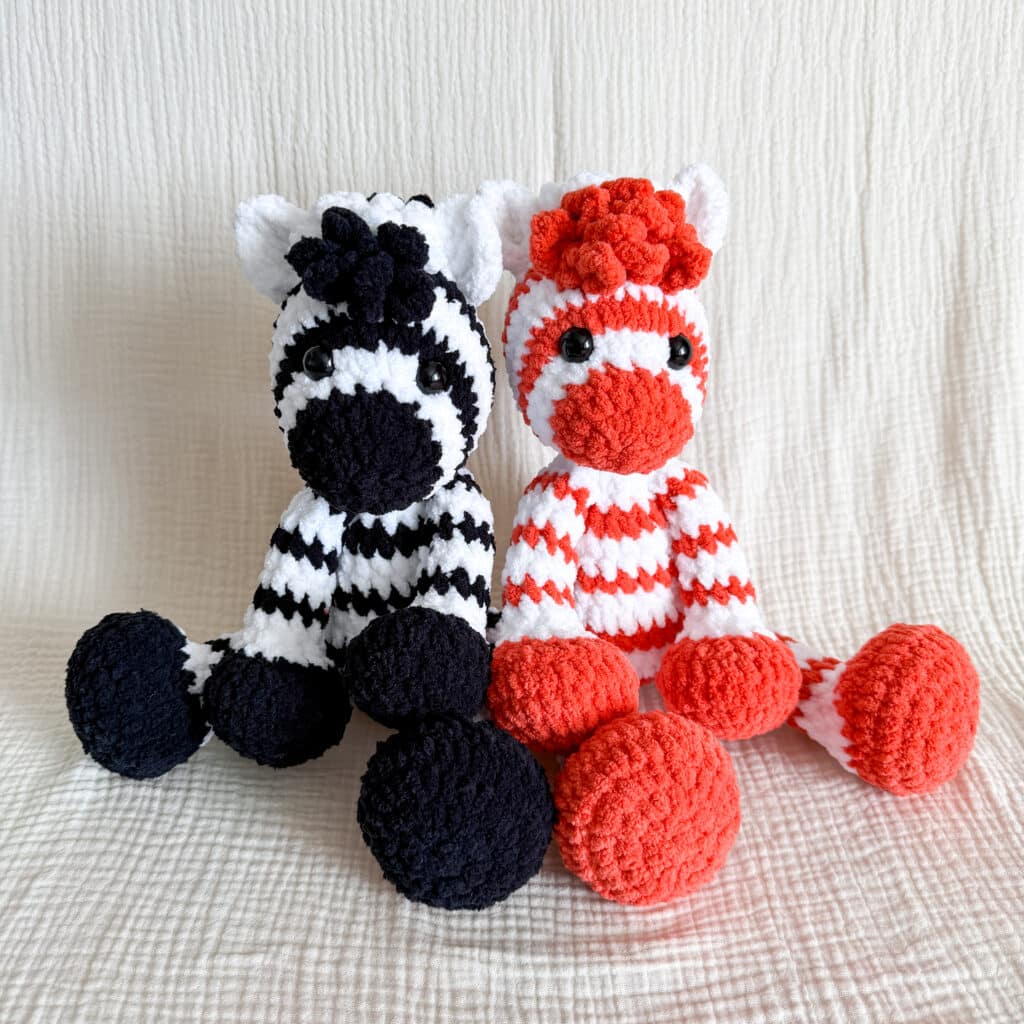
This zebra amigurumi is designed to be a cuddly, traditional stuffy with a defined body and long limbs. It is part of an “Around the World” crochet journey, specifically focusing on African wildlife. The project is suitable for crocheters looking for a quick win that still offers the challenge of color changes and movable limb attachments. The finished toy is approximately 10 inches tall when sitting.
Materials
- Yarn: 130g Premier Basix Chenille in White (or similar size 6 blanket yarn like Bernat Blanket or Bernat Baby Blanket).
- Yarn: 150g Premier Basix Chenille in Black or Accent Color.
- Hook: 4.5mm crochet hook (or 5mm if using Bernat Blanket; use a hook size that keeps stitches tight).
- Notions: 15mm safety eyes, stuffing, tapestry needle, stitch marker.
Gauge and Finished Size
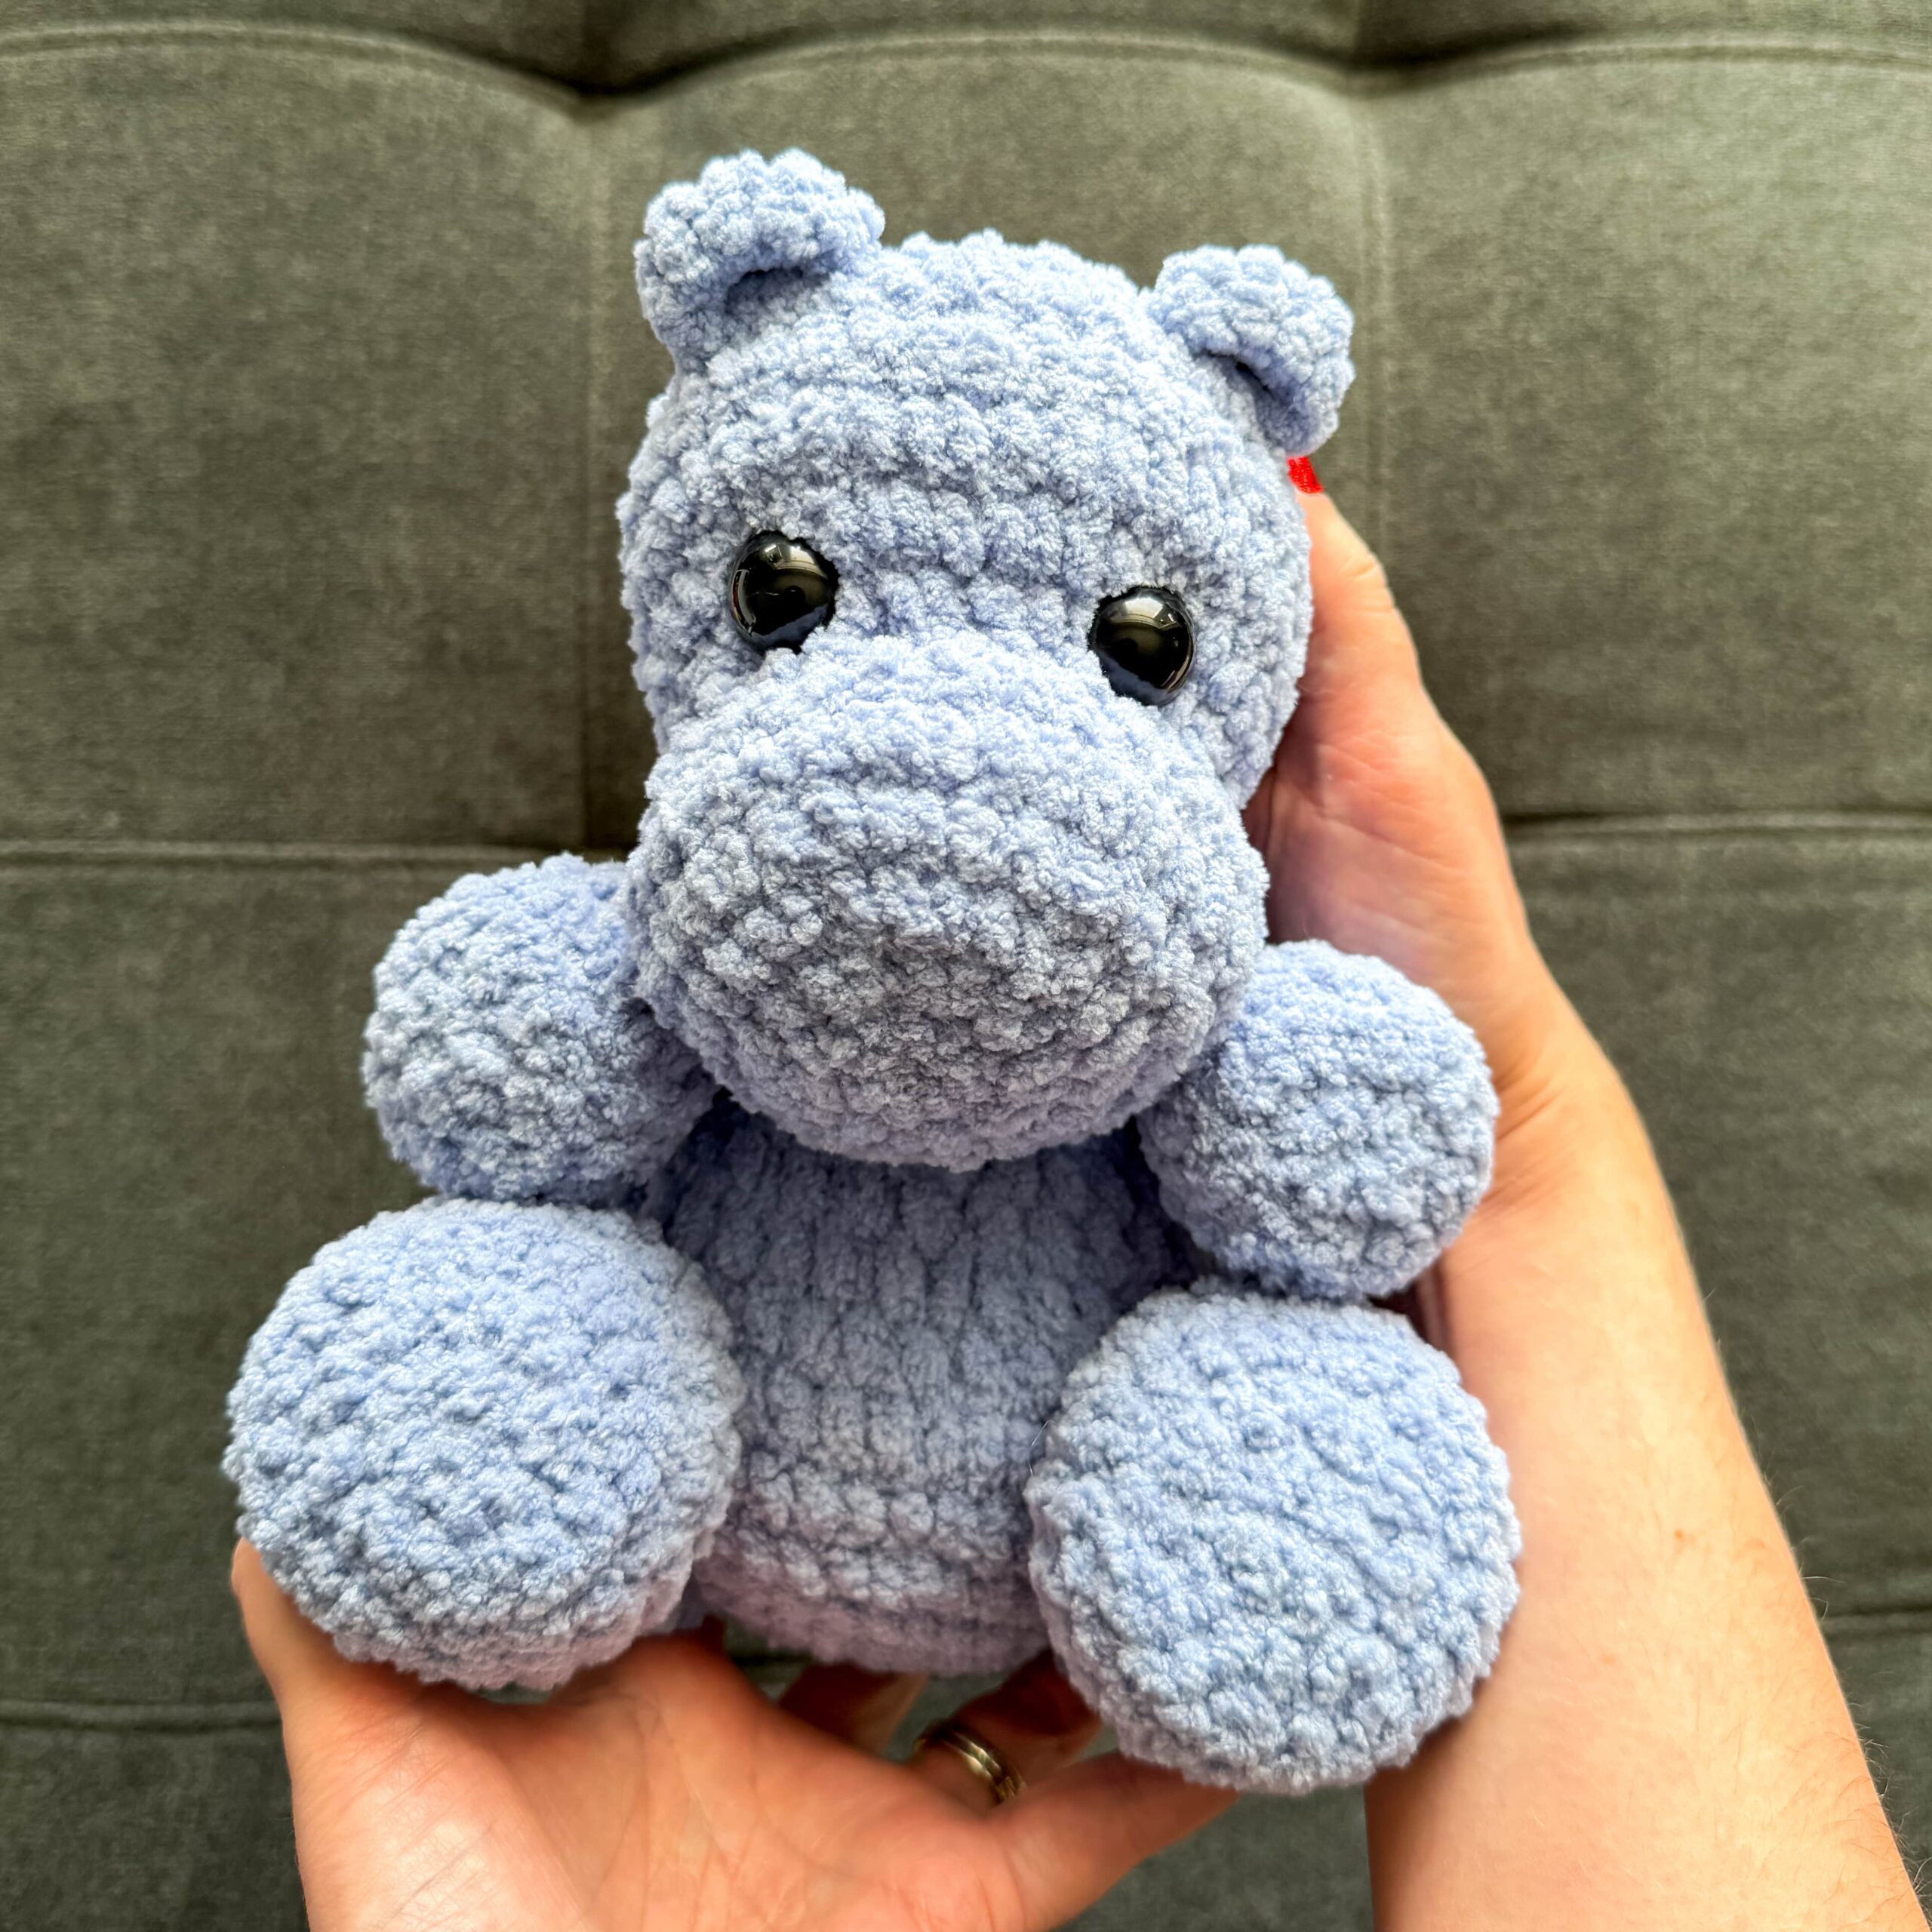
There is no specific gauge listed for this pattern, but the finished size is approximately 10 inches tall when sitting. The pattern relies on tight stitches to prevent stuffing from showing, so ensure your tension is firm.
Abbreviations
Note: Standard crochet abbreviations are used. SC = Single Crochet, INC = Increase, DEC = Decrease, INV DEC = Invisible Decrease.
Pattern Notes
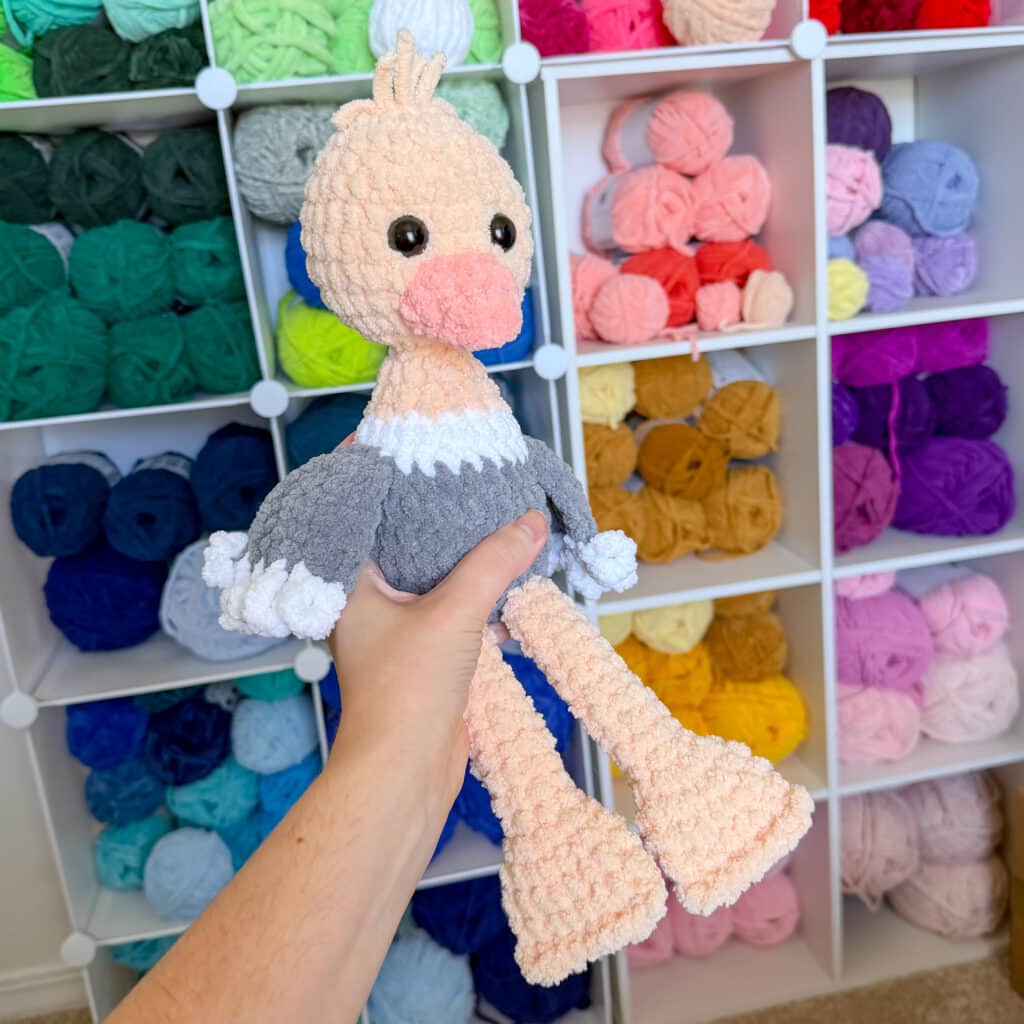
- Yarn Substitutions: While Premier Basix Chenille is recommended, other size 6 blanket yarns like Bernat Blanket, Bernat Baby Blanket, or Cozy Cub work well. Be aware that brands vary in how they work up.
- Hook Size: The author uses a 4.5mm hook for Premier Basix Chenille and a 5mm hook for Bernat Blanket. These are smaller than the label recommendations to ensure tight, non-gaping stitches.
- Color Changes: The pattern alternates between black and white. Rounds in bold font are worked in black; non-bold rounds are worked in white. Change colors on the last stitch of the round.
- Eye Safety: You can use 15mm safety eyes or embroider them for a safer option for babies and toddlers.
- Stuffing: For the limbs, the author recommends stuffing only the bottom half to allow for movable joints.
Pattern Instructions
Head
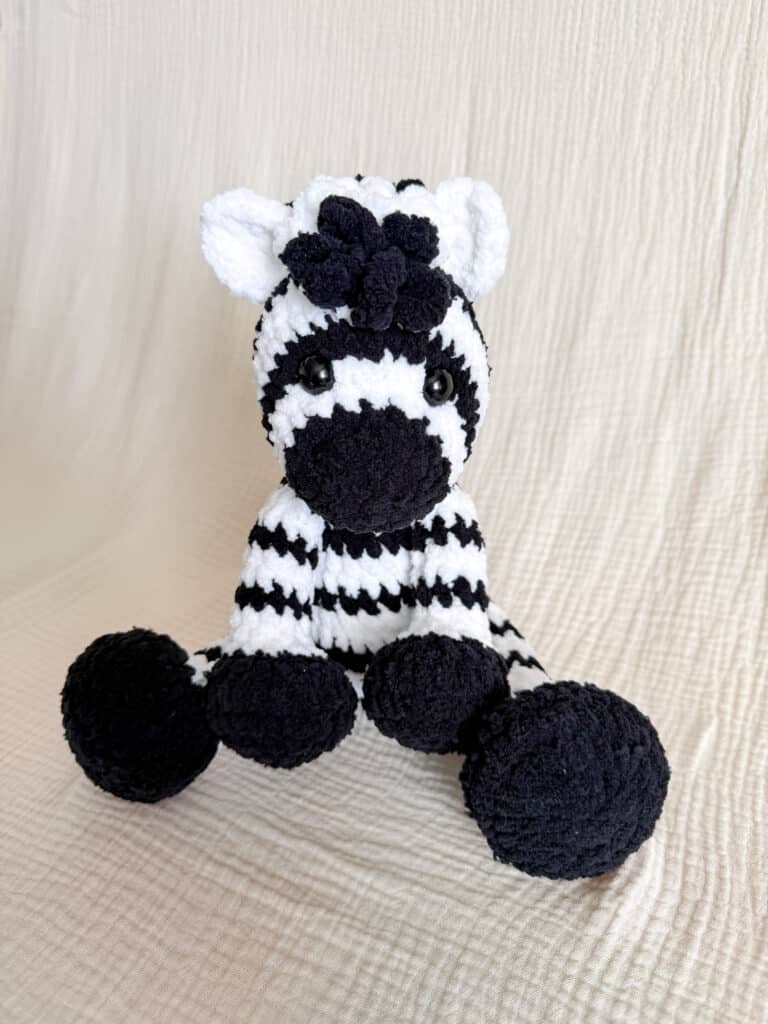
Starting with black yarn:
Round 1: In a magic circle, SC 6.
Round 2: SC INC in each around. (12)
Round 3: SC in the first, SC INC in the next. Repeat around. (18)
Rounds 4: SC in each around. (18)
Round 5: SC in the first 2, SC INC in the next. Repeat around. (24)
Round 6: SC in the first 9 stitches. SC INC in the next 6 stitches. SC in the remaining 9. (30)
Round 7: SC in the first 9 stitches. SC in the first, SC INC in the next. Repeat for a total of 6 times. SC in the remaining 9. (36)
Rounds 8-9: SC in each around. (36)
Round 10: SC in each around. (36)
Round 11: SC in the first 4, INV DEC in the next. Repeat around. (30)
Round 12: SC in each around. (30)
Insert safety eyes between rows 6 and 7, about 6 stitches apart. Center them using the increases. Start stuffing here.
Round 13: SC in the first 3, INV DEC in the next. Repeat around. (24)
Round 14: SC in the first 2, INV DEC in the next. Repeat around. (18)
Round 15: SC in the first, INV DEC in the next. Repeat around. (12)
Round 16: INV DEC in each around. (6)
Sew the remaining hole closed.
Optional Nose Shaping: Lightly shape the front of the nose by using a piece of the same white yarn. Going from the bottom of the head, gently “pinch” the top of the nose, going up and down through each stitch on round 4. Do not pull too tightly.
Ears (make 2)
Using white yarn:
In a magic circle, SC 8. DO NOT CLOSE.
Chain 1 and turn. SC INC 4x. Chain 2, pulling tightly each time. SC INC in the remaining 4 stitches.
Fasten off and sew the bottom ends together with a few stitches.
Attach them around round 14 of the head, positioned above the eyes.
Stuffy Body
Round 1: In a magic circle, SC 8.
Round 2: SC INC in each around. (16)
Round 3: SC in the first, SC INC in the next. Repeat around. (24)
Round 4: SC in the first 2, SC INC in the next. Repeat around. (32)
Rounds 5-6: SC in each around. (32)
Round 7: SC in each around. (32)
Round 8: SC in each around. (32)
Round 9: SC in the first 2, INV DEC in the next. Repeat around. (24)
Round 10: SC in each around. (24)
Rounds 11-12: SC in each around. (24)
Round 13: SC in each around. (24)
Round 14: SC in the first, INV DEC in the next. Repeat around. (16)
Round 15: SC in each around. (16)
Round 16: INV DEC in each around. (8)
Round 17: In the front loop only, SC INC in each around. (16)
Round 18: SC in the first, SC INC in the next. Repeat around. (24)
Fasten off, leaving a long tail to attach the head with.
Arms (make 2)
Using accent color:
Round 1: In a magic circle, SC 6.
Round 2: SC INC in each around. (12)
Round 3: SC in the first, SC INC in the next. Repeat around. (18)
Round 4: SC in the first two, SC INC in the next. Repeat around (24)
Rounds 5: SC in each around. (24)
Round 6: SC in the first two, INV DEC in the next. Repeat around. (18)
Change to vanilla (white) yarn.
Round 7: SC in the next 6. INV DEC 6x (12)
Round 8: SC in the next 6. INV DEC 3x (9) SC in the next 3. Put the stitch marker here. This is where you will change color from now on, in the back of the leg.
Begin to stuff here, and then continue to stuff as you go. I usually only stuff the bottom half.
Round 9: SC in each around. (9)
Round 10: SC in each around. (9)
Rounds 11-12: SC in each around. (9)
Round 13: SC in each around. (9)
Rounds 14-15: SC in each around. (9)
Round 16: SC in each around. (9)
Rounds 17-18: SC in each around. (9)
Fasten off and leave a long tail to attach. Sew the remaining hole closed. Attach using the movable limb method around rounds 15-16.
Legs (make 2)
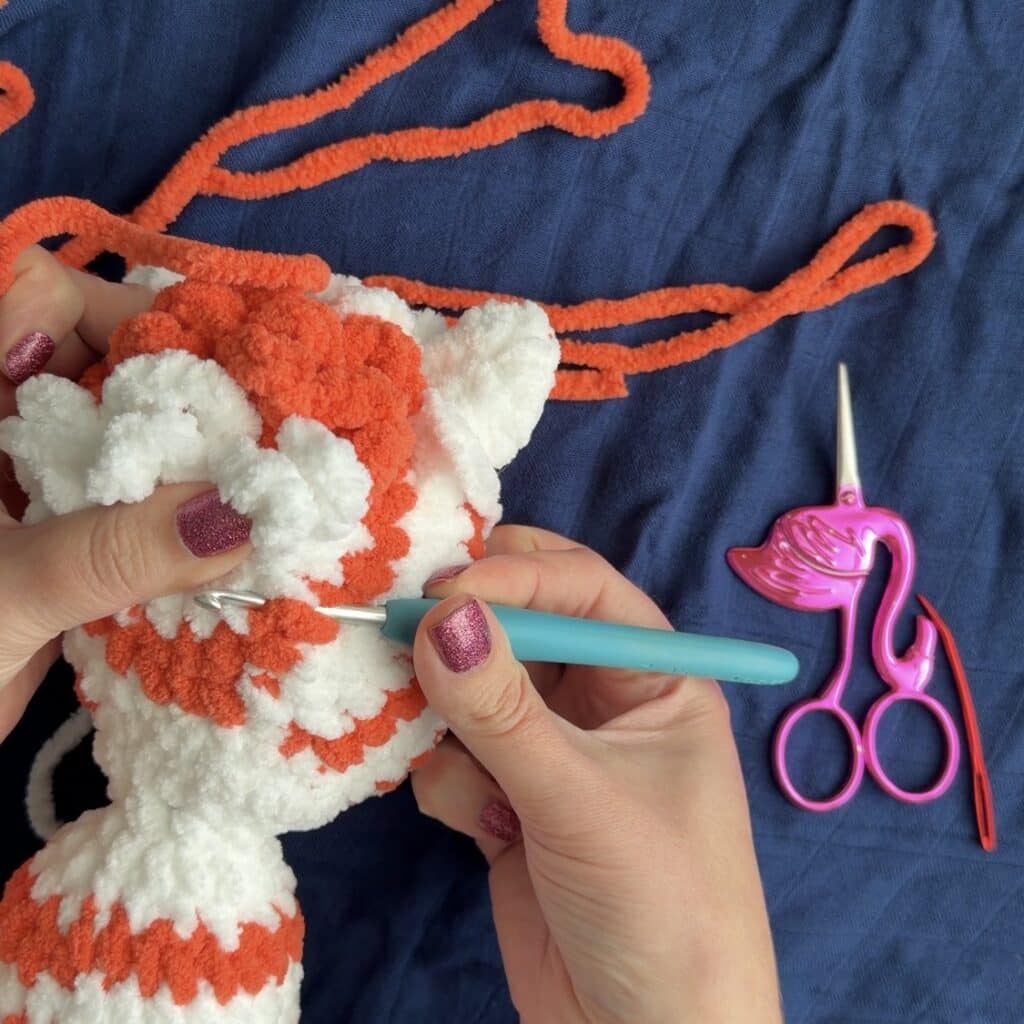
Using black:
Round 1: In a magic circle, SC 8.
Round 2: SC INC in each around. (16)
Round 3: SC in the first, SC INC in the next. Repeat around. (24)
Round 4: SC in the first two, SC INC in the next. Repeat around (32)
Rounds 5: SC in each around. (32)
Round 6: SC in the first two, INV DEC in the next. Repeat around. (24)
Change to white yarn.
Round 7: SC in the first 8. INV DEC 8x. (16)
Round 8: SC in the first 8. INV DEC 4x. (12) SC in the next 3 (in white). Put the stitch marker here. This is where you will change color from now on, in the back of the leg.
Begin to stuff here, and then continue to stuff as you go. I usually only stuff the bottom half.
Round 9: SC in each around. (12)
Round 10: SC in each around. (12)
Rounds 11-12: SC in each around. (12)
Round 13: SC in each around. (12)
Rounds 14-15: SC in each around. (12)
Round 16: SC in each around. (12)
Rounds 17-19: SC in each around. (12)
Rounds 20-21: SC in each around. (12)
Fasten off and leave a long tail to attach. Sew the remaining hole closed. Attach using the movable limb method around round 6.
Tail
With white: Chain 8. Turn and SC in each stitch back (7). Fasten off and leave a long tail to sew one.
Using black: Attach the yarn to the top of the tail. Chain 6 and slip stitch through the same stitch. Repeat for a total of three loops. Fasten off, tie off and weave in the end through the loops.
Mane
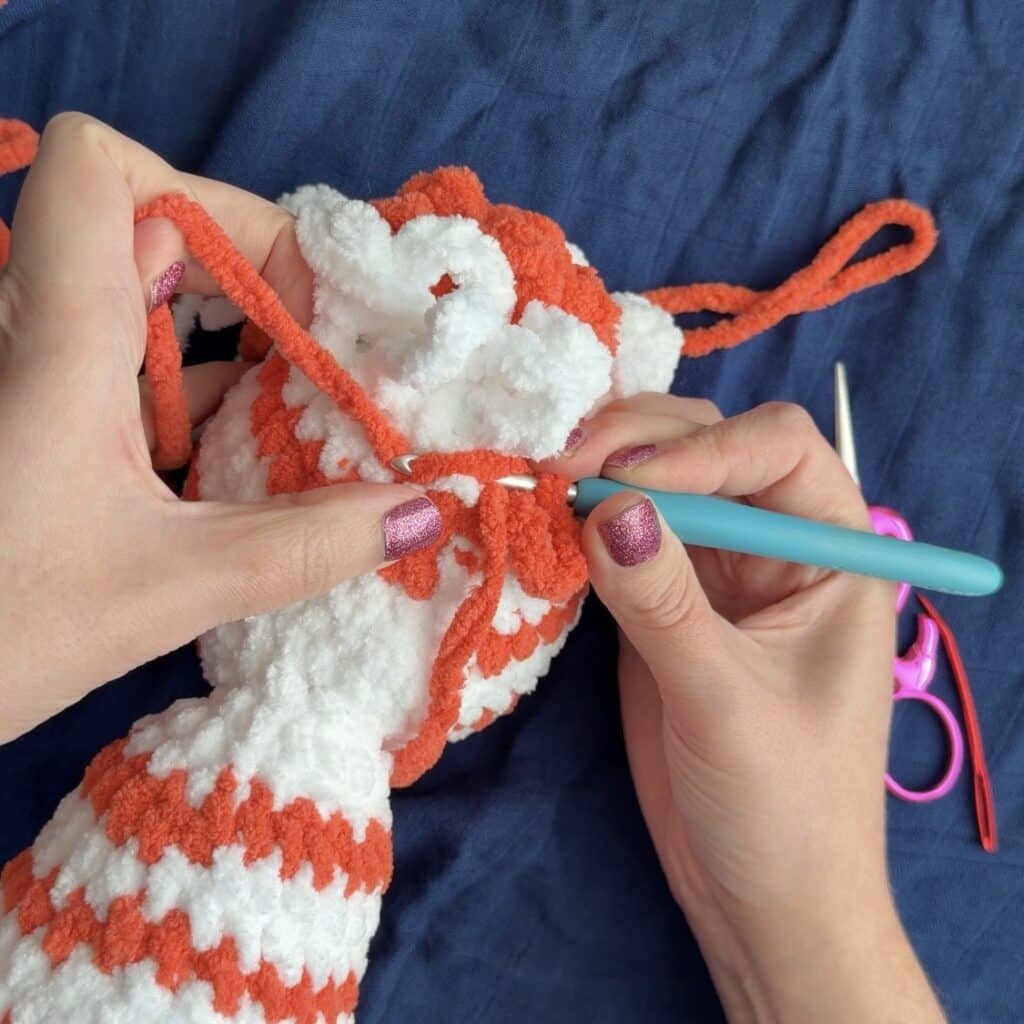
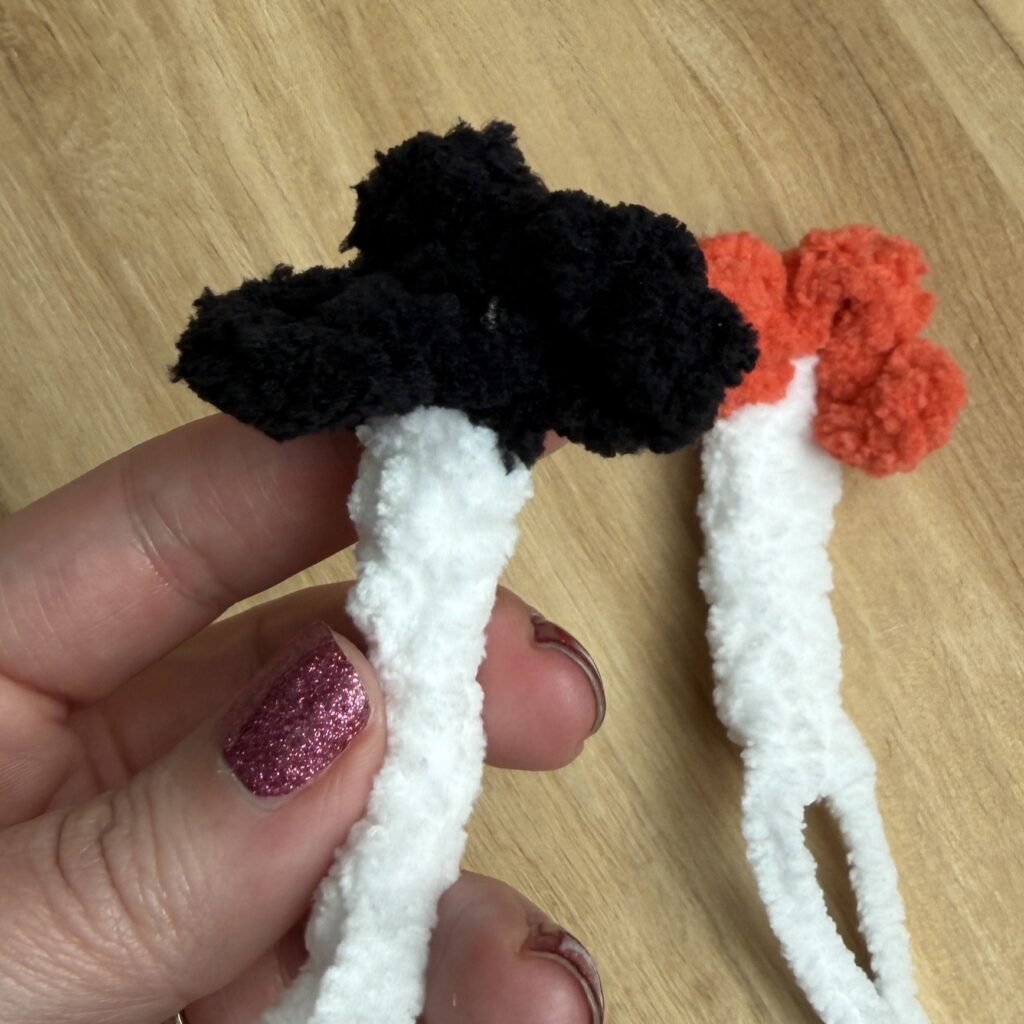
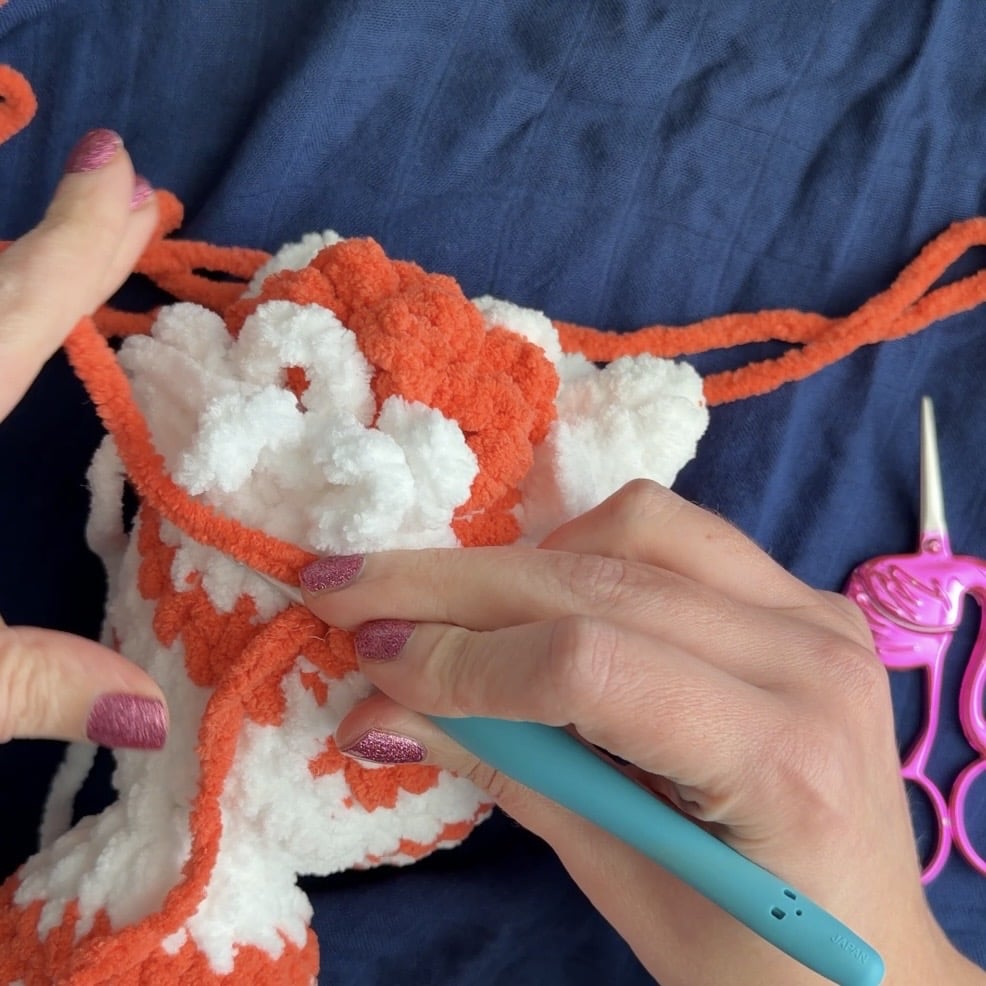
The mane should be centered between the eyes. Begin by attaching the accent color (black), lined up just inside an eye and two rounds up. Put your hook through the post of that stitch. Chain 6 times and slip stitch back into the head, right next to the beginning of the chain. This creates a loop. Repeat for this until you have the desired amount of loops. Do this for a couple of rows. Then when you are ready to change to a different color, fasten off. Weave to the tail from the beginning, tie a knot and weave in the ends.
Attach the white yarn and repeat.
Traditional Look: Two loops of black, followed by three loops of white, then back to two. Each color only had two rows before changing.
Finishing: Weave both ends to the middle. Lightly weave the longest tail through the middle and lightly cinch. Wrap the end around about 8 times and then tie it off with the other tail. Wrap the ends around her head and tie it in the back.
Assembly
Attaching the Head to the Body:
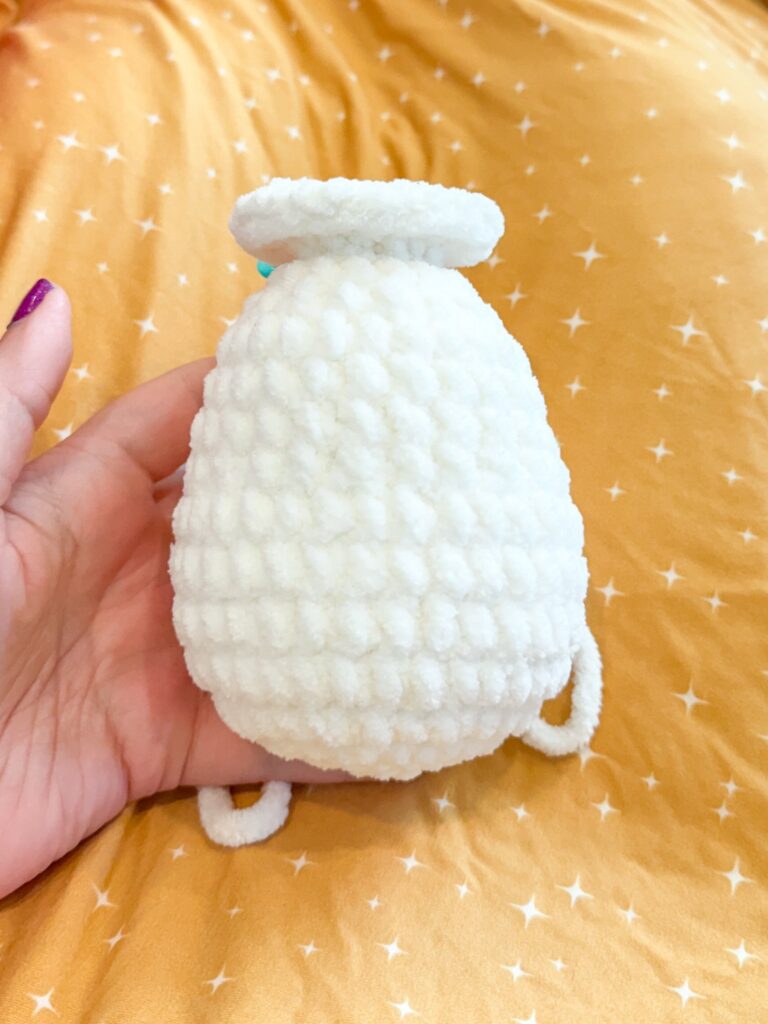
Sew the head to the body before you do the mane. Pin the flat disc that is at the top of the body where you want it on the head. Try to center it as best you can. The author prefers centering it slightly close to the nose so that the head flops forward more than backwards. You can use AmiStix or long knitting needles to help.
As you sew, go through the front loop on the SC at the top of the disc. Pull tightly each time. Try to pull the disc out as you go, so that it lies as flat to the head as you can.
Tips
- Tight Stitches: If your stitches feel too tight, size up a hook size until you can crochet comfortably but still maintain tight stitches. Loose stitches will show stuffing.
- Stuffing: For the limbs, only stuff the bottom half to ensure the joints remain movable.
- Nose Shaping: If you choose to shape the nose, use a piece of the same white yarn and gently pinch the top of the nose through the stitches on round 4.
FAQs
Can I use a different yarn?
Yes, you can substitute other size 6 blanket yarns like Bernat Blanket or Bernat Baby Blanket. However, keep in mind that brands work up differently, so you may need to adjust your hook size to maintain tight stitches.
How do I make the arms and legs movable?
Stuff only the bottom half of the limbs. When attaching them to the body, use the “movable limb” method (often involving sewing through the front loops of a specific round) rather than stuffing the entire limb and sewing it shut.
What hook size should I use?

Use a 4.5mm hook for Premier Basix Chenille or a 5mm hook for Bernat Blanket. The goal is to use a hook smaller than the yarn label recommends to ensure tight, non-gaping stitches.
How do I attach the mane?
Attach the yarn to the post of a stitch on the head (between the eyes). Chain 6 and slip stitch back into the head to create a loop. Repeat this to create rows of loops, changing colors as desired.
Is this pattern safe for babies?
If you use safety eyes, it may not be suitable for very young babies. For a safer option, embroider the eyes instead of using plastic safety eyes.
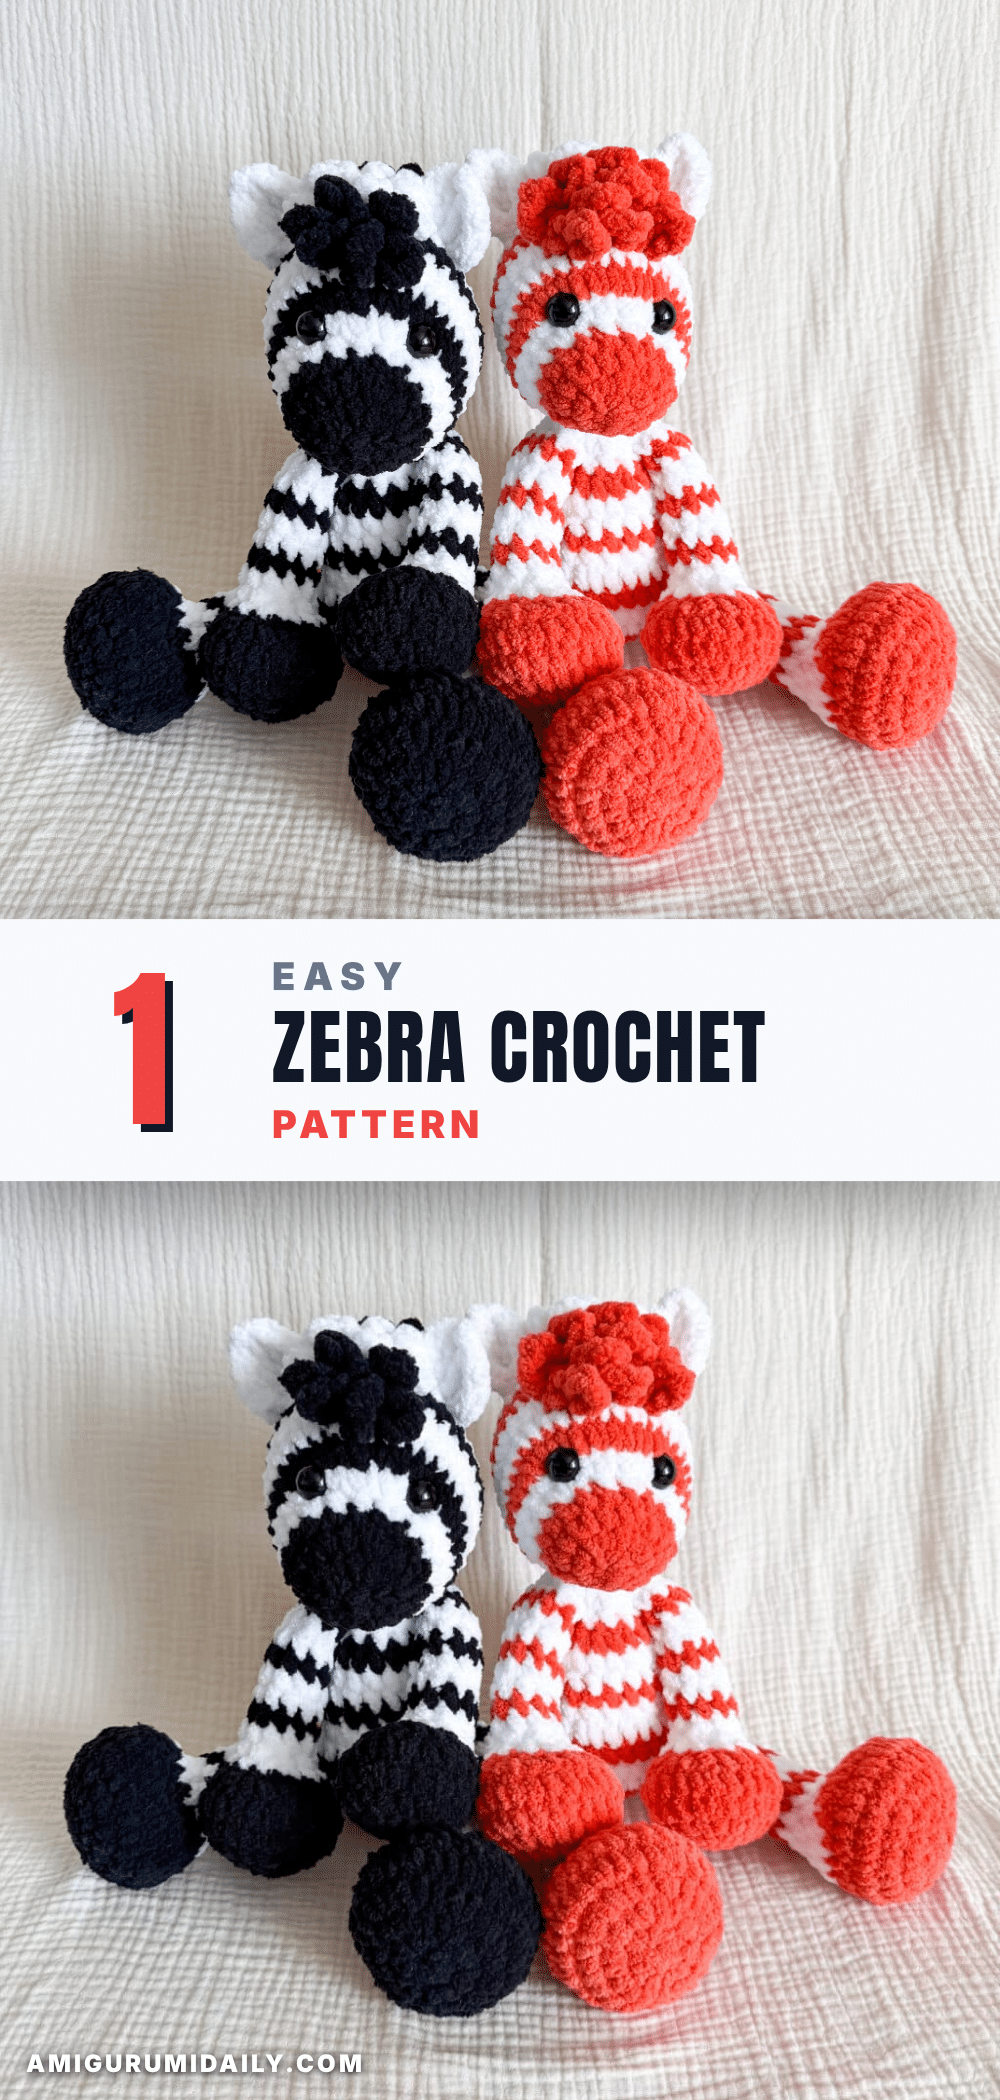
Pin This Crochet Pattern!