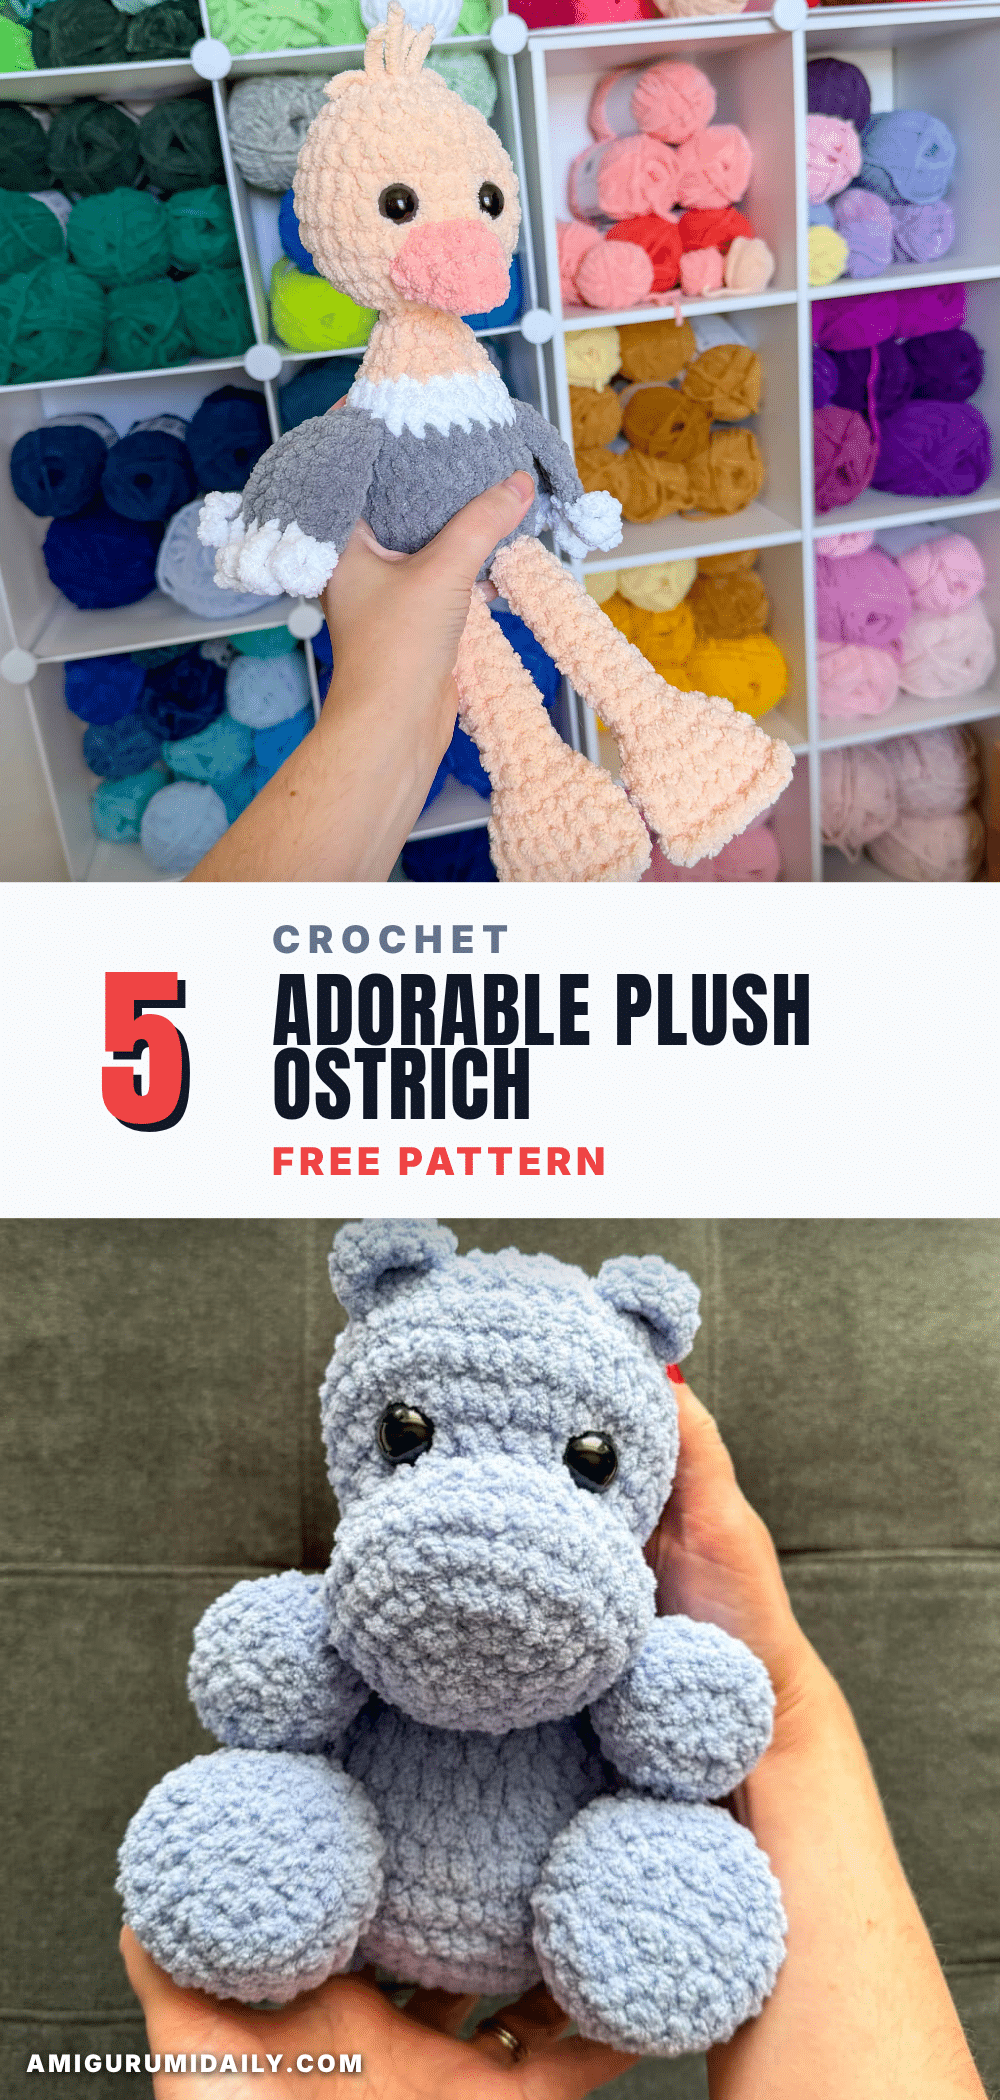
There is something undeniably charming about a plush amigurumi that captures the whimsy of the animal kingdom, and this free plush ostrich crochet pattern delivers exactly that. The finished piece is a delightful mix of squishy and display-worthy, featuring long, dangly legs and a feathery flair that makes it an instant favorite for shelves and cuddle sessions alike. Whether you are looking for a giftable keepsake or a fun intermediate project to add to your collection, this playful bird is sure to bring a smile to your face.
Why the Finished Piece Stands Out
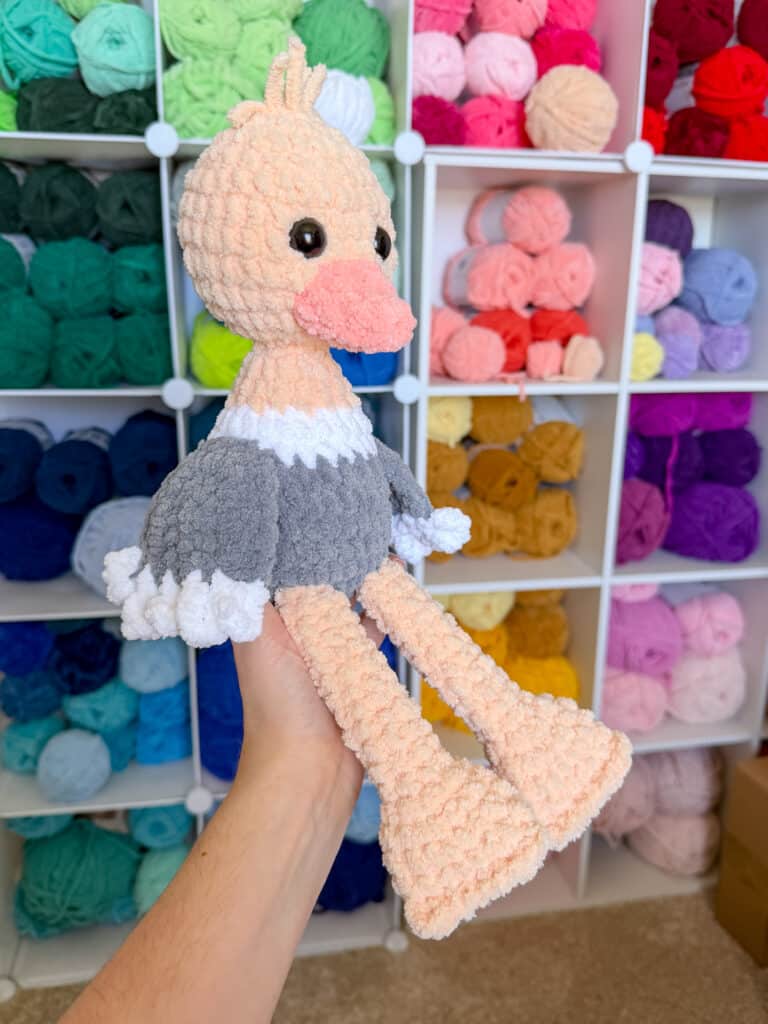
What truly sets this ostrich apart is the texture and silhouette created by using blanket yarn. The plush, chenille-like finish gives the amigurumi a soft, cuddly appeal that feels much more substantial than traditional cotton or acrylic yarns. The design embraces the unique anatomy of an ostrich with its long, unstuffed legs and floppy head feathers, creating a character that feels both realistic and adorably cartoonish. The contrast between the soft gray body, the white neck, and the shell-colored wings adds visual interest, while the “no knees” leg design gives it a distinct, stylized charm that is perfect for modern toy collecting.
Project Overview
This plush ostrich crochet pattern is part of an “Around the World in Africa” journey, serving as the second stop in a series of continental patterns. It is designed as a fun, intermediate (or advanced beginning) crochet project. The pattern utilizes size 6 weight blanket yarn, which works up quickly compared to traditional yarns, making it a satisfying project that yields a large, impressive plush toy. The finished ostrich sits approximately 8-9 inches tall, with additional length provided by its distinctive long legs.
Materials
- 55g Premier Basix Chenille in White
- 45g Premier Basix Chenille in Pewter
- 70g Premier Basix Chenille in Shell
- Small amount of Premier Basix Chenille in Peach
- Small amount of black worsted yarn
- Stuffing
- 15mm safety eyes
- 4.5mm crochet hook (or hook size that keeps stitches tight and feels comfortable)
- Needle
- Stitch marker
Important Yarn Notes: The pattern is written for size 6 weight blanket yarn. The author typically uses Premier Basix Chenille, Bernat Blanket, or Bernat Baby Blanket, noting these are interchangeable size-wise. If you choose to use Big Twist Posh, a 4mm hook is recommended. Please be aware that even if a label says size 6, some materials work up differently, so check your gauge. For safety with babies or toddlers, you may substitute safety eyes with embroidered eyes.
Gauge and Finished Size
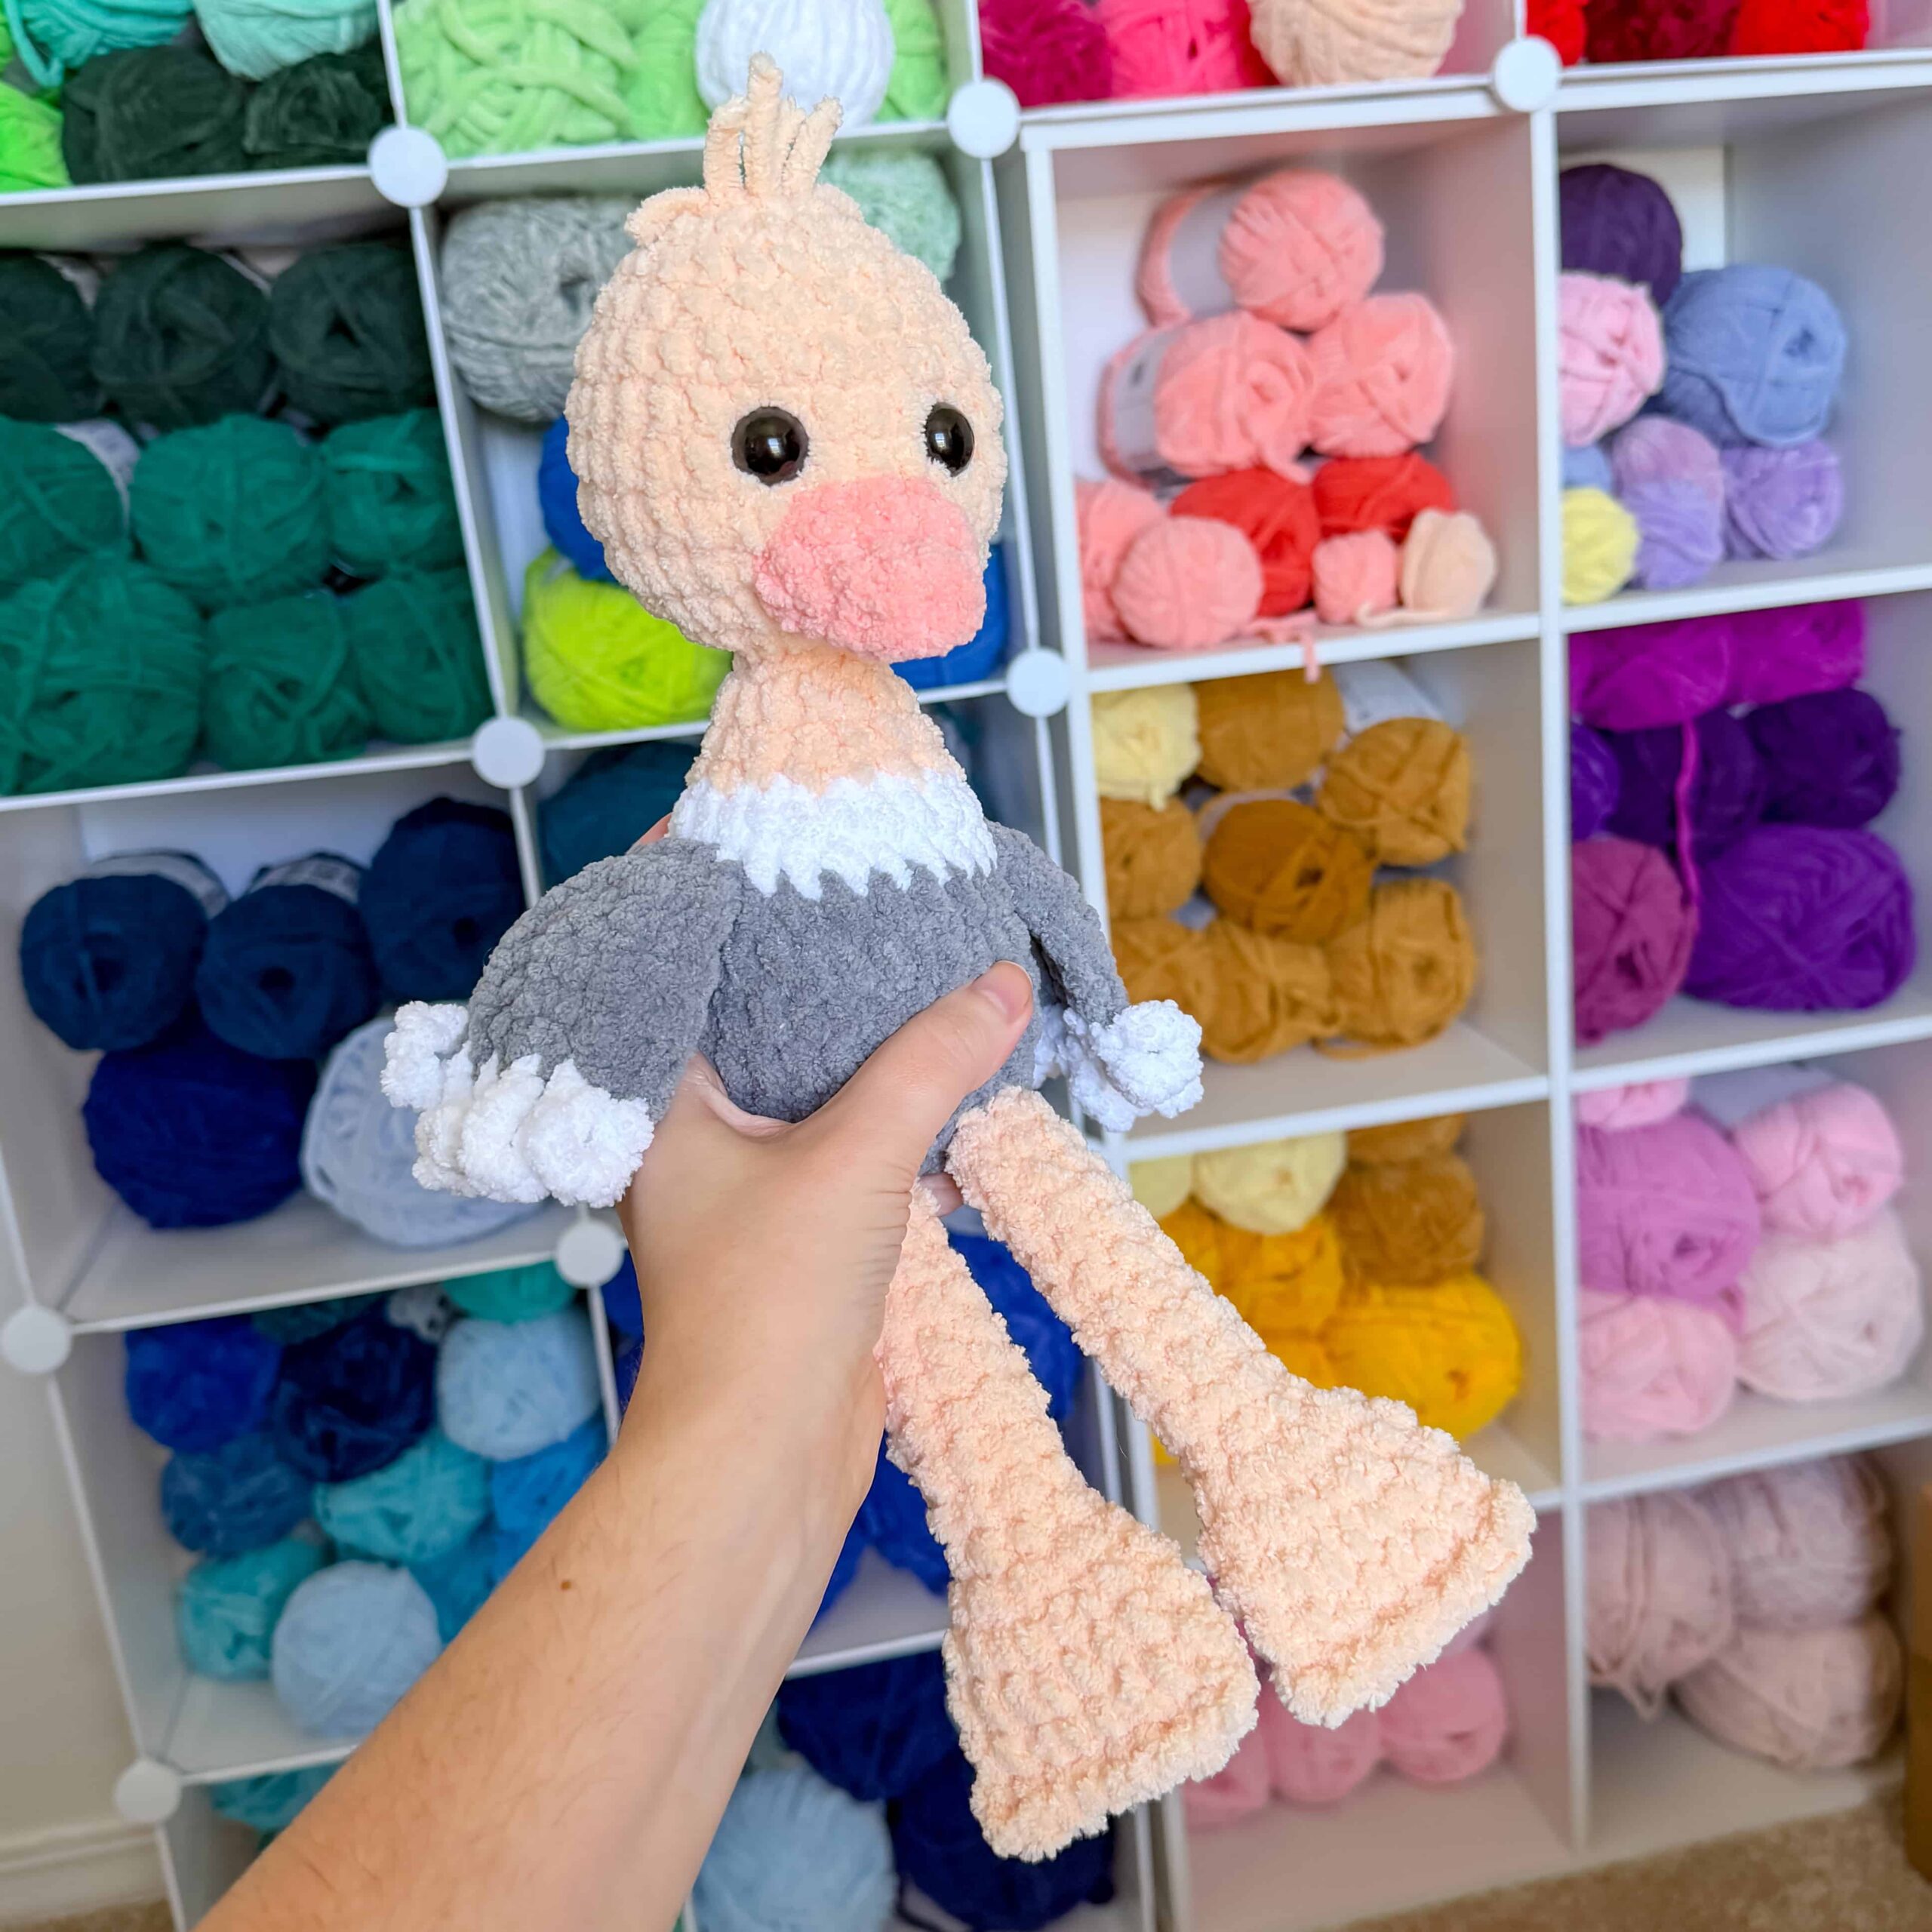
The finished ostrich sits about 8-9 inches tall. The pattern relies on tight stitches to prevent stuffing from showing, so use a hook size that allows you to crochet comfortably while maintaining tight tension. If using Big Twist Posh, use a 4mm hook; otherwise, a 4.5mm hook is recommended for the primary yarns.
Abbreviations
Note: The source pattern uses standard US crochet abbreviations. The following are inferred from the instructions provided:
- SC: Single Crochet
- INC: Increase (2 SC in the same stitch)
- INV DEC: Invisible Decrease
- MC: Magic Circle
- Ch: Chain
- Sl St: Slip Stitch
Pattern Notes
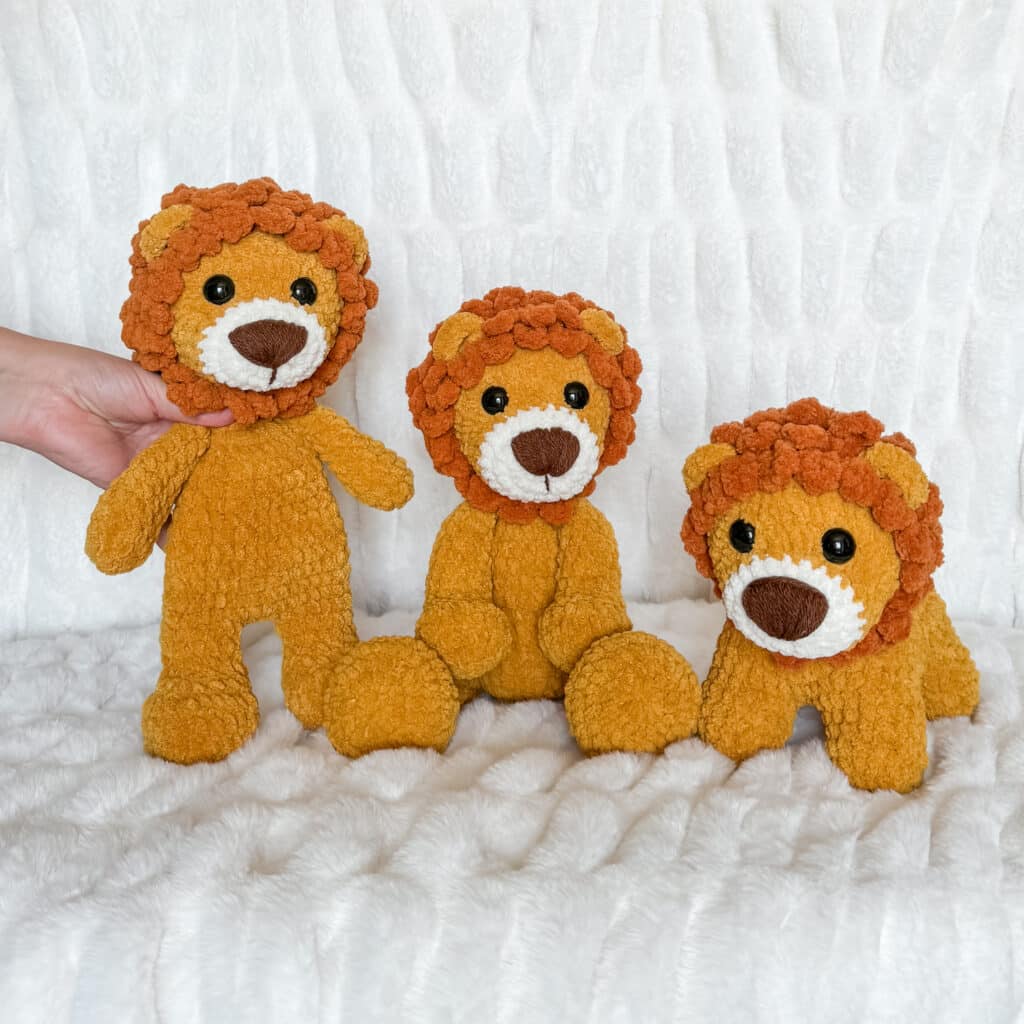
Because this pattern uses plush blanket yarn, it works up quickly. However, the bulk of the yarn requires careful stuffing, particularly in the body, as it becomes difficult to add more stuffing once the piece is nearly closed. The neck strengthener is a critical component for maintaining the shape of the head. If you experience bunching or curling on the wings, try relaxing your tension or going up a hook size.
Pattern Instructions
Neck Strengthener
Yarn: Shell
In a magic circle, SC 7. SC in each around for a total of 7 rows. Fasten off and leave a long tail. You will need this before you stuff the head.
Body/Head
Yarn: Pewter (Gray)
- Round 1: In a magic circle, SC 8.
- Round 2: SC INC in each around. (16)
- Round 3: SC in the first, SC INC in the next. Repeat around. (24)
- Round 4: SC in the first 2, SC INC in the next. Repeat around. (32)
- Rounds 5-8: SC in each around. (32) *4 rounds*
- Round 9: SC in the first 2, INV DEC in the next. Repeat around. (24)
Change to White Yarn
- Rounds 10-11: SC in each around. (24) *2 rounds*
Change to Shell Yarn. Begin to stuff here.
- Round 12: SC in the first, INV DEC in the next. Repeat around. (16)
- Rounds 13-14: SC in each around. (16) *2 rounds*
- Round 15: INV DEC in each around. (8)
- Rounds 16-18: SC in each around. (8) * 3 rounds*
Make sure you stuff as well as you can; it will be very hard to stuff the body from here on out.
- Round 19: In the front loop only, SC INC in each around. (16)
- Round 20: SC in the first, SC INC in the next. Repeat around. (24)
- Round 21: SC in the first 2, SC INC in the next. Repeat around. (32)
Insert the neck strengthener here. See this video on how to make your head round!
- Rounds 22-26: SC in each around. (32) * 5 rounds*
Insert eyes between rounds 24-25, about 4 stitches apart.
- Round 27: SC in the first 2, INV DEC in the next. Repeat around. (24)
- Round 28: SC in each around. (24)
Begin to stuff the head here, continue to stuff until you close.
- Round 29: SC in the first, INV DEC in the next. Repeat around. (16)
- Round 30: INV DEC in each around. (8)
Fasten off and weave in the end.
Beak
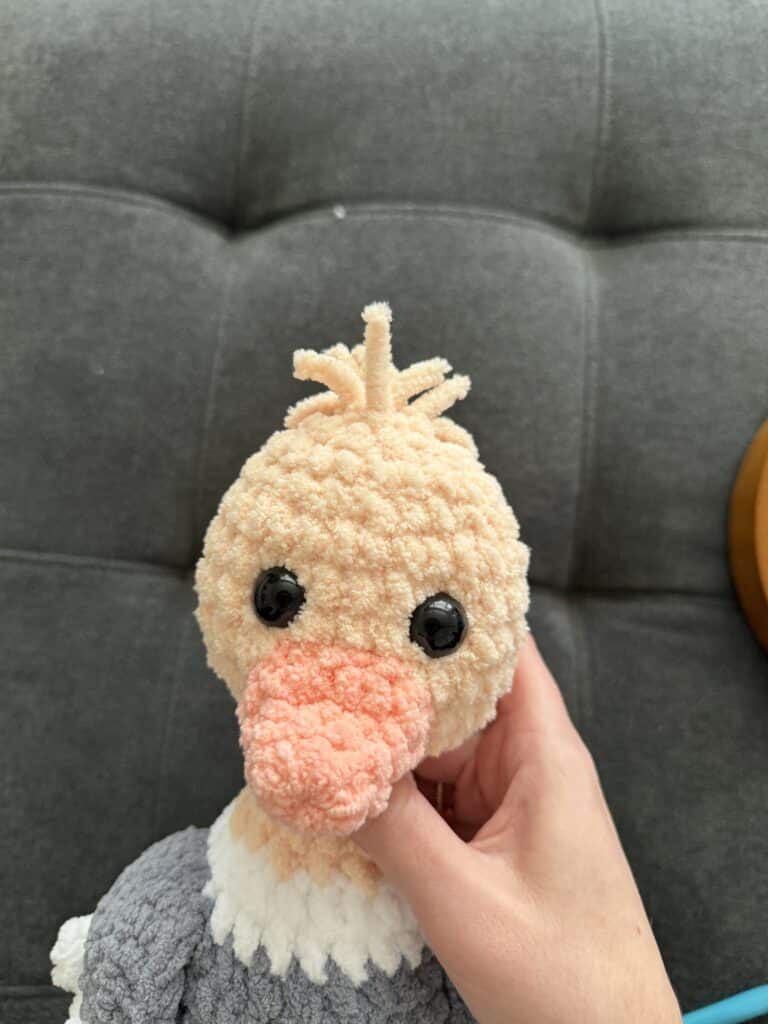
Yarn: Peach. Leave unstuffed.
- Round 1: SC 8 in a magic circle.
- Round 2: SC in each around (8)
- Round 3: SC in the first, SC INC in the next. Repeat around. (12)
- Round 4: SC in the first 2, SC INC in the next. Repeat around. (16)
Fasten off and attach right beneath the eyes.
Legs (make 2)
*These legs are not stuffed.*
Yarn: Shell. Leaving a long tail (about 8 inches) to sew the leg onto the body.
- Round 1: SC 8 in magic circle. (8)
- Rounds 2-12: SC in each around. (8) *8 rounds*
- Round 13: SC INC in each around. (16)
- Rounds 14-15: SC in each around. (16) *3 rounds*
- Round 16: SC in the first 8 and follow the rest of the instructions below.
Flatten the end of the feet, like a sandwich. Take your hook and go through both sides of the foot—through two layers. SC as normal. Repeat, going through each stitch across. This seals off the foot.
Fasten off and weave in the end. Attach the legs to round 5 of the body.
Wings (make 2)
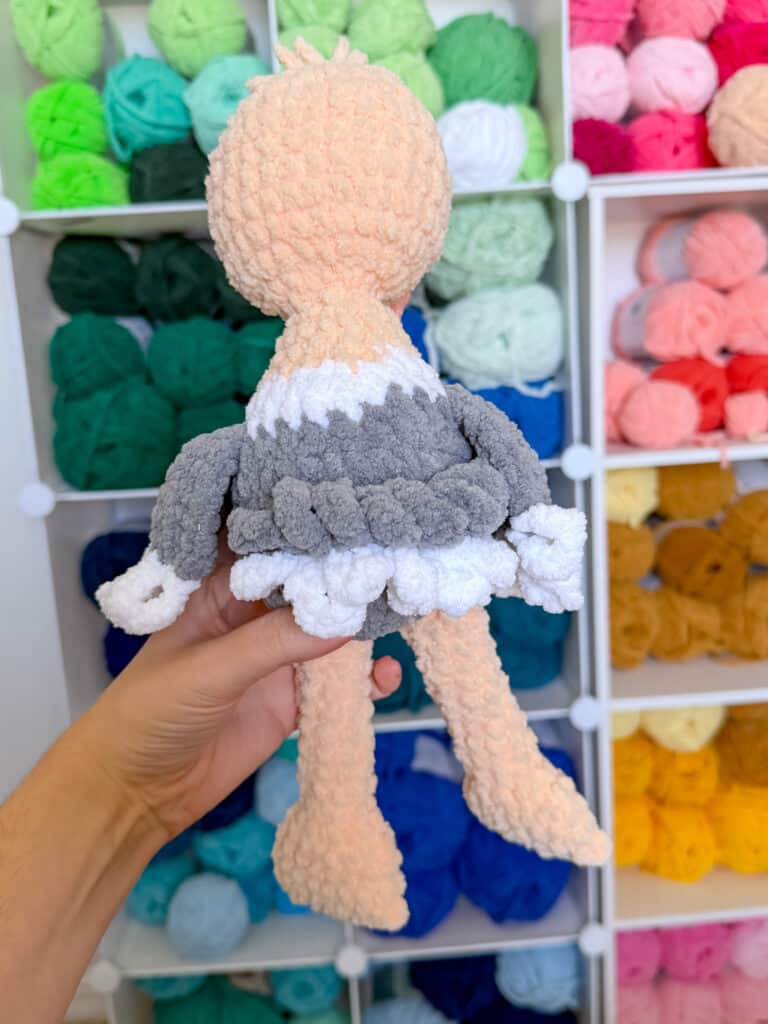
Yarn: Pewter (Gray). These wings are made in a “U” or rainbow shape. If you are experiencing bunching or curling, try relaxing your tension, or going up a hook size. When making your first chain, leave a long enough tail that you can weave it in, about 5 inches.
- Row 1: Chain 6.
- Row 2: Turn, and in the second chain from the hook, SC. SC in the remaining 4 chains. (a total of 5 SC)
- Row 3: Chain 1 and turn. SC 5 across. SC 3x in the gap between the rows. Then in the other side of the chains, SC 5x. (13)
- Row 4: Chain 1 and turn. SC in the first 5. (INC, SC, INC) in the next 3 stitches. SC in the remaining 5. (15)
- Row 5: Chain 1 and turn. SC 7 across. SC INC. SC in the remaining 7. (16)
Fasten off and leave a really long tail (about 12 inches). Weave in the tail from starting the chains and trim the end. Weave the 12 inch tail up to the top of the wing. This is what you will use to sew the wing onto the body.
Wing Feathers
Yarn: White. Attach to the side of the wing.
Chain 7x. Slip stitch to the wing, so that the chains make a loop. Chain 7 more times and slip stitch near the last slip stitch. Now you will have two loops. Continue across the entire bottom of the wing, for a total of 5 loops. Fasten off and weave the end through the bottom stitches. Tie off and weave the remaining ends through. Trim the ends. Attach the wings on either side of the body, right around rounds 10-11.
Tail Feathers
Yarn: White (Accent Color). Attach to the back.
You can center them by using the two wings. On round five, attach the accent color by going around the post of one of the stitches. Chain 7 times. Then attach it with a slip stitch around the post of the next stitch over on the ostrich. Repeat this for a total of 7 loops. Fasten off and weave in the ends.
Yarn: Pewter (Gray). Main body color.
Right above those feathers, use the main body color for another row of feathers. Start just outside the first feather of the bottom row. Follow the pattern for the first row, but this row will have 9 total loops.
Head Feathers
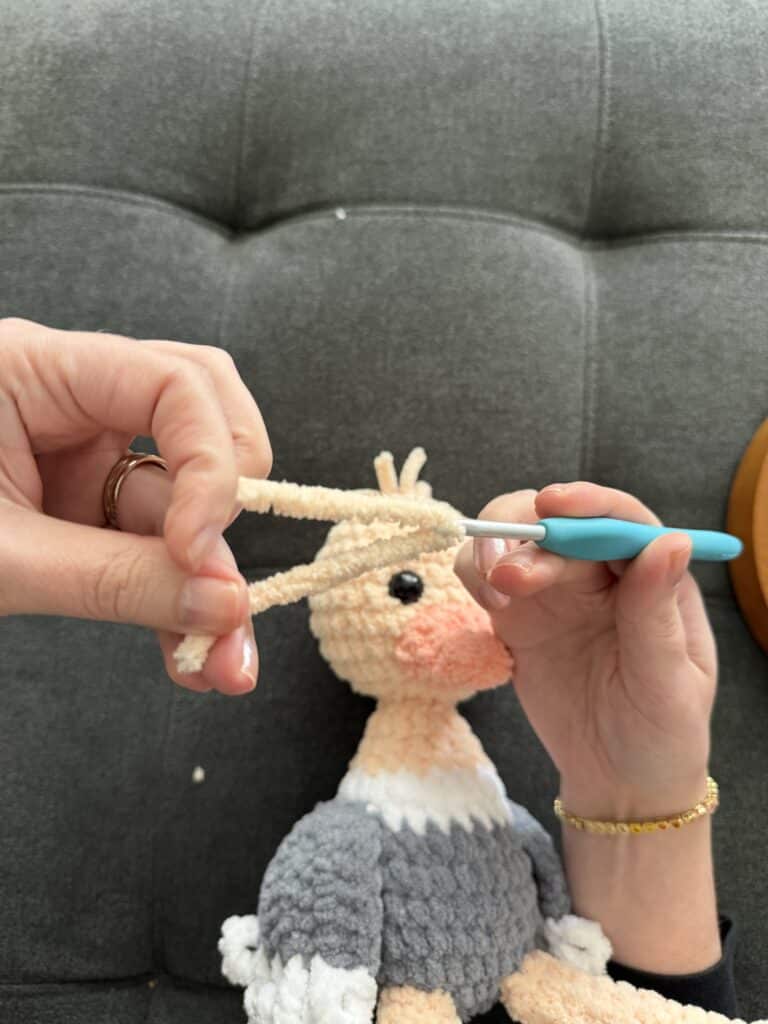
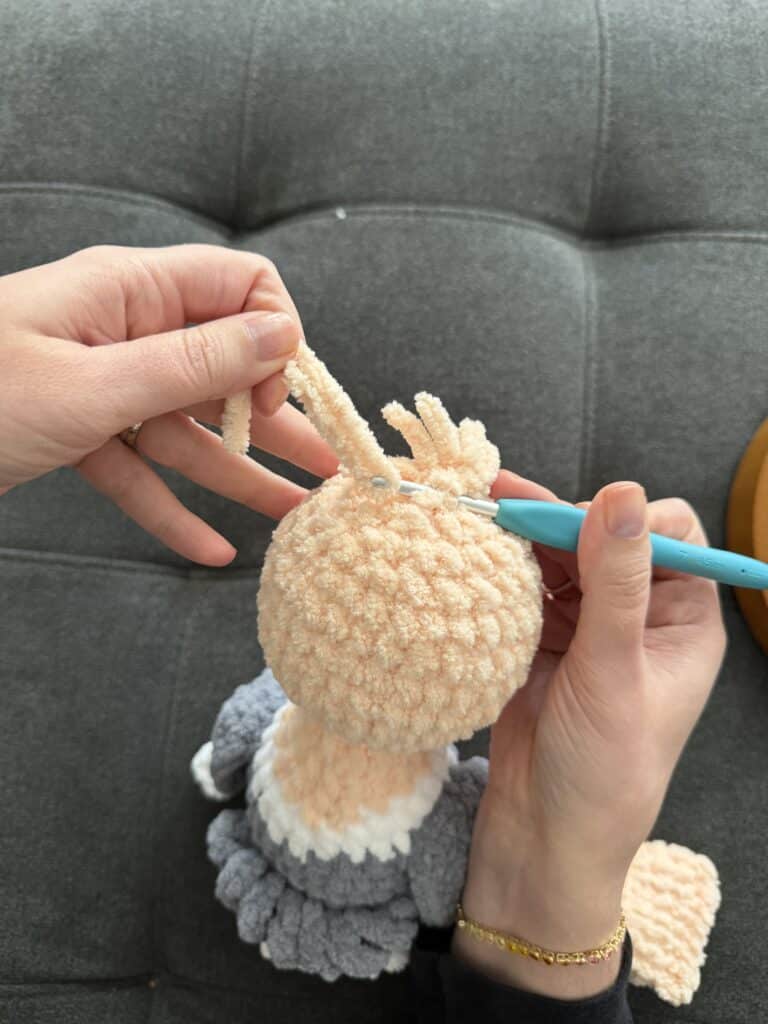
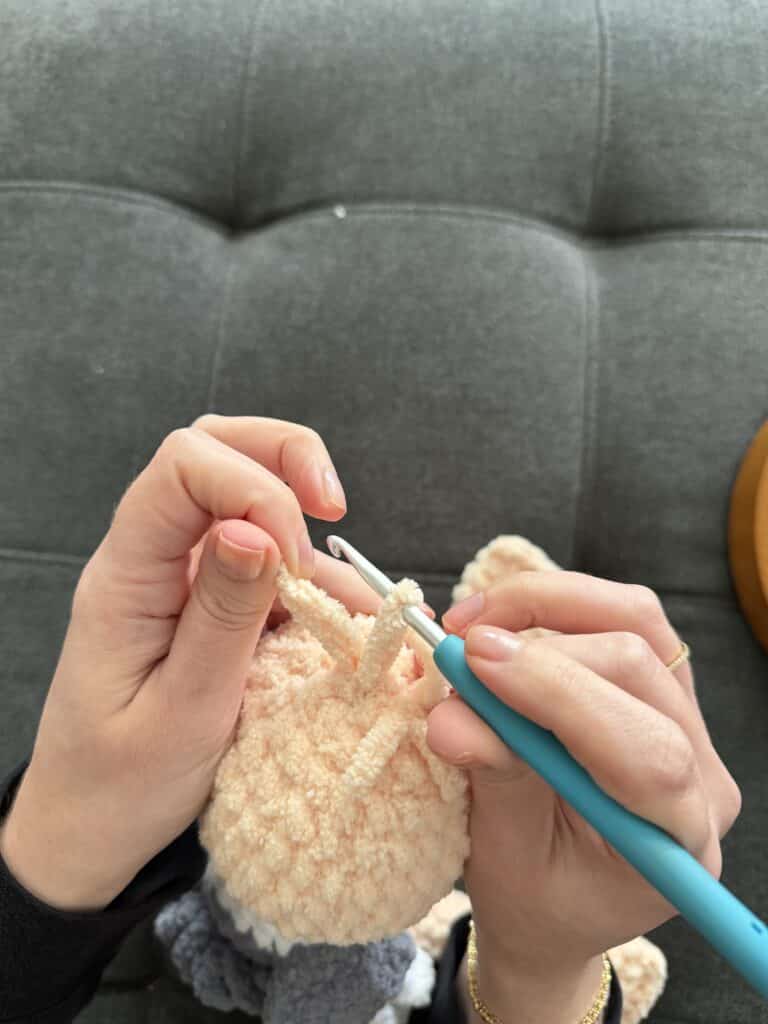
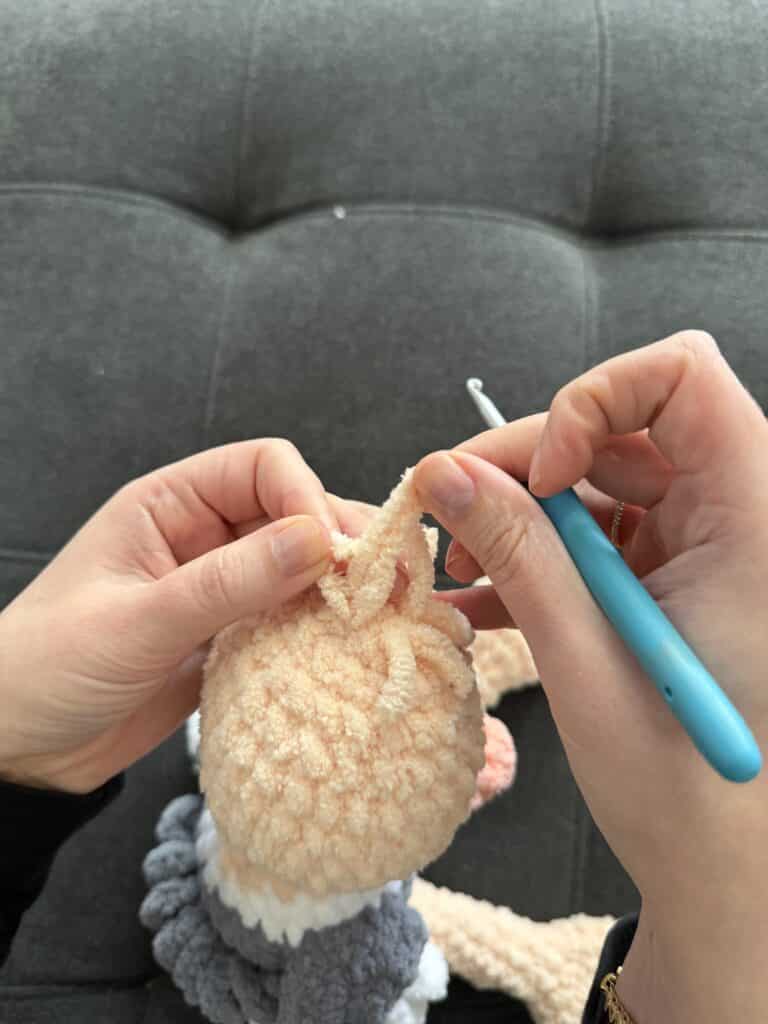
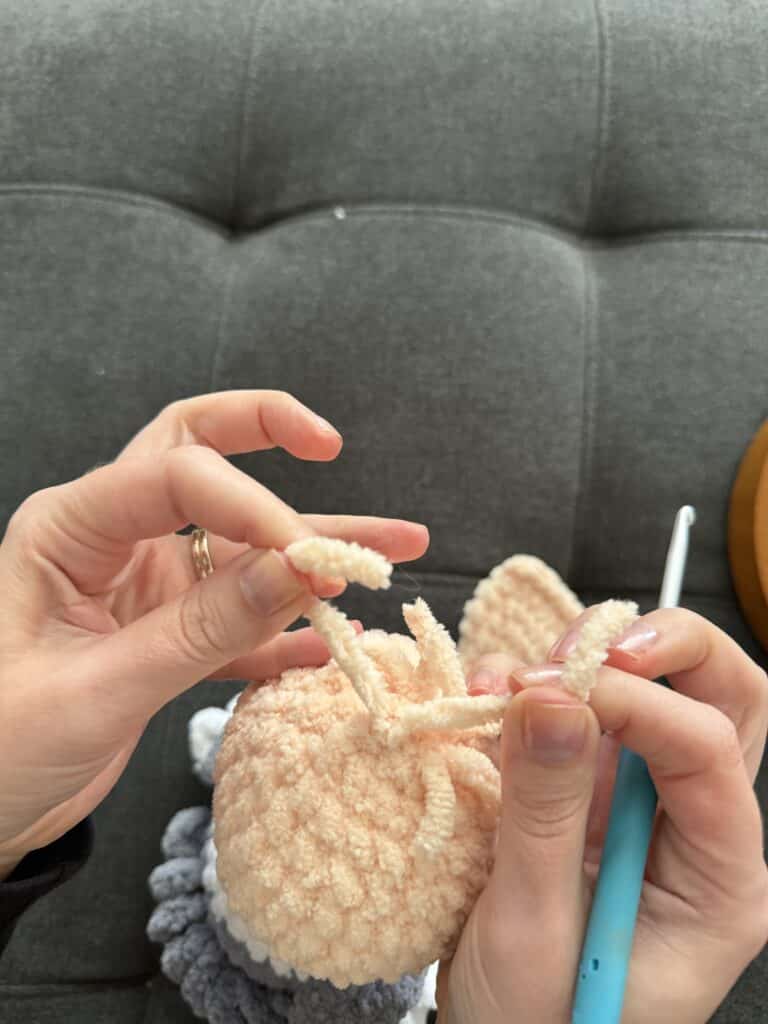
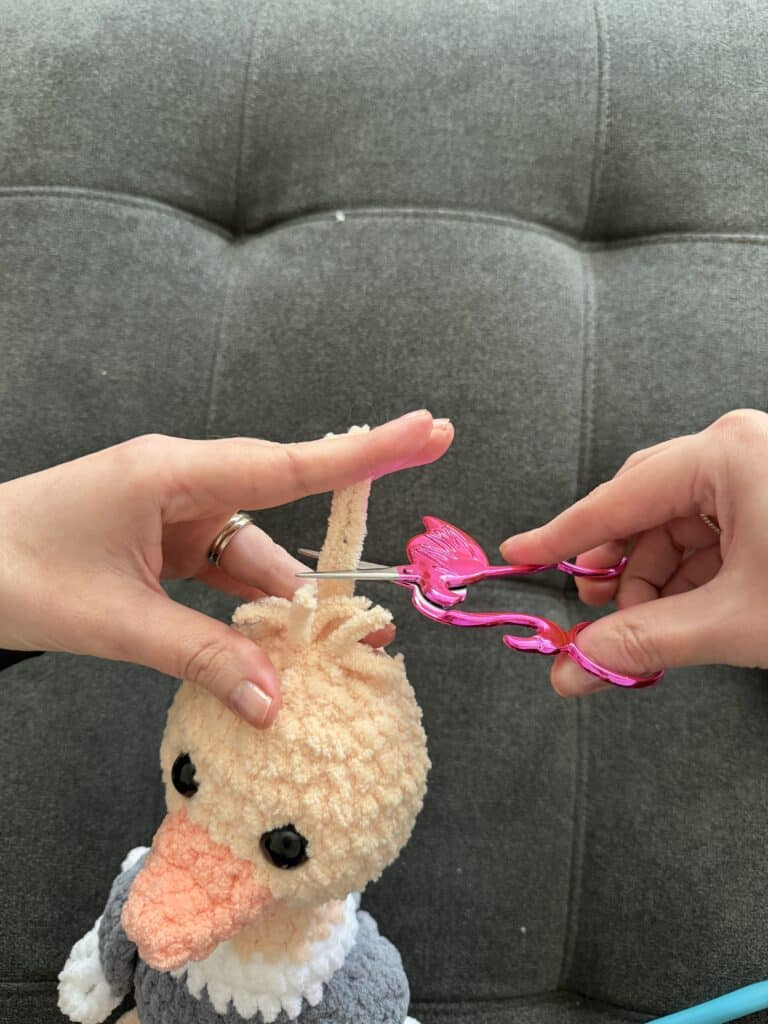
Cut 3-4 6-inch strands of shell yarn. Pull them through the top round of the head and tie them in knots (each strand gets its own knot). Trim the ends for some cute floppy head feathers!
Assembly
- Neck: Insert the neck strengthener into the body/head between rounds 18 and 19 to ensure the head stays round.
- Eyes: Insert the 15mm safety eyes between rounds 24-25 of the head, about 4 stitches apart.
- Beak: Attach the peach beak right beneath the eyes.
- Legs: Attach the two legs to round 5 of the body using the long tails left on the feet.
- Wings: Attach the wings on either side of the body, right around rounds 10-11, using the 12-inch tails.
- Feathers: Attach the white wing feathers along the bottom edge of the wings. Attach the white and gray tail feathers to the back of the body. Finally, tie the shell yarn strands to the top of the head for floppy head feathers.
Tips
- Stuffing: Stuff the body thoroughly before closing it up in rounds 16-18, as it becomes very difficult to add more stuffing later.
- Tension: If the wings bunch or curl, relax your tension or try a larger hook size.
- Yarn Choice: Remember that blanket yarns vary by brand. If your stitches are too tight to work comfortably, size up your hook, but ensure they remain tight enough to hide the stuffing.
FAQs
Can I make this ostrich safe for a baby?
Yes. The pattern suggests using safety eyes, but you can substitute them with embroidered eyes to make the toy safer for babies and toddlers who might put it in their mouths.
What kind of yarn should I use?
The pattern is designed for size 6 weight blanket yarn, such as Premier Basix Chenille, Bernat Blanket, or Bernat Baby Blanket. These are generally interchangeable size-wise.
Why are the legs not stuffed?
The legs are designed to be unstuffed to create a long, dangly, floppy appearance that mimics the natural look of an ostrich’s legs.
How do I make the head stay round?
The pattern includes a “neck strengthener” made from shell yarn. This piece is inserted into the body before the final rounds of the head are completed to provide structure and keep the head from collapsing.
Can I use a different hook size?
The recommended hook is 4.5mm for the primary yarns. If you are using Big Twist Posh, use a 4mm hook. You can adjust the hook size if your tension is too tight or too loose, but aim for tight stitches to prevent stuffing from showing.
Pin This Crochet Pattern!