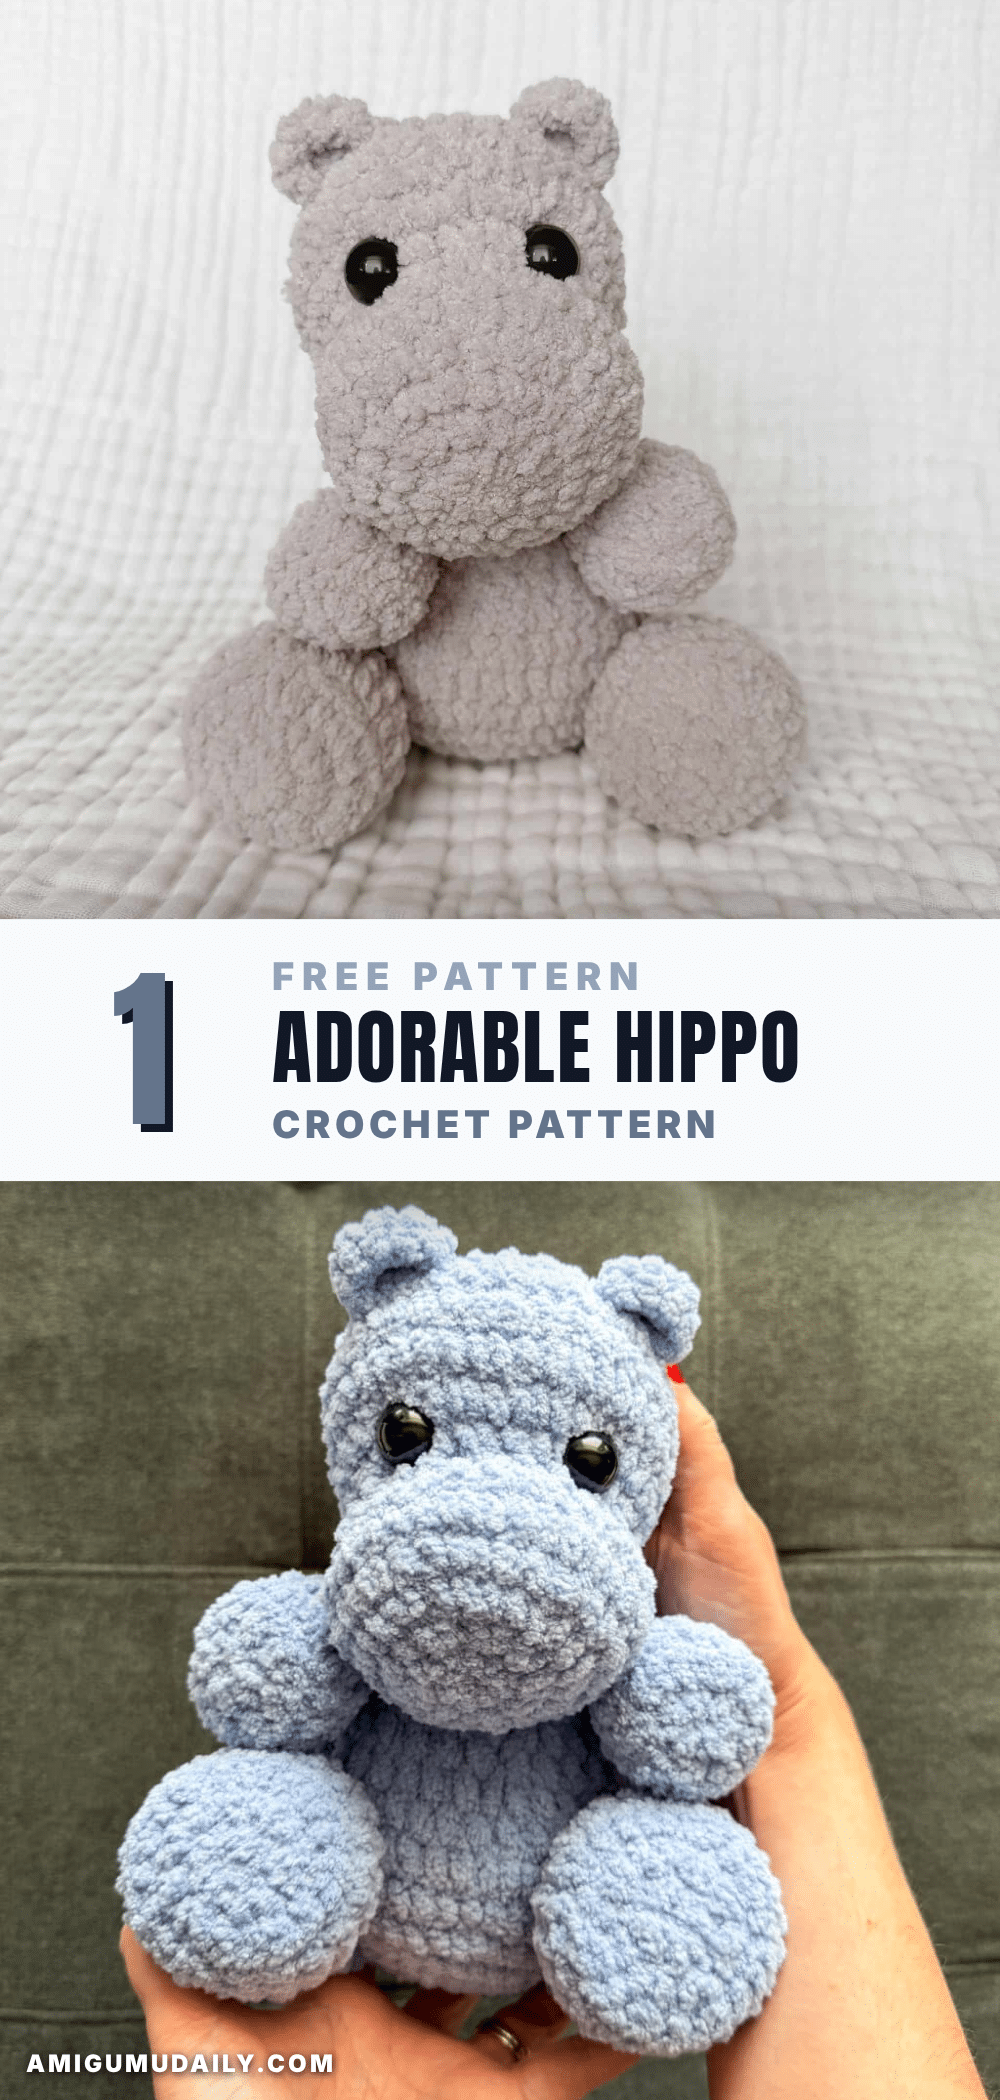
There is something undeniably charming about a chunky, plush amigurumi that feels like a warm hug. This adorable hippo crochet pattern brings that cozy feeling to life, creating a cuddly companion that is as easy to make as it is delightful to hold. Perfect for a nursery shelf or a gift for a little one, this project utilizes plush yarn to achieve a soft, professional finish in record time. Let’s dive into the details of bringing this charming creature to life.
Seasonal Styling Ideas
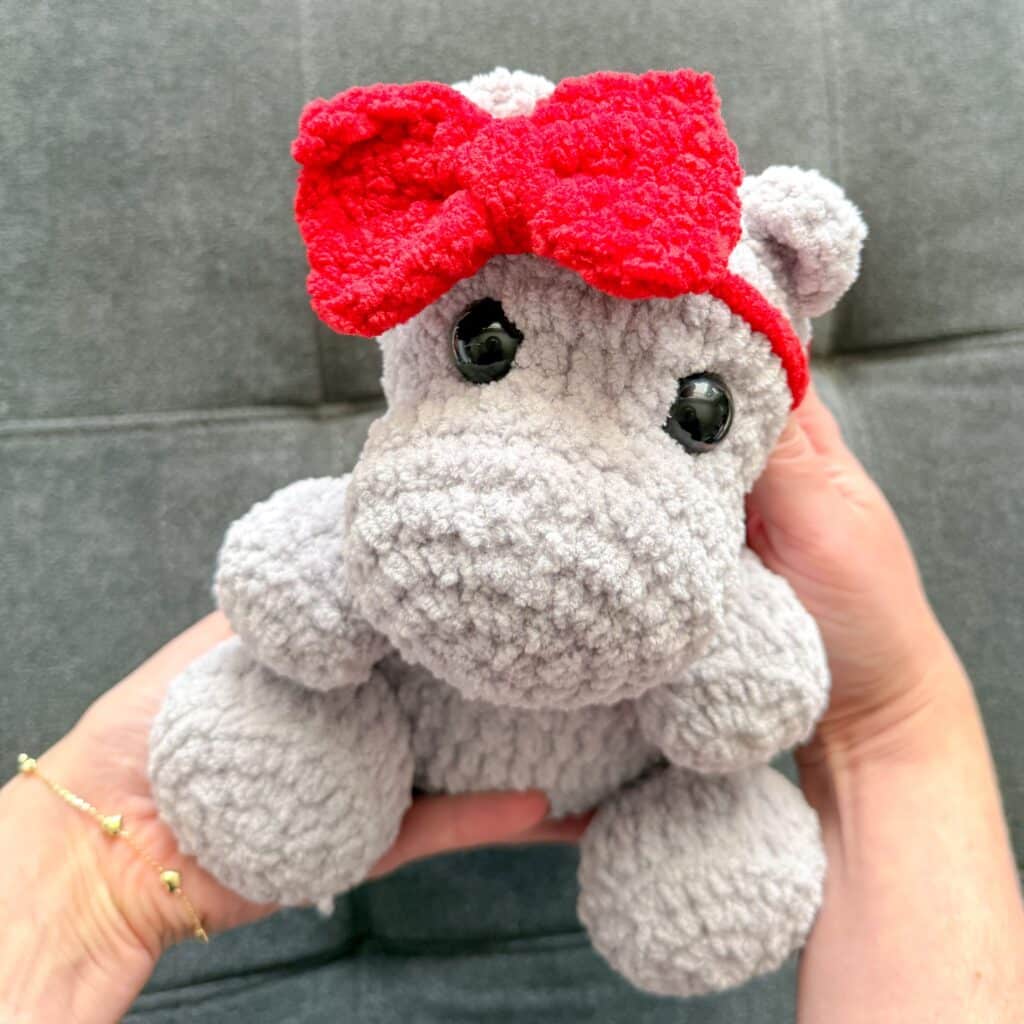
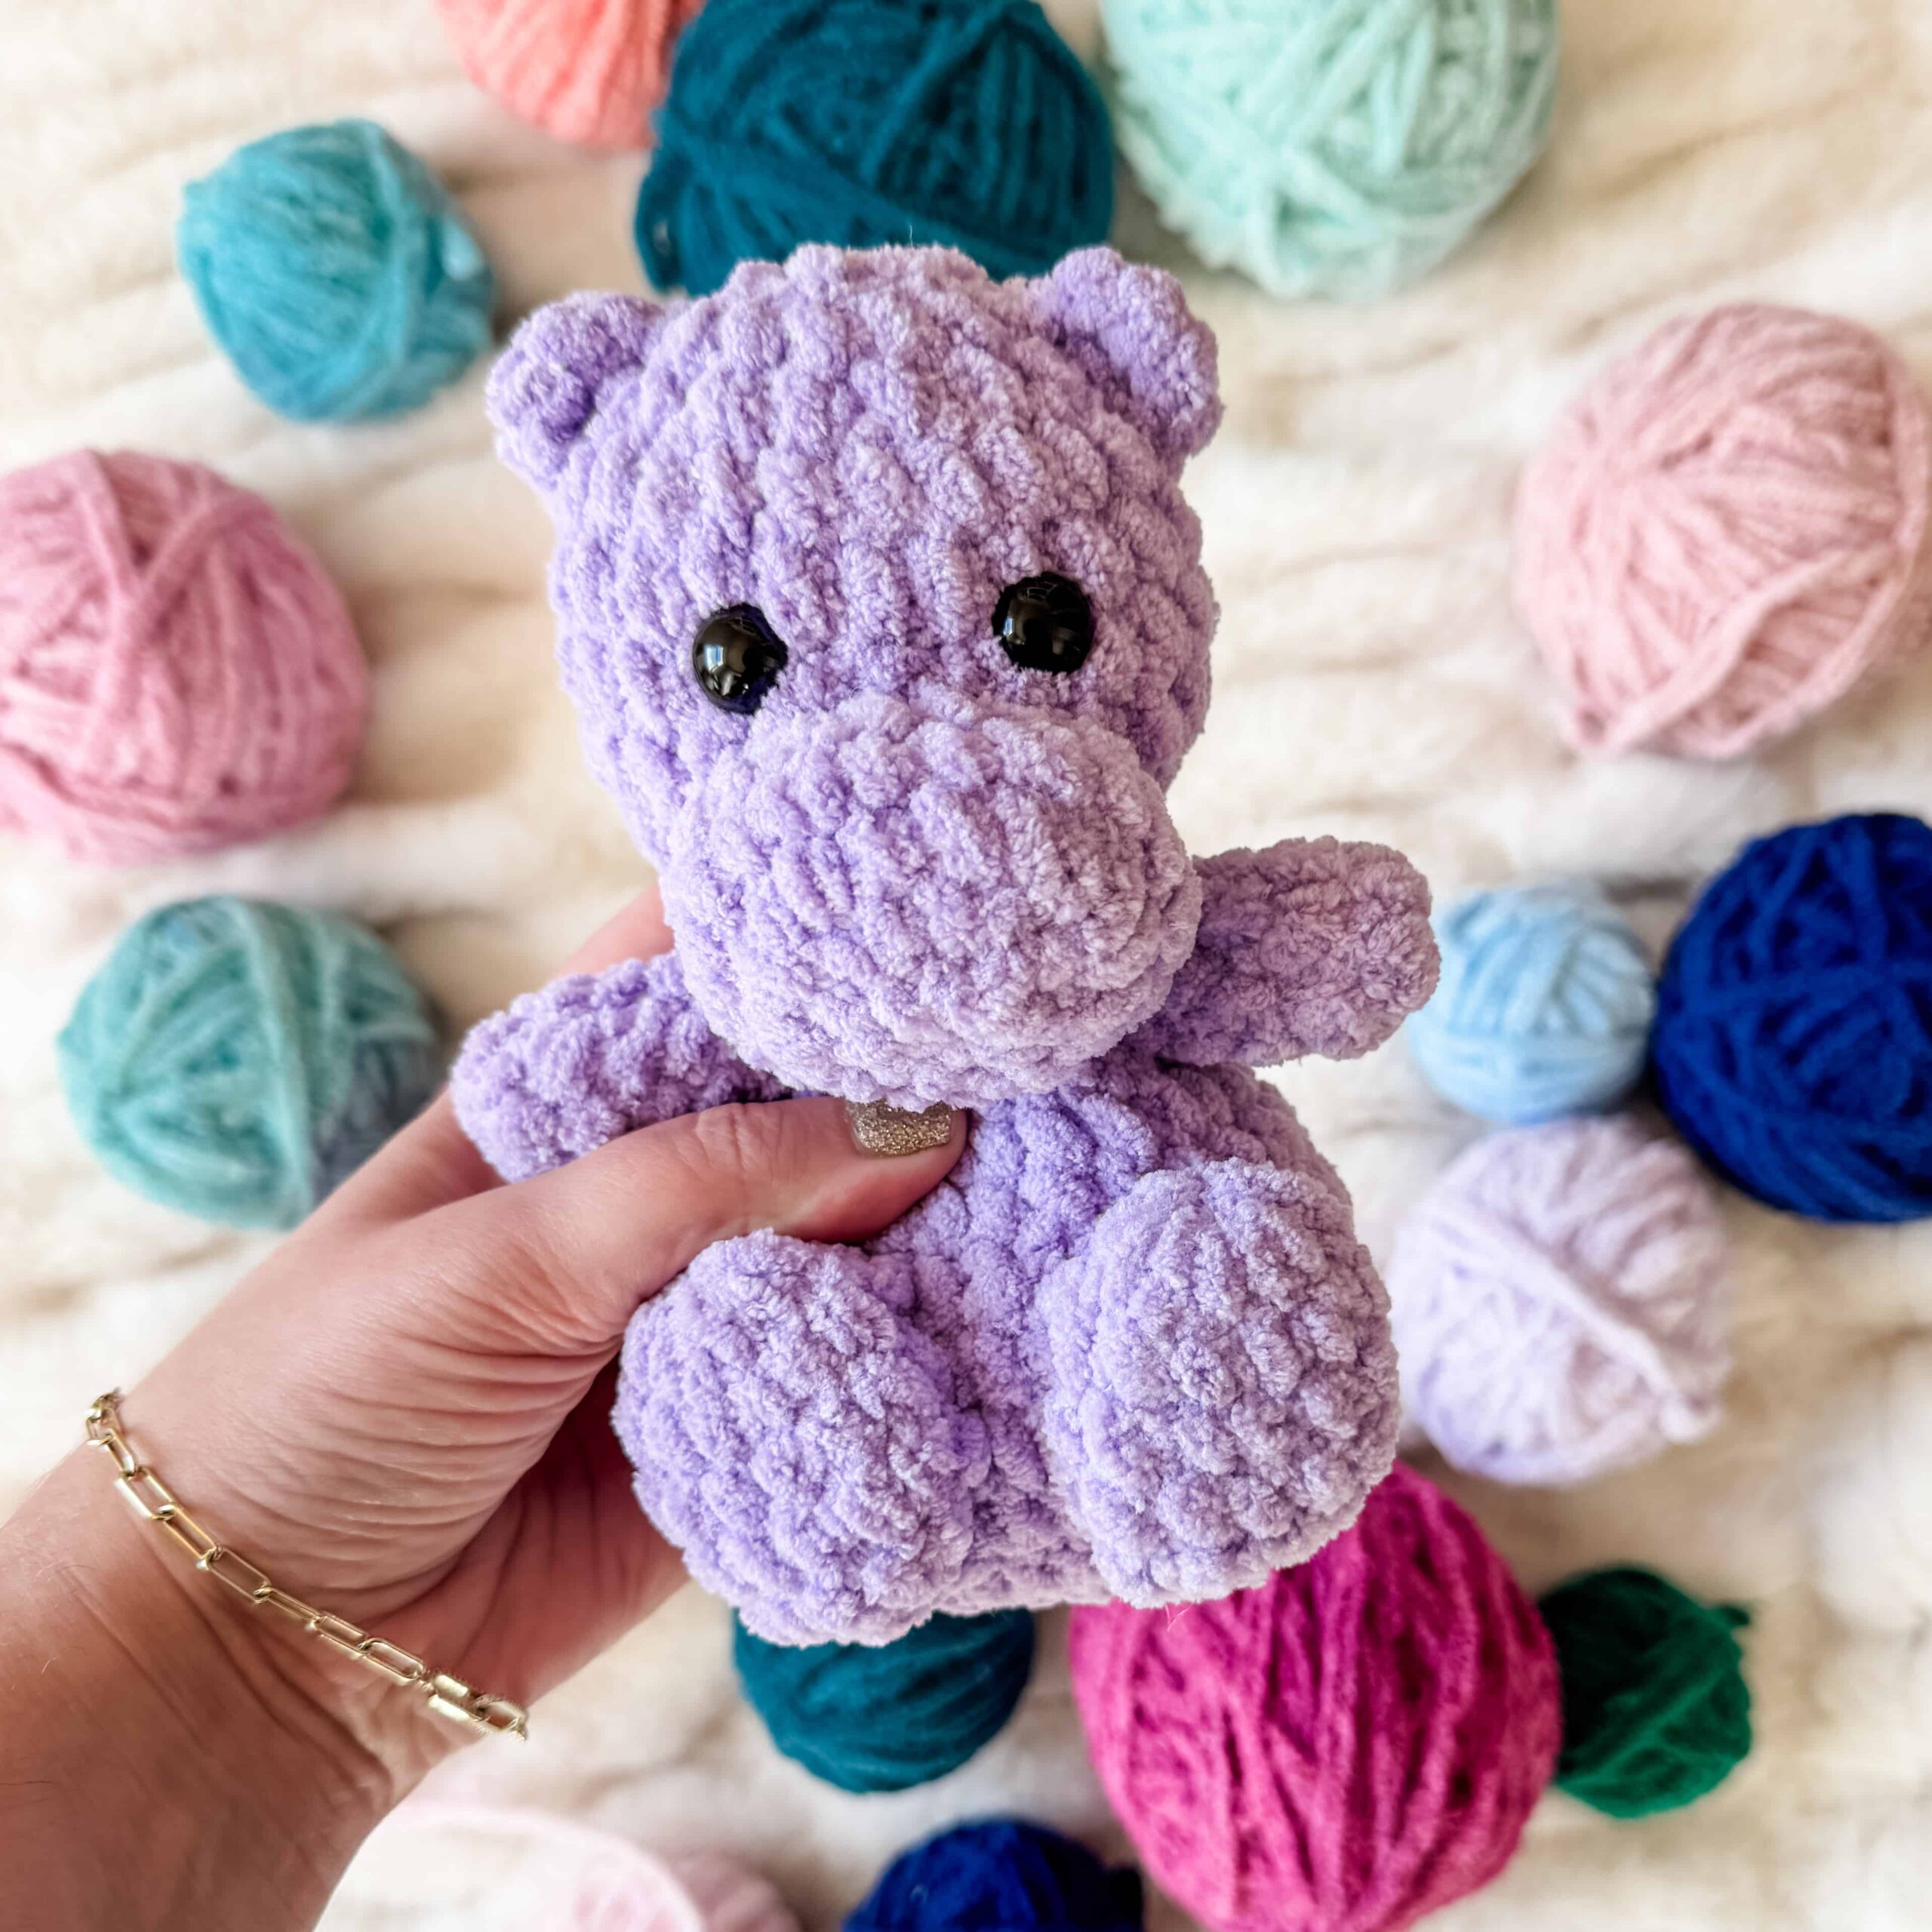
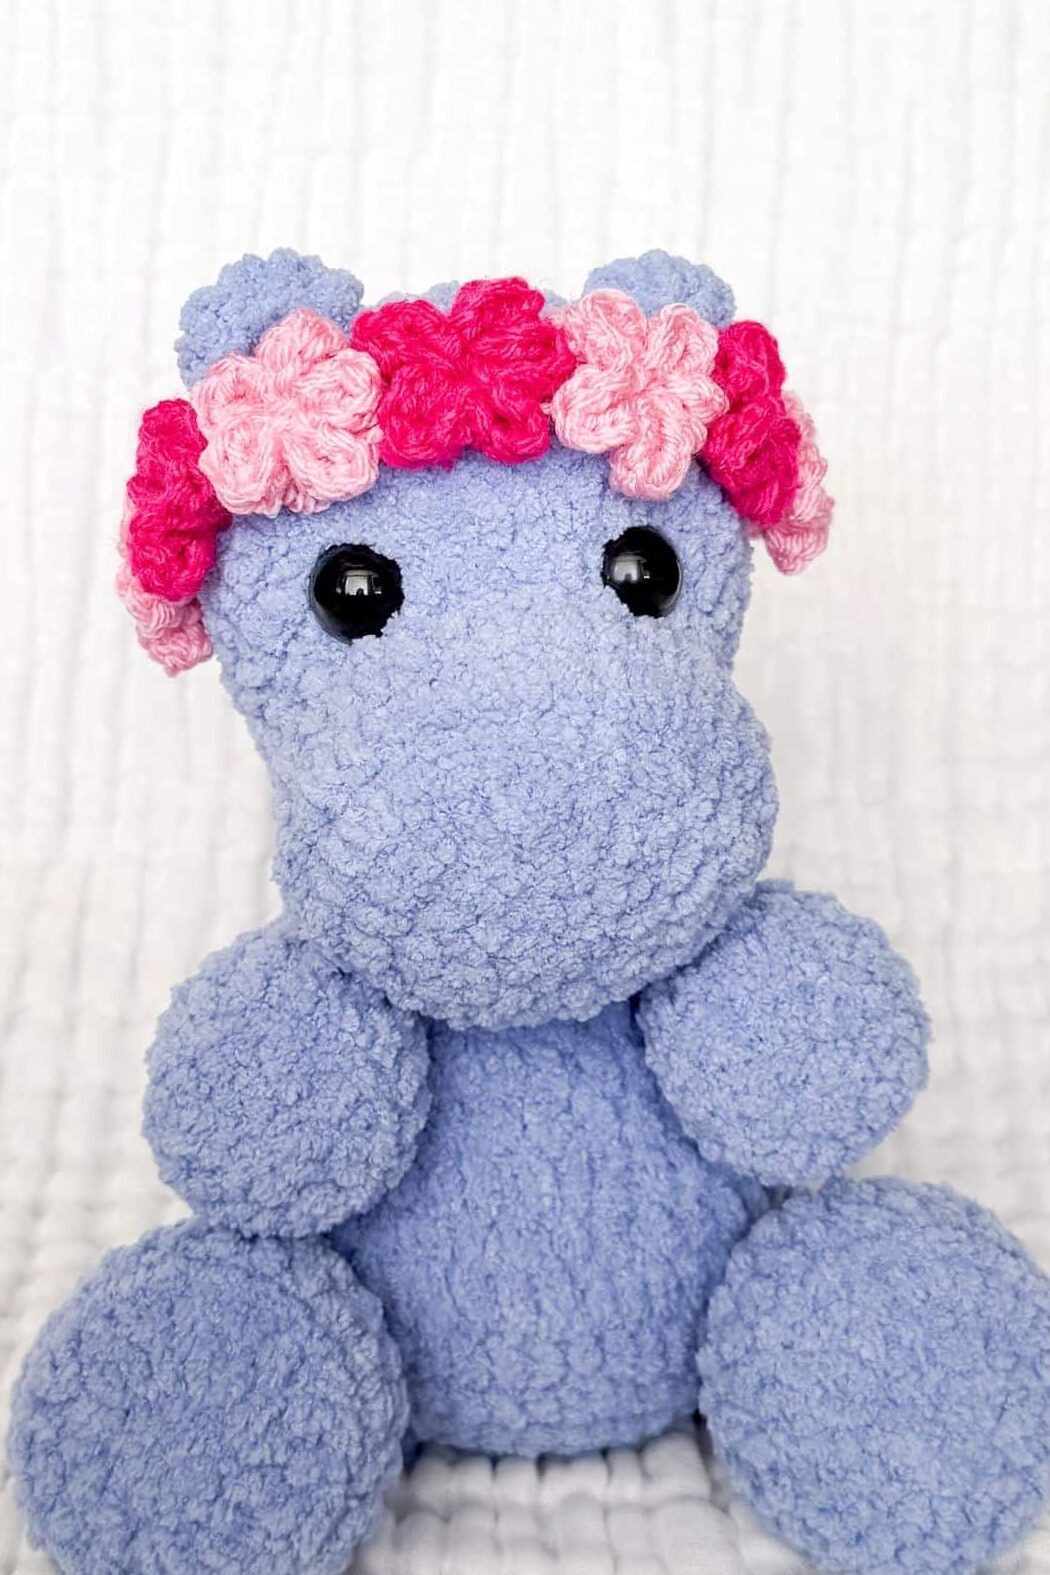
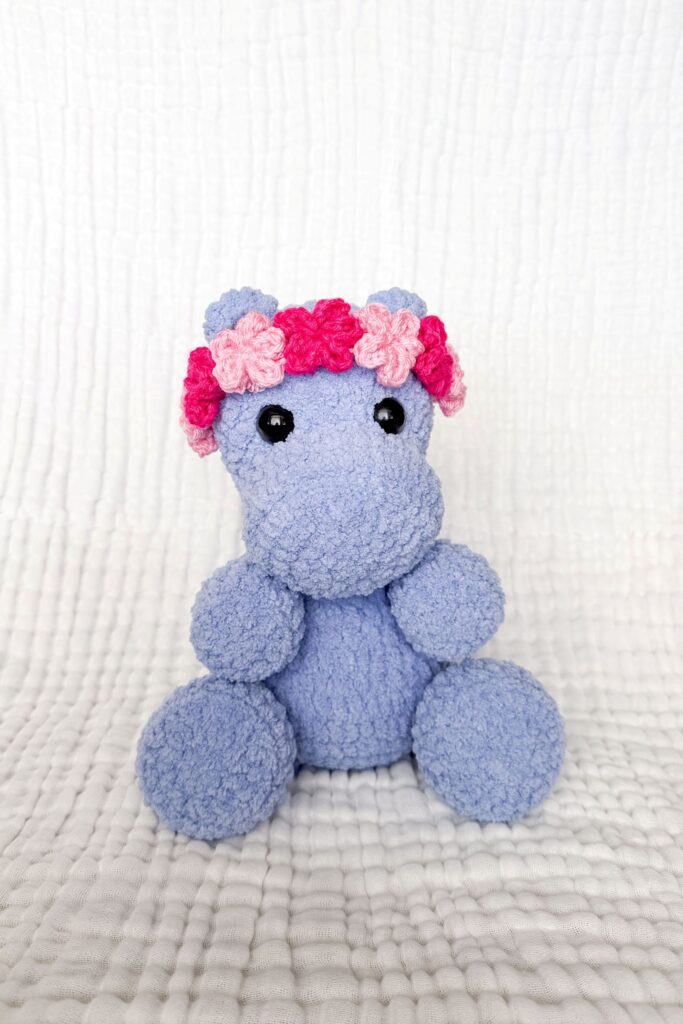
While this hippo is a year-round friend, its soft, neutral tones make it incredibly versatile for seasonal decor. In the spring, pair the “Fog” color with a bright, pastel flower crown to welcome the warmer months. For autumn, swap the yarn for a warm terracotta or mustard shade and add a tiny knit scarf to match the cozy weather. During the holidays, a simple red bow transforms this hippo into a festive holiday friend. Because the body is sturdy and the limbs are movable, it sits perfectly on a mantel or in a child’s play corner, ready to be styled for any occasion.
Project Overview
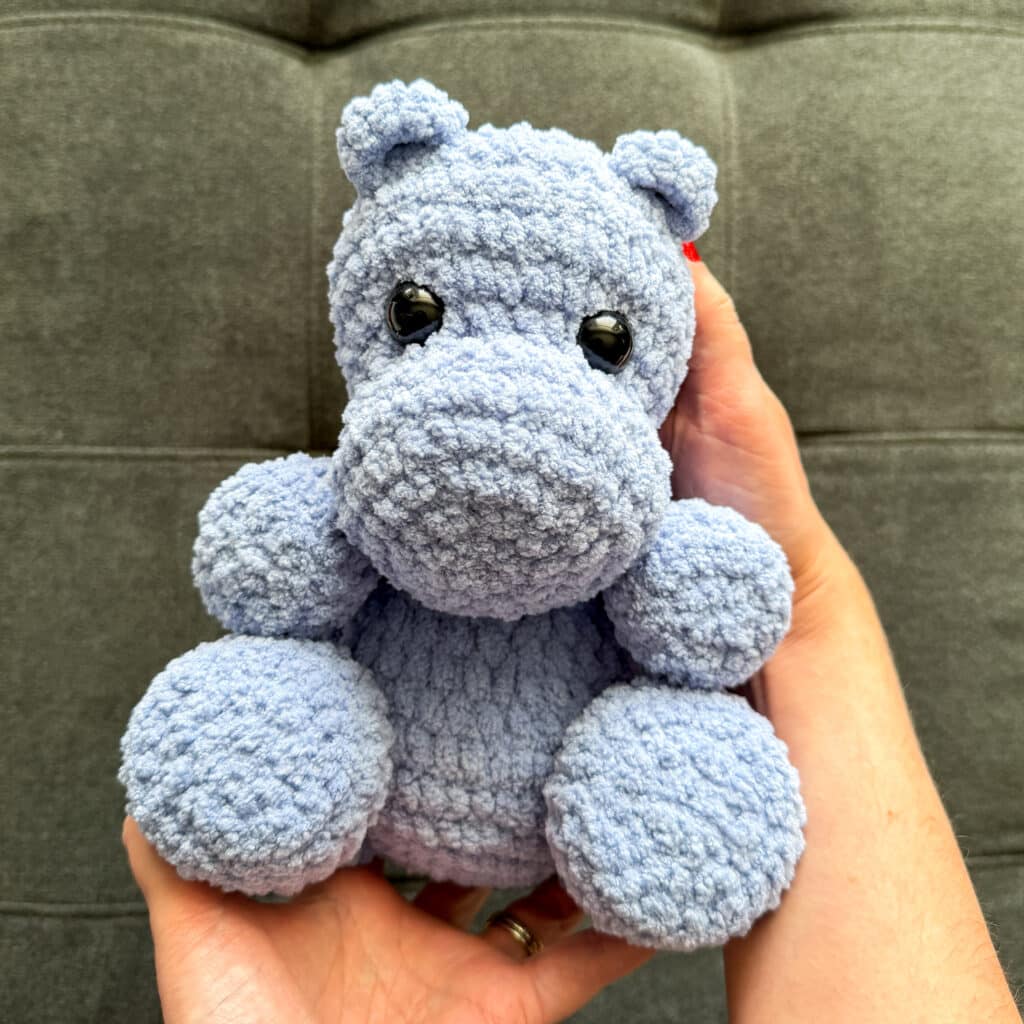
This plush hippo crochet pattern is extra cuddly but works up quickly compared to traditional yarn. It stands about 8 inches tall with a cuddly, chubby body. This design features a defined body with adorably chubby arms and legs. When using the specific attachment method included in the instructions, the arms become movable, adding a dynamic element to the toy. You can use safety eyes or try embroidered eyes for a version that is safe for babies and toddlers.
Materials
- Yarn: 150g Premier Basix Chenille in Main Color (Fog). Note: Suitable substitutes include regular Bernat Blanket, Bernat Baby Blanket, or Cozy Cub from Michaels. These are interchangeable size-wise, though brands may work up differently.
- Crochet Hook: 4.5mm hook (for Premier Basix Chenille) or 5mm hook (for Bernat Blanket). Use the hook size that keeps stitches tight and feels comfortable.
- Stuffing: Standard polyester stuffing.
- Eyes: 15mm safety eyes (or yarn for embroidered eyes).
- Notions: Tapestry needle, stitch marker.
- Optional Accessories: Worsted weight yarn for the flower crown.
Gauge and Finished Size
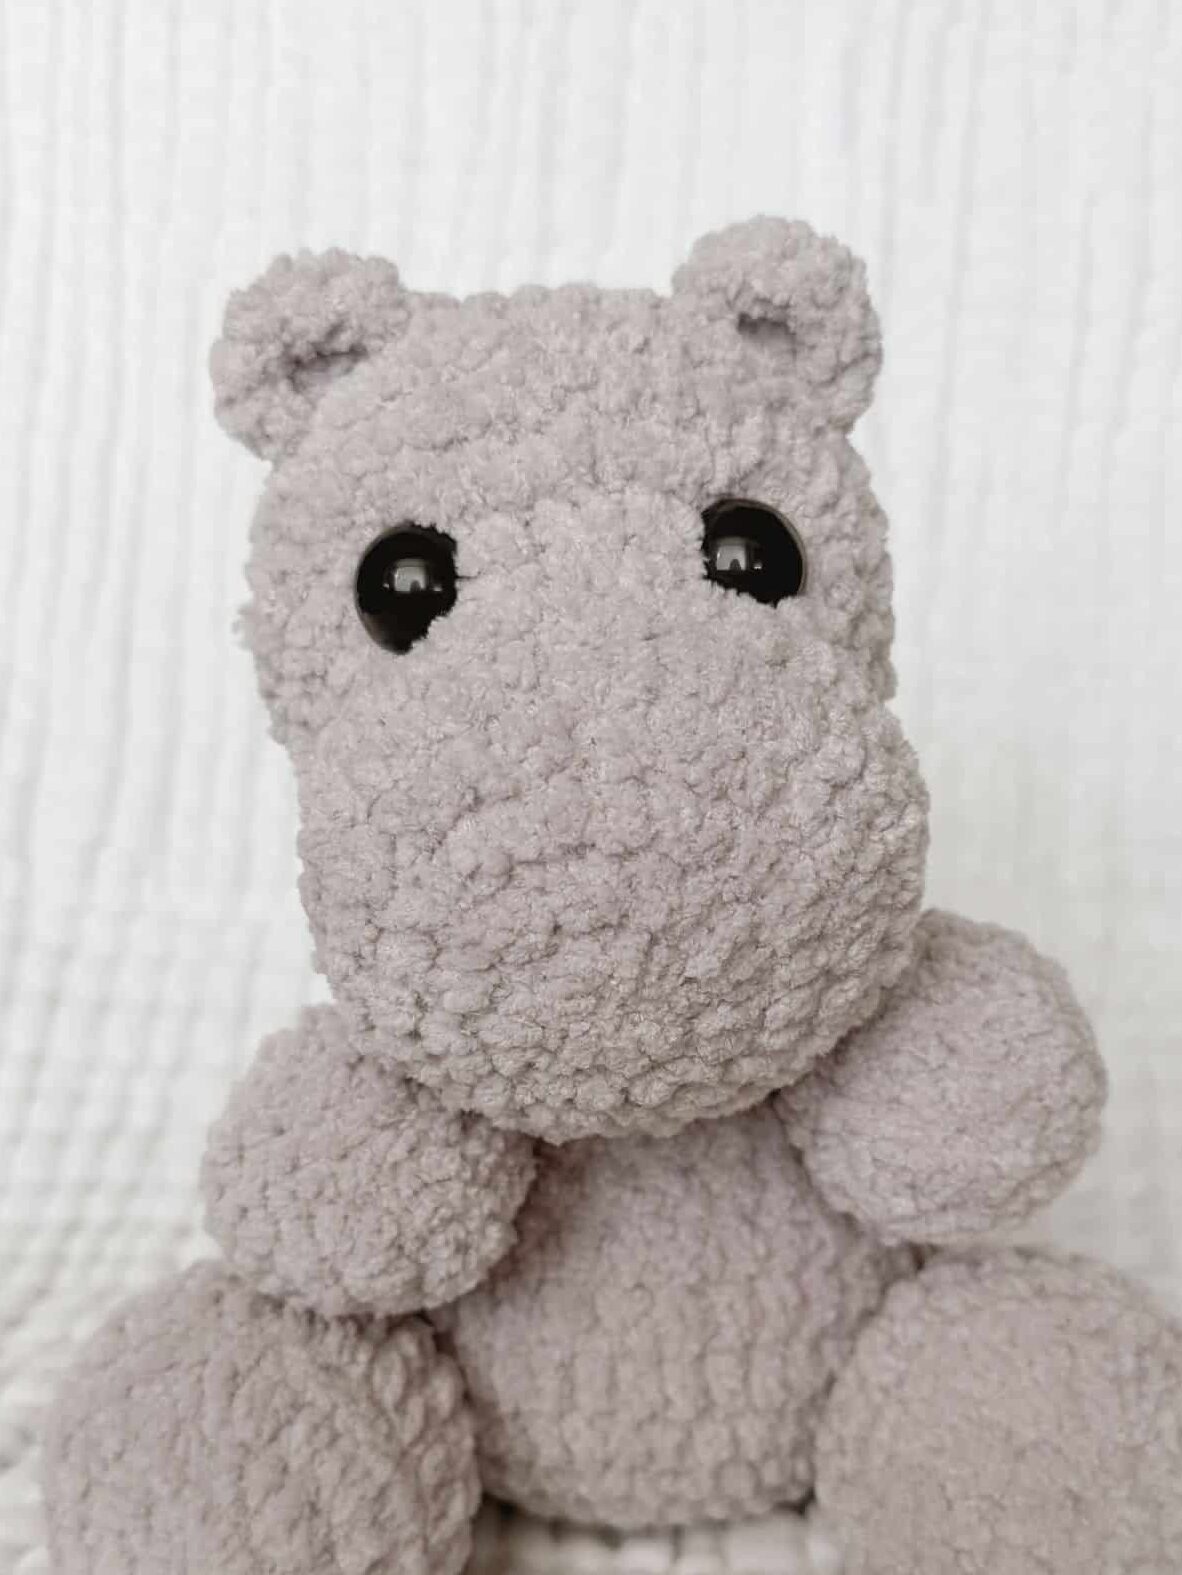
When sitting, the finished hippo is about 8 inches tall. Because plush yarns vary, the most important gauge is to ensure your stitches are tight enough to prevent stuffing from showing through, while still allowing you to crochet comfortably.
Pattern Notes
Even though the label may say a yarn is size 6, some materials and brands work up much differently. Please keep that in mind as you are choosing your yarn. The author typically uses a 4.5mm hook for Premier Basix Chenille and a 5mm for Bernat, which is smaller than the recommended size on the label, but this ensures nice, tight stitches for this type of pattern. If this is too tight for you, size up a hook size until you can crochet comfortably but still have tight stitches.
Abbreviations
Standard US crochet terms are used.
- SC: Single Crochet
- INC: Increase (2 SC in the same stitch)
- INV DEC: Invisible Decrease (insert hook into the front loops of the next two stitches, yarn over, pull up a loop, yarn over, pull through all three loops on hook)
- BLO: Back Loop Only
- DC: Double Crochet
- Slip Stitch: Slip Stitch
Pattern Instructions
Head
Round 1: In a magic circle, SC 8.
Round 2: SC INC in each around. (16)
Round 3: SC in the first, SC INC in the next. Repeat around. (24)
Round 4: SC in the first two, SC INC in the next. Repeat around (32)
Round 5: SC in the first three, SC INC in the next. Repeat around. (40)
Round 6: SC in the first three, INV DEC in the next. Repeat around. (32)
Round 7: SC in the first two, INV DEC in the next. Repeat around. (24)
Round 8: SC in the first 16. SC INC in the remaining 8. (32)
Round 9: SC in the first 16. *SC in the first, INC* 8x. (40)
Rounds 10-12: SC in each around. (40)
Insert eyes on round 9, using the 8 INC of row 8 to help center them. There should be about 6 stitches between the eyes.
Round 13: SC in the first 3, INV DEC in each around. (32)
Round 14: SC in the first 2, INV DEC (24)
Begin to stuff here, and continue to stuff as you close.
Round 15: SC in the first, INV DEC (16)
Round 16: INV DEC (8)
Fasten off and sew the remaining hole closed. You can also embroider your eyes on at the very end.
Ears (make 2)
Row 1: SC 6 In magic ring. Do not close.
Row 2: Chain 1 and turn. SC in each of the 6 SC back. Fasten off and leave a long tail to sew on.
Attach between rounds 12 and 13, positioning one ear above each eye. There should be about 5-6 stitches between the ears.
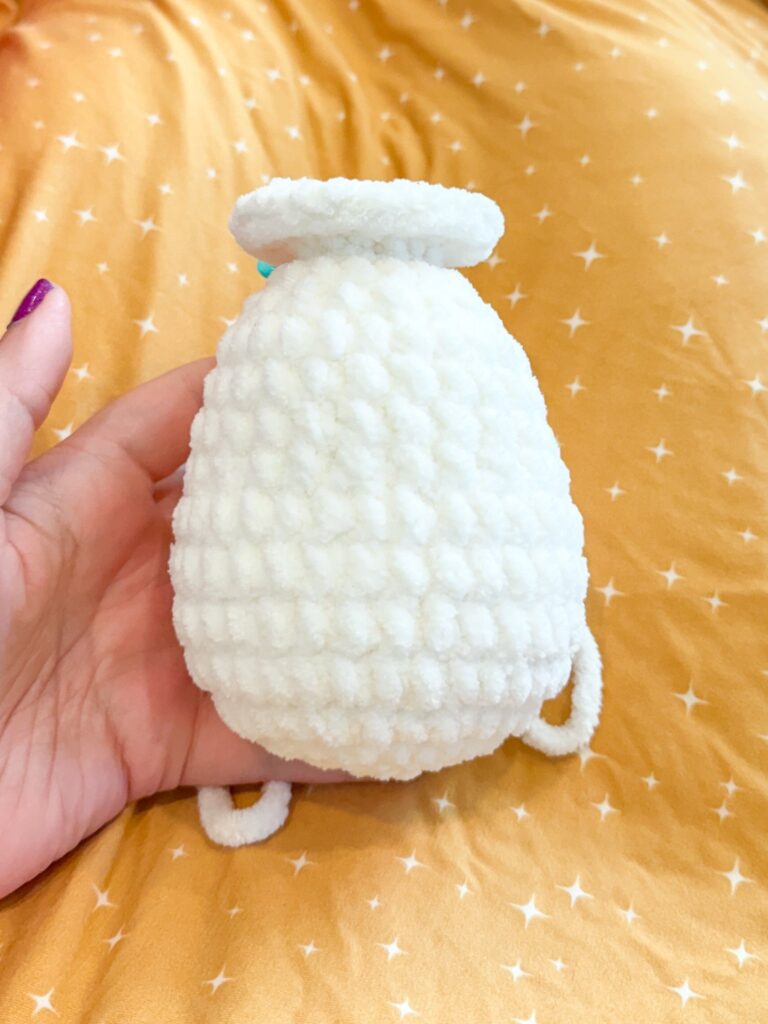
Stuffy Body
Loosely stuff the body.
Round 1: In a magic circle, SC 8.
Round 2: SC INC in each around. (16)
Round 3: SC in the first, SC INC in the next. Repeat around. (24)
Round 4: SC in the first 2, SC INC in the next. Repeat around. (32)
Round 5: SC in the first 3, SC INC in the next. Repeat around. (40)
Round 6: SC in the first 4, SC INC in the next. Repeat around. (48)
Rounds 7-8: SC in each around. (48)
Round 9: SC in the first 4, INV DEC . Repeat around. (40)
Round 10: SC in each around. (40)
Round 11: SC in the first 3, INV DEC. Repeat around. (32)
Round 12: SC in each around. (32)
Round 13: SC in the first 2, INV DEC. Repeat around. (24)
Round 14: SC in each around. (24)
Round 15: SC in the first, INV DEC. Repeat around. (16)
Round 16: INV DEC in each around. (8)
Round 17: INC in the BLO in each around. (16)
Round 18: SC in the first, SC INC in the next. Repeat around. (24)
Fasten off and leave a long tail to sew onto head. Round 7 should be the front, round 13 should be the back of the disc.
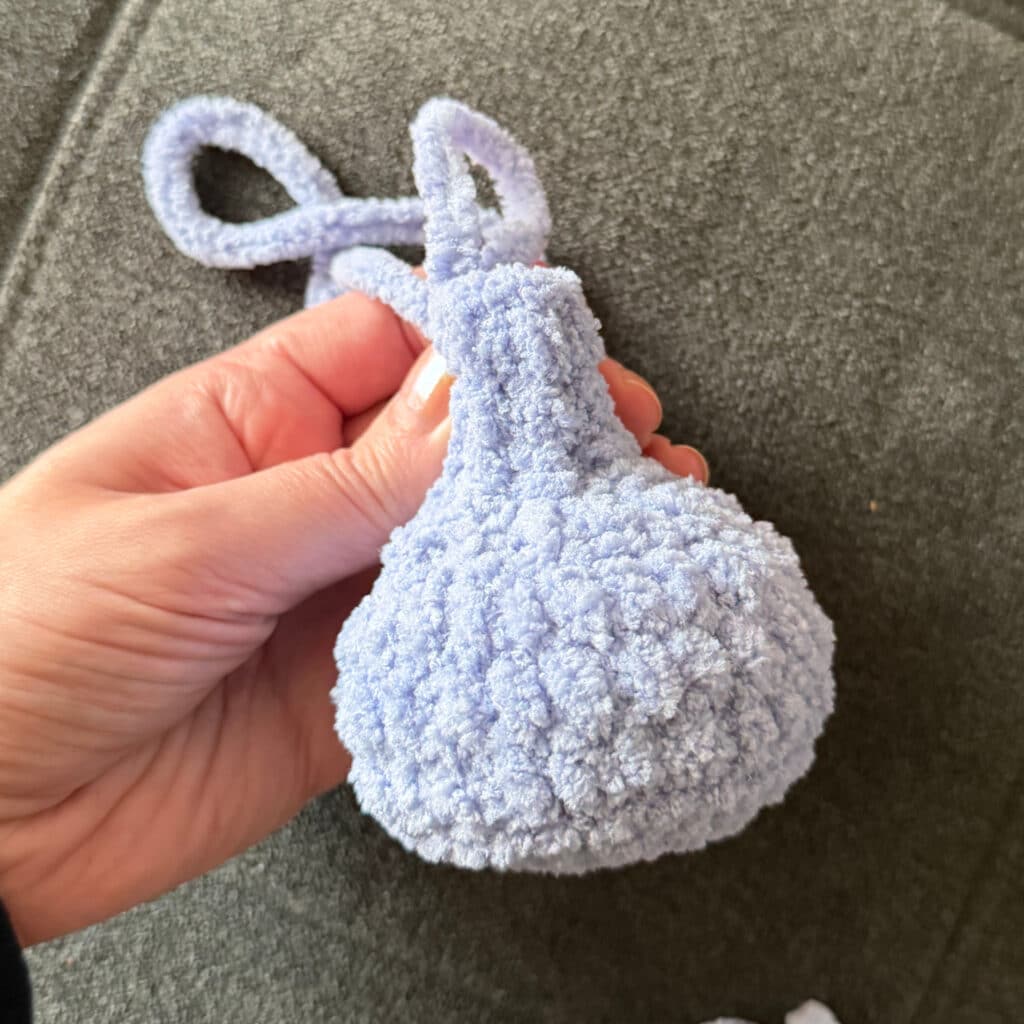
Arms (make 2)
Round 1: In a magic circle, SC 8.
Round 2: SC INC in each around. (16)
Round 3: in BLO , SC in each around.
Rounds 4-5: SC in each around. (16)
Round 6: INV DEC in each around. (8)
Rounds 7-8: SC in each around. Stuff loosely about halfway up. Pinch top of arm flat and whipstitch closed.
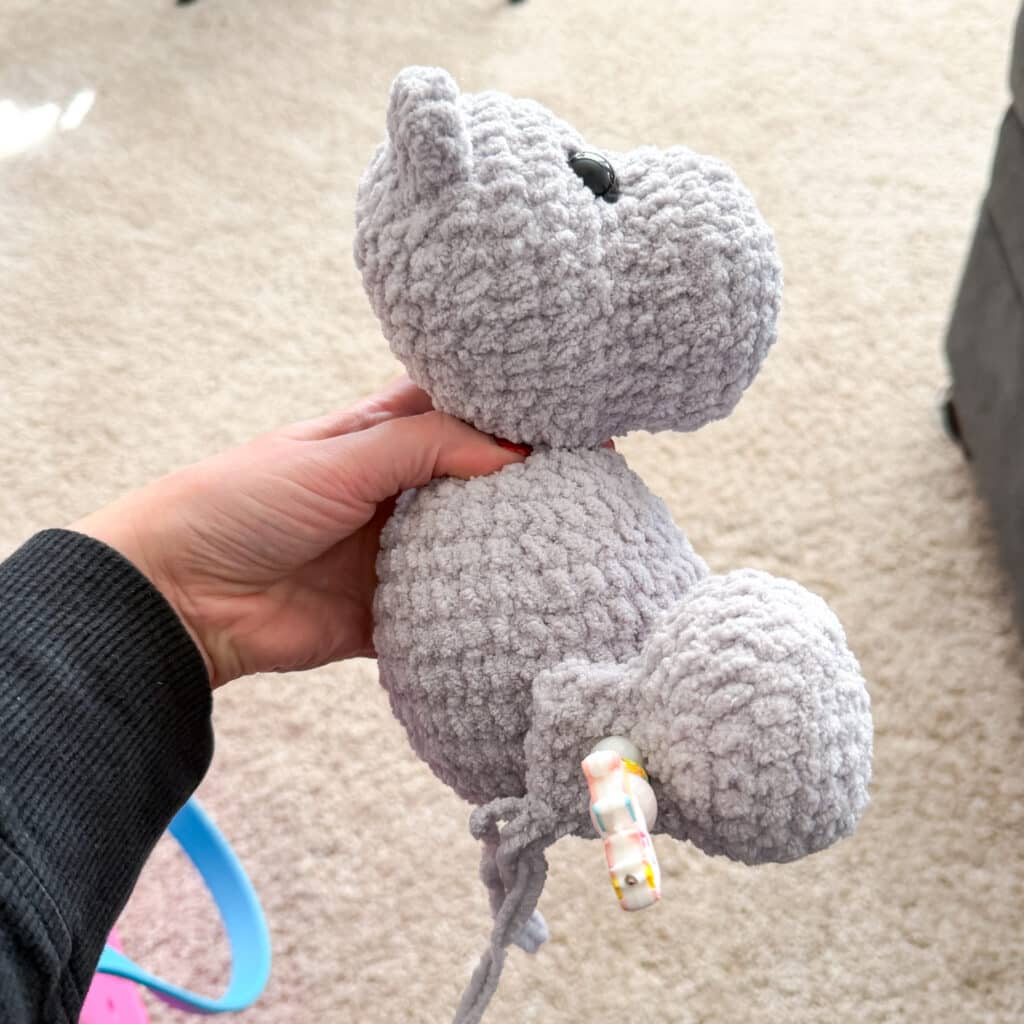
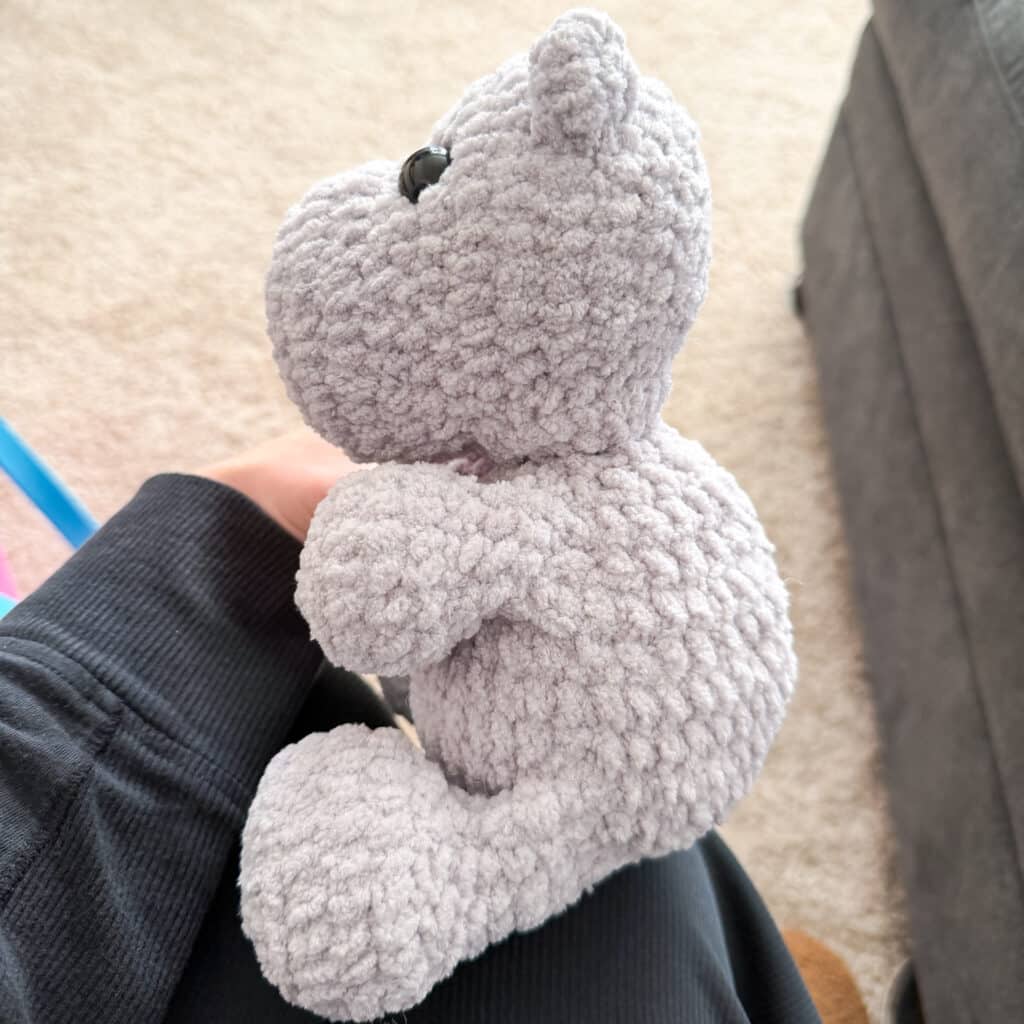
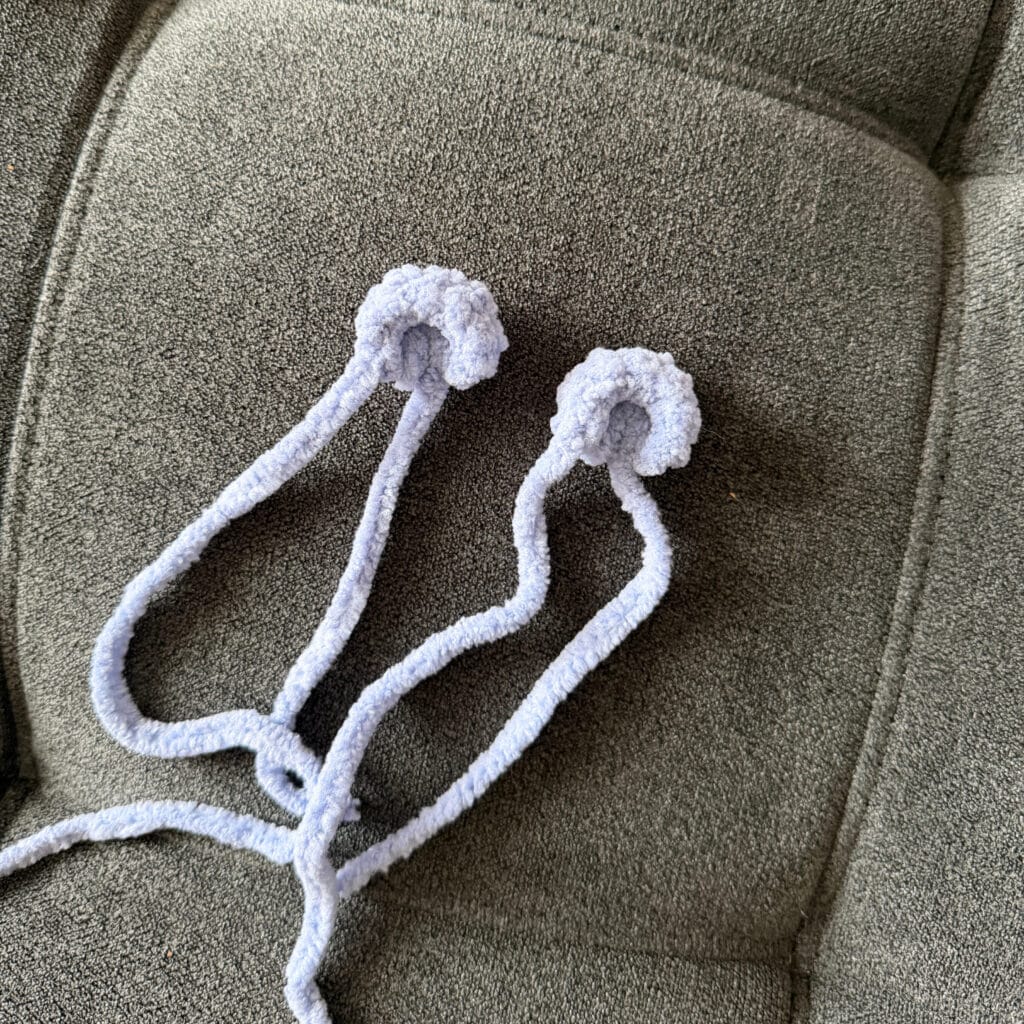
Attach between rounds 13 and 14 using the movable limb method.
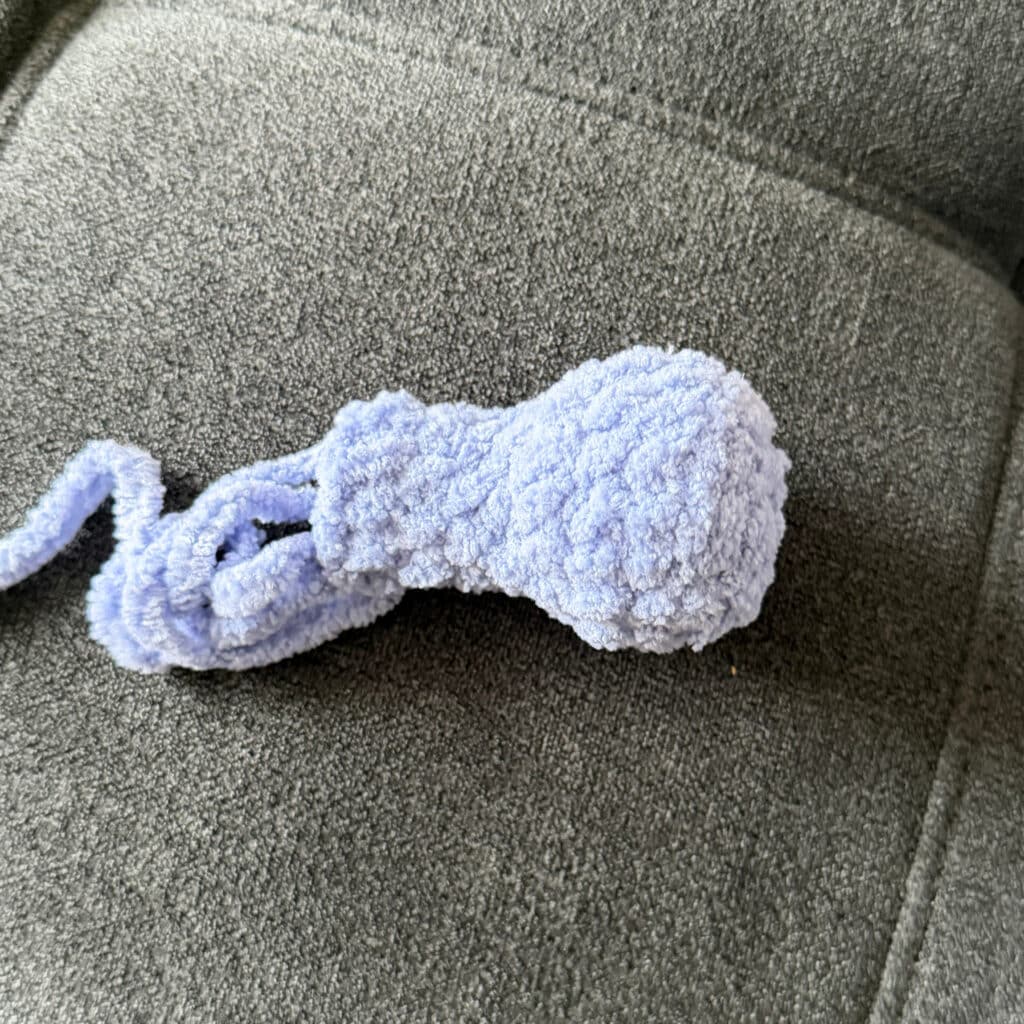
Legs (make 2)
Round 1: In a magic circle, SC 8.
Round 2: SC INC in each around. (16)
Round 3: SC in the first, SC INC in the next. Repeat around. (24)
Round 4: In the BLO, SC in each around. (24)
Rounds 5-6: SC in each around. (24)
Round 7: SC in the first 8, then INV DEC 8x. (16)
Round 8: SC in the first 8, then INV DEC 4X. (12)
Stuff the foot here, but leave the leg unstuffed.
Rounds 9-11: SC in each around. (12)
SC 3 more times and fasten off Pinch top of leg flat and whipstitch closed.
Whipstitch the leg on between rounds 5 and 7.
Flower Crown (Optional)
Using worsted weight yarn and 4mm hook:
Make a magic circle. *Chain 2, DC into the center. Chain 2 then slip stitch into the center. * repeat the * * for a total of five petals. Pull the magic circle closed. Fasten off. Make 7 and sew a strand of worsted weight yarn into the backs of them and fasten the crown on around the top of the head.
Hair Bow (Optional)
Using blanket yarn and 5mm hook:
Leave a 6 inch tail, then slip stitch and chain 11. In the second chain from the hook, Sc. SC in the remaining 9. Chain 1 and turn. (10)
Rows 2-5: SC in each across. Chain 1 and turn. (Except for the last row, where you will fasten off, leaving a very long tail)
Weave both ends to the middle. Lightly weave the longest tail through the middle and lightly cinch. Wrap the end around about 8 times and then tie it off with the other tail. I wrapped the ends around her head and tied it in the back.
Assembly
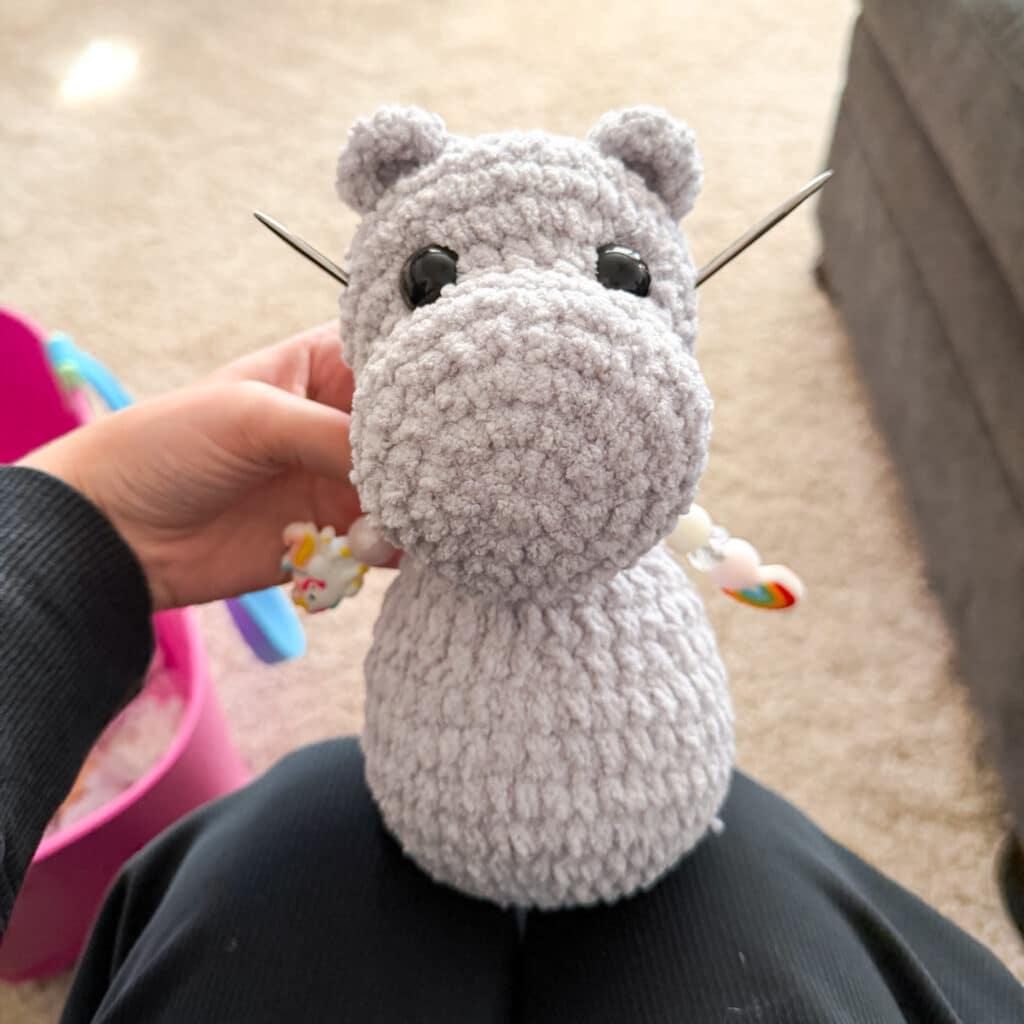
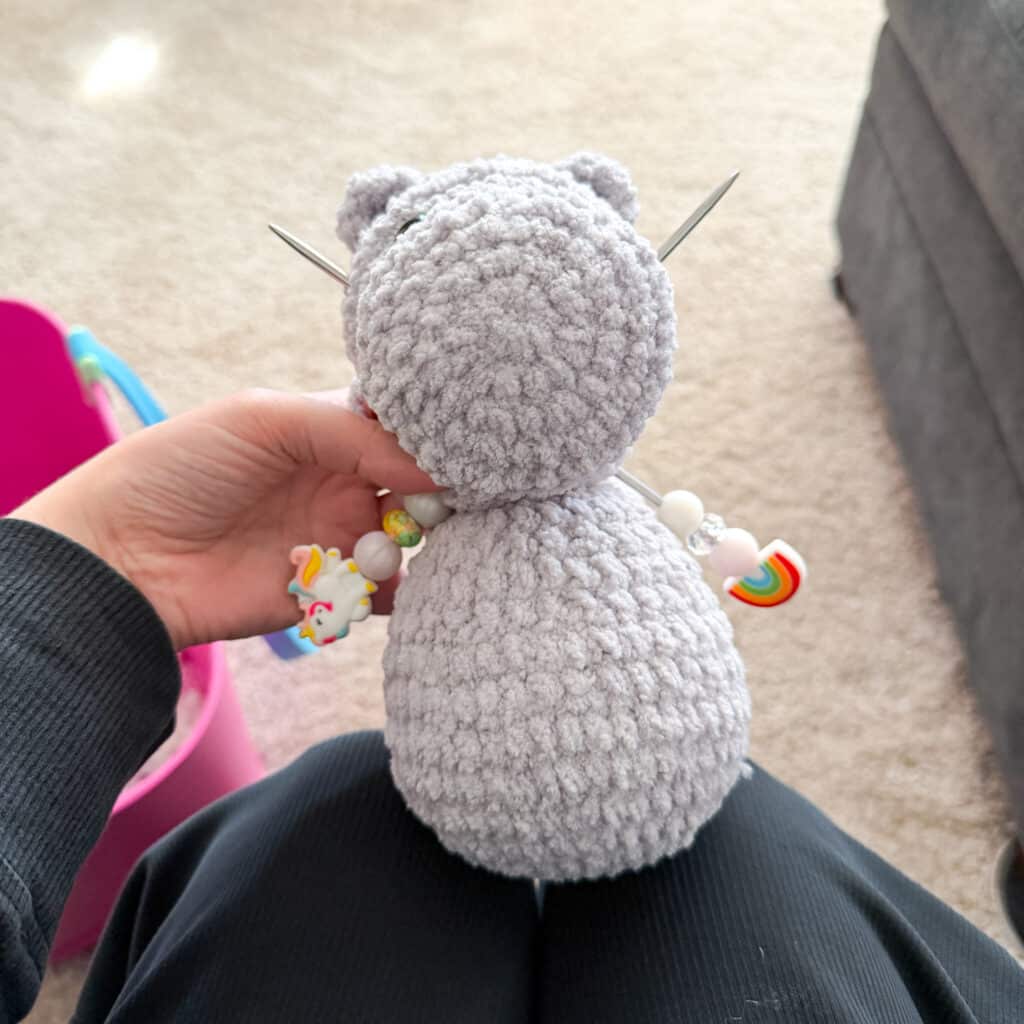
Attaching the Head to the Body: Once you are ready to attach the head to the body, pin the flat disc that is at the top of the body where you want it on the head. Try to center it as best you can. I prefer mine to be slightly close to the nose so that the head flops forward more than backwards. You can use AmiStix or long knitting needles to help! As you sew, go through the front loop on the SC at the top of the disc. Pull tightly each time. Try to pull the disc out as you go, so that it lies as flat to the head as you can.
Tips
- Yarn Choice: Just keep in mind that different types of yarn, even if they say they are the same size, work up differently.
- Movable Arms: When you use the specific method found in the instructions for attaching limbs, the arms are movable!
- Safety First: You can use safety eyes or try out embroidered eyes so it would be safe for a baby/toddler.
- Hook Size: I use a 4.5mm hook for the Premier Basix Chenille and a 5mm for Bernat, which is much smaller than the recommended size on the label, but I want nice, tight stitches for this type of pattern. If this is too tight for you, size up a hook size until you can crochet comfortably but still have tight stitches.
FAQs
Can I use a different yarn?
Yes, you can substitute Premier Basix Chenille with other size 6 blanket yarns like Bernat Blanket, Bernat Baby Blanket, or Cozy Cub. However, keep in mind that different brands may work up differently, so check your tension.
How do I make the hippo safe for a baby?
To make the hippo safe for babies and toddlers, avoid using plastic safety eyes. Instead, embroider the eyes using yarn. This eliminates any small parts that could be a choking hazard.
Why are my stitches too loose?
Amigurumi requires tight stitches to prevent stuffing from showing through. If you are using plush yarn, try using a hook size smaller than what is recommended on the yarn label. For Premier Basix Chenille, a 4.5mm hook is recommended, even if the label suggests a larger size.
How do I attach the head securely?
The pattern includes a flat disc at the top of the body. To attach the head, sew through the front loops of the SC stitches on this disc. Pulling tightly as you sew helps create a secure and flat connection between the head and body.
Can I make the hippo bigger or smaller?

The pattern is designed to be approximately 8 inches tall. While you can change the yarn weight to alter the size, the stitch counts and increases are specific to the plush yarns recommended to achieve the intended chubby shape.
Pin This Crochet Pattern!