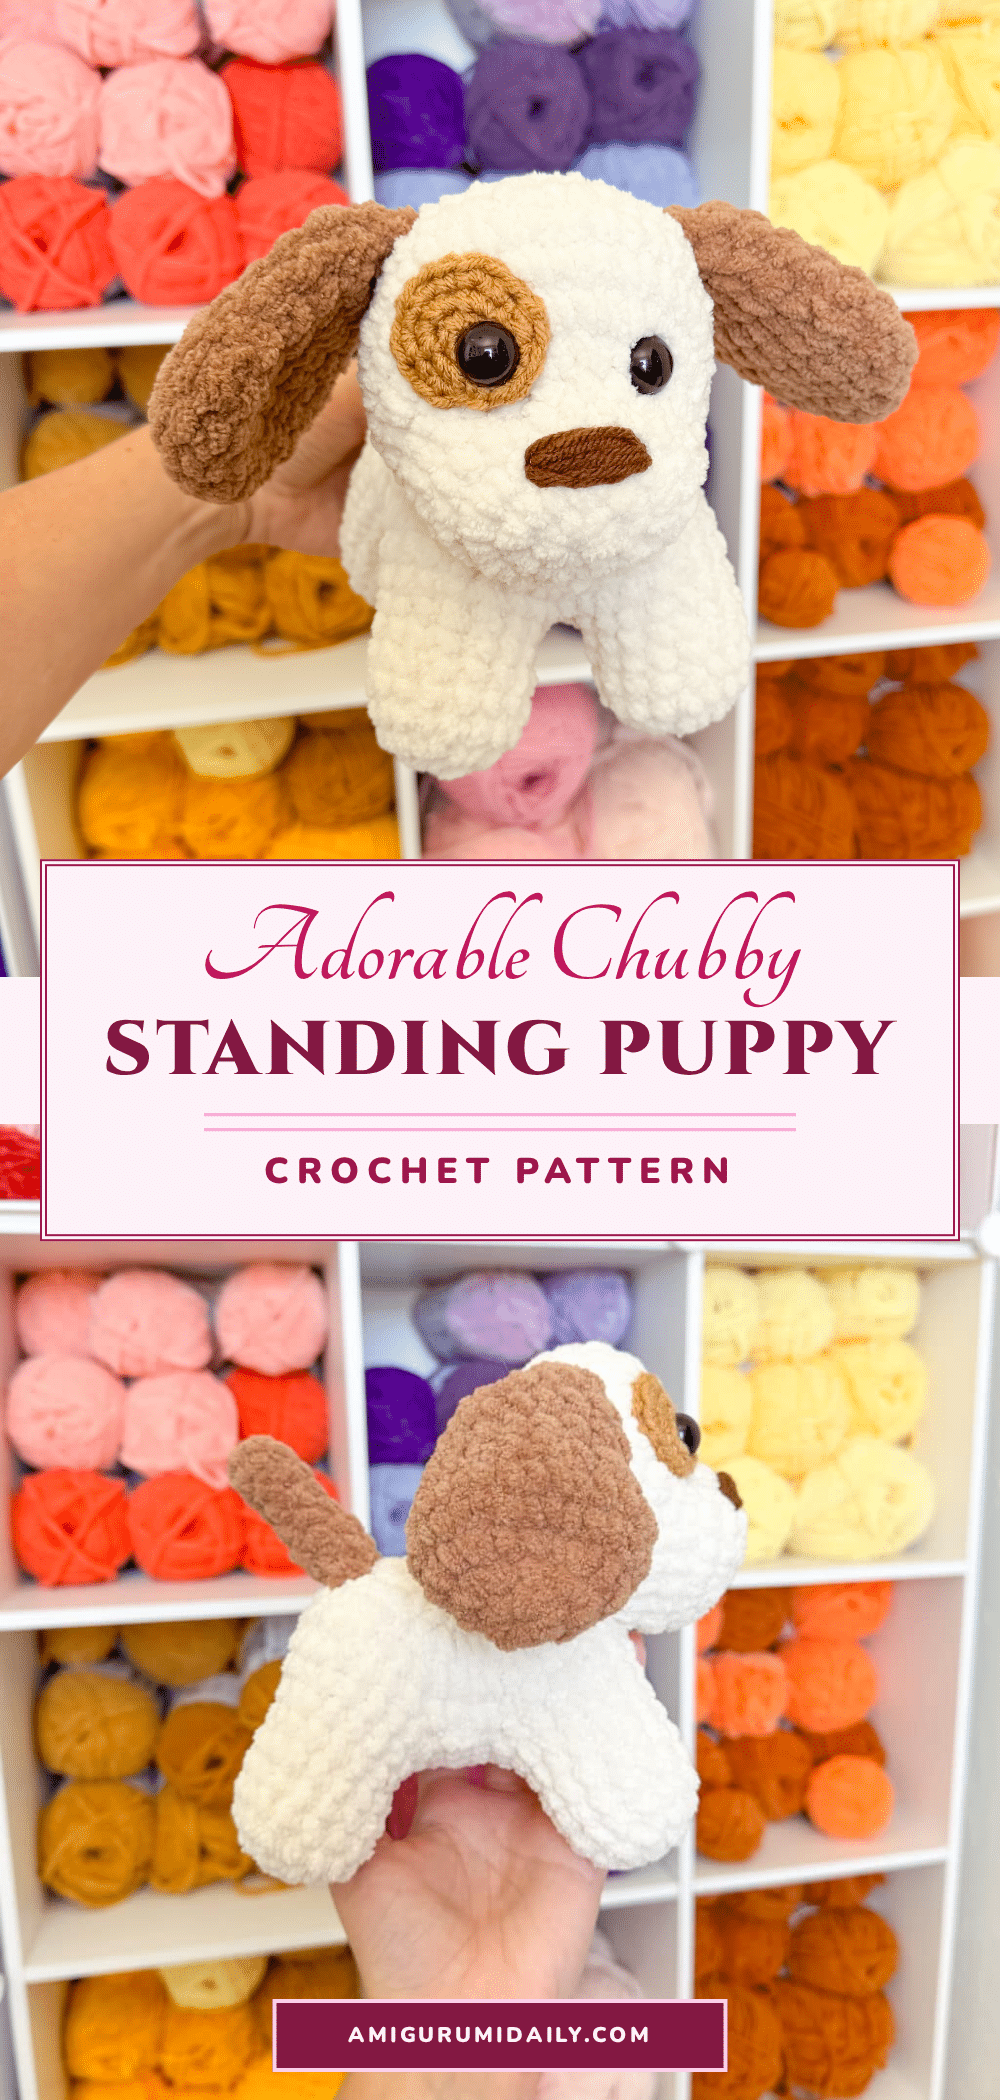
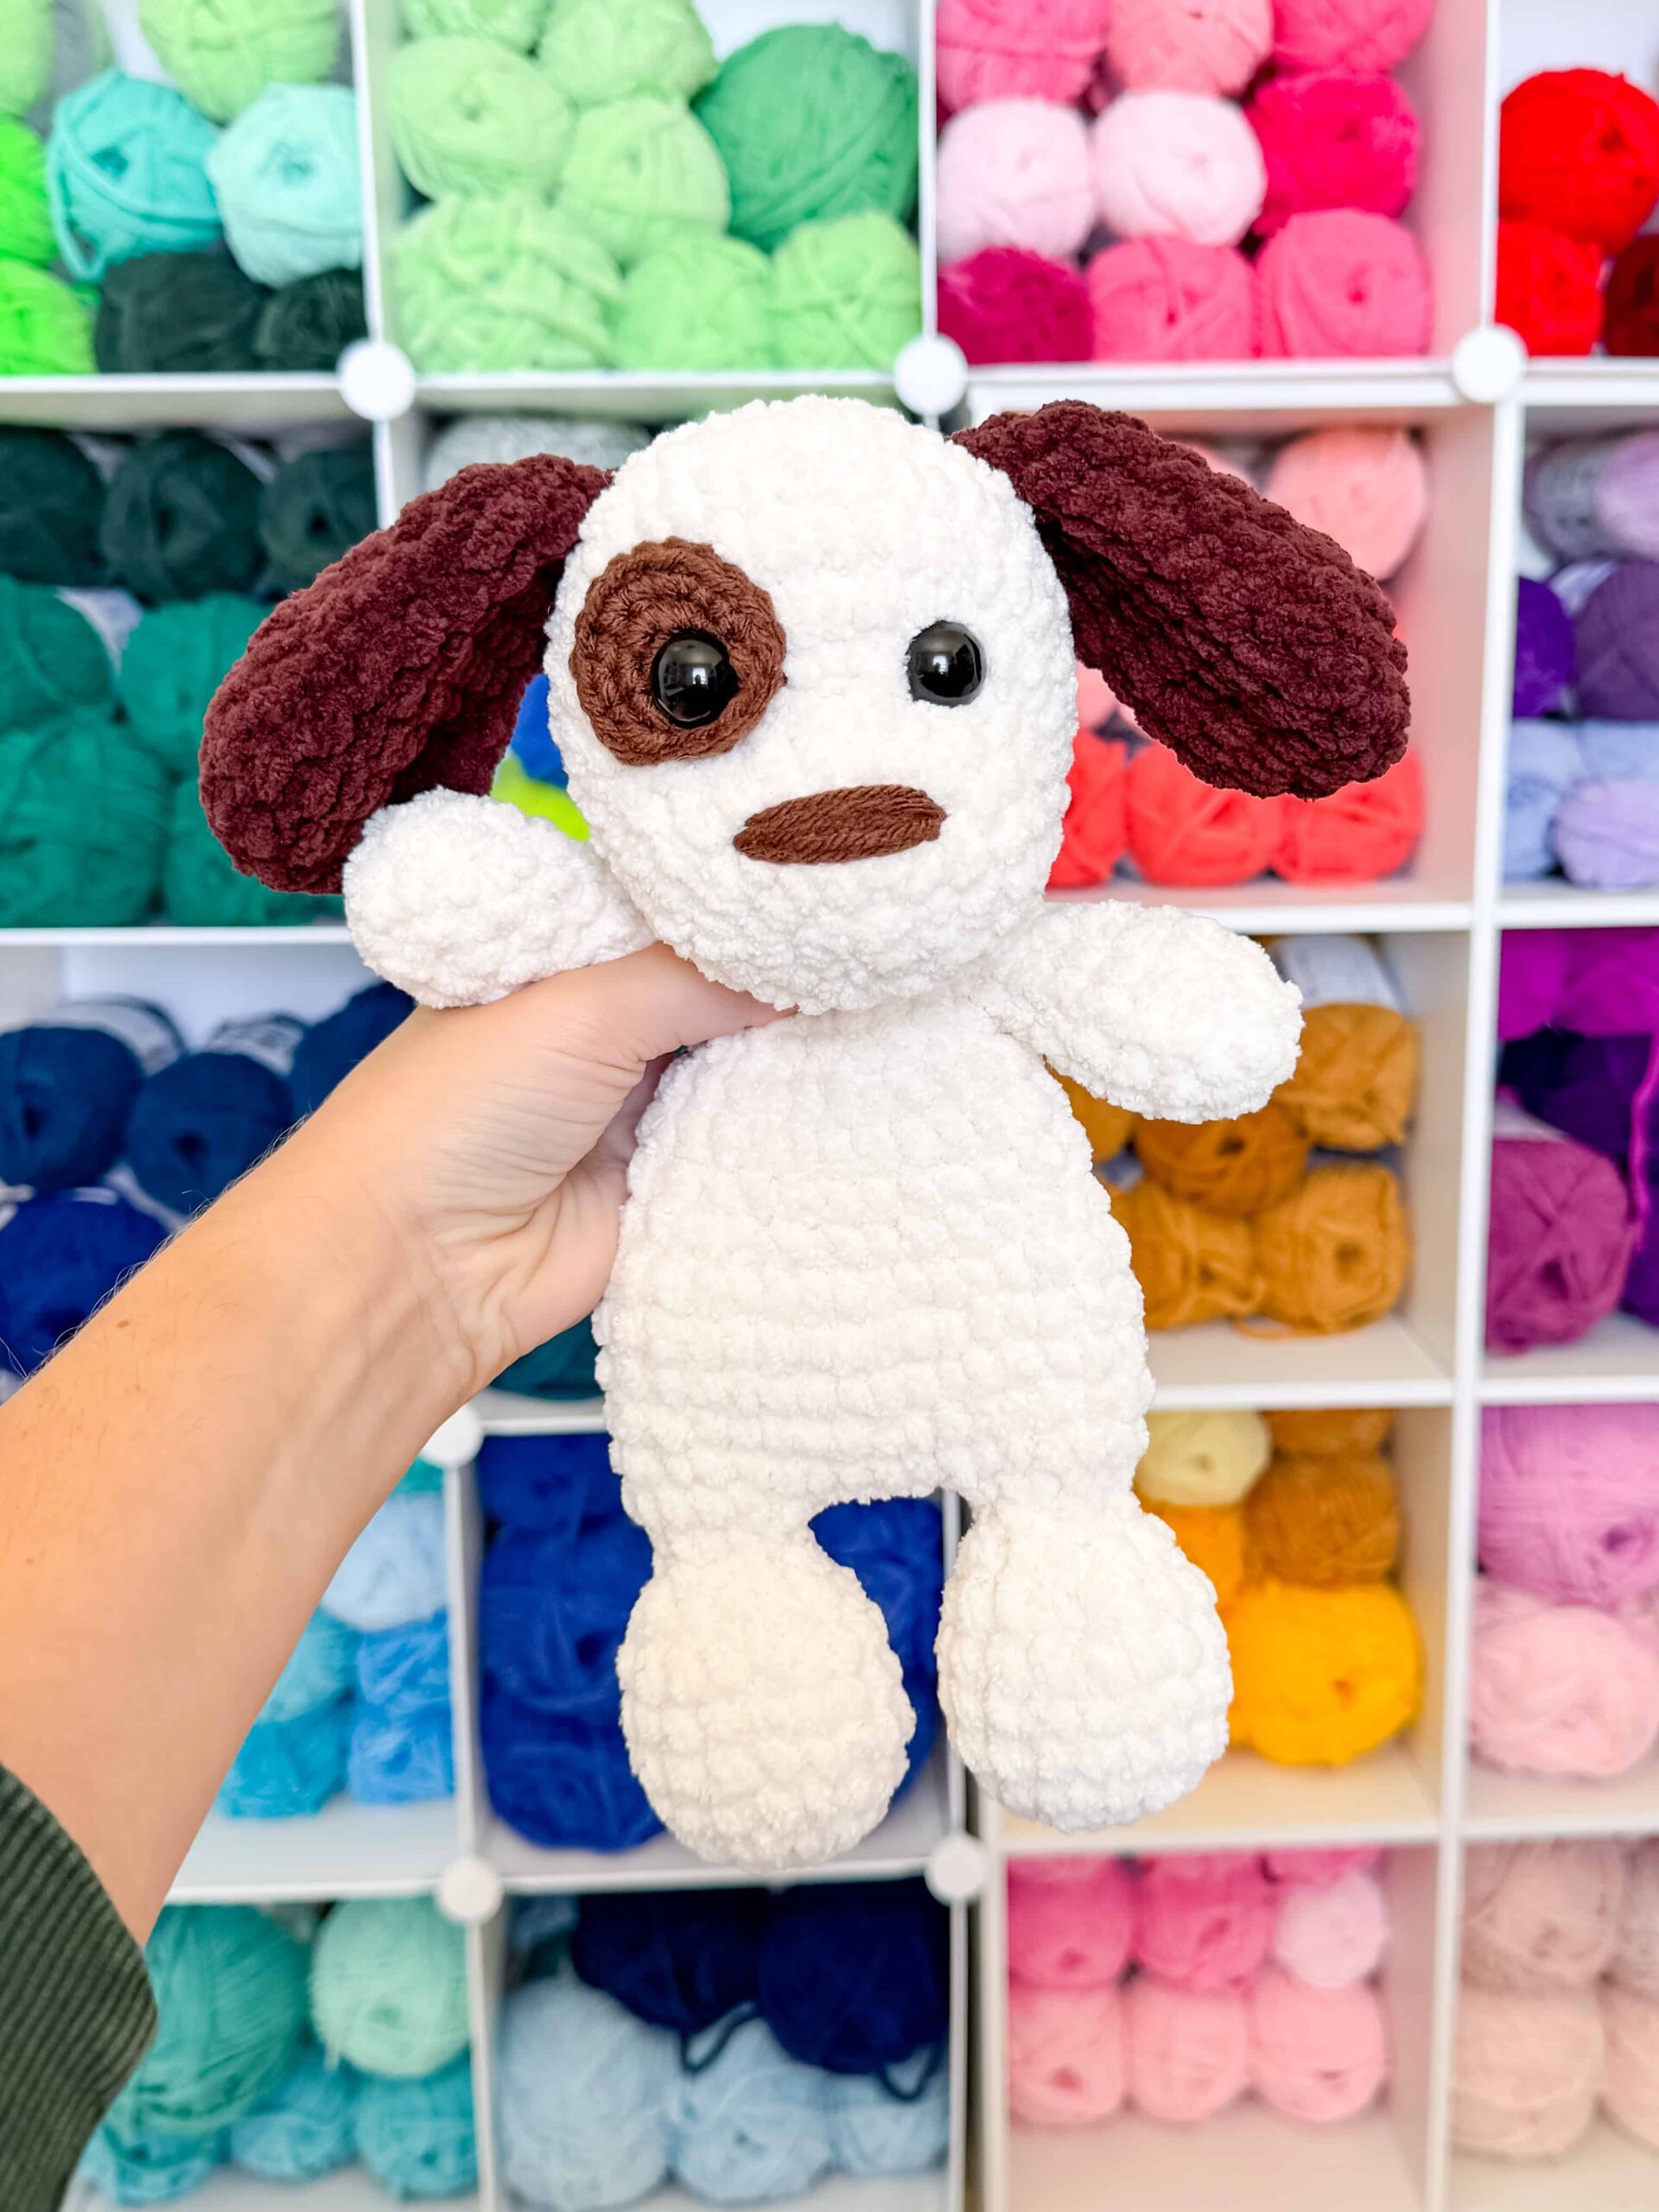
Looking for a handmade gift that brings instant joy? This adorable Chubby Standing Puppy crochet pattern is the perfect solution for a child’s bedroom, a nursery shelf, or a sweet gift for a dog lover. Designed to be extra cuddly yet quick to work up, this amigurumi project creates a sturdy, standing companion that is sure to become a favorite. Whether you are a seasoned maker or looking for a fun weekend project, this pattern offers a delightful way to create a plush friend.
Gift and Use Ideas
While this puppy is undeniably cute, its sturdy standing design makes it highly functional as a decor piece. It sits perfectly on a bookshelf, a desk, or a child’s bed as a comforting companion. The plush yarn used in the recommended materials makes it incredibly soft, ideal for cuddling. Because it is made with a sturdy body and standing legs, it works well as a display item that won’t easily topple over. It also serves as a wonderful milestone gift for a new baby or a comforting toy for toddlers, especially if you opt for embroidered eyes for added safety.
Project Overview
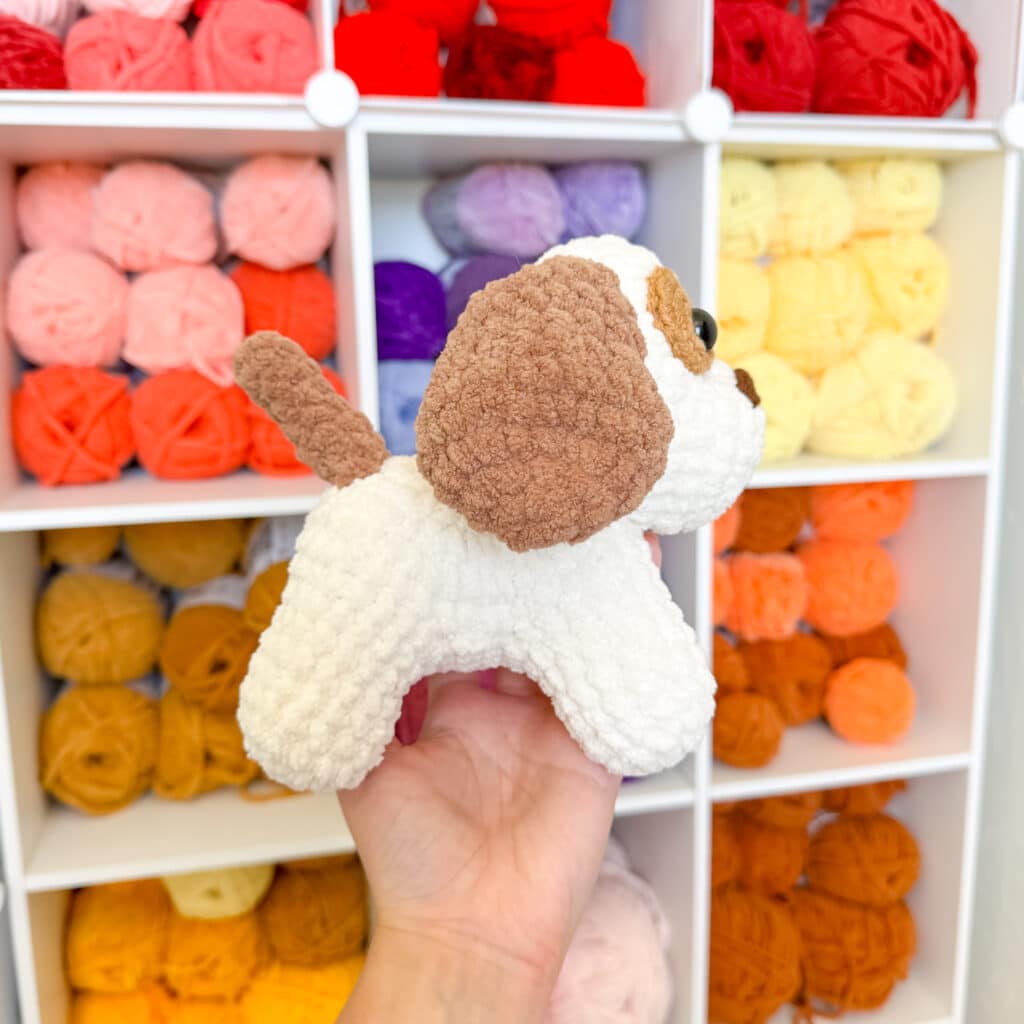
This free Chubby Standing Puppy crochet pattern creates a fun, standing amigurumi that is extra cuddly. The body is worked from the feet up, creating a unique shape that stands on all fours. The puppy is approximately 8 inches tall when made with the recommended yarn. This pattern utilizes the same chubby body design found in the creator’s Mix-and-Make series, which also includes lion, unicorn, and moose versions.
Materials
- Yarn: 120g Premier Basix Chenille in Main Color (e.g., Winter White)
- Accent Yarn: 45g Premier Basix Chenille in Accent Color (e.g., Caramel)
- Nose/Eye Patch: Small amount of brown worsted-weight yarn
- Stuffing: Standard amigurumi stuffing
- Eyes: 15mm safety eyes (or embroidery thread for embroidered eyes)
- Hook: 4.5mm crochet hook (or hook size that keeps stitches tight and feels comfortable)
- Notions: Needle, stitch marker
Gauge and Finished Size
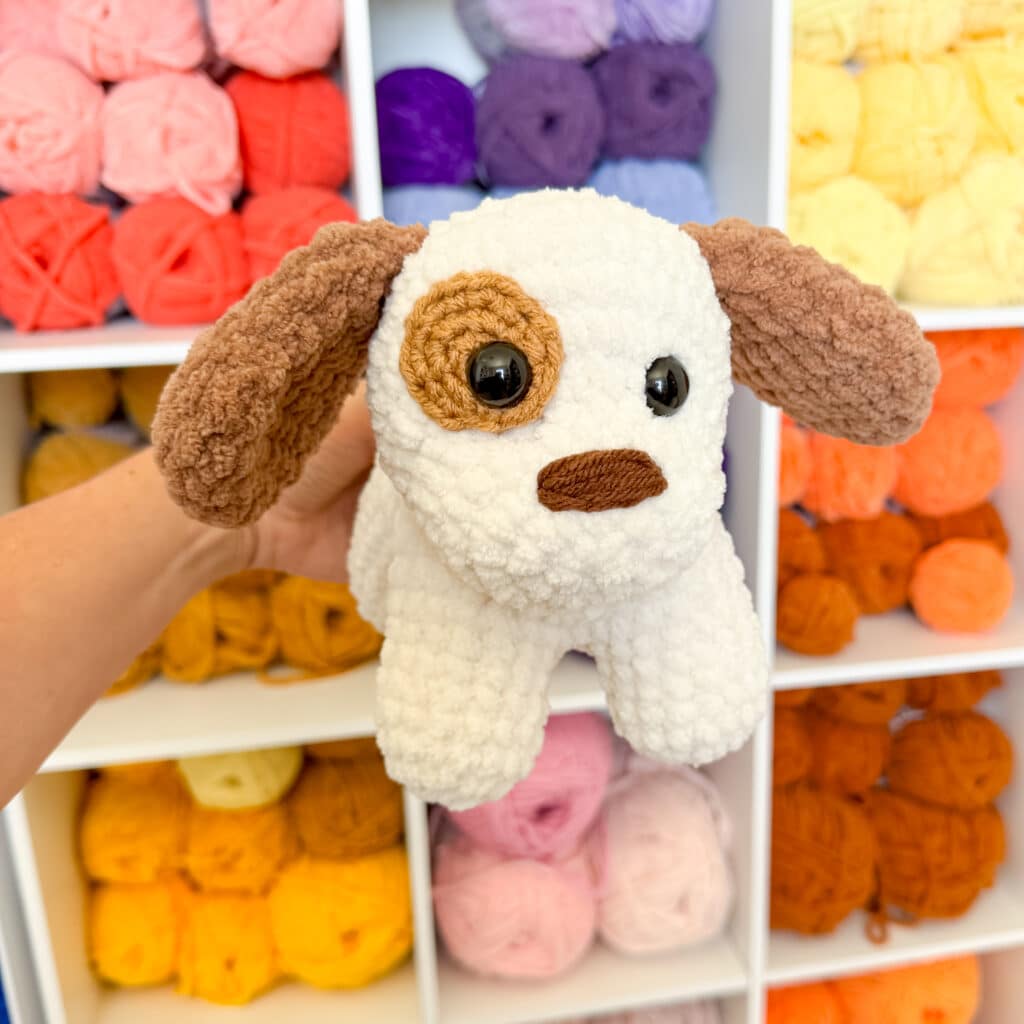
When made with the recommended yarn, this chubby standing puppy is about 8 inches tall. The pattern relies on tight stitches to prevent stuffing from showing, so gauge is maintained by using a hook size smaller than typically recommended for the yarn weight.
Abbreviations
- SC: Single Crochet
- INC: Single Crochet Increase
- INV DEC: Invisible Decrease
- MC: Main Color
- AC: Accent Color
Pattern Notes
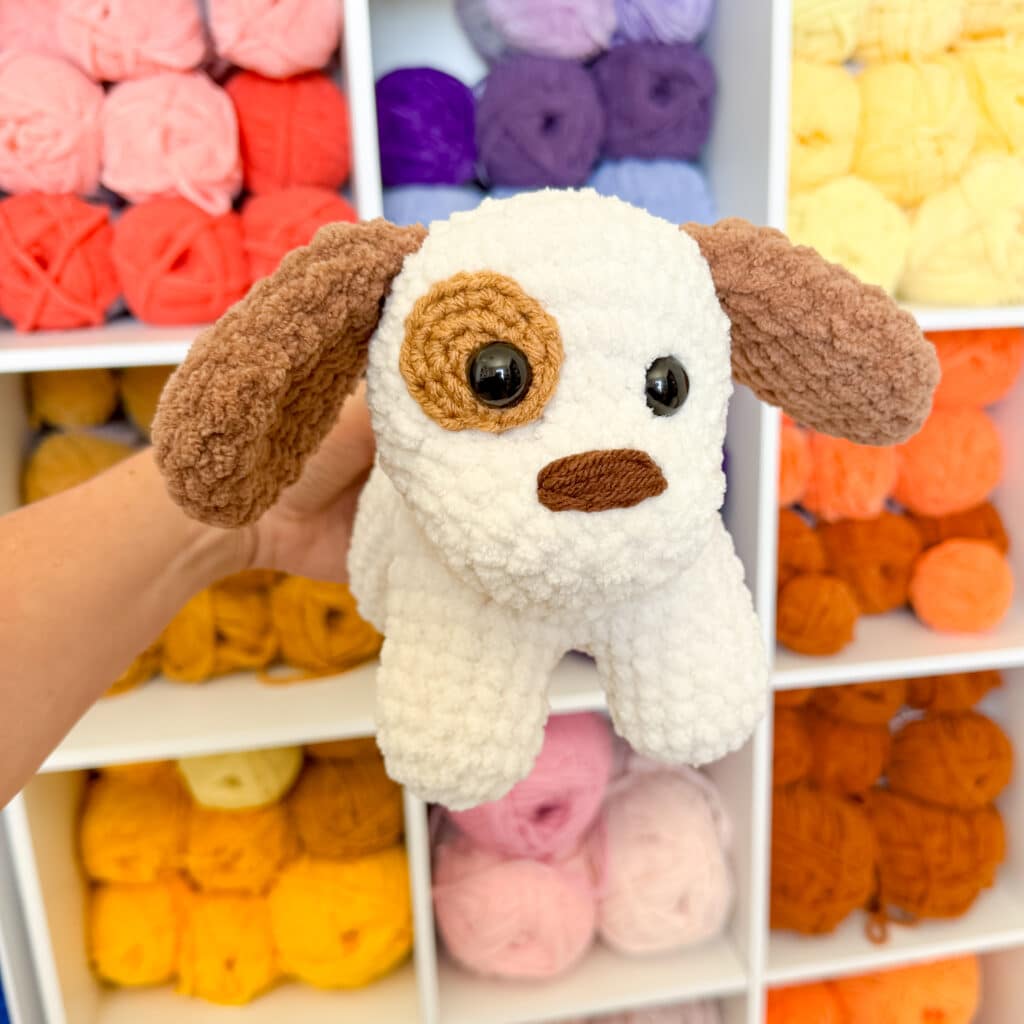
The puppy body is constructed from the feet up. You will make two feet, fastening off one and then attaching them together from the second one. Once you have two pairs of feet, you will attach those to create the standing chubby body. The head is sewn on at the end. It is highly recommended to use “ami sticks” or even a knitting needle to help position the head while attaching.
You can use safety eyes or try out embroidered eyes so it would be safe for a baby or toddler. The pattern uses blanket yarn (size 6 weight). Suitable yarns include regular Bernat Blanket, Premier Basix Chenille yarn, or Cozy Cub from Michaels. Please be aware that even though the label may say it is size 6, some materials and brands work up much differently.
Pattern Instructions
Patch
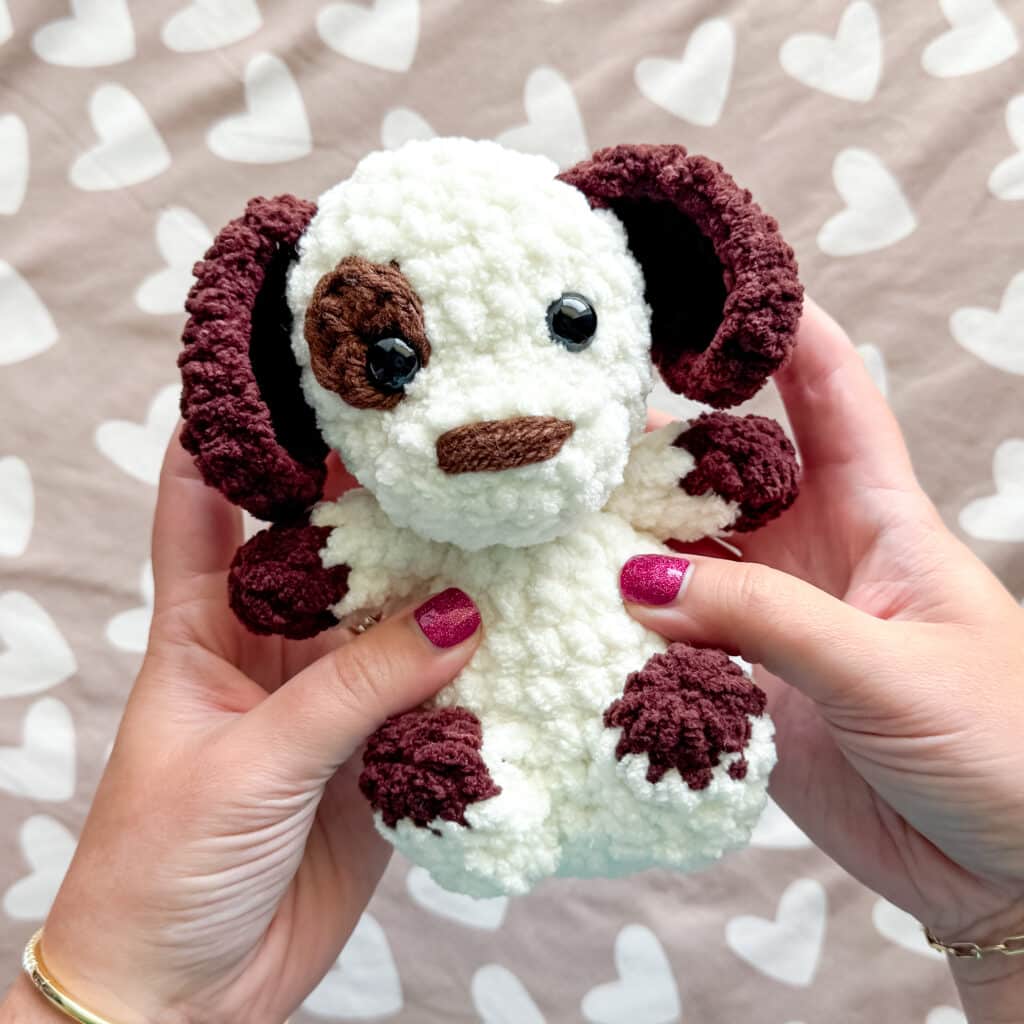
With worsted weight yarn and a 4mm hook:
- Round 1: In a magic circle, SC 6
- Round 2: SC INC in each around. (12)
- Round 3: SC in the first, INC in the next. (18)
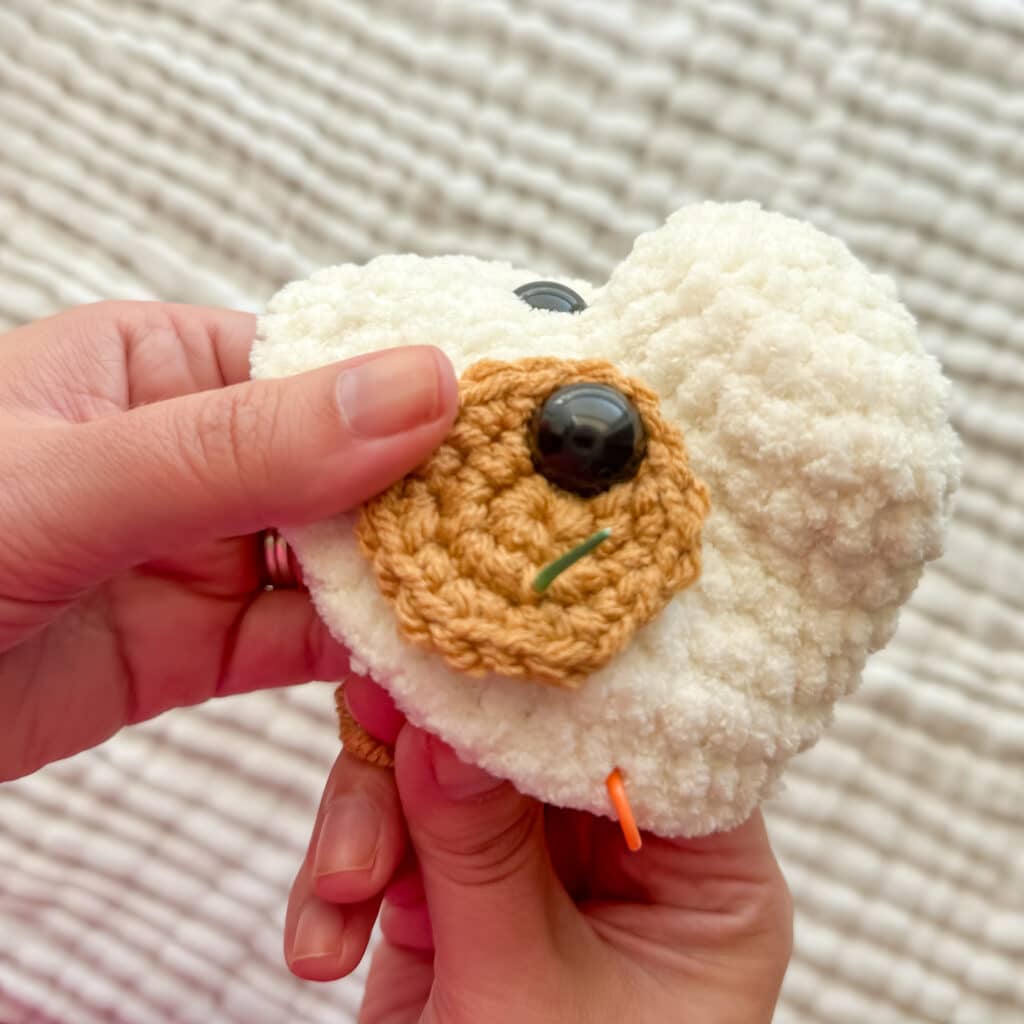
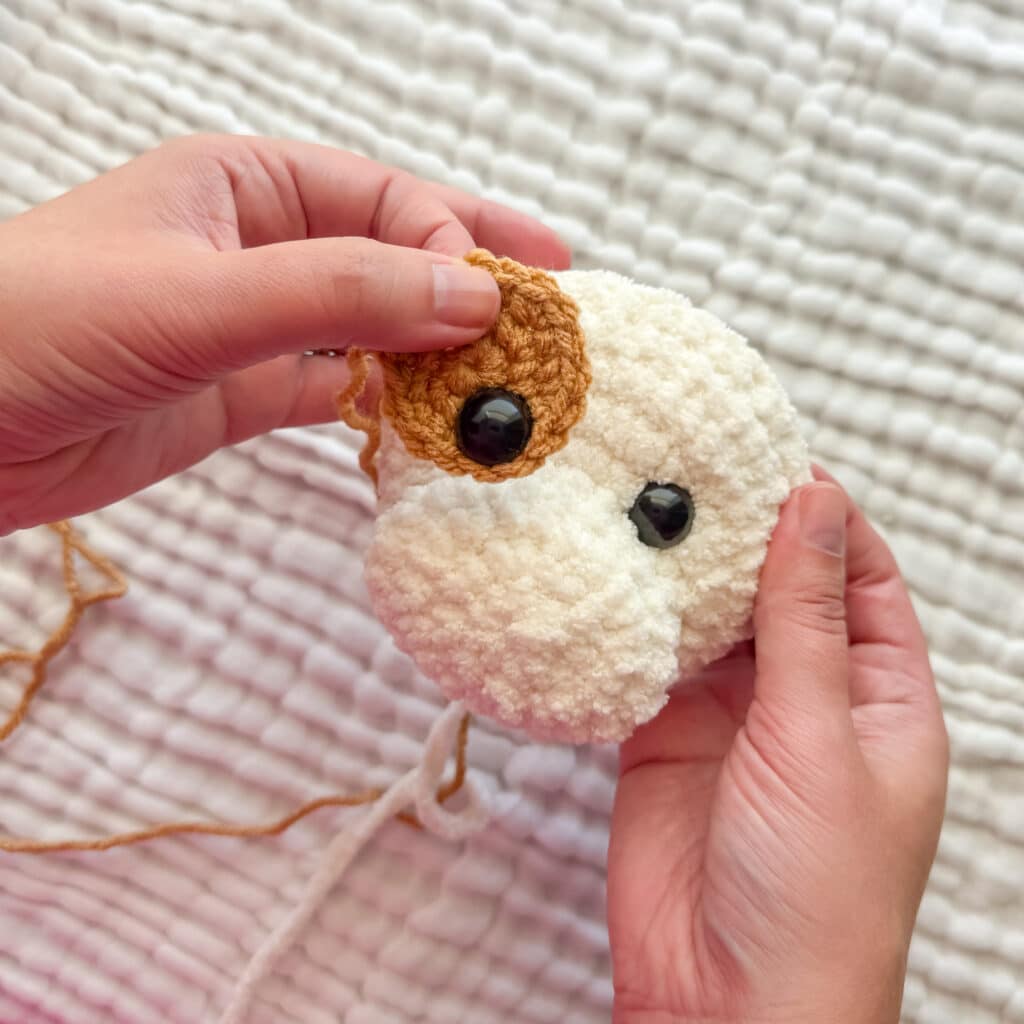
Fasten off and leave a long tail to sew onto the face. Insert the eye before you sew the patch on.
Head
Using Winter White:
- Round 1: SC 8 in a magic ring (8)
- Round 2: INC in each around. (16)
- Round 3: INC in the first 4. SC in the next 4. INC in the next 4. SC in the final 4. (24)
- Round 4-5: SC in each around. (24)
- Round 6: SC in the first 6. SC INC in the next 8. SC in the last 10. (32)
- Round 7: SC in the first 6. *SC in the first, INC* 8x. SC in the last 10. (40)
- Rounds 8-10: SC in each around. (40) *3 rounds*
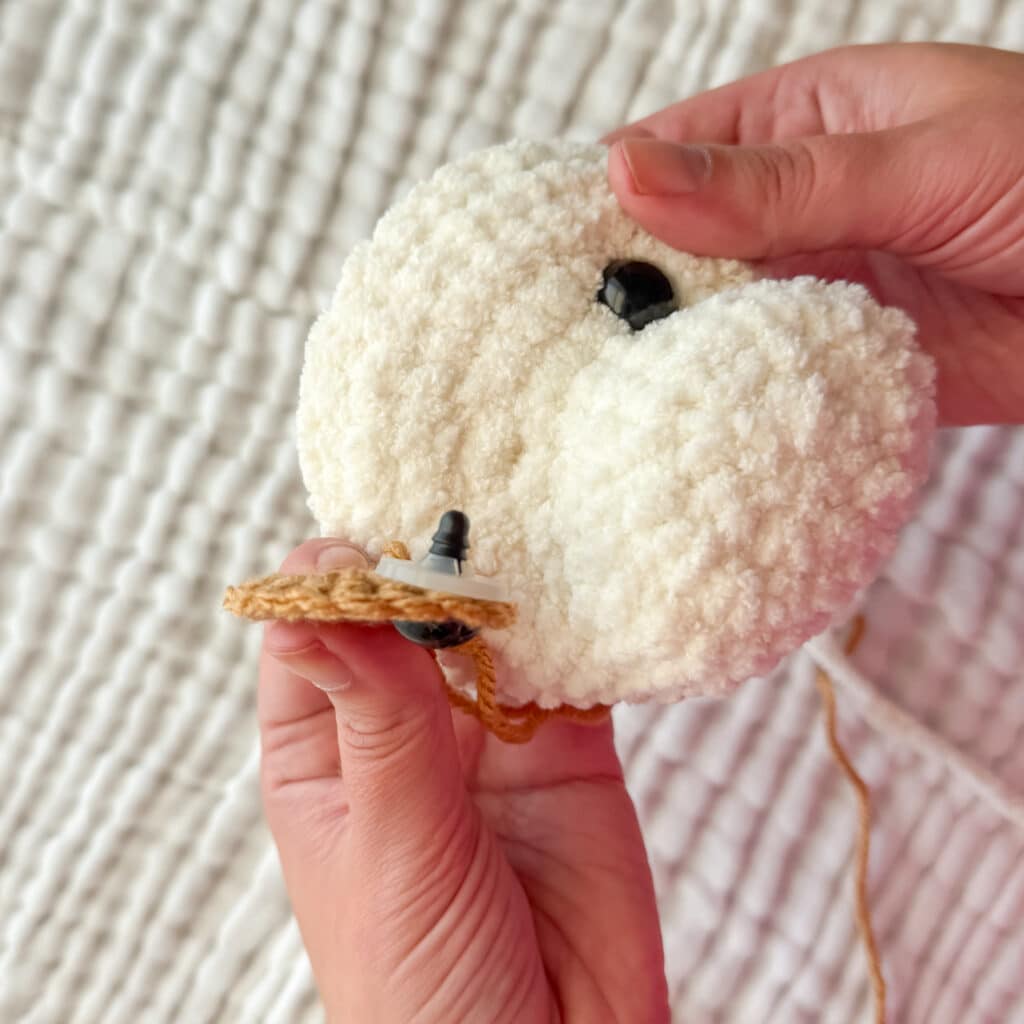
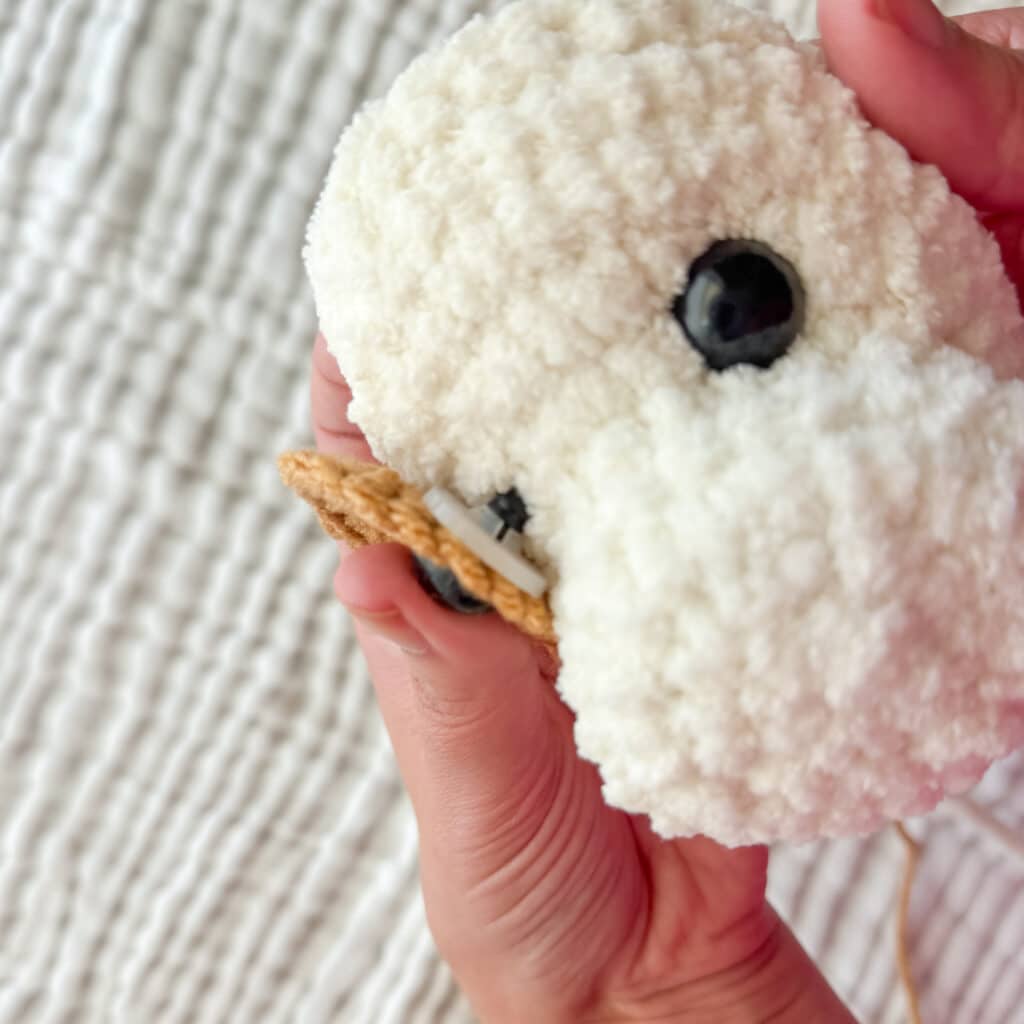
Insert eyes: Insert eyes between round 5 and 6, using the 8 INC of row 6 to help center them. There should be about 6 stitches between the eyes. If you are using the eye patch, sew it on now. You can use hot glue to pre-attach if you want it to stay in place while you sew it on. You will see about 4-5 stitches because the eye patch will cover some. You can also embroider your eyes on at the very end.
- Round 11: SC in the first 3, INV DEC
- Round 12: SC in the first 2, INV DEC. Stuff here. Continue stuffing until the end.
- Round 13: SC in the first, INV DEC
- Round 14: INV DEC
Fasten off and weave in the end.
Nose
Embroider the nose with worsted weight brown yarn, around round 3 between the eyes. Cover about 4-5 stitches for length.
Ears (make 2)
Using Accent Color:
- Round 1: In a magic circle, SC 8.
- Round 2: SC INC in each around. (16)
- Round 3: SC in the first, SC INC in the next. Repeat around. (24)
- Rounds 4-5: SC in each around. (24)
- Round 6: SC in the first, INV DEC in the next. Repeat around. (16)
- Rounds 7-9: SC in each around. (16)
- Round 10: INV DEC in each around. (8)
Fasten off and leave a long tail to attach to the head.
Legs (Make 4 in total)
In Winter White:
Make 2 of these. These are Legs “A”
- Round 1: 8 SC in a magic circle.
- Round 2: INC in each around. (16)
- Rounds 3-6: SC in each around. (16)
Fasten off and set aside.
Make 2 of these. These are Legs “B”
- Round 1: 8 SC in a magic circle.
- Round 2: INC in each around. (16)
- Rounds 3-6: SC in each around. (16)
- Round 7: SC in the next 8. Take off your stitch marker. Chain 2 and attach to one of the finished legs “A.” SC in each stitch around the Leg A (16). SC in each chain across. (2) SC in each stitch around the Leg B. (16) SC on the other side of the chains (2). (36) Put stitch marker on here.
- Round 8: SC in each stitch around both legs. (36)
- SC in the next 6 and fasten off. Move on to the next pair.
Body (cont’d)
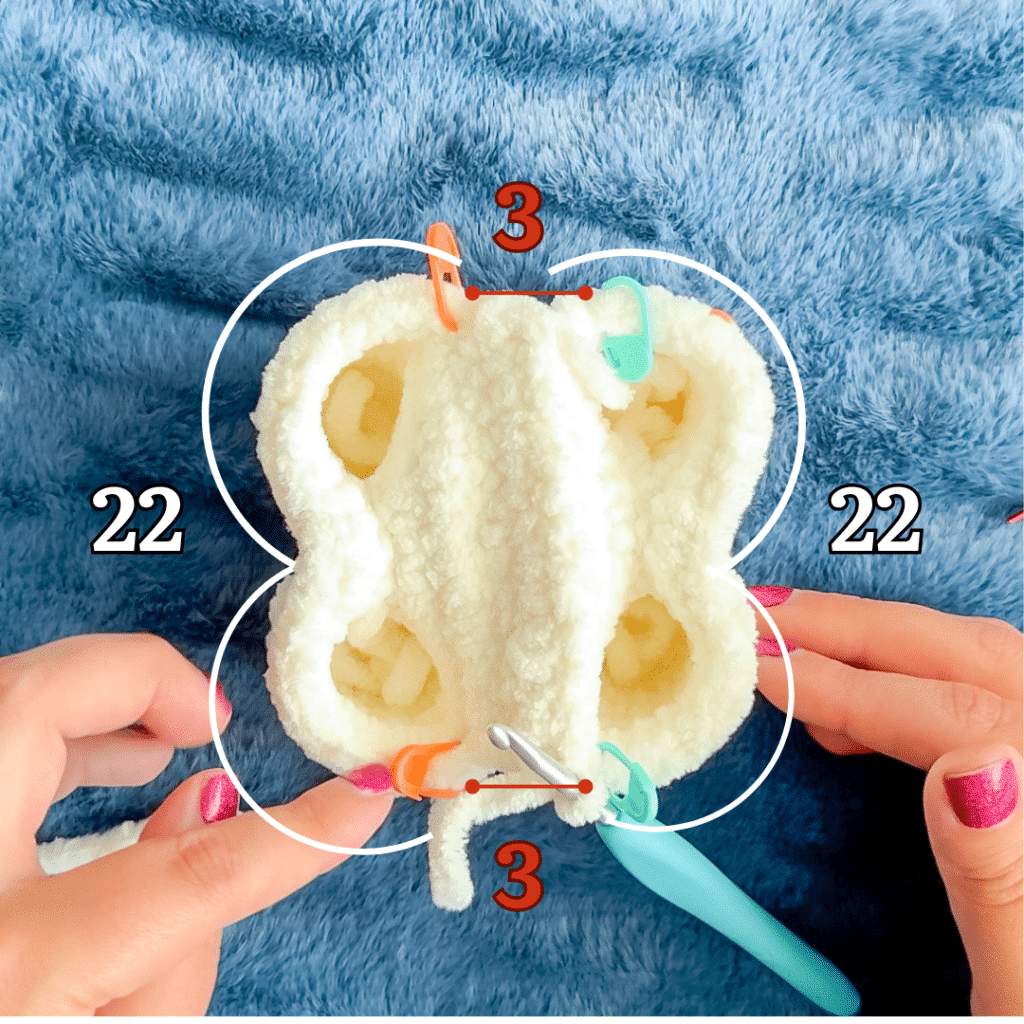
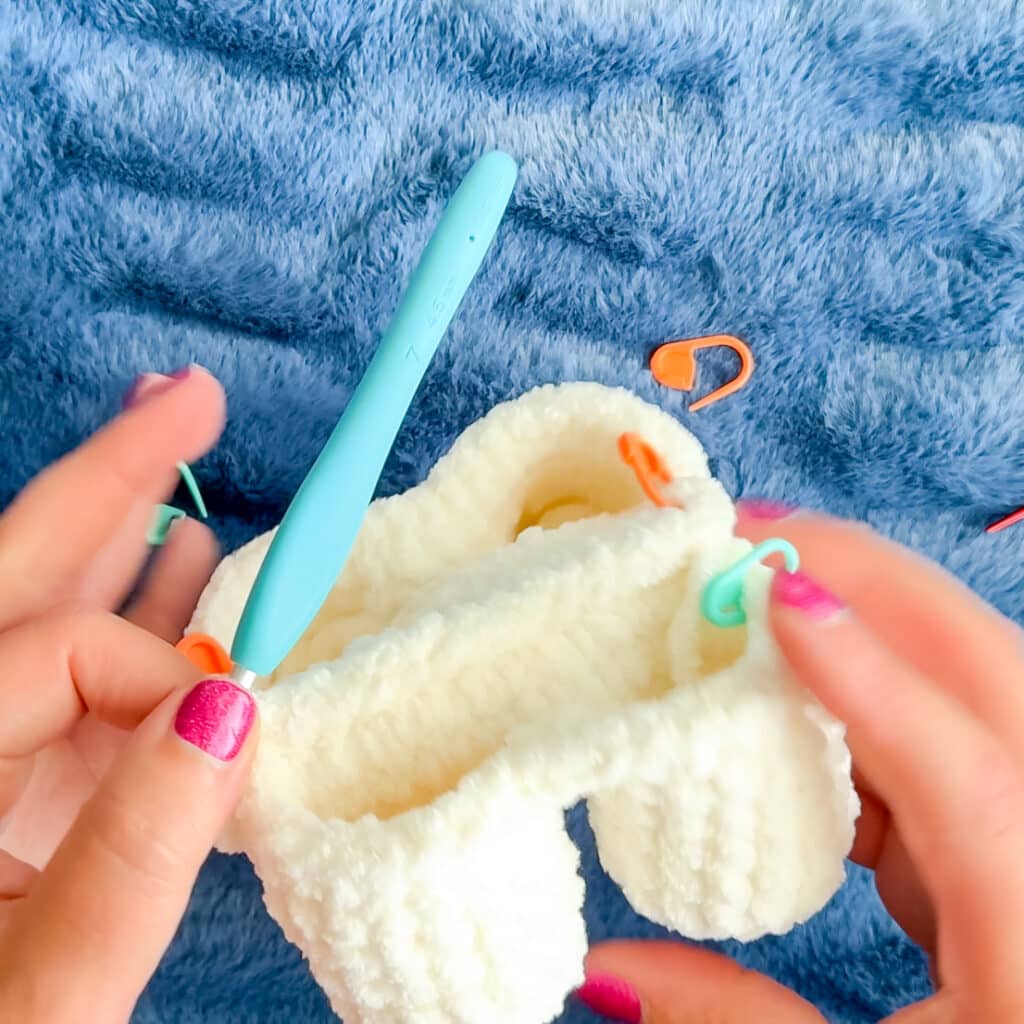
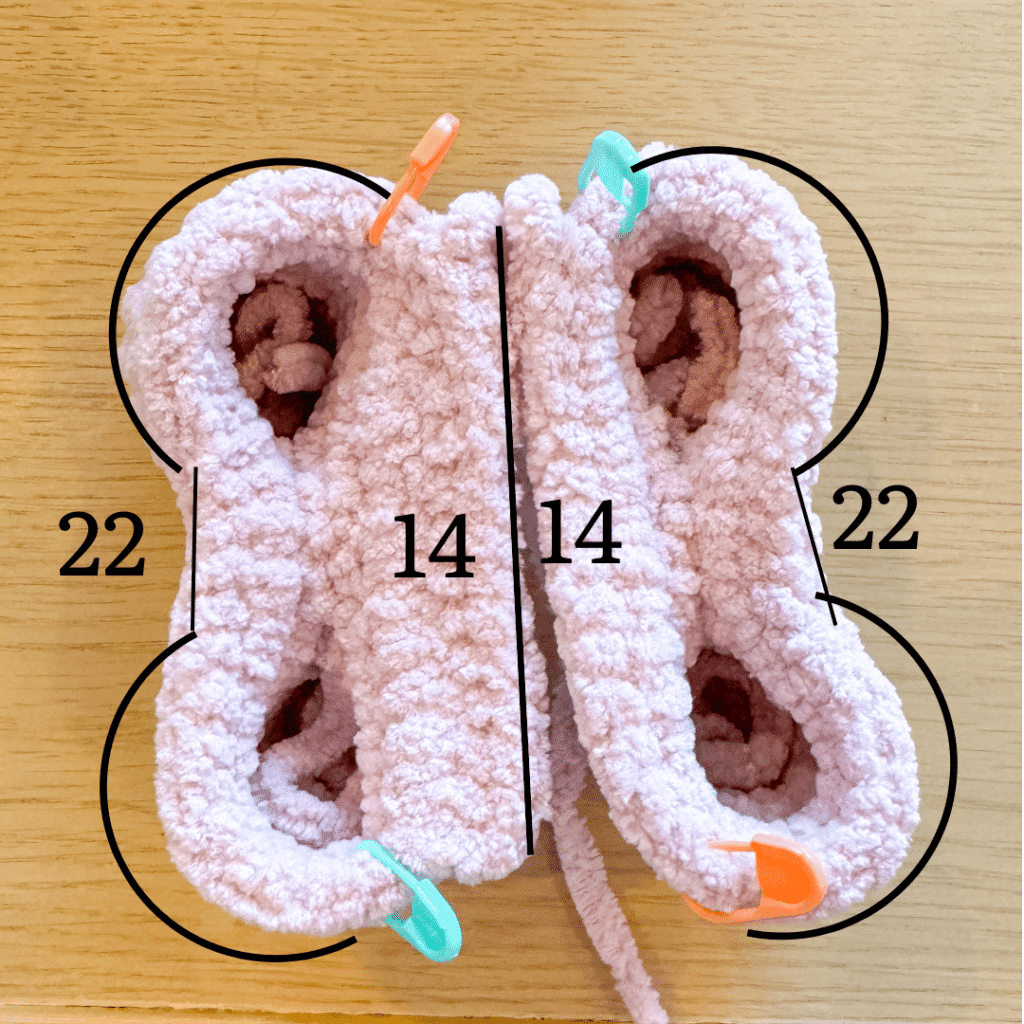
2nd Set of Legs: Follow the same steps as the first pair of legs, but do not fasten off. Chain 1 and turn. SC in the next 14. This is the “belly” between the sets of legs. Line up the legs so that each side of 14 touch. Chain one. SC through both sets of stitches to connect them. It can be helpful to use stitch markers on both pairs of legs. Count 14 stitches back from where you fastened off on the first pair. There should be 14 stitches on one side, and 22 around the front.
- Round 9: Chain 1. SC 3x in the gap between the sets of legs. SC in the 22 stitches around the legs until you reach the next gap. SC 3x in the gap. SC in the remaining 22 stitches. (50)
- Round 10: SC in each around. (50)
- Round 11: SC in the first 3. INV DEC in the next. Repeat this pattern all the way around. (40)
- Round 12: SC in the first 2. INV DEC in the next. Repeat this pattern all the way around. (30)
Begin to stuff here, making sure you get the feet well. Then continue to stuff the body as you close.
- Round 13: SC in the first, INV DEC in the next. Repeat this pattern all the way around. (20)
- Round 14: SC in the first 2, INV DEC in the next. Repeat this pattern all the way around. (15)
Fasten off leaving a piece long enough to sew the top hole closed and attach the head. Pinch the hole closed so that you can sew it closed in a line. Make sure you stuff before you completely sew it shut, so you can get the top “gaps.”
Tail
Using Caramel:
- Round 1: SC 6 in a magic circle.
- Rounds 2-4: SC in each around.
- Round 5: SC in the first, SC INC in the next. (9)
- Round 6: SC in each around. (9)
- Round 7: SC in the first, SC INC in the next. (12)
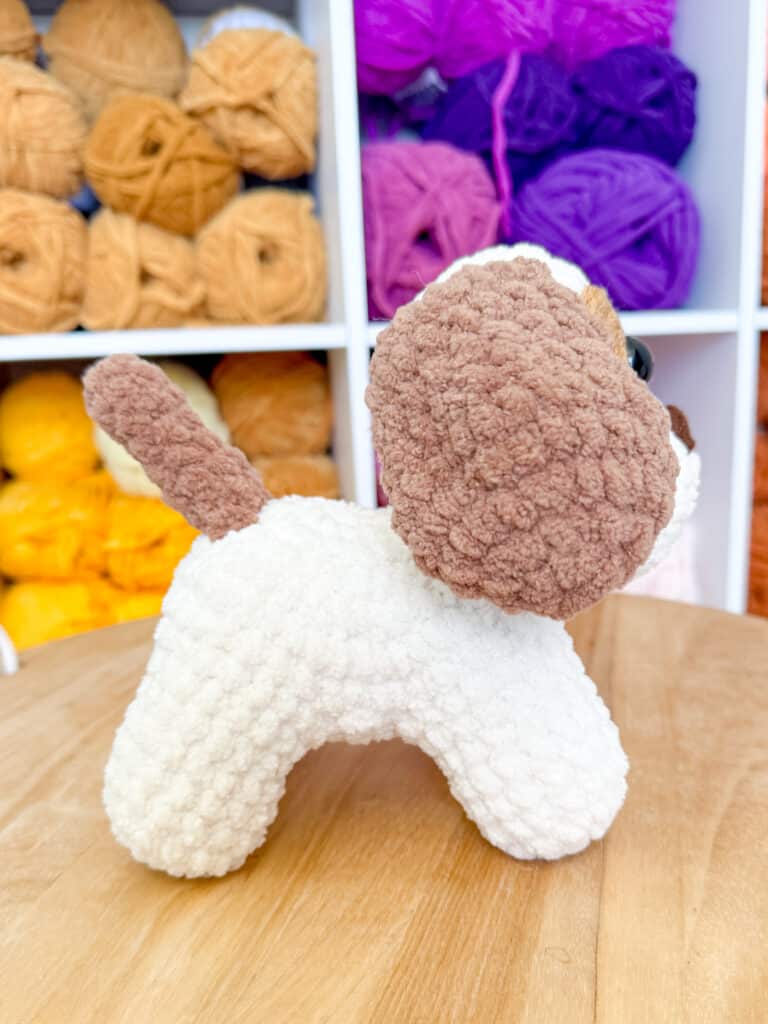
Fasten off and attach at the back around rounds 13-15.
Assembly
Attaching Head to the Body: When you attach the head, you will angle it on the edge. The tip of the nose will hang over the edge and you will attach it by using the long end from sewing the remaining hole closed. You will use about 4 rows of the head to be flat on the top edge of the body. It is recommended to use knitting needles with silicone beads on the ends or Ami Stix to keep the head in place while sewing.
Tips
- If the legs intimidate you, don’t worry! Video tutorials are available to help with making the legs and forming the standing body.
- You can choose to work with different yarn for this pattern, but keep in mind that even if yarns are classified the same size, they can work up much differently.
- The creator typically uses a 4.5mm hook for Premier Basix Chenille and a 5mm for Bernat Blanket. This is much smaller than the recommended size on the label, but it ensures nice, tight stitches for this type of pattern. If this is too tight for you, size up a hook size until you can crochet comfortably but still have tight stitches.
- For safety with babies or toddlers, consider embroidering the eyes instead of using safety eyes.
FAQs
What yarn is best for this pattern?
The pattern recommends Premier Basix Chenille, but Bernat Blanket, Bernat Baby Blanket, and Cozy Cub from Michaels are also suitable. These are all size 6 weight yarns, but they may work up differently, so check your tension.
How tall is the finished puppy?
When made with the recommended yarn, the chubby standing puppy is approximately 8 inches tall.
Can I use this pattern for a baby?
Yes, but for babies and toddlers, it is safer to embroider the eyes rather than using safety eyes. The pattern notes mention that embroidered eyes are a safe alternative.
Do I need to stuff the legs before attaching the body?
The instructions suggest beginning to stuff the body in Round 12, making sure to get the feet well stuffed before continuing to stuff the body as you close the top.
How do I attach the head securely?

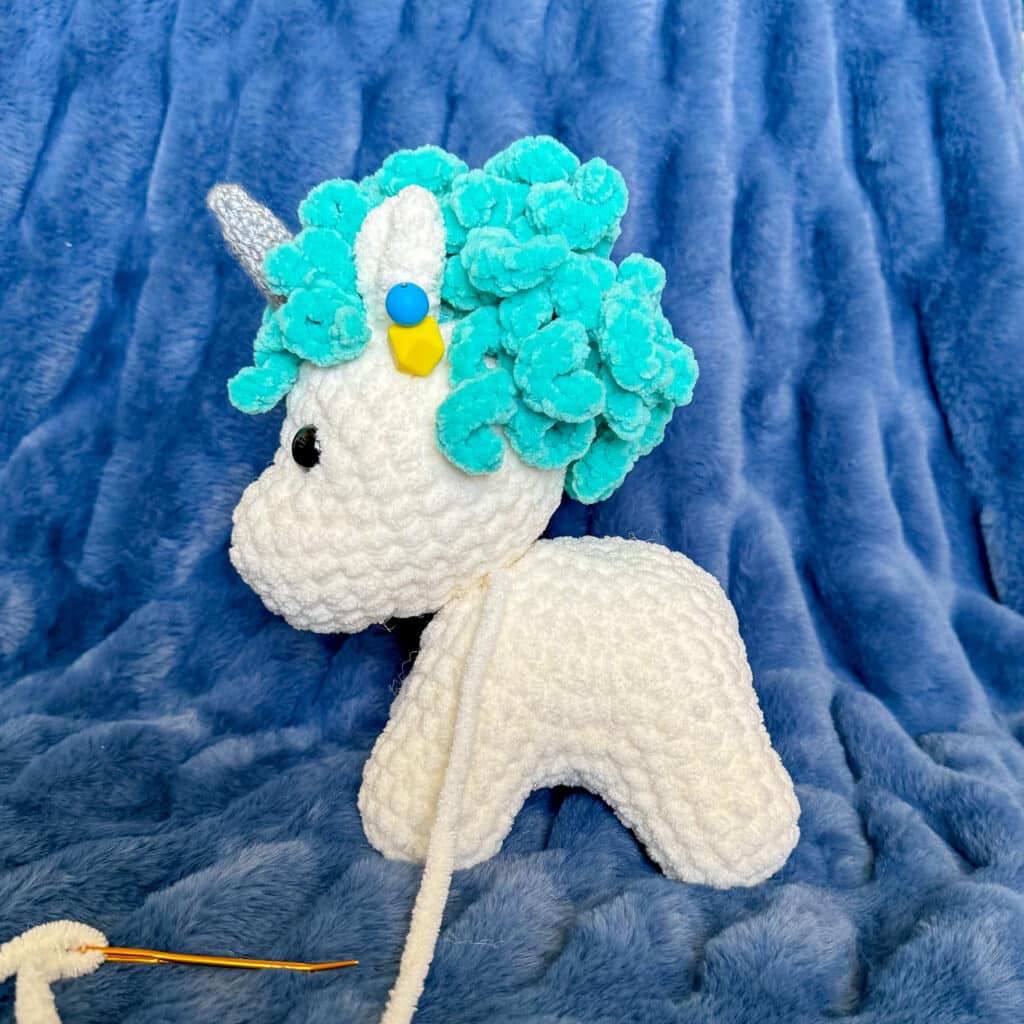
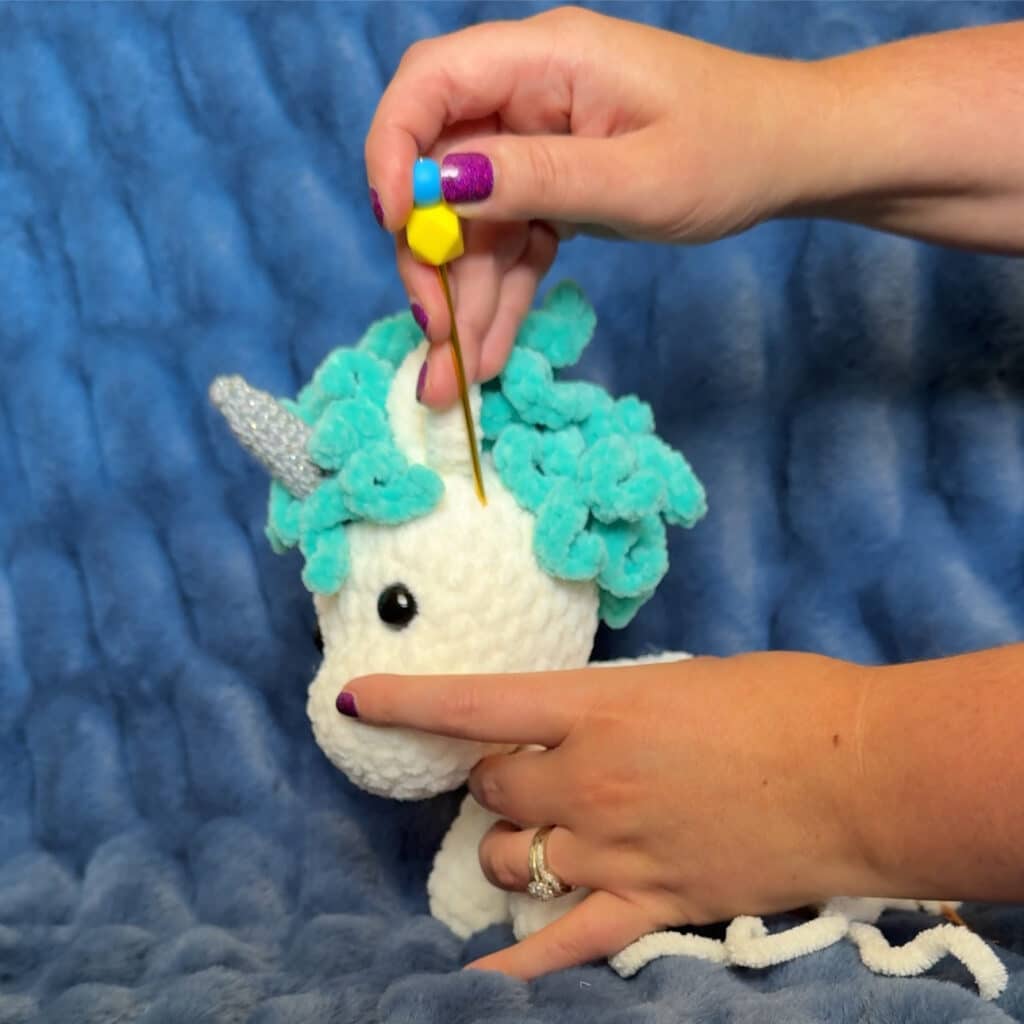
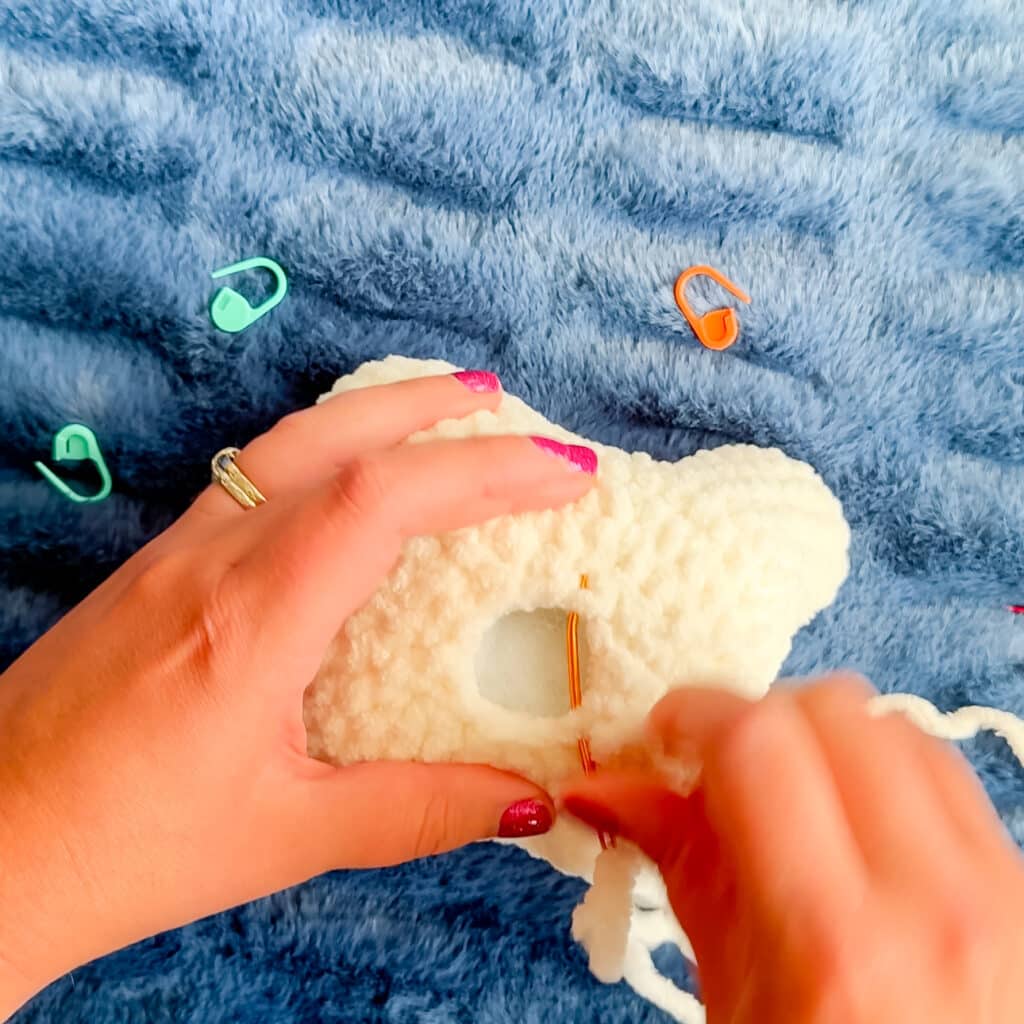
Use the long tail left from closing the top of the body. Angle the head so the nose tip hangs over the edge, and use about 4 rows of the head to be flat against the top edge of the body. Using Ami Stix or knitting needles can help hold the head in place while you sew.
Pin This Crochet Pattern!