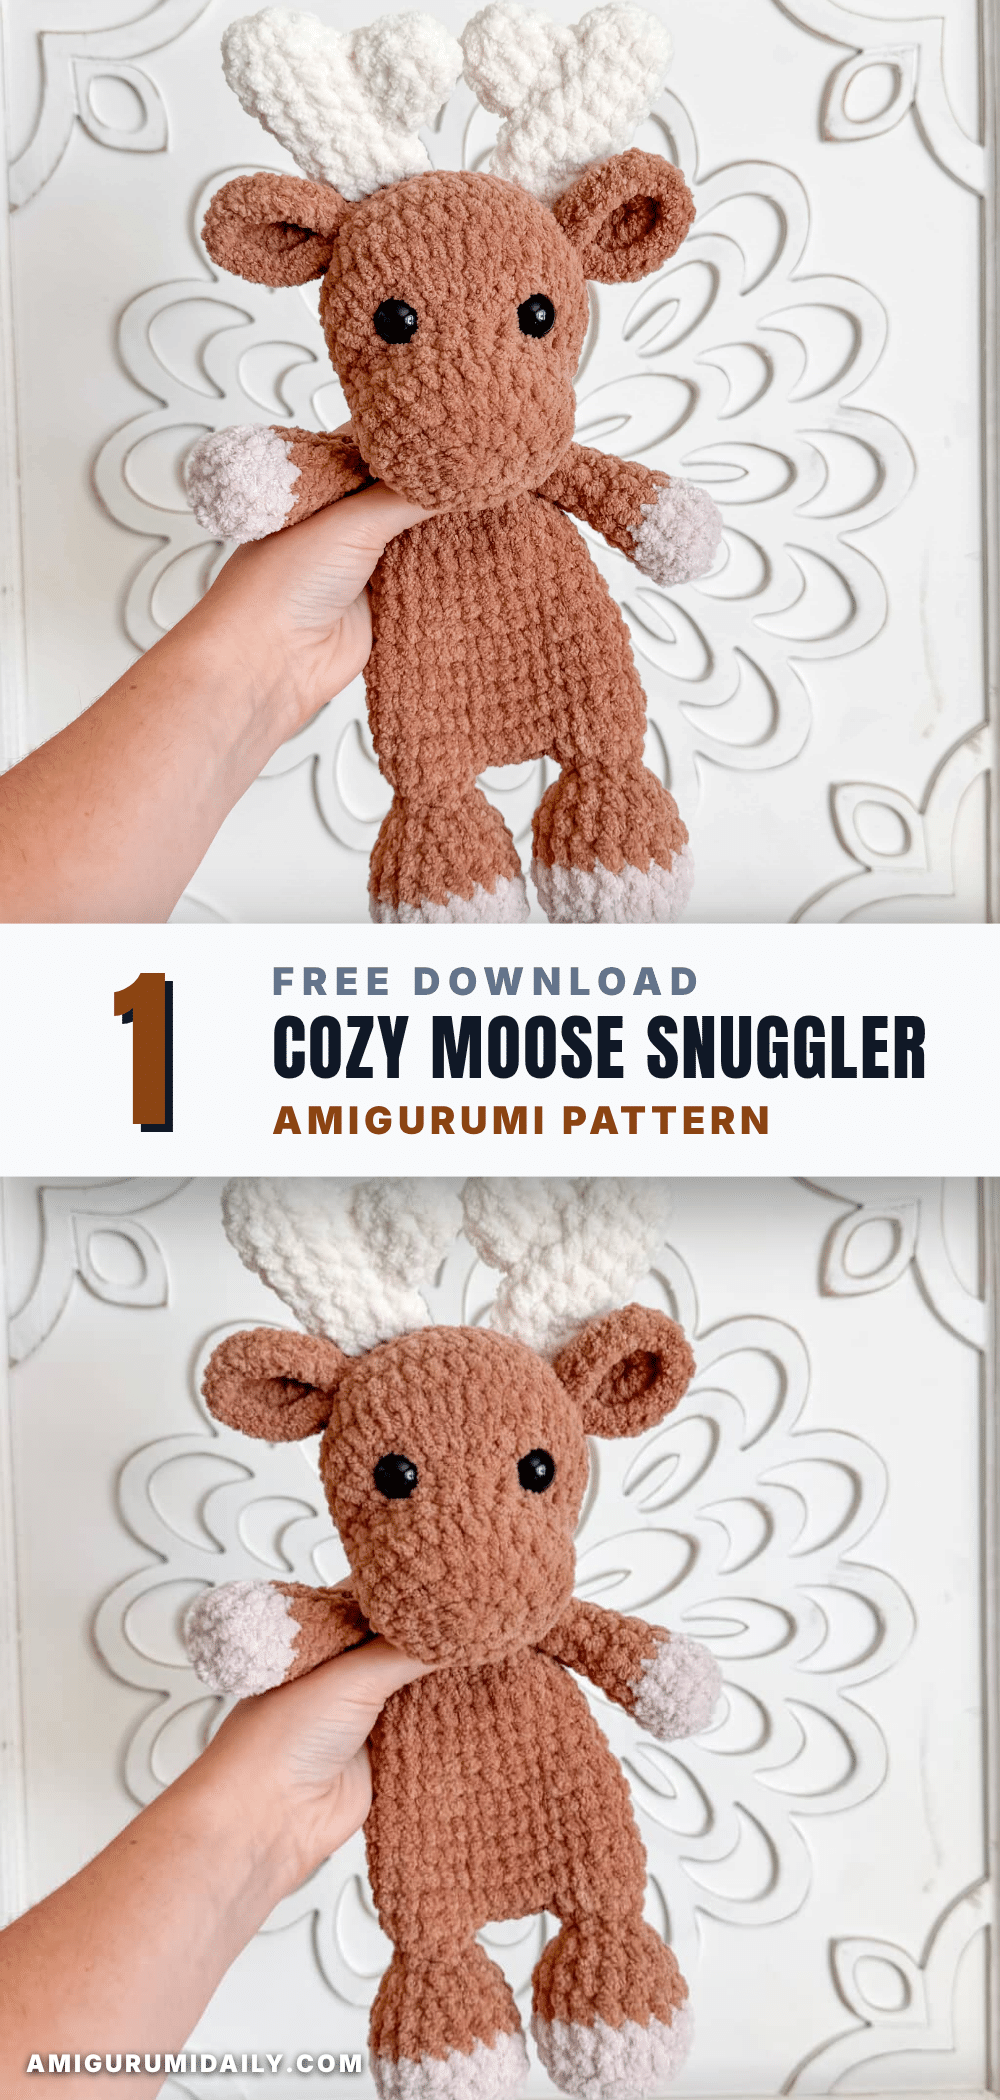
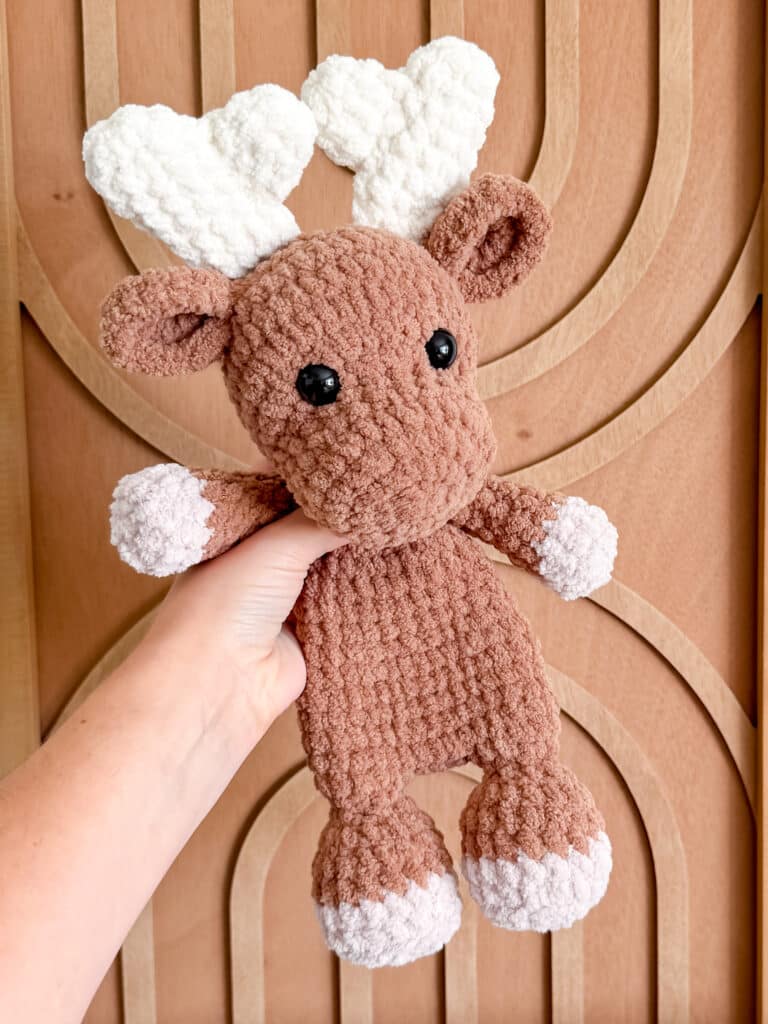
There is something deeply grounding about the rhythm of crochet, especially when the yarn is as soft as chenille. Picture a quiet evening where the house is still, and the only sound is the gentle click of the hook and the soft rustle of a small batch of yarn. You count stitches, settle into a relaxing repeat, and let the tension of the day melt away. This Moose Snuggler is the perfect companion for that ritual. It is a hybrid lovey and amigurumi, designed to be extra cuddly with a flat body that makes it easy to hold, while the head and feet remain stuffed for character. It is a beginner-friendly project that rewards patience with a sweet, nostalgic result.
Small Details That Make It Better
The magic of this moose lies in its texture and its “snuggler” design. By using a plush, size 6 weight yarn like Premier Basix Chenille, the finished piece feels incredibly soft against the skin, perfect for a toddler or a cozy hug. The design intentionally leaves the body unstuffed, creating a flat, blanket-like surface that is easier for little hands to grasp than a fully stuffed toy. The head is designed to “flop” slightly forward, adding to the endearing, relaxed look of the moose. When choosing colors, the contrast between the warm main color (like Caramel) and the crisp accent color (like Winter White) for the antlers and hooves brings out the details of the ears and nose. It is a project that feels like a warm hug from the start.
Project Overview
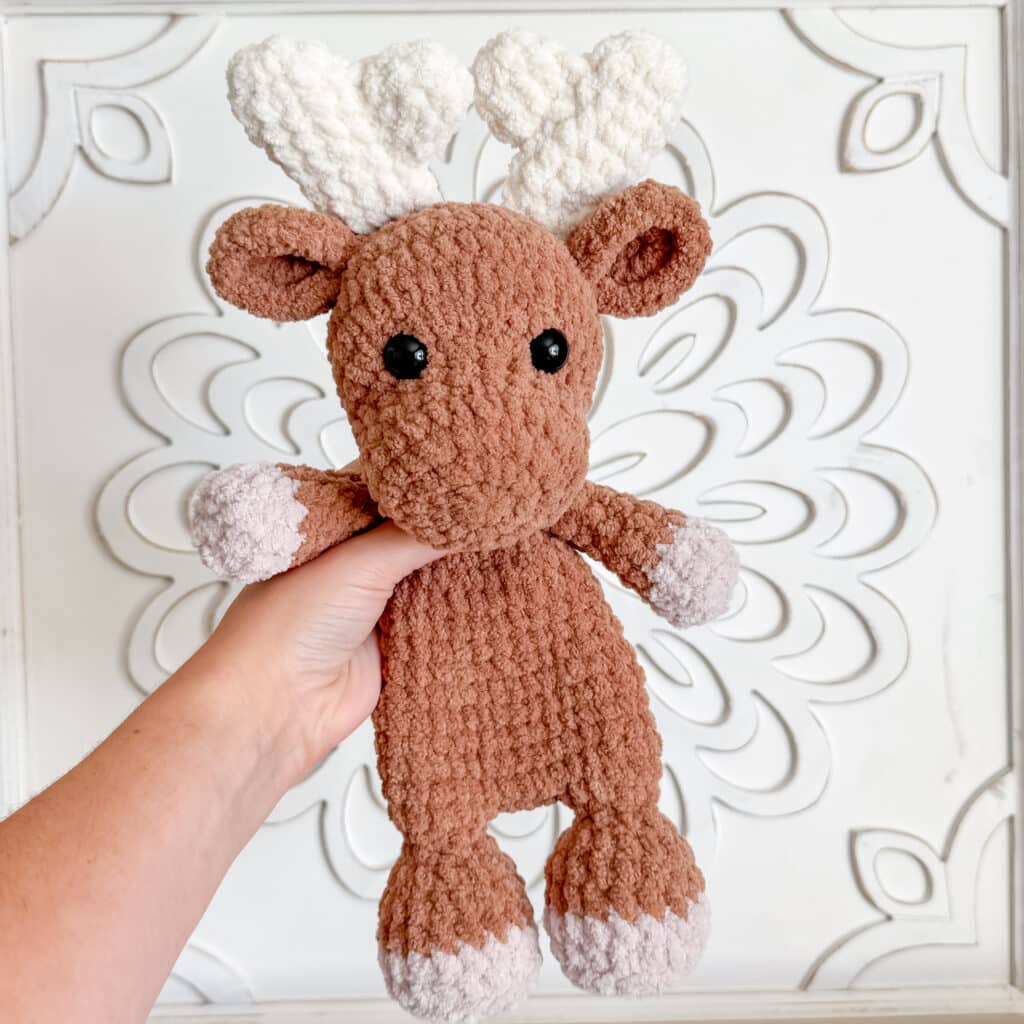
This free crochet moose pattern creates a 13-inch tall amigurumi lovey. It is worked from the feet up, joining the two feet together to form the base of the body. The body decreases to form the torso and then increases into a flat disc at the top, which serves as the foundation for sewing on the head. The arms are attached using a long needle method, and the ears are sewn to the head before being attached to the body. The pattern is suitable for beginners, though it involves some sewing assembly.
Materials
- Yarn: 115g Premier Basix Chenille in Main Color (e.g., Caramel)
- Yarn: 25g Premier Basix Chenille in Accent Color (e.g., Winter White)
- Yarn: Small amount of brown worsted yarn
- Stuffing: Standard polyester stuffing
- Eyes: 15mm safety eyes (or embroidery thread for embroidered eyes)
- Hook: 4.5mm crochet hook (or hook size that keeps stitches tight and feels comfortable)
- Notions: Tapestry needle, stitch marker
Note: You may substitute other size 6 weight blanket yarns like Bernat Blanket, Bernat Baby Blanket, or Cozy Cub. Note that hook sizes may vary by brand; for example, a 5mm hook is often used for Bernat Blanket to maintain tight stitches.
Gauge and Finished Size
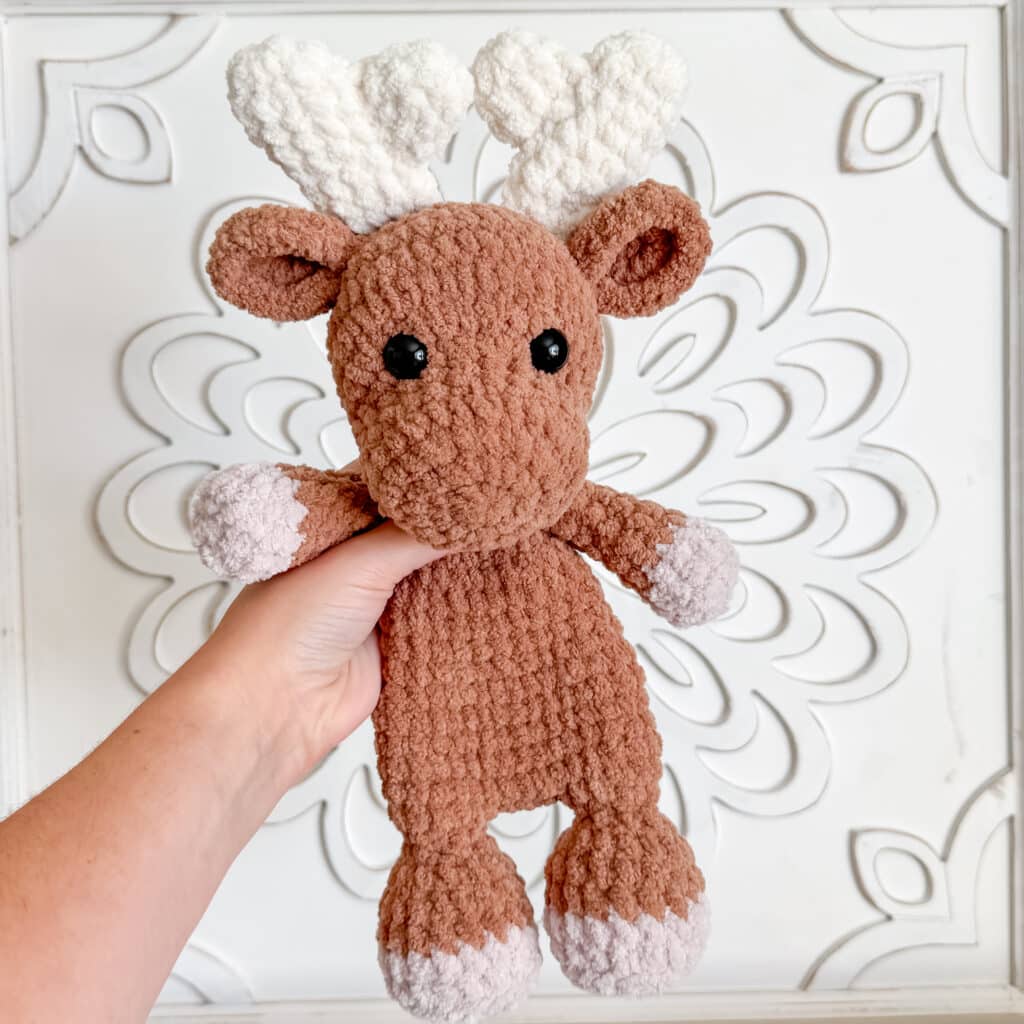
When made with the recommended yarn, this snuggler is about 13 inches tall. Because this is a plush yarn project, gauge is less critical than in tight cotton amigurumi, but it is important to keep stitches tight enough that the stuffing does not show through.
Abbreviations
The following abbreviations are used in this pattern:
- SC: Single Crochet
- INC: Increase (2 single crochets in the same stitch)
- INV DEC: Invisible Decrease (insert hook into the front loops of the next two stitches, yarn over and pull up a loop, yarn over and pull through all three loops on the hook)
- BO: Bind Off / Fasten Off
Pattern Notes
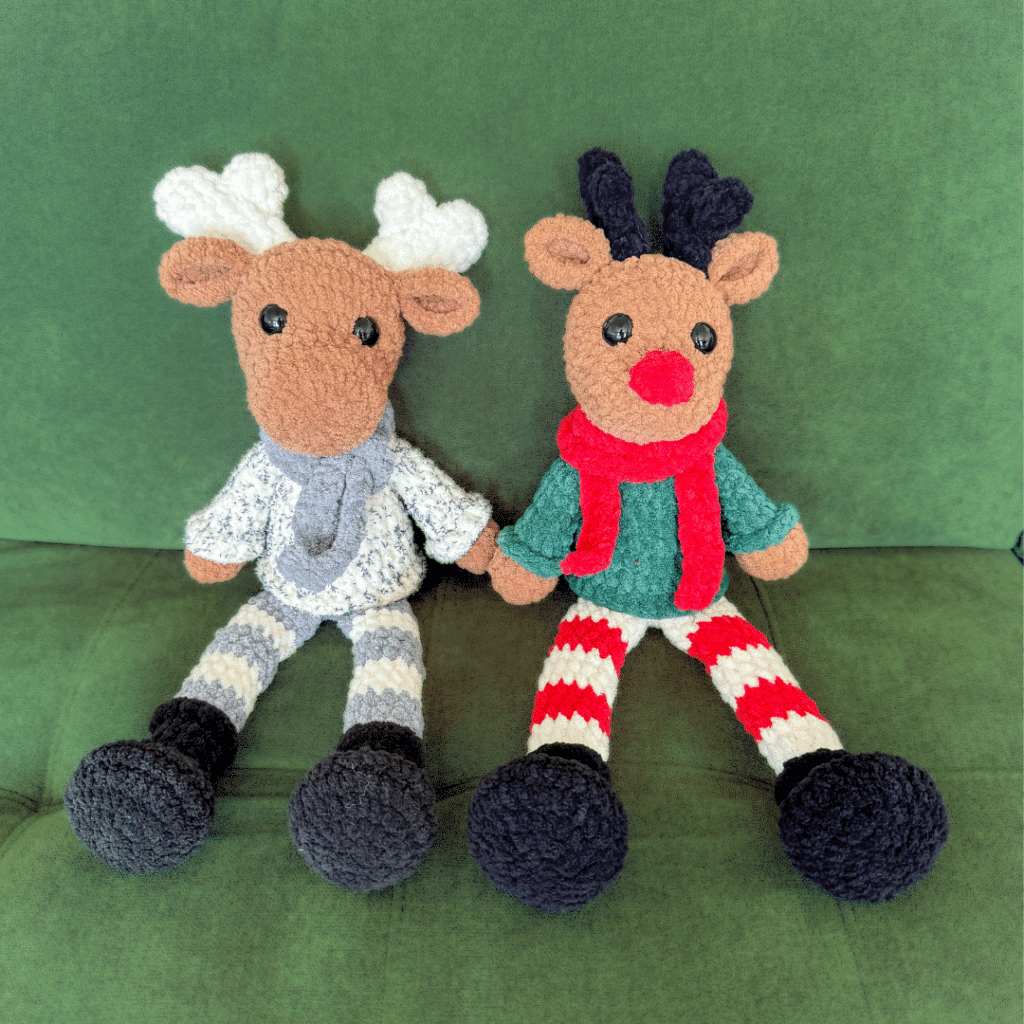
- This moose is made from the feet up. You will make two feet, fastening off one and then attaching them together from the second one.
- The body will decrease and then increase into a flat disc. This is what you will use to sew on the head. Because of the nature of this pattern, the head will still “flop,” but that is what is expected of the lovey/blanket form.
- The arms are attached with a long needle. The ears are sewn to the head, then attached to the body.
- You can use safety eyes or try out embroidered eyes so it would be safe for a baby/toddler.
Pattern Instructions
Head
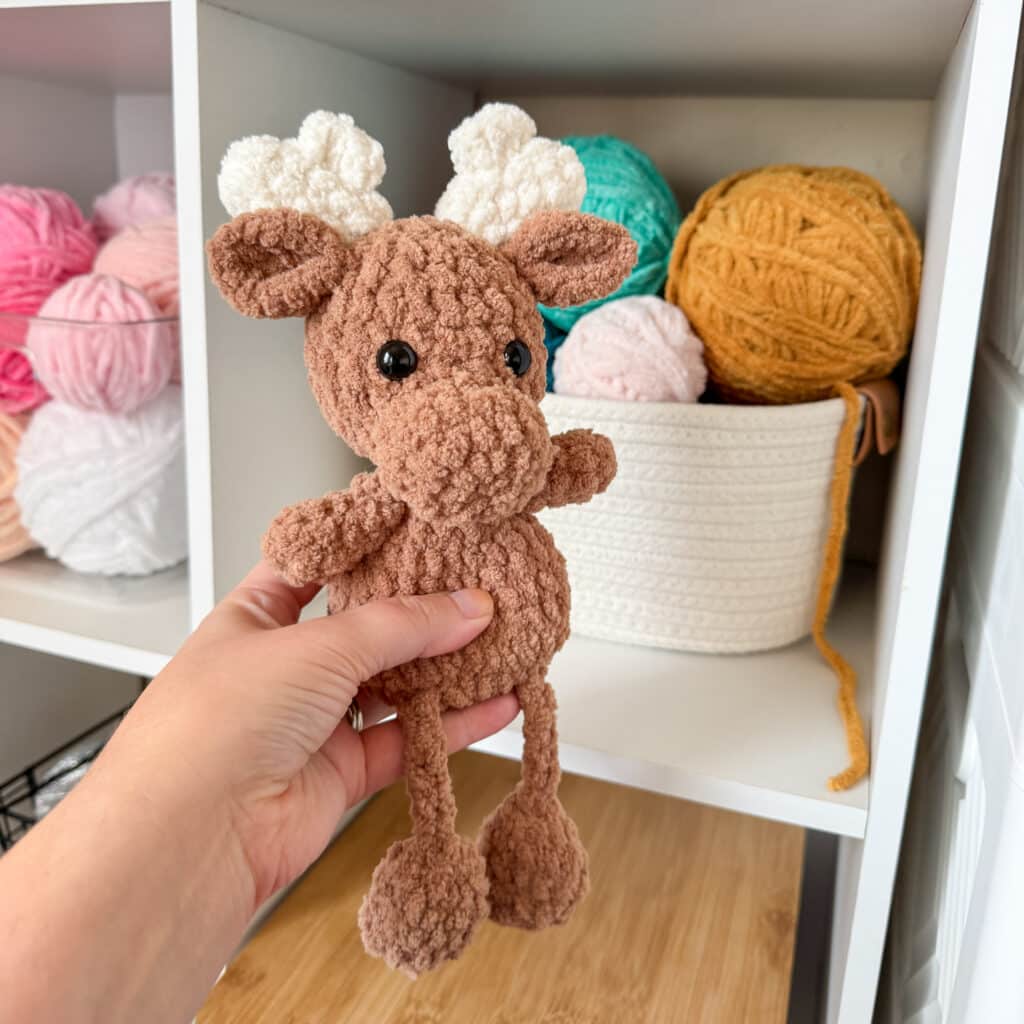
Round 1: In a magic circle, SC 8.
Round 2: SC INC in each around. (16)
Round 3: SC in the first, SC INC in the next. Repeat around. (24)
Round 4: SC in the first two, SC INC in the next. Repeat around (32)
Round 5: SC in the first two, INV DEC in the next. Repeat around. (24)
Round 6-7: SC in each around. (24)
Round 8: SC in the first 16. SC INC in the remaining 8. (32)
Round 9: SC in the first 16. *SC in the first, INC* 8x. (40)
Rounds 10-12: SC in each around. (40)
Insert eyes on round 9, using the 8 INC of row 8 to help center them. There should be about 6 stitches between the eyes. If you want to embroider, follow your preferred embroidery method.
Round 13: SC in the first 3, INV DEC in each around. (32)
Round 14: SC in the first 2, INV DEC (24)
Begin to stuff here, and continue to stuff as you close.
Round 15: SC in the first, INV DEC (16)
Round 16: INV DEC (8)
Fasten off and sew the remaining hole closed.
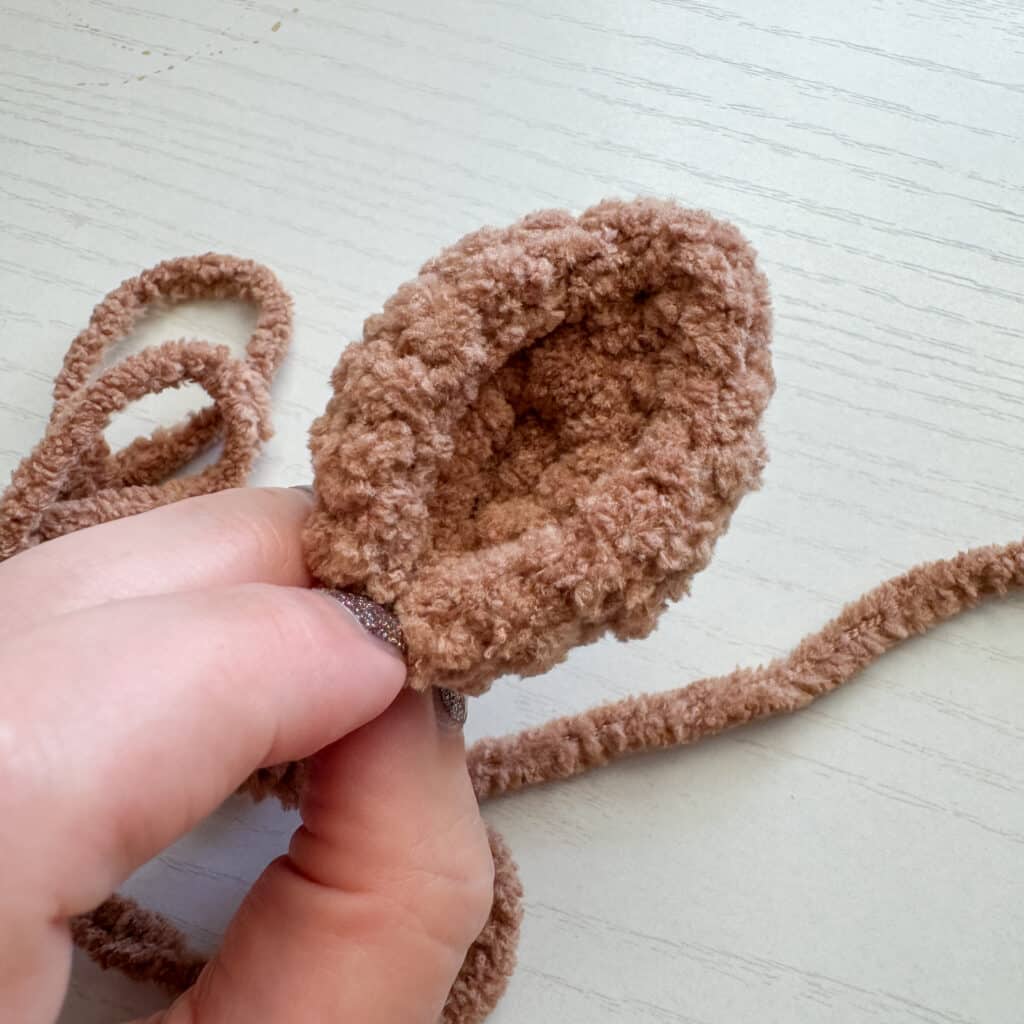
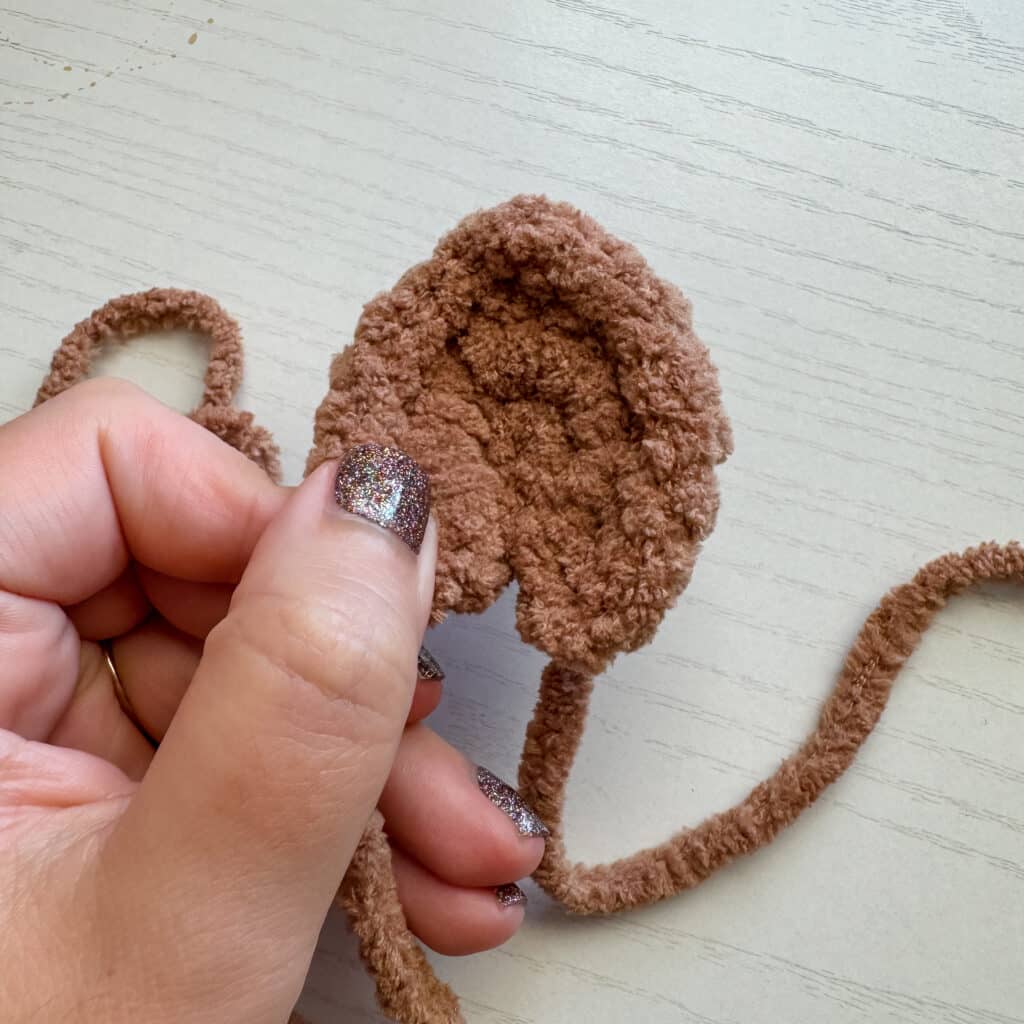
Ears (make 2)
Row 1: In a magic circle, SC 8. DO NOT CLOSE.
Row 2: Chain 1 and turn. SC INC in each around.
Row 3: Chain 1 and turn. SC 8x. Chain 2, pulling tightly each time. SC in the remaining 8 stitches. Fasten off with a long tail.
Bringing the ends together, there will be a slight bowl shape. Using one of the ends, sew this together with a few stitches. Weave the end back to the end so you can sew it on the head.
Attach the ears around round 12, lined up slightly outside the eyes and so that they face directly out.
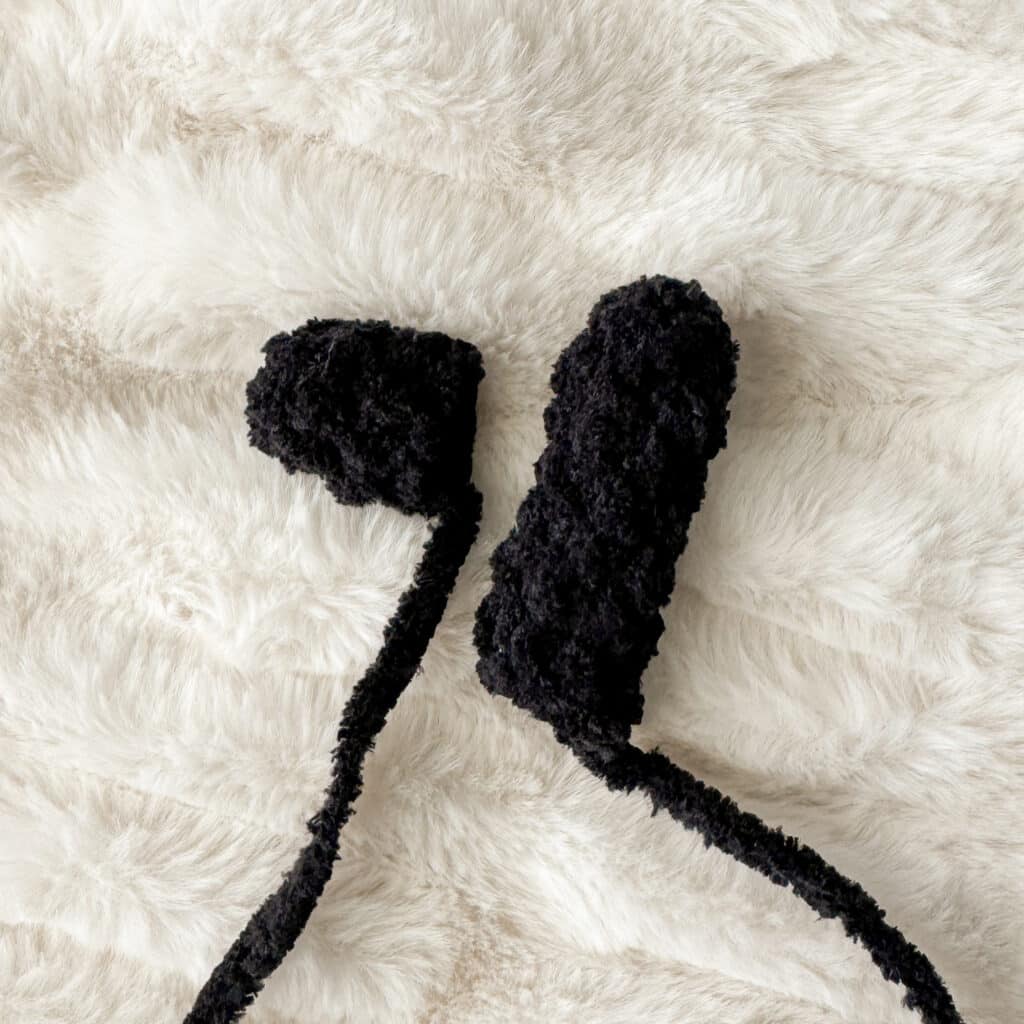
Antlers (make 2)
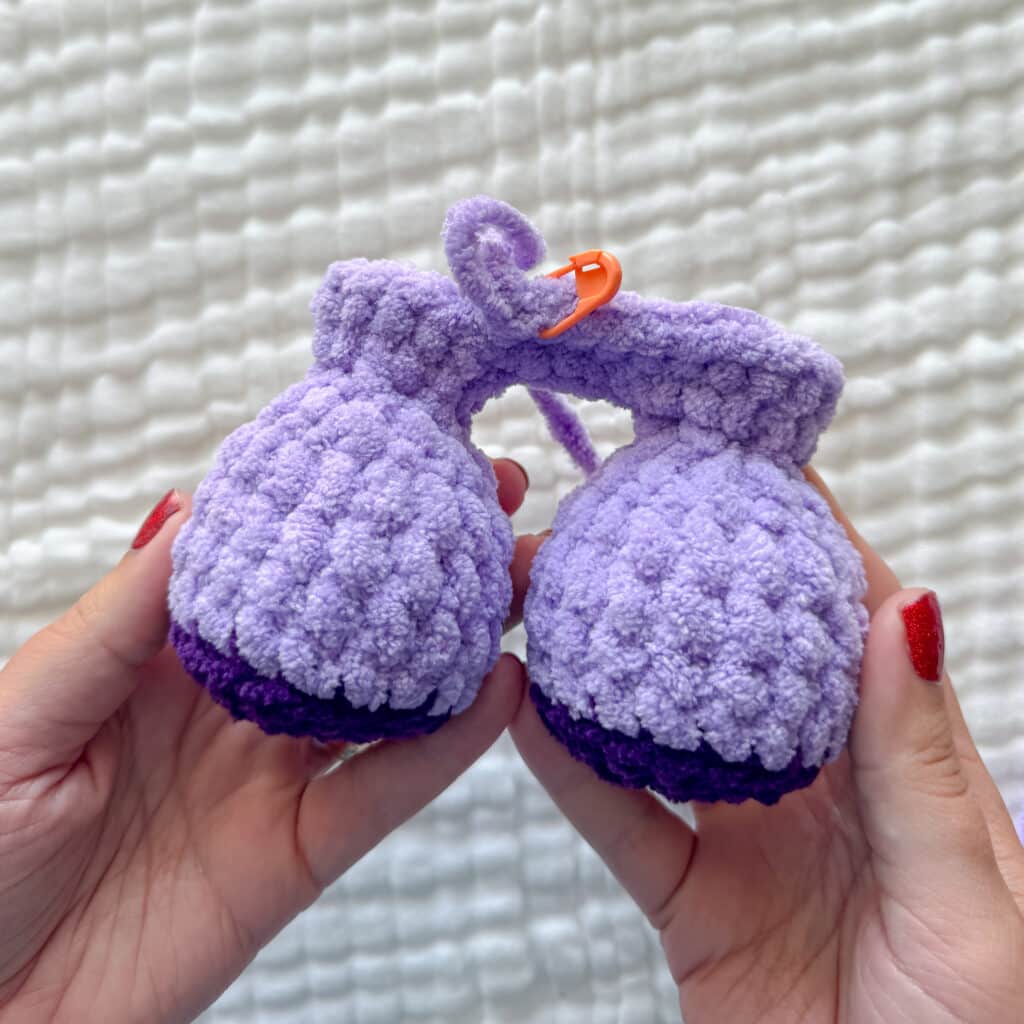
DO NOT STUFF. In winter white:
Part 1 (Make 2):
Round 1: SC 10 in a magic circle. (10)
Rounds 2-8: SC in each around. (10) *7 rounds*
Round 9: SC in the first, INV DEC in the next. Repeat around. (7)
Fasten off with a long tail.
Part 2 (Make 2):
Round 1: SC 8 in a magic circle.
Rounds 2-3: SC in each around. (8)
Fasten off and leave a long tail.
Sew this piece on the flat end of the first, longer piece along rounds 4-6. Attach them behind and inside the ears.
Feet/Body
Begin with accent color:
Round 1: In a magic circle, SC 6.
Round 2: SC INC in each around. (12)
Round 3: SC in the first, SC INC in the next. Repeat around. (18)
Round 4: In the back loop only, SC in each around. (18)
Change to body color
Rounds 5-7: SC in each around. (18) * 3 rounds*
Round 8: SC in the first, INV DEC in the next. Repeat around. (12)
Stuff the feet. Do not stuff past round 9.
Round 9: INV DEC in each around. (6)
Round 10: SC INC in each around. (12)
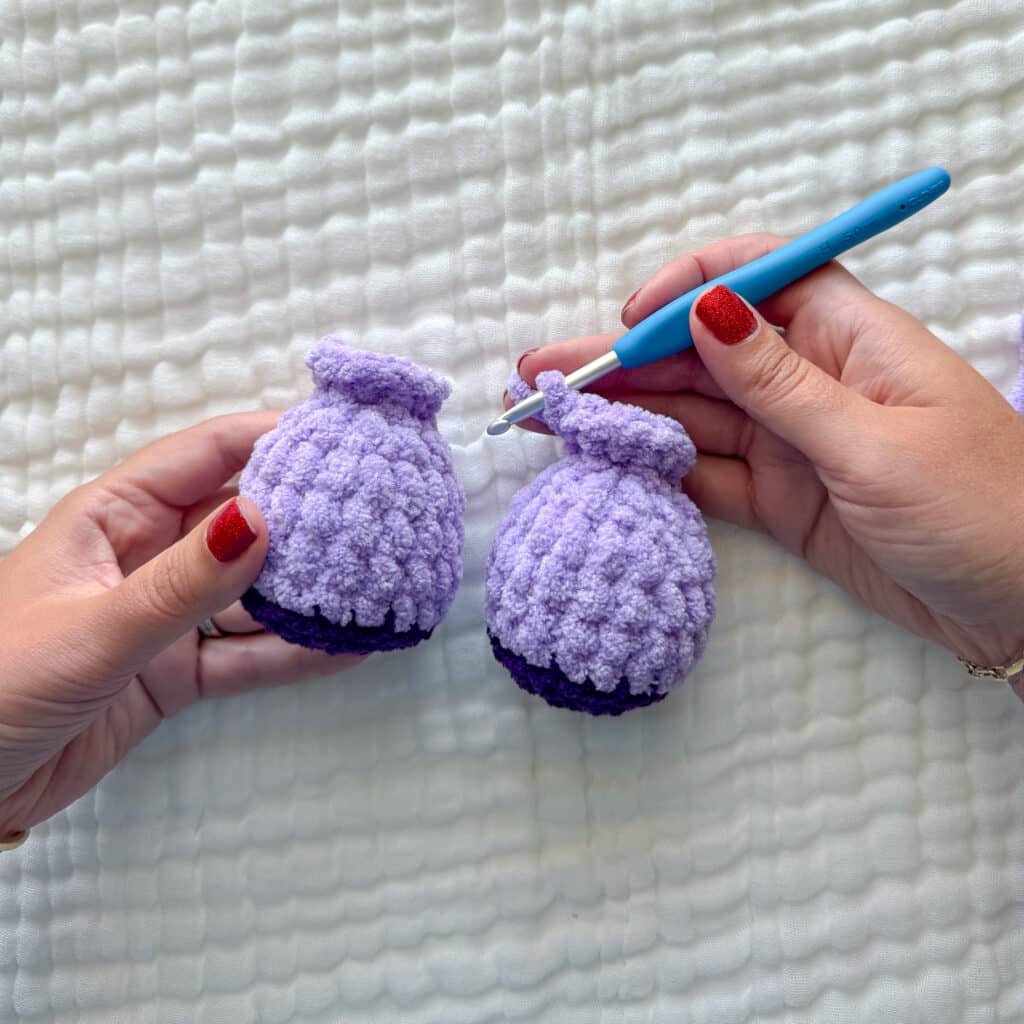
Stop here and fasten off for the first foot.
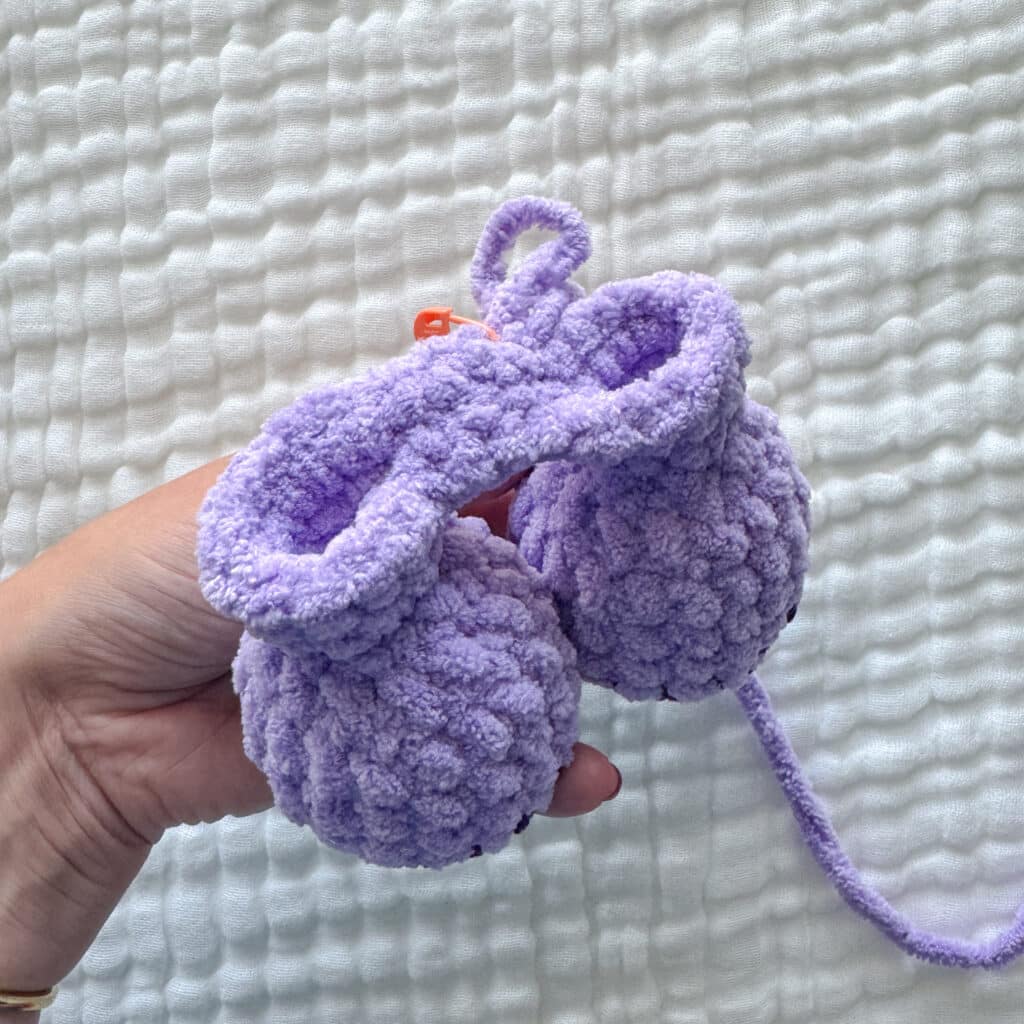
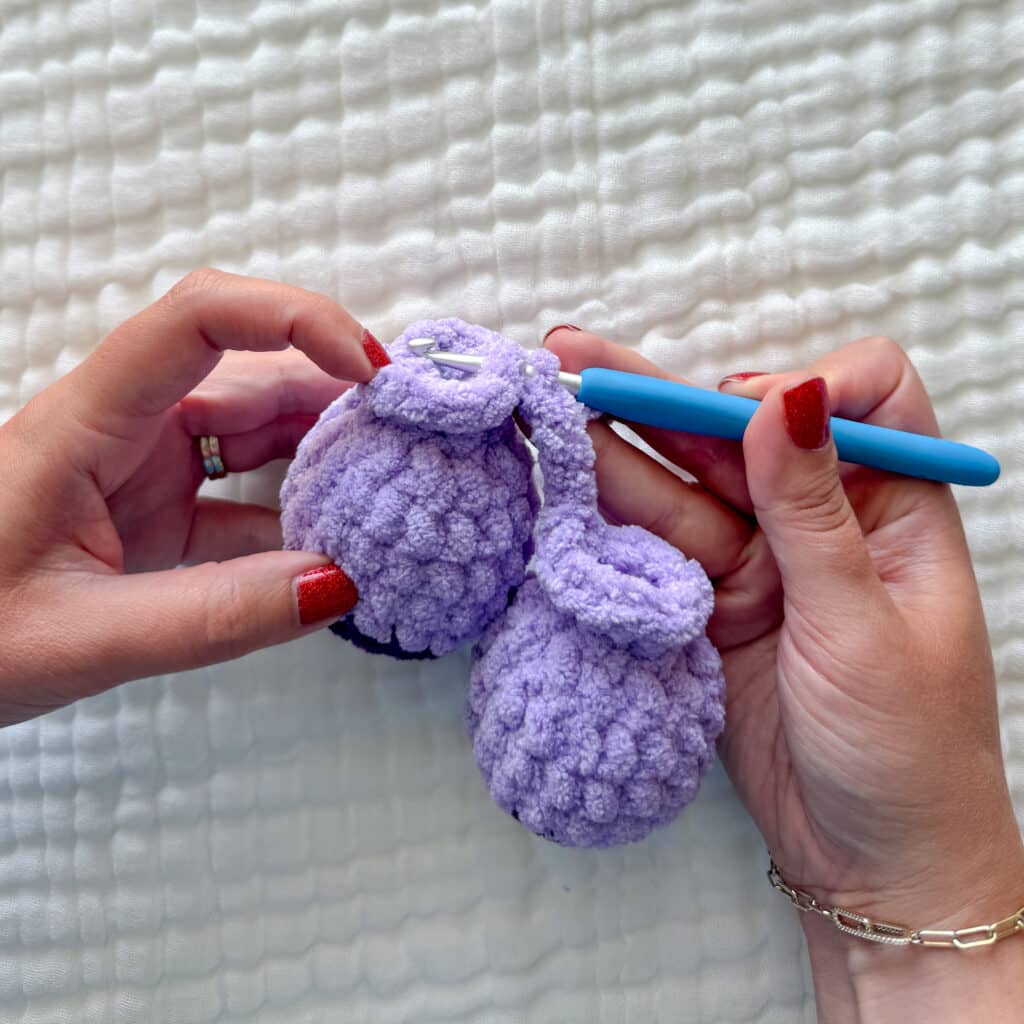
On the second foot, chain 4 and slip stitch to the first leg where you fastened off.
Round 11: Chain 1 and SC in each stitch around on the leg (12). SC in each chain across. (4) SC in each stitch around the second leg. (12) SC on the other side of the chain. (4) Attach to the first SC with a slip stitch. (a total of 32)
Body (cont’d)
Rounds 12-16: SC in each around. (32)
Round 17: SC in the first two. INV DEC in the next. Repeat around. (24)
Rounds 18-22: SC in each around. (24) *5 rounds*
Round 23: SC in the first two. INV DEC in the next. Repeat around. (18)
Round 24: SC in each around. (18)
Round 25: SC in the first. INV DEC in the next. Repeat around. (12)
Round 26: INV DEC in each around. (6)
From here we are increasing the base we will sew on to the head.
Round 27: SC INC in each around. (12)
Round 28: SC in the first stitch, SC INC in the next. Repeat around. (18)
Fasten off and leave a long tail to sew on.
Arms (make 2)
Stuff the hand and the bottom half of the arm as you go.
Using the accent color:
Round 1: In a magic circle, SC 6.
Round 2: SC INC in each around. (12)
Round 3-4: SC in each around. (12)
Change to the main color.
Rounds 5-6: SC in each around. (12)
Round 7: SC in the first, INV DEC in the next. Repeat around. (8)
Rounds 8-12: SC in each around. (8)
Fasten off and leave an extra long tail.
Sew the opening closed.
Assembly
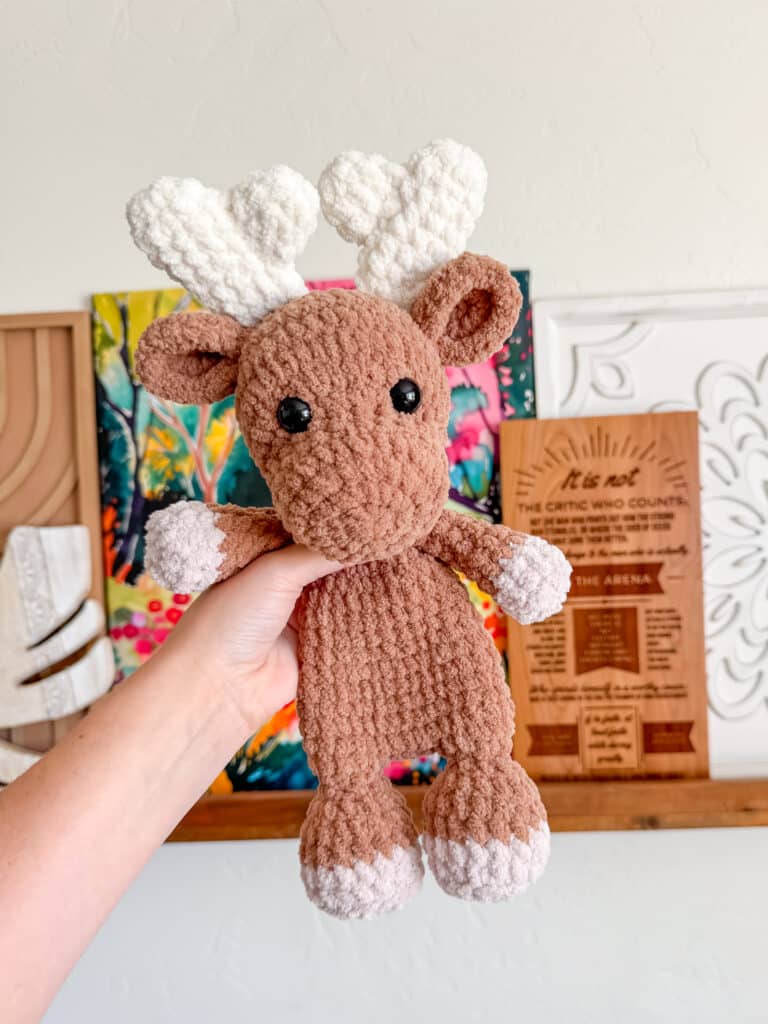
Attaching the Ears: Attach the ears around round 12 of the head, lined up slightly outside the eyes and so that they face directly out.
Attaching the Antlers: Sew the smaller antler piece on the flat end of the first, longer piece along rounds 4-6. Attach them behind and inside the ears.
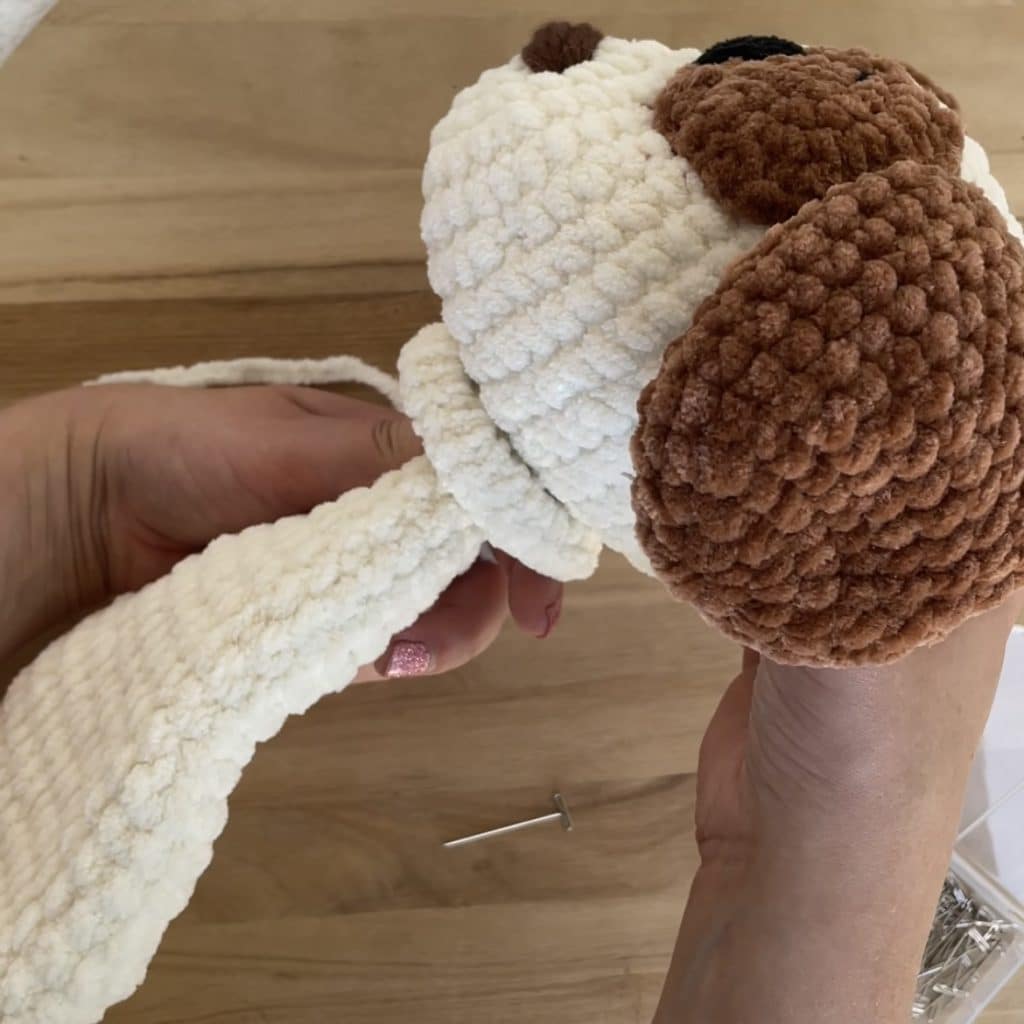
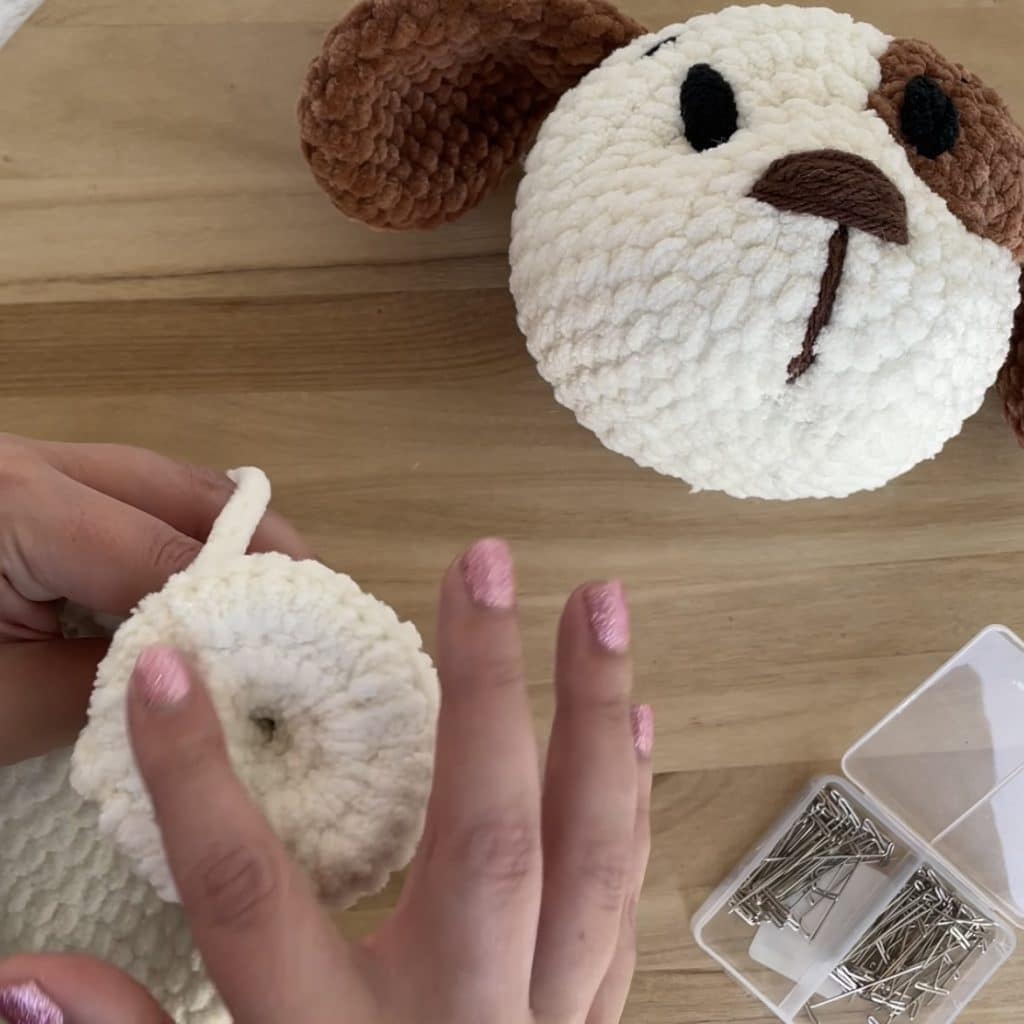
Attaching Head to Body: Once you are ready to attach the head to the body, pin the flat disc that is at the top of the body where you want it on the head. Try to center it as best you can. I prefer mine to be slightly close to the nose so that the head flops forward more than backwards. As you sew, go through the front loop on the SC at the top of the disc. Pull tightly each time. Try to pull the disc out as you go, so that it lies as flat to the head as you can.
Attaching Arms: Attach the arms with the long needle method on rows 24-25 just below the head.
Tips
- Yarn Substitutions: You can substitute different yarns if you would like, but keep in mind that different types of yarn, even if they say they are the same size, work up differently.
- Safety vs. Embroidery: For a toy intended for a baby or toddler, consider embroidering the eyes instead of using safety eyes for added safety.
- Tight Stitches: When using plush yarn, it is crucial to use a hook size that keeps stitches tight to prevent stuffing from showing through. If the stitches are too tight for you to work comfortably, size up slightly.
FAQs

1. Is this pattern safe for a baby?
The pattern allows for embroidered eyes, which makes it safer for babies and toddlers than using plastic safety eyes. Always supervise young children with handmade toys.
2. Why does the head flop?
The head is designed to flop forward slightly because the body is a flat “snuggler” style rather than a fully stuffed cylinder. This is an intentional design feature to make it more like a lovey.
3. Can I use a different yarn?
Yes, you can use other size 6 weight blanket yarns like Bernat Blanket or Cozy Cub. However, be aware that hook sizes may need to be adjusted to maintain tight stitches.
4. How do I attach the two feet?
You make the first foot and fasten off. For the second foot, you chain 4 and slip stitch to the first leg where you fastened off, then work around both legs to join them.
5. Do I stuff the body?
No, the body is left unstuffed to create the flat, huggable blanket effect. Only the head and feet are stuffed.
Pin This Crochet Pattern!