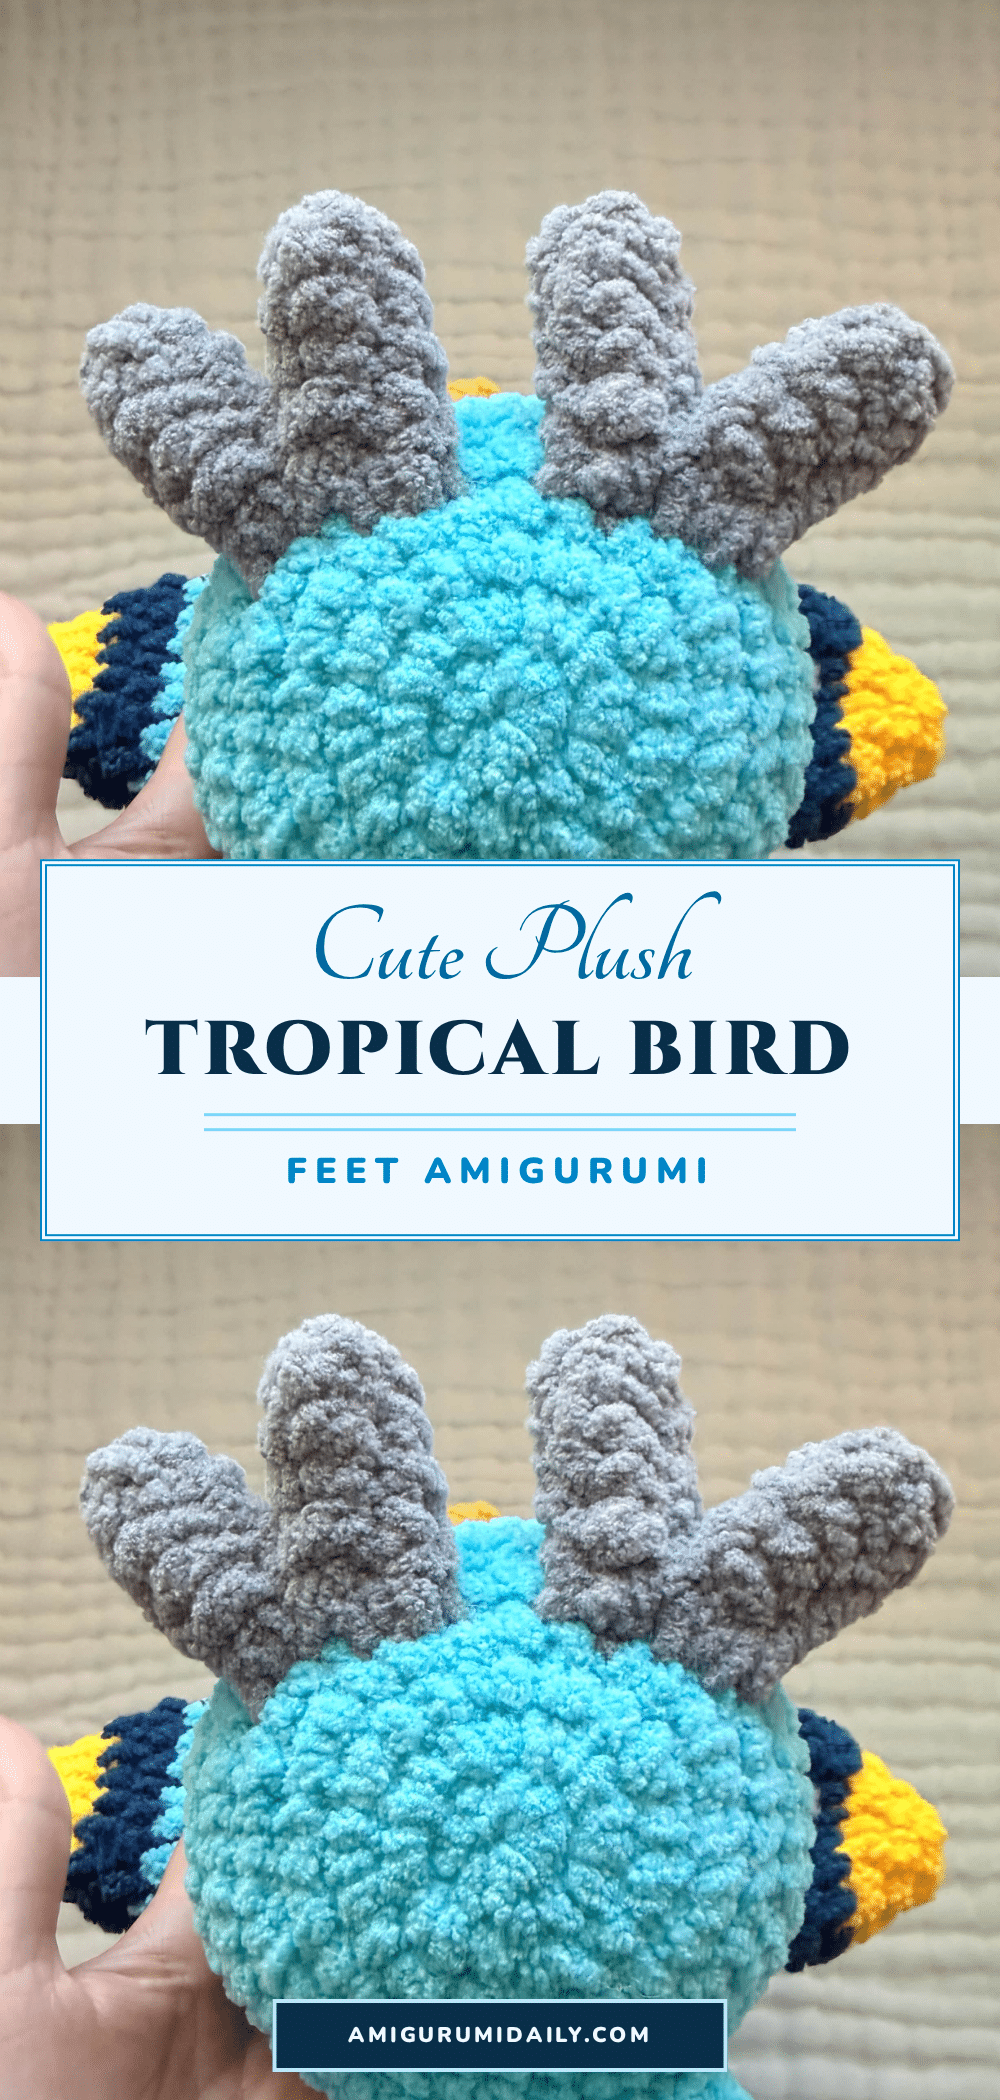
There is something undeniably delightful about a plush toy that feels complete and polished, and adding the feet to a plush tropical bird is the final touch that transforms a good project into a display-worthy masterpiece. The finished piece stands out for its squishy, tidy appearance, making it an excellent giftable companion or a charming desk buddy. This tutorial focuses specifically on the assembly phase, ensuring your bird’s feet are attached securely and symmetrically for that professional, cuddly look.
Why the Finished Piece Stands Out
While the body of the plush tropical bird might be soft and inviting, it is the addition of the feet that grounds the character, giving it personality and stability. These feet provide a subtle contrast in texture and shape, anchoring the bird so it can sit upright proudly. The process of attaching them requires a bit of patience, but the result is a plush toy that looks professionally made, with neat seams and perfectly positioned limbs that invite you to pick it up and squeeze it. This step is crucial for achieving that “finished” feel, turning a collection of crocheted parts into a cohesive, adorable friend.
Project Overview
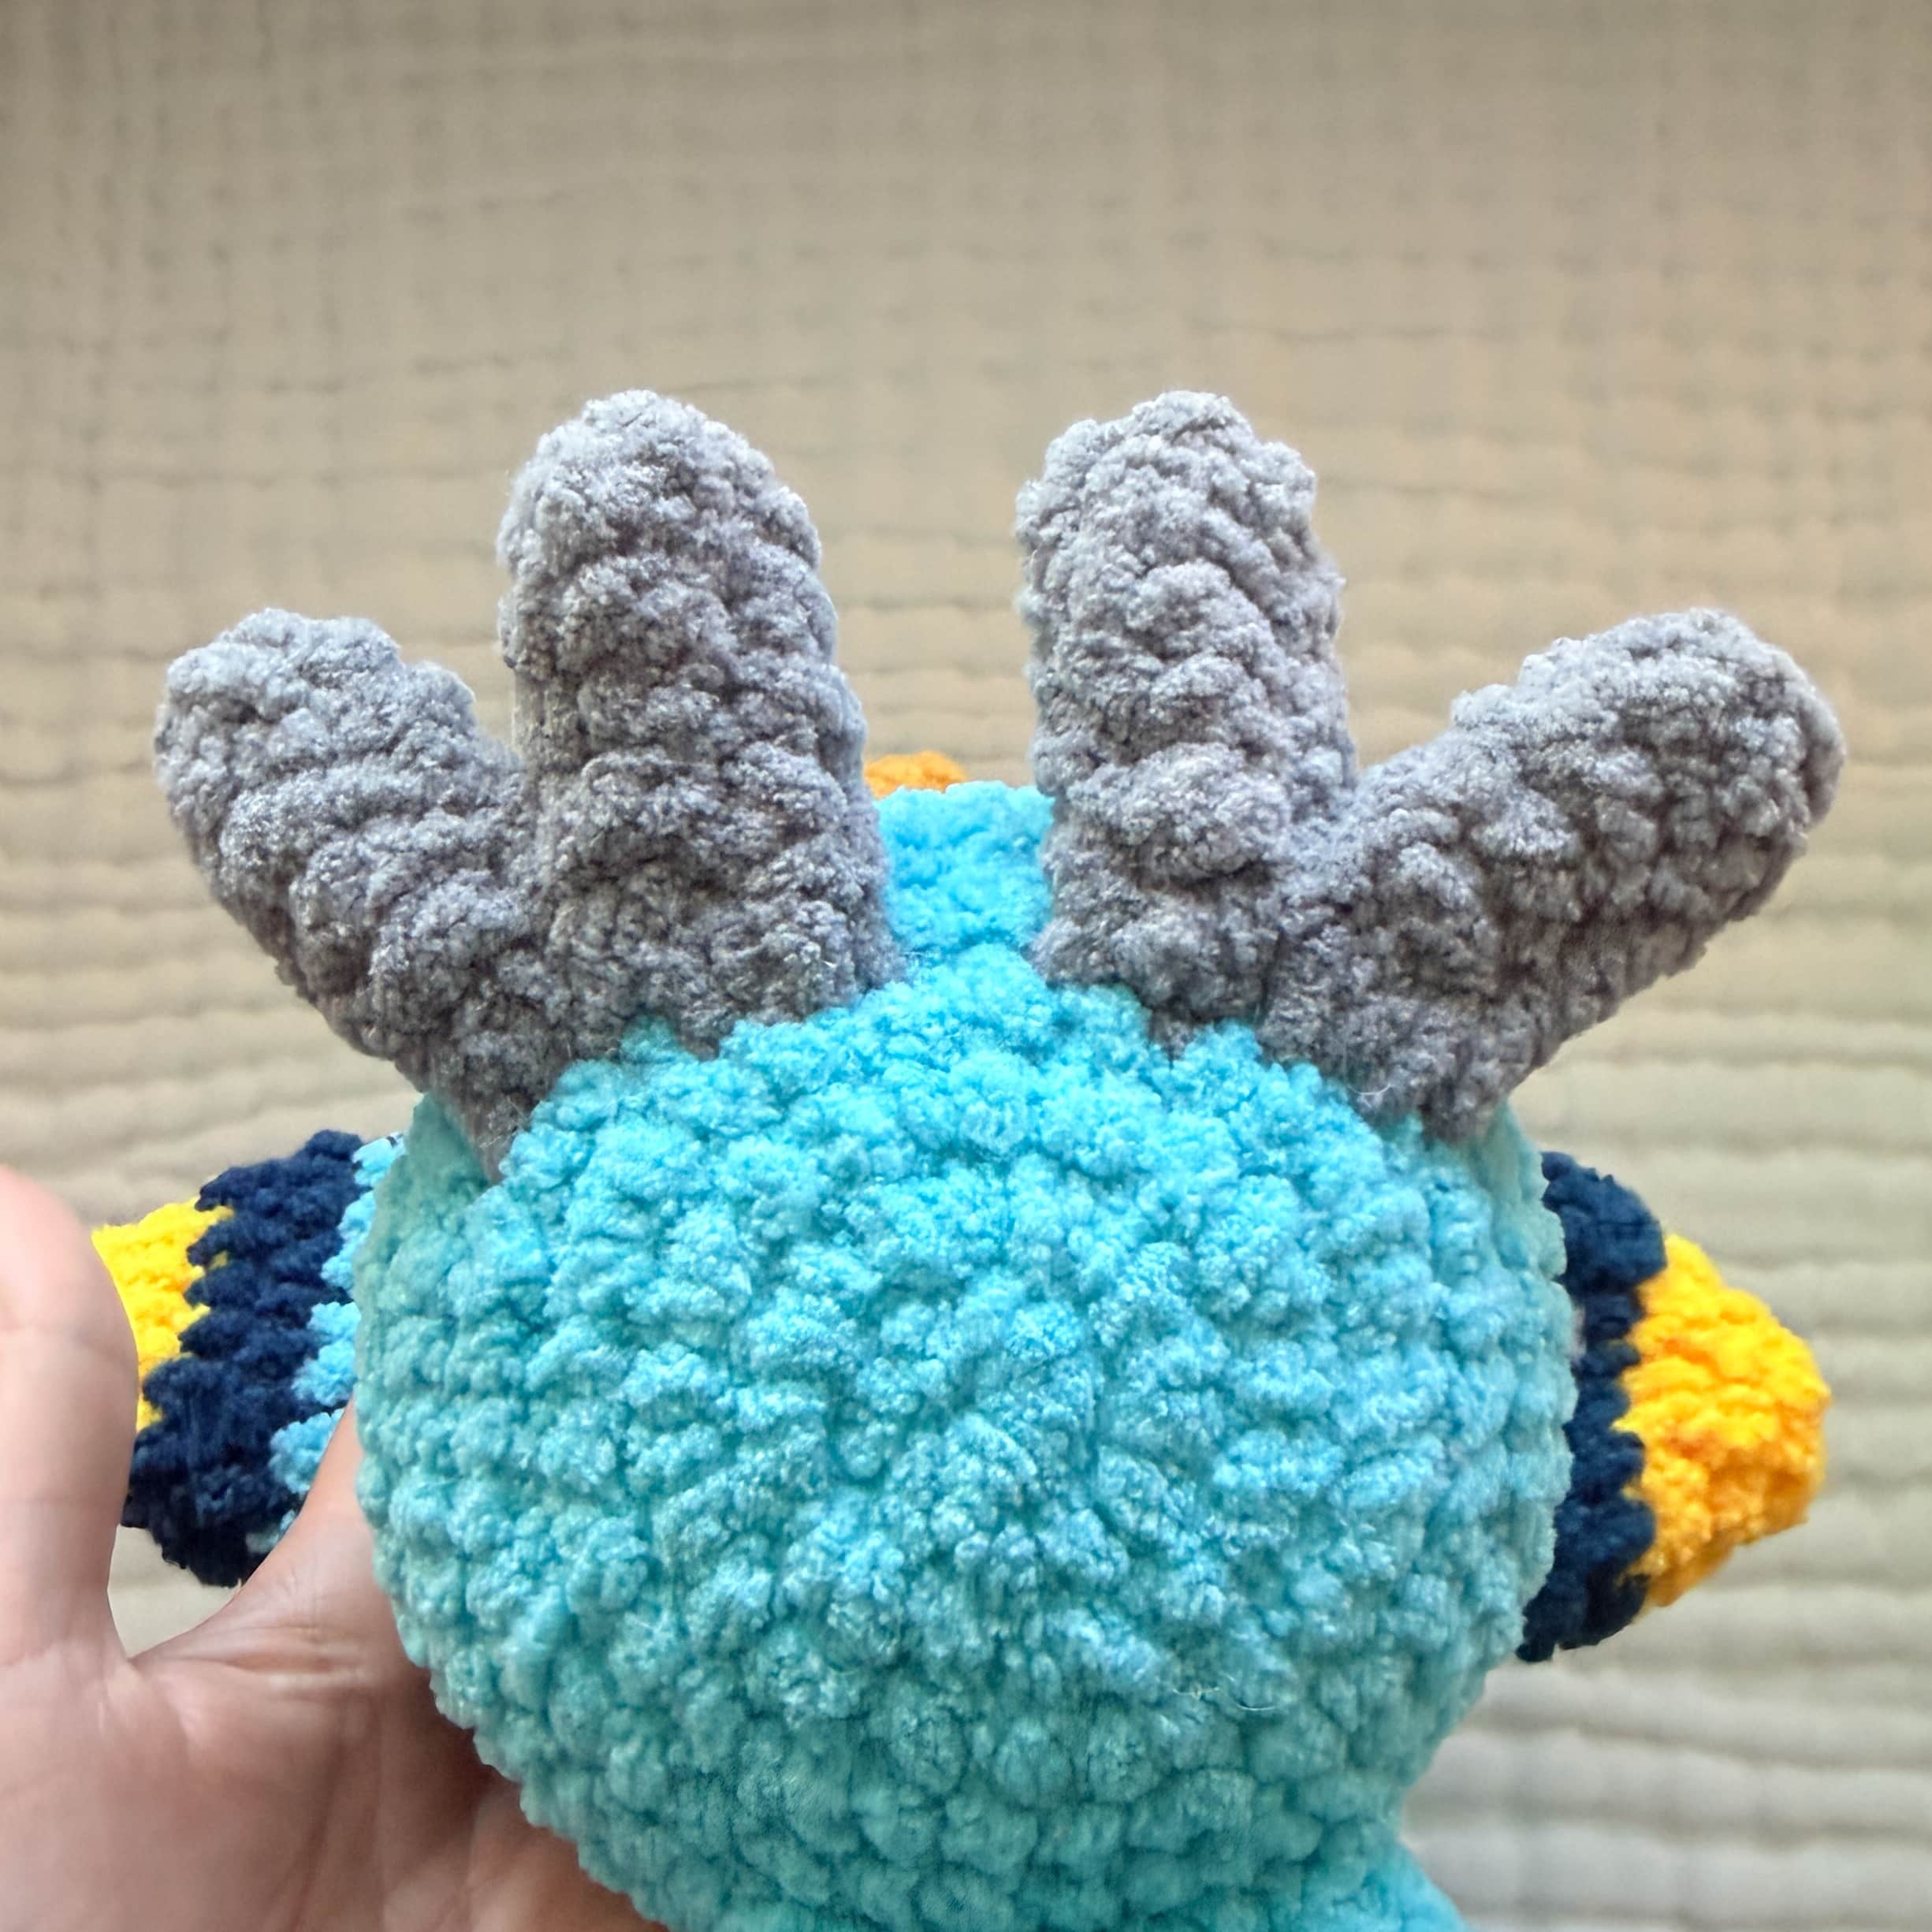
This guide serves as a companion to the main Plush Tropical Bird pattern, specifically addressing the assembly of the feet. It is designed to help you attach the pre-made feet components to the body of the bird, ensuring they are secure, symmetrical, and ready for display. This is a video-based tutorial, providing visual guidance for the stitching and placement techniques.
Assembly Instructions
The assembly of the feet is demonstrated through a dedicated video tutorial. Please follow the visual instructions to ensure proper placement and secure attachment.
Pattern Notes
Video Playback Assistance: If you are unable to see the video player, it may be due to an ad-blocker preventing the content from loading. Please try turning off your ad-blocker or switching to a different browser. You may also need to wait a moment for the player to fully load. Once visible, scroll down and press play. If the video continues not to play, you can view it directly on YouTube via the provided link.
Tips
- Ensure your feet are firmly stuffed before attaching them to maintain their shape.
- Use a tapestry needle for sewing the feet on to keep stitches hidden and neat.
- Double-check the symmetry of the feet placement before making the final stitches to ensure the bird sits evenly.
FAQs
What if the video won’t load?
Check if your browser has an ad-blocker enabled. Disabling it or using a different browser often resolves playback issues. You can also try refreshing the page or waiting a few moments for the content to buffer.
Can I view the tutorial on YouTube?
Yes, if the embedded video does not play on this page, you can view the full tutorial directly on YouTube using the link provided in the notes.
How do I ensure the feet are symmetrical?
Measure the distance from the center of the bird’s body to the attachment point for each foot before sewing. This helps ensure both feet are placed at the same height and angle.
What yarn should I use for the feet?
Use the same yarn weight and fiber content as specified in the main Plush Tropical Bird pattern to ensure a consistent look and feel.
Do I need to stuff the feet?
Yes, firmly stuff the feet with poly-fil before attaching them to the body. This helps them hold their shape and prevents them from looking flat or deflated.
Pin This Crochet Pattern!