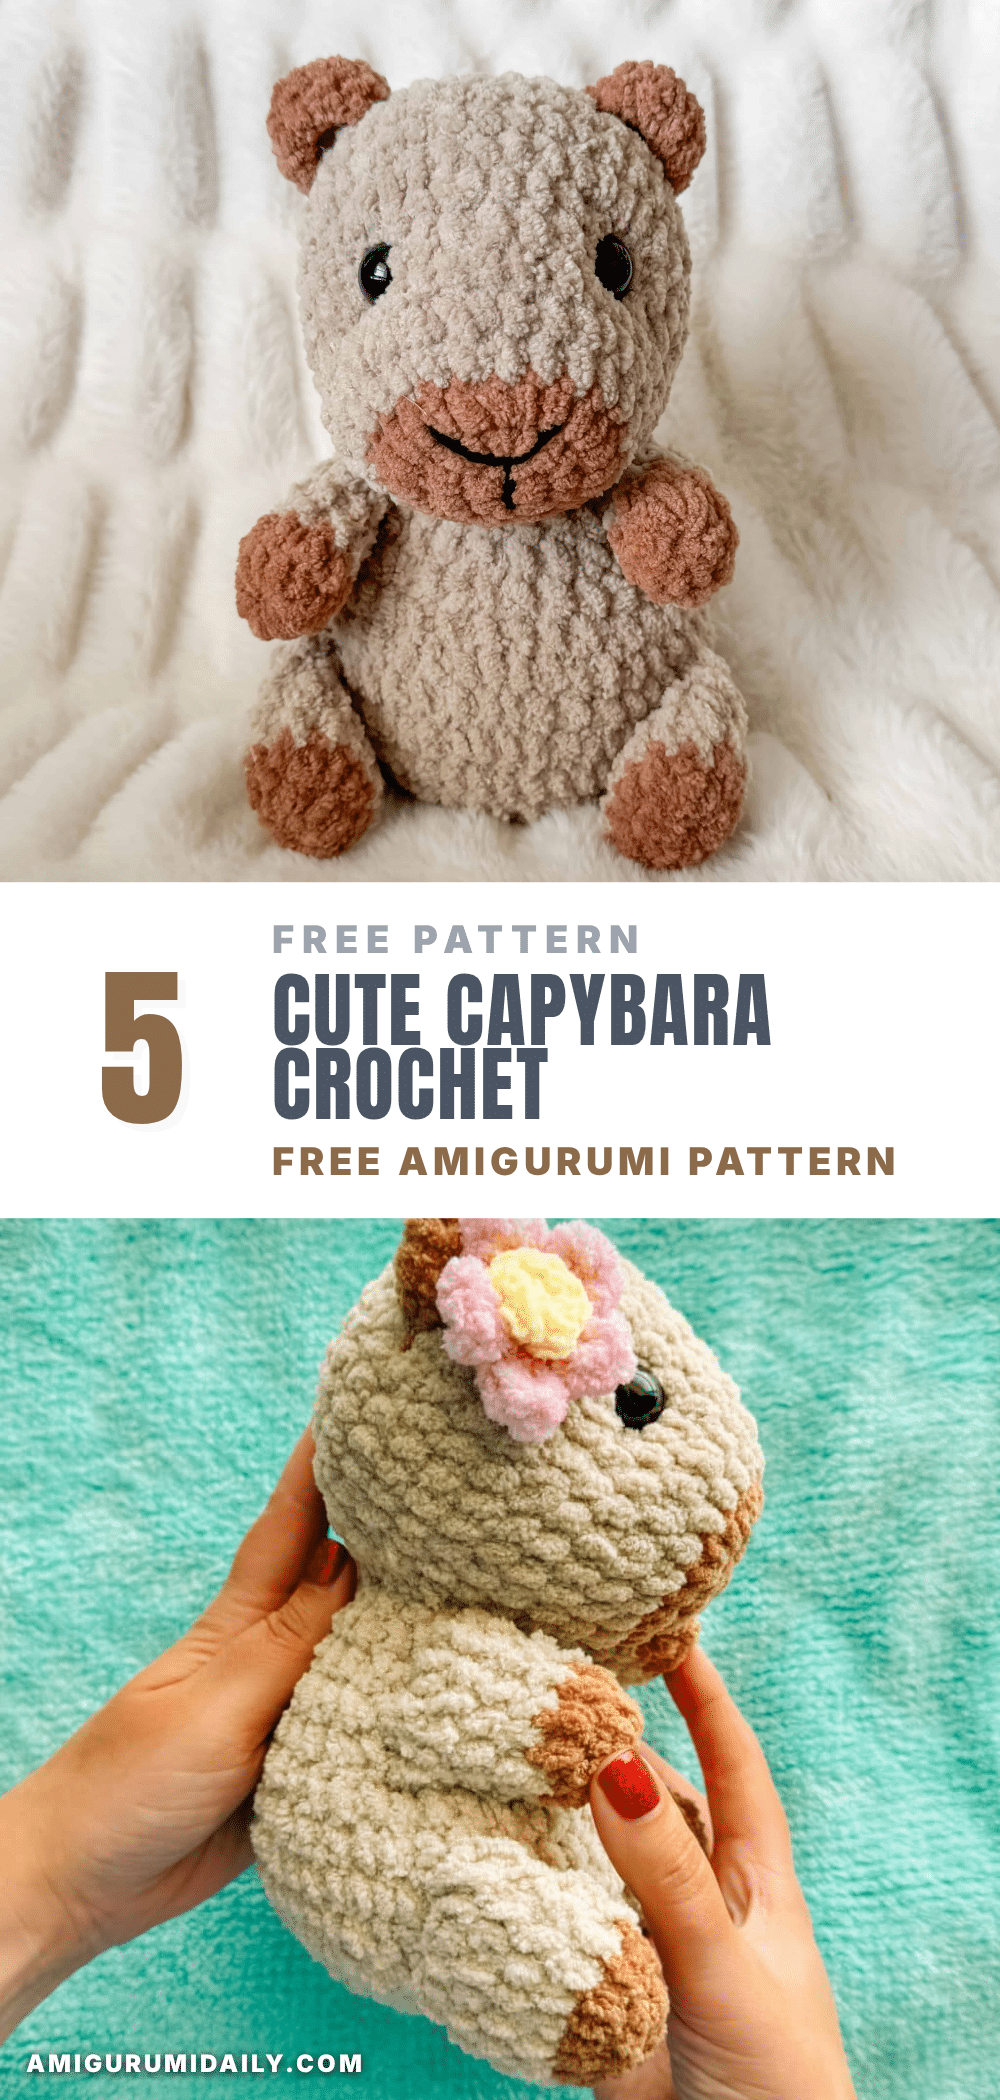
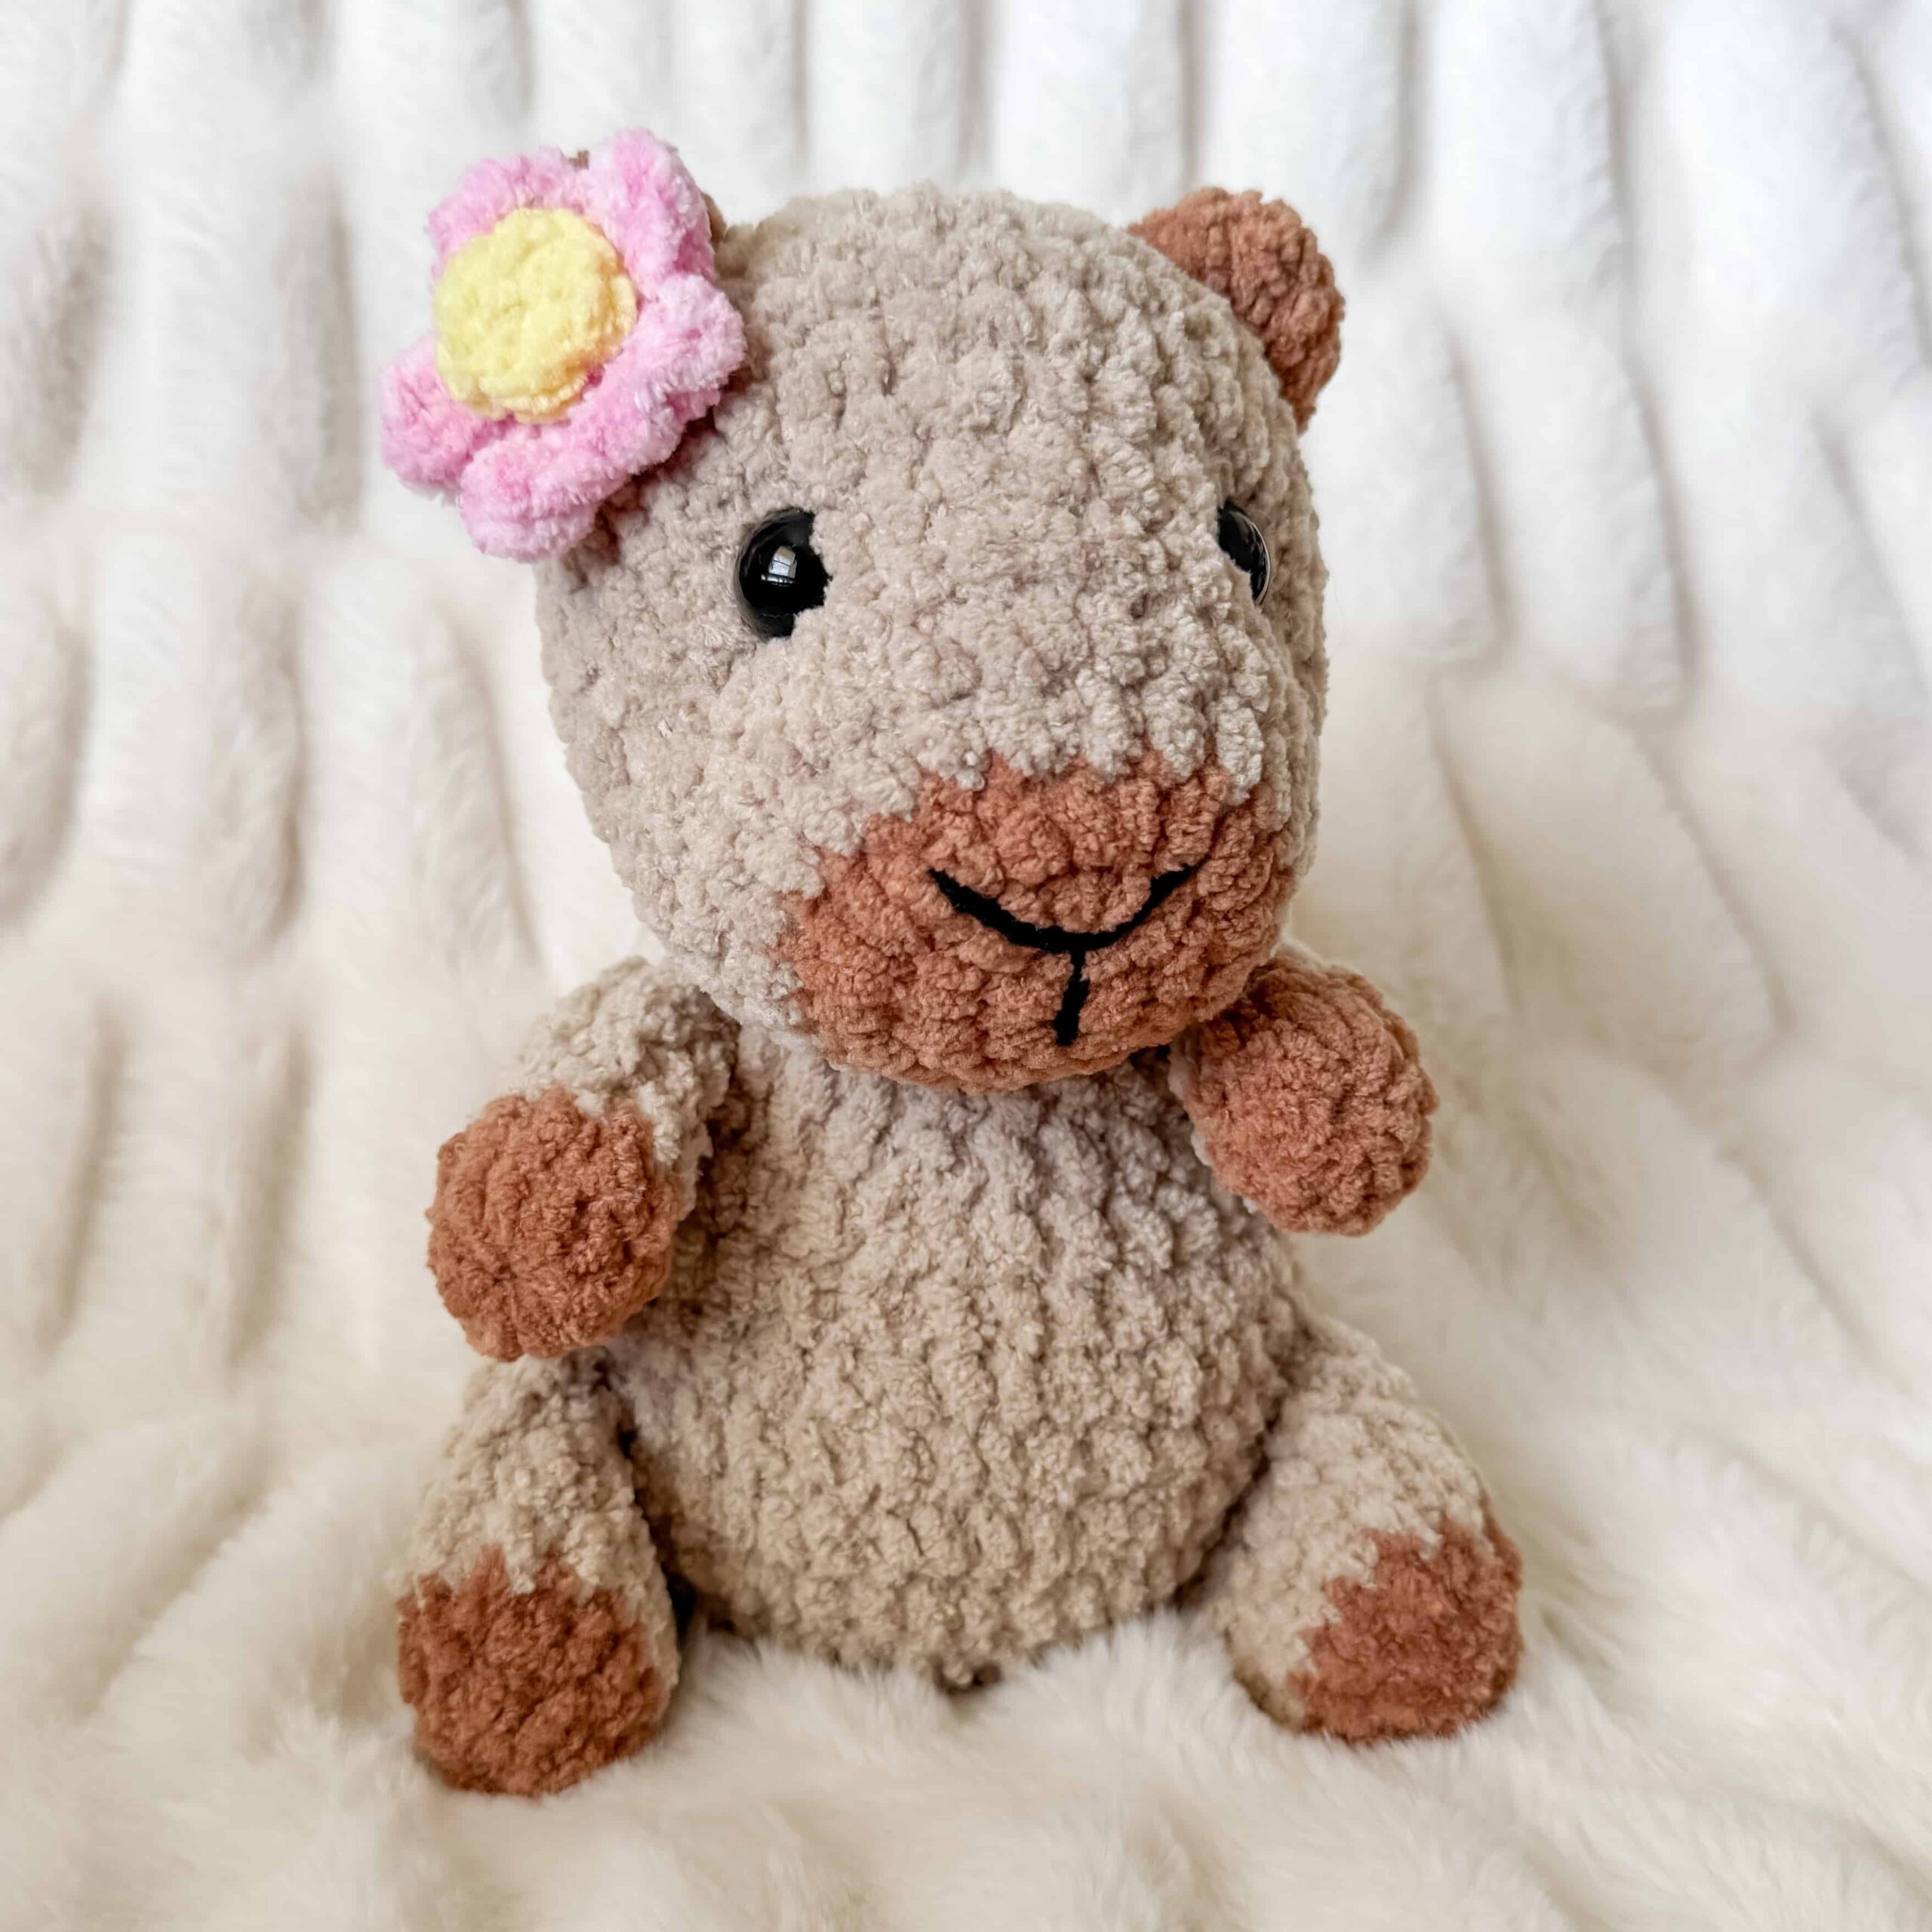
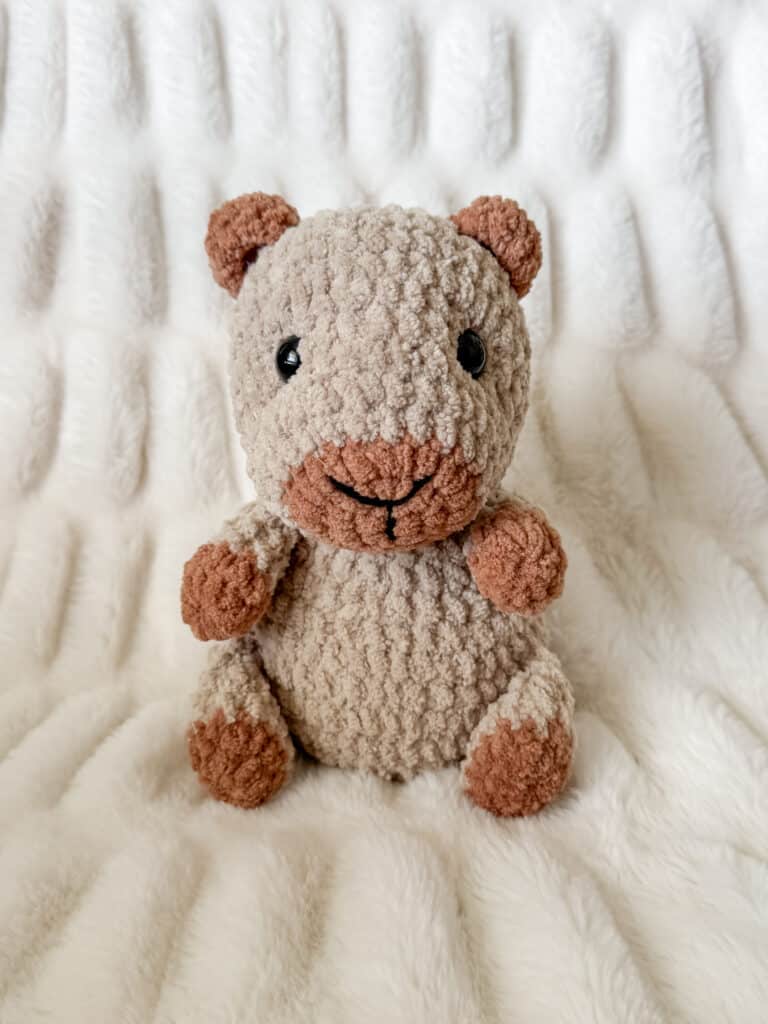
Clara the Capybara is the perfect addition to any amigurumi collection, offering a squishy, display-worthy charm that is impossible to resist. With her chubby body and sweet little feet, this plush friend brings big cozy vibes and a whole lot of personality. Whether you are looking for a gift for a child or a cute desk companion for yourself, this beginner-friendly pattern is designed to be a fast, huggable weekend project.
Why the Finished Piece Stands Out
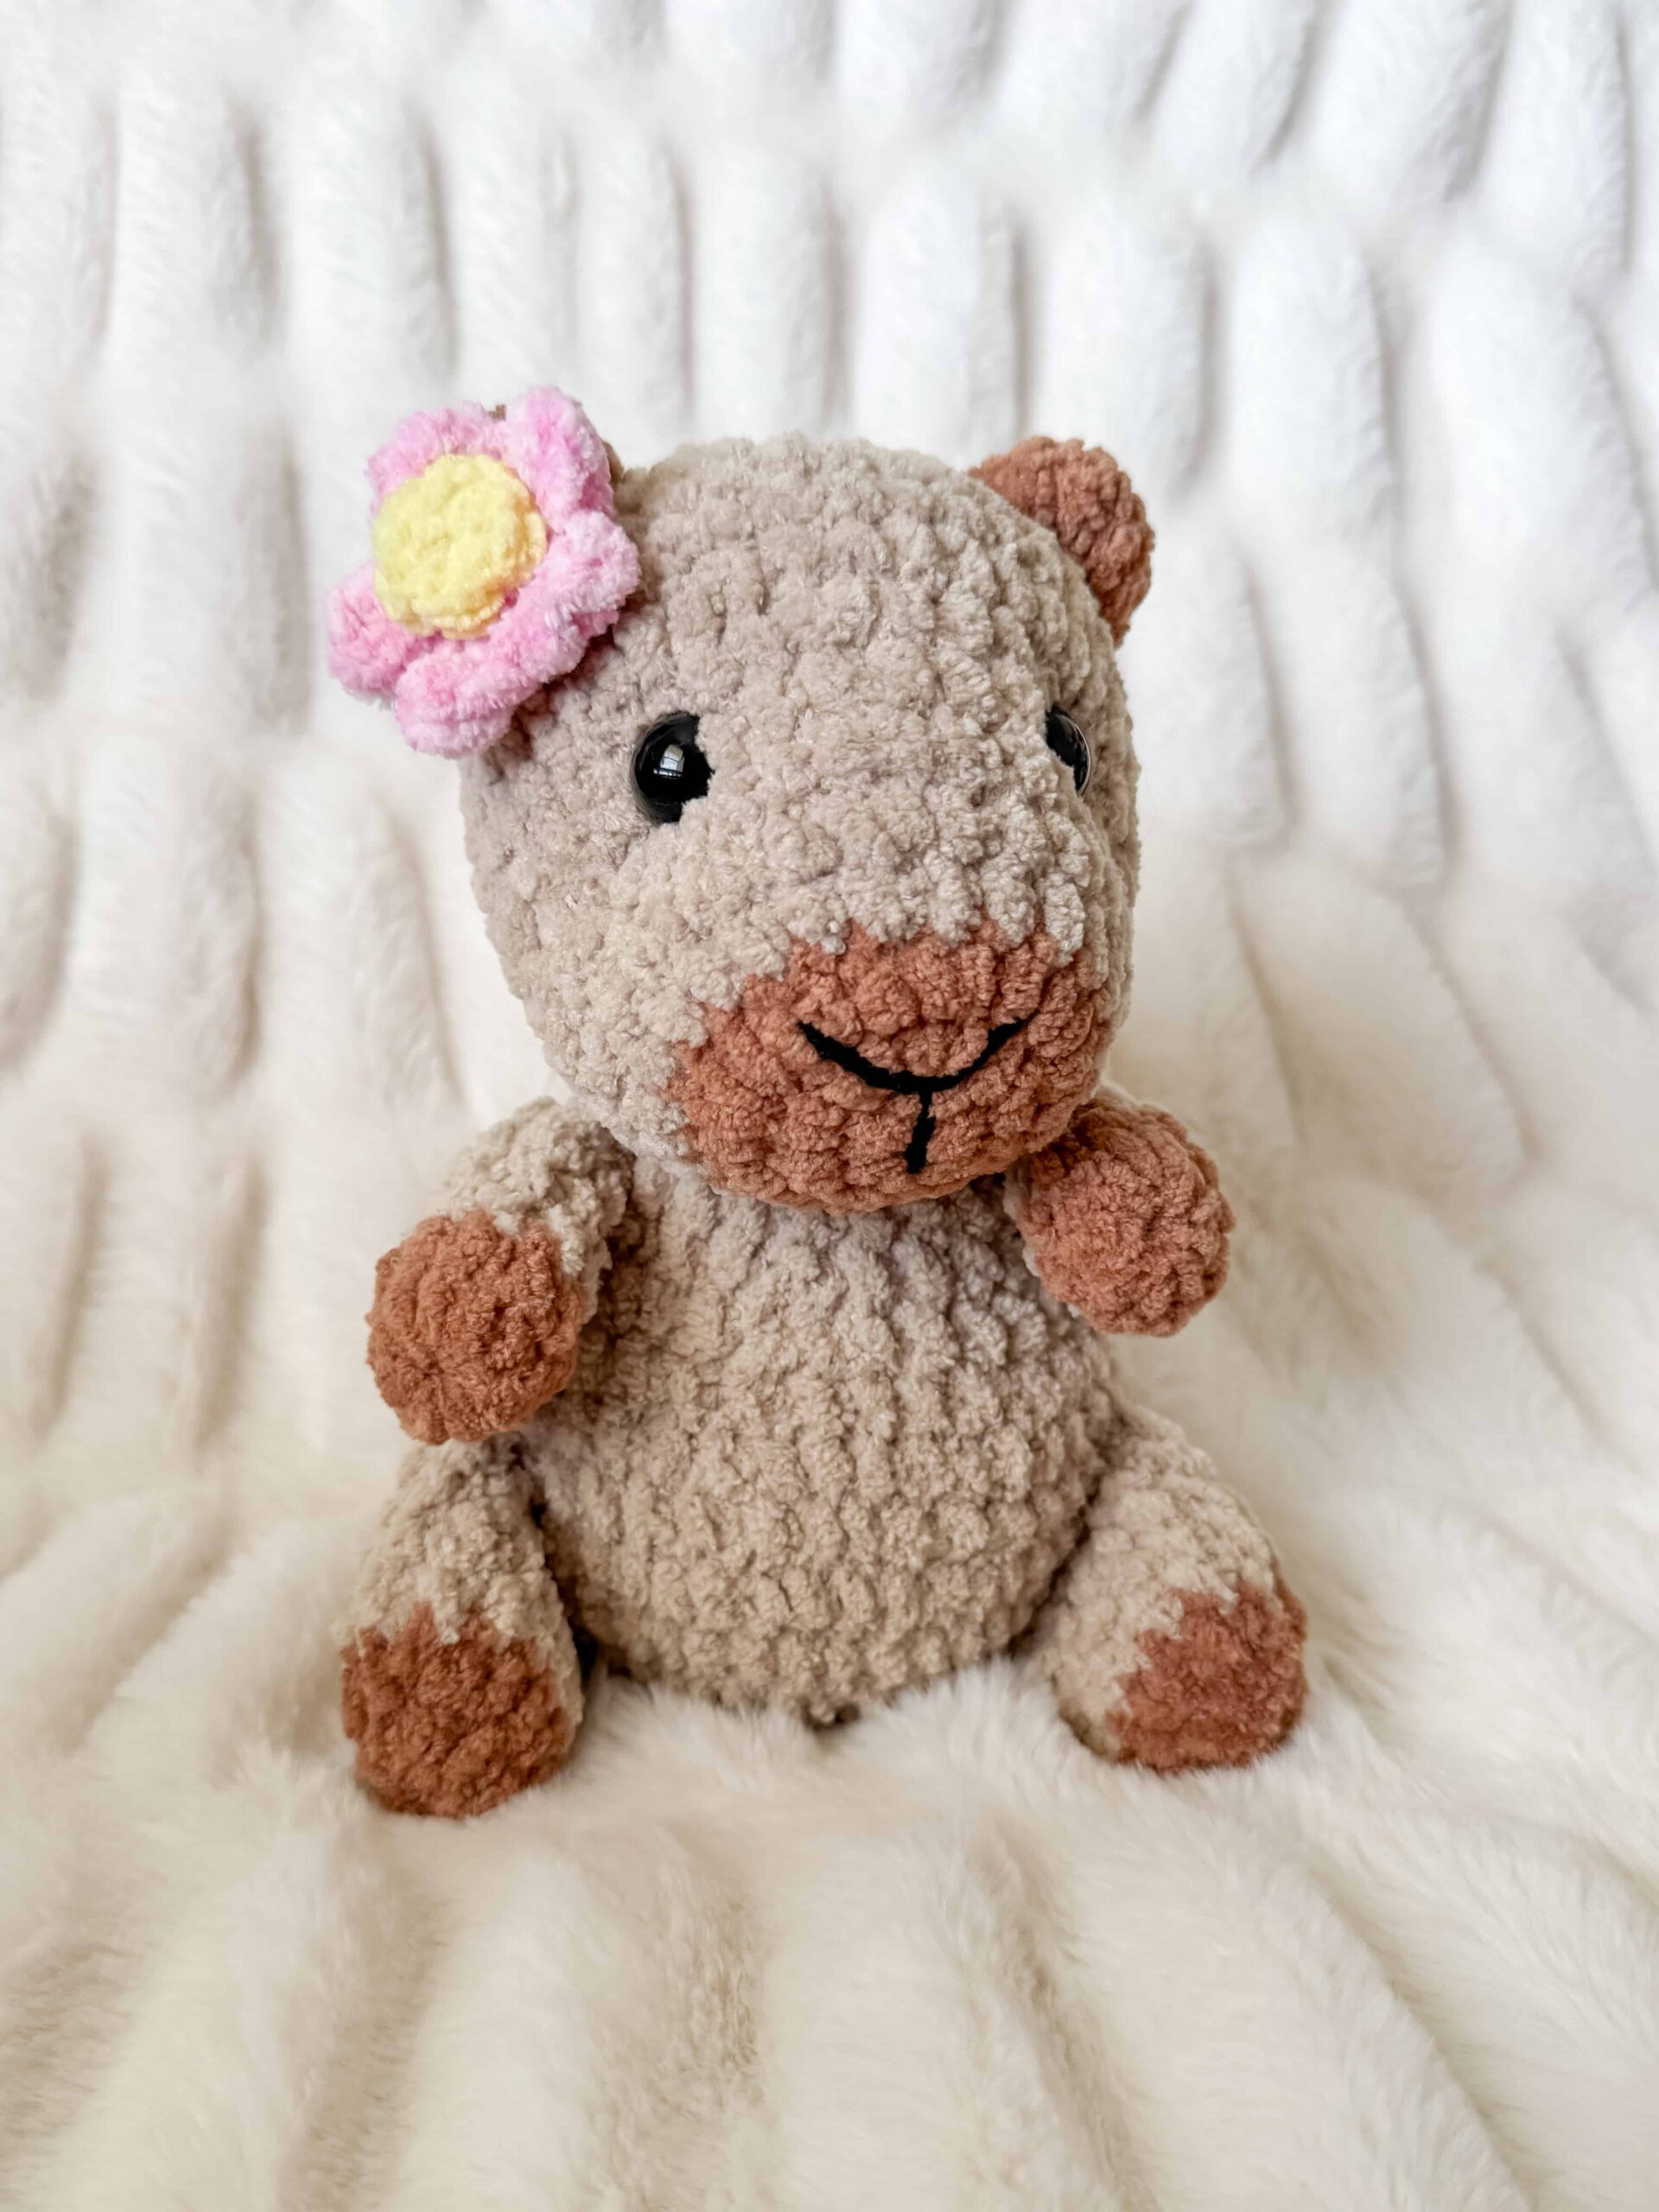
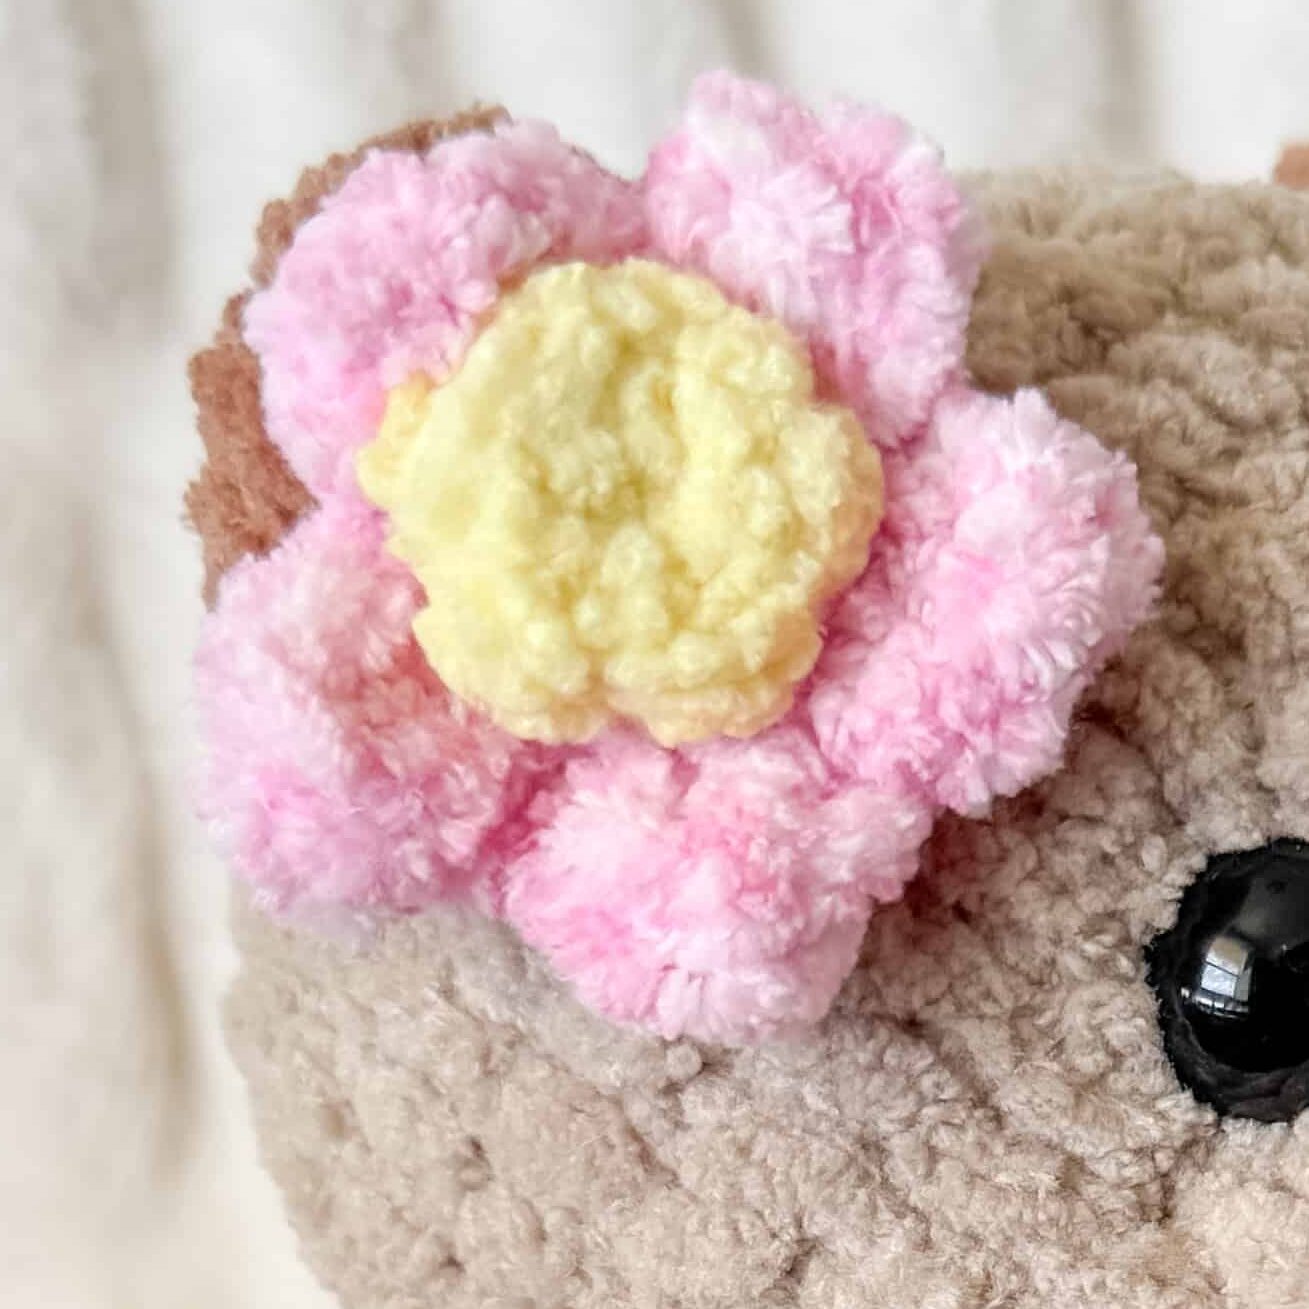
What truly makes Clara stand out is her unique combination of a rounded, oversized body and a distinct, gentle expression. The use of plush chenille yarn gives her a soft, velvety texture that begs to be touched, while the caramel and tan color blocking highlights her natural capybara markings beautifully. Unlike standard amigurumi, this design focuses on a “squishy” finish, making her incredibly tactile and comforting. The addition of the flower and bow tie accessories adds a touch of whimsy, transforming a simple animal into a character with distinct style. She is sturdy enough for little hands to hold but detailed enough to satisfy the eye of an experienced crocheter.
Project Overview
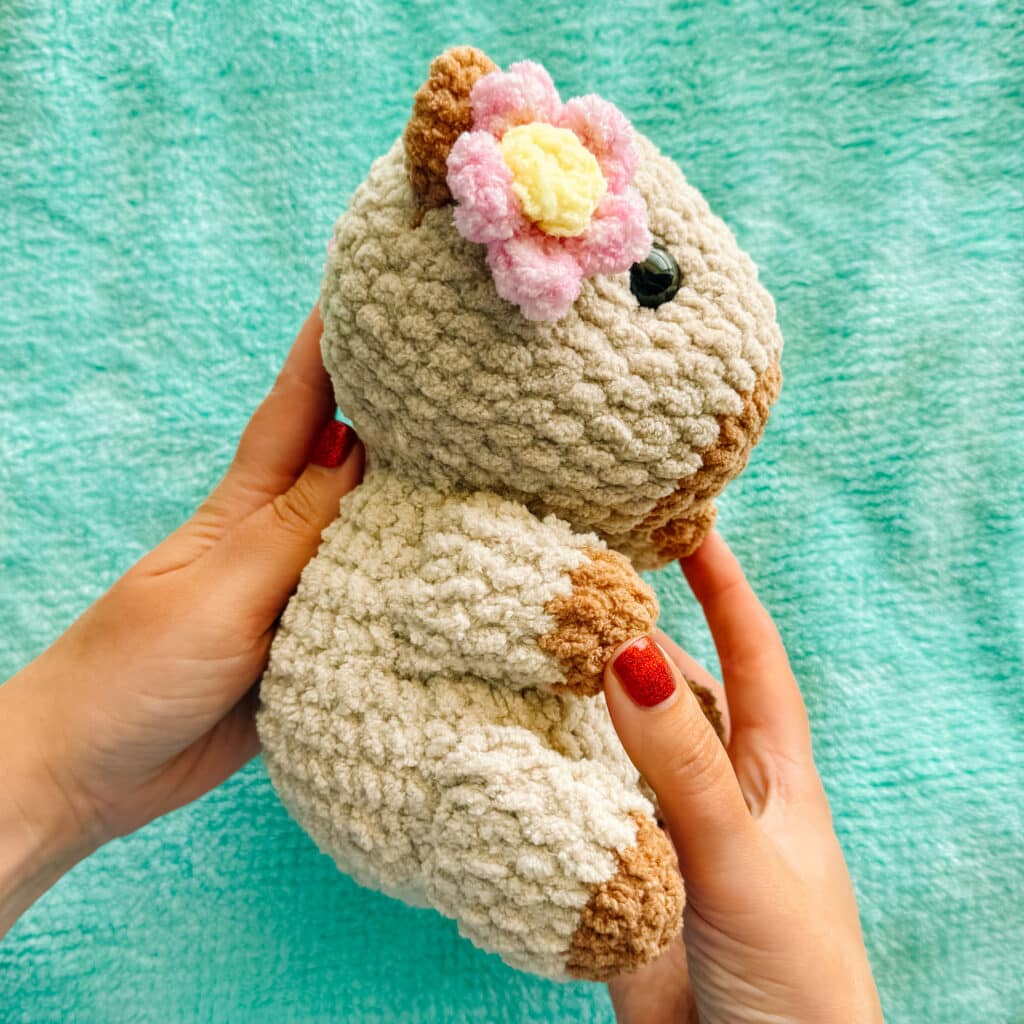
This pattern creates Clara the Capybara, a beginner-friendly amigurumi featuring a rounded body, short limbs, and an easy-to-follow construction. The project is worked mostly in the round using bulky plush yarn, ensuring a super soft finish that is perfect for hugging or gifting. The construction is straightforward, making it an ideal choice for those new to amigurumi or those looking to expand their plushy zoo.
Materials
- Yarn: 100g Premier Basix Chenille in Sand (Tan)
- Yarn: 40g Premier Basix Chenille in Caramel
- Yarn: Small amount of black worsted yarn (for nose embroidery)
- Yarn: Blanket yarn (for bow tie)
- Stuffing: Polyester fiberfill
- Eyes: 16mm safety eyes
- Hook: 4.5mm crochet hook (or hook size that keeps stitches tight and feels comfortable)
- Notions: Tapestry needle, stitch marker
Gauge and Finished Size
Specific gauge measurements and finished dimensions are not provided in the source pattern. However, the pattern is designed to be worked with plush yarn to achieve a super soft, squishy finish. Ensure your stitches are tight to prevent stuffing from showing.
Abbreviations
- SC – Single Crochet
- SC INC – Single Crochet Increase (2 SC in each stitch)
- INV DEC – Invisible decrease: Put hook through the FRONT LOOP ONLY of two consecutive stitches [two loops on hook] Yarn over pull through both loops. [two loops on hook] Yarn over pull through two loops
- Magic Circle – Make a loop, leaving a long tail to work with. Insert hook in center of loop, yarn over and draw up a loop. Yarn over, pull through to make the first chain (this does not count as a stitch!). Continue to crochet over the loop and tail with the number of stitches called for. (If you need 6 SC, then crochet 6 SC inside the ring.) Pull the tail to close the circle.
Pattern Notes
- This pattern is worked in continuous rounds. Always move your stitch marker to the last stitch in the round.
- You can use safety eyes or try embroidered eyes for a version safe for babies and toddlers.
- The pattern includes instructions for face shaping to create a nose bridge and dimples.
Pattern Instructions
Body
With tan:
- Round 1: In a magic circle, SC 8.
- Round 2: SC INC in each around. (16)
- Round 3: SC in the first, SC INC in the next. Repeat around. (24)
- Round 4: SC in the first 2, SC INC in the next. Repeat around. (32)
- Round 5: SC in the first 3, SC INC in the next. Repeat around. (40)
- Round 6: SC in the first 4, SC INC in the next. Repeat around. (48)
- Round 7-8: SC in each around. (48)
- Round 9: SC in the first 4, INV DEC. Repeat around. (40)
- Round 10: SC in each around. (40)
- Round 11: SC in the first 3, INV DEC. Repeat around. (32)
- Round 12: SC in each around. (32)
- Start stuffing here and continue stuffing as you go.
- Round 13: SC in the first 2, INV DEC. Repeat around. (24)
- Round 14: SC in each around. (24)
- Round 15: SC in the first, INV DEC. Repeat around. (16)
- Fasten off and leave a long tail to sew onto head.
Head
Starting with caramel:
- Round 1: In a magic circle, SC 8.
- Round 2: SC INC in each around. (16)
- Round 3: SC in the first, SC INC in the next. Repeat around. (24)
- Change color to tan.
- Round 4: SC in each around. (24)
- Round 5: SC in the first 2, SC INC in the next. Repeat around. (32)
- Rounds 6-7: SC in each around. (32)
- Round 8: SC in the first 3, SC INC. Repeat around. (40)
- Rounds 9-10: SC in each around. (40)
- Attach eyes on round 7 (do NOT put the backs on yet), about 9 stitches apart.
- Round 11: SC in the first 3, INV DEC. Repeat around. (32)
- Round 12: SC in the first 2, INV DEC. Repeat around. (24)
- Start stuffing here and shape the face. Continue to close.
- Round 13: SC in the first, INV DEC. Repeat around. (16)
- Round 14: INV DEC in each around. (8)
- Leave a long tail for sewing and close hole. Attach on top of the open body between rounds 6-10 of the head.
Face Shaping
Once you reach Round 12 of the head, place the safety eyes on Round 7, about 9 stitches apart—but do not attach the backs yet.
- Lightly stuff the head.
- Thread a long strand of matching yarn onto a needle.
- Insert it from the open back of the head and exit near one eye.
- Remove the eye, move over one stitch, and go across to the other eye, repeating the same step.
- Gently pull to create a nose bridge, then exit near your starting point and back out the head opening.
- Replace the eyes to check placement.
- If they look good, tie a knot to hold the tension and create slight dimples.
- Remove the stuffing (some yarn may catch—no problem), attach the safety eye backs, and restuff carefully, especially around the shaping yarn.
- Continue following the pattern to close the head, adding stuffing as needed.
- Tuck the yarn ends inside before finishing.
Ears (make 2)
With caramel:
- 6 SC in a magic circle. DO NOT CLOSE.
- Chain 1 and turn.
- 6 SC in each stitch around.
- Fasten off and leave a long tail to sew on to round 12.
- Line them up behind the eyes.
Nose Embroidery
With black worsted weight yarn:
Embroider a ‘Y’ shape on the caramel section of the nose (Rounds 1–3). The top of the Y should span about 4 stitches across, with the split point around the middle of Round 2. The stem of the Y should be 2 stitches long, ending near the bottom of Round 1.
Arms (make 2)
With caramel:
- Round 1: 10 SC in a magic circle (10)
- Round 2: SC in each around. (10)
- Change to tan.
- Rounds 3-6: SC in each around. (10) * 4 rounds*
- Leave unstuffed.
- Fasten off and sew on the sides, beneath the head.
Legs (make 2)
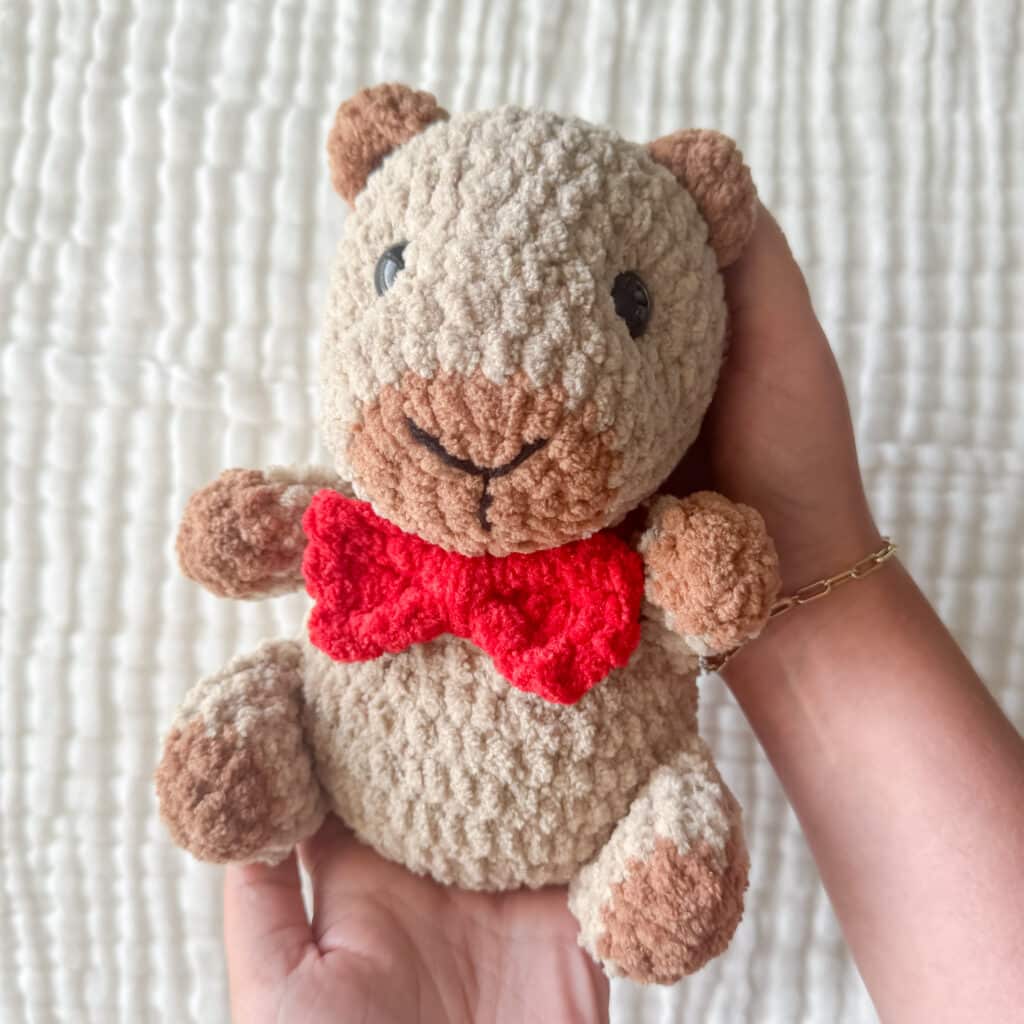
With caramel:
- Round 1: 7 SC in a magic circle. (7)
- Round 2: INC in each around. (14)
- Change to tan.
- Rounds 3-6: SC in each around. (14) *4 rounds*
- Leave unstuffed.
- Fasten off and sew on with the bottom on round 5 and the top on round 8.
Flower
- In a magic circle, chain 5. *Slip stitch into the center of the circle. (This is one petal.) Chain 5 and slip stitch to the middle. * Repeat for a total of 5 petals.
- Pull the circle closed, fasten off.
- For the center, SC 5x in a magic circle and close with a slip stitch.
- Sew to the center of the flower.
Bow Tie
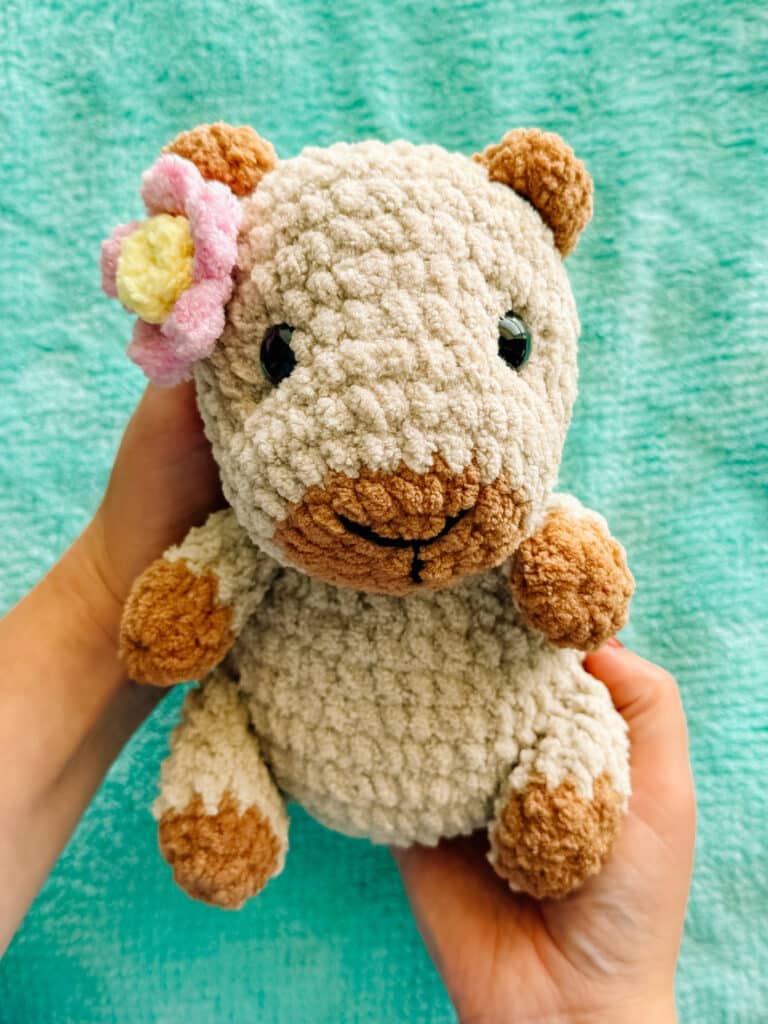
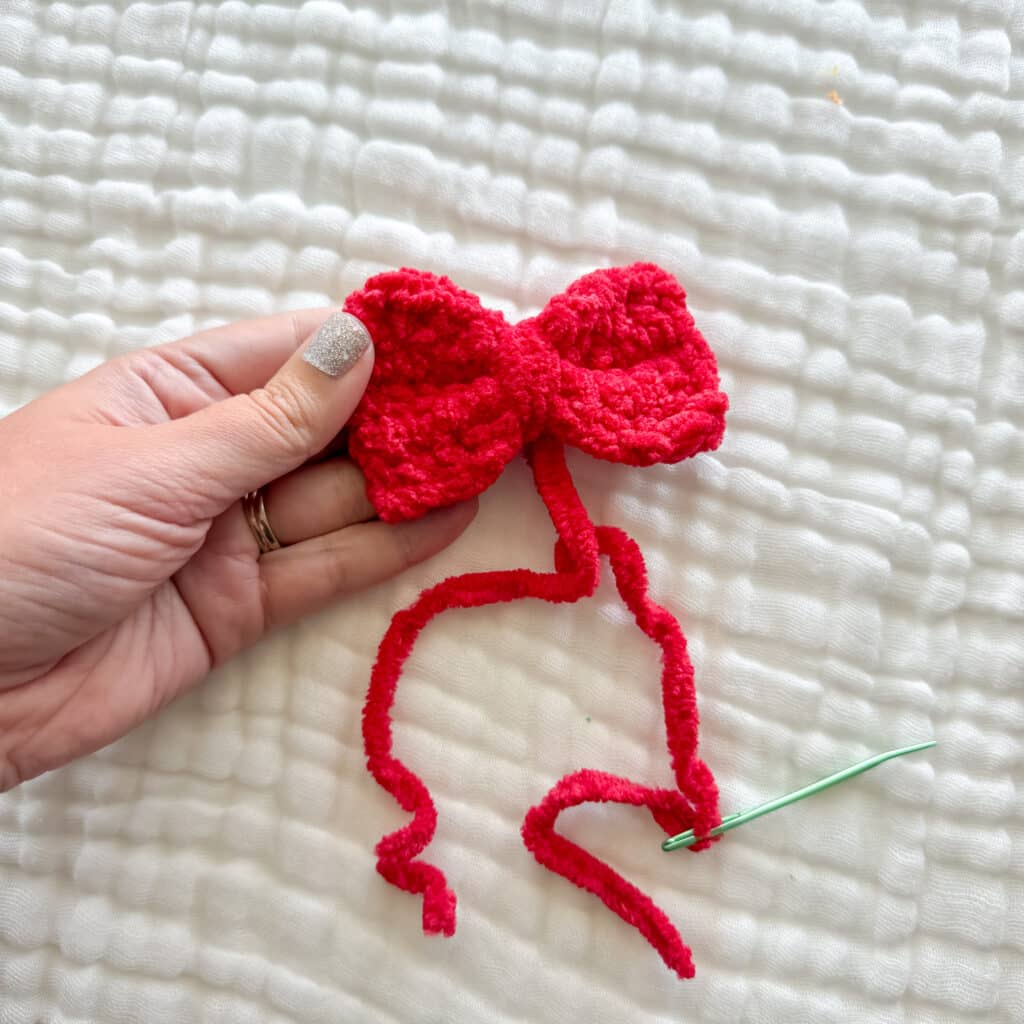
Blanket yarn with 5mm hook:
- Leave a 6 inch tail, then slip stitch and chain 11.
- In the second chain from the hook, Sc. SC in the remaining 9. Chain 1 and turn. (10)
- Rows 2-5: SC in each across. Chain 1 and turn. (Except for the last row, where you will fasten off, leaving a very long tail)
- Weave both ends to the middle.
- Lightly weave the longest tail through the middle and lightly cinch.
- Wrap the end around about 8 times and then tie it off with the other tail.
- Wrap the ends around the neck and tie it in the back.
Assembly
- Attach the head on top of the open body between rounds 6-10.
- Sew the ears on to round 12 of the head, lining them up behind the eyes.
- Sew the arms on the sides of the body, beneath the head.
- Sew the legs on with the bottom on round 5 and the top on round 8.
- Sew the flower to the center of the bow tie (if desired) or attach separately.
- Wrap the bow tie ends around the neck and tie in the back.
Tips
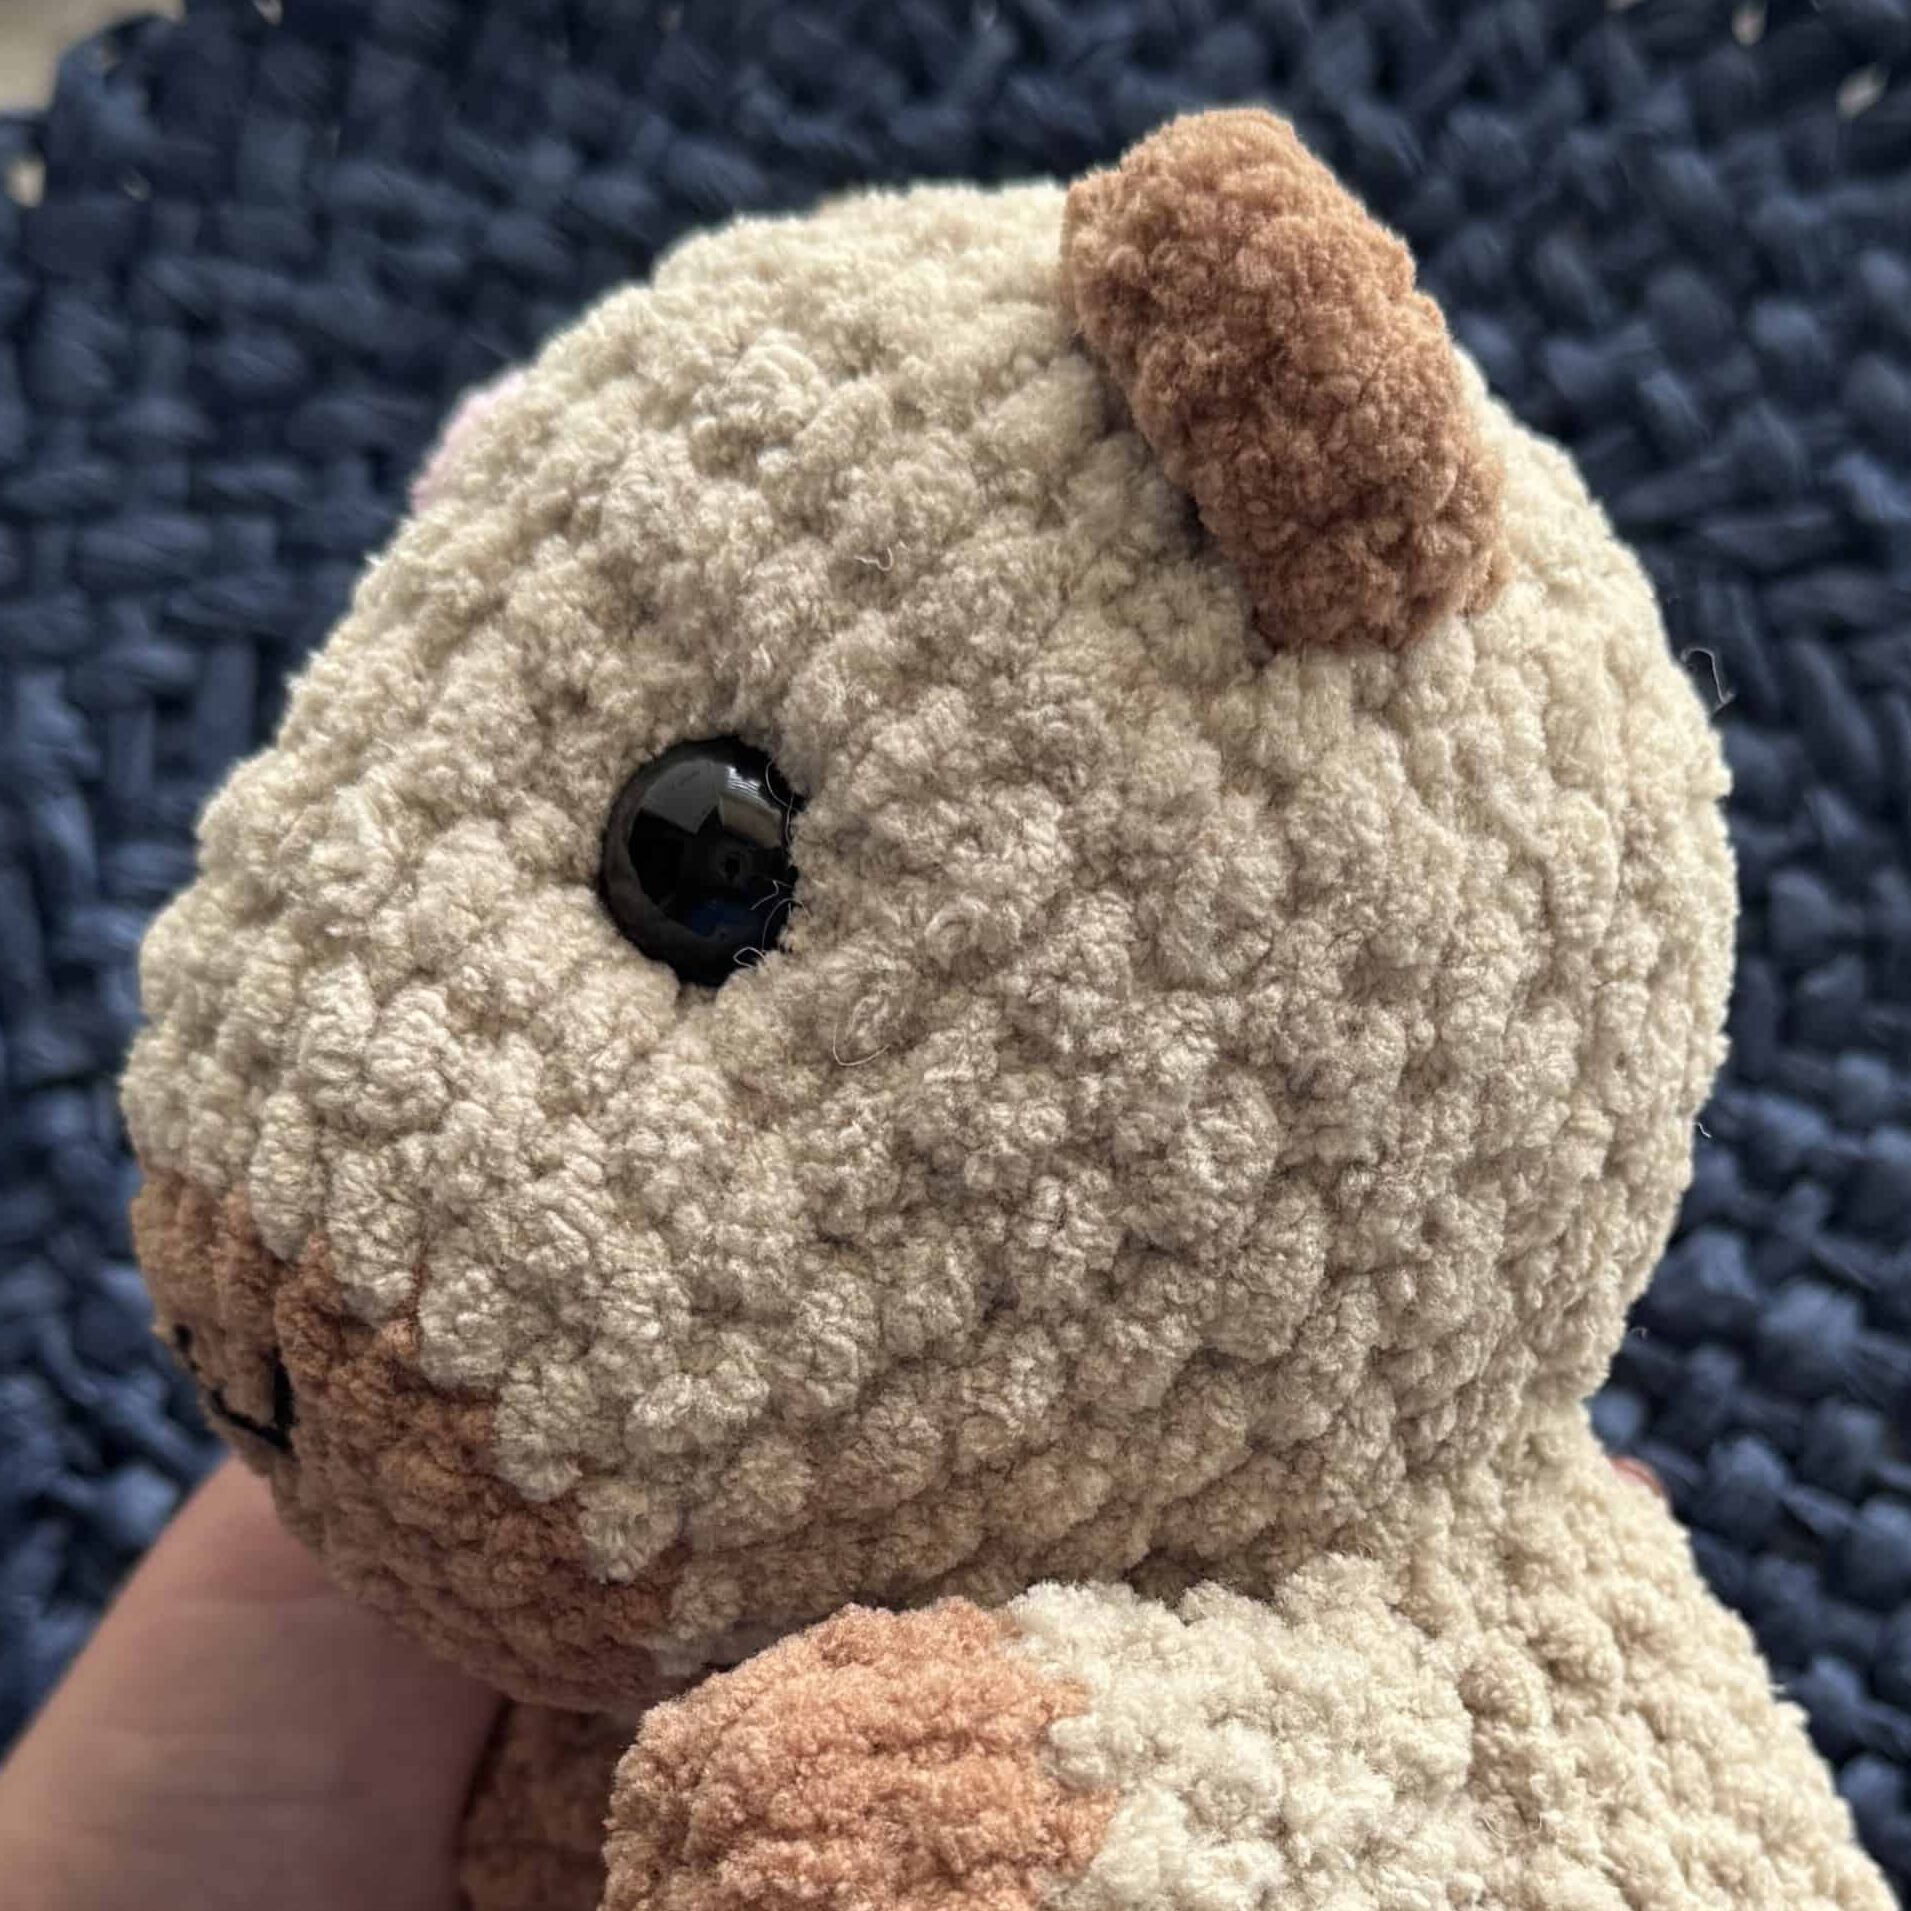
- Eye Placement: For the most accurate look, place the safety eyes on Round 7 of the head, about 9 stitches apart. Do not attach the backs until after the face shaping yarn is in place.
- Face Shaping: Use the internal yarn technique described in the Face Shaping section to create a defined nose bridge and slight dimples for a more expressive face.
- Safety First: If making this for a baby or toddler, consider embroidering the eyes instead of using safety eyes.
- Stuffing: Stuff the body firmly, but leave the arms and legs unstuffed for a floppy, cute look. Stuff the head lightly initially to allow for face shaping, then restuff after securing the eye placement.
FAQs
What type of yarn is best for this pattern?
The pattern recommends Premier Basix Chenille for the body and head to achieve the plush, squishy texture. You can substitute with other bulky plush yarns, but ensure you use a hook size that keeps stitches tight to prevent stuffing from showing.
Can I make this pattern safe for babies?
Yes. Instead of using 16mm safety eyes, you can embroider the eyes using black yarn. This eliminates small parts that could be a choking hazard.
How do I create the nose bridge dimples?
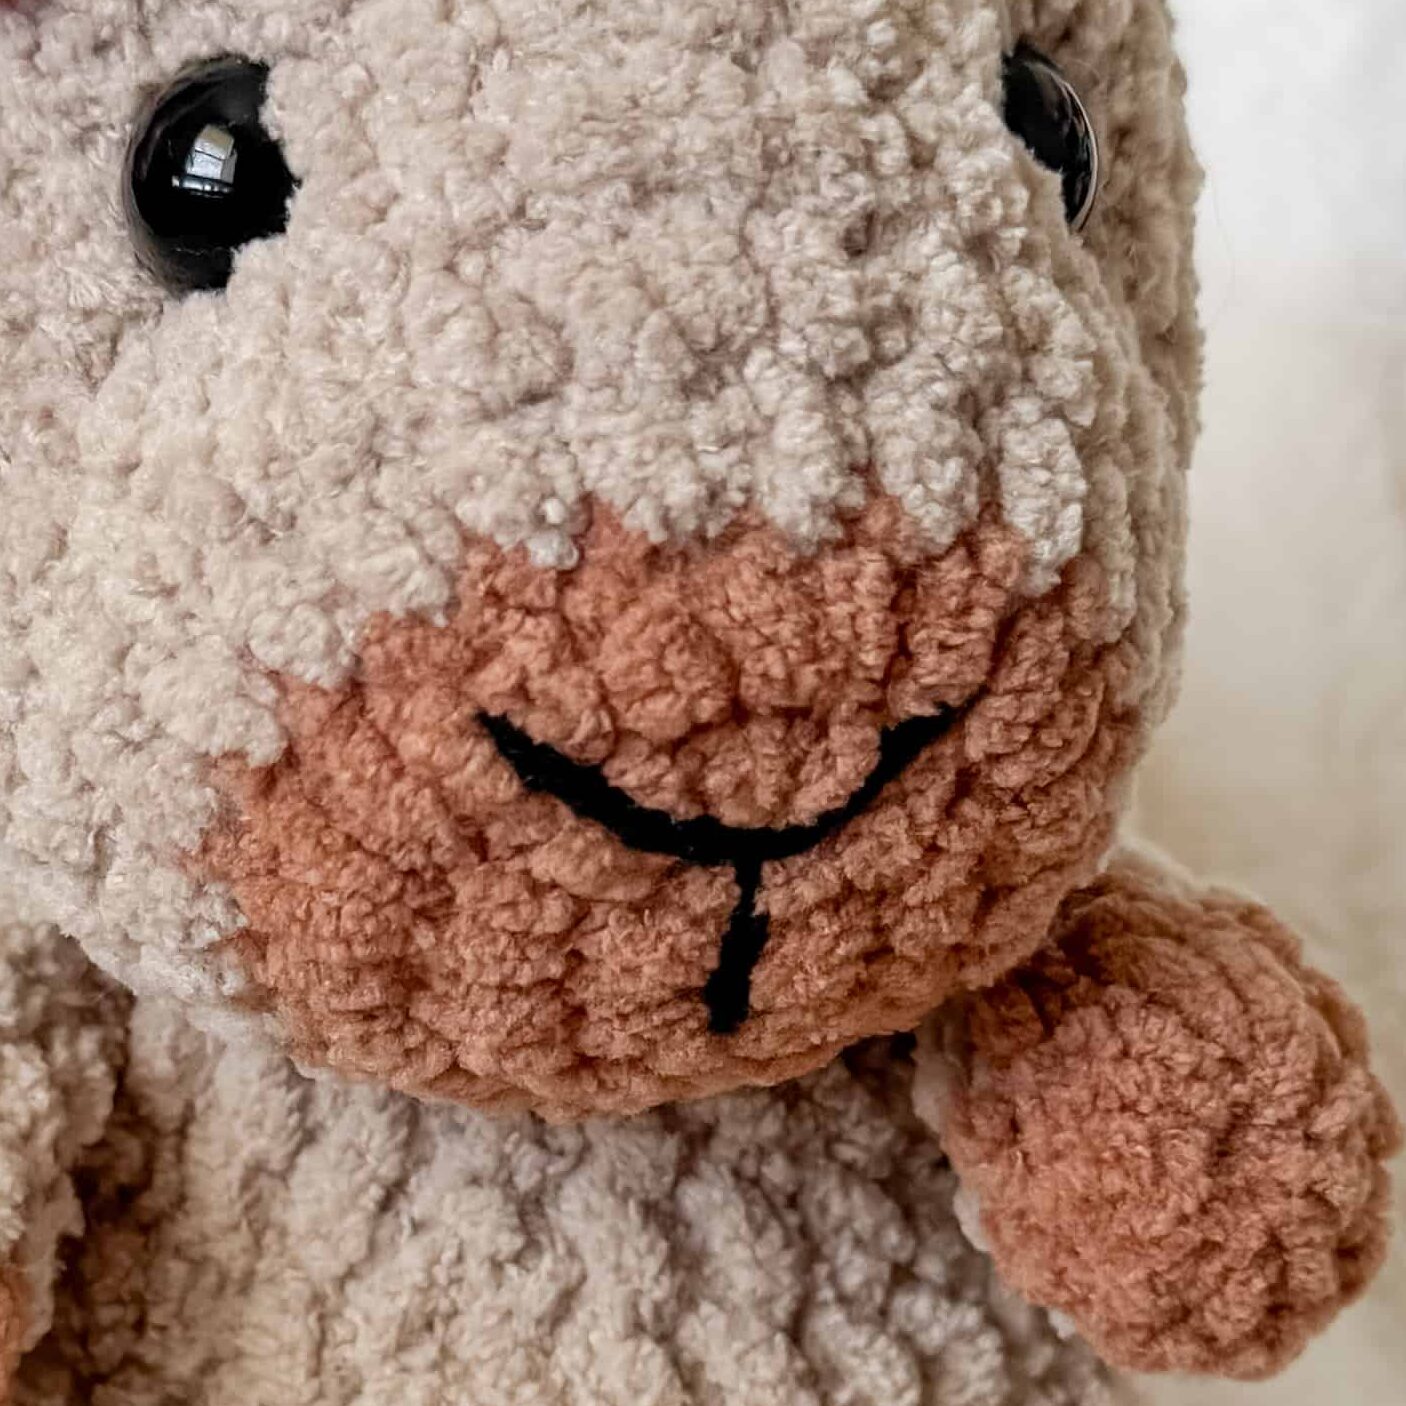
After placing the safety eyes (without backs) on Round 7, thread a long strand of matching yarn through the head from back to front near one eye, across to the other eye, and back out. Gently pull to create the bridge shape, tie it off to hold tension, and then attach the eye backs before restuffing.
Why are the arms and legs left unstuffed?
Leaving the limbs unstuffed gives the capybara a relaxed, floppy appearance that adds to the cute, cozy aesthetic. It also makes the limbs easier to position and sew on.
How do I change colors in the head?
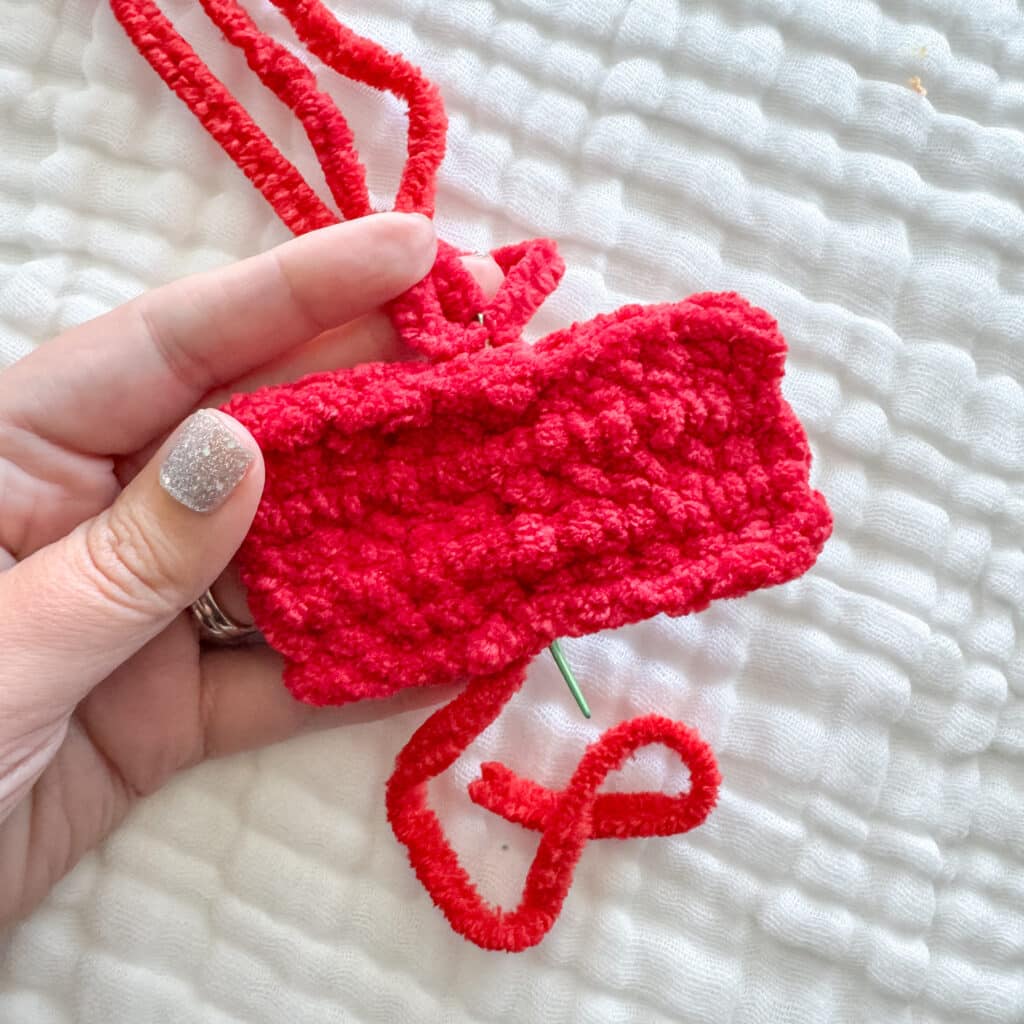
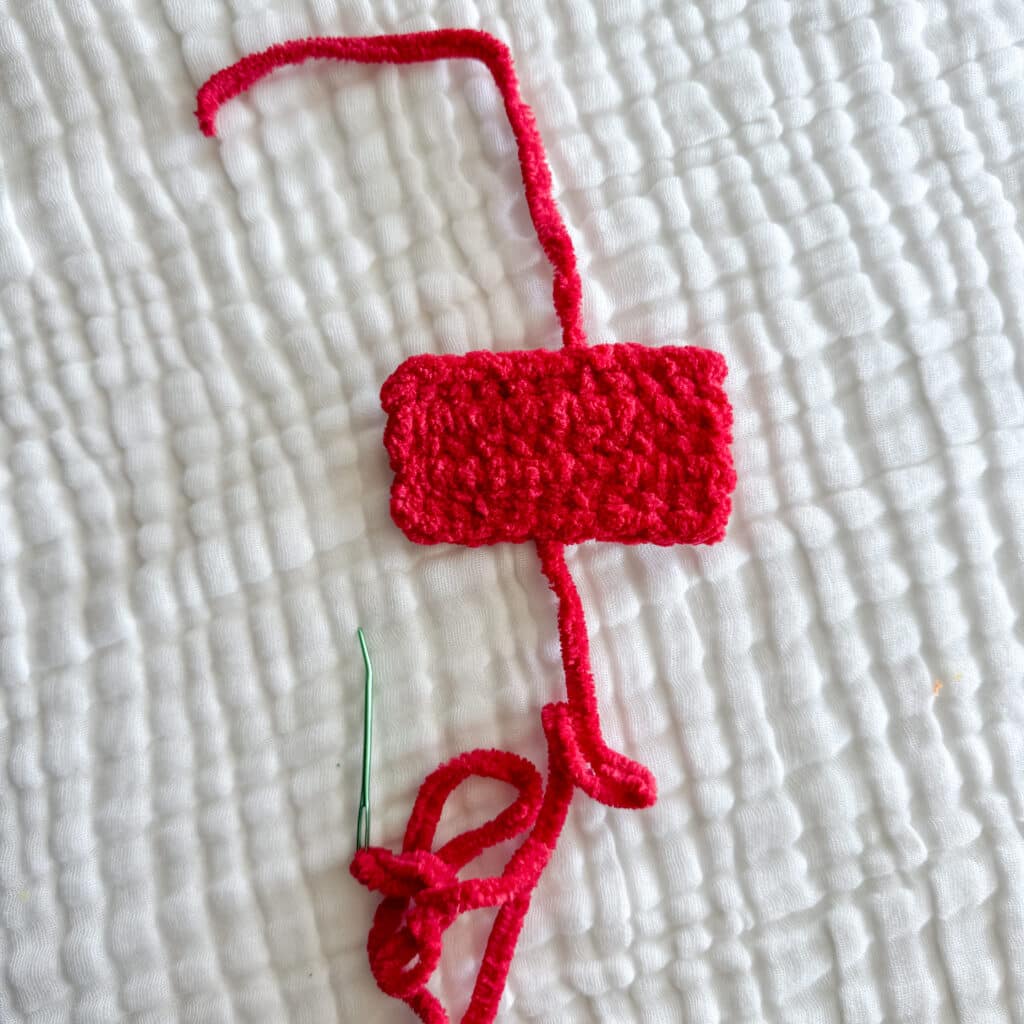
Change from caramel to tan at the end of Round 3 of the head. Carry the yarn up the side if desired, or cut and rejoin as preferred. The pattern specifies changing color at the start of Round 4.
Pin This Crochet Pattern!