There is something deeply satisfying about pulling a specific skein from the stash and realizing it was meant for a very particular purpose. For this amigurumi swaddle, the choice of worsted weight yarn wasn’t just a default setting; it was a deliberate decision to balance softness with structure. The fiber content needed to be plush enough to cuddle but sturdy enough to hold the shape of the Corner to Corner (C2C) blocks. This intentional selection ensures the blanket drapes gently around a small friend without becoming a heavy, unmanageable pile of fabric. It is a tactile decision that makes the finished project feel grounded and ready for its job.
Yarn and Color Notes
When selecting yarn for this project, the texture plays a crucial role in how the swaddle functions. The recommended worsted weight 4 yarn provides a nice, consistent stitch definition that highlights the C2C blocks. While the creator experimented with bulky blanket yarn, it is strongly advised against. The bulky option created excessive weight and bulk, causing the blanket to lose its ability to fold neatly. For the best result, stick to a yarn that offers a smooth drape. The color choice is entirely up to your personal style, but a solid color often helps the C2C pattern stand out clearly, making it easier to identify the gaps for the button closure later on.
Project Overview
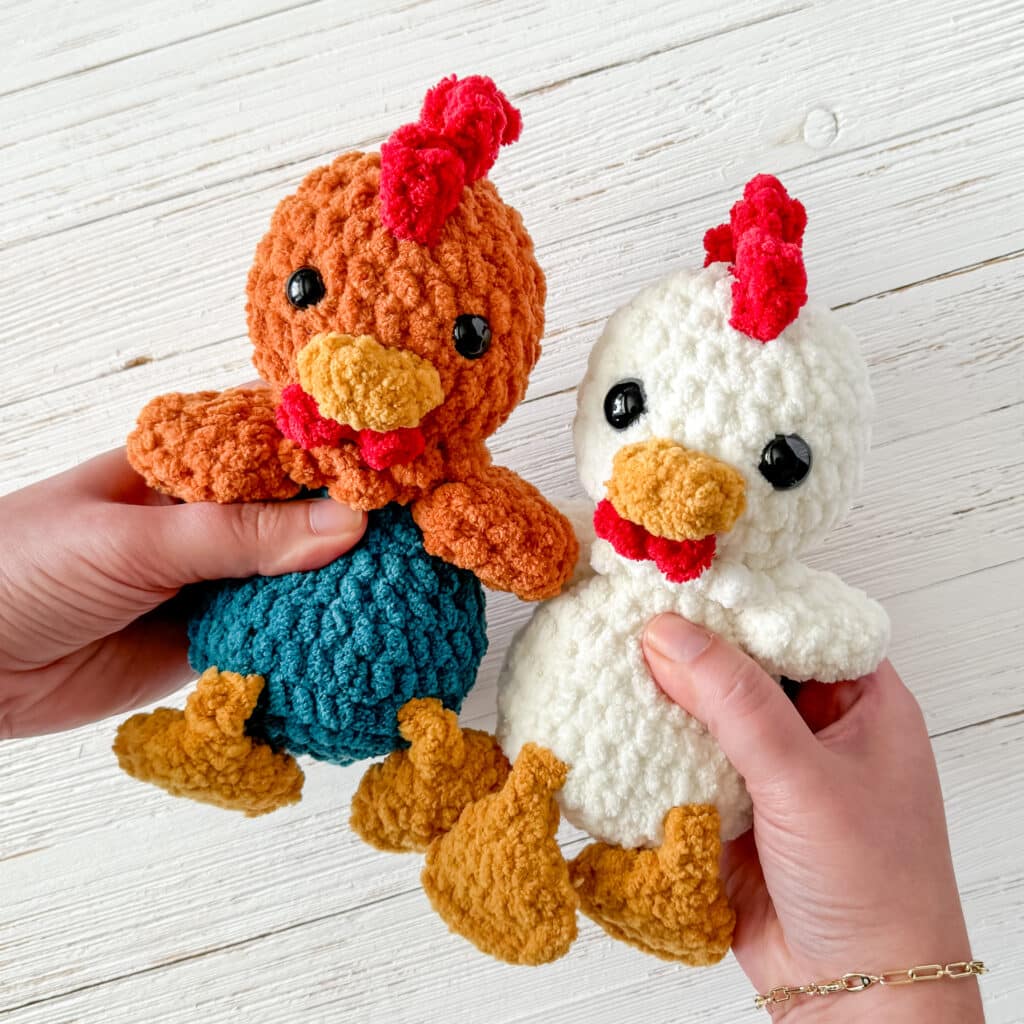
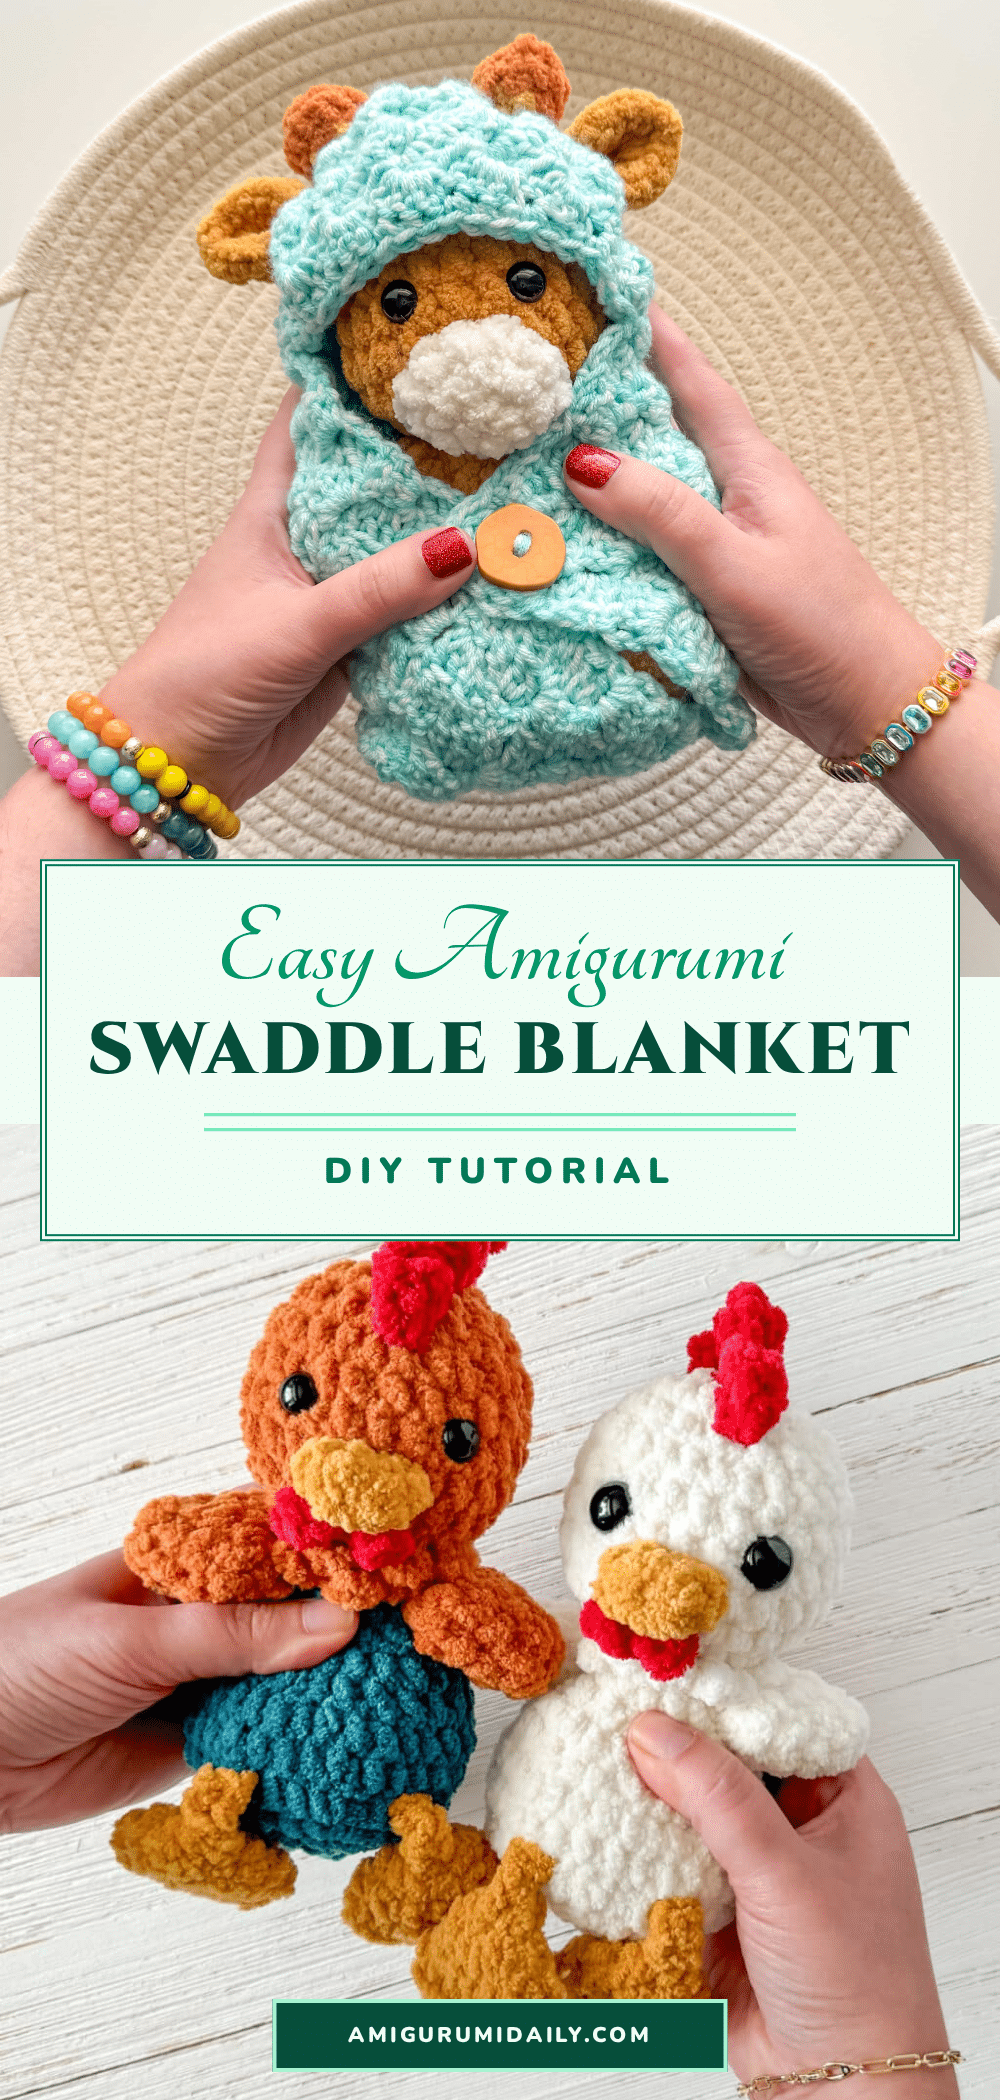
This project is designed as a tutorial for creating a compact, cozy swaddle blanket specifically tailored for smaller amigurumi figures, such as those in the Squishy collection. The design features a C2C square base with an integrated hood that accommodates ears or horns. The assembly relies on the geometry of the square, using one corner to wrap around and secure with a button. Because tension and yarn type can vary, this guide focuses on achieving the correct finished dimensions rather than rigid row counts.
Materials
- Worsted weight 4 yarn (approximately enough for a 9-inch square and hood)
- 5mm crochet hook
- Button (ensure holes are large enough for a tapestry needle)
- Yarn needle (tapestry needle)
- Stitch markers
Gauge and Finished Size
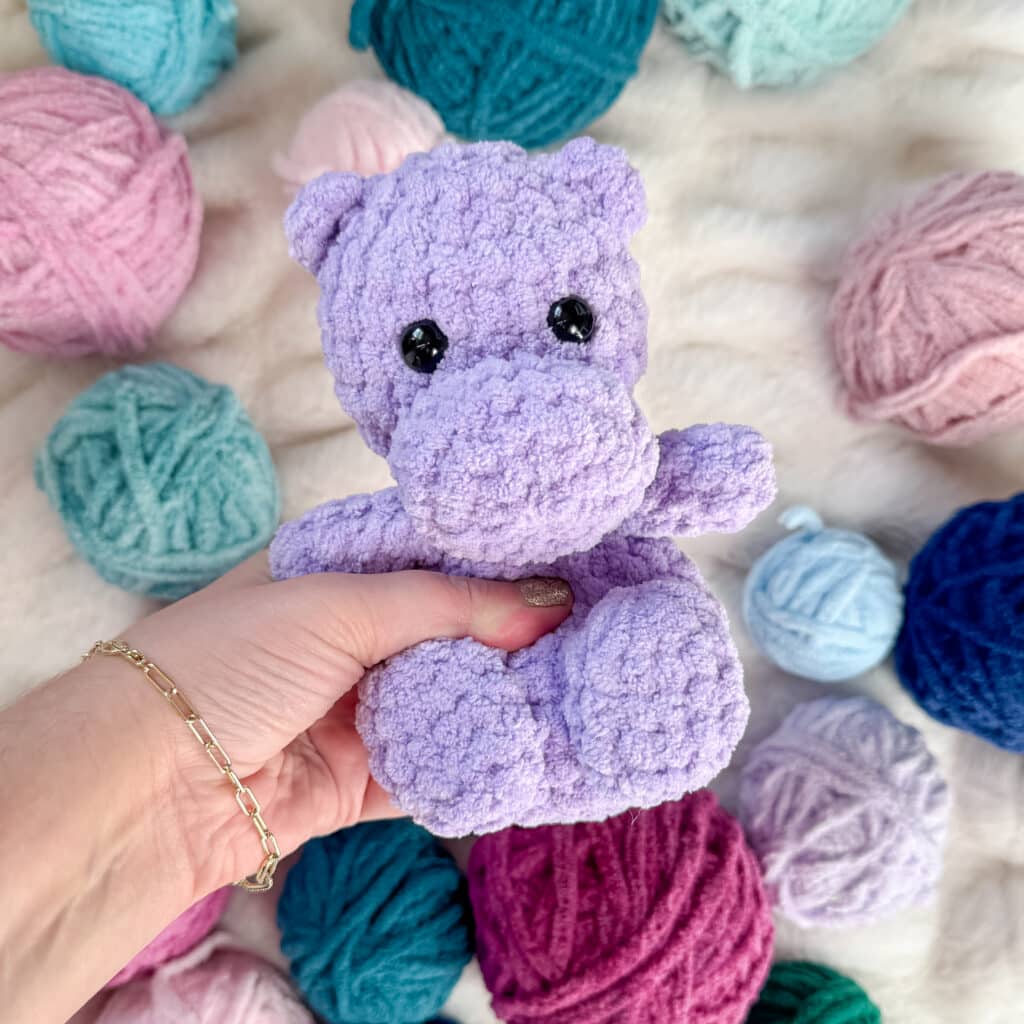
The goal is to create a square that measures 9 inches. Using worsted weight 4 yarn and a 5mm hook, this size is typically achieved with 14 rows of C2C. However, the critical measurement is the physical size of the square, not the row count. Your tension, hook size, and yarn type may require you to adjust the number of rows to reach the 9-inch mark. The square must be large enough to accommodate the amigurumi’s head in one corner with room for the hood, while the opposite corners must be able to touch and wrap around.
Abbreviations
- SC: Single Crochet
- DC: Double Crochet
- SC in each DC across: Single crochet in each double crochet across the row
- Chain 1: ch 1
- C2C: Corner to Corner
Pattern Notes
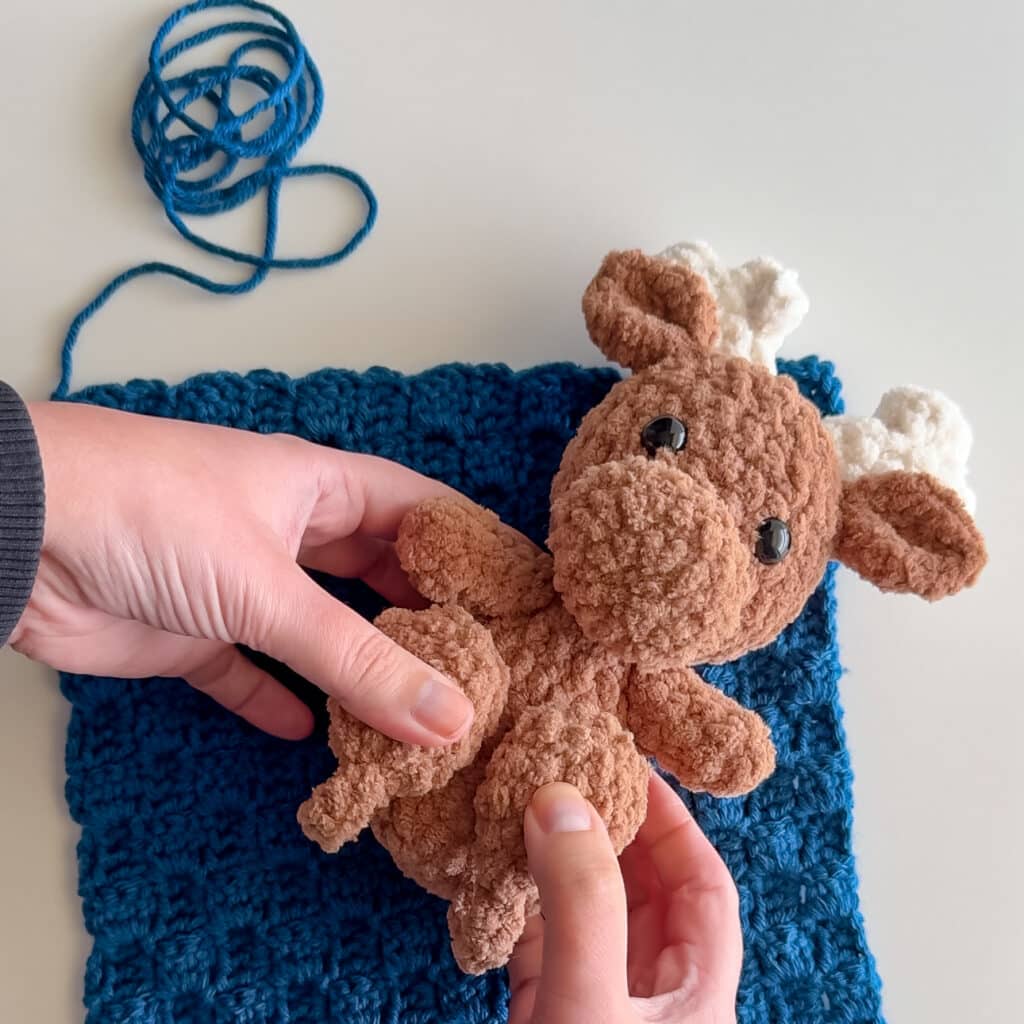
This swaddle is designed to be compact, making it ideal for amigurumi with feet sewn close to the body. It is not recommended for larger animals with bulky legs. The pattern is flexible; if your amigurumi is larger or smaller, you will need to adjust the size of the square and the hood accordingly. The creator notes that while the method outlined here is a reliable starting point, adapting it for different sizes is an experiment that requires adjusting both the square and the hood dimensions.
Pattern Instructions
Step 1: Crochet the Swaddle Base
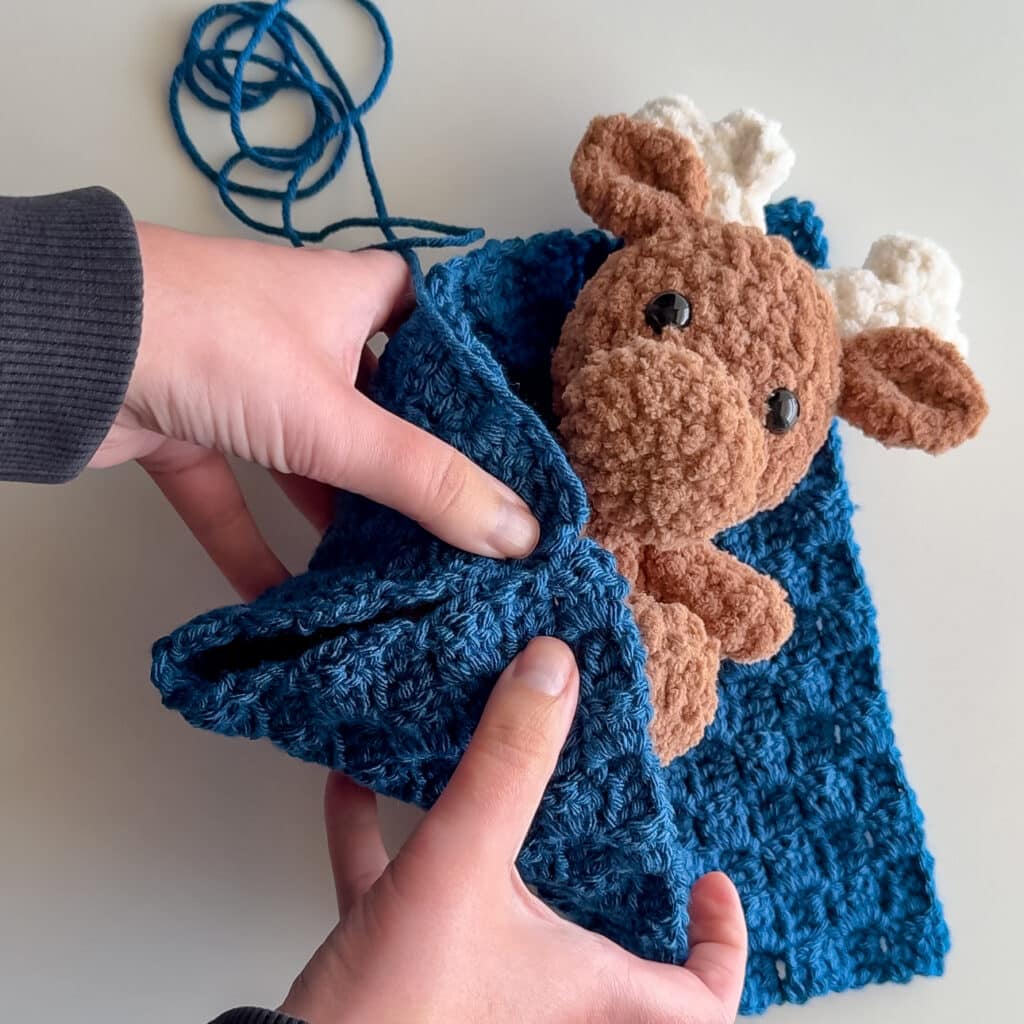
Crochet a square using the Corner to Corner (C2C) method. Aim for a finished size of 9 inches. For many makers, this equates to 14 rows, but please measure your work to ensure it meets the size requirement. Ensure you have a long tail remaining when you fasten off; this tail will be used to sew the corners together.
Step 2: Create the Hood
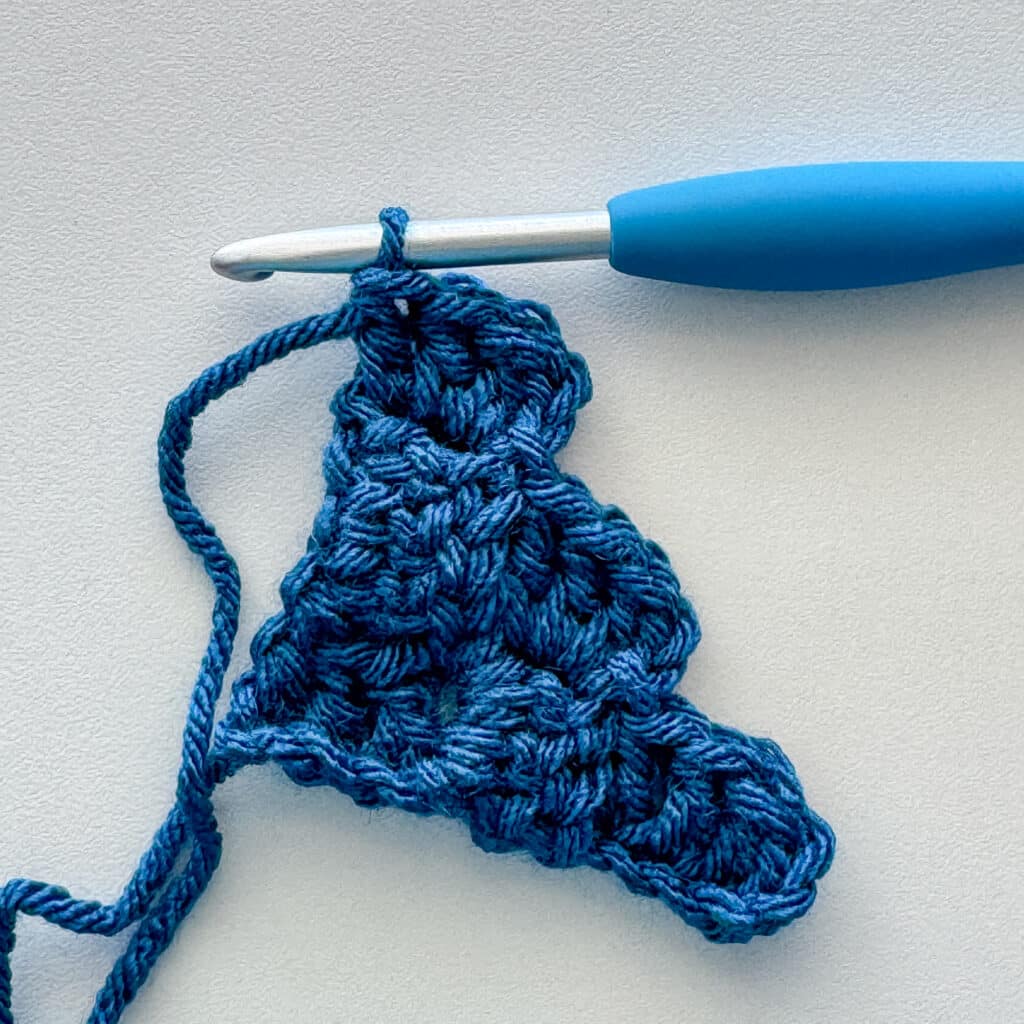
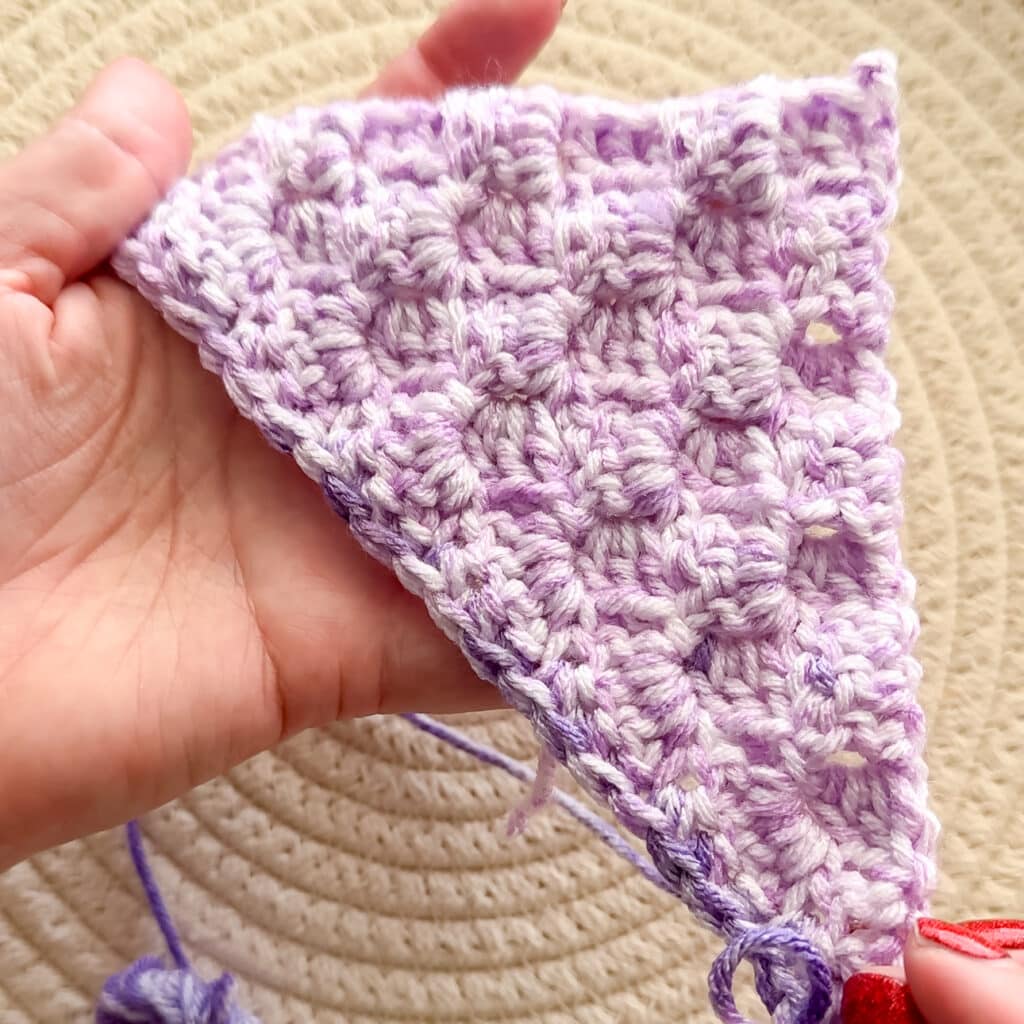
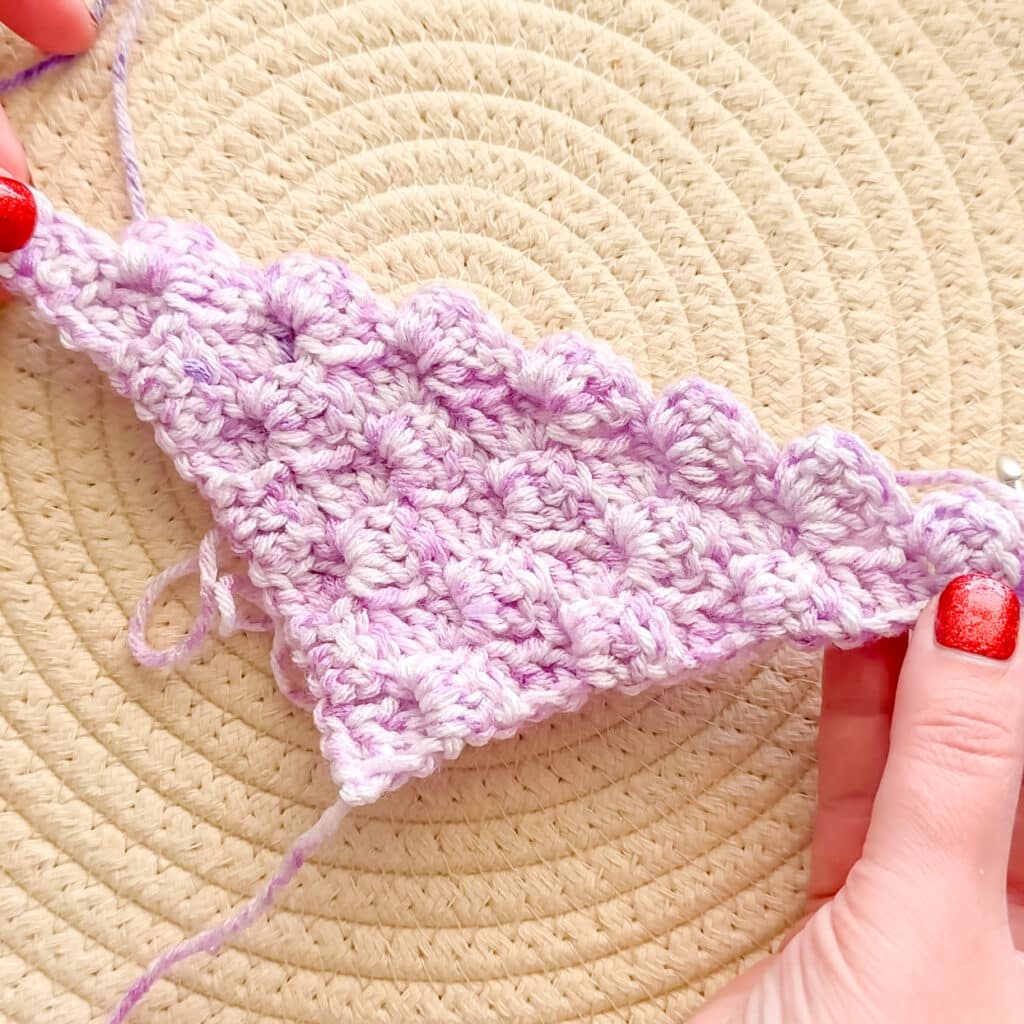
Begin a new C2C square and work up to 8 rows. This will form a triangle shape. To finish the edge and create a clean line for sewing:
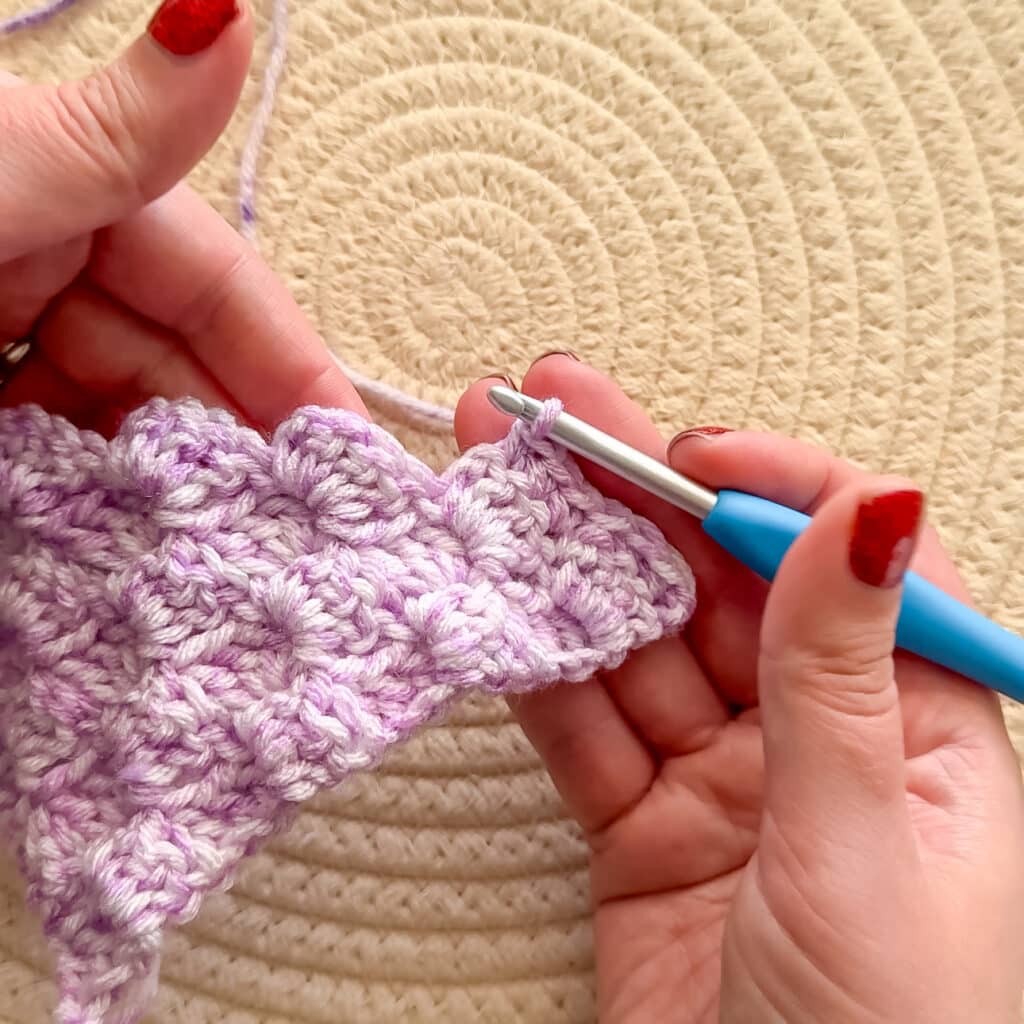
- Chain 1 and turn your work.
- SC in each DC across the edge.
- If you encounter a gap in the C2C blocks, insert your hook into the next DC and SC. This will even out the edge into a nice line.
- Fasten off, leaving a long tail for sewing.
Assembly
Preparing the Swaddle
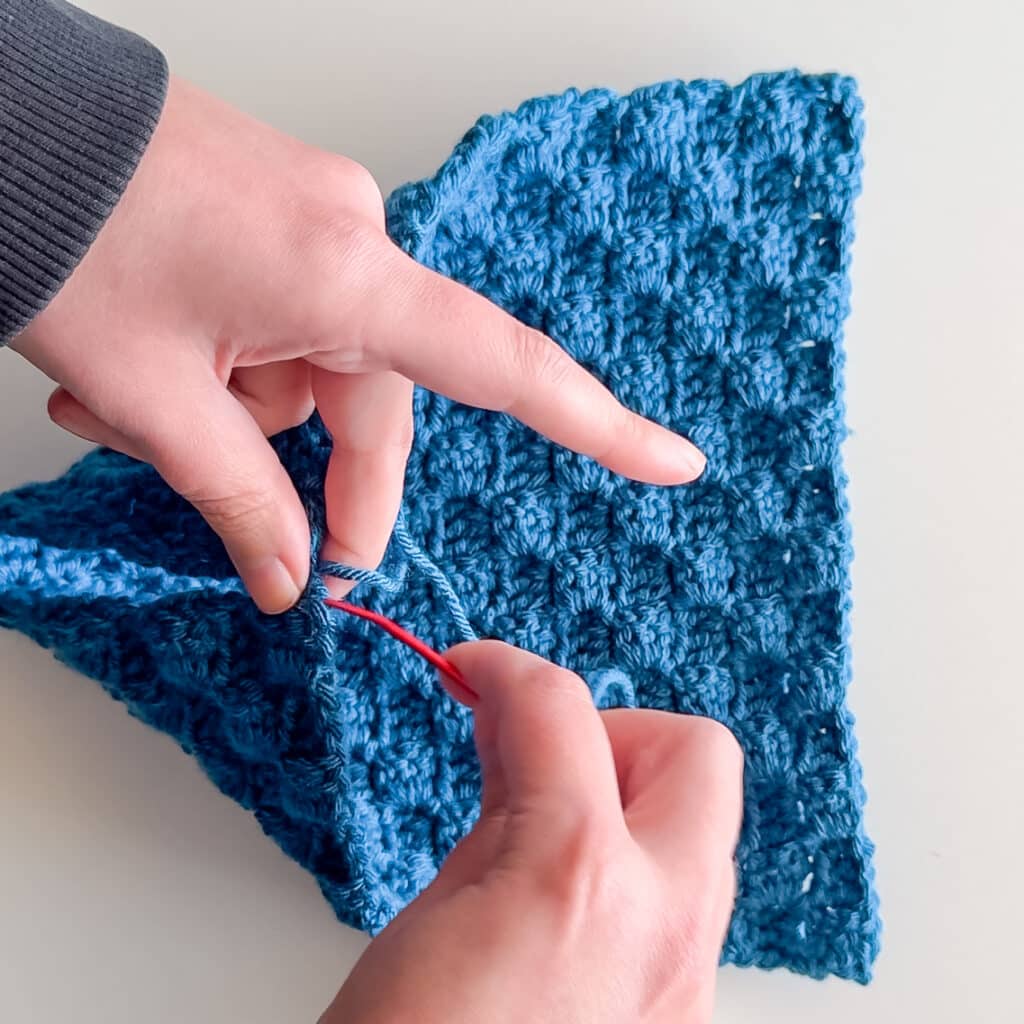
Arrange your amigurumi with its head in one corner of the square. There should be enough space to sew the top two corners together. Ensure the long tail from the fastening off is oriented at the left corner. Sew the two touching bottom corners together using a whip stitch.
Attaching the Hood
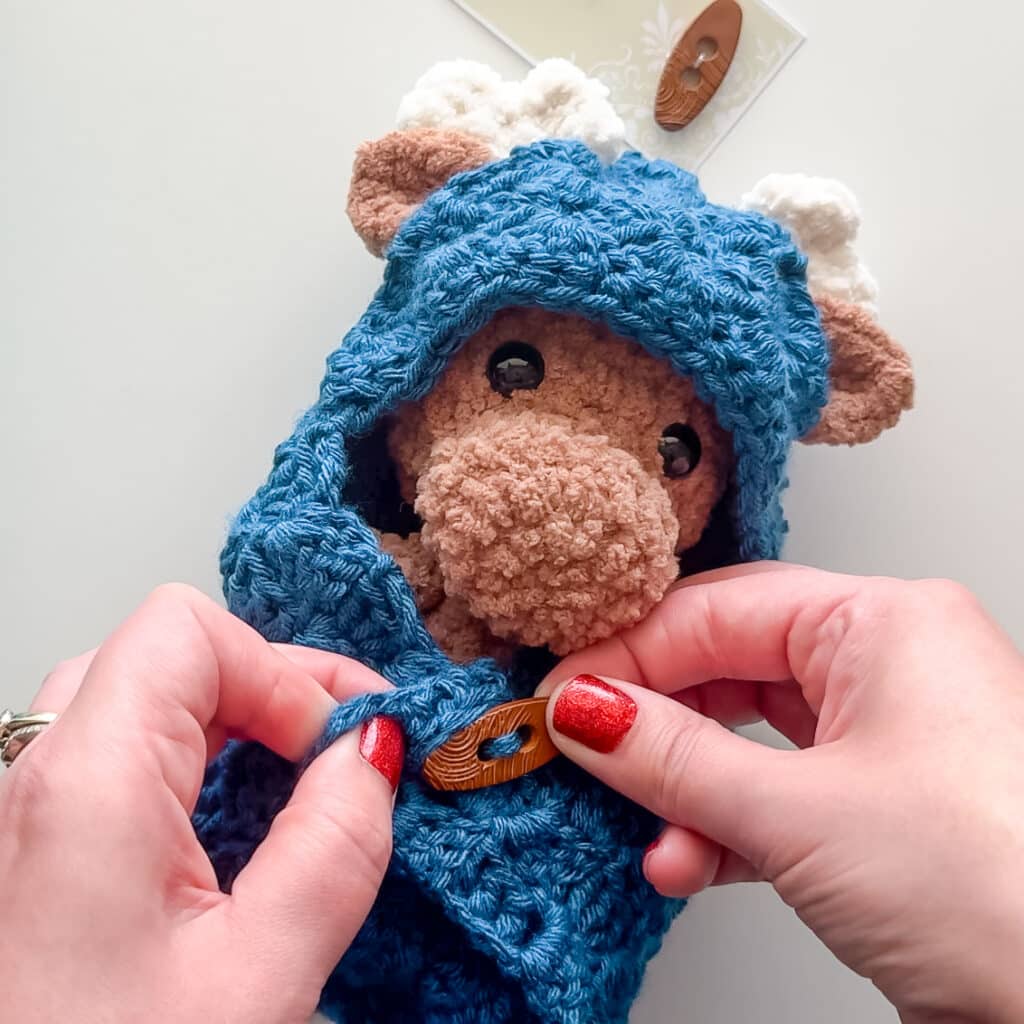
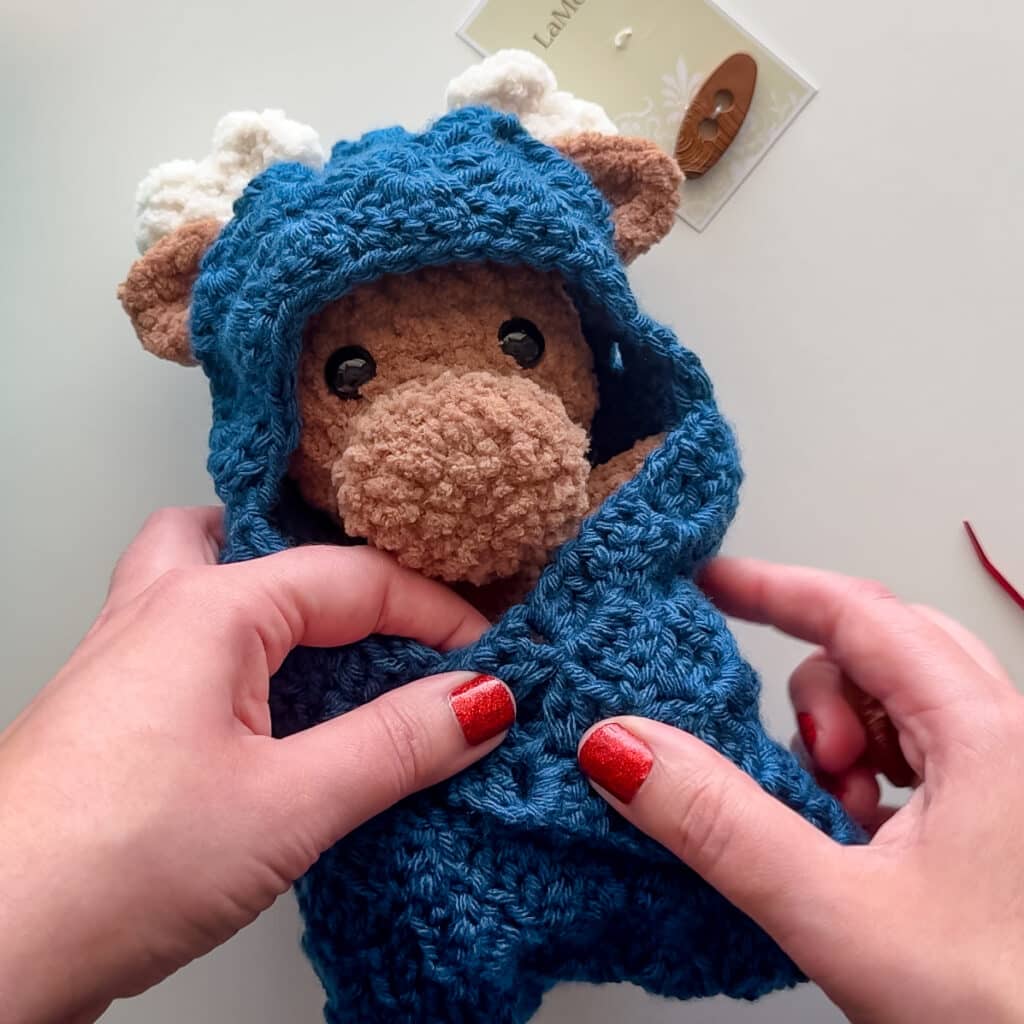
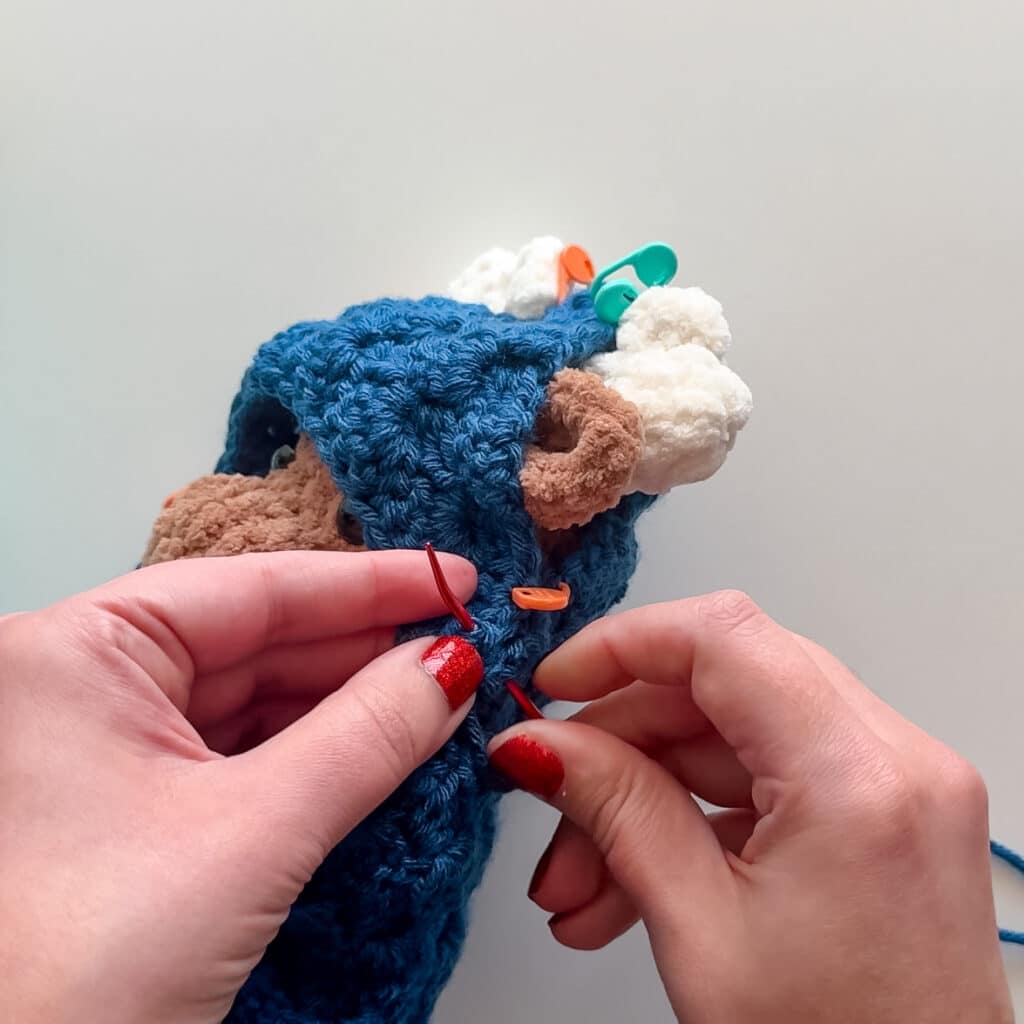
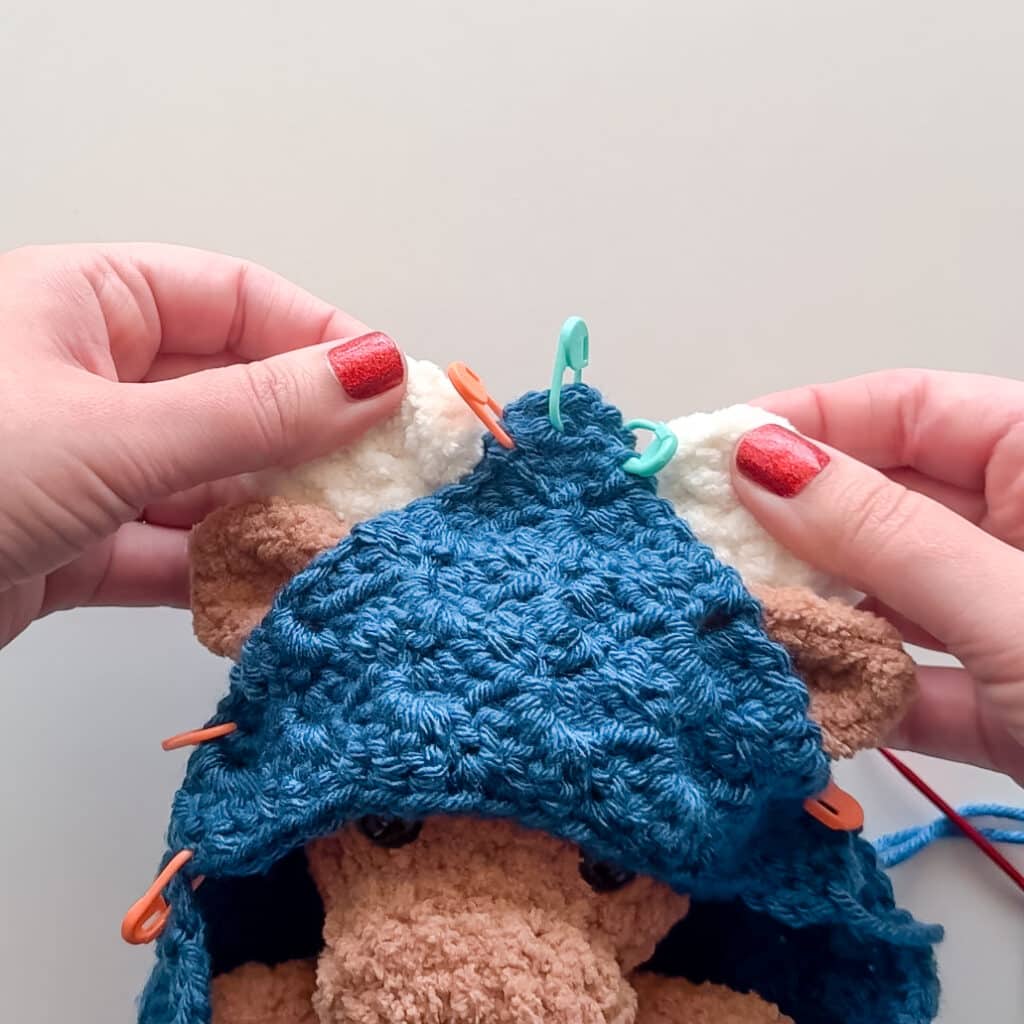
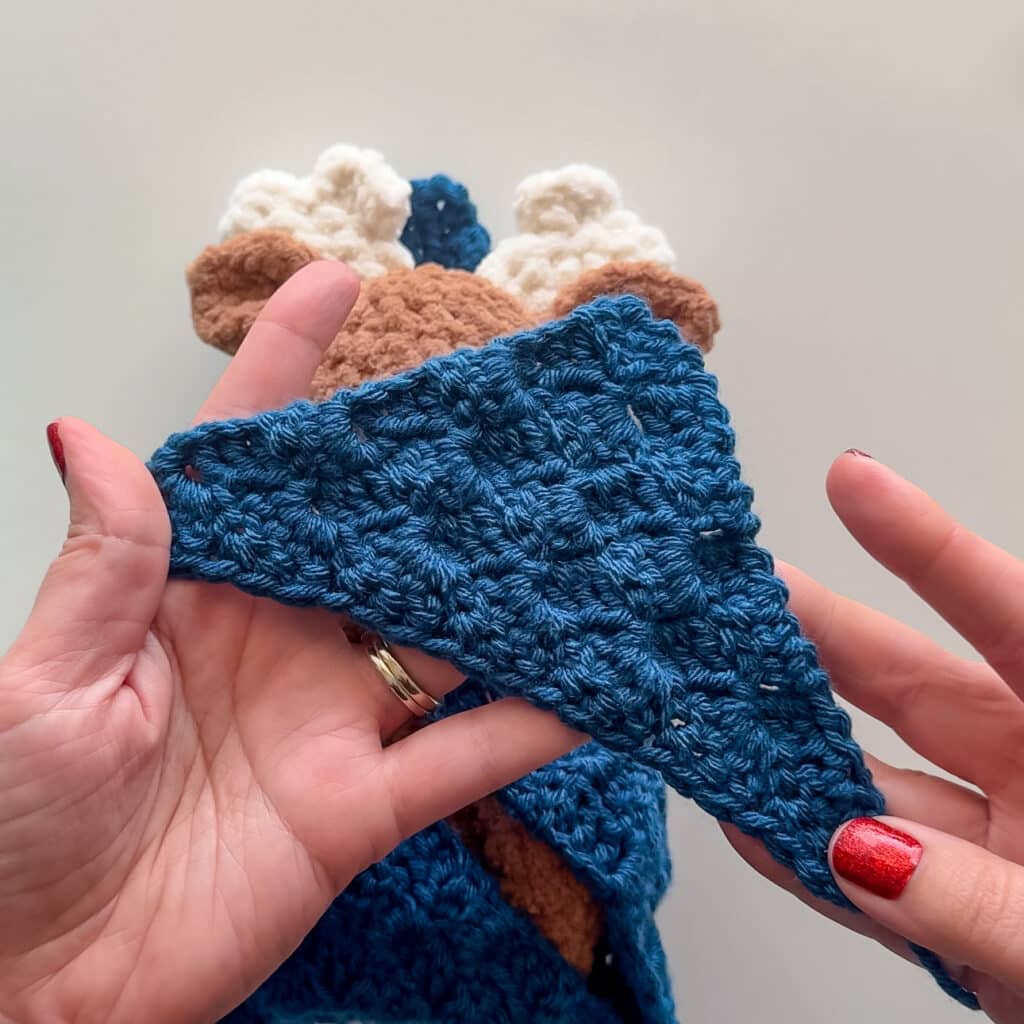
Place the hood triangle onto the swaddle with the point of the triangle facing the corner where the amigurumi’s head rests. Use stitch markers to pin the two sides of the triangle where the animal’s ears or horns begin and end. Ensure the very top of the triangle is aligned correctly with the first and last stitches of the swaddle edge. These markers allow you to adjust the hood fit for different ear or horn placements.
Using a whip stitch, sew the hood onto the swaddle. When you reach the area where the ears or horns will stick out, continue to whip stitch only the back piece of the hood, leaving the space open for the features to poke through. Once you reach the other side, weave in the end and trim any excess yarn.
Attaching the Button
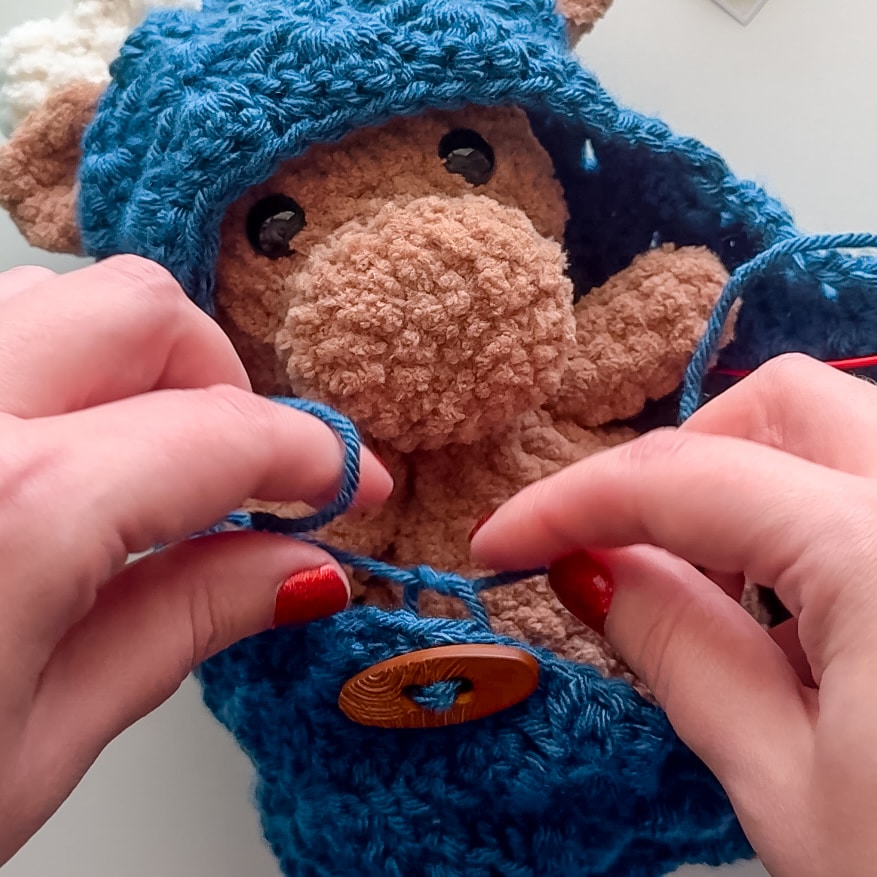
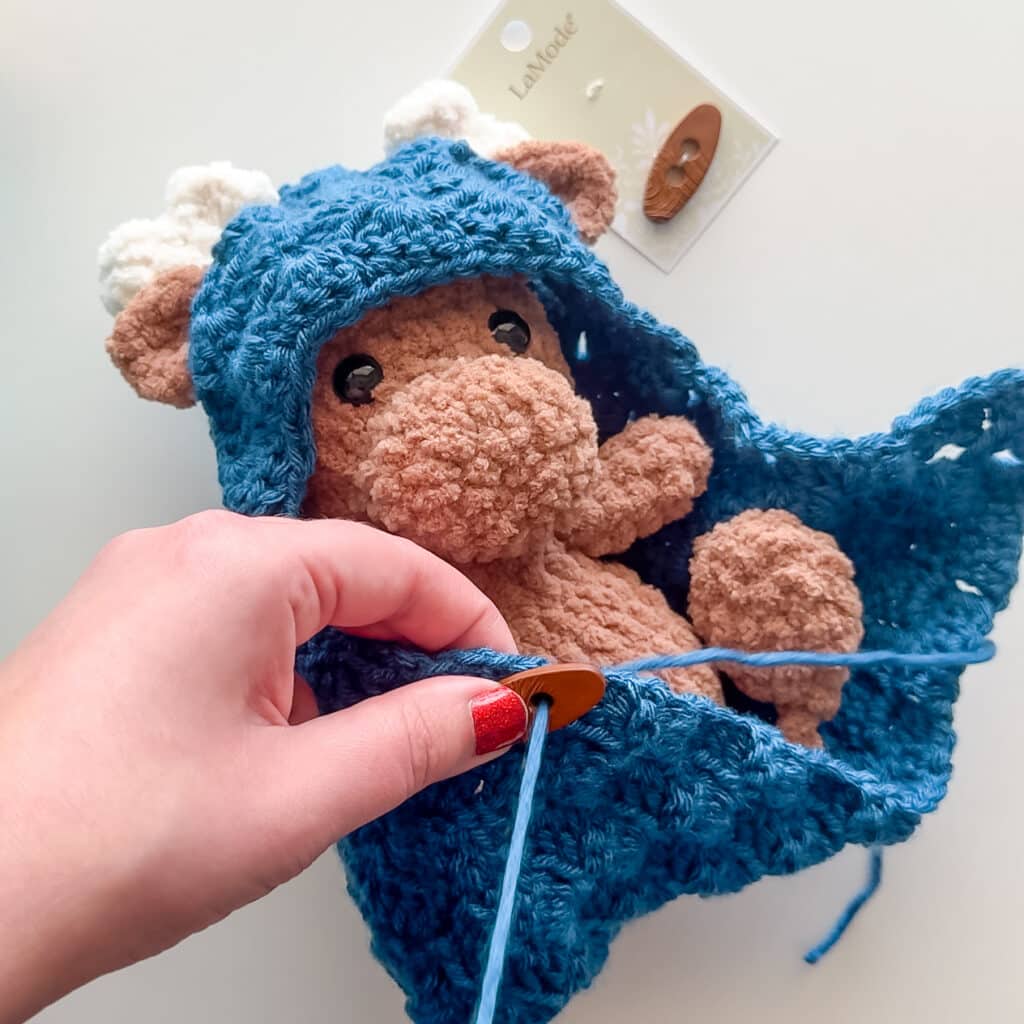
Bring the remaining corner of the swaddle over so it crosses the other side. Locate a gap created by the blocks of the C2C pattern where a button can pass through. Sew the button in place at this spot, ensuring the button holes are large enough for your tapestry needle. Tie off and weave in the ends. Finally, pass the button through the desired gap to secure the swaddle.
Tips
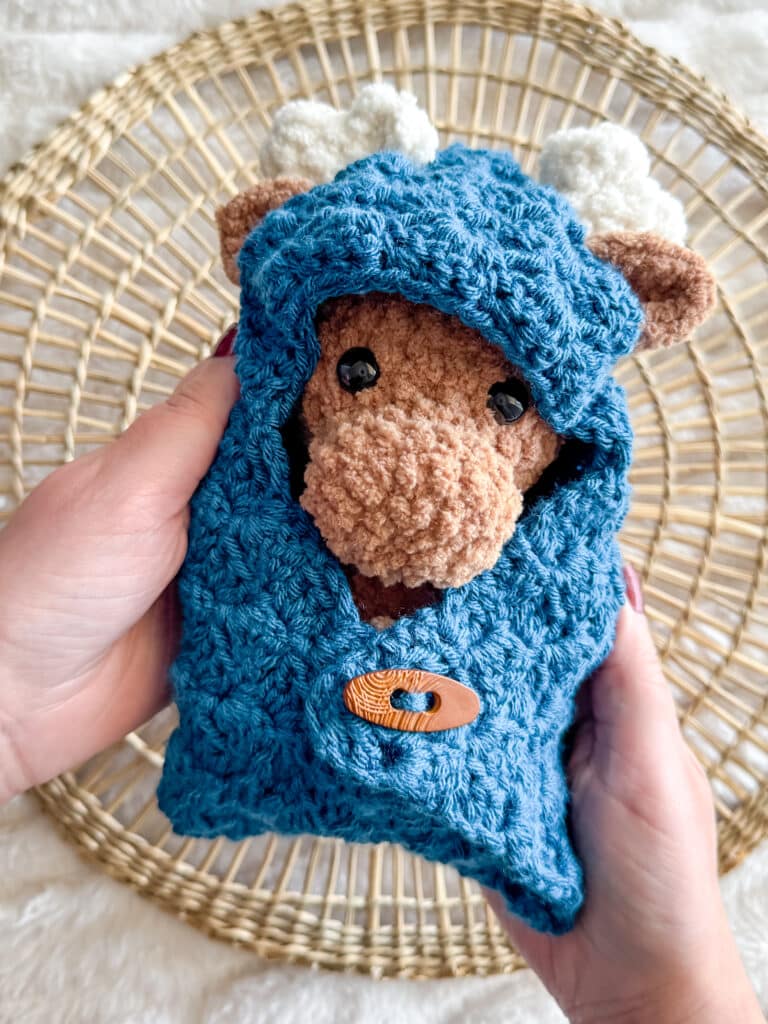
- Avoid Bulky Yarn: Do not use bulky blanket yarn. It creates too much bulk and prevents the swaddle from folding neatly.
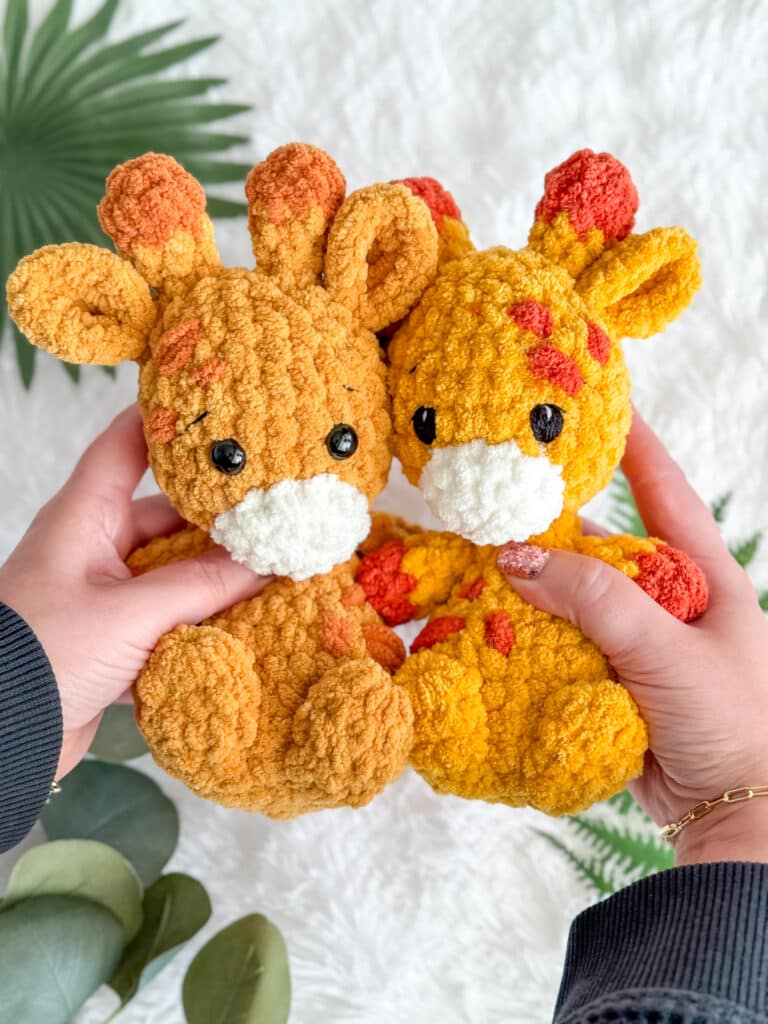
- Customize the Hood: Use stitch markers to adjust the hood width for different amigurumi features, such as the horns on a Squishy Giraffe or Moose.
- Check Your Size: The correct size is determined by the fit of the animal, not just the row count. Ensure the corners can reach and wrap around comfortably.
FAQs
Can I use this pattern for a larger amigurumi?
Yes, but you will need to experiment with the size. You must adjust the size of both the C2C square and the hood triangle to accommodate the larger animal. The method remains the same, but the dimensions will change.
Why did the creator recommend against bulky yarn?
Bulky blanket yarn creates excessive bulk and lacks the necessary drape. It does not fold well, making it difficult to wrap and secure the amigurumi snugly.
How do I handle ears or horns on the hood?
Use stitch markers to pin the hood to the swaddle at the points where the ears or horns begin and end. When sewing, only stitch the back layer of the hood at these points, leaving the front open so the features can poke through.
What if my C2C square isn’t exactly 9 inches?
As long as the square is large enough to wrap around the animal and the corners can meet, the exact measurement is less important than the fit. Adjust your row count to achieve the necessary size.
Do I need to use the specific Squishy patterns?
No, this swaddle can be adapted for any amigurumi. The tutorial provides a method that can be adjusted for different sizes and shapes, though it was originally designed for smaller figures.
Pin This Crochet Pattern!