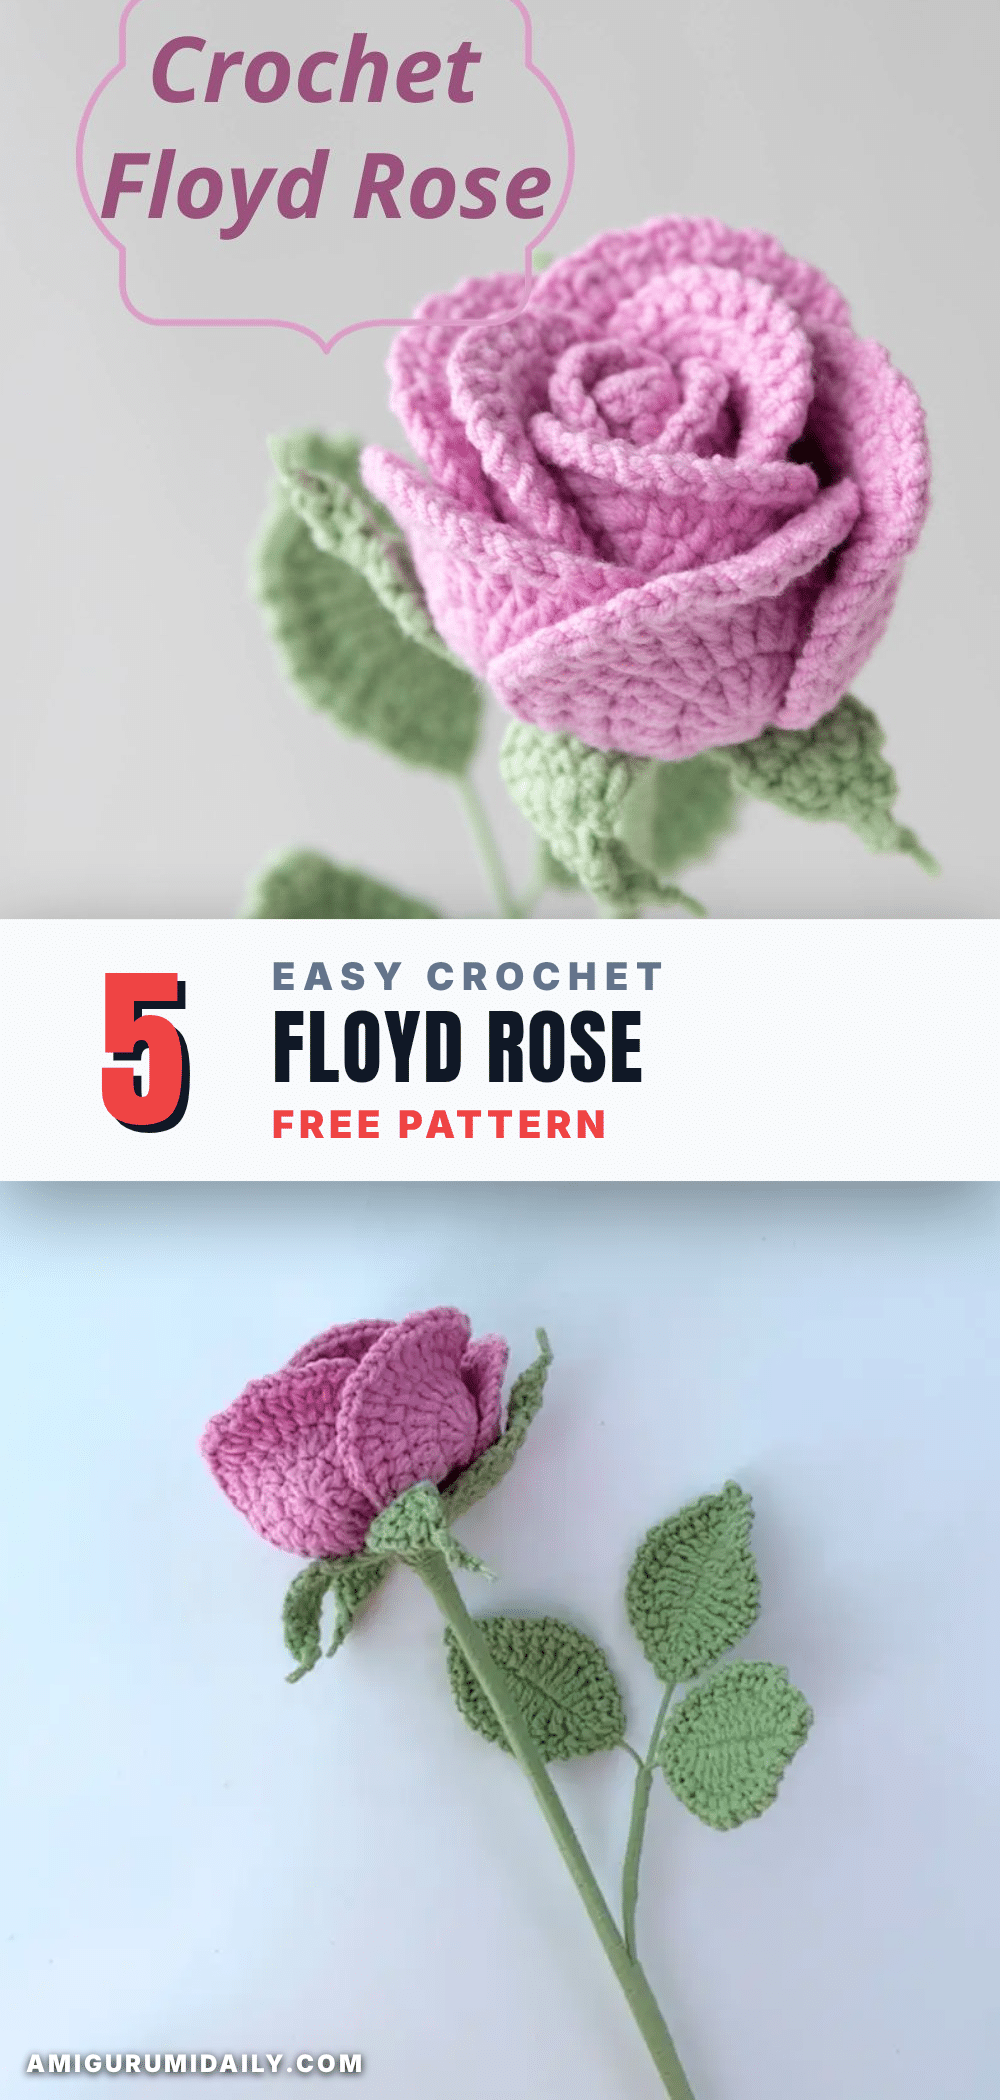
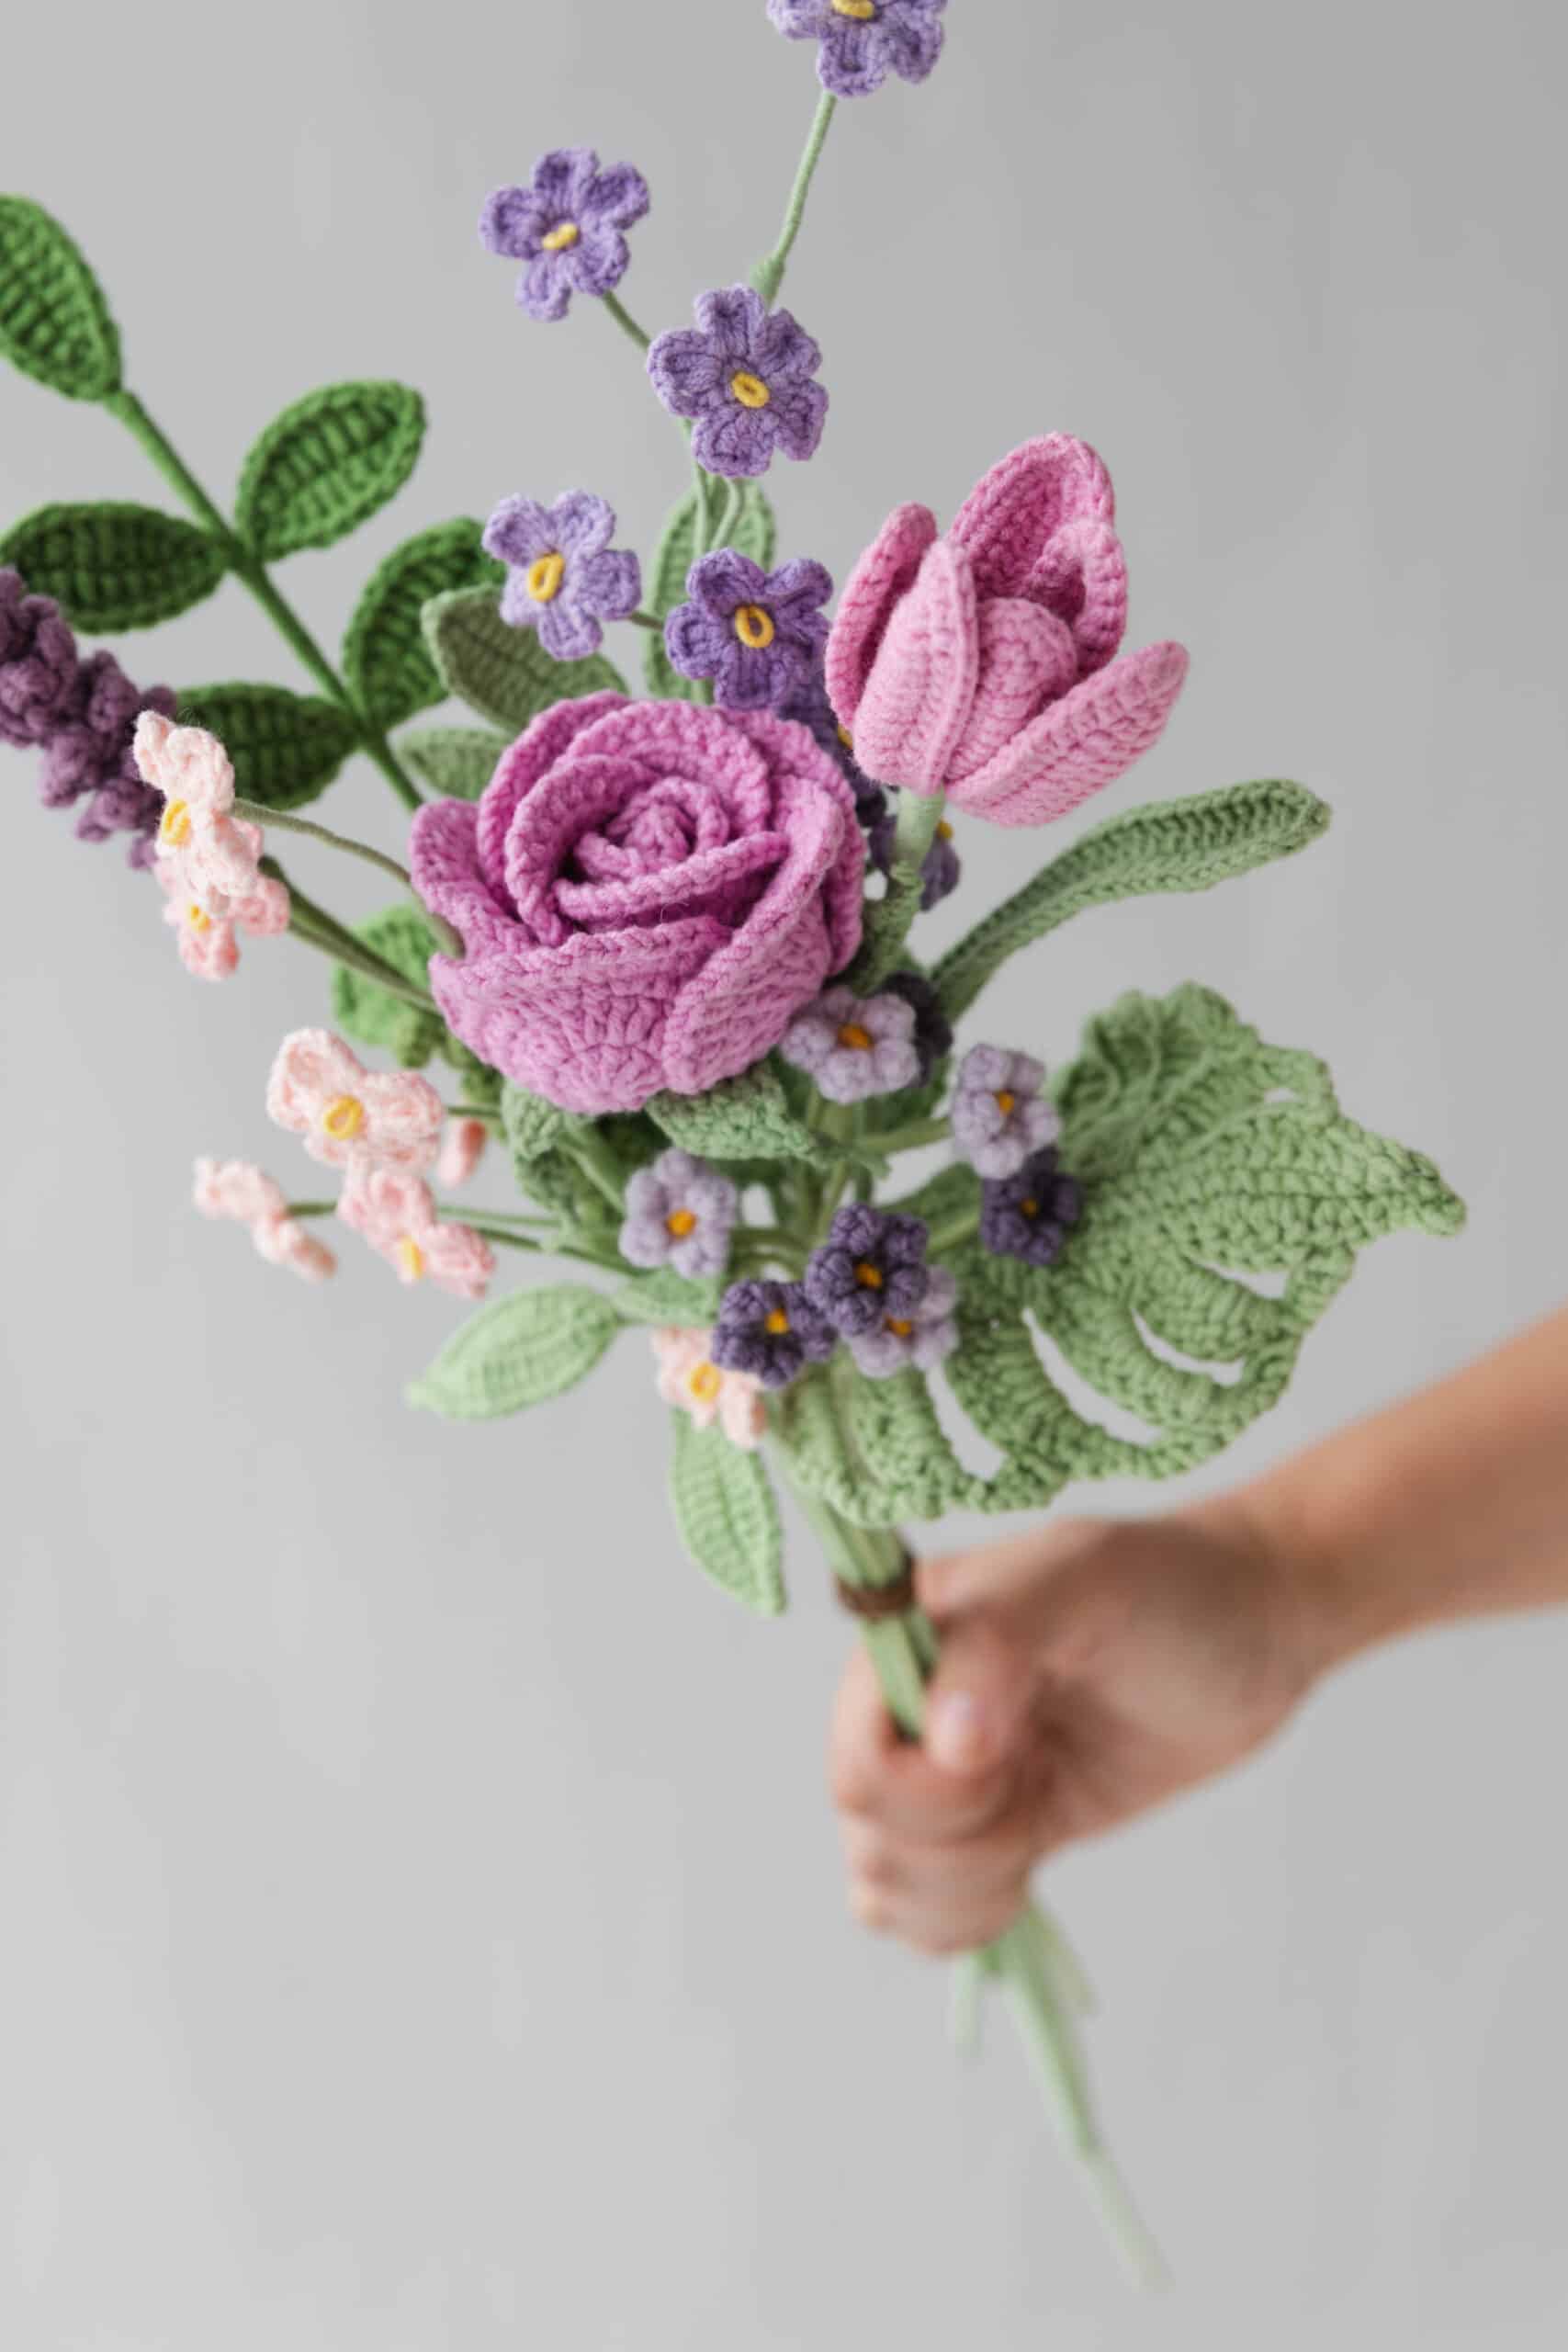
There is something undeniably satisfying about holding a finished amigurumi that captures the essence of something larger than life. This crochet Floyd Rose is tidy, squishy, and display-worthy, offering a delightful miniature version of the iconic guitar hardware. It serves as a perfect gift for musicians or a charming addition to a crochet flower bouquet, proving that even technical gear can be adorable when crafted by hand.
Why the Finished Piece Stands Out
While Floyd Rose tremolo systems are known for their mechanical precision, this crochet interpretation brings a soft, tactile warmth to the design. The combination of pink and green yarns creates a striking contrast that mimics the vibrant aesthetic often found in custom guitars. Unlike rigid plastic components, this amigurumi invites interaction; its squishy texture makes it an excellent stress reliever or a cozy companion for a music-themed desk. The inclusion of iron wire allows the leaves and stem to be posed, giving the piece a dynamic, lifelike presence that static toys often lack.
Project Overview
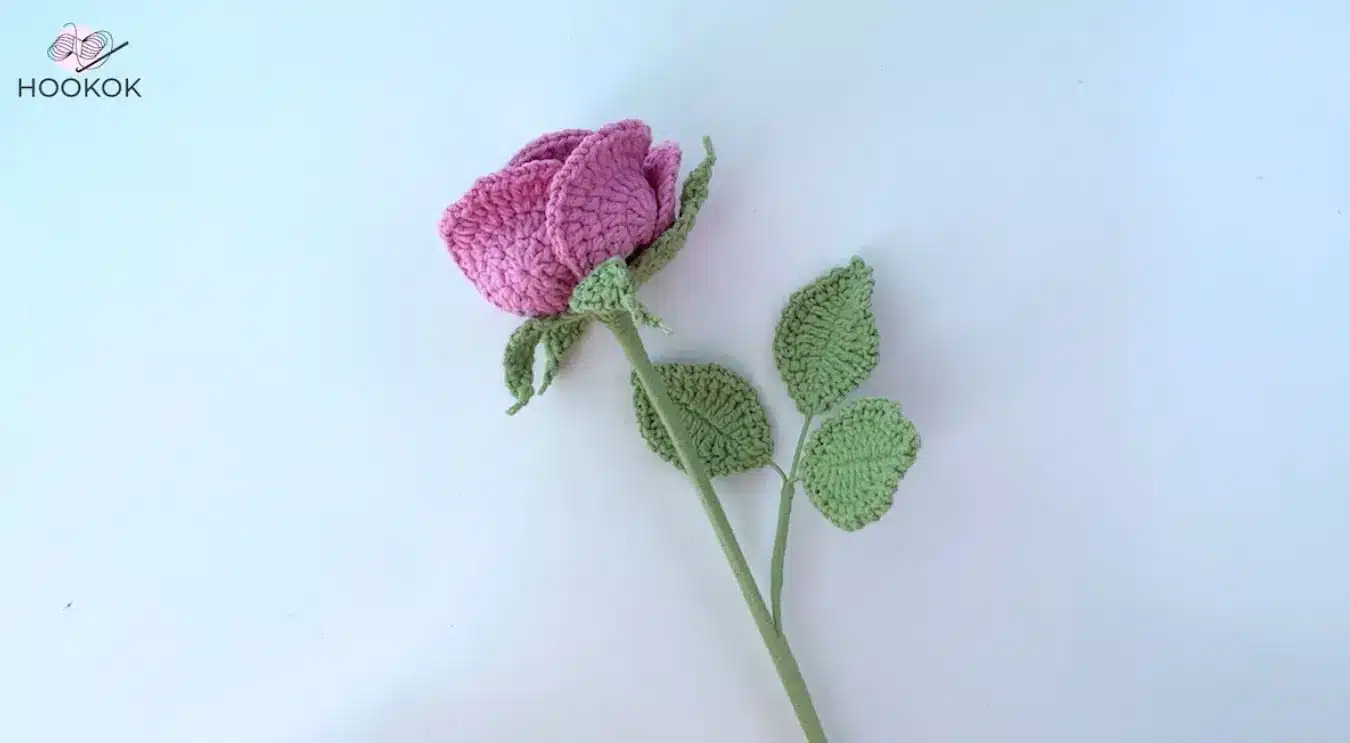
This pattern guides you through creating a crochet Floyd Rose, which is structured as a flower-like amigurumi. The project involves crocheting a central core, multiple layers of petals (small, middle, and big), sepals, and leaves, which are then assembled onto a flower rod. The skill level is rated as middle, requiring familiarity with shaping and assembly techniques.
Materials
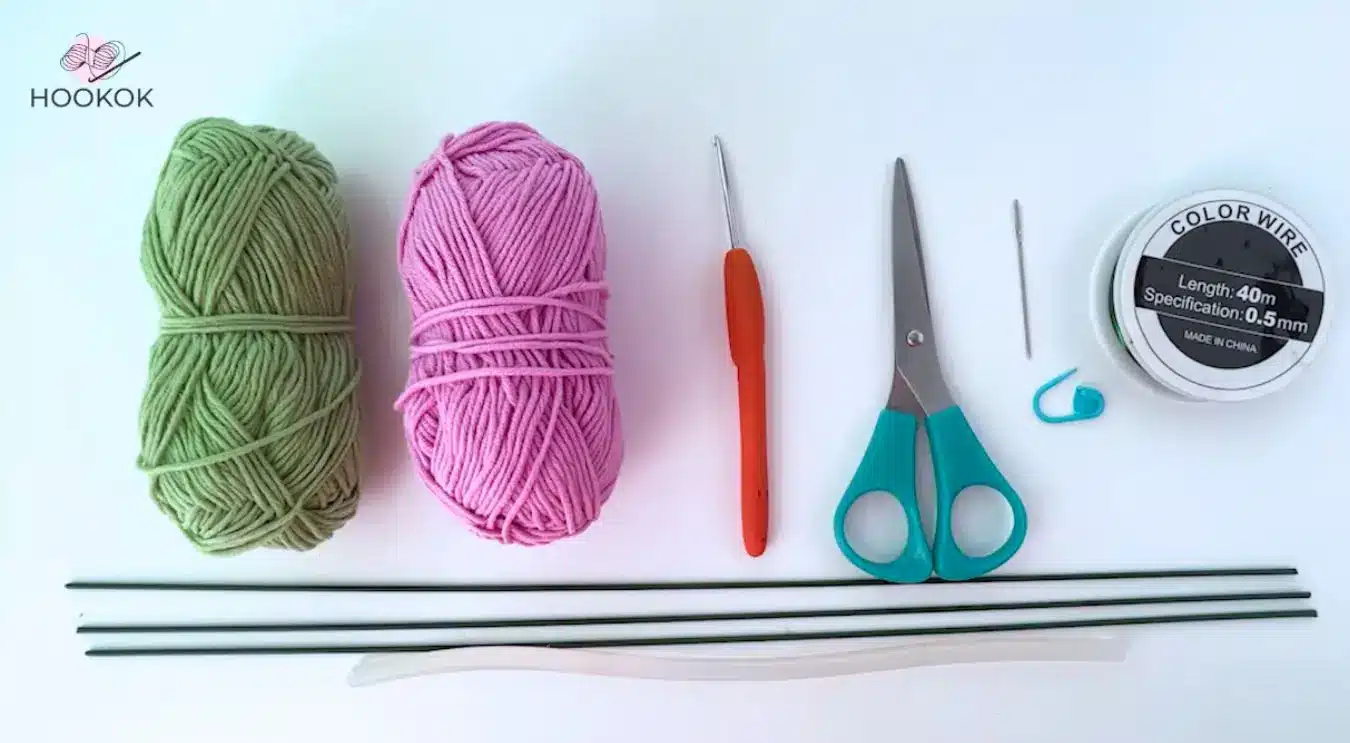
- Yarn: Pink and green
- Crochet hook: 2.0mm
- Scissors
- Darning needle
- Stitch marker
- Flower rod
- Iron wire: 0.5 mm
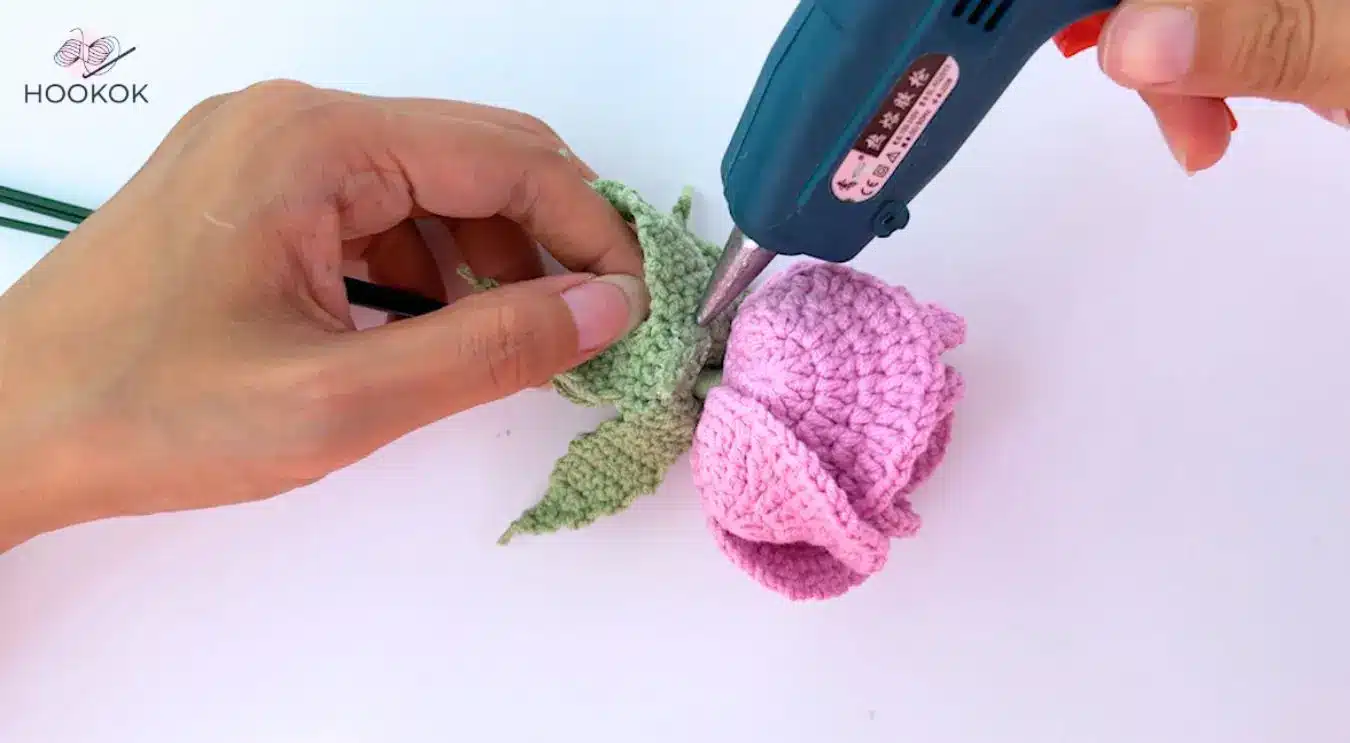
- Hot melt adhesive
Gauge and Finished Size
Gauge and finished size measurements are not provided in the source pattern. The final size will depend on your tension and the specific yarn weight used.
Abbreviations
- ch: Chain stitch
- dc: Double crochet
- hdc: Half double crochet
- sc: Single crochet
- sc2tog: Single crochet two stitches together
- tr: Treble (or triple) crochet
- Picot st: Picot Stitch
- R1, R2, R3, … R23: Round 1, Round 2, Round 3 …
Pattern Notes
- Our pattern is written in US crochet terms. Follow the pattern carefully to avoid mistakes. Take note of the specific stitch counts and techniques.
- Use stitch markers to mark the beginning of each round.
- Additional notes are written in Italics.
- Slip stitch and chain stitch do not count as stitch count.
Special Stitches
- sc2tog: Single crochet two stitches together, which is a decrease stitch in crochet.
- 2 ch picot st: A picot stitch typically made by chaining the number of chains mentioned (in this case, 2) and then making a slip stitch into the first of these chains to create a small loop or “picot”.
Pattern Instructions
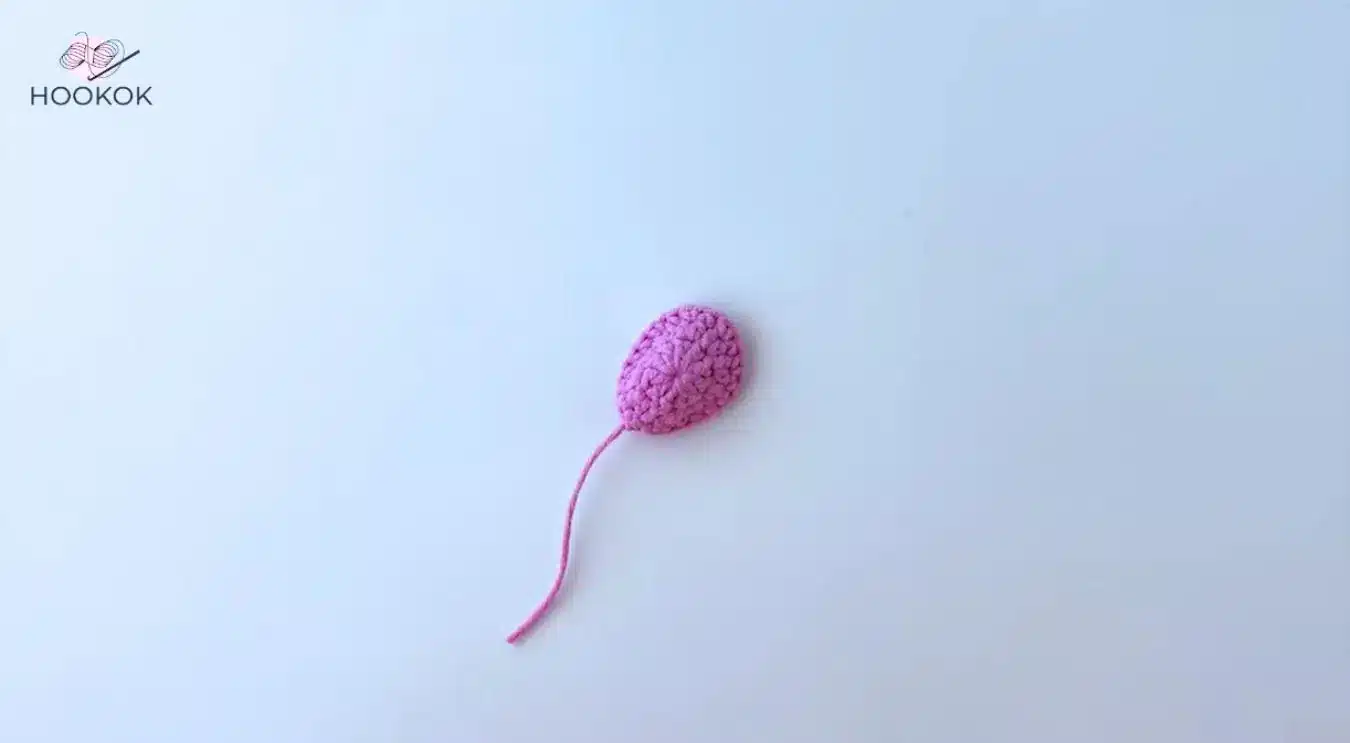
Flower Core
Start with a magic ring.
R1: Make 3 ch, then work 10 dc in the round. 1 ss in the first stitch. [10]
R2: Make 2 ch, followed by (2 hdc in next st )*10 times. 1 ss in the first st, then 1 ch. [20]
R3: Make 6 sc, (1 sc, 2 sc in next st)*4 times, 6 sc. 1 ss, 1 ch. [24]
2 Small Petals
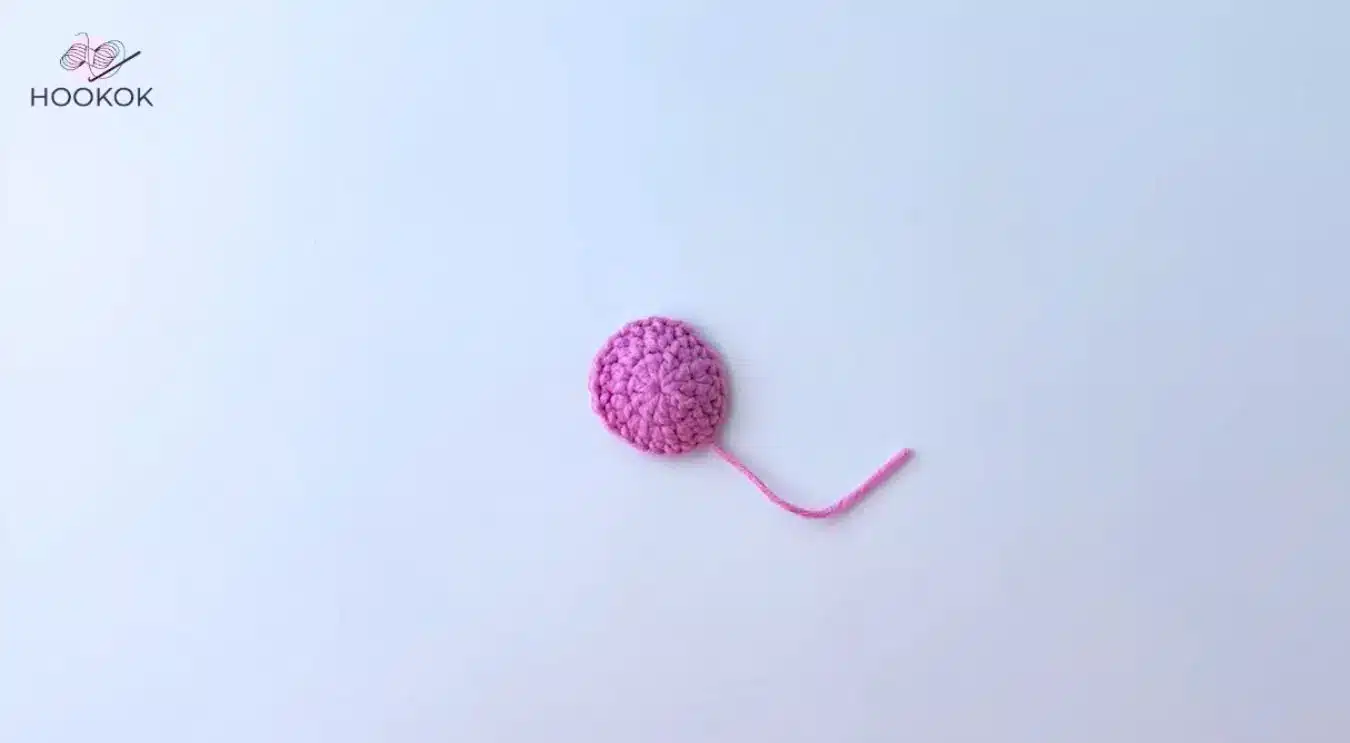
Start with a magic ring.
R1: Make 3 ch, then work 10 dc in the round. 1 ss in the first stitch. [10]
R2: Make 2 ch, (2 hdc in next st)*10 times, 1 ss, 1 ch. [20]
R3: Make 6 sc, (1 sc, 1 ch)*8 times; 6 sc. 1 ss, 1 ch. [20]
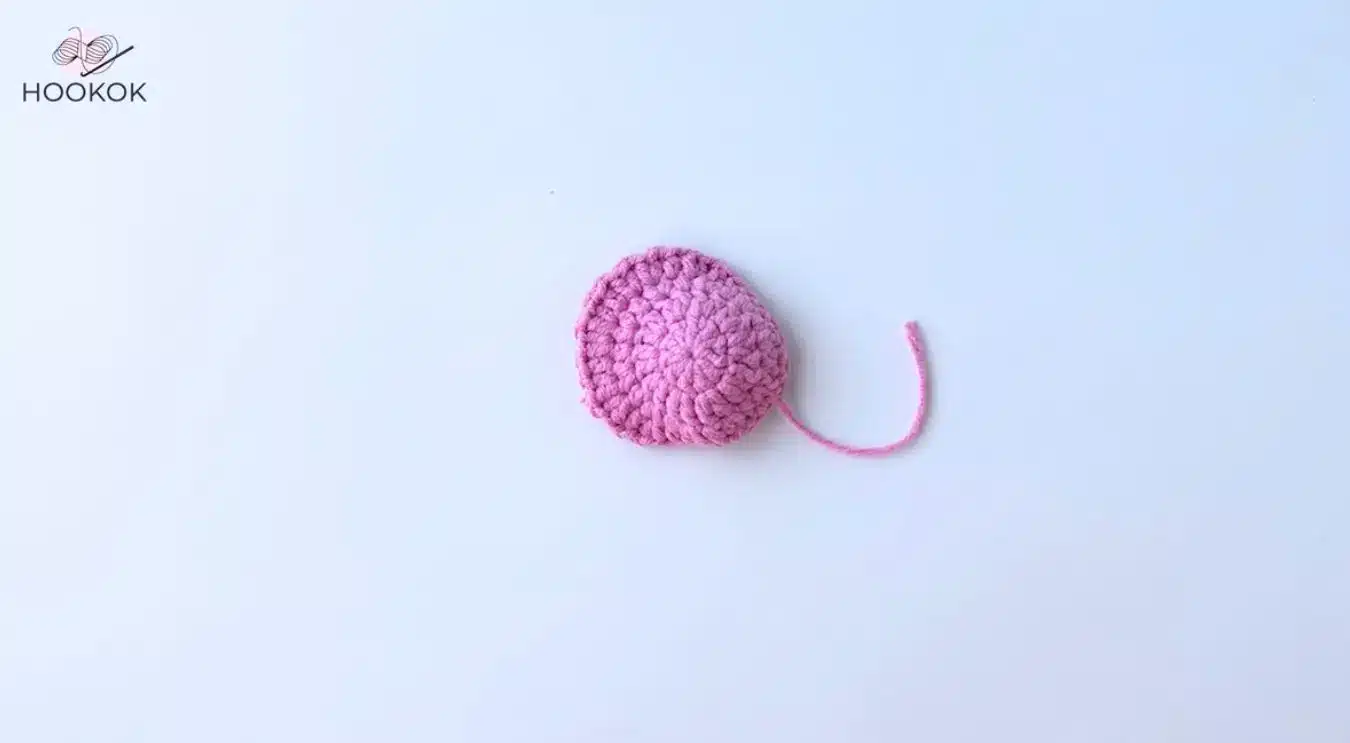
3 Middle Petals
Start with a magic ring.
R1: Make 3 ch, then work 10 dc in the round. 1 ss in the first stitch. [10]
R2: Make 2 ch, (2 hdc in next st )*10 times. 1 ss, 2 ch. [20]
R3: Make (1 hdc, 2 hdc in next st)*10 times. 1 ss, 1 ch. [30]
R4: Make 2 sc, sc2tog, 4 sc, (1 sc, 1 ch)*14 times, then work 4 sc, sc2tog, and 2 sc. 1 ss, 1 ch. [28]
5 Big Petals
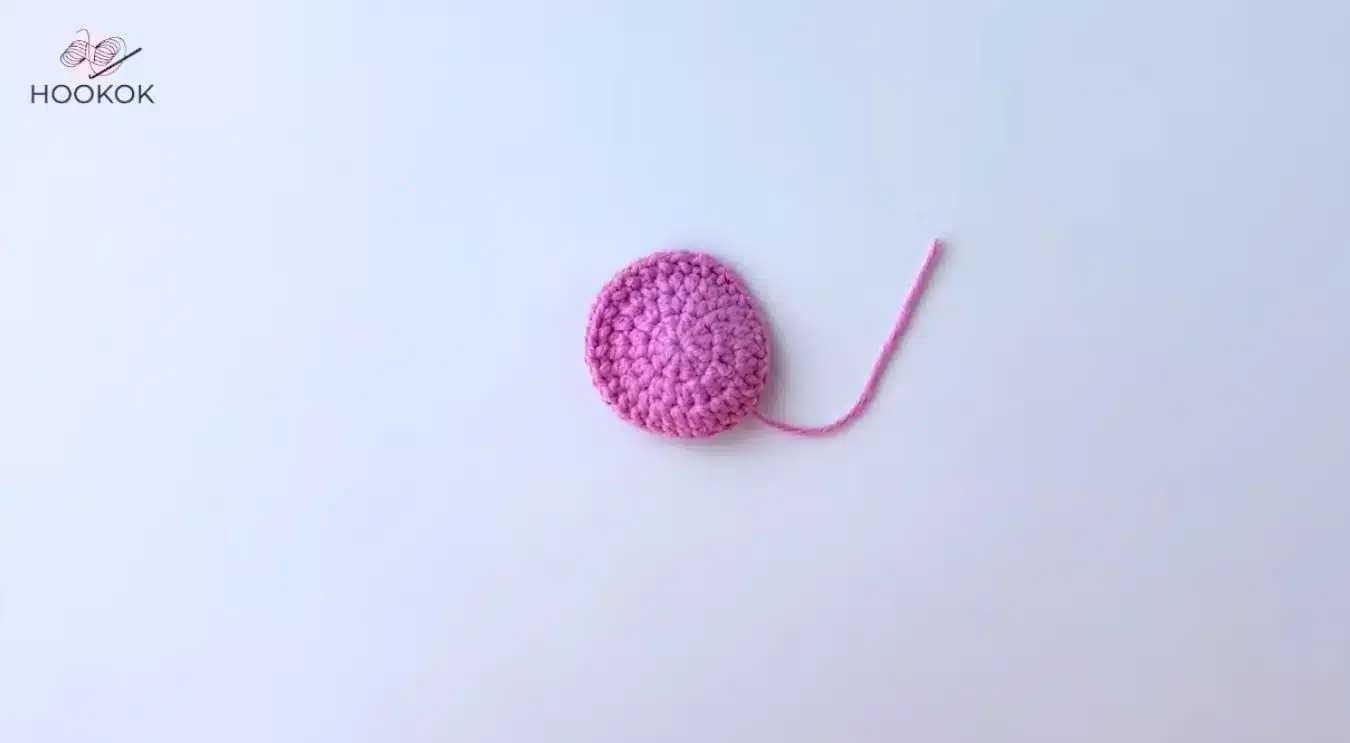
Start with a magic ring.
R1: Make 3 ch, then work 10 dc in the round. 1 ss in the first stitch. [10]
R2: Make 2 ch, (2 hdc in next st)*10 times. 1 ss, 2 ch. [20]
R3: Make (1 hdc, 2 hdc in next st)*10 times. 1 ss, 1 ch. [30]
R4: Make 2 sc, sc2tog, 4 sc, (1 hdc, 1 ch, 2 hdc in next st, 1 ch) *2 times; (2 hdc in next st, 1 ch); (1 hdc, 1 ch); (2 hdc in next st, 1 ch)*2 times; Make (1 hdc, 1 ch); (2 hdc in next st, 1 ch)*2 times; (1 hdc, 1 ch); (2 hdc in next st, 1 ch); 1 hdc, 4 sc, sc2tog, and 2 sc. 1 ss, 1 ch.
Flower Sepals
Start with a magic ring.
R1: Make 3 ch, then work 10 dc in the round. 1 ss in the first stitch. [10]
R2: Make 3 ch, (2 dc in next st)*10 times. 1 ss, 1 ch. [20]
R3: Make 4 sc, 1 ch, and then turn.
R4: Make 1 sc, 2 sc in one st, 2 sc, 1 ch, and then turn.
R5: Make 5 sc, 1 ch, and then turn.
R6: Make 5 sc, 1 ch, and then turn.
R7: Make sc2tog, 3 sc, 1 ch, and then turn.
R8: Make sc2tog, 2 sc, 1 ch, and then turn.
R9: Make sc2tog, 1 sc, 1 ch, and then turn.
R10: Make sc2tog, 1 ch, then turn.
R11: Make 1 hdc, 2 ch, and cut the tail.
Continue to finish another four sepals: Repeat R3-R11.
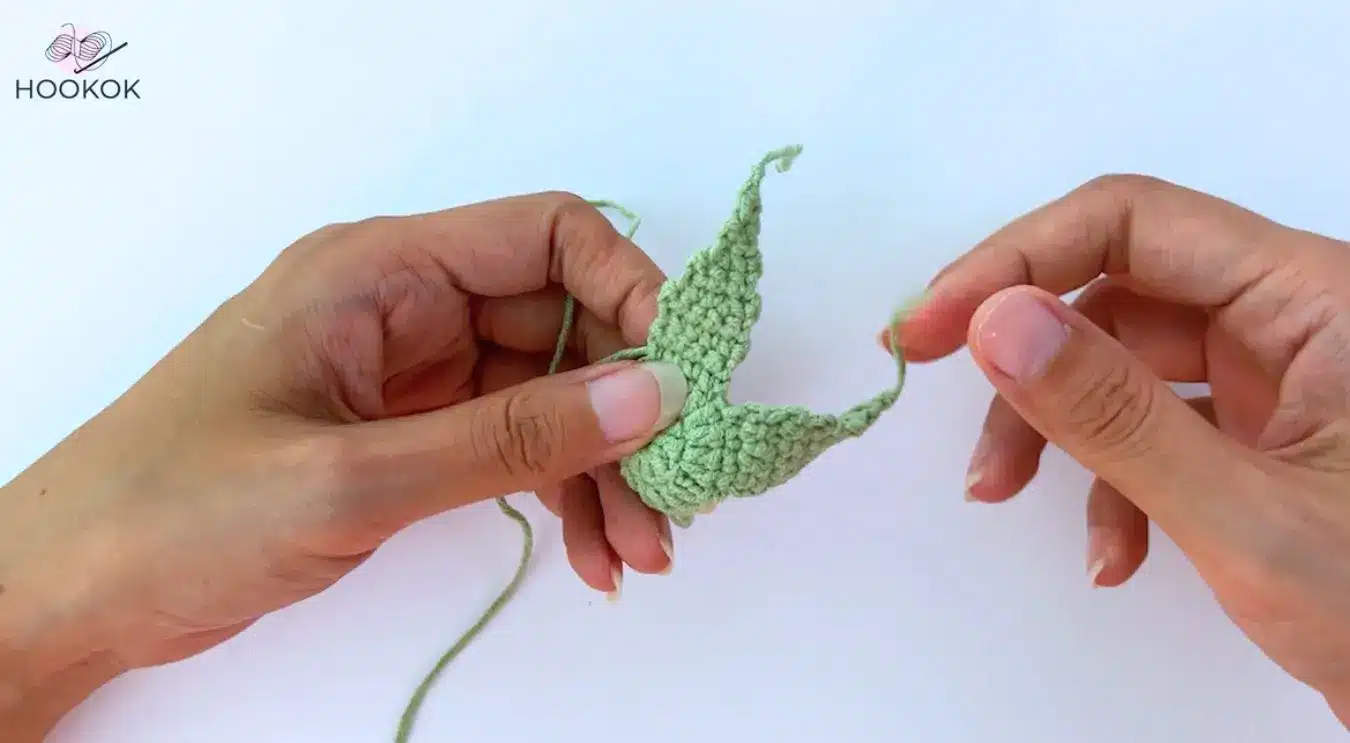
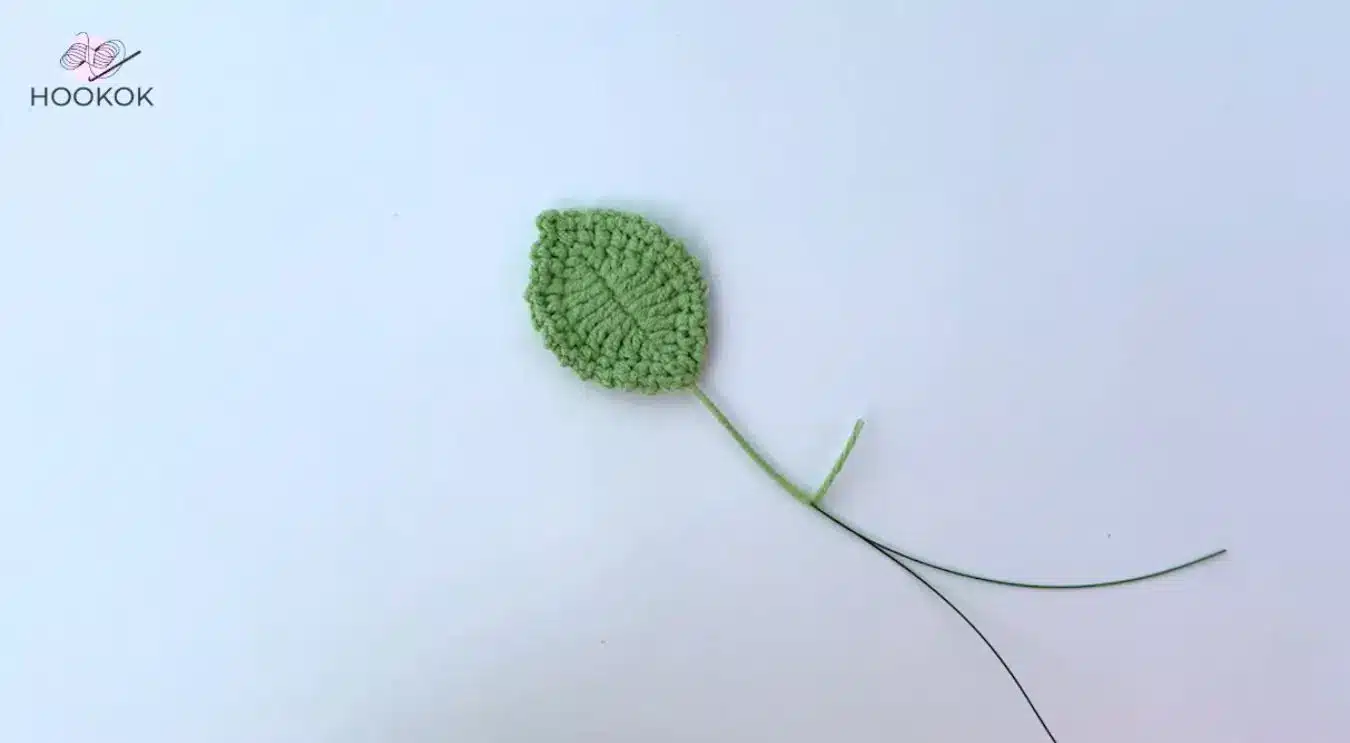
3 Leaves
Start with the foundation chain: 10 ch.
R1: Add wire, and then from the 2nd st of hook, make 1 sc, 1 hdc, 1 dc, 2 tr in next st, 1 tr, 2 tr in next st, 1 dc, 1 hdc, 3 sc in the same st, 1 hdc, 1 dc, 2 tr in next st, 1 tr, 2 tr in next st, 1 dc, 1 hdc, and 1 sc. 1 ss, 1 ch.
R2: Make (1 sc,2 ch)*11 times; followed by (1 sc, 2 ch picot st); (1 ch, 1 sc)*11 times. 1 ss in the first stitch of the row.
Assembly
Step 1: Take the three leaves and tie them together.
Step 2: Wrap the top part of the flower rod. Use hot melt adhesive to secure the end.
Step 3: Grab the crocheted petals for the Floyd Rose. Start by adding the flower core, small petals, middle petals, and then the bigger ones, arranging them until they look like a rose. Use hot melt adhesive to secure them in place.
Step 4: Wrap a section of the flower rod.
Step 5: Add the bottom part (sepal) of the crocheted Floyd Rose under the rose. Use hot melt adhesive to secure it.
Step 6: Keep wrapping the flower rod. Attach the leaves. Use hot melt adhesive to secure the end.
Tips
- Use stitch markers to mark the beginning of each round to keep your count accurate.
- The pattern includes iron wire in the leaves; ensure you weave the yarn securely around the wire to prevent it from slipping out.
- Hot melt adhesive is recommended for assembly to hold the layers firmly in place.
FAQs
What yarn colors are recommended for this pattern?
The source pattern suggests using pink and green yarn to create the classic Floyd Rose aesthetic, though you can experiment with other colors to match your preferences.
Is this pattern suitable for beginners?
No, the skill level is rated as middle. It involves shaping, decreases, and assembly with adhesive, which may be challenging for absolute beginners.
Do I need to stuff the petals?
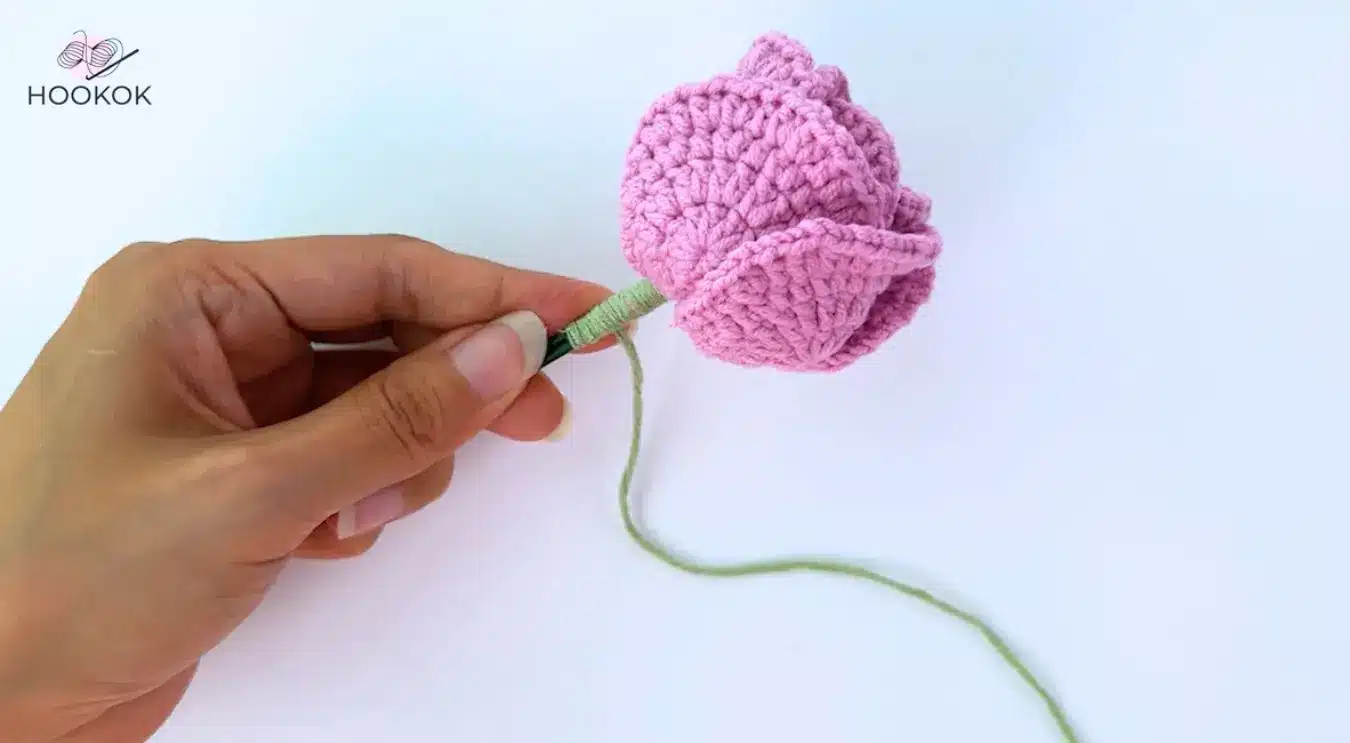
The instructions do not specify stuffing the petals or core. They are assembled flat or slightly curved onto the rod using adhesive.
What size crochet hook should I use?
A 2.0mm crochet hook is specified for this pattern to ensure tight stitches that hold their shape well.
Can I use this as a keychain?
While the pattern is designed for a flower rod, you could potentially attach a keyring to the bottom of the rod after assembly, though the source does not explicitly detail this modification.
Pin This Crochet Pattern!