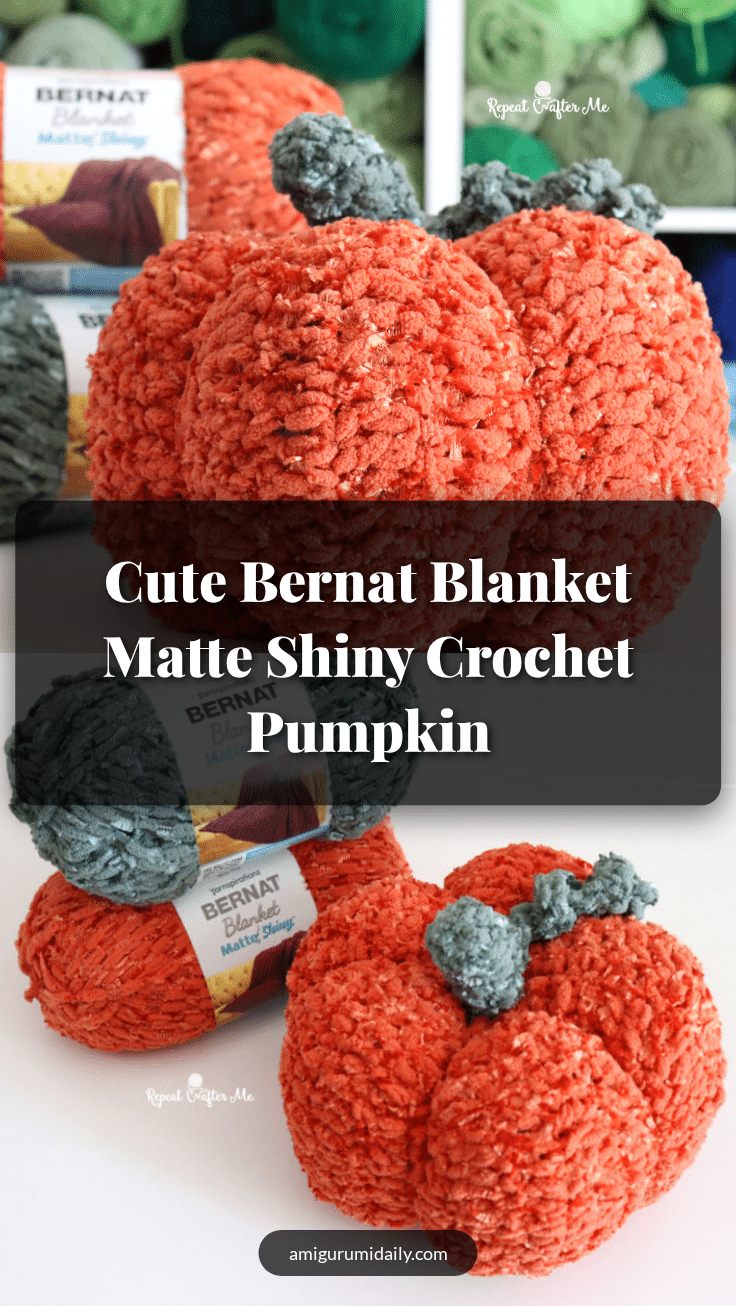
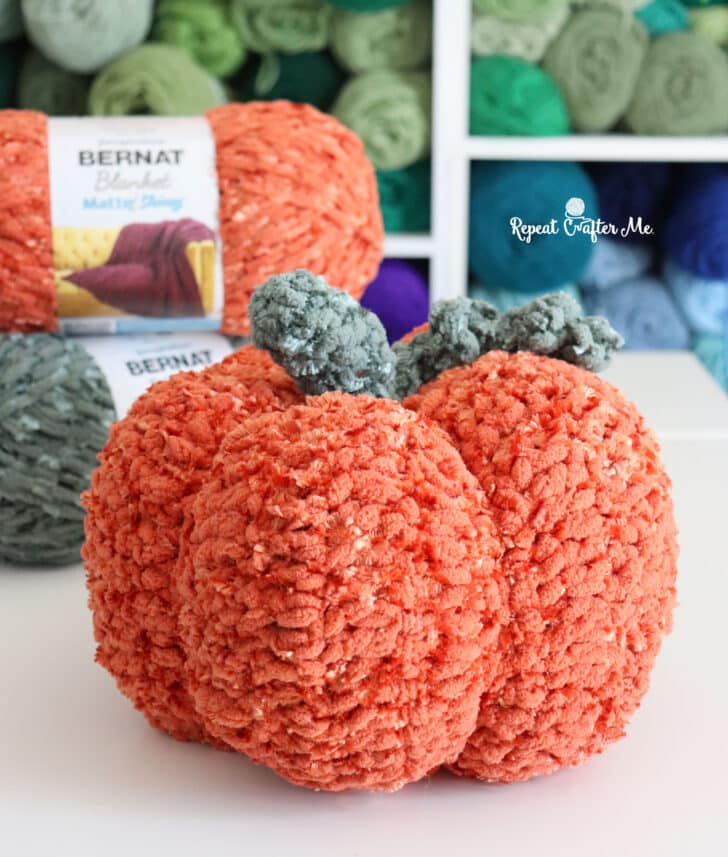
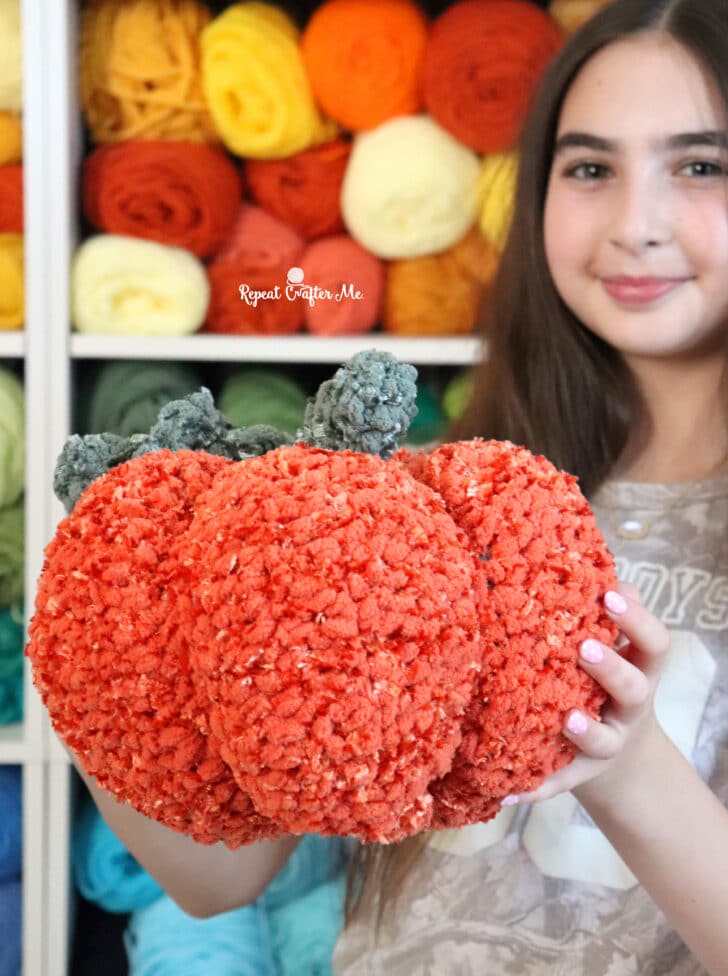
There is something deeply satisfying about watching a flat strip of crochet transform into a plump, dimensional shape. The magic lies in the rhythm of the stitches—the way increases build volume and decreases pull the fabric inward to create structure. With this Bernat Blanket Matte & Shiny Pumpkin, the texture of the yarn plays a starring role, catching the light with every row while the specific stitch pattern carves out those classic, rounded pumpkin ridges. It is a project that rewards patience, offering a tactile experience that feels as good as it looks.
Texture and Stitch Notes
The Bernat Blanket Matte & Shiny yarn brings a unique visual depth to this project. The blend of matte chenille and lustrous fibers creates a subtle sparkle that elevates the pumpkin from a simple decoration to a statement piece. Because the yarn is super bulky, the stitches are large and easy to see, making this an excellent choice for makers who want quick results without sacrificing detail. The “Matte & Shiny” texture also means the fabric has a plush, squishy feel, making this pumpkin substantial enough to double as a cozy fall accent pillow. The construction relies on a simple repeat of increasing and decreasing rows to form five distinct raised sections, giving the pumpkin its recognizable silhouette.
Project Overview
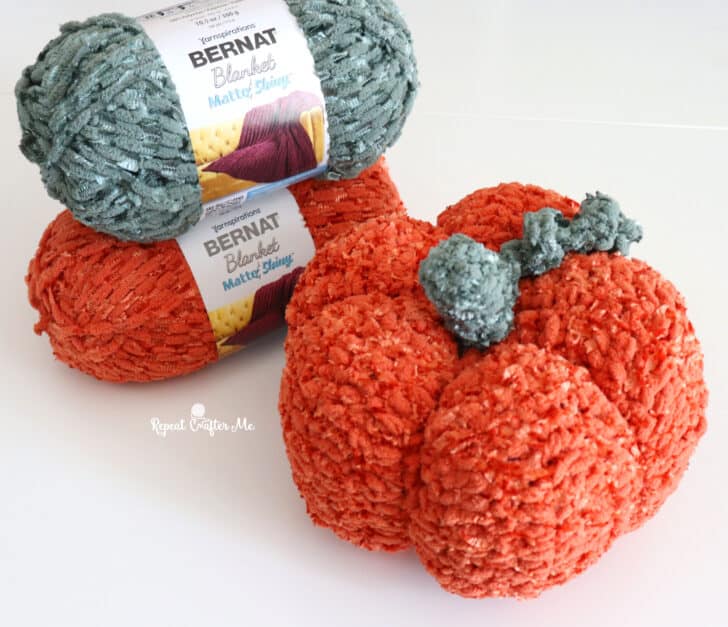
This amigurumi pumpkin is designed to be soft, plush, and entirely free of hard plastic parts. Unlike traditional pumpkins that might use wire or stiffeners, this version relies on generous stuffing and a clever cinching technique to define its shape. The pattern uses a strip method where you crochet a long rectangle with varying stitch heights, then sew the ends together to form a tube. This technique creates natural ridges that mimic the segments of a real pumpkin. The included stem and curly vine are also crocheted, ensuring the entire piece remains soft and huggable.
Materials
- Yarn: Bernat Blanket Matte & Shiny in Orange Leaf Luster (Approximately 223 g / 140 yards, or about ¾ of one 300 g ball).
- Yarn: Small amount of Bernat Blanket Matte & Shiny in Smoky Green Luster (for the stem and vine).
- Hook: Size K-10.5 (6.5 mm) crochet hook.
- Stuffing: Polyester fiberfill.
- Notions: Tapestry needle, scissors.
Gauge and Finished Size
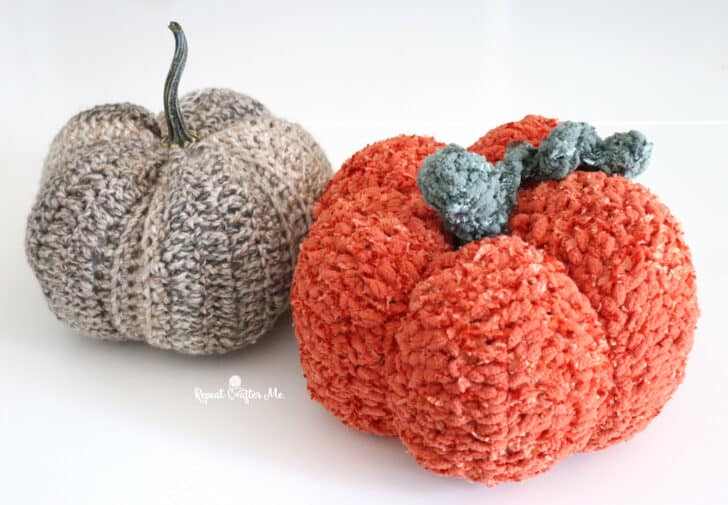
There is no specific gauge required for this pattern, as the size is determined by the stitch count and the bulky nature of the yarn. However, be aware that finished size may vary depending on your tension and how firmly you stuff the pumpkin.
Finished Dimensions: Approximately 10 inches tall × 12 inches wide (Approximately 32 inches around).
Abbreviations
US Terms
- ch: chain
- SC: single crochet
- DC: double crochet
- SC Decrease: Single crochet decrease (work over the next 2 stitches)
- Magic ring: A method for starting projects in the round
Pattern Notes
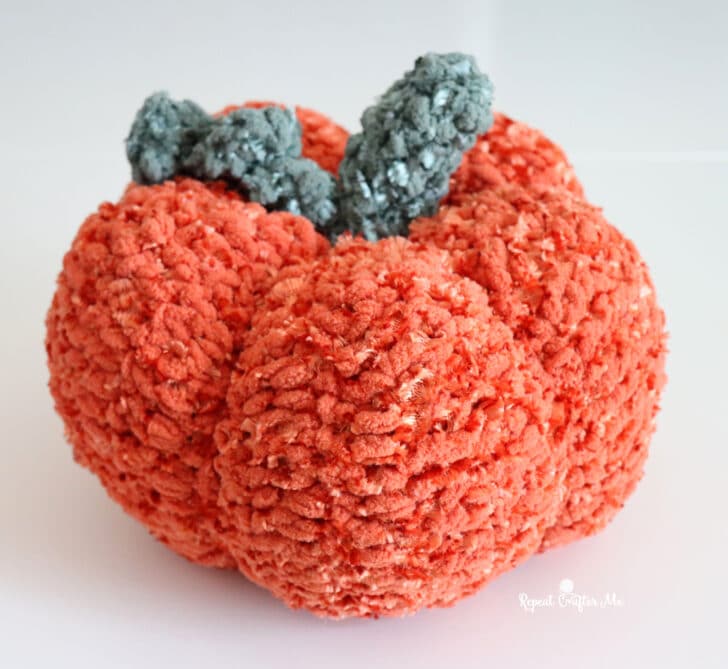
This pattern utilizes a specific construction method where the pumpkin is formed from a single long strip. The texture of the Matte & Shiny yarn can sometimes make individual stitches harder to distinguish than standard yarns. To accommodate this, the pattern simplifies the narrow single crochet sections between the ridges to just two rows, rather than four. Additionally, the ends of the strip are sewn together rather than slip stitched to create a flatter, less noticeable seam.
Pattern Instructions
Crochet Pumpkin Body
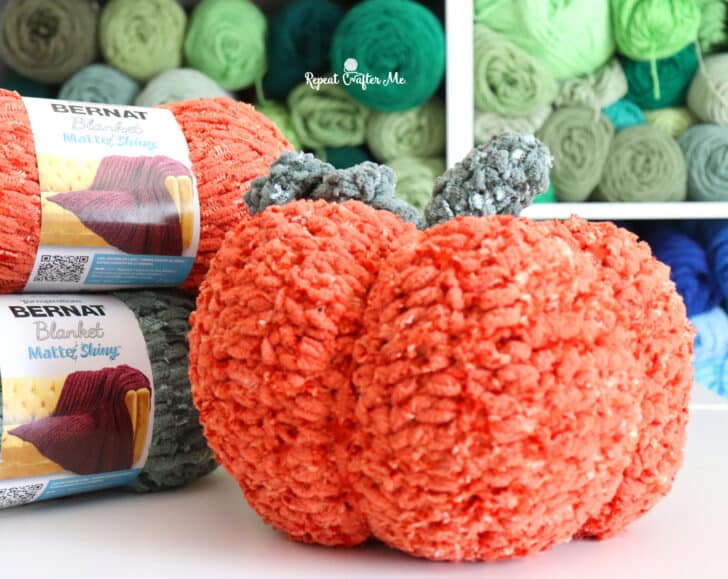
With Orange Leaf Luster:
Row 1: Chain 21, SC in second chain from hook and in each chain across. Ch 1, turn. (20 SC)
Row 2: SC in each stitch across. Ch 2, turn. (20 SC)
Row 3: *2 DC in next stitch, DC in next stitch; repeat from * across. Ch 2, turn. (30 DC)
Rows 4–6: DC in each stitch across. Ch 2, turn. (30 DC)
At the end of Row 6, ch 1 and turn.
Row 7: *SC Decrease over the next 2 stitches, SC in next stitch; repeat from * across. Ch 1, turn. (20 SC)
Row 8: SC in each stitch across. Ch 2, turn. (20 SC)
Continue Making Pumpkin Ridges: Repeat Rows 3–8 three more times. You will now have four raised pumpkin sections.
For the fifth and final pumpkin section:
Rows 27–30: Repeat Rows 3–6. (30 DC)
Row 31: Repeat Row 7. (20 SC)
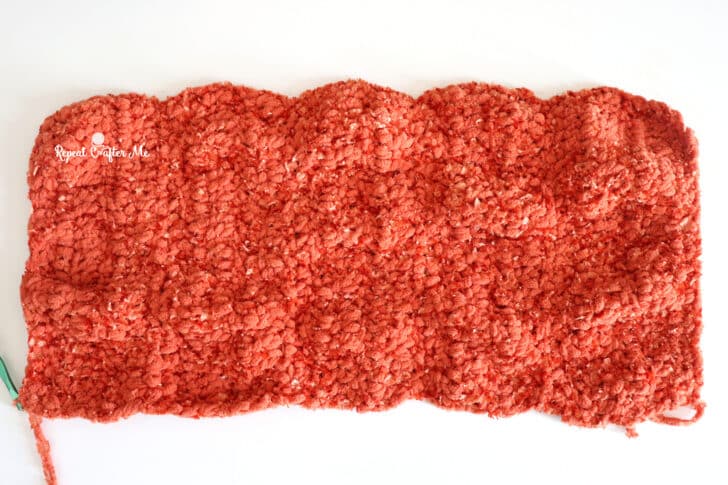
Fasten off, leaving a VERY long tail for assembly. Your finished strip should have five large raised sections, with narrower single crochet sections between them.
Crochet Pumpkin Stem
With Smoky Green Luster:
Create a Magic ring. Ch 1 and work 6 SC into ring. Join to first SC, ch 1. (6 SC)
You can also work continuously in rounds if you prefer.
Rounds 2–5: SC in each stitch around. Join, ch 1. (6 SC)
Round 6: *2 SC in next stitch, SC in each of next 2 stitches; repeat from * around. Join, ch 1. (8 SC)
Round 7: SC in each stitch around. (8 SC)
Fasten off, leaving a tail for sewing.
Crochet Curly Vine
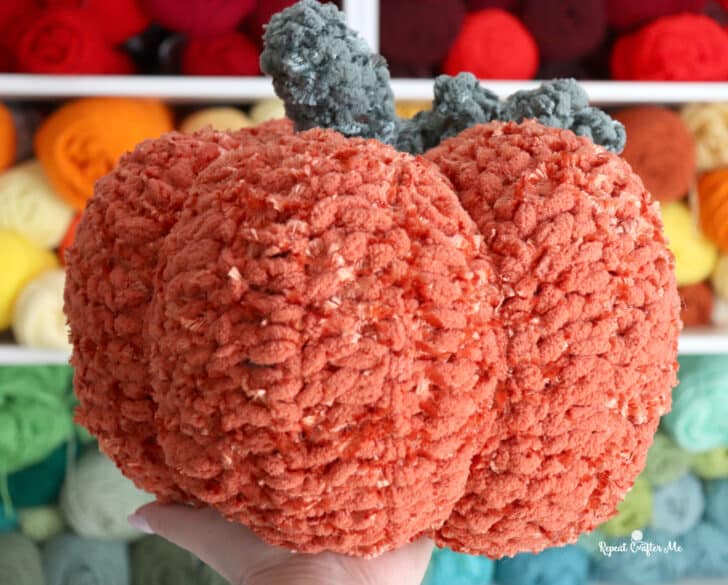
With Smoky Green Luster:
Chain 13, Work 2 SC in second chain from hook and in each chain across. (24 SC)
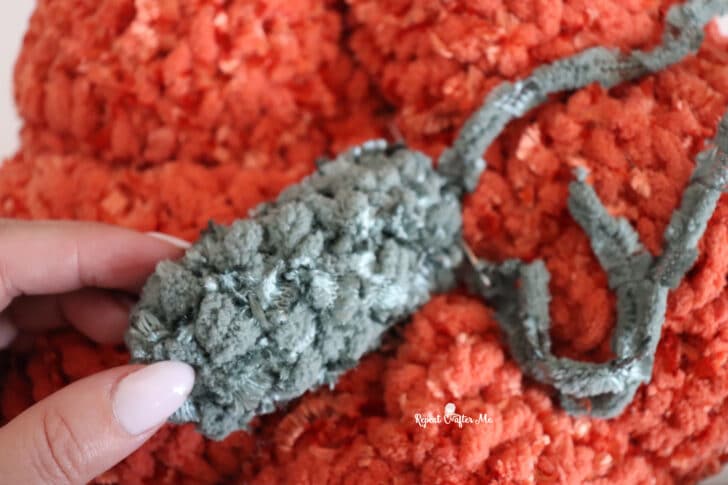
The piece will naturally curl into a little coil as you crochet. Fasten off, leaving a tail for sewing.
Assembly
Forming the Tube:
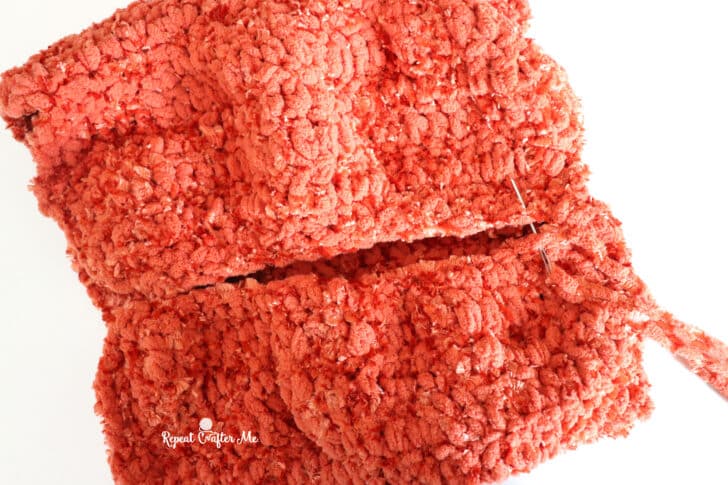
Thread your VERY long yarn tail onto your tapestry needle and stitch the two short ends of the pumpkin strip together to form a tube. Do not cut your yarn; we are going to keep using that long strand! Sewing the ends together creates a flatter, less noticeable join than slip stitching.
Cinching the Bottom:
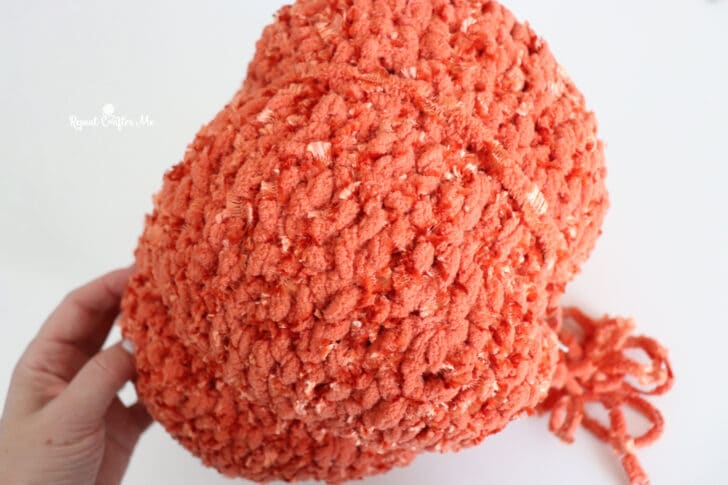
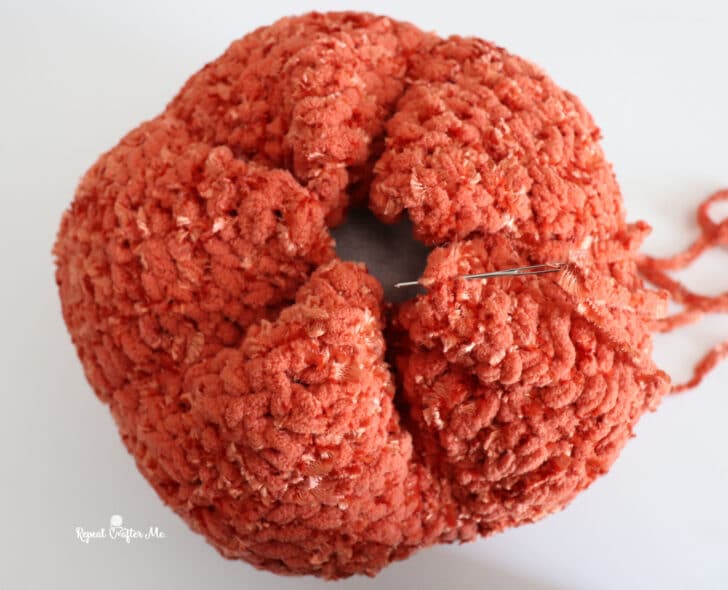
It is easiest to close the opening in two passes. First, sew around the recessed single crochet sections, catching approximately two stitches from each section as you work around the opening. Pull firmly to begin bringing the center together. Go around once more, this time catching the edges of the five raised pumpkin sections. Pull tightly until the bottom opening is completely closed. Secure your yarn, but keep that long strand attached.
Stuffing:
Stuff the pumpkin generously with fiberfill, making sure to push stuffing into each of the five raised sections. Bring your long strand of yarn straight up through the center of the pumpkin and out through the top.
Closing the Top:
Repeat the same two-step process used for the bottom to cinch the top closed.
Defining the Pumpkin Ridges:
To make the five pumpkin ridges stand out, use the same long strand of yarn. Bring it from the center top of the pumpkin down over one of the recessed SC sections around the outside of the pumpkin. Bring the yarn back up through the center of the pumpkin and pull tightly. This pulls that indentation inward and gives the neighboring pumpkin sections even more definition. Repeat around the pumpkin, running the yarn along each of the five SC indentations and pulling snugly each time. Once you are happy with the shape, secure your yarn and weave in the end.
Attaching Stem and Vine:
Lightly stuff the stem with fiberfill and stitch it securely to the center top of the pumpkin. Stitch one end of the curly vine to the base of the pumpkin stem and position the curl so it falls over one of the recessed pumpkin sections.
Tips
Long Tail Strategy: The very long yarn tail left at the beginning is crucial for assembly. If you run out of tail at any point during the cinching process, you can simply attach another long strand in the same color.
FAQs
Can I use a different yarn?
While this pattern is designed specifically for Bernat Blanket Matte & Shiny to achieve the plush, squishy texture and specific ridge definition, you can use other super bulky (#6) yarns. However, the stitch definition and final size may vary.
Why did the author sew the ends together instead of slip stitching?
Sewing the ends together with a tapestry needle creates a flatter and less noticeable seam, which is particularly helpful when working with thick, textured yarns like Matte & Shiny.
How do I make the pumpkin ridges more defined?
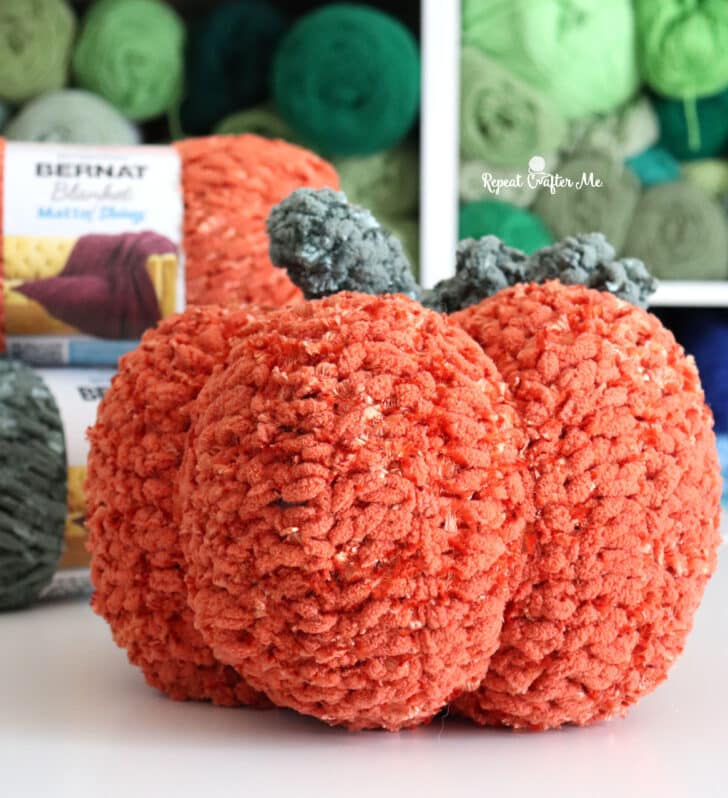
The pattern includes a specific step where you run the long yarn tail down the recessed single crochet sections on the outside of the pumpkin and pull tight. This “tethers” the indentations, making the raised sections pop out more.
Is this pumpkin safe for children?
Yes, this version is entirely soft and squishy with no hard plastic parts like safety eyes or wire stems, making it a safer option for younger children compared to traditional amigurumi.
How much yarn do I need?
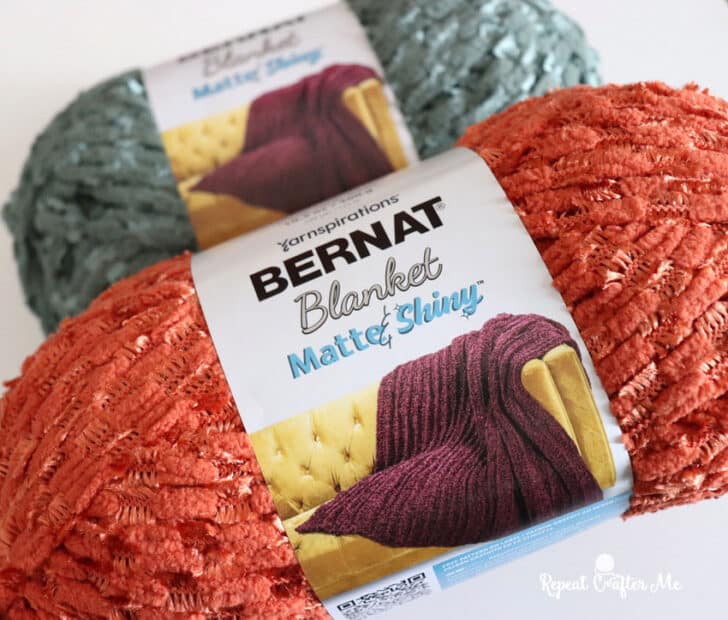
You will need approximately 223 g / 140 yards of the main color (Orange Leaf Luster), which is about ¾ of a standard 300 g ball. A small amount of the secondary color (Smoky Green Luster) is needed for the stem and vine.
Pin This Crochet Pattern!