There is a specific kind of magic in the quiet hours of the evening when the house settles down and the only sound is the rhythmic click of the hook and the soft pull of yarn. It is a ritual of counting stitches, watching colors shift, and creating something tangible from a small batch of fiber. This pattern captures that exact feeling. Designed to be simple and beginner-friendly, it allows the self-striping yarn to do the heavy lifting while you focus on the relaxing repetition of classic amigurumi shaping. It is a perfect project for a calm night in, offering the satisfaction of a quick finish and a charming result.
Small Details That Make It Better
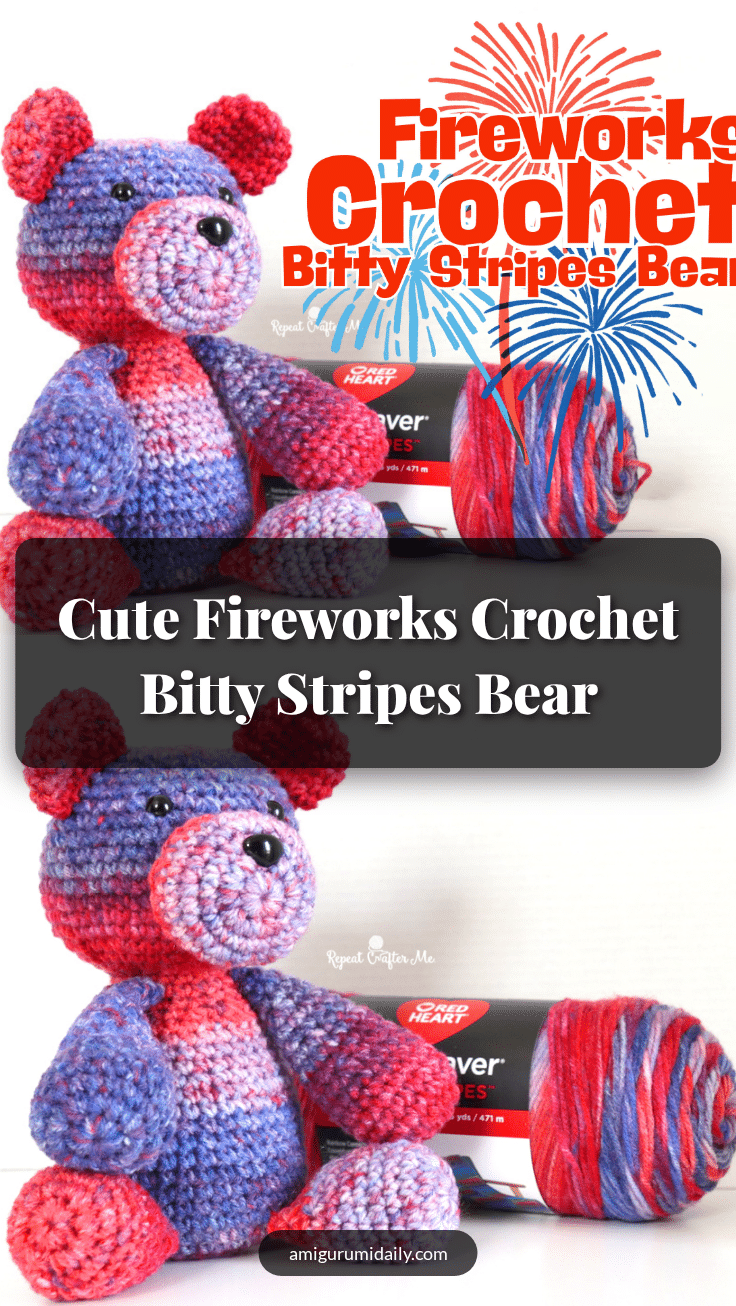
While the “Firework” colorway is undeniably festive—bursting with bold reds, bright blues, and soft neutrals—the true star of this bear is the natural movement of the stripes. Because the yarn does all the colorwork, no switching is required, allowing the pattern to flow seamlessly across the body, arms, and legs. This means no two bears will look exactly alike; each one is a unique reflection of the yarn’s journey. The design keeps the shape classic and simple so that the visual appeal of the self-striping yarn takes center stage. Whether you are making one for a 4th of July celebration or just to enjoy the cozy texture of the yarn, the result is a bear that feels both patriotic and universally charming.
Project Overview
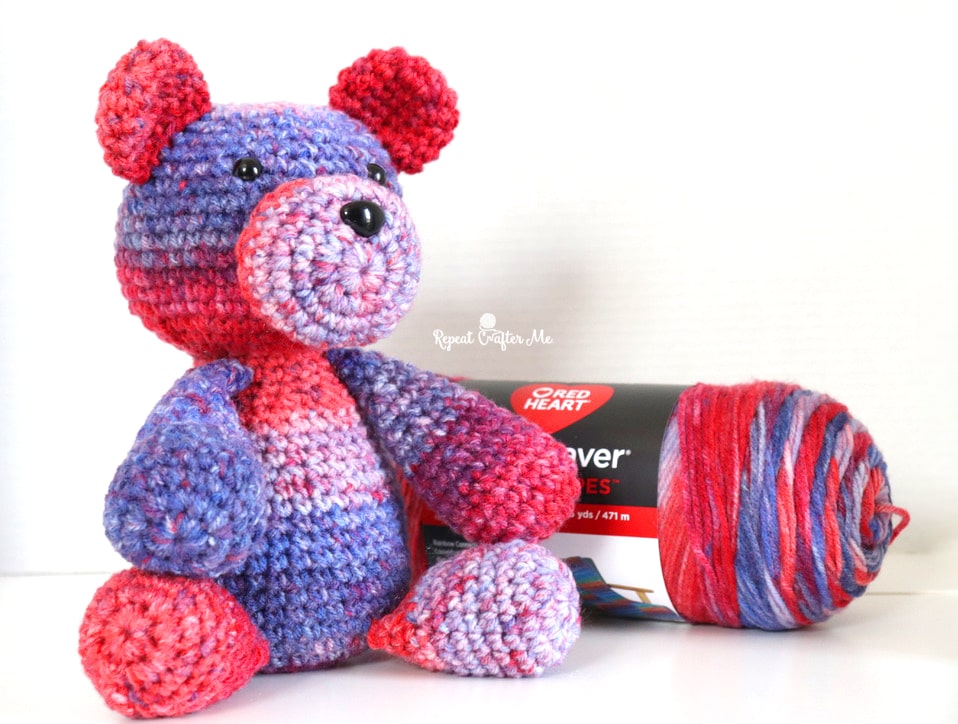
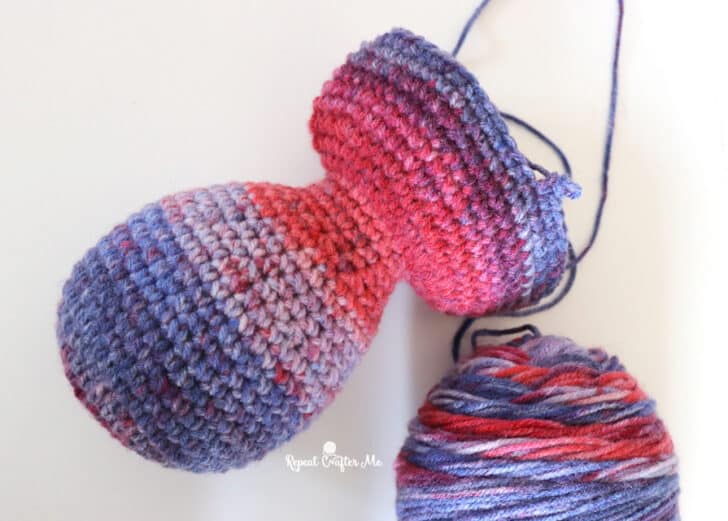
This amigurumi pattern is designed to be a stash-friendly, beginner-friendly project that stretches your yarn efficiently. The head and body are worked in one continuous piece from the bottom up, which significantly reduces sewing time. The only assembly required involves pinching the feet and arms closed and stitching them onto the body. This pattern is perfect for quick gifts, craft fairs, summer projects, or simply enjoying the magic of self-striping yarn.
Materials
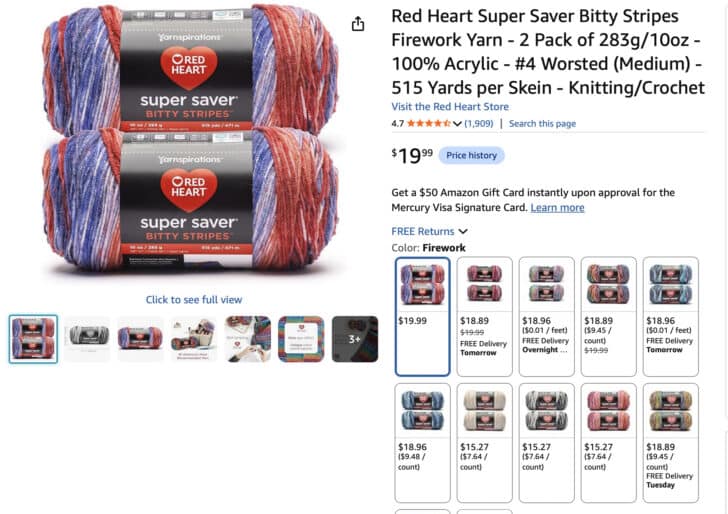
- Yarn: Red Heart Bitty Stripes Yarn in color Firework (one skein). Note: This pattern works beautifully with any Bitty Stripes colorway.
- Hook: Size H Crochet Hook
- Stuffing: Polyfil Fiber Stuffing
- Accessories: Black Safety nose, Two 15mm black safety eyes
- Tools: Tapestry Needle
Gauge and Finished Size
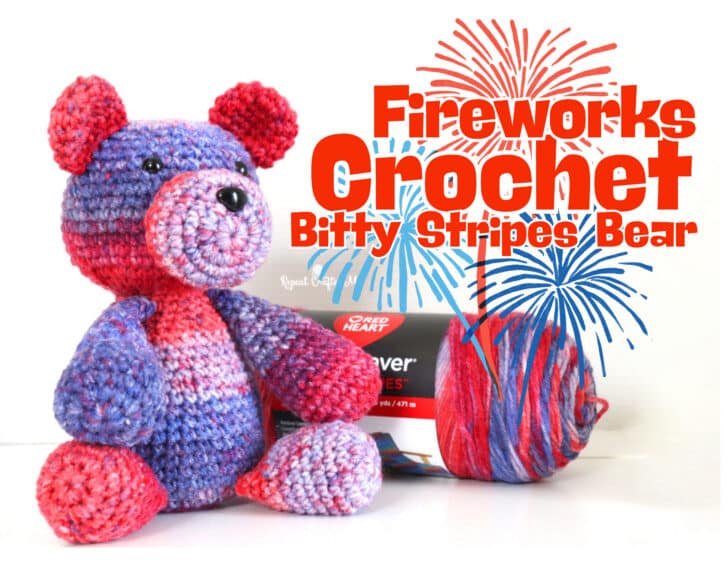
Finished Size: Approximately 10 inches tall x 8 inches wide.
Note: Specific gauge measurements were not provided in the source pattern. The finished size is achieved by following the stitch counts provided in the instructions.
Abbreviations
The following abbreviations are used in this pattern:
- SC: Single Crochet
- SC Decrease: Decrease (work two single crochets together)
- Magic Ring: A method for starting projects in the round
- Chain (ch): Chain stitch
- Join: Slip stitch to join the round
- Fasten off: Cut the yarn and pull through the loop to secure
Pattern Notes
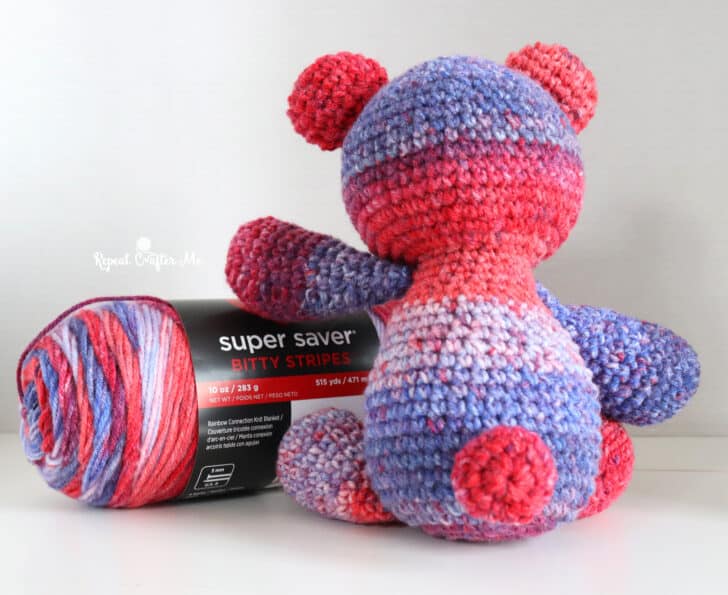
- One Skein, Two Bears: You can crochet two full bears from just one skein of Bitty Stripes, with yarn left over for a small star applique or special touch.
- Colorwork: Let the yarn do the work. No switching yarn is needed.
- Assembly: Minimal sewing is required. Just pinch the feet and arms closed before stitching them onto the body.
- Shaping: Classic amigurumi shaping is used throughout.
Pattern Instructions
Snout
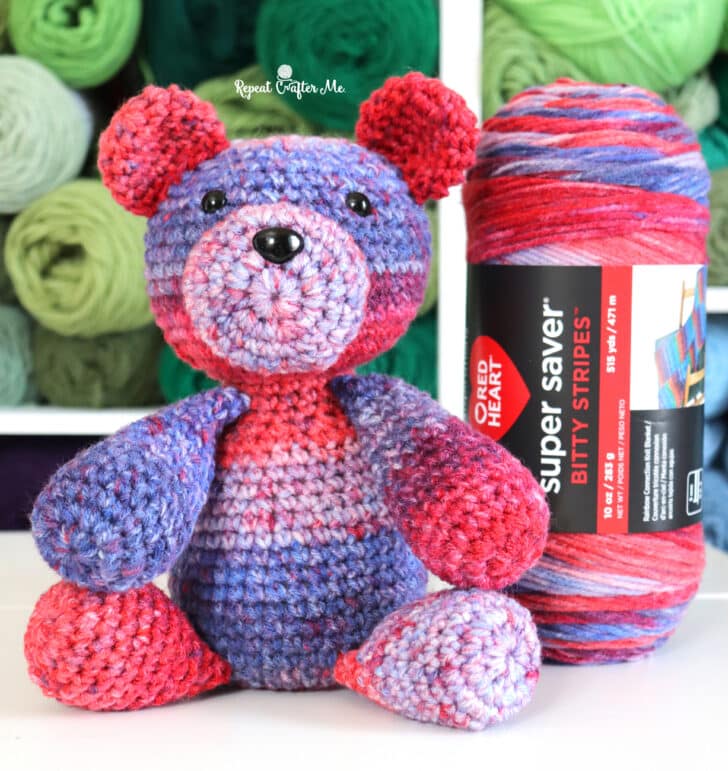
Magic Ring, chain 1 and make 10 SC in ring, join, chain 1
Round 2: 2 SC in each stitch around, join, chain 1 (20 SC)
Round 3: SC in each stitch around, join, chain 1 (20 SC)
Round 4: 2 SC in first, SC in next, repeat around, join, chain 1 (30 SC)
Round 5-6: SC in each stitch around, join, chain 1 (30 SC)
Round 7: SC Decrease, SC in next 3, repeat around, join, fasten off leaving long tail. Attach safety nose right above the magic ring round. You will stitch the snout onto the head when you get to Round 40 of the body/head pattern. Stuff snout with poly-fil before you finish stitching it onto the head.
Body/Head
Works in one piece from the bottom up.
Magic ring, chain 1 and make 10 SC in ring, join, chain 1
Round 2: 2 SC in each stitch around, join, chain 1 (20 SC)
Round 3: 2 SC in first, SC in next, repeat around, join, chain 1 (30 SC)
Round 4: SC in each stitch around, join, chain 1 (30 SC)
Round 5: 2 SC in first, SC in next two, repeat around, join, chain 1 (40 SC)
Round 6-14: SC in each stitch around, join, chain 1 (40 SC)
Round 15: SC Decrease, SC in next two, repeat around, join, chain 1
Round 16-19: SC in each stitch around, join, chain 1 (30 SC)
Start stuffing with poly-fil
Round 20: SC Decrease, SC in next, repeat around, join, chain 1
Round 21-24: SC in each stitch around, join, chain 1 (20 SC)
Round 25: 2 SC in each stitch around, join, chain 1 (40 SC)
Round 26: SC in each stitch around, join, chain 1 (40 SC)
Round 27: 2 SC in first, SC in next 3, repeat around, join, chain 1 (50 SC)
Round 28-35: SC in each stitch around, join, chain 1 (50 SC)
Round 36: SC Decrease, SC in next 3, repeat around, join, chain 1
Round 37-38: SC in each stitch around, join, chain 1 (40 SC)
Round 39: SC Decrease, SC in next 2, repeat around, join, chain 1 (30 SC)
Round 40: SC in each stitch around, join, chain 1. Now is a good time to stitch on the snout and attach the safety eyes. Attach safety eyes between round 34 & 35 about 10 stitches apart. The snout should be under the eyes (approximately between rounds 26-34). Continue stuffing with polyfil until closed.
Round 41: SC Decrease, SC in next, repeat around, join, chain 1
Round 42: SC Decrease in each stitch around, join, chain 1. SC Decrease until top of head is closed.
Ears (make 2)
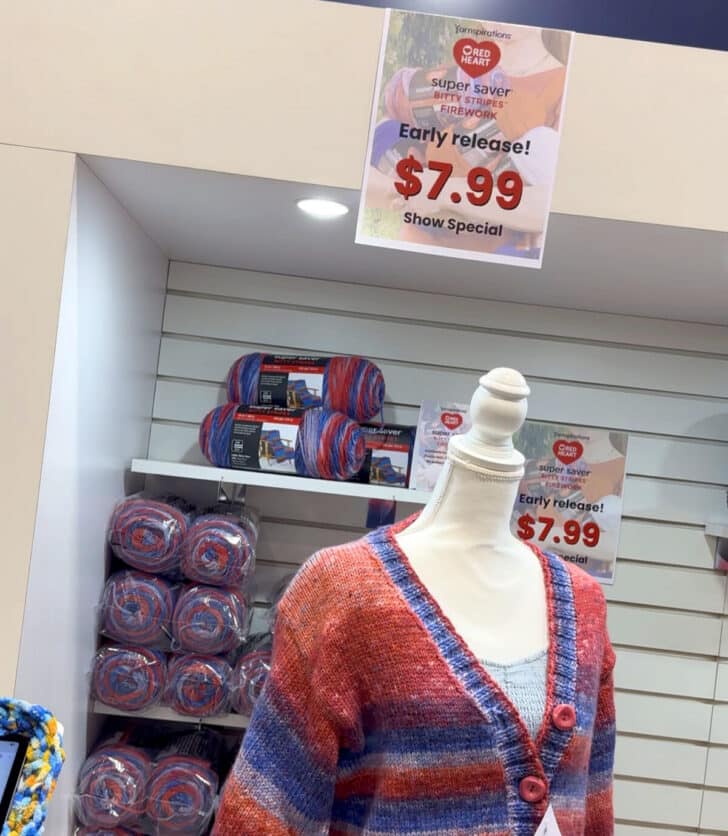
Magic ring, chain 1 and make 8 SC in ring, join, chain 1
Round 2: 2 SC in each stitch around, join, chain 1 (16 SC)
Round 3-5: SC in each stitch around, join, chain 1 (16 SC)
Round 6: SC decrease, SC in next 2, repeat around, join, fasten off
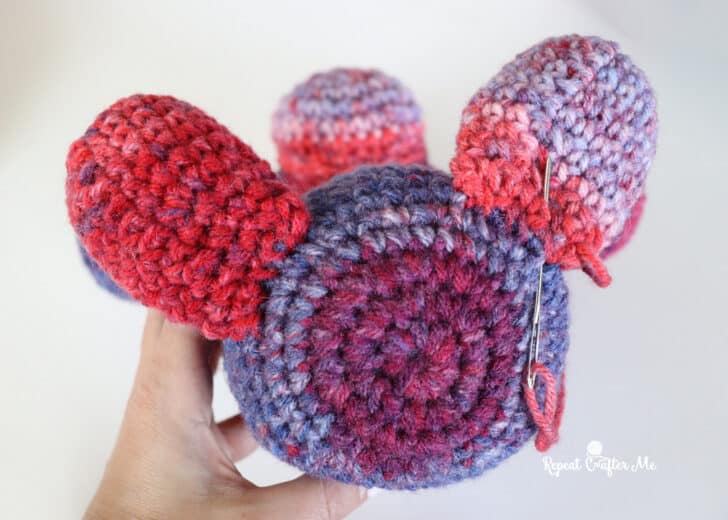
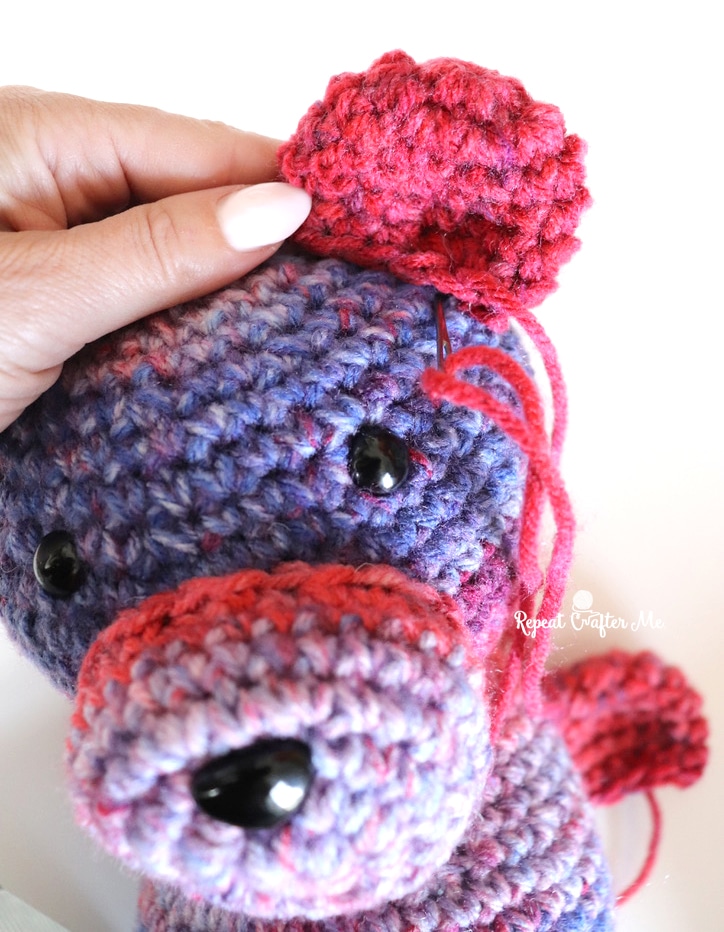
Stitch ears onto either side of head about 5 rows down from top. No need to stuff ears with poly-fil.
Arms (make 2)
Magic ring, chain 1 and make 10 SC in ring, join, chain 1
Round 2: 2 SC in each stitch around, join, chain 1 (20 SC)
Round 3-7: SC in each stitch around, join, chain 1 (20 SC)
Round 8: SC Decrease, SC in next 3, repeat around, join, chain 1 (16 SC)
Round 9-10: SC in each stitch around, join, chain 1 (16 SC)
Start stuffing with poly-fil
Round 11: SC Decrease, SC in next 2, repeat around, join, chain 1
Round 12-13: SC in each stitch around, join, chain 1 (12 SC)
Round 14: SC Decrease, SC in next, repeat around, join, chain 1
Round 15-17: SC in each stitch around, join, chain 1 (8 SC)
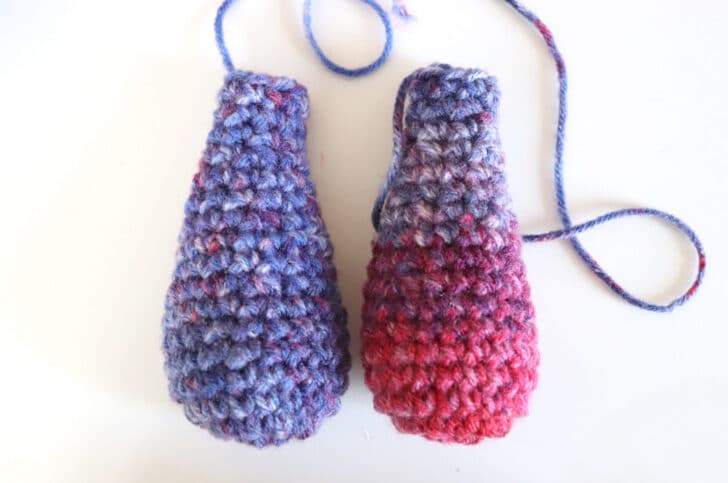
Fasten off and finish stuffing with poly-fil. Pinch open closed and stitch onto either side of bear at round 24 of body.
Feet (make 2)
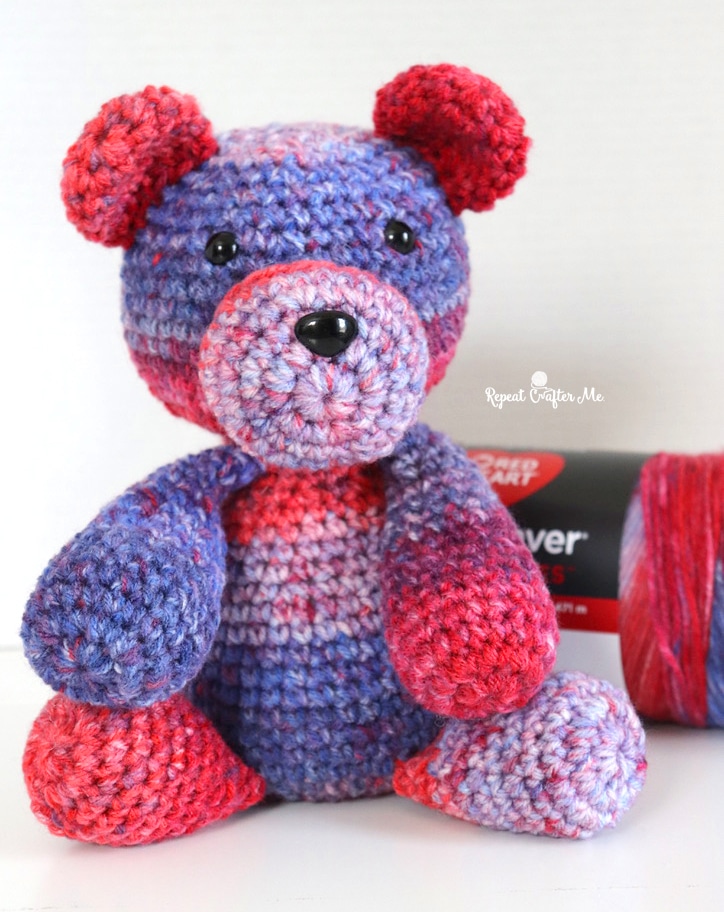
Magic ring, chain 1 and make 10 SC in ring, join, chain 1
Round 2: 2 SC in each stitch around, join, chain 1 (20 SC)
Round 3-8: SC in each stitch around, join, chain 1 (20 SC)
Round 9: SC Decrease, SC in next 3, repeat around, join, chain 1 (16 SC)
Round 10: SC in each stitch around, join, chain 1 (16 SC)
Round 11: SC Decrease, SC in next 2, repeat around, join, chain 1
Round 12: SC in each stitch around, join, fasten off leaving long tail.
Attach feet on either side of bottom of bottom. They should be sticking out sideways to give the bear support to sit up.
Tail
Magic Ring, chain 1 and make 10 SC in ring, join, chain 1
Round 2: 2 SC in first, SC in next, repeat around, join, chain 1 (15 SC)
Round 3-4: SC in each stitch around, join, chain 1 (15 SC)
Round 5: SC Decrease, SC in next, repeat around, join, fasten off (10 SC)
Stuff with poly-fil and stitch onto backside of body.
Assembly
- Nose: Attach the safety nose right above the magic ring round of the snout.
- Snout: Stuff the snout with poly-fil and stitch it onto the head at Round 40 of the body/head pattern.
- Eyes: Attach the safety eyes between round 34 & 35 of the body/head, about 10 stitches apart. Ensure the snout is positioned under the eyes (approximately between rounds 26-34).
- Body: Continue stuffing the body with polyfil until closed.
- Ears: Stitch the ears onto either side of the head, about 5 rows down from the top. Do not stuff the ears.
- Arms: Pinch the tops of the arms closed and stitch them onto either side of the bear at round 24 of the body.
- Feet: Attach the feet on either side of the bottom of the body. Position them sticking out sideways to provide support so the bear can sit up.
- Tail: Stuff the tail with poly-fil and stitch it onto the backside of the body.
Tips
- Stretch Your Yarn: This pattern is designed to be economical. With just one skein of Bitty Stripes, you can crochet two full bears.
- Quick Gifts: This is a great option for quick gifts, craft fairs, 4th of July summer projects, and stash-friendly stitching.
- Color Variations: While the “Firework” colorway is perfect for patriotic projects, this pattern works beautifully with any of the Bitty Stripes colorways.
- Extra Yarn: After making two bears, you may have yarn left over. Use it to crochet a small star applique for the belly or add your own special touch.
FAQs
Can I use a different yarn?
Yes! While this pattern is written for Red Heart Bitty Stripes in the “Firework” colorway, it works beautifully with any of the Bitty Stripes colorways. You can swap in any colorway to create a whole collection of bears.
How many bears can I make from one skein?
You can crochet two full bears from just one skein of Bitty Stripes. You will likely have yarn left over, which is enough to crochet a small star applique for the belly or add your own special touch.
Do I need to switch colors during the pattern?
No. This pattern is designed to let the self-striping yarn do the colorwork. There is no need to switch yarn; simply crochet through the entire skein.
How do I make the bear sit up?
The feet are designed to be attached on either side of the bottom of the body, sticking out sideways. This positioning gives the bear the necessary support to sit up on its own.
Is this pattern suitable for beginners?
Yes, this pattern is designed to be simple and beginner-friendly. It features classic amigurumi shaping and minimal sewing requirements.
Pin This Crochet Pattern!