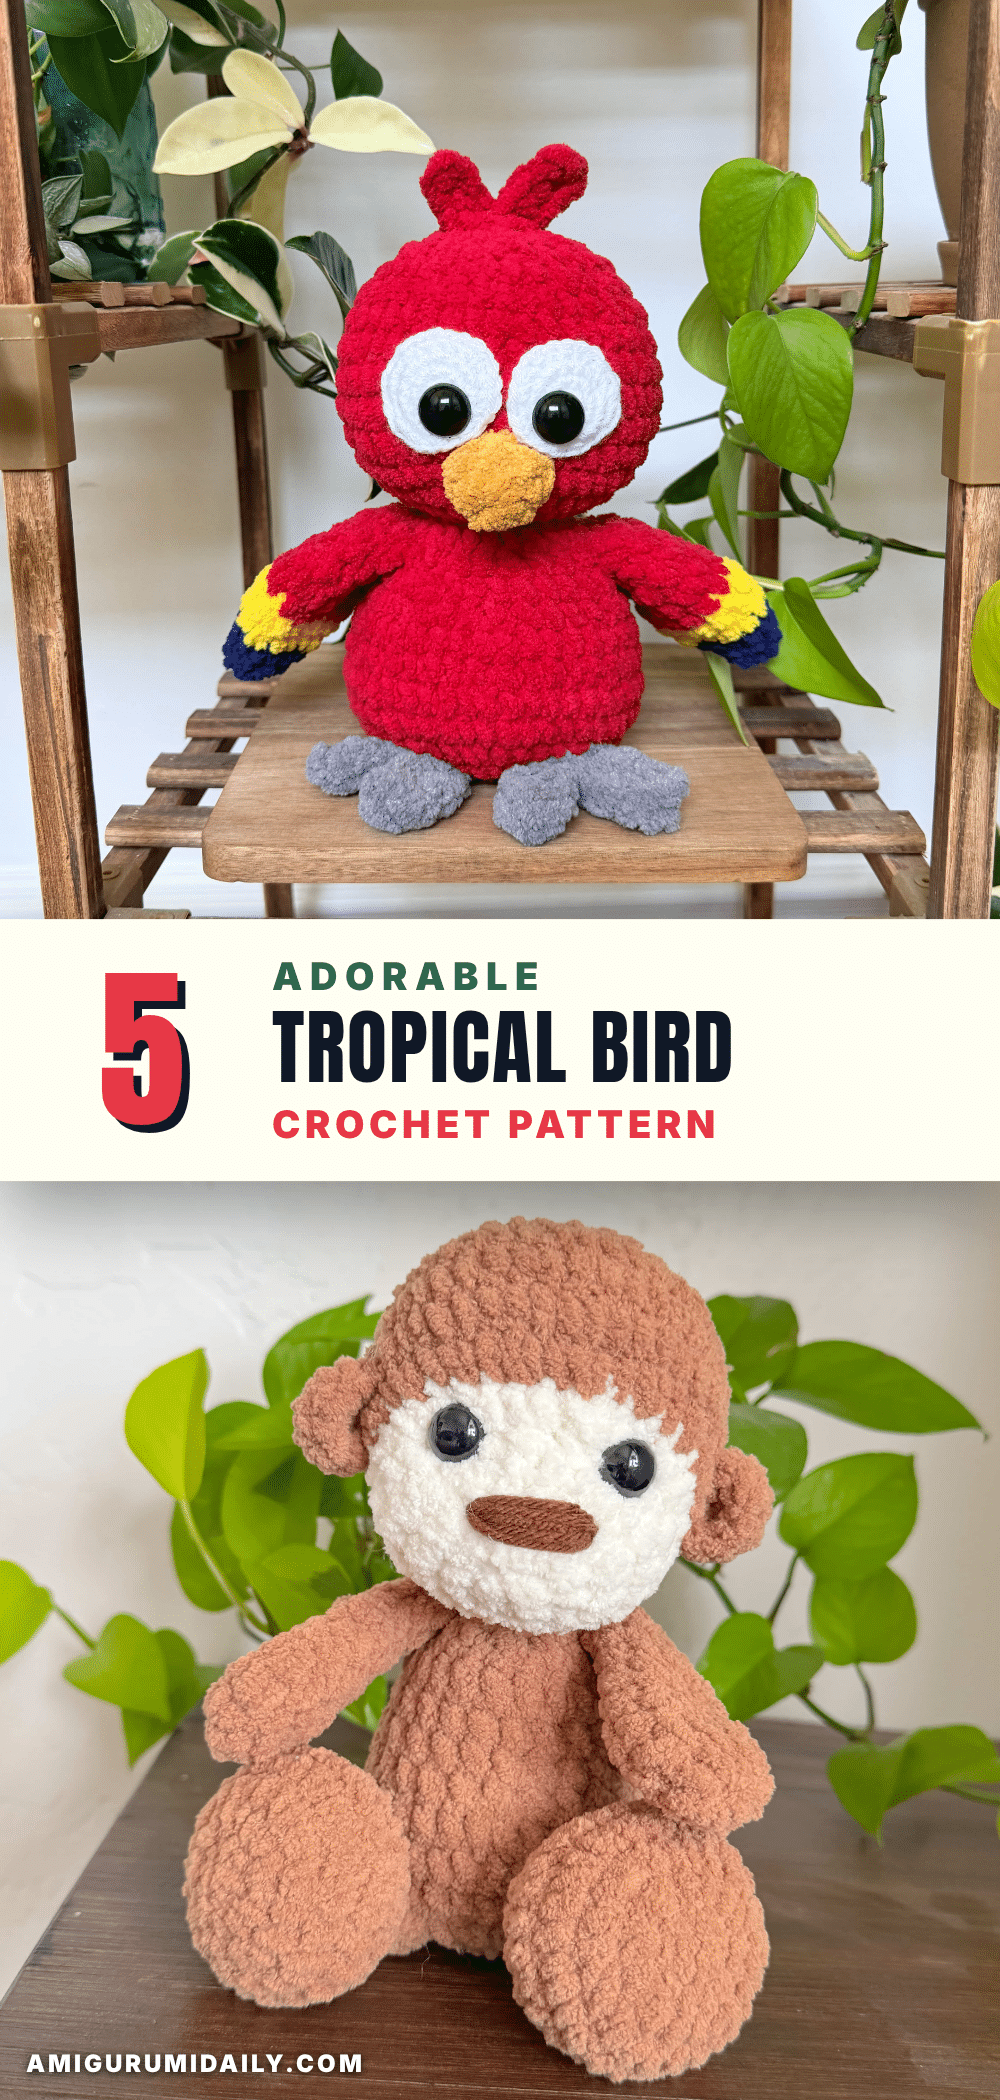
Yarn is on the table, hook is in hand, and the first round of magic circles is just beginning to take shape. There is something deeply satisfying about watching a pile of colorful chenille transform into a plump, cuddly friend. This tropical bird amigurumi project captures that magic perfectly, offering a quick yet rewarding build that feels like a mini vacation in your hands. As you work through the vibrant color changes and stuff the chubby body, you will find yourself smiling at the silly, expressive face that emerges. It is a project that balances the precision of amigurumi with the cozy comfort of plush toys.
Why This Project Works
This pattern stands out because it utilizes a plush, size 6 blanket-style yarn that creates a soft, cuddly texture unlike traditional cotton amigurumi yarns. The “stuffy” body shape gives the bird a unique, grounded silhouette that is perfect for hugging. The color palette—vibrant red, sunny yellow, and deep blue—evokes a tropical feel without needing complex colorwork, relying instead on strategic placement and simple changes. It is an excellent project for makers who want a quick finish that still looks professional and high-quality. The inclusion of a neck strengthener ensures the head stays upright, while the embroidered-style white eyes add a touch of whimsy that safety eyes alone might miss.
Project Overview
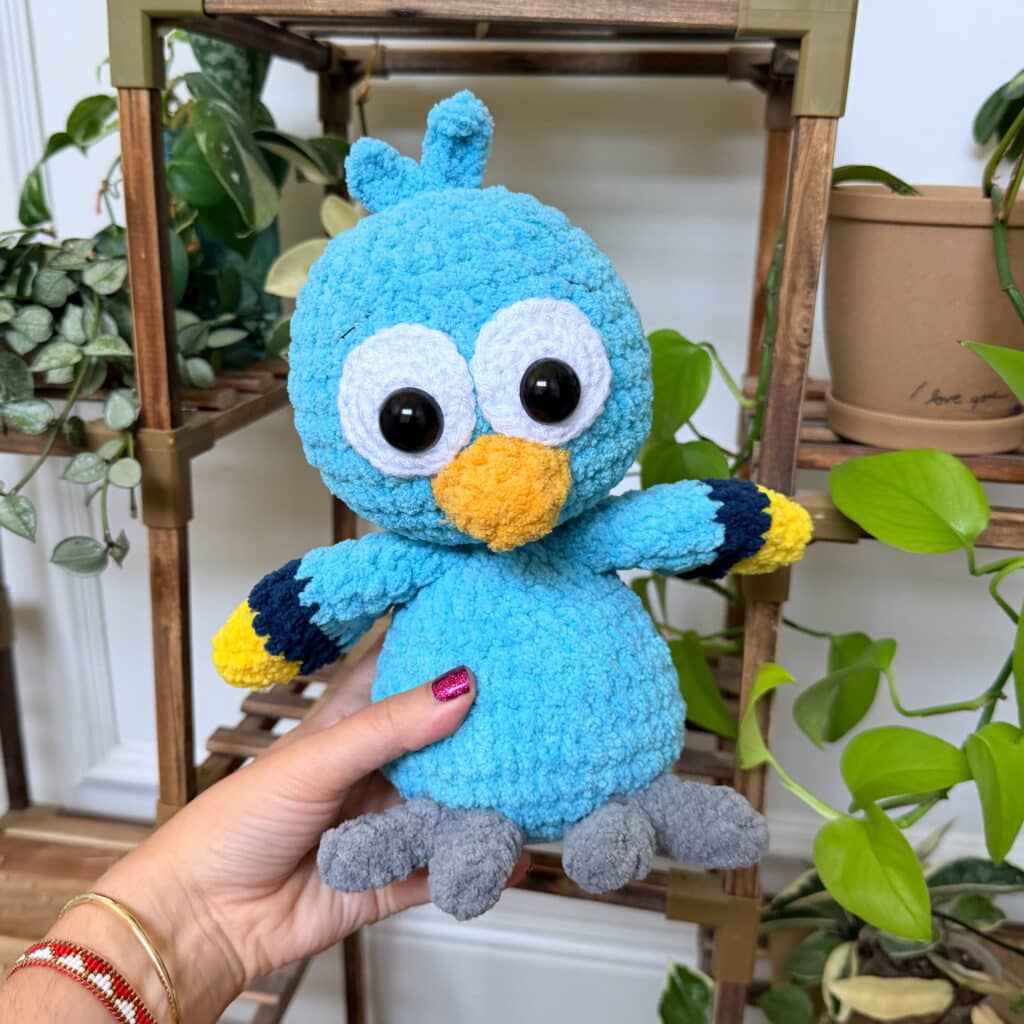
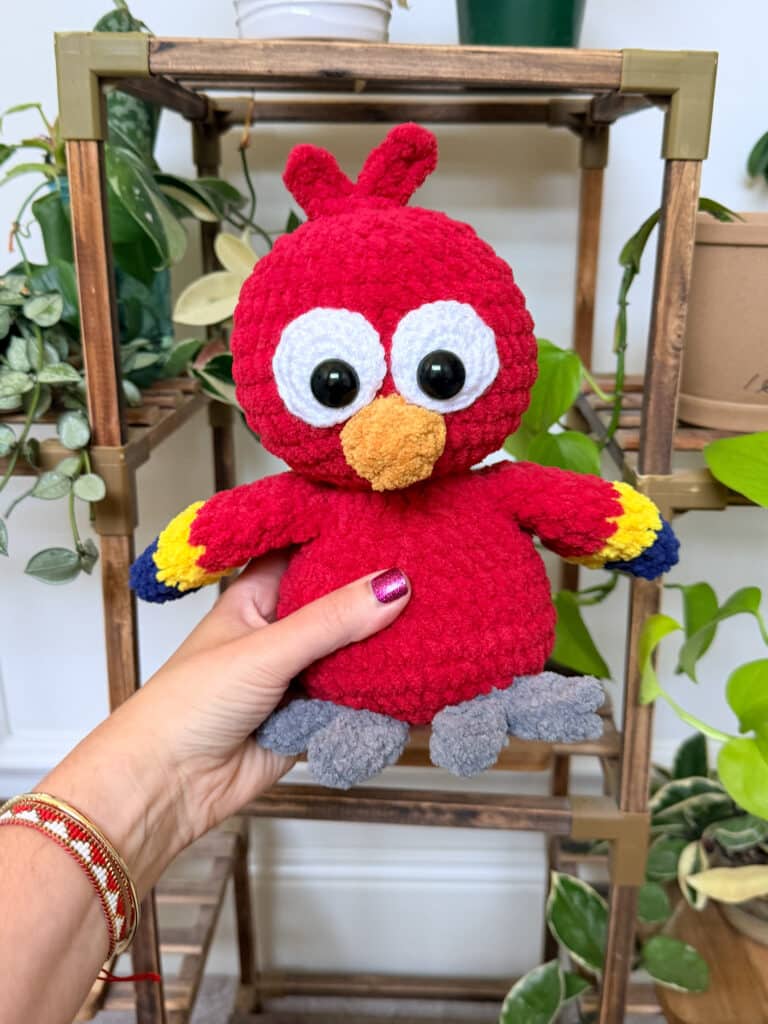
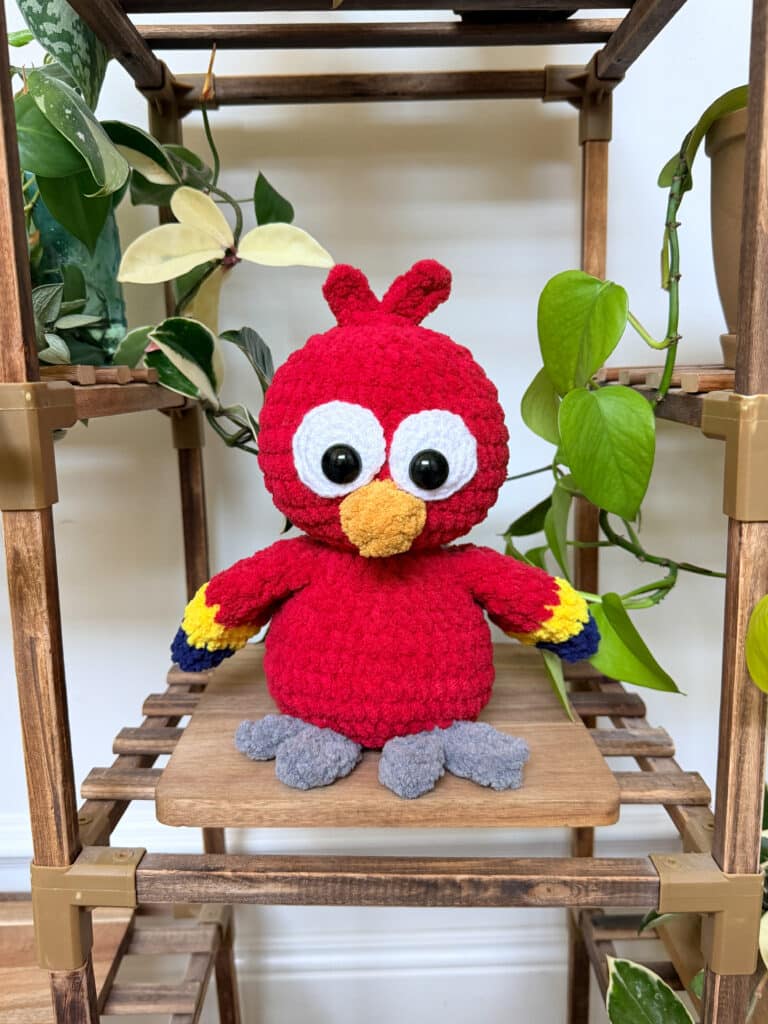
This plush tropical bird crochet pattern is part of an “Around the World” adventure series, specifically focusing on South America. It features a traditional, stuffy body shape where the body and head are worked in one continuous piece from the bottom up. All details, including the wings, feet, tail, and beak, are attached at the end. The bird sits approximately 7-9 inches tall and is designed to be extra cuddly. While the source uses Premier Basix Chenille, the pattern allows for substitution with other size 6 blanket yarns like Bernat Blanket or Bernat Baby Blanket, provided you adjust your hook size to maintain tight stitches.
Materials
- Yarn:
- 130g Premier Basix Chenille in COLOR A (Red)
- 30g Premier Basix Chenille in COLOR B (Yellow)
- 60g Premier Basix Chenille in COLOR C (Blue)
- 10g Premier Basix Chenille in Grey (for feet)
- Small amount of Premier Basix Chenille in Beak Color
- Small amount of worsted-weight white yarn (for eyes)
- Notions:
- Stuffing
- 20mm safety eyes
- Neck strengthener (optional but recommended for structure)
- Tools:
- 4.5mm crochet hook (for size 6 yarn)
- 4mm crochet hook (for worsted-weight white eye yarn)
- Yarn needle
- Stitch marker
Gauge and Finished Size
The finished bird sits about 7-9 inches tall. Because this pattern uses plush blanket yarn, specific gauge is not provided; however, the goal is to maintain tight stitches to prevent stuffing from showing through. If your stitches are too loose, consider using a smaller hook size.
Abbreviations
The pattern uses standard US crochet abbreviations:
- SC: Single Crochet
- INC: Increase (2 SC in the same stitch)
- INV DEC: Invisible Decrease (insert hook into the front loops only of the next two stitches, then pull up a loop, yarn over, and pull through all 3 loops on the hook)
- HDC: Half Double Crochet
- FLO: Front Loop Only
- MC: Magic Circle
Pattern Notes
Yarn Selection: The designer typically uses Premier Basix Chenille, Bernat Blanket, or Bernat Baby Blanket. While these are all size 6, they work up differently. The designer uses a 4.5mm hook for Premier Basix Chenille and a 5mm hook for Bernat. It is crucial to choose a hook size that allows you to crochet comfortably while keeping the stitches tight enough to hide the stuffing.
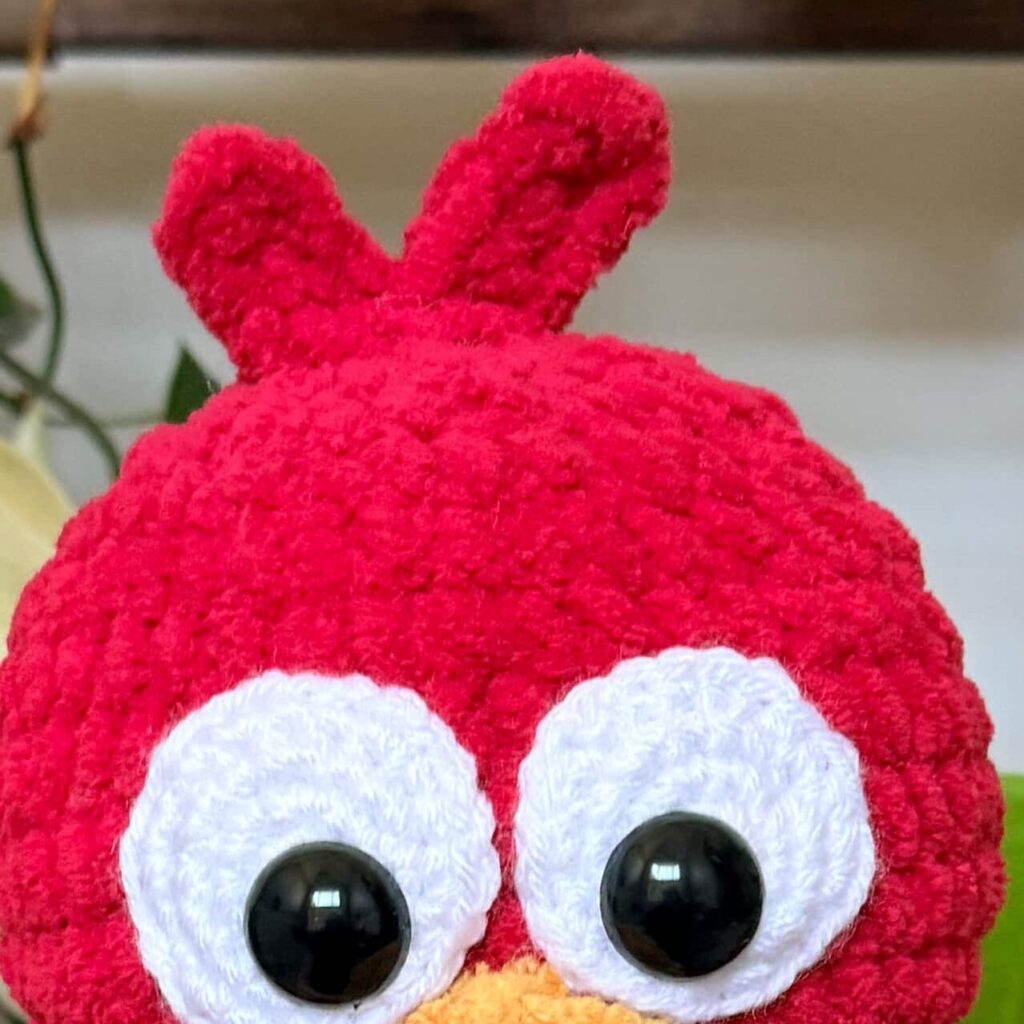
Eyes: The pattern features white worsted-weight eye patches that are sewn on over safety eyes. This creates a unique, silly face. For a baby-safe toy, you may opt for embroidered eyes instead of safety eyes.
Construction: The body and head are worked in one piece. Stuffing is added gradually, and a neck strengthener is inserted before closing the top of the head to ensure the bird sits upright.
Pattern Instructions
Eyes (Make 2)
Using white worsted-weight yarn and a 4mm hook:
- Round 1: SC 6 (6)
- Round 2: INC around (12)
- Round 3: SC 1, INC. Repeat around (18)
- Round 4: SC 2, INC. Repeat around (24)
- Fasten off. Do not stuff.
Neck Strengthener
Using COLOR A:
- In a magic circle, SC 7.
- SC in each around for a total of 7 rows.
- Fasten off and leave a long tail. This will be inserted later.
Beak
Using beak color:
- Round 1: SC 8 in magic circle (8)
- Round 2: SC in each around (8)
- Round 3: SC, INC in the first 4, SC in the remaining 4 (12)
- Fasten off and leave a long tail for sewing. Leave unstuffed.
Body/Head
Using COLOR A:
- Round 1: In a magic circle, SC 8.
- Round 2: SC, INC in each around (16)
- Round 3: SC in the first, SC, INC in the next. Repeat around (24)
- Round 4: SC in the first 2, SC, INC in the next. Repeat around (32)
- Round 5: SC in the first 3, SC, INC in the next. Repeat around (40)
- Round 6: SC in the first 4, SC, INC in the next. Repeat around (48)
- Rounds 7-8: SC in each around (48)
- Round 9: SC in the first 4, INV DEC. Repeat around (40)
- Round 10: SC in each around (40)
- Round 11: SC in the first 3, INV DEC. Repeat around (32)
- Round 12: SC in each around (32)
- Round 13: SC in the first 2, INV DEC. Repeat around (24)
- Begin to stuff here.
- Round 14: SC in each around (24)
- Round 15: SC in the first, INV DEC. Repeat around (16)
- Round 16: INV DEC in each around (8)
- Round 17: In FLO, SC, INC in each around (16)
- Round 18: SC in the first, SC, INC in the next. Repeat around (24)
- Round 19: SC in the first 2, SC, INC in the next. Repeat around (32)
- Round 20: SC in the first 3, SC, INC in the next. Repeat around (40)
- Round 21: SC in the first 4, SC, INC in the next. Repeat around (48)
- Make sure the body is fully stuffed, then insert neck strengthener here.
- Rounds 22-25: SC in each around (48)
- Round 26: SC in the first 4, INV DEC. Repeat around (40)
- Round 27: SC in each around (40)
- Round 28: SC in the first 3, INV DEC. Repeat around (32)
- Round 29: SC in the first 2, INV DEC. Repeat around (24)
- Round 30: SC in the first, INV DEC. Repeat around (16)
- Round 31: INV DEC in each around (8)
- Fasten off.
Wings (Make 2)
Leave unstuffed.
- Start with COLOR C:
- Round 1: In a magic circle, SC 8.
- Round 2: SC in each around (8)
- Round 3: SC, INC in each around (16)
- Change to COLOR B:
- Round 4: INC in the first. SC in the next 7 stitches. INC in the next. SC in the remaining 7 (18)
- Round 5: SC in each around (18)
- Change to COLOR A:
- Round 6: SC in each around (18)
- Round 7: INC in the first. SC in the next 8 stitches. INC in the next. SC in the remaining 8 (20)
- Round 8: INV DEC in the first. SC in the next 8. INV DEC. SC in the remaining 8 (18)
- Round 9: INV DEC in the first. SC in the next 7. INV DEC. SC in the remaining 7 (16)
- Round 10: INV DEC in the first. SC in the next 6. INV DEC. SC in the remaining 6 (14)
- Fasten off and attach around rounds 14-15 of the body.
Feather Tuft
- Chain 5. Starting in the second chain from the hook, HDC 4 back.
- Chain 4. Starting in the second chain from the hook, HDC 3 back. (This makes 2 little feathers.)
- Fasten off and leave a tail to sew on top of the head.
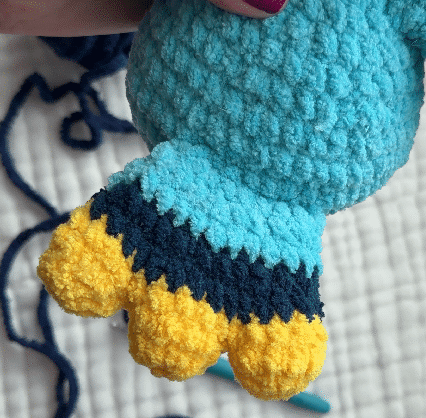
Feet (Make 2)
Using gray:
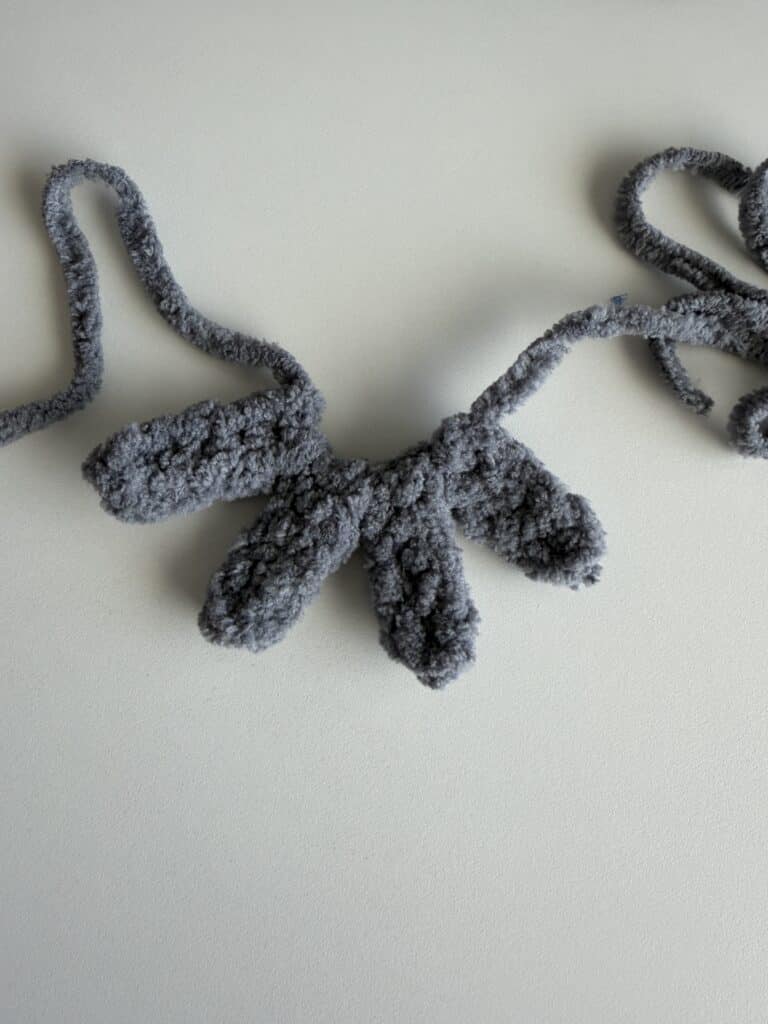
- *Chain 6 times. Turn and in the second chain from the hook, HDC in the chain. HDC in the remaining chains back.* (Total of 5 HDC)
- Repeat * * for a total of 4x (4 strips per foot).
- Fasten off with a very long tail.
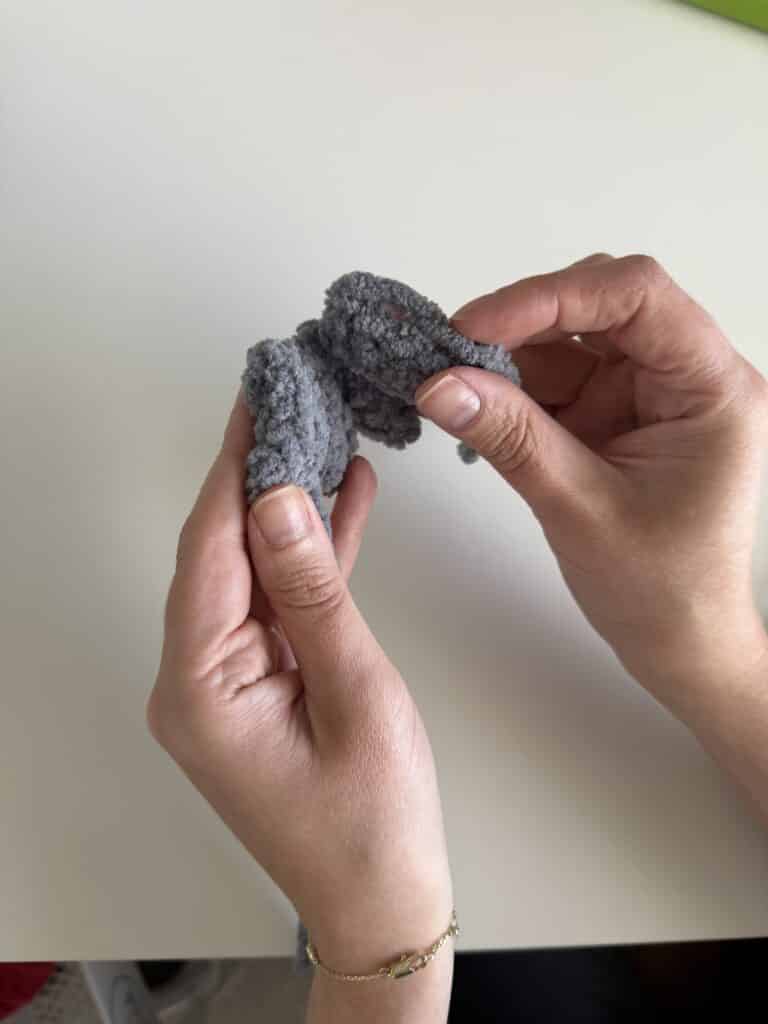
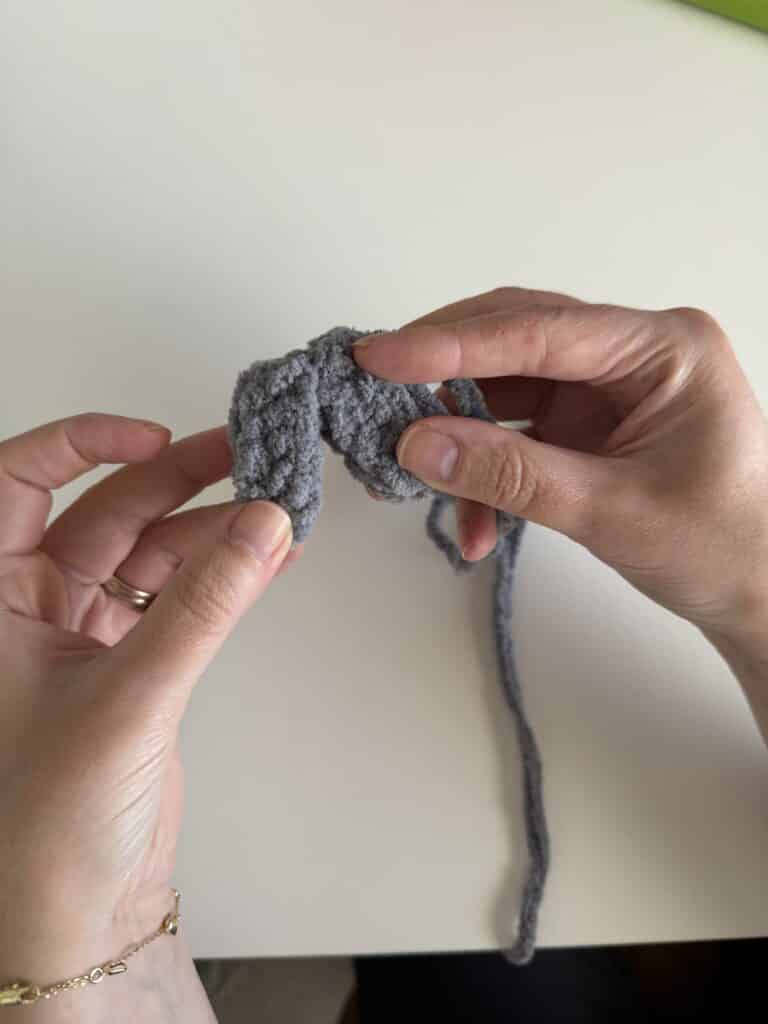
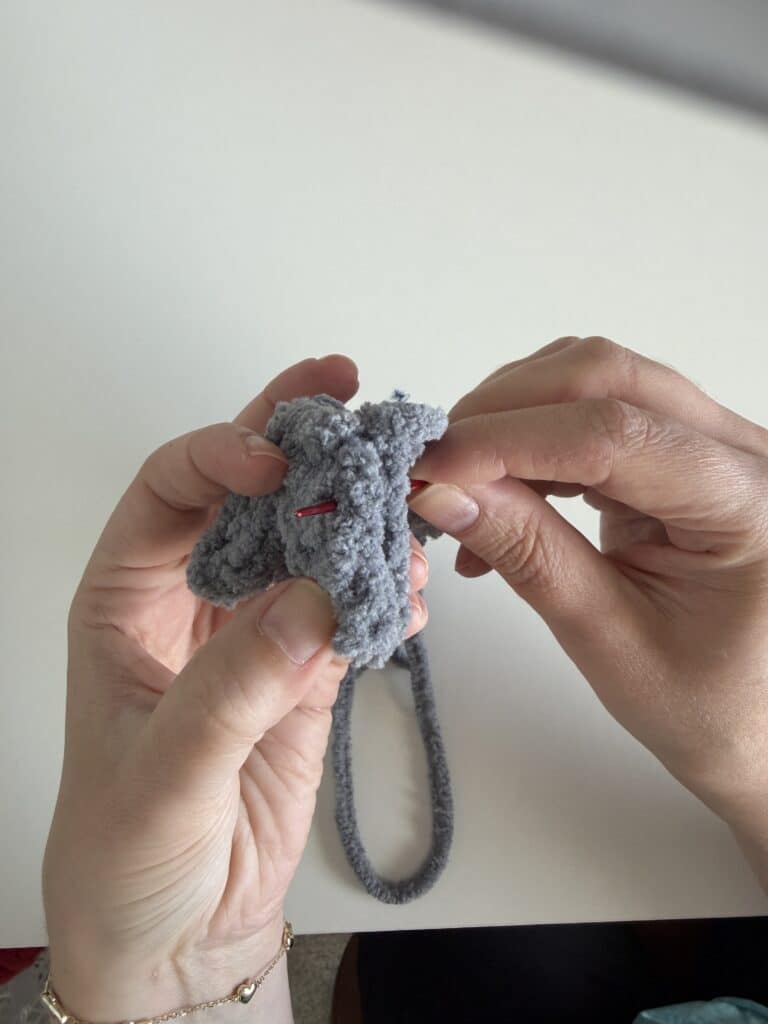
- Fold the stack in half so that you have two “toes” or claws layered.
- Using your long tail, sew the two halves together to create thick, sturdy feet.
- Attach to the body around rounds 4 and 5, sewing the back end of the feet.
Tail
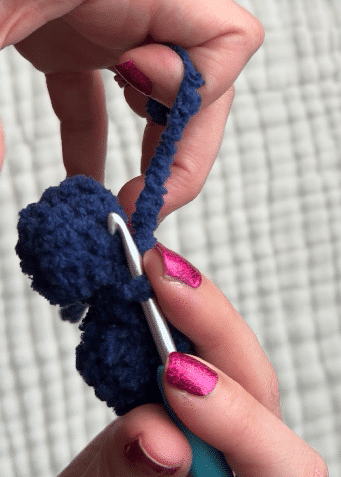
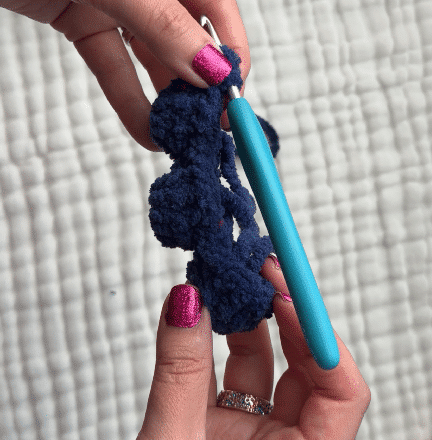
Leave unstuffed.
- Start with COLOR C: Make three separate pieces:
- Round 1: SC 10 in magic circle (10)
- Round 2: SC around (10). Fasten off the first two pieces.
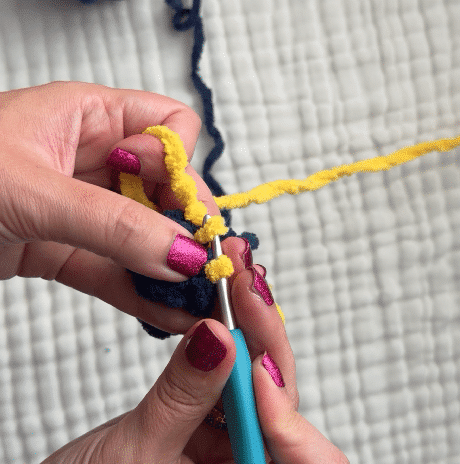
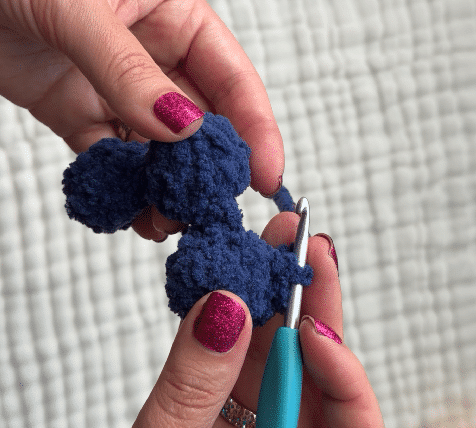
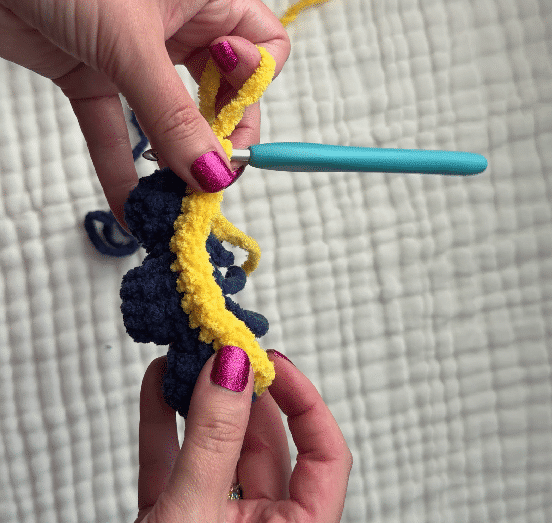
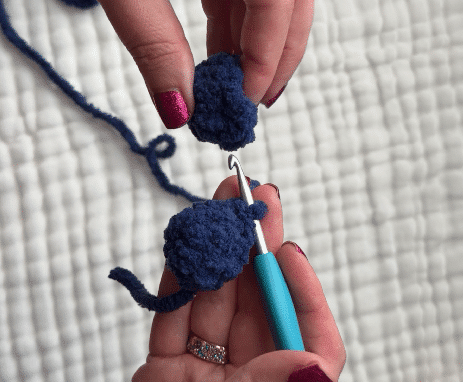
- Round 3: Do not fasten the third piece. SC in the next five. SC in 5 stitches of another piece, then in the last one, SC in all 10. SC back over the remaining 5 of the second piece and the remaining 5 of the first piece. (30)
- Change to COLOR B:
- Round 4: SC in all around (30)
- Round 5: SC 3, INV DEC. Repeat around (24)
- Round 6: SC in each around (24)
- Change to COLOR A:
- Round 7: SC 2, INV DEC. Repeat around (18)
- Round 8: SC in each around (18)
- Fasten off and sew between rounds 5 and 6 in the back.
Assembly
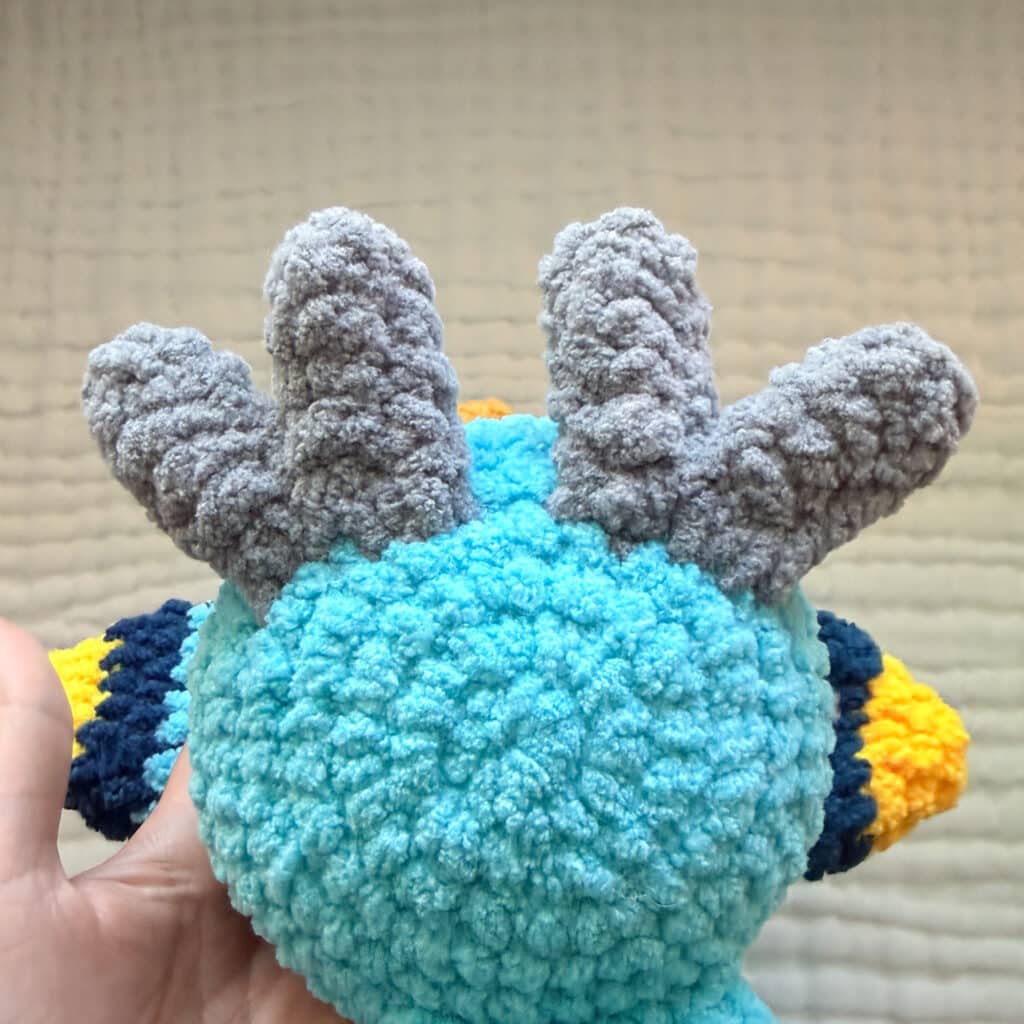
- Eyes: Place the safety eye near the bottom of the head, leaving just enough space on the white eye patch to sew it on. Attach the backs of the safety eyes. Once the head is complete, use the posts of the safety eyes to place the white eye patches between rounds 22-25, 5 SC apart. Use pins to secure the white part in place, then sew it on securely.
- Beak: Attach the beak underneath the eyes with the increases facing up.
- Feet: Attach the feet to the body around rounds 4 and 5.
- Wings: Attach the wings around rounds 14-15 of the body.
- Tail: Sew the tail between rounds 5 and 6 on the back of the body.
- Feather Tuft: Sew the feather tuft on top of the head.
Tips
- Hook Size: If your stitches feel too tight with the recommended hook, size up one hook size until you can crochet comfortably, but ensure the stitches remain tight enough to hide the stuffing.
- Yarn Variance: Be aware that even if yarn labels say they are the same weight (size 6), different brands and materials work up differently. Always check your tension.
- Neck Strength: Do not skip the neck strengthener. It is essential for keeping the head upright on a plush, heavy body.
FAQs
Can I make this pattern safe for a baby?
Yes. Instead of using 20mm safety eyes, you can embroider the eyes using the white worsted-weight yarn instructions. This eliminates small parts that could be a choking hazard.
What yarn can I substitute for Premier Basix Chenille?
You can use other size 6 blanket yarns like Bernat Blanket or Bernat Baby Blanket. However, keep in mind that they may work up slightly differently, so you might need to adjust your hook size to maintain tight stitches.
Why is my bird’s head flopping over?
This usually happens if the neck is not reinforced. Ensure you have made the neck strengthener (7 rows of 7 SC) and inserted it firmly between rounds 21 and 22 of the body/head before closing the top.
How do I attach the wings?
The wings are attached around rounds 14-15 of the body. Pin them in place first to ensure they are symmetrical before sewing them on securely.
Do I need to stuff the wings and tail?

No, the pattern specifies to leave the wings, tail, and beak unstuffed. They are sewn on as flat or semi-flat pieces to create the bird’s silhouette.
Pin This Crochet Pattern!