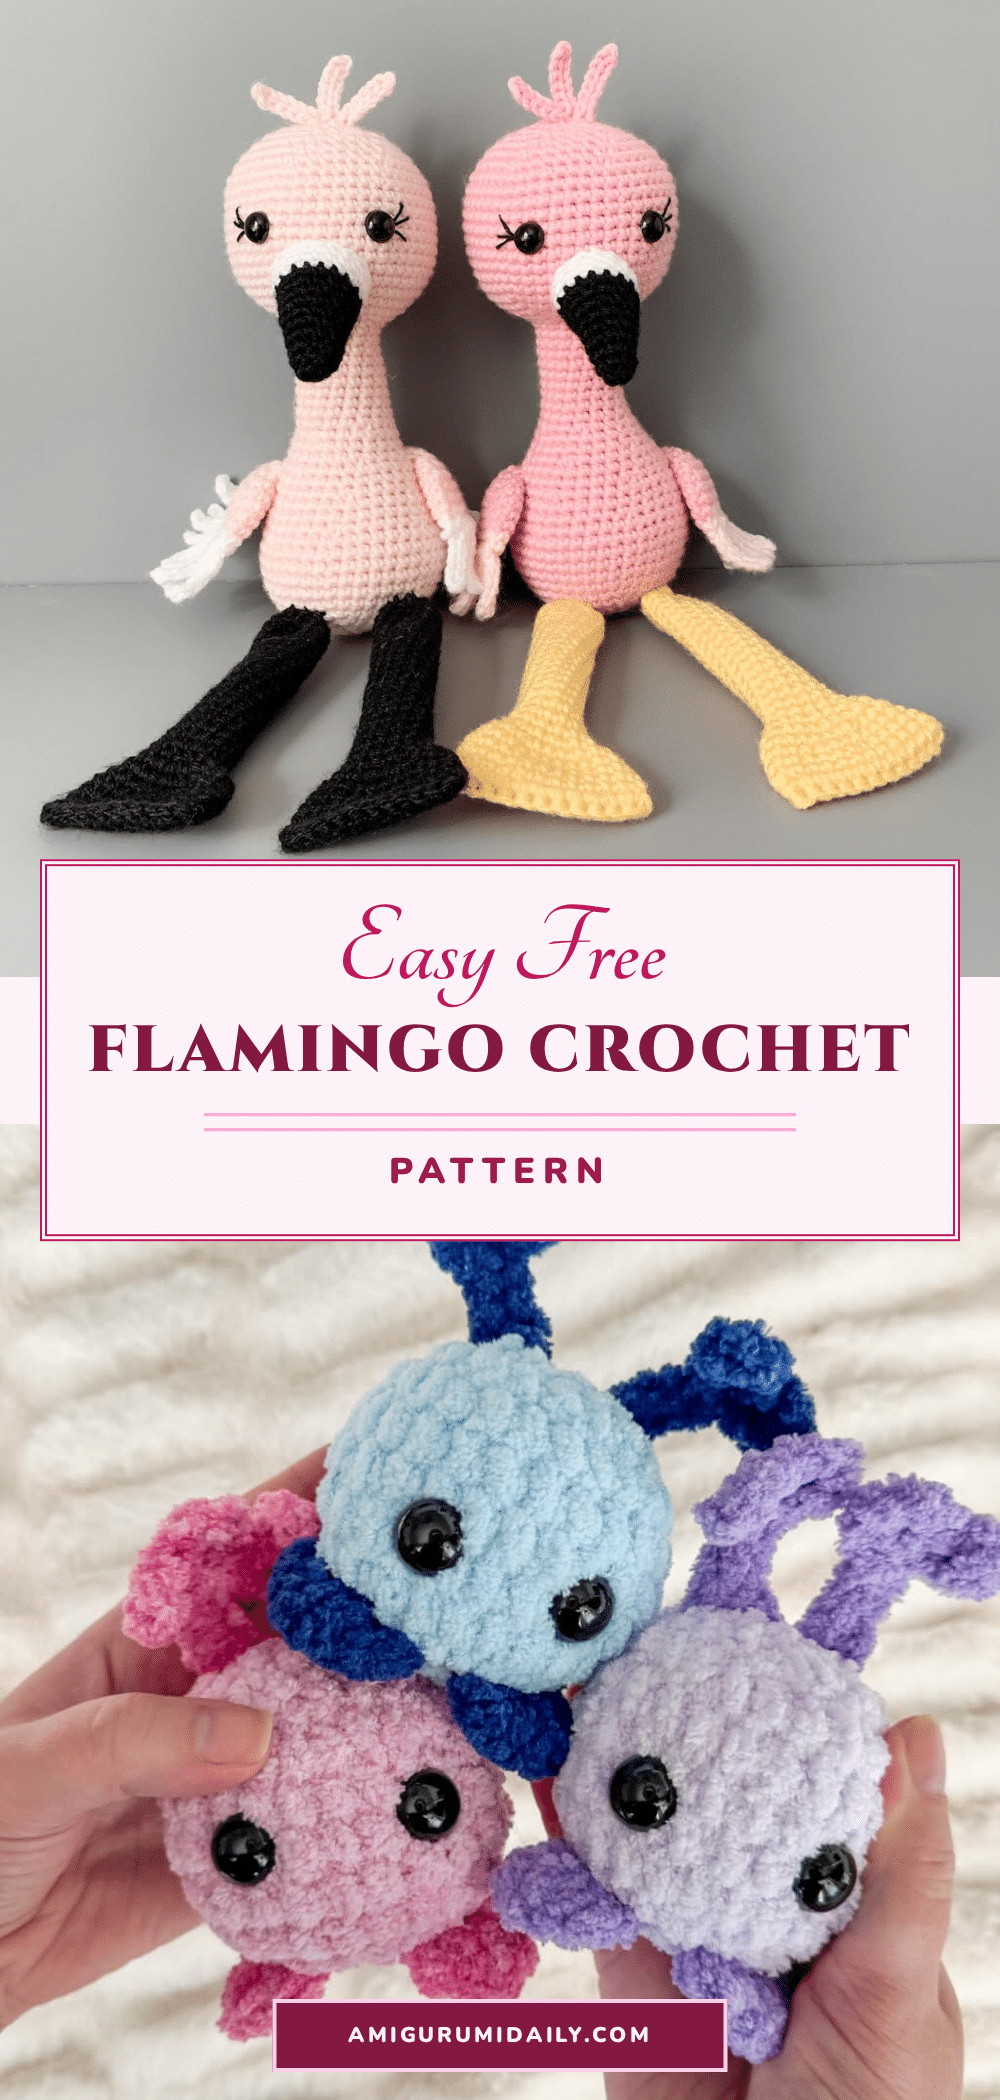
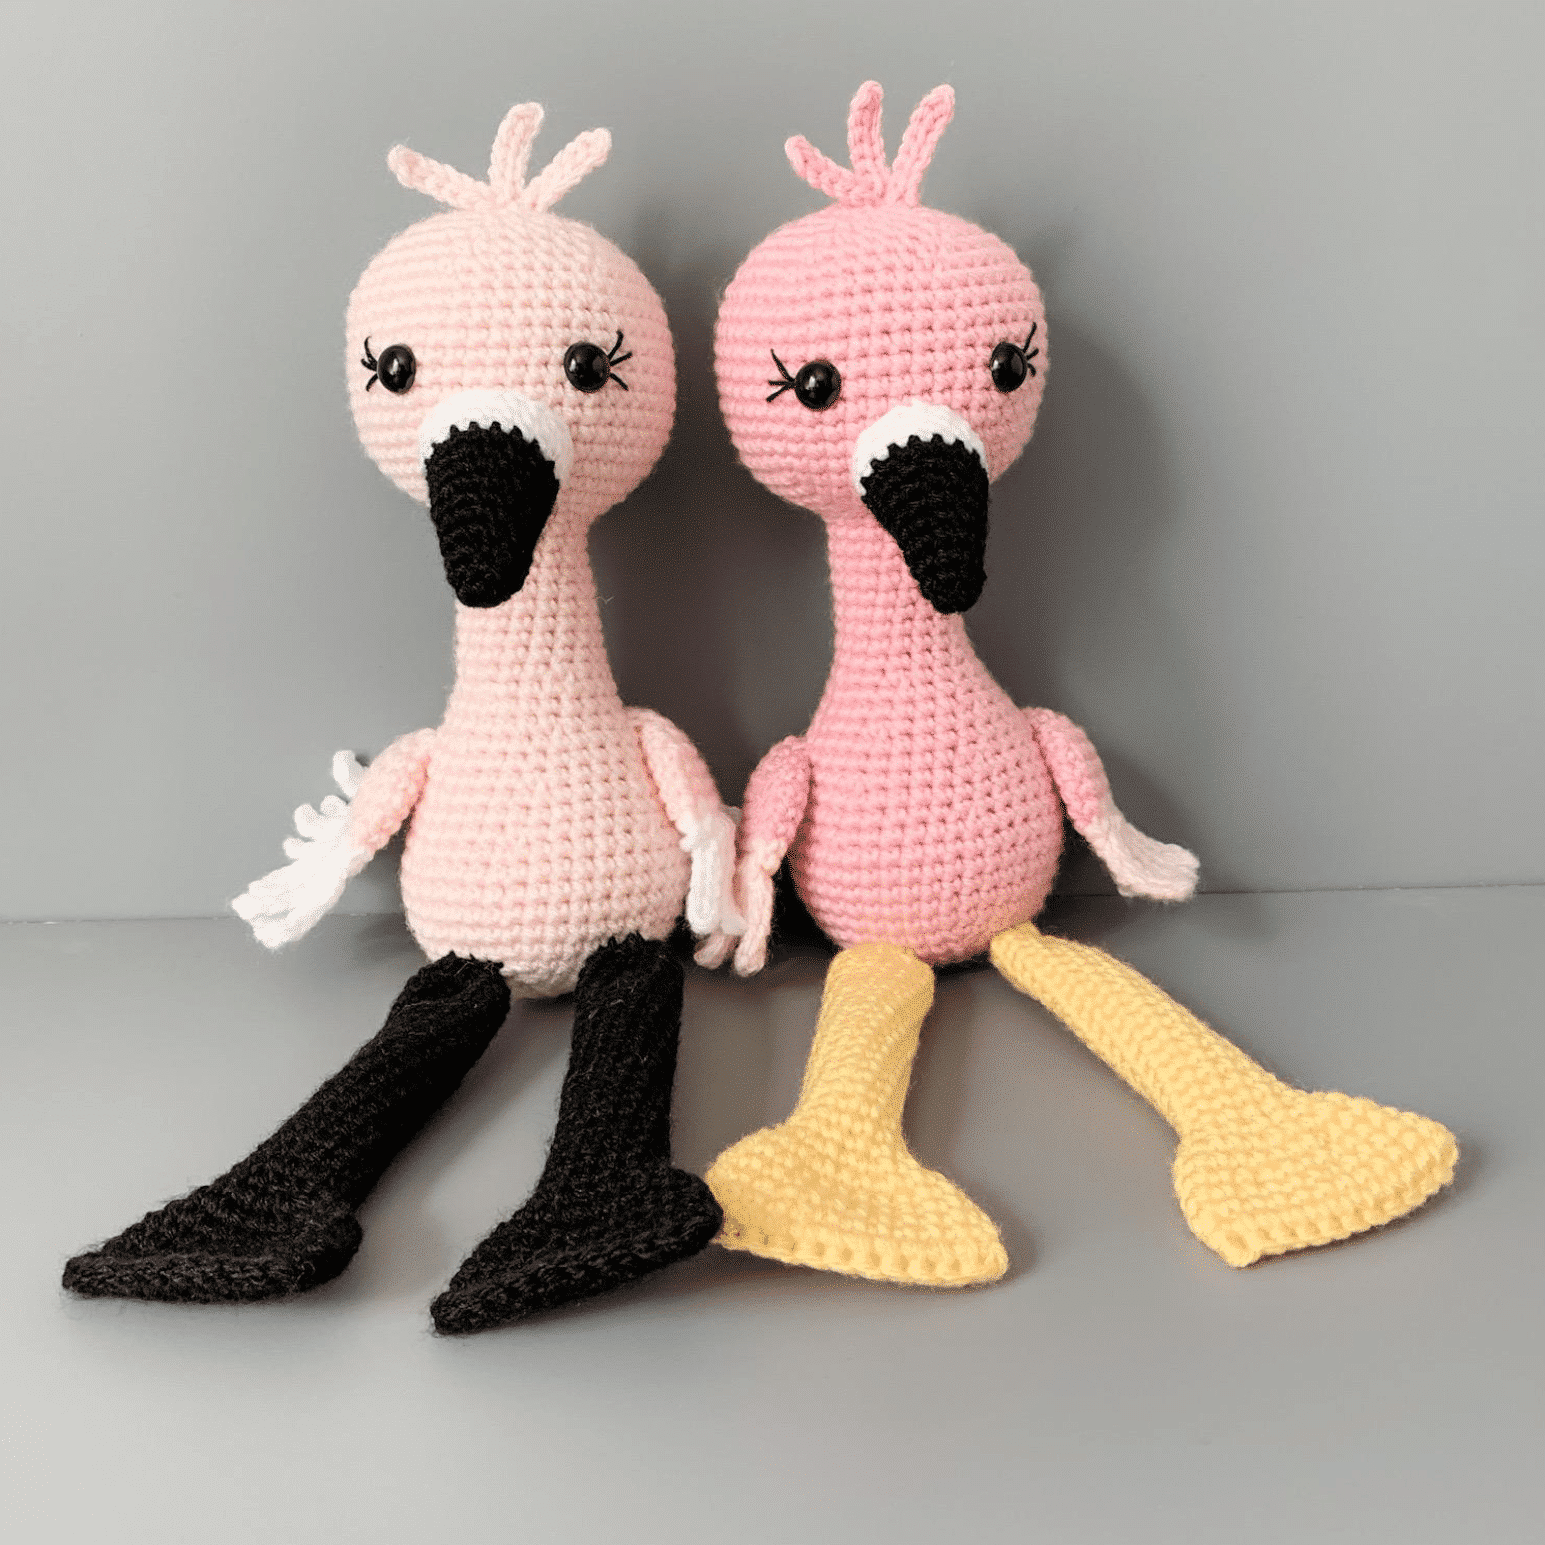
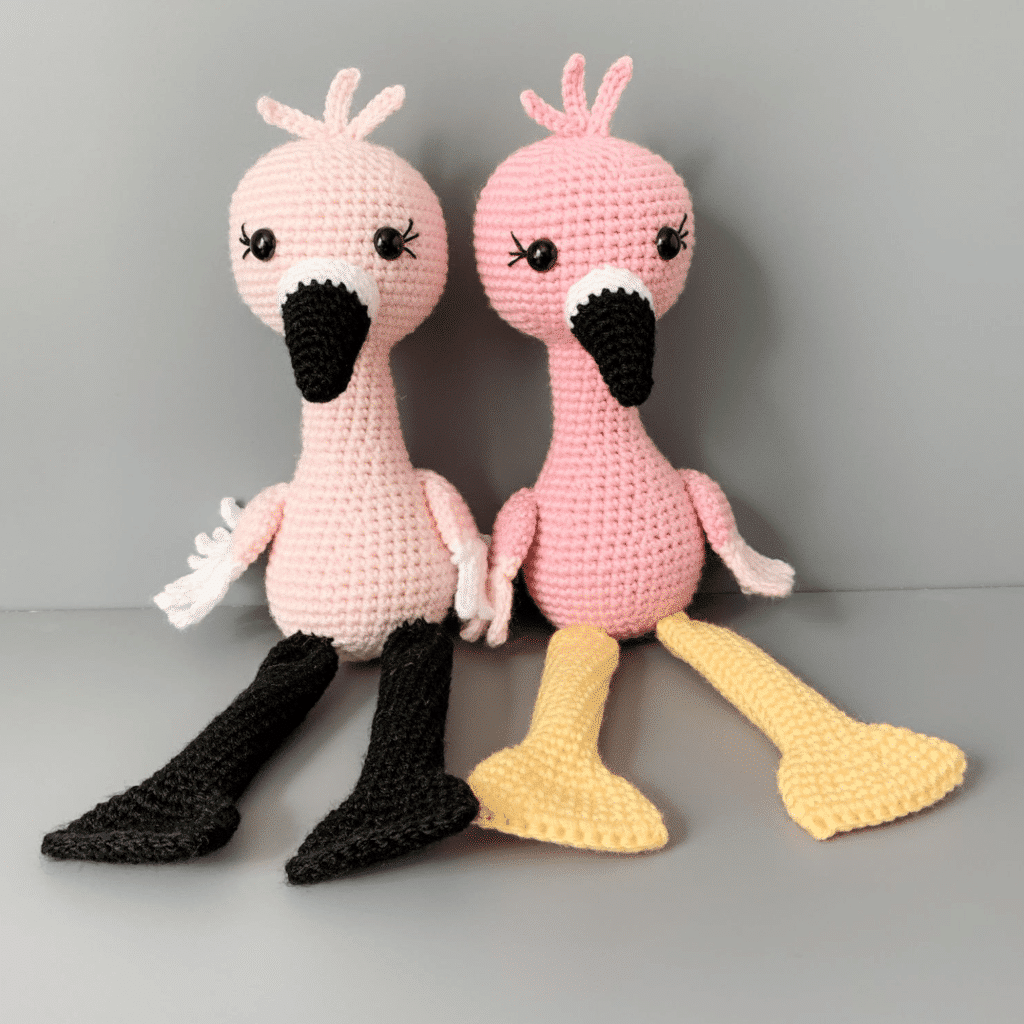
There is something undeniably cheerful about bringing a splash of tropical color into your home. This free flamingo crochet pattern captures that vibrant spirit perfectly, offering a delightful project for crocheters who want to add a touch of whimsy to their space. With its signature long legs, curved neck, and adorable eyelashes, this amigurumi flamingo is a charming addition to any shelf or nursery. It is designed to be accessible for beginners while still providing a satisfying construction process for more experienced makers.
Seasonal Styling Ideas
While a flamingo is often associated with summer, its bright pink hues make it a versatile decor piece year-round. Consider using this pattern to create a “flock” of flamingos for a spring-themed nursery or a child’s bedroom, where the soft pink tones blend beautifully with whites and light woods. For a fun twist on traditional holiday decor, these birds can serve as unique ornaments or centerpieces for a tropical-themed party. The simple construction allows you to experiment with different yarn colors—try a coral or magenta variation for a more modern look, or stick to the classic pink for a timeless appeal. Because the pattern is beginner-friendly, it is also an excellent choice for making handmade gifts for baby showers or housewarmings.
Project Overview
This free flamingo crochet pattern is a sweet and simple amigurumi project. Originally featured in the Beginner’s Friendly Guide to Amigurumi, this little pink bird is designed to be an easy introduction to the craft. The body and head are worked in one continuous piece from the bottom up, which minimizes sewing and makes the construction process straightforward. Once the main body is complete, you will attach the details, including the long legs, wings with feathery edges, and a cute beak.
Materials
- Yarn: About 100g of pink worsted weight yarn (The source suggests “I Love This Yarn” in Pink, but suitable substitutes like Big Twist from Joann’s or Red Heart Super Saver work well).
- Accent Yarn: Small amount of white or contrasting color for the wings and beak details.
- Beak Color: Small amount of black yarn.
- Leg Color: About 50g of color for the legs.
- Eyes: 12mm safety eyes (or embroidery thread for a safer option for babies/toddlers).
- Stuffing: Polyester fiberfill.
- Hook: F hook (3.75mm). Note: You may need to adjust hook size if you change yarn brands.
- Notions: Tapestry needle, stitch marker, and embroidery thread for eyelashes.
Gauge and Finished Size
Specific gauge measurements and finished dimensions are not provided in the source pattern. Because this is an amigurumi project, the focus is on tight stitching to prevent stuffing from showing. Ensure you are using the recommended F hook (3.75mm) and worsted weight yarn to maintain the intended shape and density.
Abbreviations
The pattern uses standard crochet abbreviations. Please refer to your local crochet guide for terms not listed below, as specific abbreviation definitions were not provided in the source text.
- MC: Main Color
- SC: Single Crochet
- INC: Increase (2 SC in the same stitch)
- DEC: Decrease (2 SC together)
- INV DEC: Invisible Decrease
- SS: Slip Stitch
- Ch: Chain
Pattern Notes
This pattern is beginner-friendly and works up quickly using worsted weight yarn. The construction is designed to be simple, with fewer seams than complex amigurumi. You can customize the eyes; while the pattern calls for 12mm safety eyes, you may use embroidered eyes to make the toy safe for babies and toddlers. If you choose to embroider the eyes, the source provides a collection of embroidery videos for guidance.
Pattern Instructions
Beak
Starting with black yarn:
- Round 1: In a magic circle, 6 SC.
- Round 2: SC in each around.
- Round 3: SC in first, SC INC in next. Repeat around. (9)
- Rounds 4-5: SC in each around. (9)
- Round 6: SC in first 2, SC INC in next. Repeat around. (12)
- Rounds 7-8: SC in each around. (12)
- Round 9: SC in first 3, SC INC in the next. Repeat around. (15)
- Rounds 10-12: Change to white. SC in each around. (15)
Fasten off, leaving a long tail to sew on.
Body/Head
With main color:
- Round 1: In a magic circle, 6 SC.
- Round 2: SC INC in each around. (12)
- Round 3: SC in first, SC INC in next. Repeat around. (18)
- Round 4: SC in first 2, SC INC in next. Repeat around. (24)
- Round 5: SC in first 3, SC INC in next. Repeat around. (30)
- Round 6: SC in first 4, SC INC in next. Repeat around. (36)
- Round 7: SC in first 5, SC INC in next. Repeat around. (42)
- Rounds 8-13: SC in each around. (42)
- Round 14: SC in first 5, INV DEC in the next. Repeat around. (36)
- Rounds 15-16: SC in each around. (36)
- Round 17: SC in first 4, INV DEC in the next. Repeat around. (30)
- Rounds 18-19: SC in each around. (30)
- Round 20: Begin stuffing here. SC in first 3, INV DEC in the next. Repeat around. (24)
- Rounds 21-22: SC in each around. (24)
- Round 23: SC in first 2, INV DEC in the next. Repeat around. (18)
- Rounds 24-32: SC in each around. (18)
- Round 33: From here we are increasing the head. SC in first 2, SC INC in next. Repeat around. (24)
- Round 34: SC in first 3, SC INC in next. Repeat around. (30)
- Round 35: SC in first 4, SC INC in next. Repeat around. (36)
- Round 36: SC in first 5, SC INC in next. Repeat around. (42)
- Round 37: SC in first 6, SC INC in next. Repeat around. (48)
- Rounds 38-47: SC in each around. (48)
Facial Features: Place eyes between rows 42 and 43, eight stitches apart. Sew on eyelashes here if you want (the source recommends doing this before putting the back of the safety eyes on). Using 3 strands of embroidery thread, come up right behind the safety eye and use your stitches like a grid to line them up evenly. Repeat on both sides. Attach the nose (beak) so it is centered between the eyes, about one row below the eyes. Make sure the neck is firmly stuffed. Begin stuffing the head.
- Round 48: SC in the first 6, INV DEC in the next. Repeat around. (42)
- Round 49: SC in the first 5, INV DEC in the next. Repeat around. (36)
- Round 50: SC in the first 4, INV DEC in the next. Repeat around. (30)
- Round 51: SC in the first 3, INV DEC in the next. Repeat around. (24)
- Round 52: SC in the first 2, INV DEC in the next. Repeat around. (18)
- Round 53: SC in the first, INV DEC in the next. Repeat around. (12)
- Round 54: INV DEC around. (6)
Fasten off and carefully sew the remaining hole closed. Weave in the end.
Wings (Make 2)
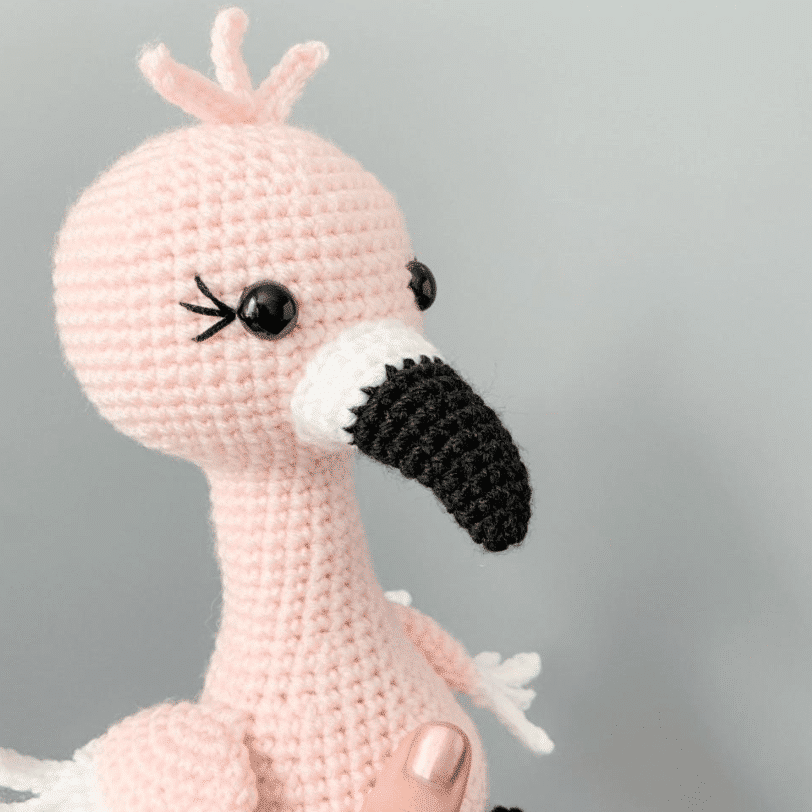
Note: Start your magic circle, leaving a longer end than normal. This is what you will use to attach the wing to the body.
- Round 1: In a magic circle, 6 SC.
- Round 2: SC INC in each around. (12)
- Round 3: SC in first, SC INC in next. Repeat around. (18)
- Round 4: SC in first 2, SC INC in next. Repeat around. (24)
- Rounds 5-7: SC in each around. (24)
- Round 8: Change to white. SC in each around. (24)
Feathery Edge: Flatten the wing and put your hook through the touching stitches. Slip stitch. Chain 7. In the second chain from your hook, slip stitch. Slip stitch down the remaining chains for a total of 6 stitches. Slip stitch in the next spot, again taking care that you go through both sides of the wing. Repeat to the end. This creates the fringey, feathery look!
Sew the top of the wing on row 18. Double-check that both wings are even.
Legs (Make 2)
Note: Start your magic circle, leaving a longer end than normal. This is what you will use to attach the leg to the body. Do not stuff the legs.
- Round 1: In a magic circle, 6 SC.
- Round 2: SC INC in each around. (12)
- Rounds 3-22: SC in each around. (12)
- Round 23: SC in first, SC INC in next. Repeat around. (18)
- Round 24: SC in first 2, SC INC in next. Repeat around. (24)
- Rounds 25-28: SC in each around. (24)
Feet: Flatten the end of the feet, like a sandwich. Take your hook and go through both sides of the foot—through two layers. SC as normal. (12) Repeat, going through each stitch across. This seals off the foot. Fasten off and weave in the end.
Hair Feathers
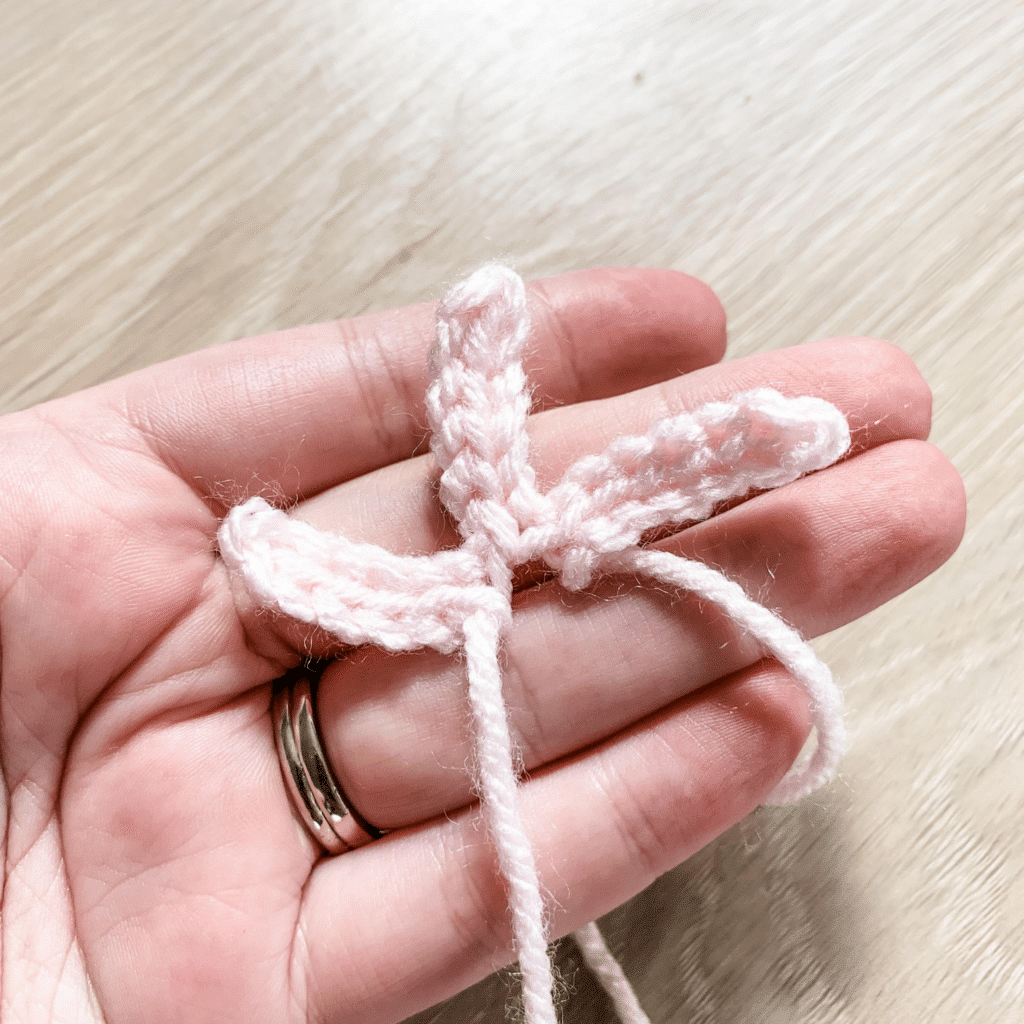
- Chain 7. Slip stitch in the second chain from hook and in each across (for a total of 6). Repeat 2x.
Assembly
- Attach Wings: Sew the top of the wing on row 18 of the body/head. Ensure both wings are even.
- Attach Legs: Attach the legs to the front of the body, between rows 5 and 6, about 6 stitches apart.
- Attach Beak: Attach the beak so it is centered between the eyes, about one row below the eyes.
- Attach Hair Feathers: Sew the hair feathers on top of the head.
- Final Details: If using safety eyes, secure the backs. If embroidering eyelashes, use 3 strands of embroidery thread to create a grid-like pattern behind the eyes for even spacing.
Tips
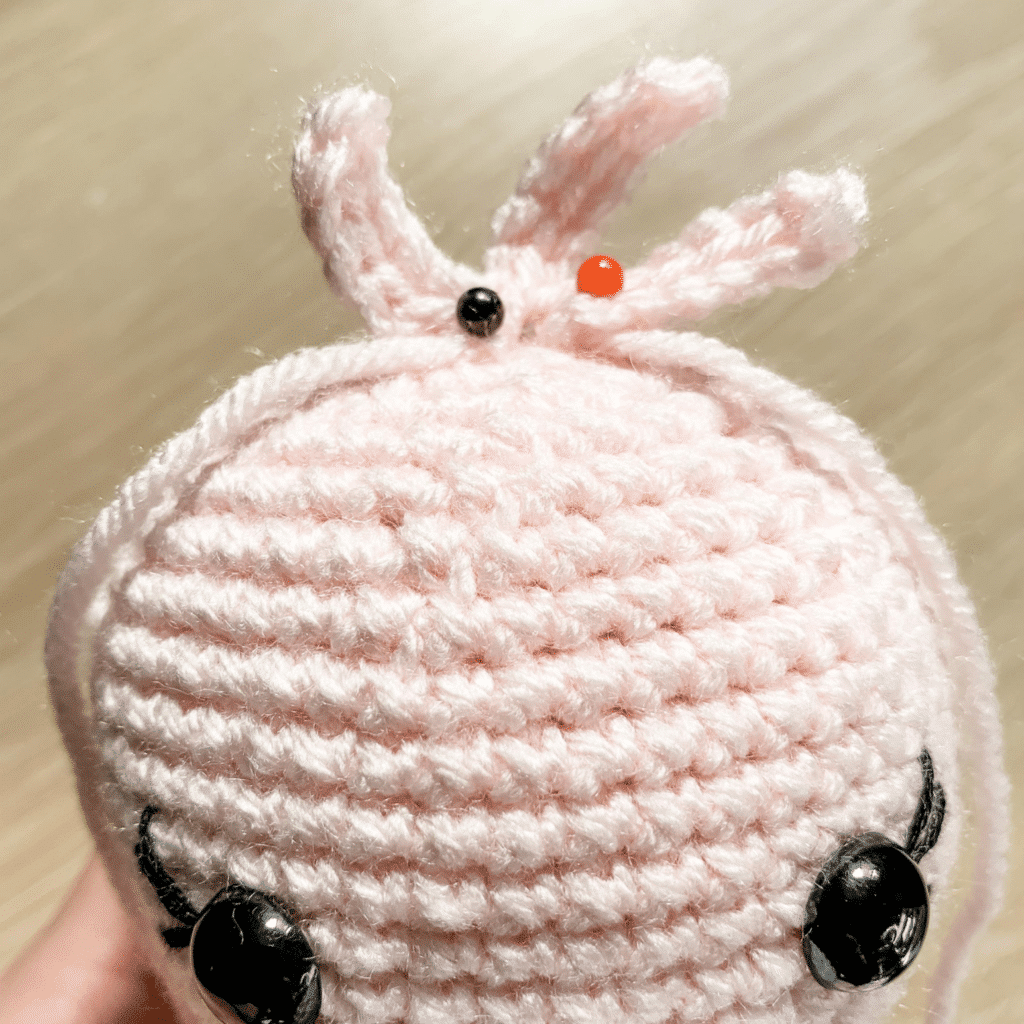
- Timing for Eyelashes: It is recommended to sew on eyelashes before putting the back of the safety eyes on to ensure proper alignment.
- Yarn Substitutions: If you change yarn brands, you may need to change the hook size to maintain the correct tension.
- Safety: For toys intended for babies or toddlers, consider embroidering the eyes instead of using safety eyes.
FAQs
Can I make this flamingo safe for a baby?
Yes. The pattern suggests using 12mm safety eyes, but you can substitute these with embroidered eyes to eliminate small parts, making it safer for babies and toddlers.
What yarn is best for this pattern?
The pattern calls for about 100g of pink worsted weight yarn. “I Love This Yarn” in Pink is suggested, but Red Heart Super Saver or Big Twist from Joann’s are suitable substitutes.
How do I create the feathery look on the wings?
After completing Round 8 of the wings with white yarn, flatten the wing and slip stitch through the touching stitches. Chain 7, then slip stitch back down the chain and through the wing fabric. Repeat this process around the edge of the wing to create the fringe.
Do I stuff the legs?
No. The instructions explicitly state not to stuff the legs. They are attached to the body to provide stability and the characteristic long-legged stance.
How do I align the eyelashes evenly?
Use 3 strands of embroidery thread. Come up right behind the safety eye and use your stitches like a grid to line them up evenly. This technique helps ensure symmetry on both sides.
Pin This Crochet Pattern!