There is something deeply satisfying about the quiet rhythm of a small crochet project. A cozy evening, a small batch of yarn, and the gentle counting of stitches can turn a few hours into a relaxing ritual. This crochet mini flower bouquet pattern is perfect for that kind of mindful crafting. It is a tiny project with a huge wow factor, allowing you to create a realistic, wrapped bouquet vibe without the mess of assembly or the need for complex shaping. Whether you are looking for a quick desk buddy or a handmade gift for Valentine’s Day, this pattern lets you focus on the joy of making something beautiful, one stitch at a time.
Our Touch: Small Details That Make It Better
While the pattern provides a solid foundation, the true charm of this mini bouquet lies in the finishing touches. The texture of the yarn plays a massive role in how the final piece feels and looks. We recommend using a DK or light worsted weight milk cotton or acrylic-cotton blend. These fibers offer the cleanest stitch definition, ensuring that even the smallest details, like the picot tip on the petals, remain crisp and visible. Additionally, the “wrapper hack” mentioned in the notes is a game-changer; making the wrapper slightly wider than you think accounts for the width lost during the rolling process, ensuring a full, lush look rather than a sparse one. Finally, don’t underestimate the power of the leaf placement. Adding a second leaf in a “V” shape behind the flower adds depth and makes the arrangement feel more organic and alive.
Project Overview
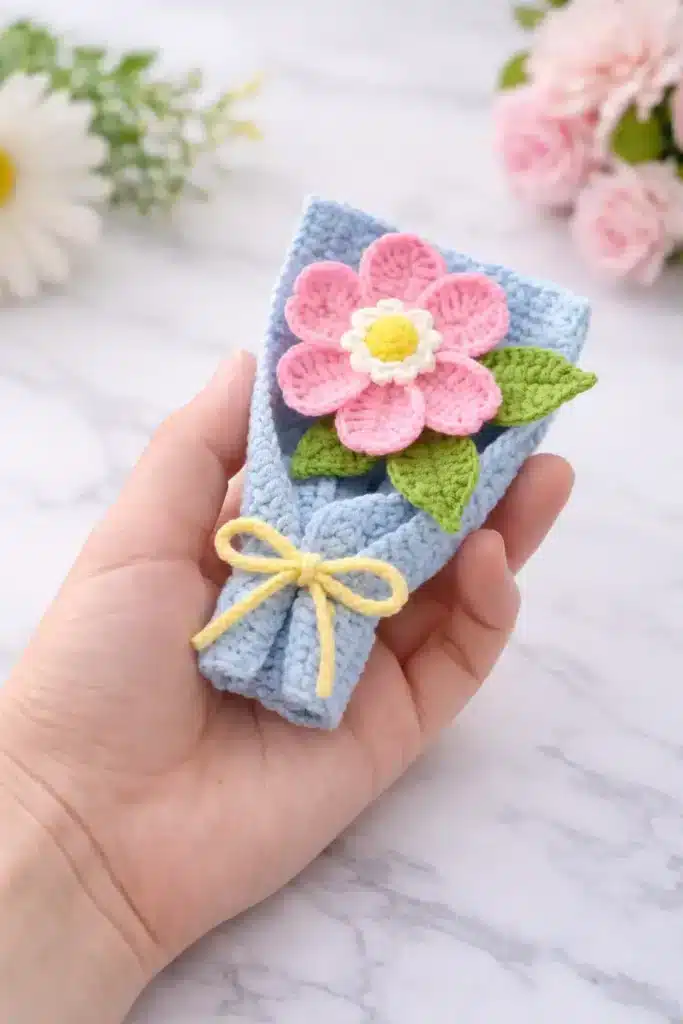
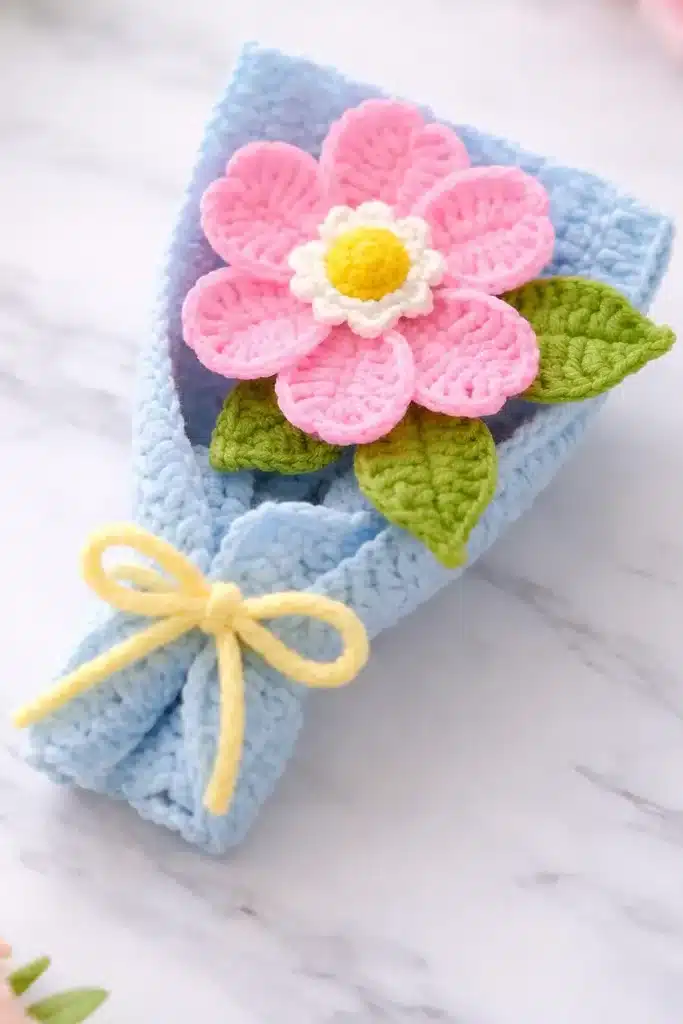
This project creates a single, gift-ready crochet mini flower complete with a center, ruffled petals, a calyx, leaves, and a cone-style wrapper. It is designed to be finished in one sitting, making it an ideal project for beginners looking to build confidence or experienced crocheters wanting a quick, rewarding make.
Mini Bouquet Pattern Card (At a Glance)
- Project: Crochet Mini Flower Bouquet (1 flower + wrapper)
- Skill Level: Easy–Intermediate (mostly basic stitches + shaping)
- Time: ~30–90 minutes (depends on speed + wrapping)
- Yarn: DK / light worsted (milk cotton / acrylic-cotton blend works great)
- Hook: 2.0–2.5 mm (2.0 mm = tightest, cleanest look)
- Finished Size: Varies by yarn/tension (mini bouquet scale)
Materials
Yarn
- Weight: DK / light worsted. Milk cotton or acrylic cotton blend works great.
- Note: If you use plush/chenille, go down in hook size and keep stitches tight.
Colors
- Center: Yellow
- Ruffle ring: White
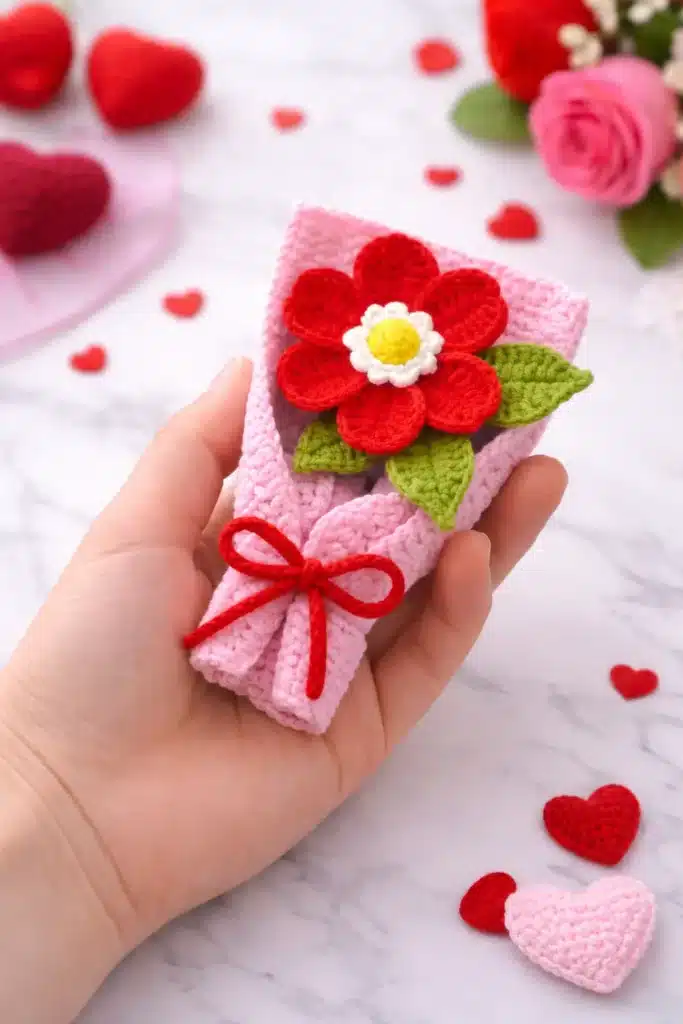
- Petals: Red (or any color you want)
- Calyx/base: Green (optional: same green as leaves)
- Leaves: Green
- Wrapper: Yellow / Pink / Blue (choose your variation)
- Tie/Bow: Green / Red / Yellow (matching or contrast)
Tools
- Hook: 2.0 mm – 2.5 mm (2.0 mm gives the tightest, cleanest look)
- Yarn needle
- Scissors
- Stitch marker (optional but helpful)
- Thin craft wire (for poseable leaves)
Gauge and Finished Size
There is no specific gauge required for this project. The finished size varies by yarn and tension, resulting in a mini bouquet scale. The pattern is designed to be flexible, allowing you to adjust the wrapper height and leaf count to suit your preference.
Abbreviations
(US Terms)
- MR = magic ring
- ch = chain
- sl st = slip stitch
- sc = single crochet
- hdc = half double crochet
- dc = double crochet
- tr = treble crochet
- inc = 2 sc in same st
- dec = sc2tog
- BLO / FLO = back loop only / front loop only
- picot = ch2, sl st in 2nd ch from hook
Pattern Notes
- Tension matters: Keep stitches tight for a crisp mini bouquet. Use a stitch marker on the small rounds (especially the center/calyx).
- Shape = magic: Petals look best after you gently roll/curve them before stitching.
- Wrapper hack: Make it slightly wider than you think—wrapping eats width.
- Tip for the cleanest center: If magic rings are tricky, refer to a Magic Ring vs Chain Circle guide.
Pattern Instructions
1) Flower Center
R1: MR, 5 sc (5)
R2: inc in next 2 sts, sc in next st, inc in next 2 sts (9)
R3: sc around (9)
R4: BLO dec, dec, sc, dec, dec (5). Fasten off and close.
Front-loop ruffle (from R3 FLO, change color if you want): Join yarn in any FLO of R3, then (sl st, ch4, sl st) in each FLO stitch around = 9 loops. Fasten off.
2) Petals
R1 — Make 6 petal strips: MR, repeat 6 times: sc in ring, ch7, starting in 2nd ch from hook: sc in next 6 ch (back toward the ring).
R2 — Shape each strip (work around each strip): For each petal strip:
- Up one side: sc, hdc, dc, tr inc, tr inc
- Tip stitch: (tr, dc, picot, dc, tr)
- Down the other side: tr inc, tr inc, dc, hdc, sc
Repeat for all 6 petals. Fasten off. Roll/shape petals around the center and stitch to secure.
3) Calyx / Flower Base
R1: MR, 5 sc (6)
R2: inc around (12)
R3: sc around (12)
R4 (make 6 sepals): Repeat 6 times: ch6, starting in 3rd ch from hook: sl st in next 2 ch, sc in next ch, hdc in next ch. Skip 1 st on the base round, sl st in next st. Fasten off, leave a tail to sew under the flower.
4) Leaf (make 1–2)
Ch 10 (optional: crochet thin wire inside). Starting in 2nd ch from hook: sc, hdc, tr x5, hdc, (sc, picot, sc) in last ch.
Other side of foundation chain: hdc, tr x5, hdc, sc. Fasten off.
5) Wrapper / Packaging
Row 1: ch32, dc in 3rd ch from hook and dc across = 30 dc.
Row 2+: ch2, turn, dc across (30). Repeat rows until it’s the width you like. Fasten off.
6) Tie
ch75, fasten off.
Assembly
- Attach the calyx under the flower: Turn the flower upside down. Center the calyx on the bottom (the flat circle part sits against the flower base). Use the long tail to sew around in a small circle, catching a few stitches from the flower underside. Pull snug so the calyx sits tight and clean.
- Build the bloom shape (petals around the center): Place the yellow center in the middle of the petal piece. Wrap the petals around it one by one, slightly overlapping. When you like the shape, tack it with 3–6 small stitches at the bottom: stitch through the petal base + into the underside of the center/calyx area. (Don’t sew high on the petals—only at the base so they stay puffy.)
- Add the leaves (1–2 leaves): Put the leaf base behind/under the calyx so it peeks out from the side. Sew only the leaf base with 2–4 stitches. Bend/curve the leaf outward for a natural bouquet look.
- Make the wrapper cone (clean wrap method): Lay the wrapper rectangle flat (choose the prettier side as the outside). Put the flower near one edge, slightly above the center. Roll the wrapper diagonally into a cone: the first corner becomes the front flap, the other side wraps behind. Adjust until the flower sits nicely and the top opening frames the bloom.
- Secure + tie: If the wrapper wants to unroll, add 1–2 tiny stitches at the bottom back seam (or use a small dot of fabric glue). Wrap the tie around the bottom of the cone 2 times. Tie a bow (trim ends if needed).
Tips
- Flat petals? Roll the petals around the center, then add a few small tack stitches at the petal base to hold the curve.
- Need treble crochet? Yes, it helps shape the petal curve.
- Wrapper styles: For a tight mini cone, crochet fewer rows. For a tall bouquet wrap, add a few rows so the wrapper sits higher behind the bloom. Try a two-tone wrap by changing wrapper color for the last 2–3 rows.
- Leaf options: Go minimal with 1 leaf on the side, or create a fuller bouquet with 2 leaves in a “V” behind the flower. Use thin craft wire inside the leaf for a poseable option.
FAQs
What yarn is best for a crochet mini flower bouquet?
DK / light worsted milk cotton or cotton-blend gives the cleanest stitch definition.
My petals look flat—how do I get the “bloom” shape?
Roll the petals around the center, then add a few small tack stitches at the petal base to hold the curve.
Do I need treble crochet for this mini bouquet crochet pattern?
Yes (it helps shape the petal curve).
Can I use a different hook size?
You can use a 2.0–2.5 mm hook. A 2.0 mm hook gives the tightest, cleanest look, which is ideal for the mini scale of this project.
How do I make the leaves poseable?
Crochet thin craft wire inside the leaf foundation chain before working the stitches around it.
Pin This Crochet Pattern!