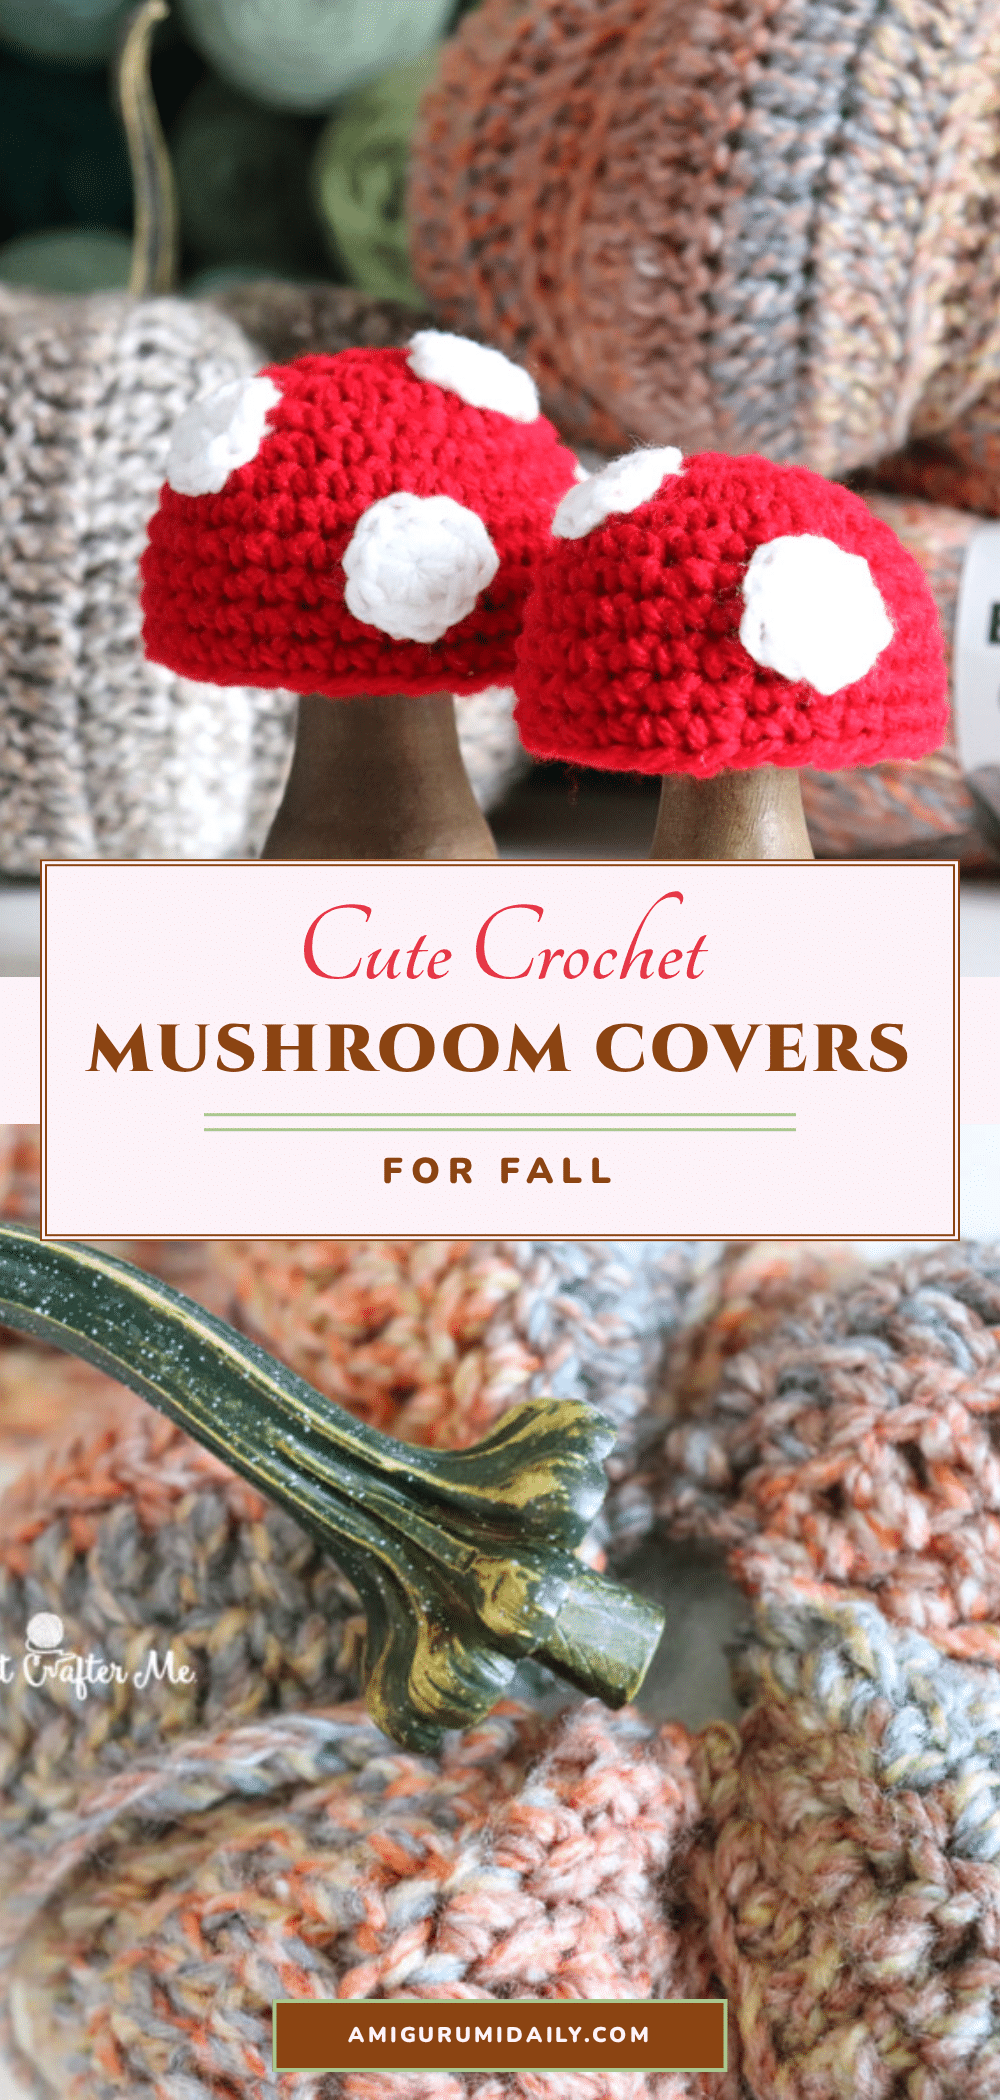
There is something undeniably cozy about the transition to autumn, where the air turns crisp and our crafting instincts shift toward textures that feel like a warm hug. For this project, the yarn choice was less about a frantic search and more about a quiet moment of recognition. I pulled a skein of worsted weight red yarn from my stash—perhaps a slightly heathered blend or a solid, rich crimson—and paired it with a crisp white. The decision felt intentional from the start, evoking the classic Amanita muscaria without feeling like a costume. The fiber’s natural drape allowed the caps to slip smoothly over the wooden stems, creating a soft contrast against the hard, unfinished wood. It’s that specific interplay of soft yarn and rustic timber that makes these covers feel less like a craft project and more like a curated piece of seasonal decor.
Yarn and Color Notes
While the pattern calls for worsted weight yarn, the specific fiber can influence the final look. A cotton-blend worsted will hold its shape well against the weight of the wooden stem, while a wool blend might offer a fuzzier, more “forest floor” aesthetic. The red should be vibrant enough to pop against neutral fall backdrops, but not so bright that it loses its organic charm. The white spots are best kept simple; any white worsted weight yarn will work, though a slightly off-white or cream might blend more seamlessly with the natural wood tones if you prefer a softer, vintage look. The key is to let the simplicity of the two-color palette speak for itself, allowing the handmade nature of the stitches to add character.
Project Overview
These crochet mushroom covers are designed to slip over unfinished wooden mushroom forms, transforming simple craft store finds into charming fall decor. The project utilizes a simple single crochet technique worked in continuous rounds to create a dome-shaped cap. By combining the softness of crochet with the sturdy base of wood, you get a decorative piece that requires no stuffing or complex shaping. These are perfect for autumn tables, woodland-themed shelves, fairy gardens, or even as unique accents for holiday decor.
Materials
- Worsted Weight Yarn in Red and White
- Size H Crochet Hook
- Tapestry Needle
- Unfinished Wood Mushrooms (sourced from handmade businesses or craft retailers)
Gauge and Finished Size
Gauge and finished size measurements are not provided in the source pattern. The fit is determined by the size of the wooden mushroom stem you choose to cover. The pattern includes instructions for both a large and a small mushroom cover to accommodate different stem diameters.
Abbreviations
Standard US crochet terminology is used:
- SC: Single Crochet
- ch: Chain
- Join: Slip Stitch
- Fasten off: Cut yarn and pull through loop
Pattern Notes
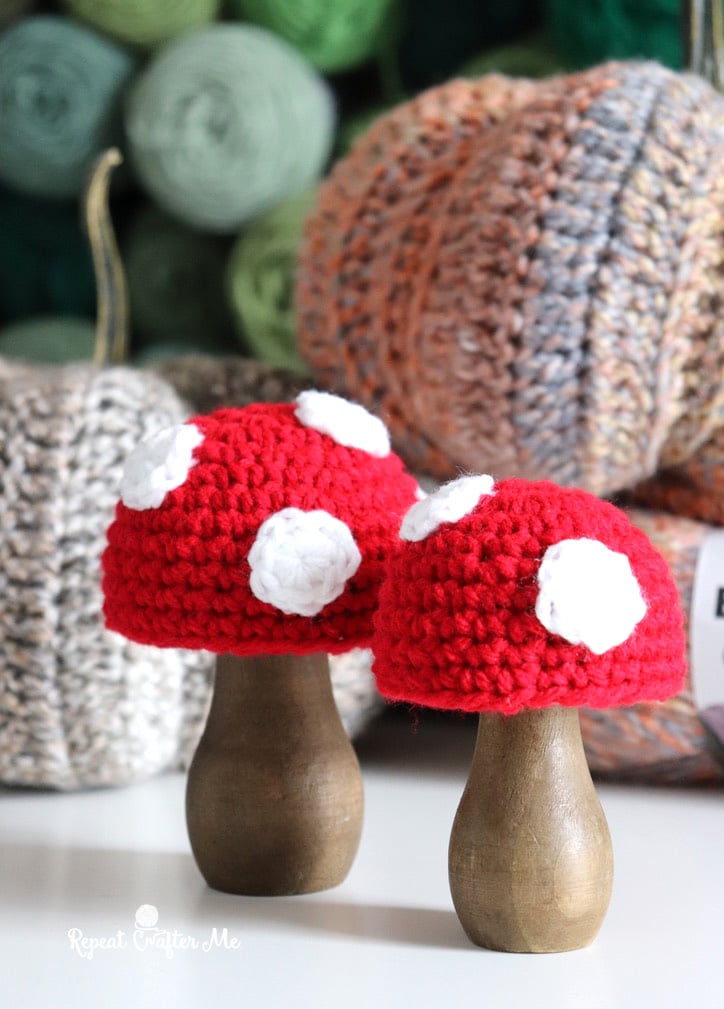
The mushroom caps are worked in continuous rounds. Although the instructions say to “join” at the end of each round, ensure you are not twisting your work. The pattern relies on increases to create the curved dome shape. The spots are added individually and stitched on randomly, which is an intentional design choice to give each mushroom a unique, organic personality rather than a uniform, manufactured look.
Pattern Instructions
Large Mushroom Cover
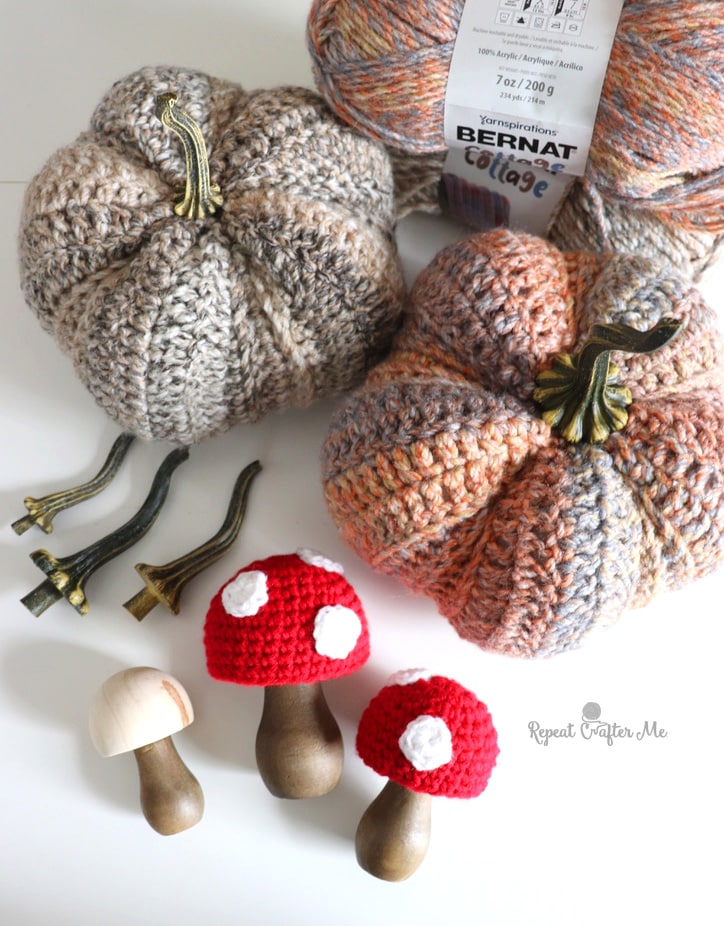
With red yarn:
- Round 1: Make a magic ring, ch 1 and work 10 SC into ring. Join to first SC, ch 1. (10)
- Round 2: 2 SC in first st, SC in next st. Repeat around. Join, ch 1. (15)
- Round 3: 2 SC in first st, SC in next 2 sts. Repeat around. Join, ch 1. (20)
- Round 4: SC in each st around. Join, ch 1. (20)
- Round 5: 2 SC in first st, SC in next 3 sts. Repeat around. Join, ch 1. (25)
- Round 6: 2 SC in first st, SC in next 4 sts. Repeat around. Join, ch 1. (30)
- Rounds 7–11: SC in each st around. Join and ch 1 after each round.
- Fasten off and weave in ends.
Small Mushroom Cover
With red yarn:
- Round 1: Make a magic ring, ch 1 and work 10 SC into ring. Join to first SC, ch 1. (10)
- Round 2: Work 2 SC in each st around. Join, ch 1. (20)
- Rounds 3–4: SC in each st around. Join, ch 1. (20)
- Round 5: 2 SC in first st, SC in next 3 sts. Repeat around. Join, ch 1. (25)
- Rounds 6–9: SC in each st around. Join and ch 1 after each round.
- Fasten off and weave in ends.
Mushroom Spots
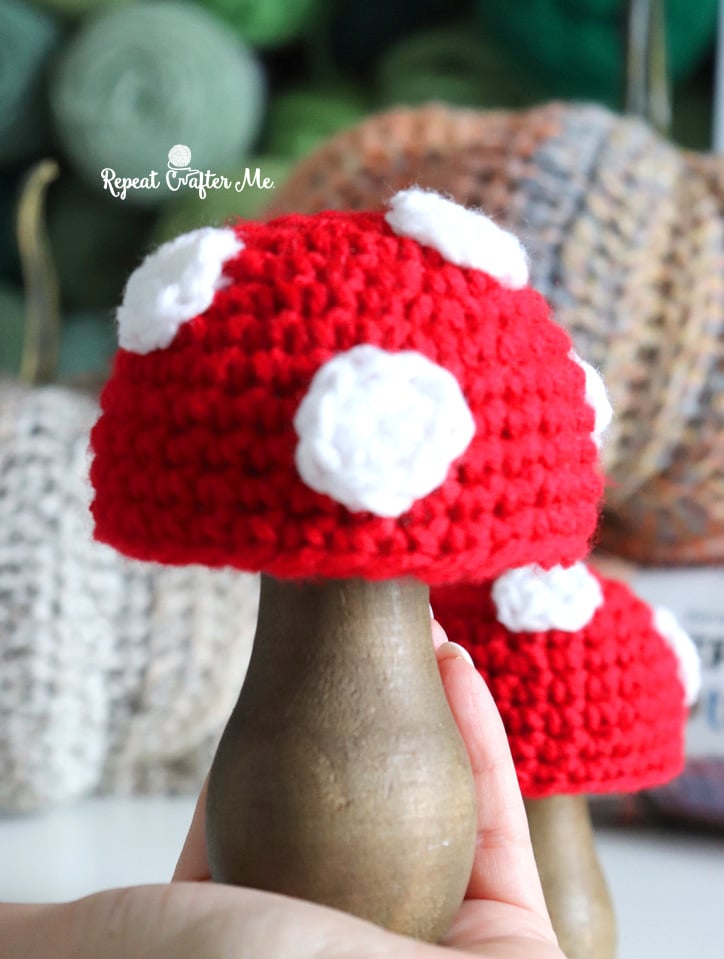
With white yarn:
- Make a magic ring, ch 1 and work 10 SC into ring. Join to first SC and fasten off.
- Make several spots for each mushroom and stitch them randomly around the red mushroom cap.
Tip: The spots do not need to be perfectly uniform. Different placement gives each mushroom its own personality.
Assembly
Once the red cap is complete and the white spots are stitched onto the cap in your desired random arrangement, simply slip the crochet cap over the top of the unfinished wooden mushroom stem. The friction of the yarn against the wood should hold the cover in place securely. No additional glue or sewing is required for the cap itself, though you may use a small amount of hot glue at the base of the cap if you find it shifts too easily.
Tips
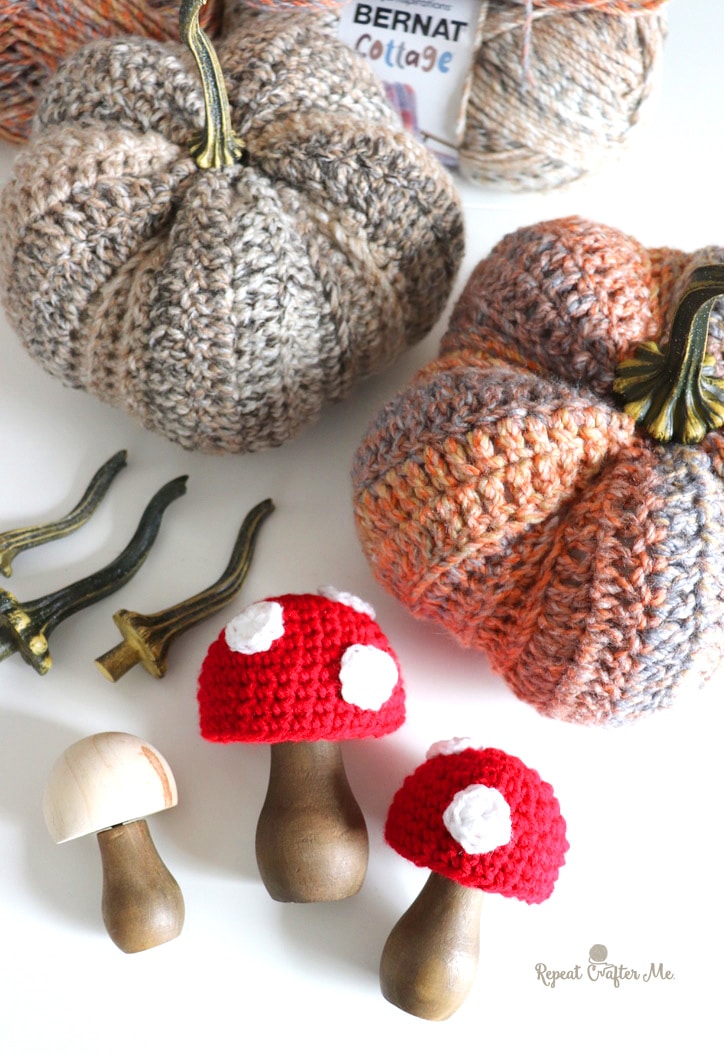
- Customizing Size: If your wooden mushroom is larger or smaller than the standard sizes, adjust the number of rounds in the “height” sections (Rounds 7–11 for large, Rounds 6–9 for small) to ensure the cap fits snugly over the stem.
- Spot Placement: Don’t be afraid to experiment with spot size. You can make larger spots by chaining more or working more stitches into the magic ring for the white accents.
- Yarn Tension: Keep your tension consistent to ensure the cap doesn’t become too tight to fit over the wood or too loose to stay on.
FAQs
What type of yarn is best for these mushroom covers?
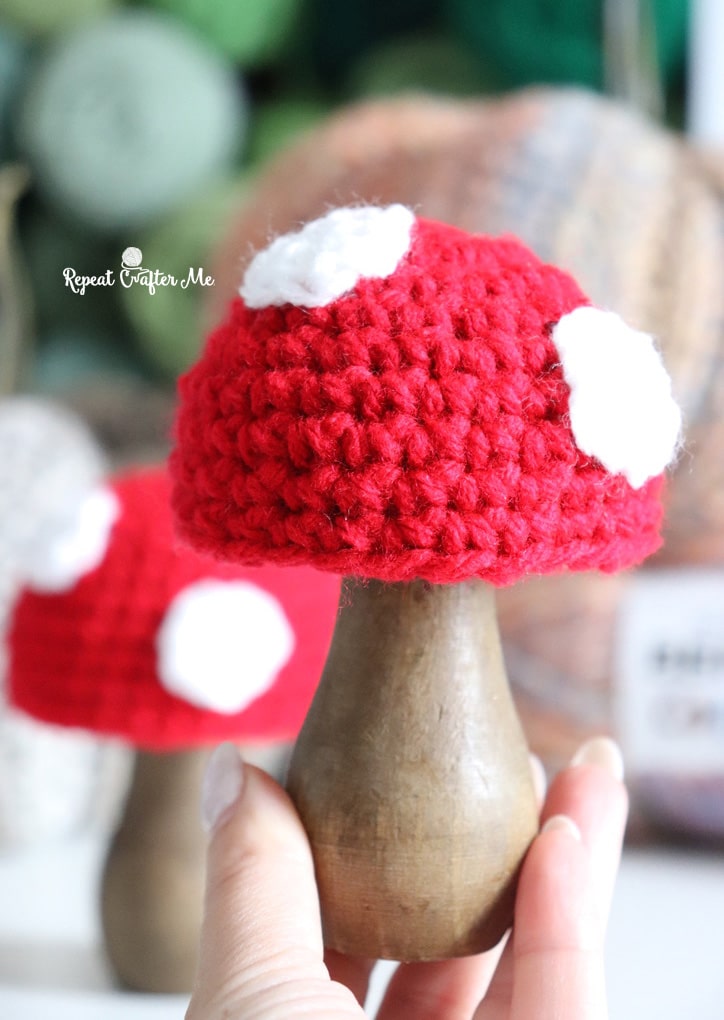
Worsted weight yarn is recommended. It provides enough body to hold the shape of the cap while being soft enough to look cozy. Cotton blends are durable, while acrylics offer a wide range of color options.
Do I need to stuff the mushroom cap?
No. The cap is designed to be a hollow shell that slips over the wooden stem. The wood provides the structure, so no stuffing is necessary.
How do I attach the white spots?
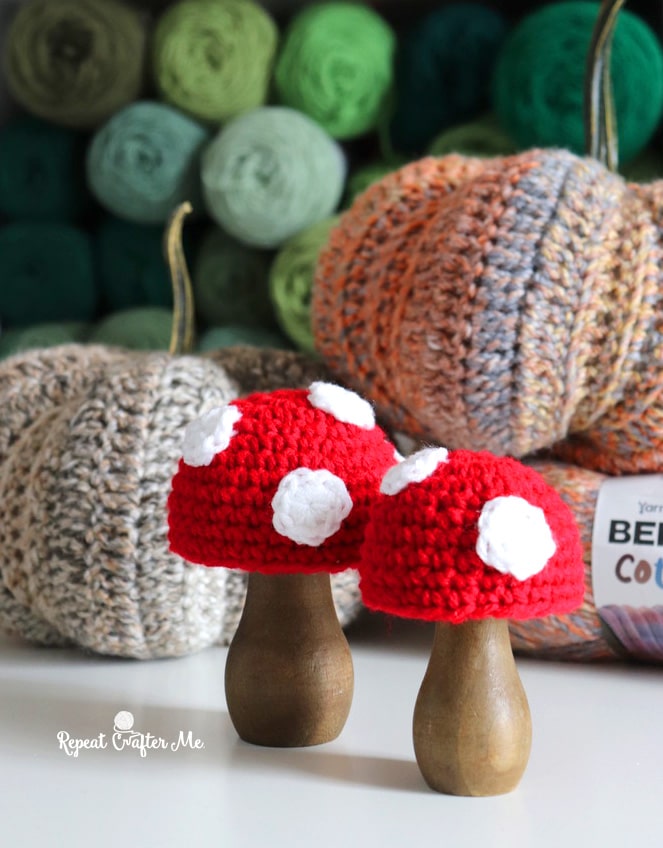
After crocheting each white spot (a small magic ring), use a tapestry needle and the long tail of yarn to stitch the spot onto the red cap. Place them randomly for a natural look.
Can I use this pattern for other wooden forms?
Yes, as long as the form has a rounded top that fits inside the crochet cap. These covers could also work on small gourds or other natural decor items.
Why are the stitch counts different between the large and small covers?
The small cover has fewer rounds and a different increase pattern to create a smaller, tighter dome suitable for smaller stems. The large cover has more rounds and a gradual increase to accommodate a wider base.
Pin This Crochet Pattern!