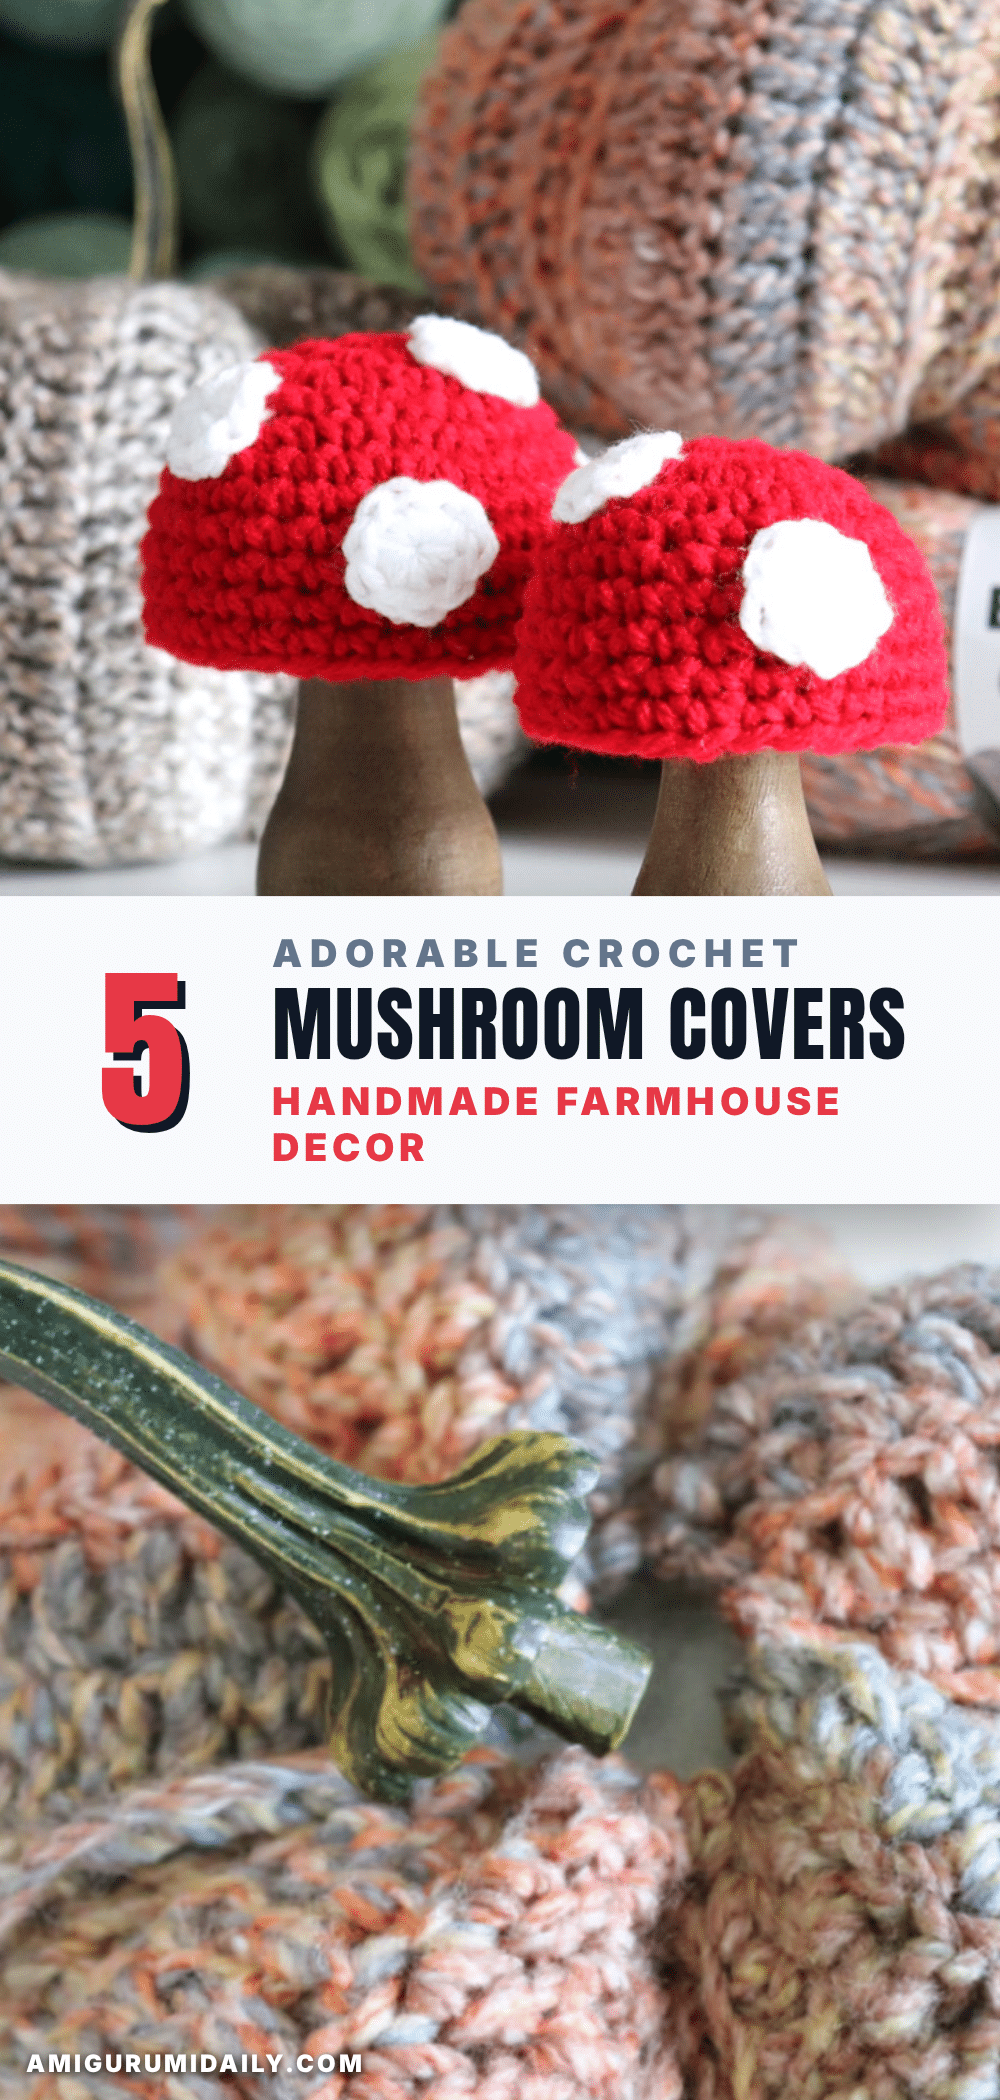
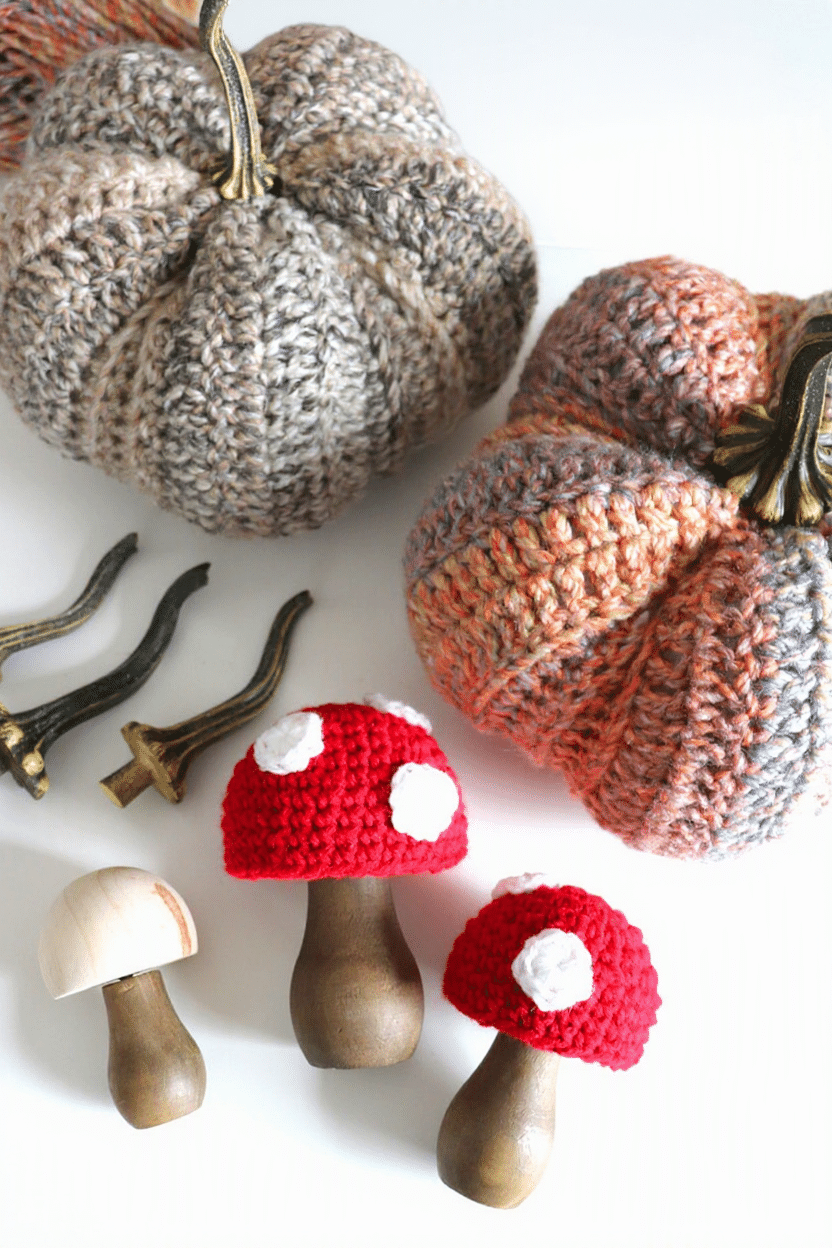
Autumn is officially here, and there is no better way to welcome the season than with cozy, handmade decor. These adorable crochet mushroom covers are the perfect project to add a touch of woodland charm to your home. Designed to slip over unfinished wooden mushroom forms, these caps transform simple craft store finds into realistic, rustic accents. Whether you are looking to complete a fall centerpiece or create a unique gift for a fellow maker, these red-and-white toadstools are easy to stitch and delightful to display.
Seasonal Styling Ideas
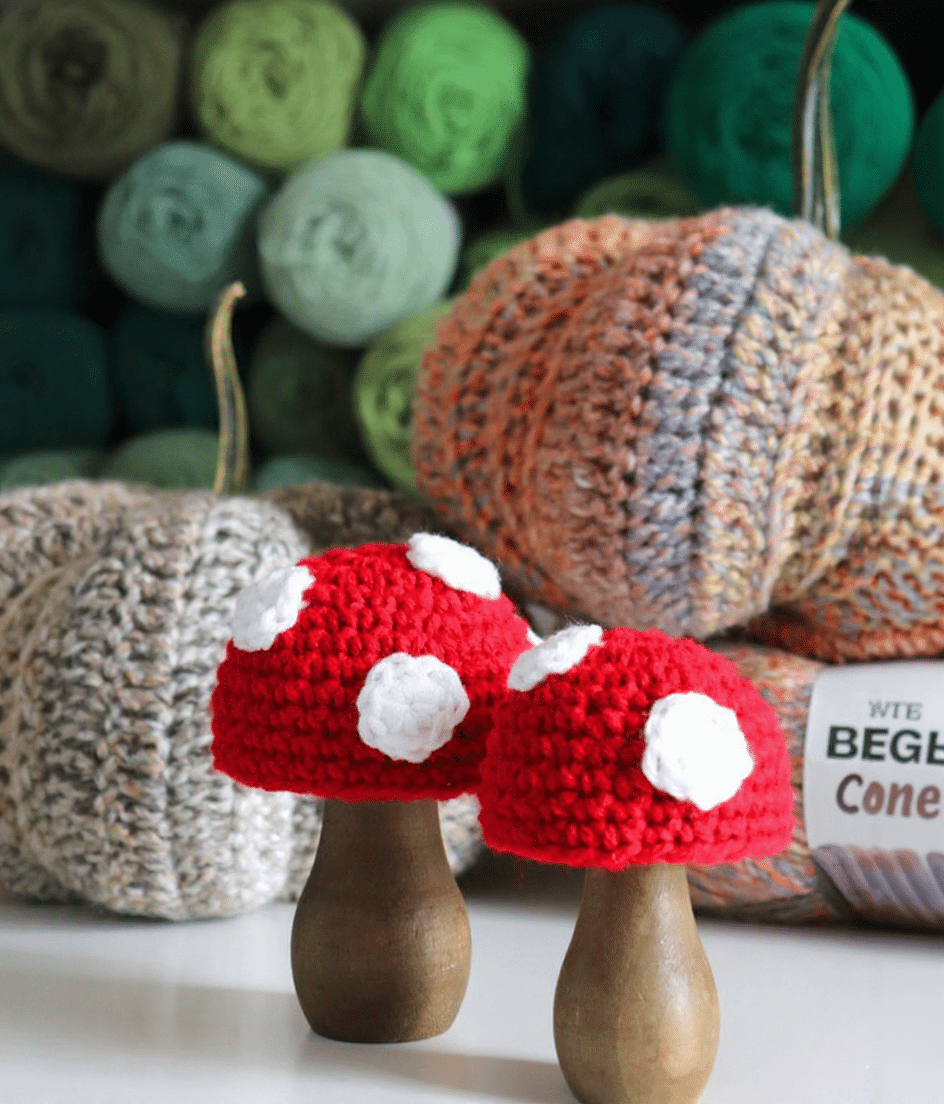
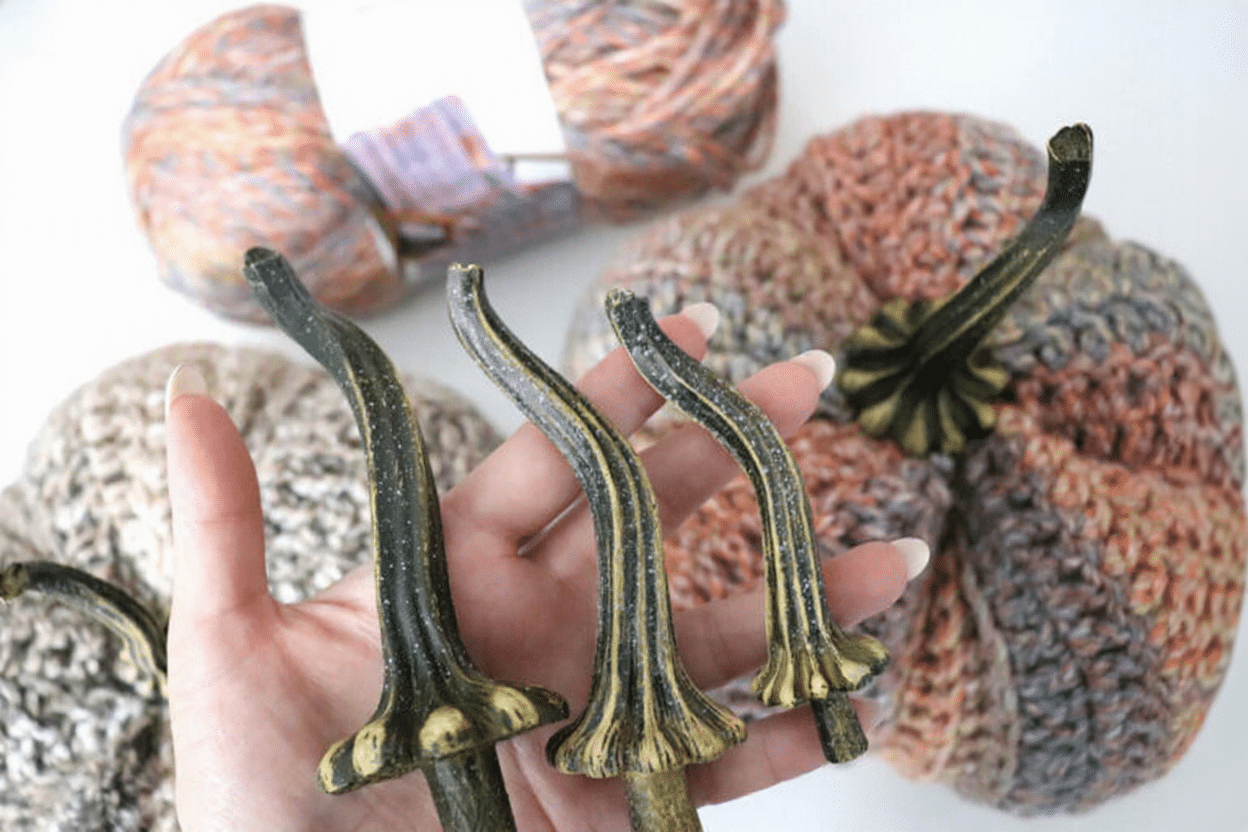
While these mushroom covers are classic in their red and white colorway, their versatility allows for endless creative possibilities. The natural wood base provides a sturdy foundation, meaning you can focus entirely on the crochet cap. Consider experimenting with different yarn weights to alter the scale of the mushroom or switching to earthy tones like moss green, terracotta, or cream for a more subtle, neutral aesthetic. These pieces look stunning tucked into a basket alongside faux pumpkins for a Thanksgiving table setting, or placed among fairy garden elements for a whimsical outdoor display. Because the caps are removable, you can even swap colors throughout the year—try soft pastels for spring or deep burgundies for winter holidays.
Project Overview
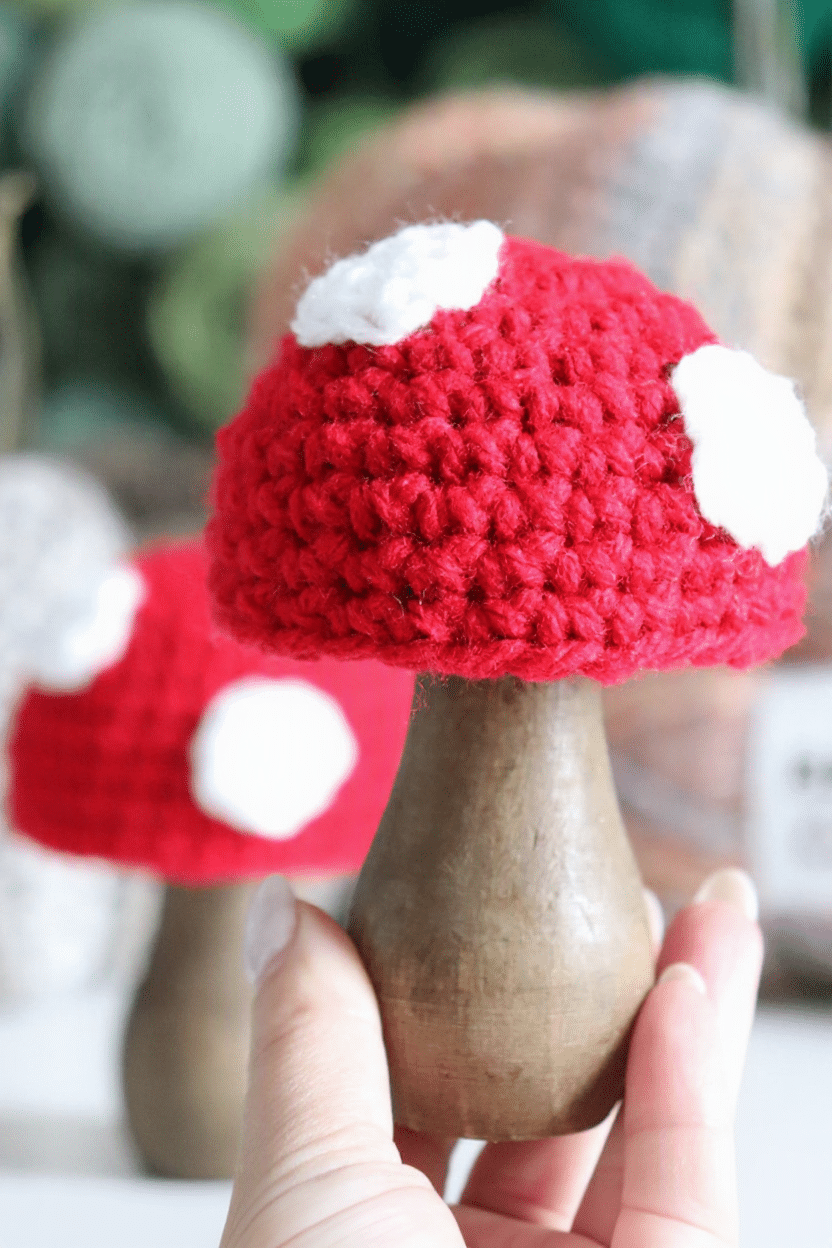
This project involves creating two sizes of mushroom caps (large and small) using worsted weight yarn in red and white. The pattern is worked in continuous rounds to form a dome shape that fits snugly over wooden mushroom forms. White spots are added randomly to mimic the classic Amanita mushroom look. This is a beginner-friendly project that requires no complex shaping or stuffing, making it an ideal stashbuster or quick gift.
Materials
- Worsted Weight Yarn in Red
- Worsted Weight Yarn in White
- Size H Crochet Hook
- Tapestry Needle
- Unfinished wooden mushroom forms (various sizes)
Gauge and Finished Size
Gauge is not strictly specified for this pattern, as the fit is determined by the size of the wooden form you choose. The finished size will vary depending on whether you make the large or small cover. Ensure your tension is consistent so the cap holds its shape without gaping.
Abbreviations
The following standard US crochet abbreviations are used:
- SC: Single Crochet
- Ch: Chain
- Join: Slip Stitch
- Fasten Off: Cut yarn and pull through loop
Pattern Notes
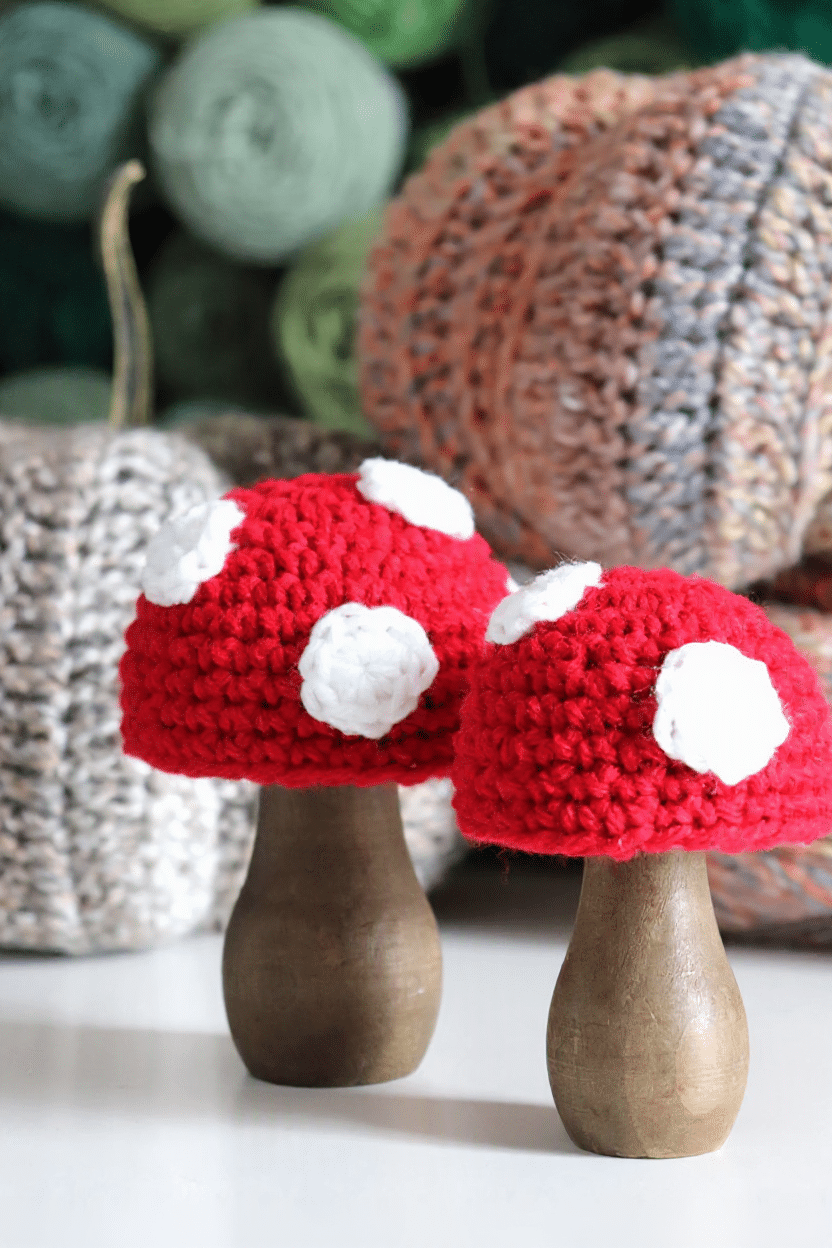
This pattern is worked in spiral rounds unless otherwise noted. However, the instructions include joining at the end of each round; follow the specific instructions for each section. The spots are made as individual small circles and sewn on afterward, allowing for a random, organic placement.
Pattern Instructions
Large Mushroom Cover
With red yarn:
- Round 1: Make a magic ring, ch 1 and work 10 SC into ring. Join to first SC, ch 1. (10)
- Round 2: 2 SC in first st, SC in next st. Repeat around. Join, ch 1. (15)
- Round 3: 2 SC in first st, SC in next 2 sts. Repeat around. Join, ch 1. (20)
- Round 4: SC in each st around. Join, ch 1. (20)
- Round 5: 2 SC in first st, SC in next 3 sts. Repeat around. Join, ch 1. (25)
- Round 6: 2 SC in first st, SC in next 4 sts. Repeat around. Join, ch 1. (30)
- Rounds 7–11: SC in each st around. Join and ch 1 after each round.
Fasten off and weave in ends.
Small Mushroom Cover
With red yarn:
- Round 1: Make a magic ring, ch 1 and work 10 SC into ring. Join to first SC, ch 1. (10)
- Round 2: Work 2 SC in each st around. Join, ch 1. (20)
- Rounds 3–4: SC in each st around. Join, ch 1. (20)
- Round 5: 2 SC in first st, SC in next 3 sts. Repeat around. Join, ch 1. (25)
- Rounds 6–9: SC in each st around. Join and ch 1 after each round.
Fasten off and weave in ends.
Mushroom Spots
With white yarn:
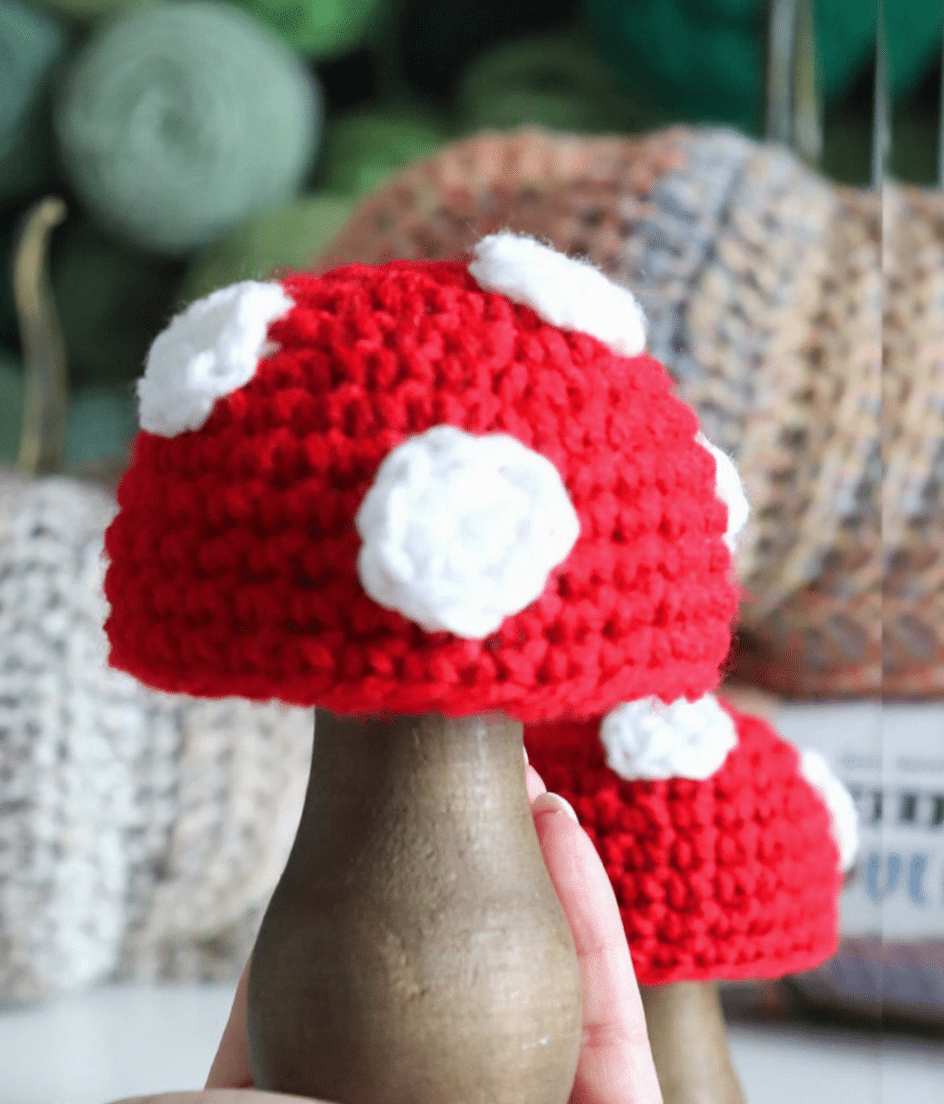
- Make a magic ring, ch 1 and work 10 SC into ring. Join to first SC and fasten off.
Make several spots for each mushroom and stitch them randomly around the red mushroom cap. Note: The spots do not need to be perfectly uniform. Different placement gives each mushroom its own personality.
Assembly
Once your mushroom cap is complete and the white spots are sewn on in your desired random arrangement, simply slip the crochet cover over the top of your unfinished wooden mushroom form. The natural friction of the yarn against the wood will keep the cap in place. No glue or additional fasteners are required, allowing you to remove the cover for washing or storage if needed.
Tips
- Yarn Choice: Using a cotton or cotton-blend worsted weight yarn will give the mushroom a slightly firmer structure that holds its shape well against the wood.
- Spot Placement: Don’t worry about symmetry. Hand-placing the white spots creates a more realistic, organic look than a geometric pattern.
- Wooden Forms: Look for unfinished pine or basswood mushrooms at craft stores. Sanding them lightly before adding the crochet cap can help remove splinters and create a smoother base.
FAQs
What size crochet hook should I use?
A size H (5mm) crochet hook is recommended for worsted weight yarn to achieve a tight enough stitch that the wooden form doesn’t show through.
Can I make these without wooden forms?
While this pattern is designed specifically to slip over wooden forms, you could theoretically stuff the cap with fiberfill to make a standalone amigurumi mushroom. However, you would need to add a stem separately and adjust the final rounds to close the bottom.
How do I keep the spots from falling off?
Use a tapestry needle to weave the yarn tails of the white spots through the stitches of the red cap. Weave the tail back and forth through the base of the spot and the surrounding red stitches for a secure hold.
Can I use a different color for the spots?
Absolutely! While traditional toadstools use white spots, you can use yellow, orange, or even gold for a more fantasy-inspired look.
Is this pattern suitable for beginners?
Yes, this pattern uses only single crochet and basic increases, making it perfect for beginners who are comfortable with magic rings and working in rounds.
For more seasonal inspiration, check out our Halloween Pumpkin Bouquet or explore our collection of Easy DIY Flowers to expand your autumn craft stash.
Pin This Crochet Pattern!