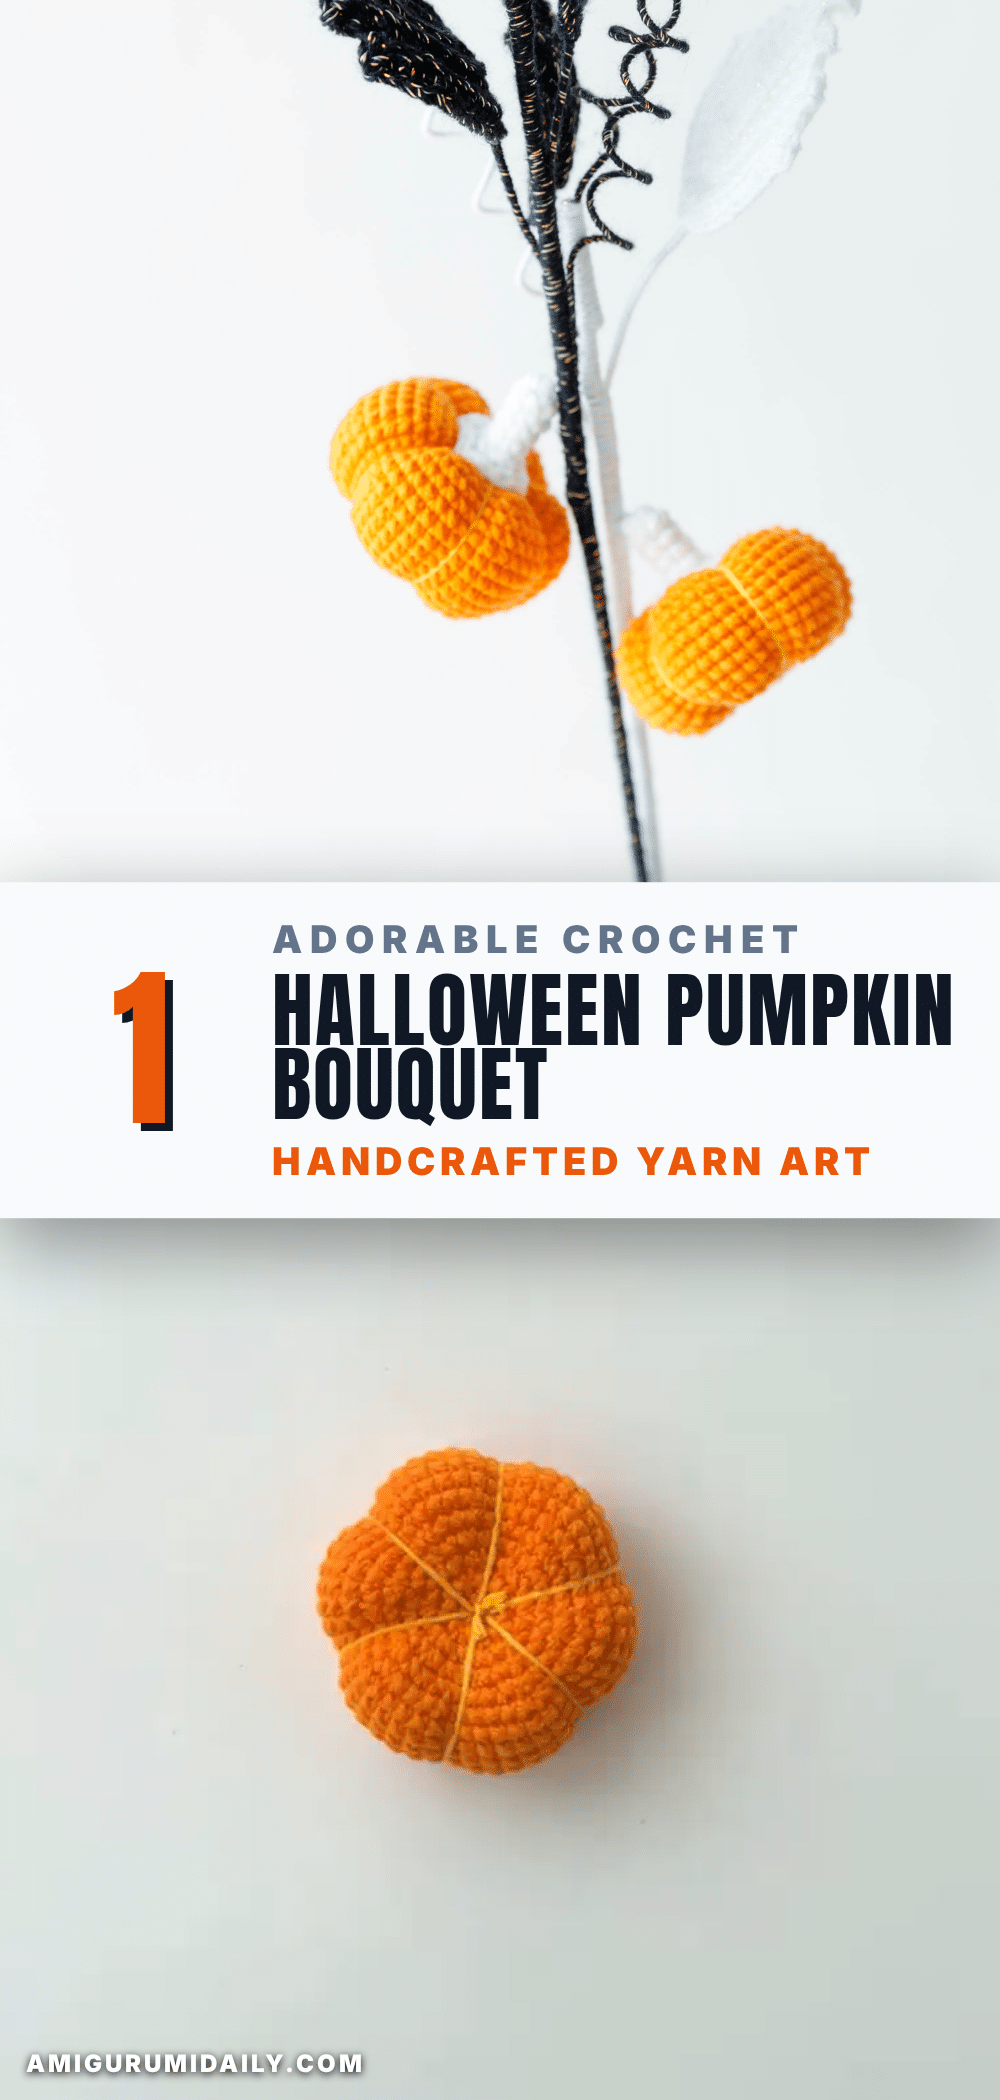
There is something undeniably cozy about pulling a skein of orange cotton from a stash bin on a crisp autumn evening. This project began with that exact moment—a decision to use a luminous white yarn for the wrapping that would tie the whole arrangement together, contrasting beautifully with the deep, warm tones of the pumpkin and the stark elegance of black leaves. The choice of fiber matters here; a cotton blend provides the structure needed for the amigurumi shapes while remaining soft enough to handle during assembly. This intentional selection of materials ensures the finished bouquet feels less like a craft project and more like a curated piece of seasonal decor.
Yarn and Color Notes
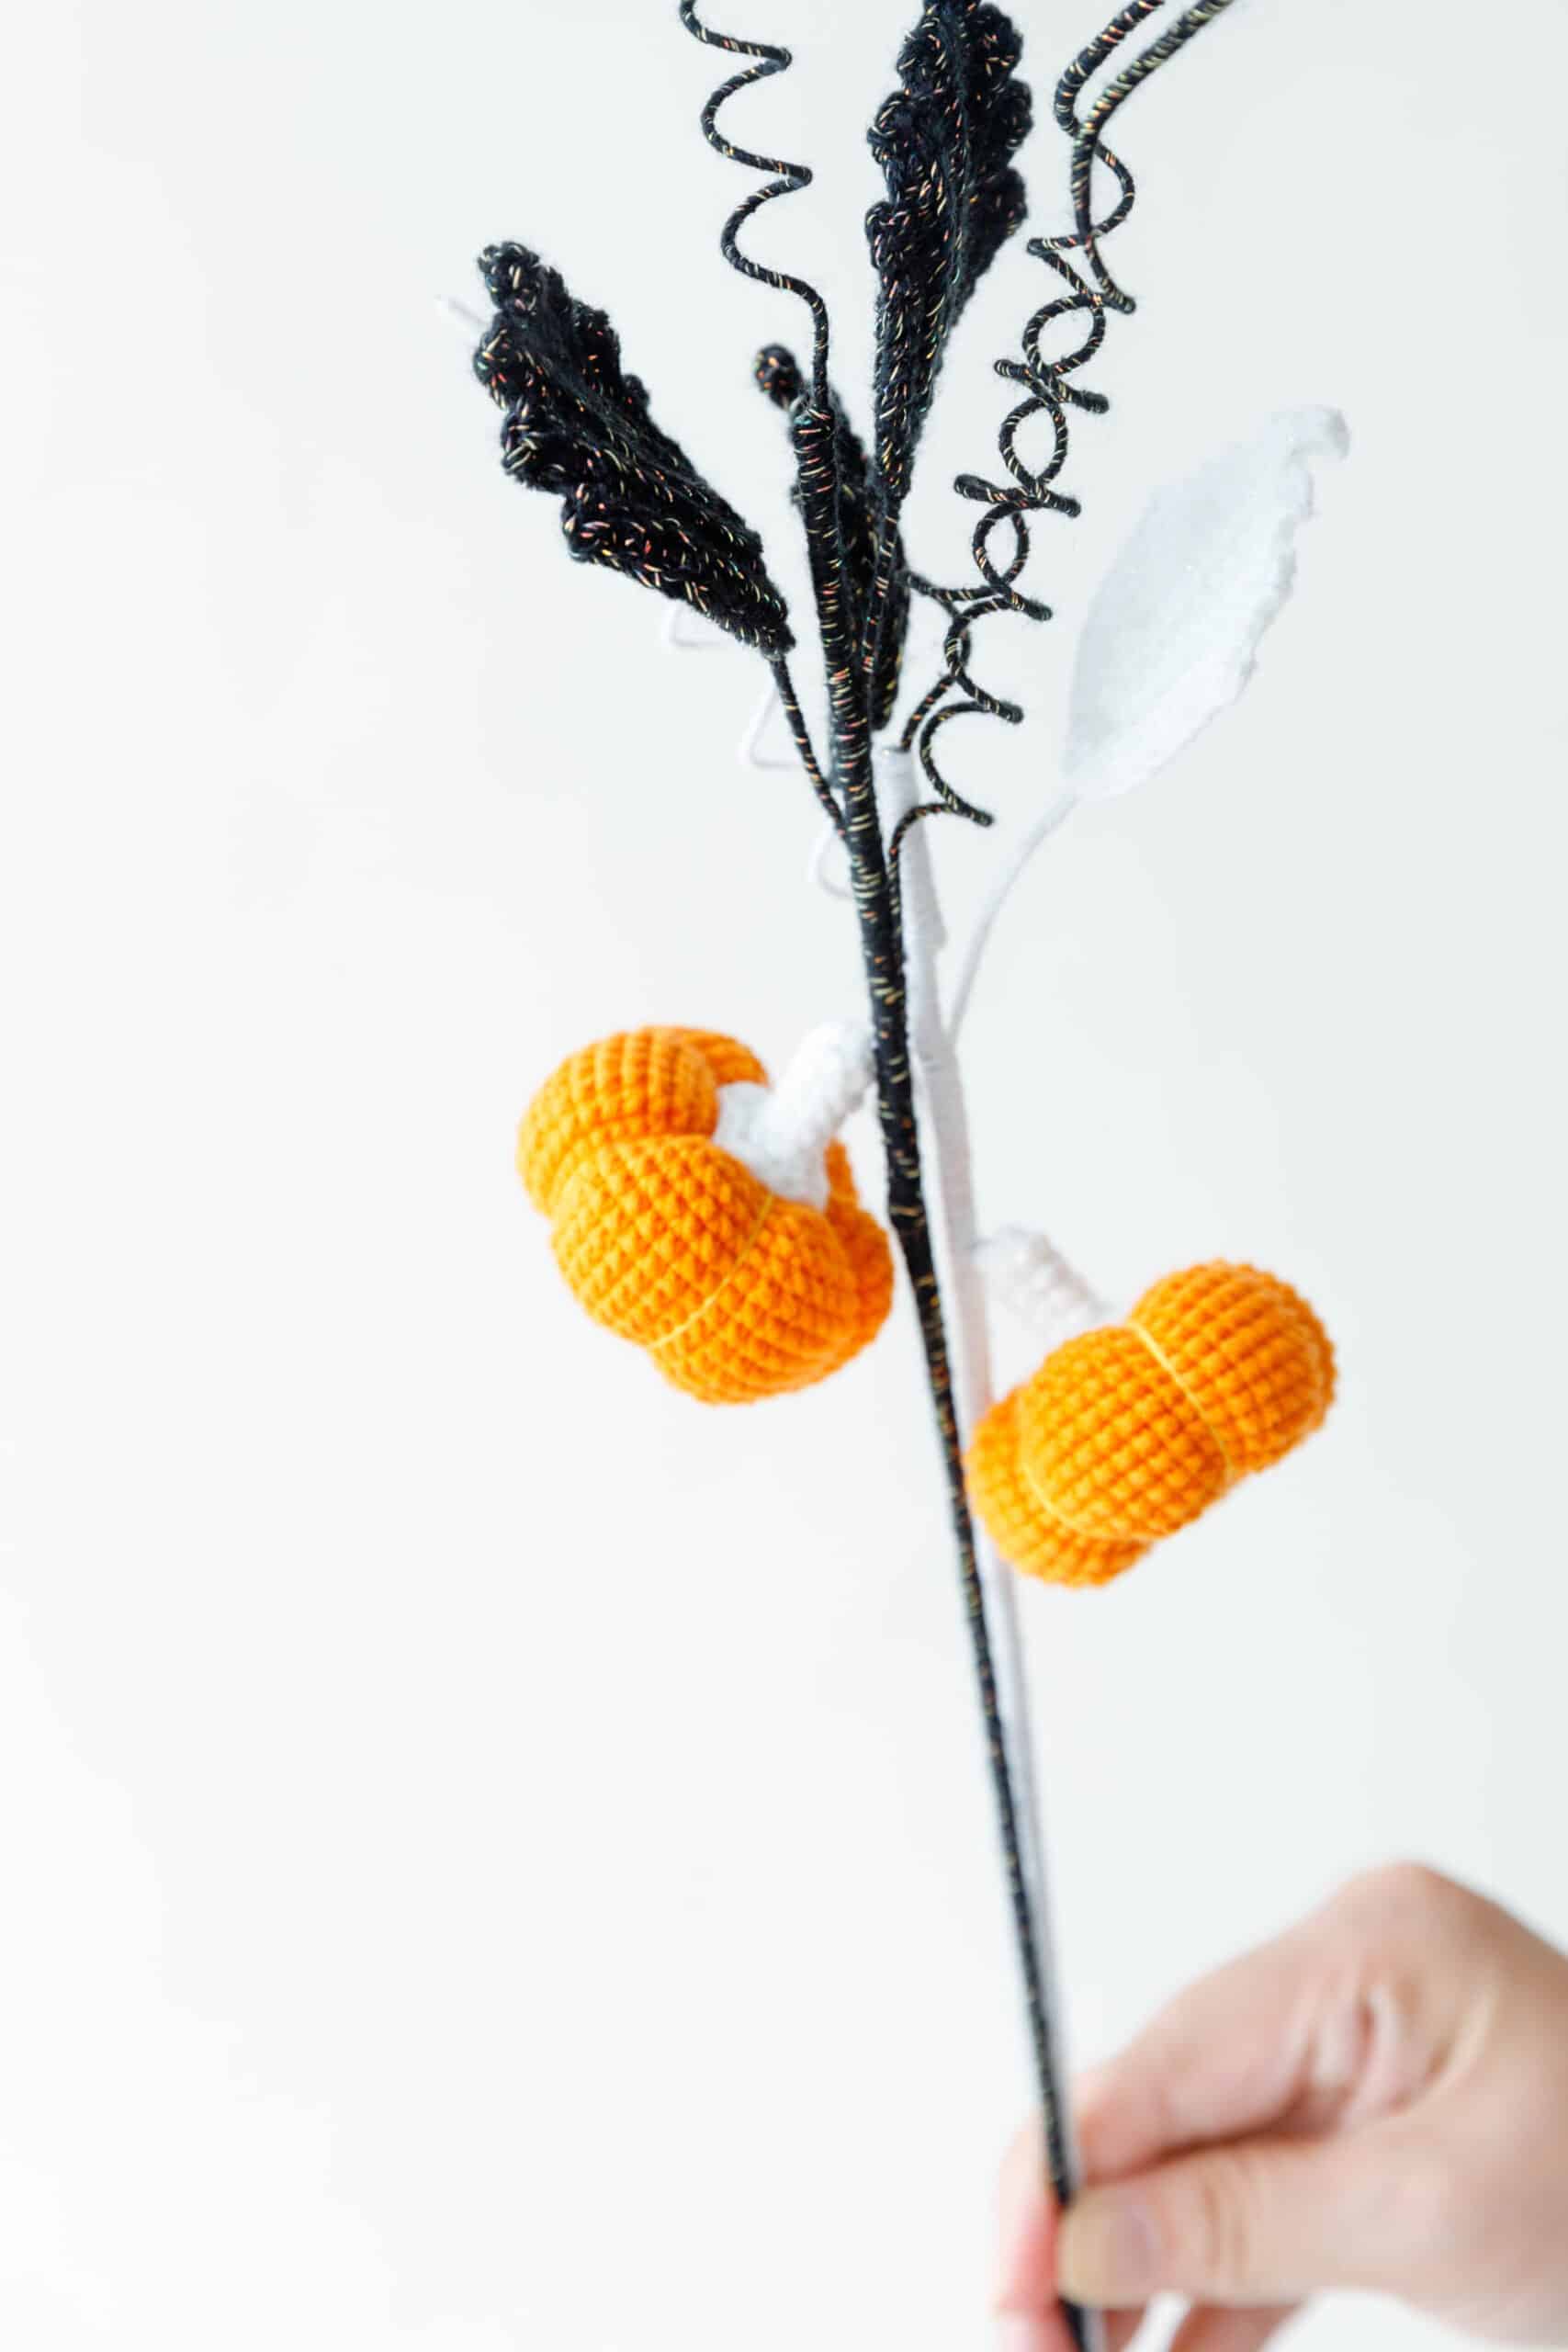
The visual appeal of this Halloween bouquet relies heavily on the contrast between the components. The primary pumpkin is crafted using a classic orange yarn, which serves as the focal point. To create the necessary contrast for the foliage, the pattern calls for both luminous white and black yarns for the leaves. This combination allows the leaves to frame the pumpkin effectively, whether you prefer a traditional spooky look or a softer, modern aesthetic. The wrapping yarn, also luminous white, acts as a neutral base that allows the individual elements to pop. While the source pattern specifies these colors, the medium skill level required allows makers to experiment with texture or slight color variations to match their specific home décor or gift-giving themes.
Project Overview
This Crochet Halloween Pumpkin Bouquet is an amigurumi project designed for makers with a middle skill level. It combines small, stuffed pumpkin and stem components with wired leaves to create a festive arrangement. The project utilizes US crochet terms and requires basic amigurumi techniques such as working in the round, increases, decreases, and incorporating wire for structure. The finished piece is a decorative bouquet that can serve as a standalone Halloween decoration or a thoughtful handmade gift.
Materials
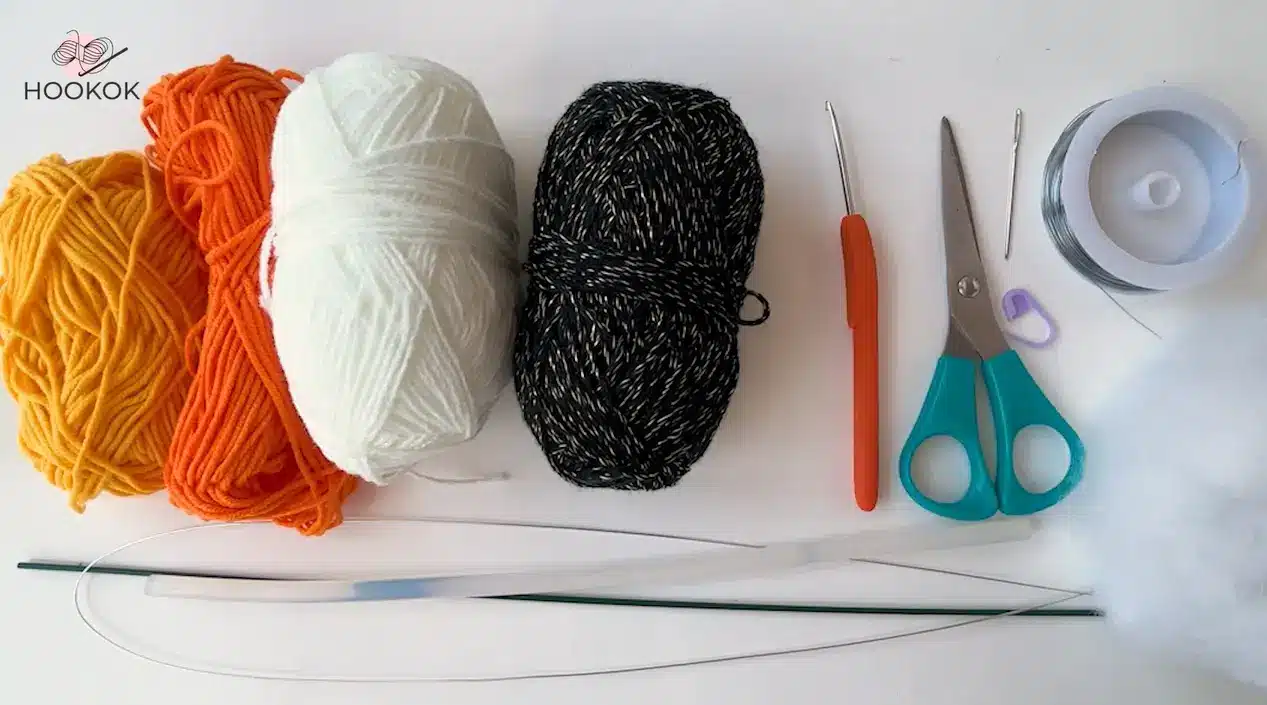
- Yarn: Orange yarn, luminous white yarn, black yarn, and yellow yarn (for detailing).
- Hook: 2.0 mm crochet hook.
- Tools: Scissors, stitch marker, darning needle.
- Structural Elements: Iron wire, flower rod, stuffing cotton.
- Adhesive: Hot melt glue.
Gauge and Finished Size
Specific gauge measurements and finished dimensions are not provided in the source pattern. The size of the final bouquet will depend on the specific yarn weight used and the tension of the individual crocheter. Using the recommended 2.0 mm hook with standard cotton yarn will yield the intended proportions for the pumpkin and leaves.
Abbreviations
- ch: Chain stitch
- sc: Single crochet
- 2 sc in next st: Increase
- BLO: Back Loops Only
- sc2tog: Single Crochet 2 Together
- R1, R2, R3…: Round 1, Round 2, Round 3, etc.
- ss: Slip stitch
Pattern Notes
This pattern is written in US crochet terms. It is essential to follow the pattern carefully to avoid mistakes, paying close attention to specific stitch counts and techniques. Use a stitch marker to mark the beginning of each round. Additional notes are written in italics. Please note that slip stitches (ss) and chain stitches (ch) do not count as stitch counts unless otherwise specified.
Pattern Instructions
Make Pumpkin
Start with a magic ring.
- R1: Work 8 sc in the round. 1 ss and 1 ch.
- R2: (2 sc in next st) * 8 times. 1 ss and 1 ch.
- R3: (1 sc, 2 sc in next st) * 8 times. 1 ss and 1 ch.
- R4: (2 sc, 2 sc in next st) * 8 times. 1 ss and 1 ch.
- R5: (3 sc, 2 sc in next st) * 8 times. 1 ss and 1 ch.
- R6: (4 sc, 2 sc in next st) * 8 times. 1 ss and 1 ch.
- R7-15: Make 48 sc in each round. 1 ss and 1 ch.
- R16: (2 sc, sc2tog, 2 sc) * 8 times. 1 ss and 1 ch.
- R17: (3 sc, sc2tog) * 8 times. 1 ss and 1 ch.
- R18: (1 sc, sc2tog, 1 sc) * 8 times. 1 ss and 1 ch.
- R19: (1 sc, sc2tog) * 8 times. 1 ss and 1 ch.
- R20: Add stuffing cotton. (sc2tog) * 8 times. 1 ss in the first st. Cut off the tail and weave the end.
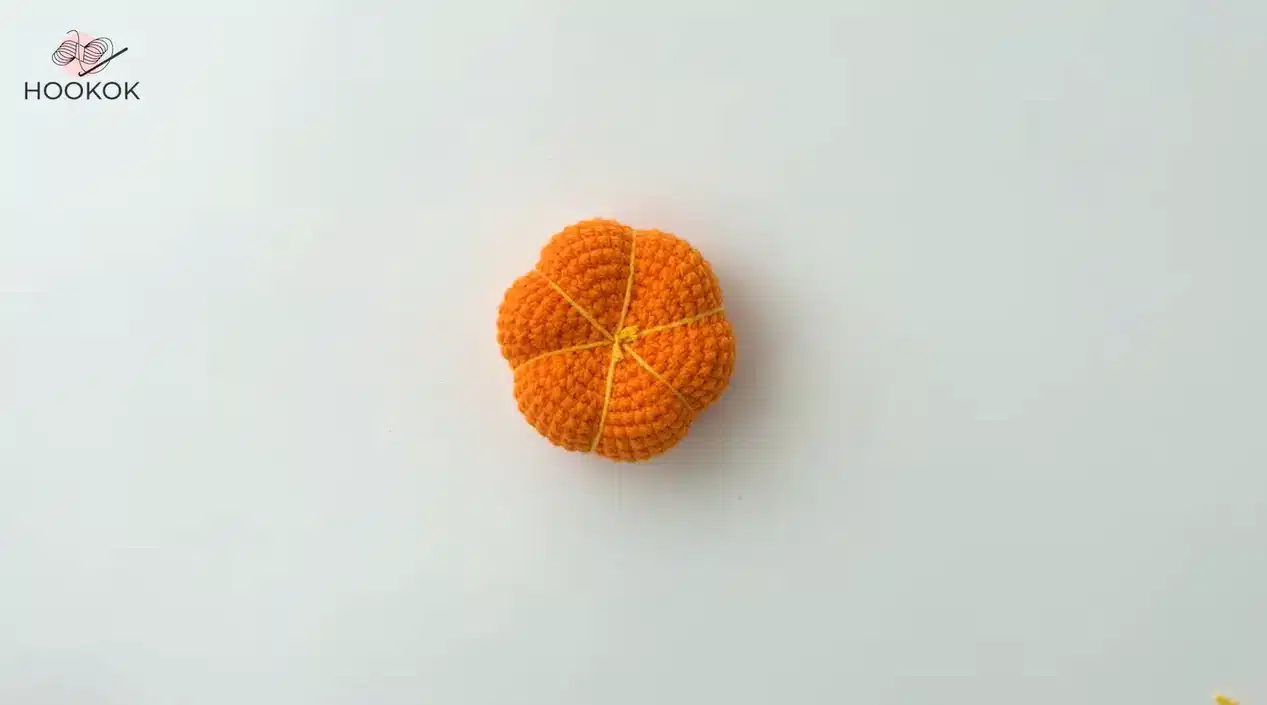
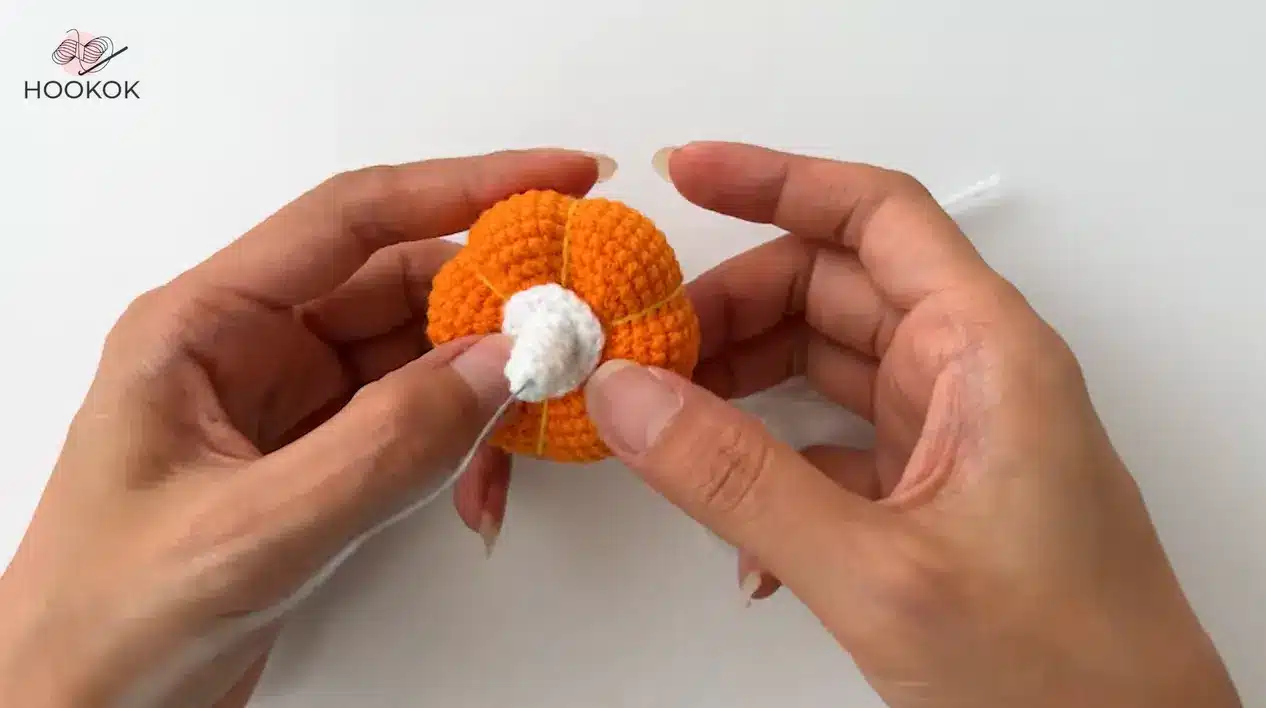
Finishing Detail: Use the yellow yarn to sew 6 lines around the ball you just made and pull them tight to form a pumpkin shape.
Pumpkin Stem
Start with a magic ring.
- R1: Work 6 sc in the round. 1 ss and 1 ch.
- R2-5: Make 6 sc in each round. 1 ss and 1 ch.
- R6: (2 sc in next st) * 6 times. 1 ss and 1 ch.
- R7: (1 sc, 2 sc in next st, 1 sc) * 4 times. Cut off and leave a long tail.
Assembly: Take a piece of wire, tie a knot in the middle with the same color yarn, fold it in half and tighten it, and insert it into the middle of the pumpkin stem. Then use a needle to sew the pumpkin stem onto the pumpkin. Use the remaining yarn to wrap the wire to the end.
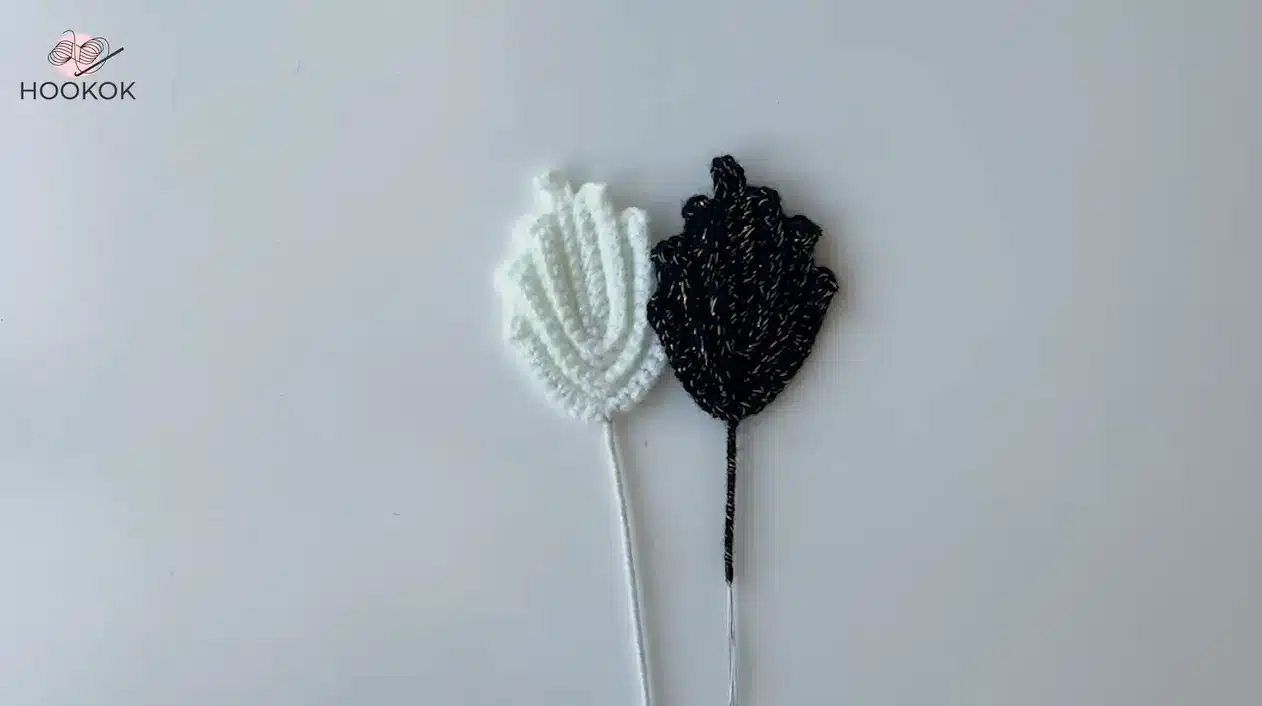
Make Leaves (1 White + 1 Black)
- R1: Start with the foundation chain: 14 ch.
- R2: Starting with the second chain from your hook, crochet 12 sc, 3 sc in the same st, then work 10 sc.
- R3: Work 1 ch, turn, work back loops only (BLO): make 11 sc, 3 sc in the same st; 10 sc.
- R4-6: Repeat R3.
- R7: Add wire, Repeat R3. Finally, work 1 ch, cut and leave a long tail. Hide the tail and wrap it around the wire.
Assembly
Follow these steps to assemble the final bouquet:
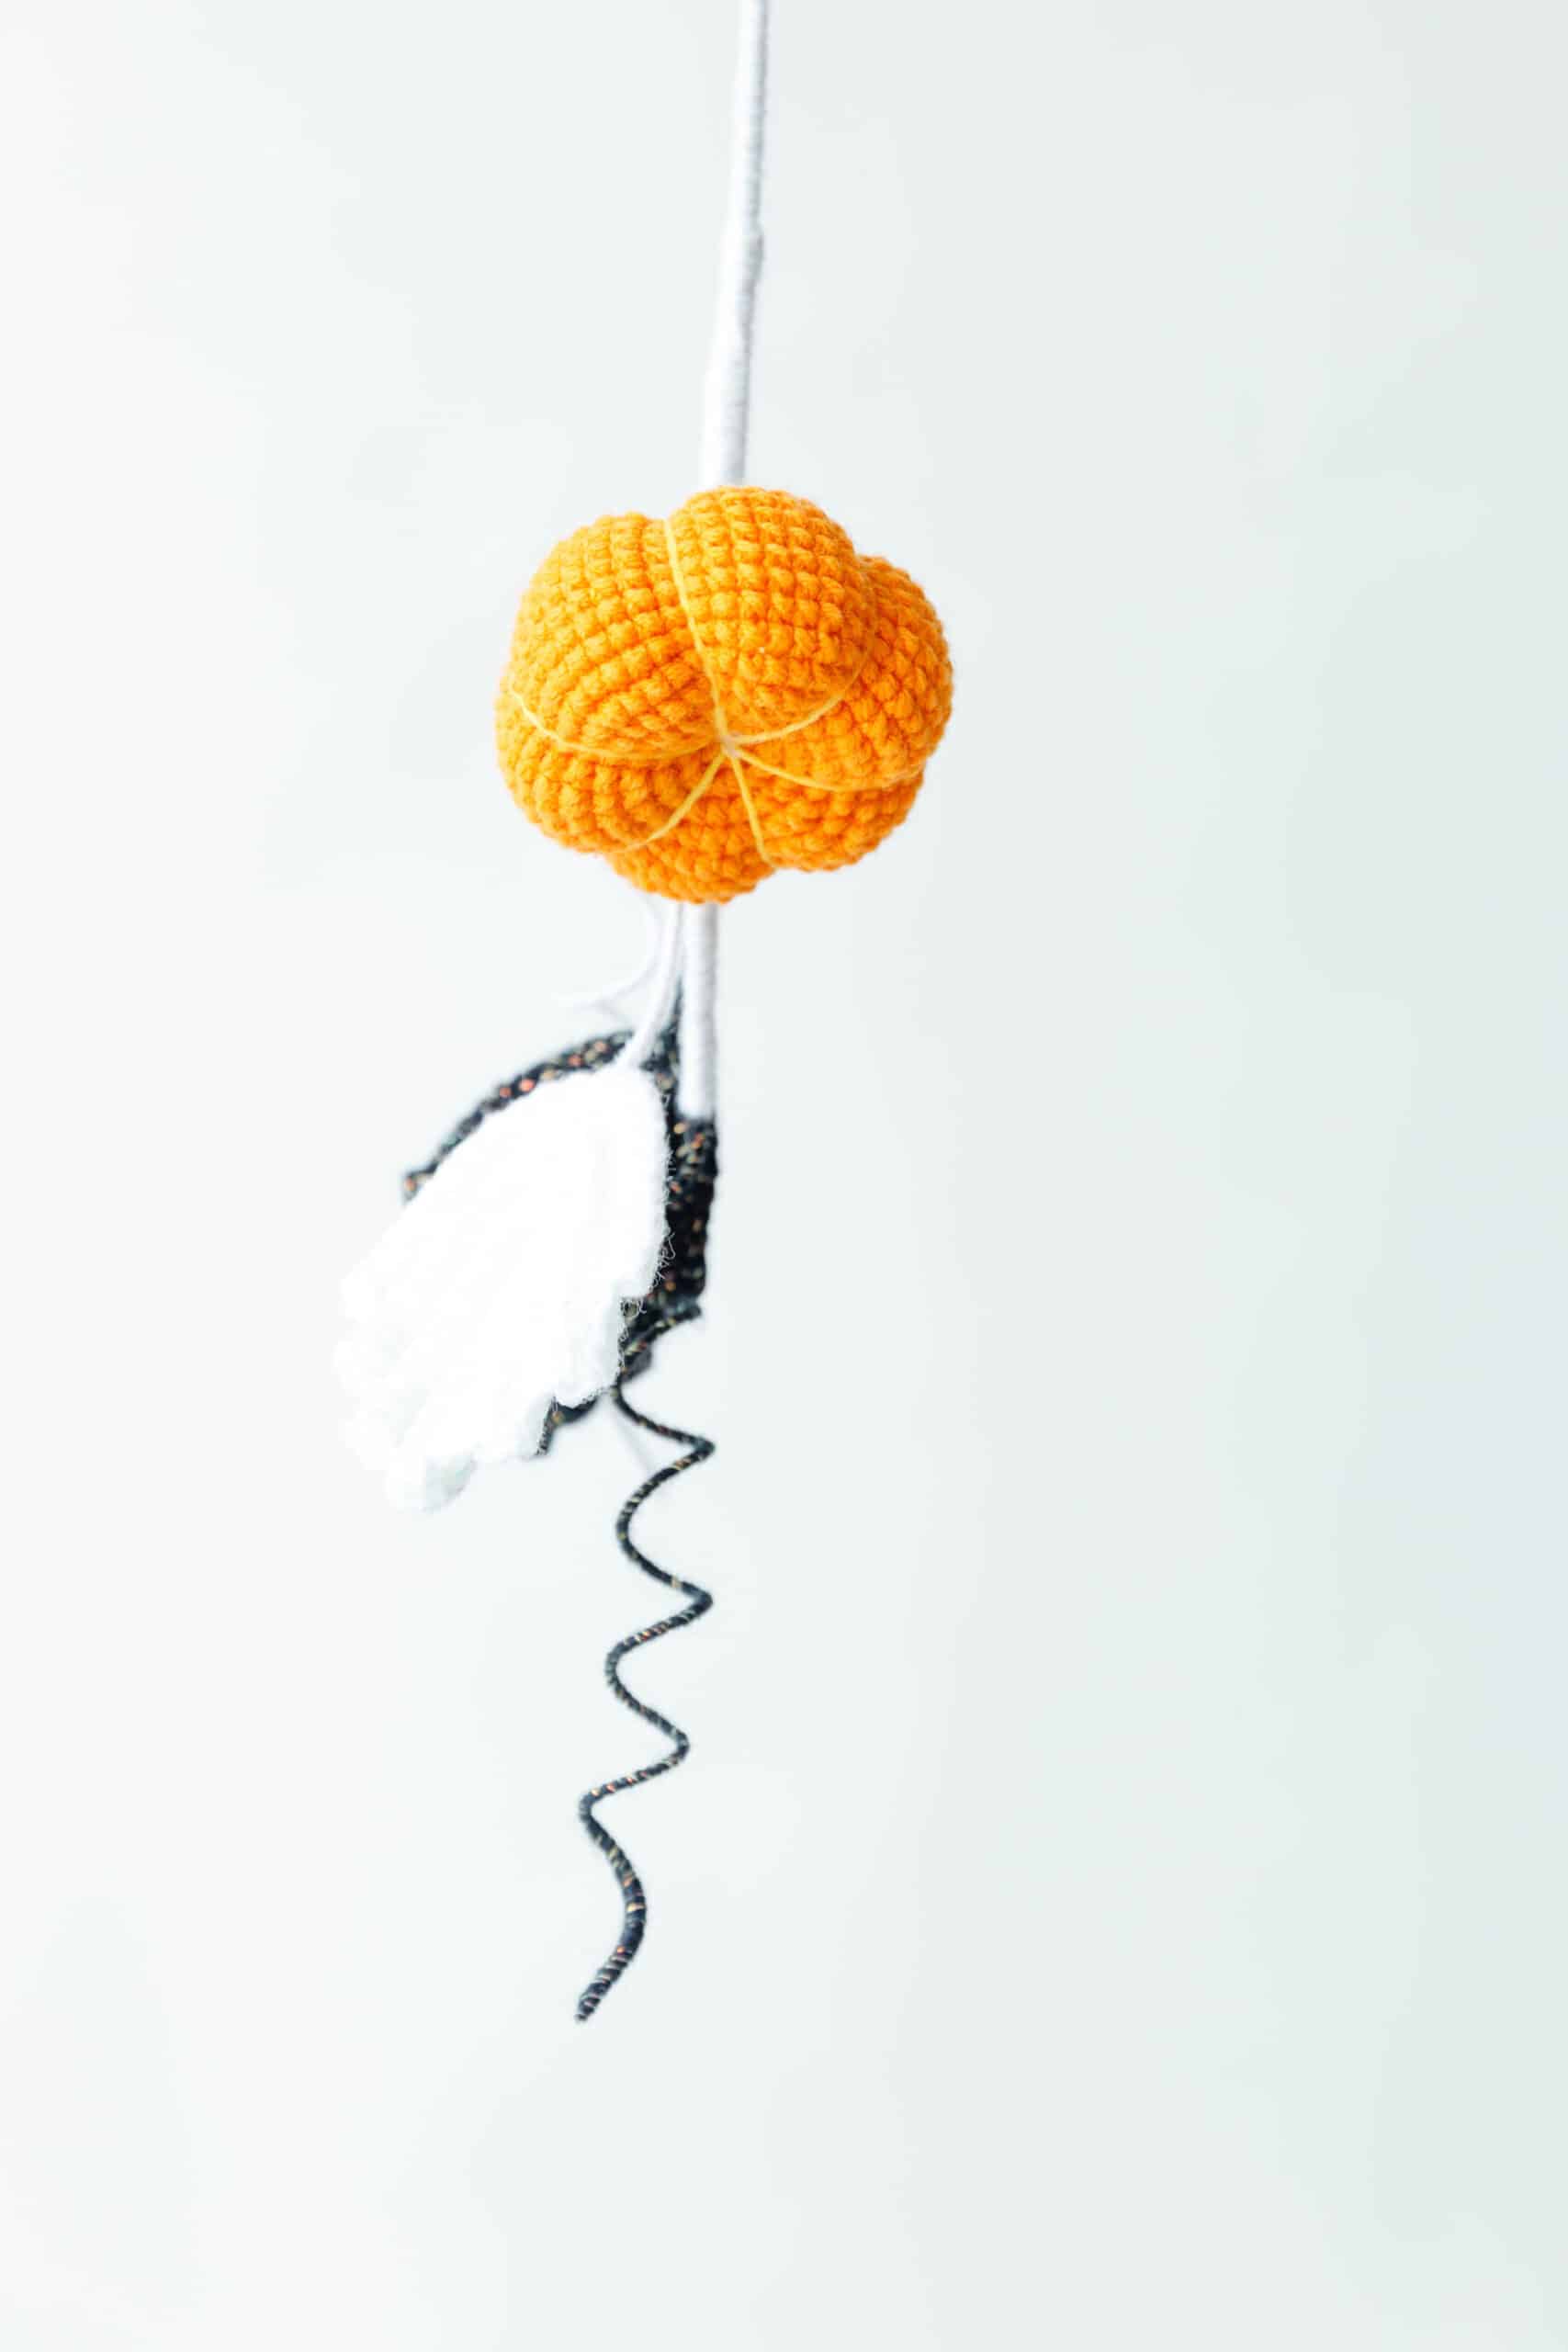
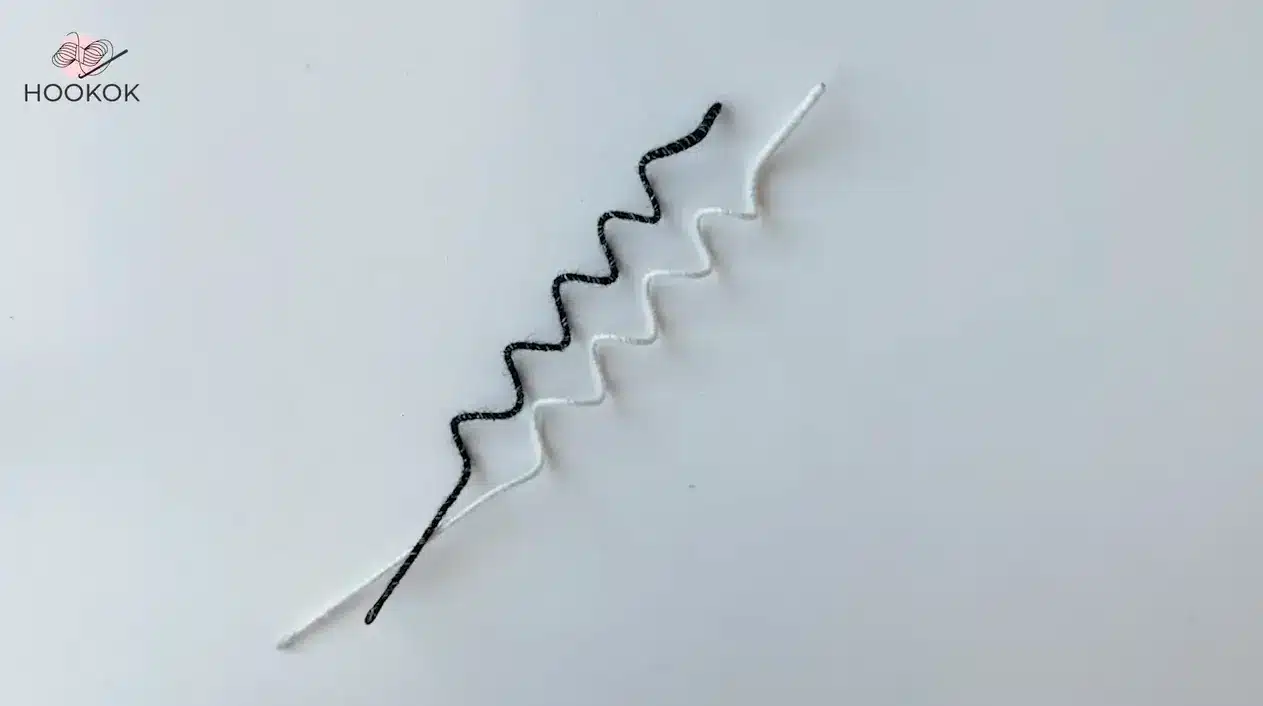
- Prepare the Whiskers: Take a piece of wire, wrap the yarn around the wire to the desired length, and fix the tail with hot melt glue. Take a wooden stick or pen, wrap the wire around it in a spiral shape, and take it out to create a textured wire stem.
- Wrap the Rod: Take a flower rod and start wrapping it with luminous white yarn.
- Arrange Components: Add leaves and pumpkin in turn along the wrapped rod.
- Secure: When finished, use a hot melt adhesive to fasten the end of the yarn, ensuring everything stays in place.
Tips
- Color Variations: You can experiment with different yarn colors and textures to create multiple variations of this beautiful design to match personal preferences.
- Stash Busting: This project is excellent for using up small amounts of orange, black, and white yarn.
- Beginner Kits: For those new to the craft, consider using a starter kit that includes all necessary materials, such as the hook, yarn, and wire.
FAQs
What type of yarn is best for this project?
The pattern recommends cotton yarn for the pumpkin and leaves to maintain structure, but you can choose variations based on your preference. The luminous white yarn is used for wrapping the rod and creating contrast.
Do I need to use wire for the leaves?
Yes, the pattern instructions specify adding wire in Round 7 of the leaf pattern to allow the leaves to be shaped and positioned securely within the bouquet.
How do I create the pumpkin lines?
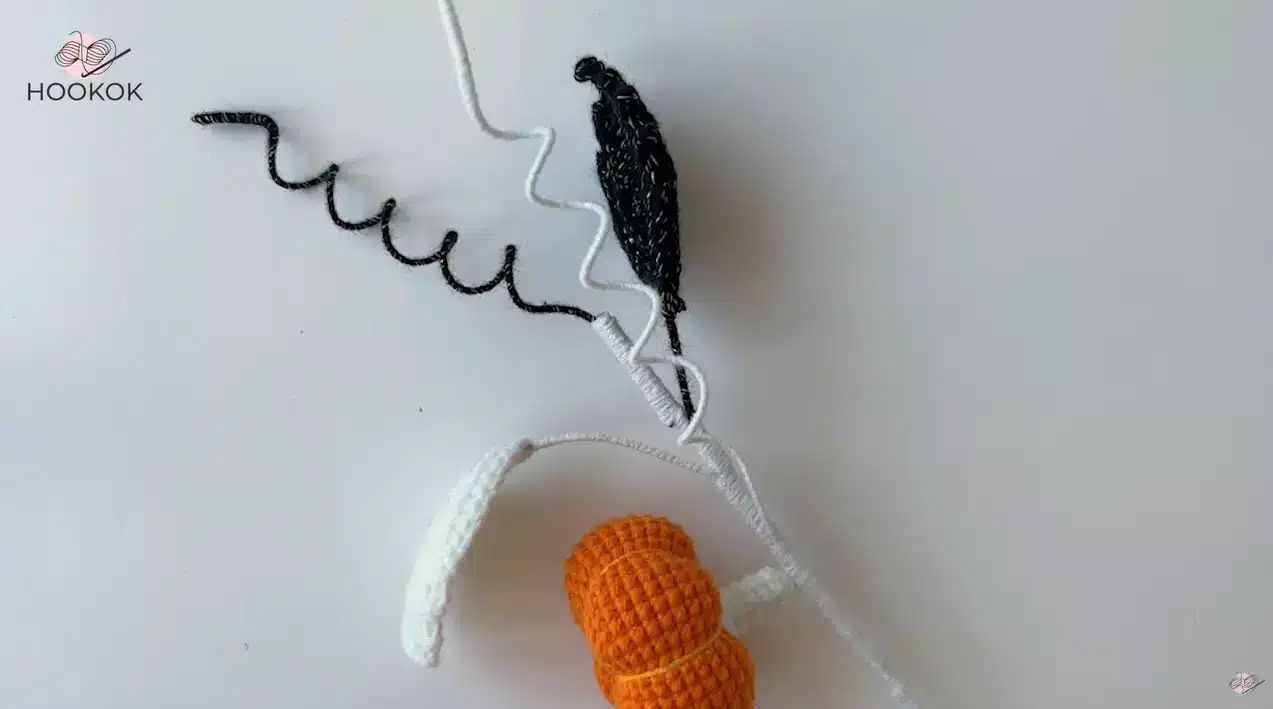
After completing the pumpkin body, use yellow yarn to sew 6 lines around the ball and pull them tight. This technique creates the classic segmented pumpkin shape.
Can I make this bouquet larger or smaller?
While the pattern provides specific stitch counts, you can adjust the size by changing the hook size or using a different yarn weight, though this may affect the final dimensions and structure.
Is this pattern suitable for beginners?
The skill level is listed as middle. It requires comfort with working in the round, increases, decreases, and basic assembly techniques like weaving in ends and using hot melt glue.
Pin This Crochet Pattern!