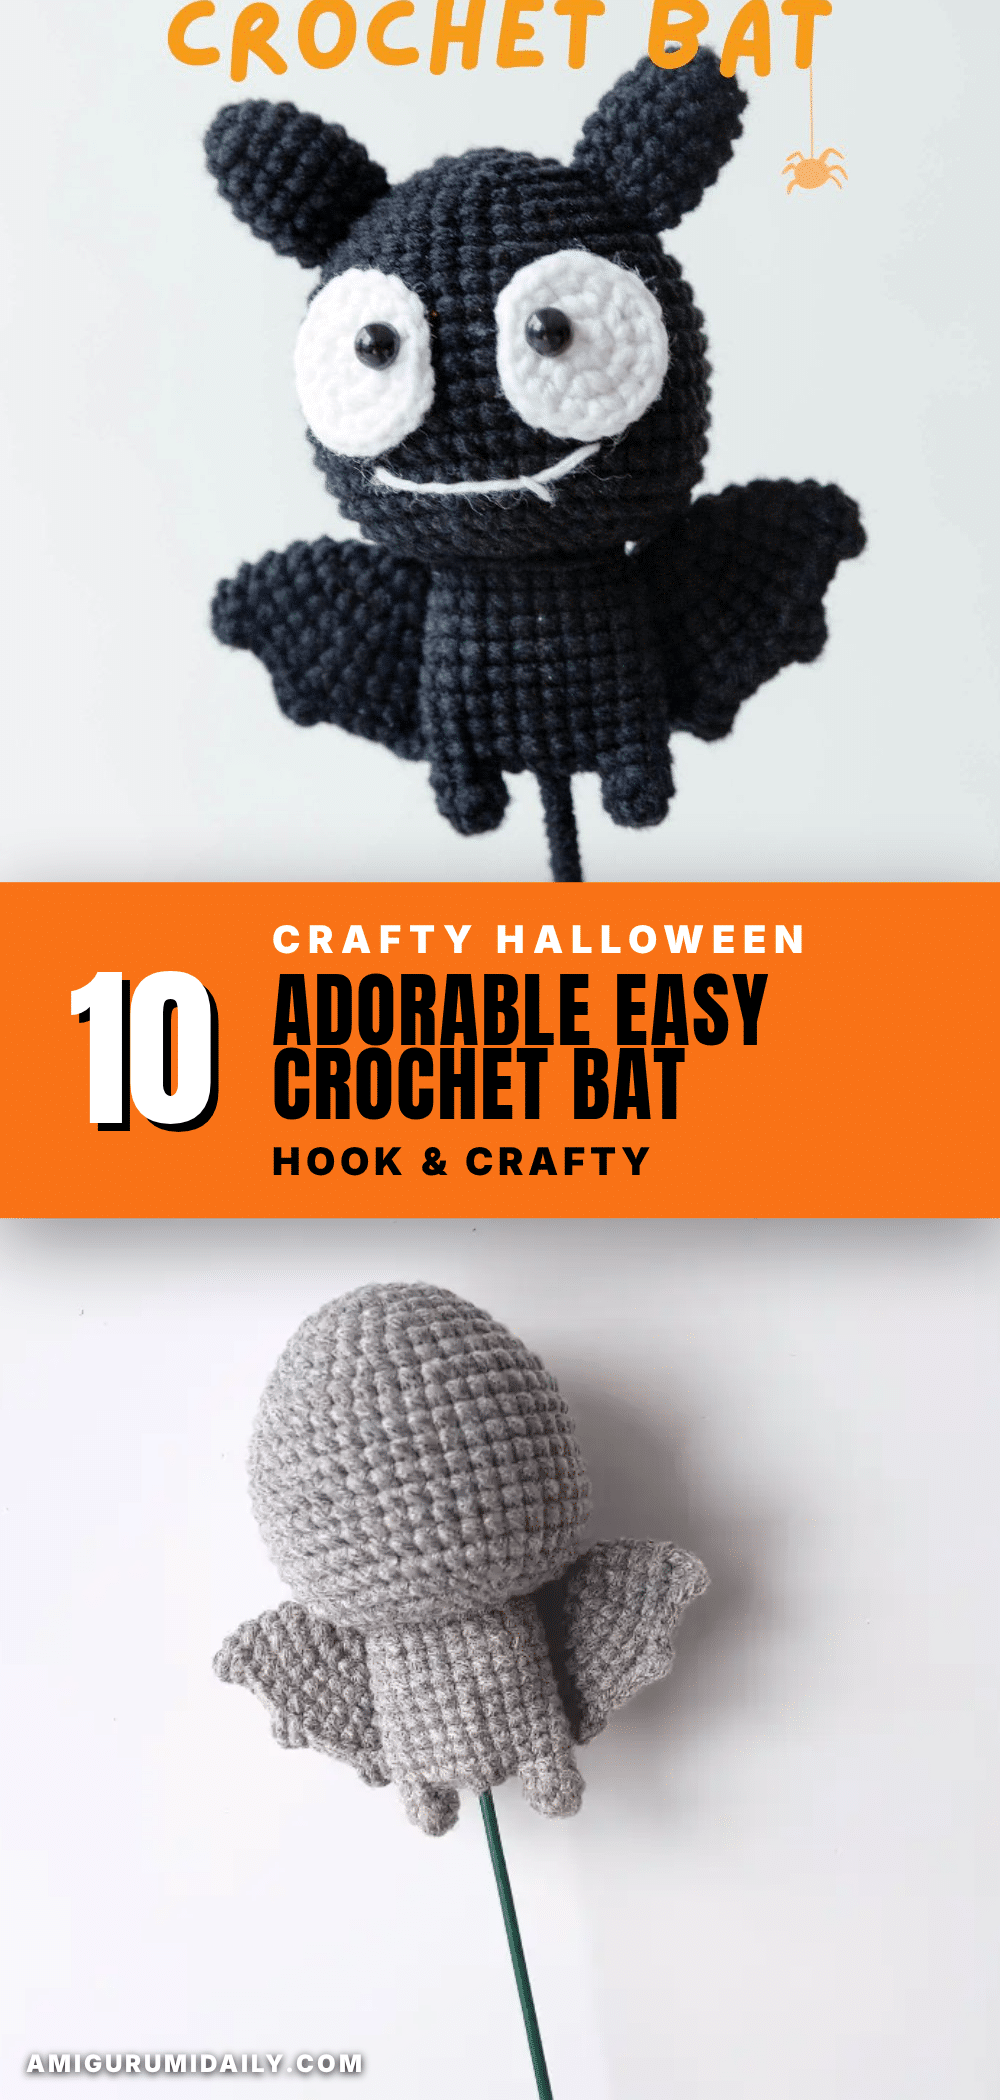
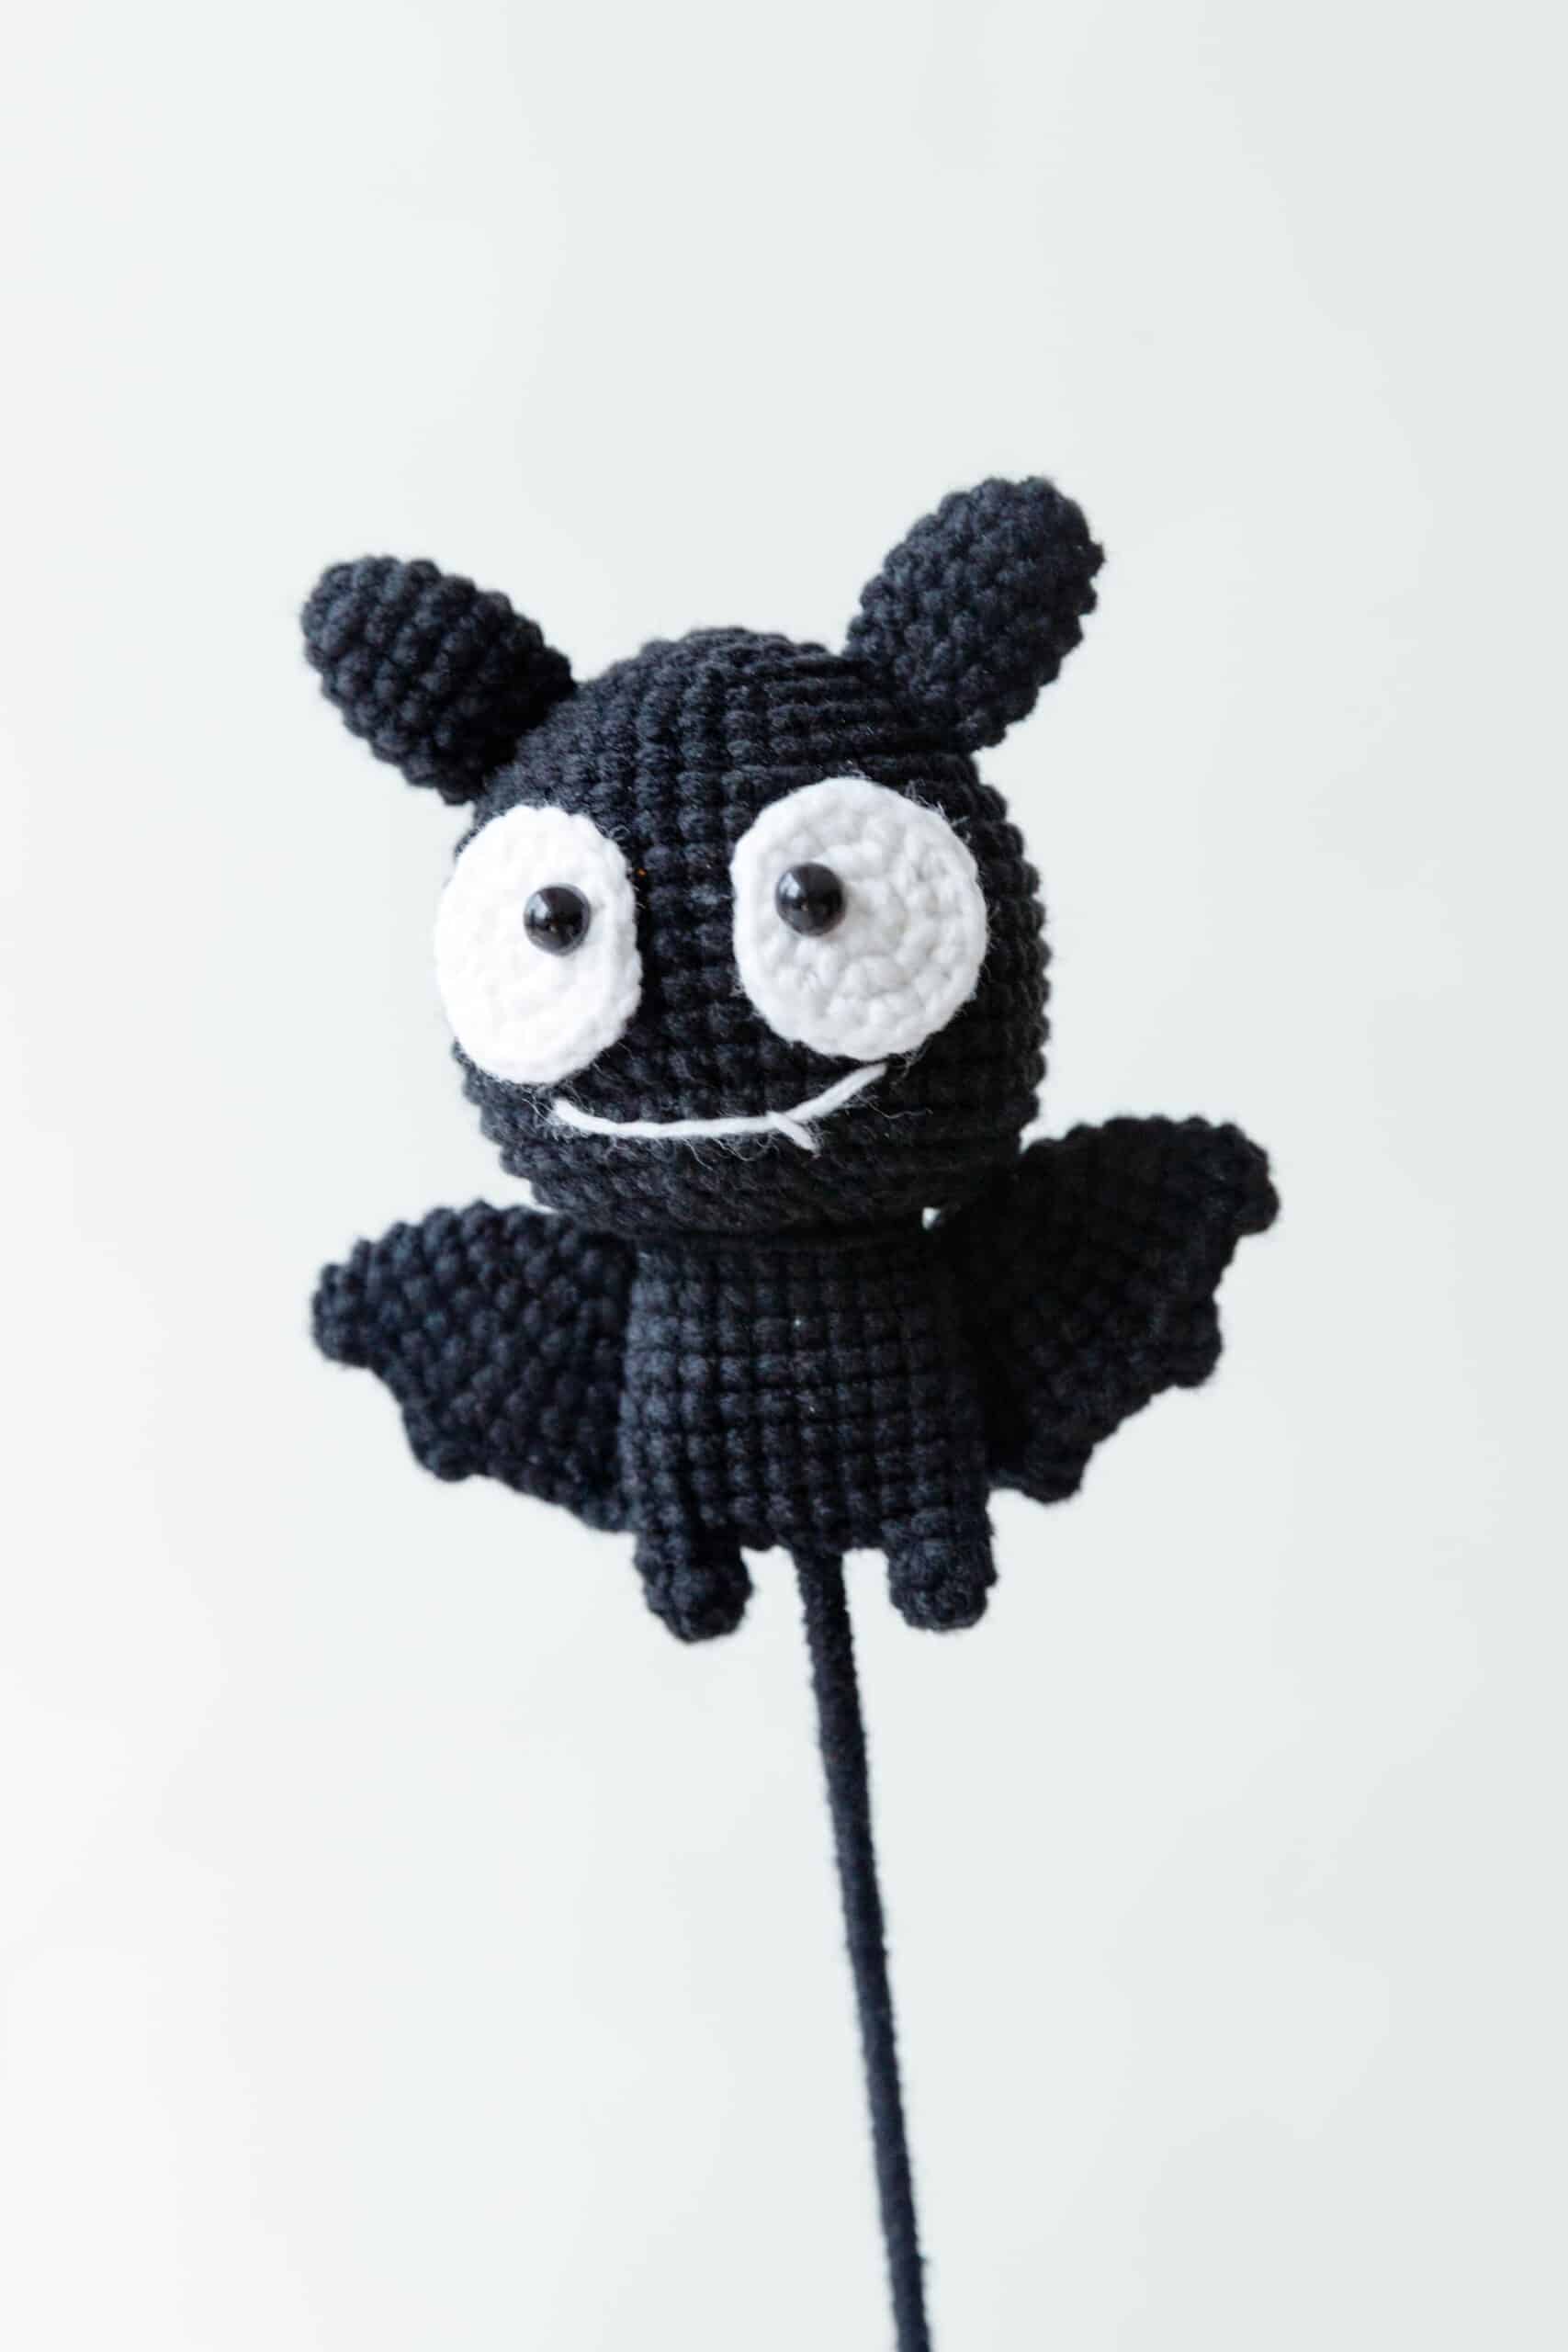
Hold your breath and look closely at this tiny, perfectly formed amigurumi bat. It is undeniably cute, with wide, expressive eyes and delicate, folded wings that look ready to flutter away. This finished piece is not just a spooky decoration; it is a tidy, squishy, and display-worthy companion that brings a touch of whimsical Halloween charm to any shelf or bouquet. Whether you are gifting it to a child or adding it to your own holiday decor, the satisfaction of holding this finished object is immediate and delightful.
Why the Finished Piece Stands Out
What truly makes this crochet bat stand out is its unique construction as a bouquet element. Unlike traditional amigurumi that sits on a surface, this bat is designed to be held by a flower rod, allowing it to perch gracefully among other crocheted blooms. The combination of the sturdy body and the intricate, picot-edged wings gives it a sophisticated silhouette that elevates it from a simple toy to a decorative art piece. The choice of grey and white yarn creates a classic, elegant contrast, while the 6.0 mm safety eyes provide a focal point that is both striking and endearing. This design allows for endless color variations, making it a versatile stashbuster that can match any Halloween theme or seasonal palette.
Project Overview
This pattern guides you through creating a medium-skill amigurumi bat, perfect for Halloween decorations or gifts. The project involves crocheting the head, body, legs, ears, wings, and eye whites separately, then assembling them around a flower stem. The pattern uses US crochet terms and includes specific instructions for creating the wing texture and attaching the bat to a stem for display.
Materials
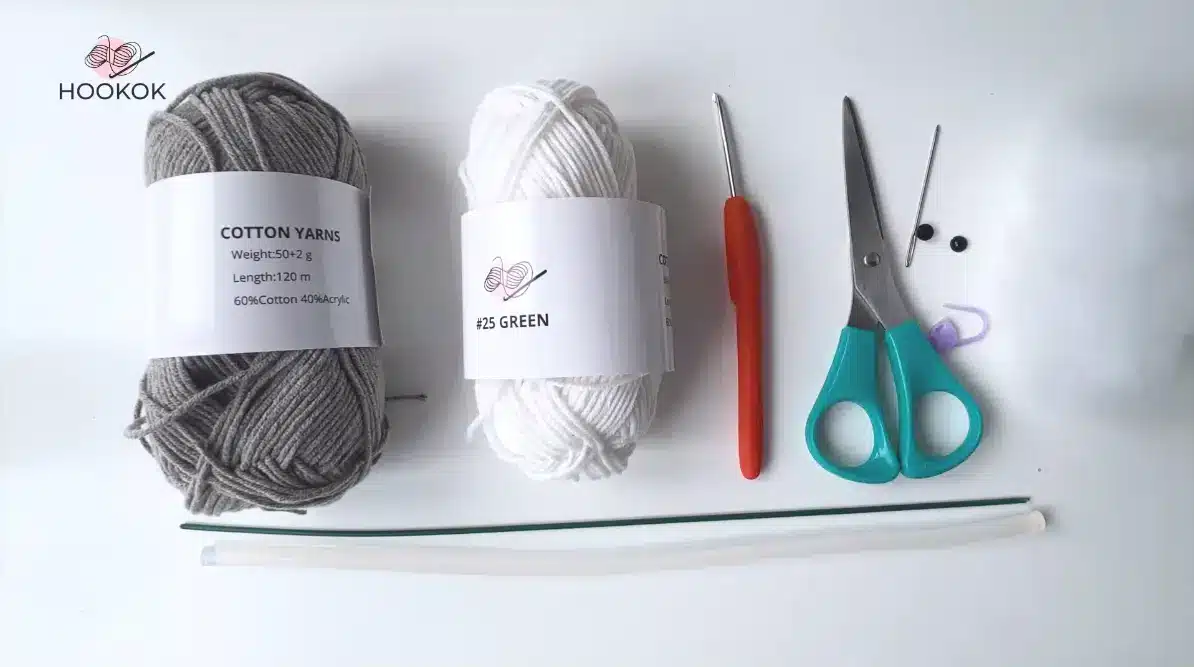
- Yarn: Grey and white yarn (You can change the color of the yarns according to your needs)
- Hook: 2.0 mm
- Scissors
- Stitch marker
- Darning needle
- Safety eyes: 6.0 mm
- Stuffing cotton
- Flower rod
- Hot melt glue
Gauge and Finished Size
Specific gauge and finished size measurements are not provided in the source pattern. Use the recommended 2.0 mm hook and standard yarn weight to achieve the intended proportions.
Abbreviations
- Sc: single crochet
- Sc2tog: single crochet two together, a decrease stitch
- Ch: chain stitch
- Ss: slip stitch
- Ch picot st: chain picot stitch, a decorative loop made by chaining and then slip stitching back into the base stitch or another designated location
- 2 sc in next st: Increase
- R1, R2, R3, … R23: Round 1, Round 2, Round 3 …
Pattern Notes
- Our pattern is written in US crochet terms. Follow the pattern carefully to avoid mistakes.
- Take note of the specific stitch counts and techniques.
- Use stitch markers to mark the beginning of each round.
- Additional notes are written in Italics.
- Note: ss and ch stitch do not count as stitch count.
Pattern Instructions
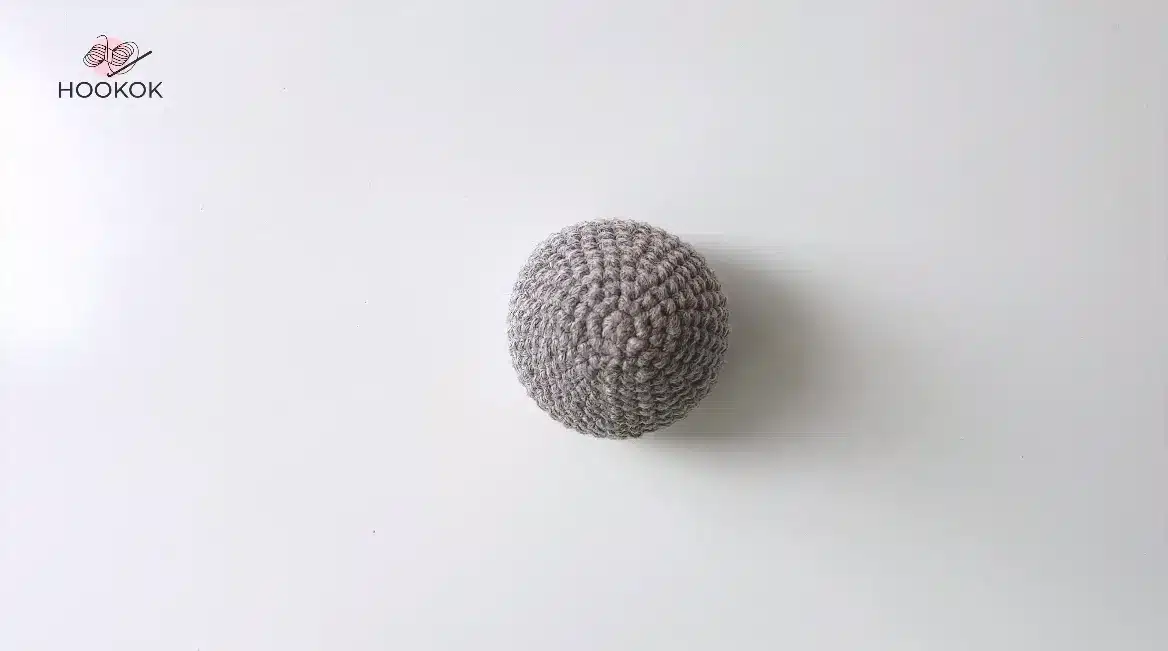
Head of Crochet Halloween Bat
Start with a magic ring.
R1: Work 6 sc in the round. 1 ss in the first st, and make 1 ch. [6]
R2: Make (2 sc in next st) *6 times. 1 ss and 1 ch. [12]
R3: Make (1 sc, 2 sc in next st) *6 times. 1 ss and 1 ch. [18]
R4: Make (1 sc, 2 sc in next st, 1 sc) *6 times. 1 ss and 1 ch. [24]
R5: Work 24 sc, 1 ss and 1 ch. [24]
R6: Make (3 sc, 2 sc in next st) *6 times. 1 ss and 1 ch. [30]
R7: Work 30 sc, 1 ss and 1 ch. [30]
R8: Make (2 sc, 2 sc in next st, 2 sc) *6 times. 1 ss and 1 ch. [36]
R9: Make (5 sc, 2 sc in next st) *6 times. 1 ss and 1 ch. [42]
R10-18: Work 42 sc in each round. 1 ss and 1 ch. [42]
R19: Make (2 sc, sc2tog, 2 sc) *7 times. 1 ss and 1 ch. [35]
R20: Make (3 sc, sc2tog) *7 times. 1 ss and 1 ch. [28]
R21: Make (sc2tog) *14 times. 1 ss and 1 ch. Add fiber fillers. [14]
R22: Make (sc2tog) *7 times. 1 ss in the first st. [7] cut and weave the end.
Body and Legs for Crochet Halloween Bat
Begin with a magic ring.
R1-R2: Make 5 sc in each round. [5]
Legs: (Make 2 legs)
- For the first leg: After completing, cut off the tail.
- For the second leg: Do not cut the tail. Make 5 ch after the second leg to connect it to the first leg.
R3: Make 5 sc. Then, make 5 sc into the 5 ch space created earlier. Again, make 5 sc. Lastly, work another 5 sc into the same 5 ch space. 1 ss in the first st, and 1 ch. [20]
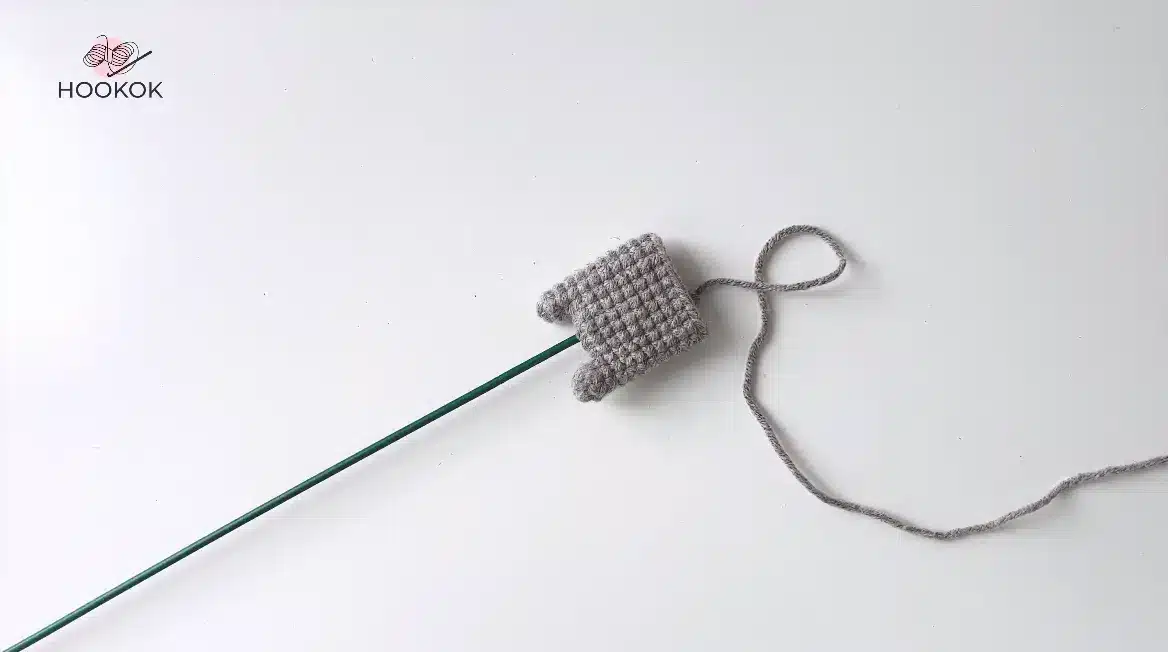
R4-R11: Make 20 sc for each round. After round 11, cut the yarn, leaving a long tail for later use. [20]
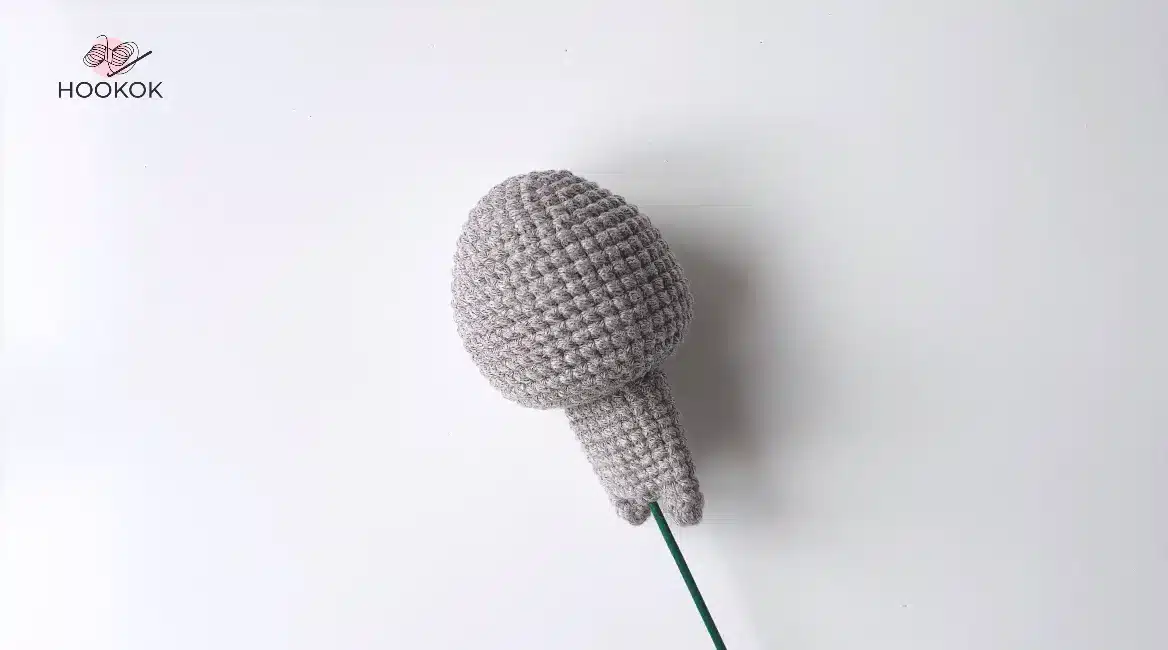
Bend one end of the flower stem, insert the flower stem into the middle of the body.
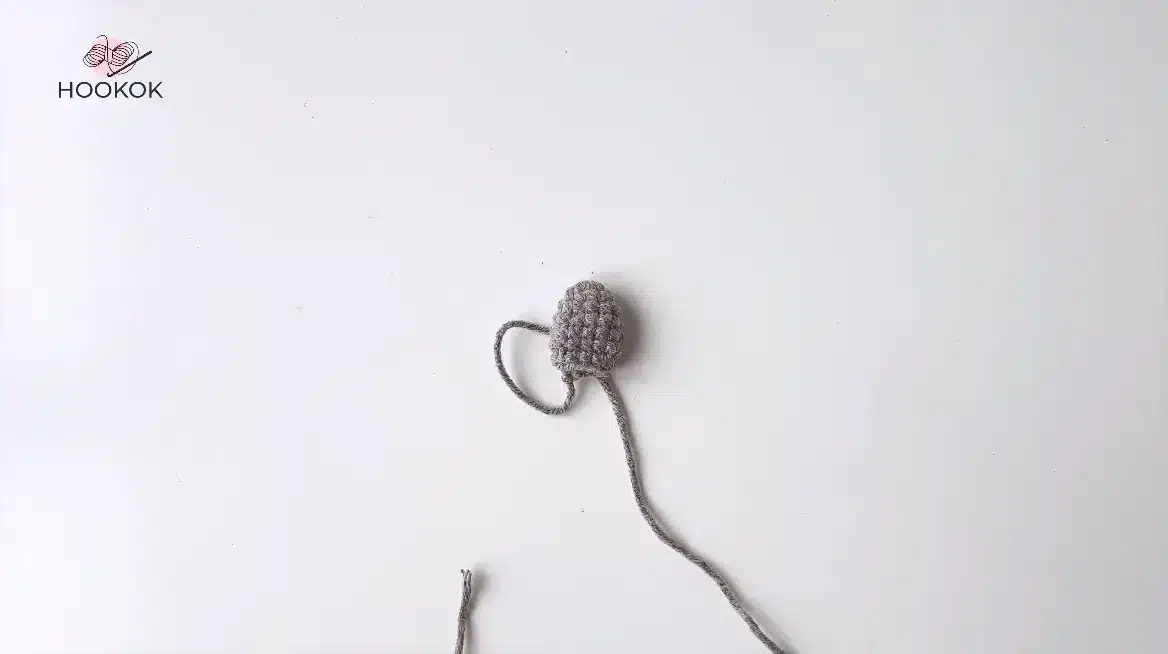
Make 2 Ears for Crochet Halloween Bat
Start with a magic ring.
R1: Make 6 sc in the round. 1 ss in the first st, and make 1 ch. [6]
R2: Make (1 sc, 2 sc in next st) *3 times. 1 ss and 1 ch. [9]
R3: Make (1 sc, 2 sc in next st, 1 sc) *3 times. 1 ss and 1 ch. [12]
R4-6: Work 12 sc in each round. 1 ss and 1 ch. [12]
R7: Make (1 sc, sc2tog, 1 sc) *3 times. Cut and leave a tail. [9]
Make 2 Wings for Crochet Halloween Bat
Start with a magic ring.
R1: Work 7 sc in the round. 1 ss in the first st, and make 1 ch. [7]
R2: (2 sc in next st) *7 times. 1 ss and 1 ch. [14]
R3: (1 sc, 2 sc in next st) *7 times. 1 ss and 1 ch. [21]
R4: (1 sc, 2 sc in next st, 1 sc) *7 times. 1 ss and 1 ch. [28]
R5-7: Work 28 sc in each round. 1 ss and 1 ch. [28]
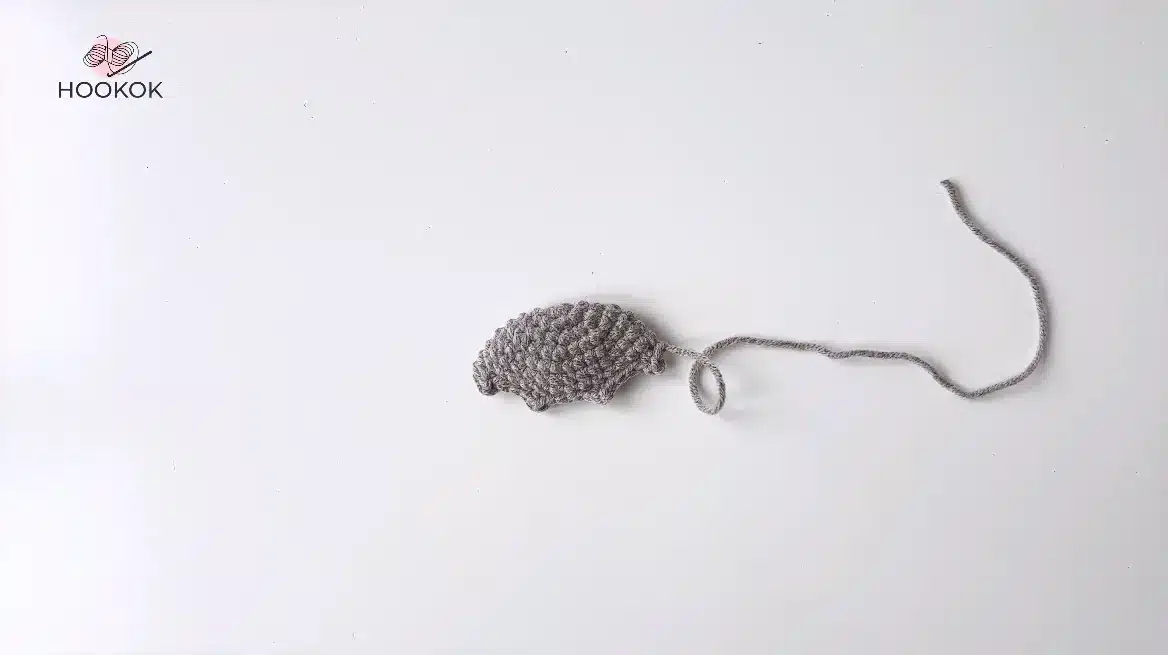
R8: Fold the piece in half, and work on the edge, (1 sc, 1 ch picot st, 3 ss) *3 times; (1 sc, 1 ch picot st), then 1 ss in the next st. [14] Cut and leave a tail.
White of Eyes for Crochet Halloween Bat
Start with a magic ring.
R1: Make 6 sc in the round. 1 ss in the first st, and make 1 ch. [6]
R2: Make (2 sc in next st) *6 times. 1 ss and 1 ch. [12]
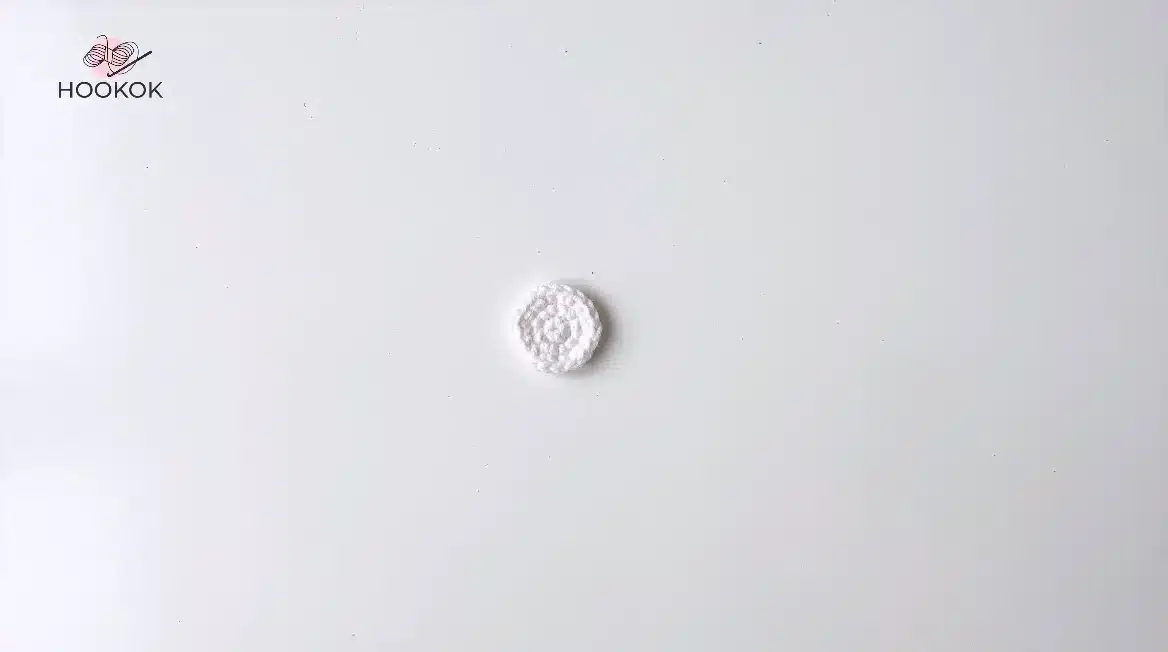
R3: Make (1 sc, 2 sc in next st) *6 times. Cut and weave the end. [18]
Assembly
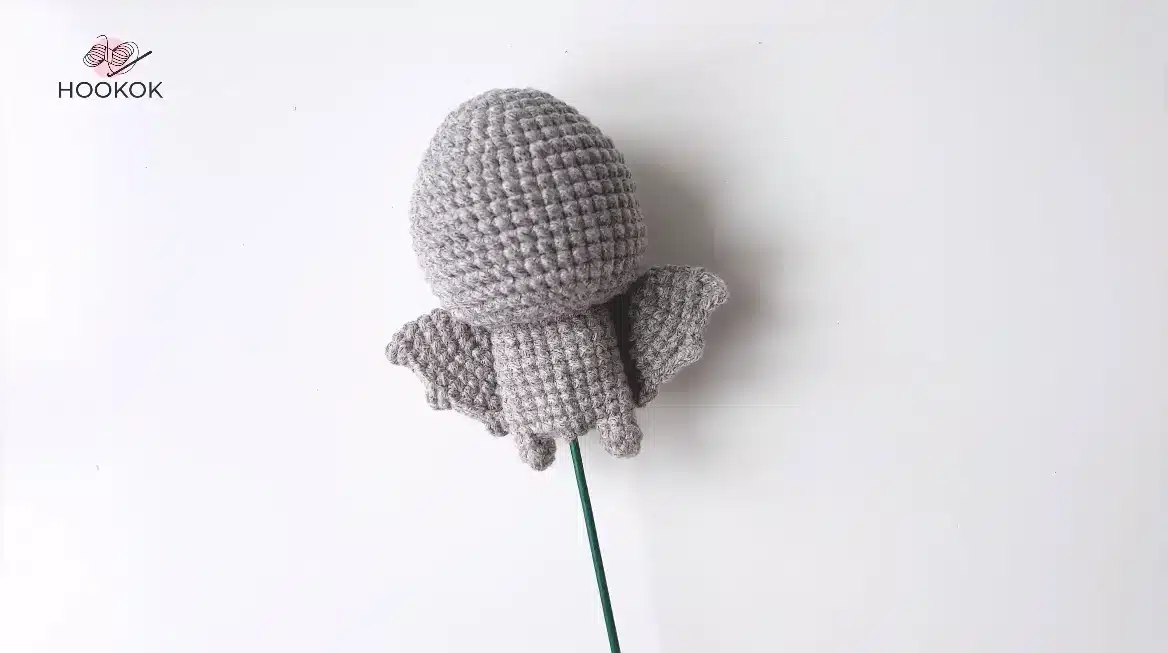
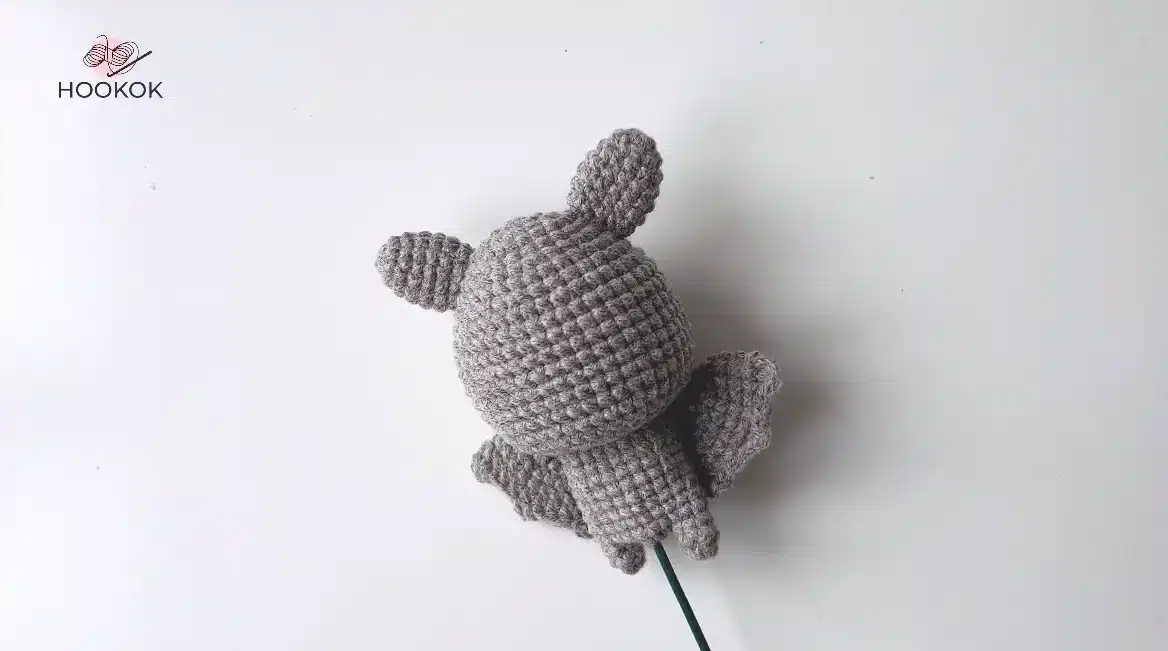
- Step 1: Weave and attach the body to the head at the 21st round (R21) of the head. Add fiberfill to the body, close it and cut the existing yarn.
- Step 2: Use hot melt adhesive to attach the wings to the body.
- Step 3: Attach the ears to the head. The ears should be fixed on both sides of the head between Round 5 to Round 8.
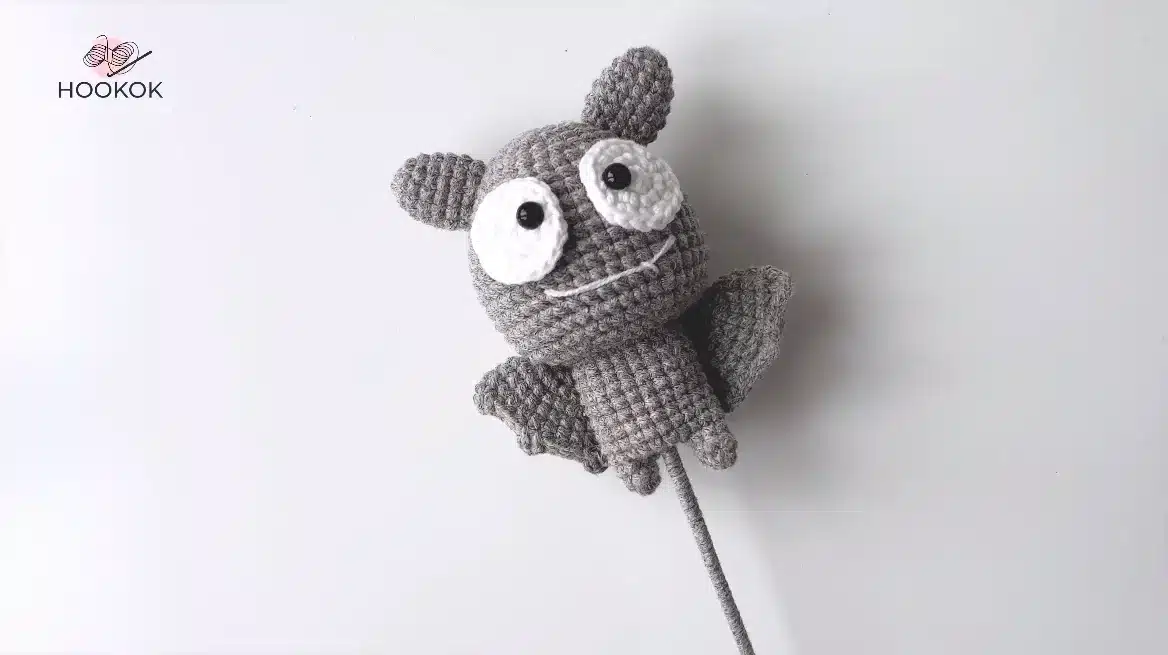
- Step 4: Use hot melt adhesive to attach both eyes. Then you can weave the mouth of the bat.
- Step 5: Lastly, weave the flower rod with the existing yarn.
Tips
- Use a stitch marker to keep track of the beginning of each round, especially when working the increases in the head.
- When attaching the wings, ensure they are symmetrical for a balanced look.
- Hot melt glue provides a strong bond for the safety eyes and wings, but be careful not to use too much to avoid seeping through the yarn.
FAQs
Can I use a different hook size?
The pattern recommends a 2.0 mm hook. Using a different size may alter the gauge and the final size of the bat, so it is best to stick with the recommended hook for the intended proportions.
What type of yarn is best for this project?
Grey and white yarn are suggested, but you can change the colors according to your needs. A cotton or acrylic blend that holds its shape well is ideal for amigurumi.
How do I attach the flower rod?
The flower rod is inserted into the middle of the body during the leg construction. After assembly, you can weave the remaining yarn around the rod to secure it and create a neat finish.
Can I make the bat larger or smaller?
While the pattern is designed for a specific size, you can adjust the yarn weight and hook size to make it larger or smaller. However, you may need to adjust the stitch counts accordingly.
Is this pattern suitable for beginners?
The skill level is listed as middle. It involves basic crochet stitches, increases, decreases, and assembly, making it a good project for crocheters who are comfortable with these techniques.
Pin This Crochet Pattern!