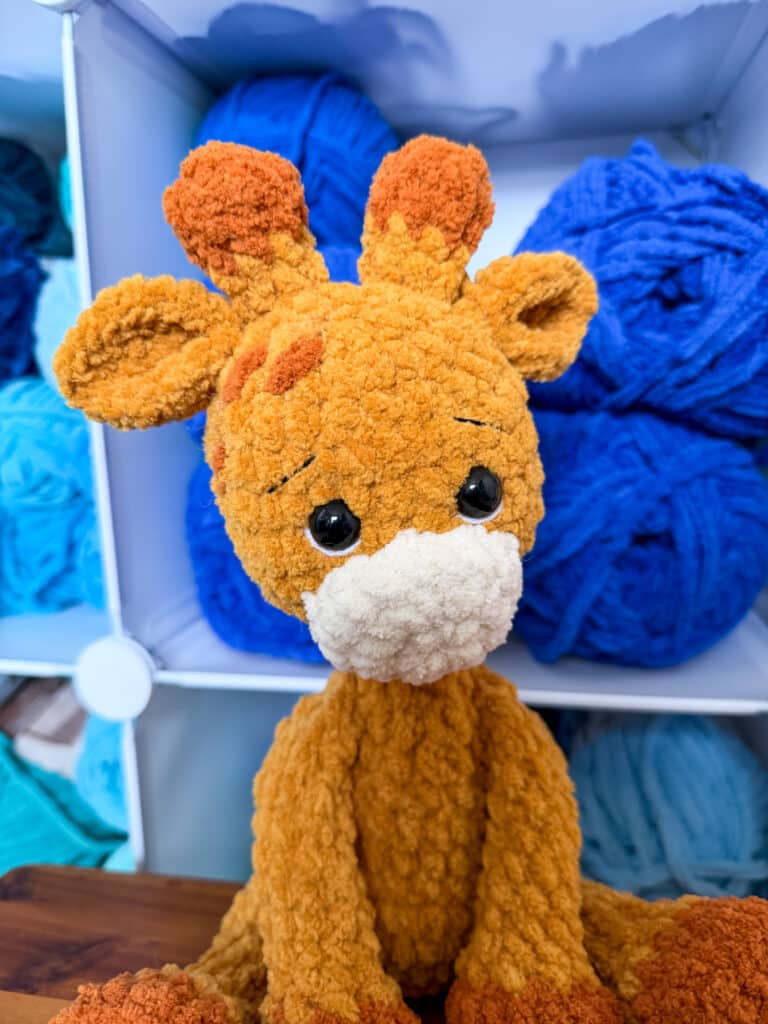
There is something deeply satisfying about the quiet rhythm of crochet, especially when working with plush, blanket-style yarns. Picture a cozy evening, a small batch of soft yarn, and the gentle click of your hook as you count stitches in a relaxing repeat. This giraffe amigurumi project captures that exact feeling. It is designed to be extra cuddly and works up quickly, making it a perfect companion for a slow night in. As you build the body and stuff the head, you are not just making a toy; you are creating a small, tactile ritual that results in a charming stuffed animal ready for cuddles.
Small Details That Make It Better
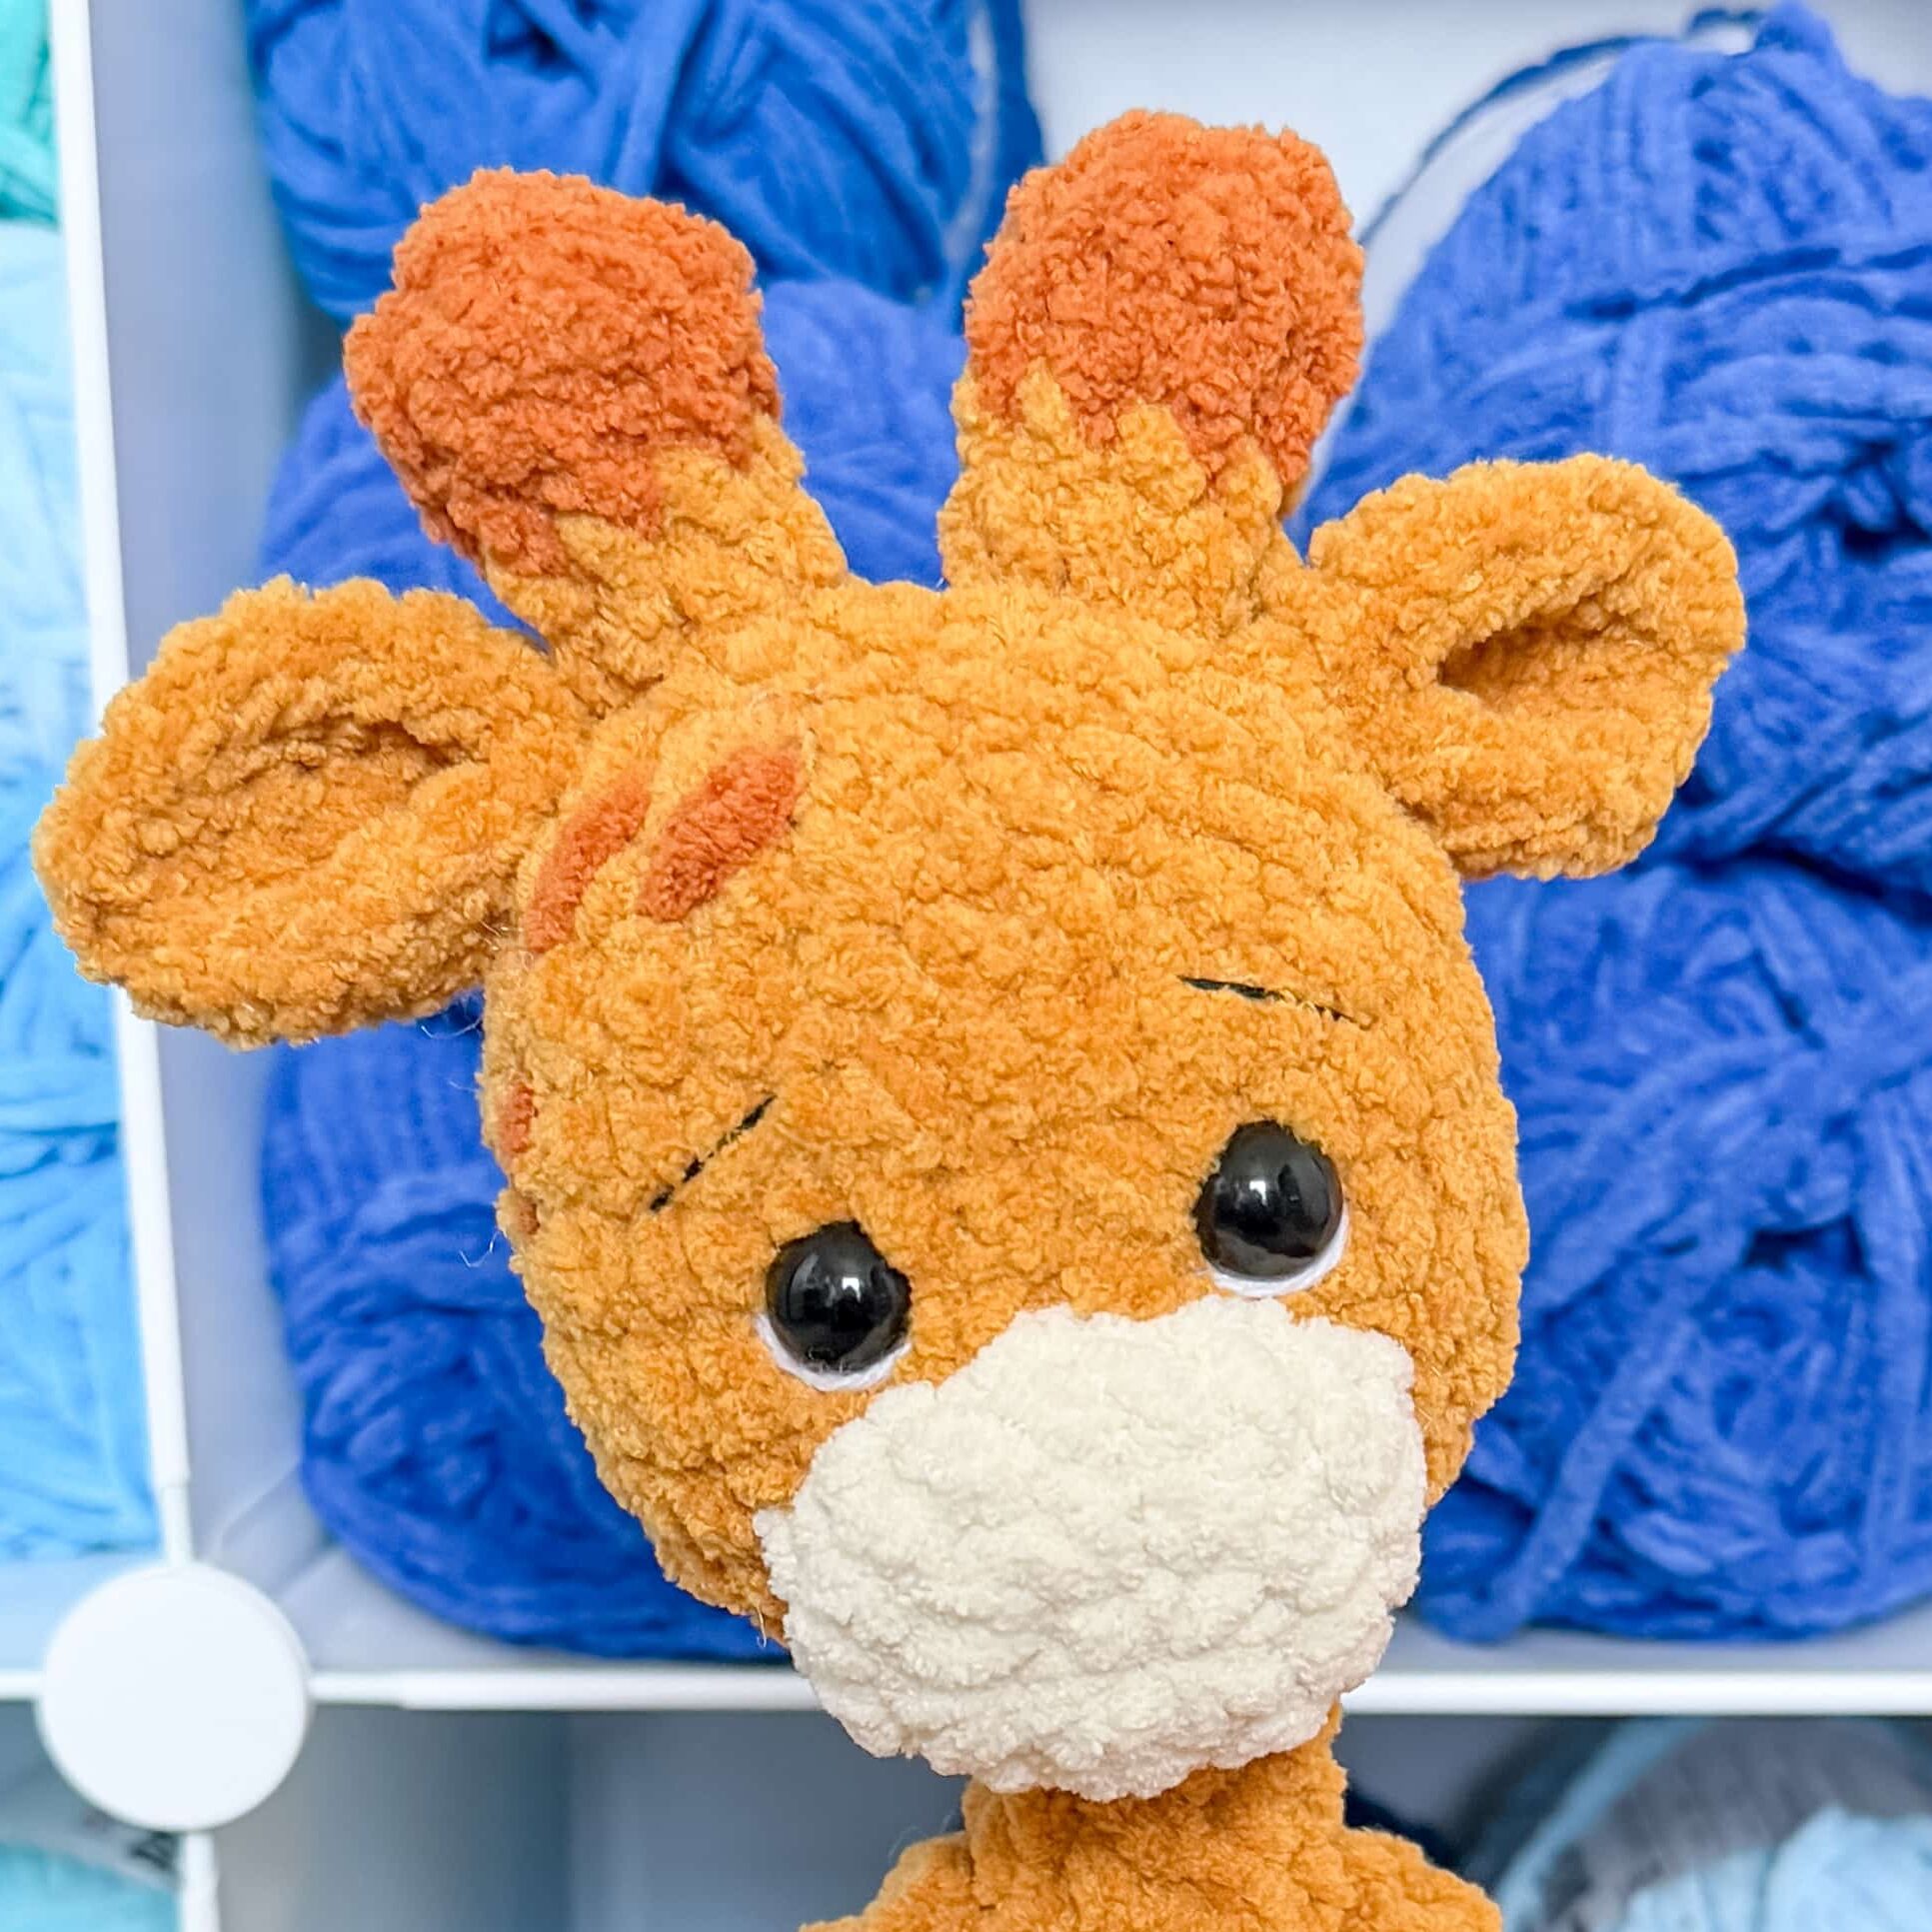
While this giraffe is adorable in its classic mustard and rust colors, the real magic lies in the texture and the finish. Using a chenille or blanket yarn gives the finished piece a velvety, plush appearance that is irresistible to touch. The pattern includes movable arms, a detail that elevates the toy from a static object to a playful companion. When you attach the limbs using the recommended method, the giraffe gains a dynamic quality that invites interaction. Additionally, the option to use embroidered eyes instead of safety eyes adds a layer of safety for younger children and creates a softer, more traditional look. These small finishing touches, from the movable joints to the choice of eye style, transform a simple pattern into a heirloom-quality keepsake.
Project Overview
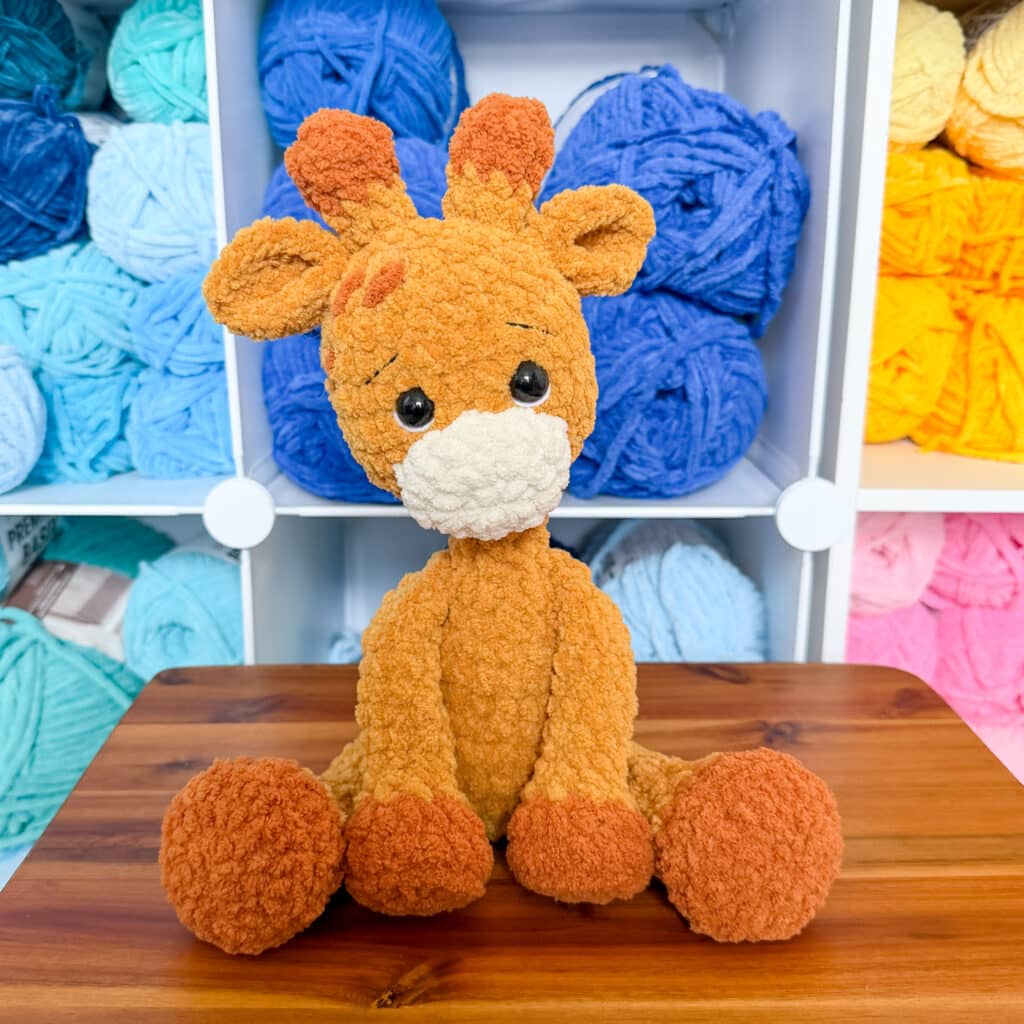
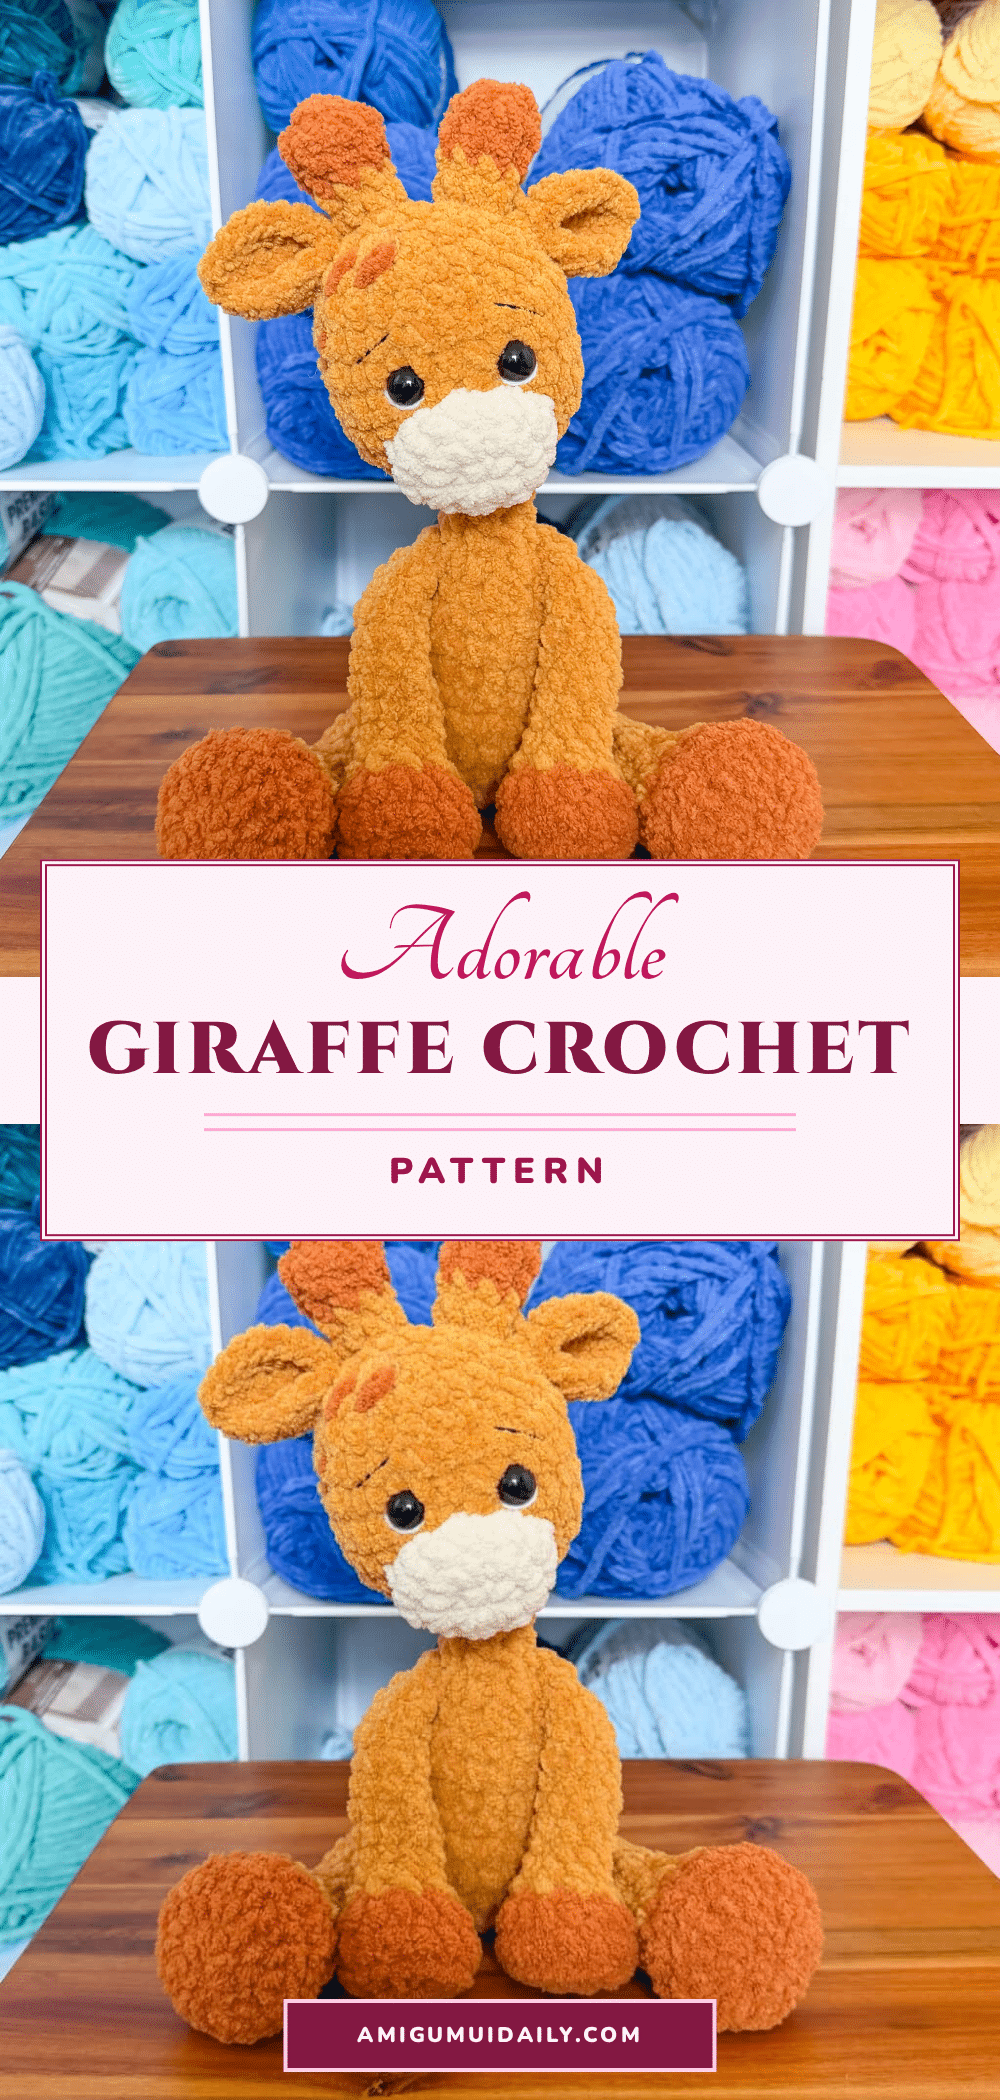
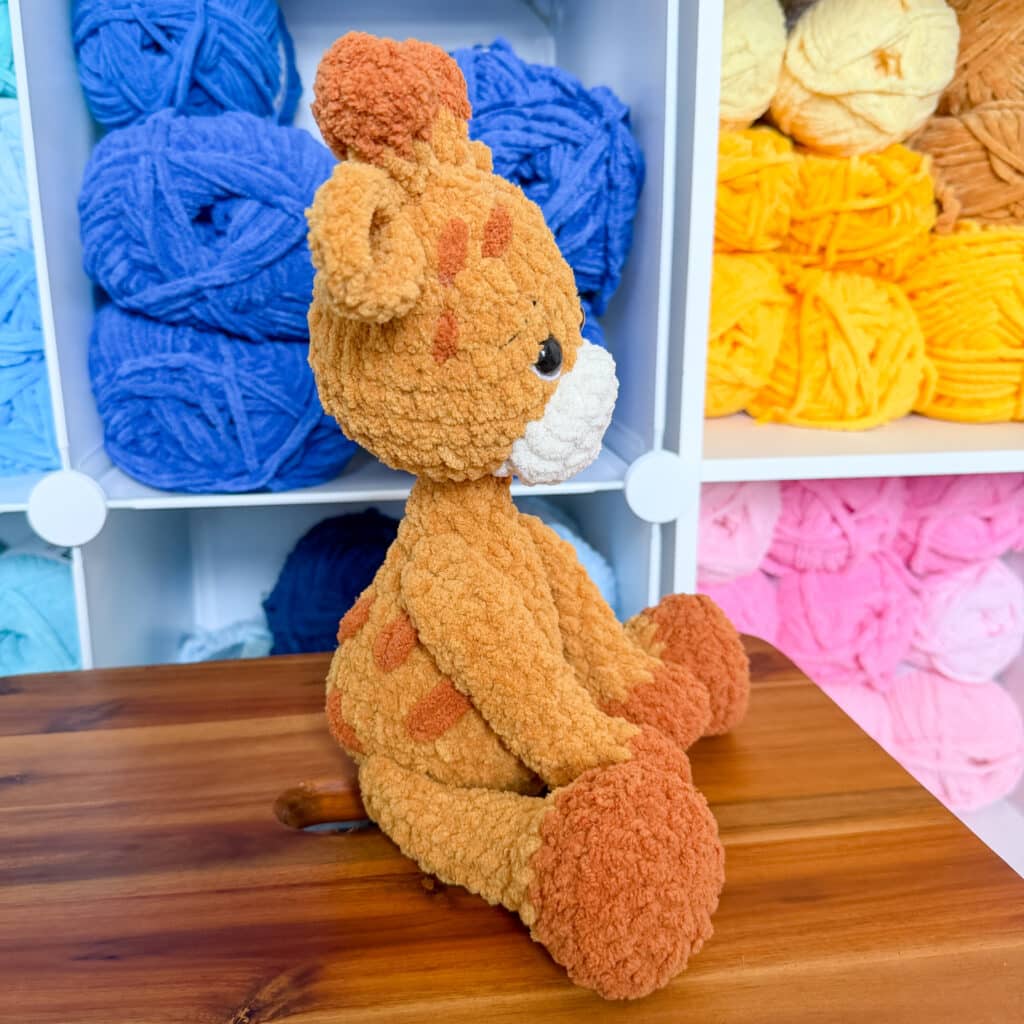
This plush giraffe crochet pattern is part of an “Around the World” adventure, starting with Africa. It is designed as a traditional stuffy with a defined body and adorably long arms and legs. The project is worked in the round using plush, size 6 weight yarn, resulting in a cuddly, chubby body that sits approximately 10 inches tall, perhaps a little taller with the horns included.
Materials
- Yarn: 130g Premier Basix Chenille in Mustard Color
- Accent Yarn: 60g Premier Basix Chenille in Rust or Accent Color
- Detail Yarn: Small amount of Premier Basix Chenille in Winter White (for the nose)
- Stuffing: Polyester fiberfill
- Eyes: 13.5mm safety eyes (or embroidery thread for embroidered eyes)
- Hook: 4.5mm crochet hook (or hook size that keeps stitches tight and feels comfortable)
- Notions: Tapestry needle, stitch marker
Note: Suitable alternative yarns include regular Bernat Blanket, Bernat Baby Blanket, or Cozy Cub from Michaels (formerly Big Twist from Joann’s). Please be aware that even though the label may say it is size 6, some materials and brands work up much differently.
Gauge and Finished Size
The finished giraffe sits about 10 inches tall with a cuddly, chubby body. This is a good-sized stuffy when sitting, and it may be a little taller with the horns included. Because plush yarns vary, the focus should be on maintaining tight stitches to prevent stuffing from showing, rather than hitting a specific gauge measurement.
Abbreviations
- SC: Single Crochet
- INC: Increase (2 SC in the same stitch)
- DEC: Decrease (2 SC together)
- INV DEC: Invisible Decrease (SC in the front loop only of the next two stitches)
- HDC: Half Double Crochet
- BLO: Back Loop Only
- FLO: Front Loop Only
Pattern Notes
- Hook Size: The author typically uses a 4.5mm hook for Premier Basix Chenille and a 5mm hook for Bernat Blanket. These are much smaller than the recommended size on the label, but this ensures nice, tight stitches. If the fabric is too tight, size up a hook size until you can crochet comfortably but still maintain tight stitches.
- Yarn Choice: Different types of yarn, even if they say they are the same size, work up differently. Keep this in mind when choosing your yarn.
- Limbs: When you use the recommended method to attach plush yarn, the arms are movable.
- Safety: You can use safety eyes or try out embroidered eyes so it would be safe for a baby/toddler.
Pattern Instructions
Neck Strengthener
Color: Mustard
In a magic circle, SC 7. SC in each around for a total of 7 rows. Fasten off and leave a long tail. You will need this before you stuff the head.
Body/Head
Color: Mustard
Round 1: In a magic circle, SC 8.
Round 2: SC INC in each around. (16)
Round 3: SC in the first, SC INC in the next. Repeat around. (24)
Round 4: SC in the first 2, SC INC in the next. Repeat around. (32)
Rounds 5-8: SC in each around. (32)
Round 9: SC in the first 2, INV DEC in the next. Repeat around. (24)
Rounds 10-11: SC in each around. (24)
Begin to stuff here.
Round 12: SC in the first, INV DEC in the next. Repeat around. (16)
Rounds 13-14: SC in each around. (16)
Round 15: INV DEC in each around. (8)
Rounds 16-18: SC in each around. (8) * 3 rounds* Make sure you stuff as well as you can; it will be very hard to stuff the body from here on out.
Round 19: In the front loop only, SC INC in each around. (16)
Round 20: SC in the first, SC INC in the next. Repeat around. (24)
Round 21: SC in the first 2, SC INC in the next. Repeat around. (32)
Insert the neck strengthener here.
Rounds 22-26: SC in each around. (32) *5 rounds*
Insert eyes between rounds 24-25.
Round 27: SC in the first 2, INV DEC in the next. Repeat around. (24)
Round 28: SC in each around. (24)
Begin to stuff the head here; continue to stuff until you close.
Round 29: SC in the first, INV DEC in the next. Repeat around. (16)
Round 30: INV DEC in each around. (8)
Fasten off and weave in the end.
Nose
Color: White
Round 1: In a magic circle, SC 8.
Round 2: SC INC in each around. (16)
Round 3: sc in first 7, sc inc. sc in the next 7, sc inc. (18)
Fasten off and leave a long tail to attach. Sew under the eyes, with the bottom of the nose around round 20, and the top around round 24.
Ears (make 2)
Round 1: 8 HDC in a magic circle. Chain 1 and turn, do not attach. (8)
Round 2: HDC INC in the first 4 (total of 8 stitches) Chain 2. HDC INC in the remaining four. (16 HDC)
Pinch the bottom of the ear and sew a couple of times through the bottom to create the rounded shape. Sew each ear on the side of the head, around rounds 28-29.
Horns (make 2)
Color: Rust
Round 1: In a magic circle, SC 6.
Round 2: SC INC in each around. (12)
Round 3: SC in the first, INV DEC in the next. Repeat around. (8)
Change to mustard color.
Rounds 4-5: SC in each around. (8)
Fasten off and leave a long tail to attach to the head. Sew them just inside of each ear.
Arms (make 2)
Color: Rust
Round 1: In a magic circle, SC 8.
Round 2: SC INC in each around. (16)
Round 3: In BLO, SC in each around. (16)
Round 4: SC in each around. (16)
Change to mustard. Start stuffing here and stop about halfway up.
Round 5: INV DEC in each around. (8)
Rounds 6-15: SC in each around. (8)
Fasten off and leave a long tail to attach. Sew the remaining hole closed. Attach using the recommended method on round 13 of the body.
Legs (make 2)
Color: Rust
Round 1: In a magic circle, SC 8.
Round 2: SC INC in each around. (16)
Round 3: SC in the first, SC INC in the next. Repeat around. (24)
Round 4: in the BLO, SC in each around. (24)
Round 5: SC in the first, INV DEC in the next. Repeat around. (16)
Change to mustard. Start stuffing here and stop about halfway up.
Round 6: SC in the first, INV DEC in the next. Repeat around. Take the stitch marker out and SC in that stitch. INV DEC one more time. Place the stitch marker back in the last stitch. (10)
Rounds 7-17: SC in each around. (10)
Fasten off and leave a long tail to attach. Sew the remaining hole closed. Attach using the recommended method on round 5 of the body.
Tail
Color: Mustard
Chain 8. Turn and SC in each stitch back (7). Fasten off and leave a long tail to sew one.
Color: Rust
Attach the yarn to the top of the tail. Chain 6 and slip stitch though the same stitch. Repeat for a total of three loops. Fasten off, tie off and weave in the end through the loops. Attach the tail somewhere around rounds 5-6.
Embroidered Patches
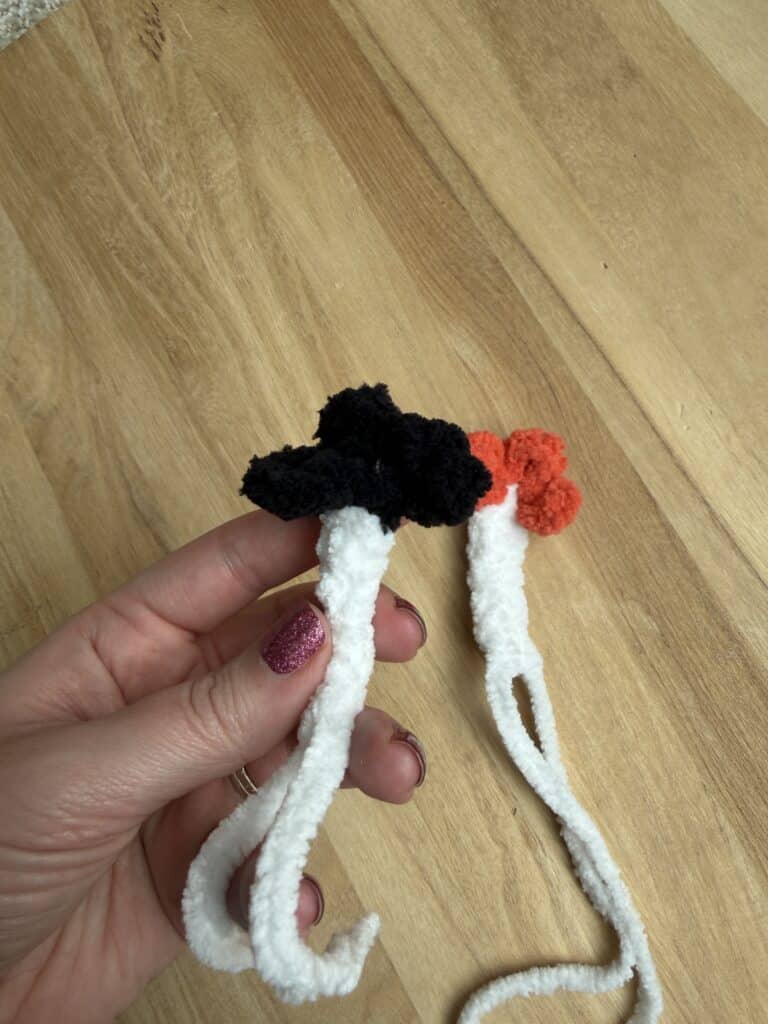
Use the contrast yarn and treat each patch like the embroidered eyes. Insert your needle through the side and out on the top layer where you want to begin the spot. Cover 2 – 3 stitches in differing directions. Always go through the same entrance and exit hole, guiding the yarn to lay flat as you pull it tight. Don’t pull it too tight or it will stretch the stitches. When you are done, guide the needle out to the first insertion point and make sure you come out through the same hole. Tie a knot then use your needle to go back down through that hole and exit somewhere farther away. Trim the end so that it stays in the body.
Assembly
- Attach the neck strengthener into the body/head between rounds 21 and 22.
- Sew the nose under the eyes, with the bottom of the nose around round 20, and the top around round 24.
- Pinch the bottom of each ear and sew through the bottom to create a rounded shape.
- Sew each ear to the side of the head, around rounds 28-29.
- Sew the horns just inside of each ear.
- Sew the remaining holes of the arms and legs closed.
- Attach the arms using the recommended method on round 13 of the body.
- Attach the legs using the recommended method on round 5 of the body.
- Attach the tail somewhere around rounds 5-6.
- Embroider the spots using the contrast yarn as described in the pattern instructions.
Tips
- Tight Stitches: Use a hook size smaller than recommended for your yarn to ensure tight stitches. This prevents stuffing from showing through.
- Movable Arms: Follow the specific attachment method for the arms to ensure they are movable.
- Eye Safety: For babies or toddlers, consider embroidering the eyes instead of using safety eyes.
- Yarn Variance: Remember that different brands of size 6 blanket yarn can work up differently. Adjust your hook size if necessary to maintain stitch density.
FAQs
Can I use a different yarn than Premier Basix Chenille?
Yes, you can substitute other size 6 weight blanket yarns such as Bernat Blanket, Bernat Baby Blanket, or Cozy Cub. However, keep in mind that different brands work up differently, so you may need to adjust your hook size to maintain tight stitches.
How do I make the giraffe safe for a baby?
To make the giraffe safer for babies and toddlers, avoid using plastic safety eyes. Instead, embroider the eyes and nose using yarn or embroidery floss. This eliminates small parts that could be a choking hazard.
Why are my stitches too loose?
Plush yarns often require a smaller hook than the label recommends to achieve tight stitches. If your stitches are loose, try using a hook size 0.5mm to 1mm smaller than you think you need. Tight stitches are crucial for amigurumi to prevent stuffing from showing.
How do I attach the limbs so they move?
The pattern recommends a specific method for attaching the limbs to plush yarn. This method involves sewing the limbs on loosely enough to allow movement but securely enough to stay attached. Refer to the “Attaching Limbs” video tutorial mentioned in the notes for the best technique.
How tall is the finished giraffe?
The finished giraffe sits approximately 10 inches tall. With the horns included, it may be slightly taller.
Pin This Crochet Pattern!