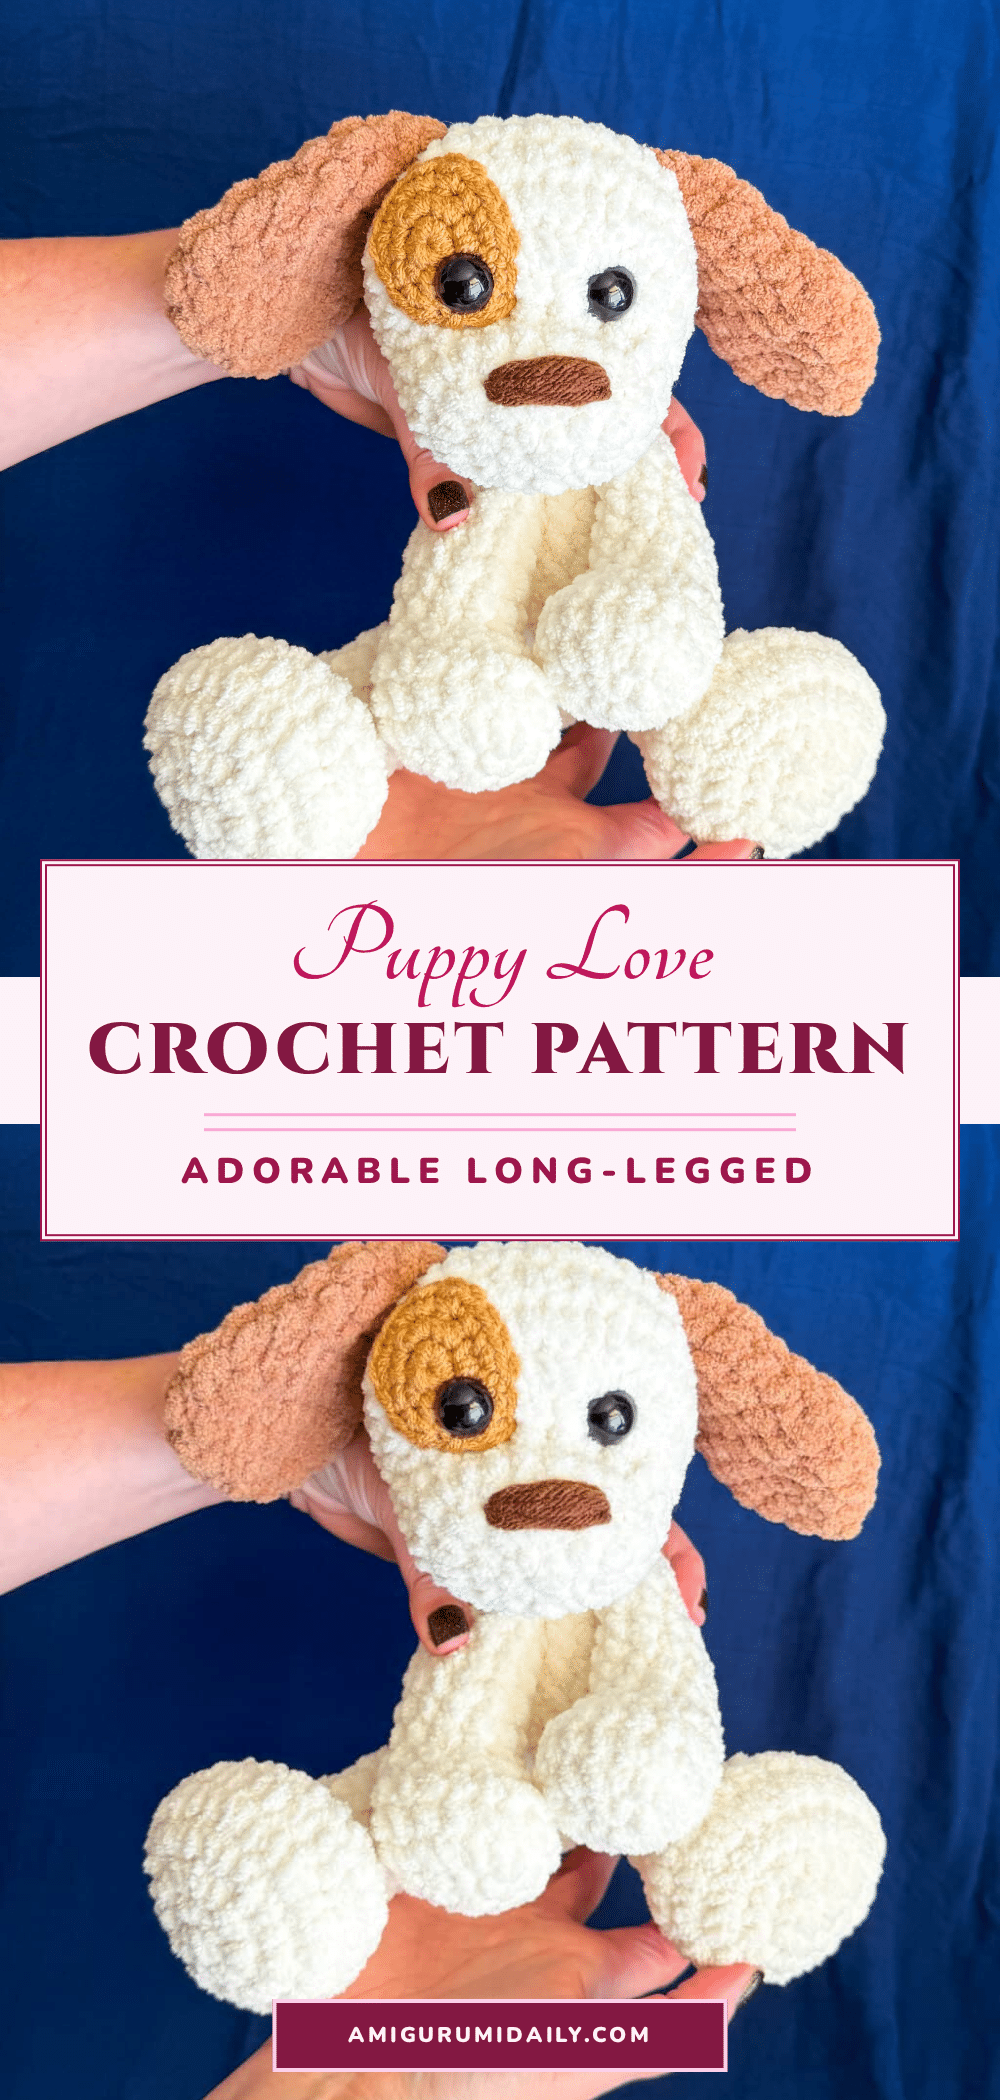
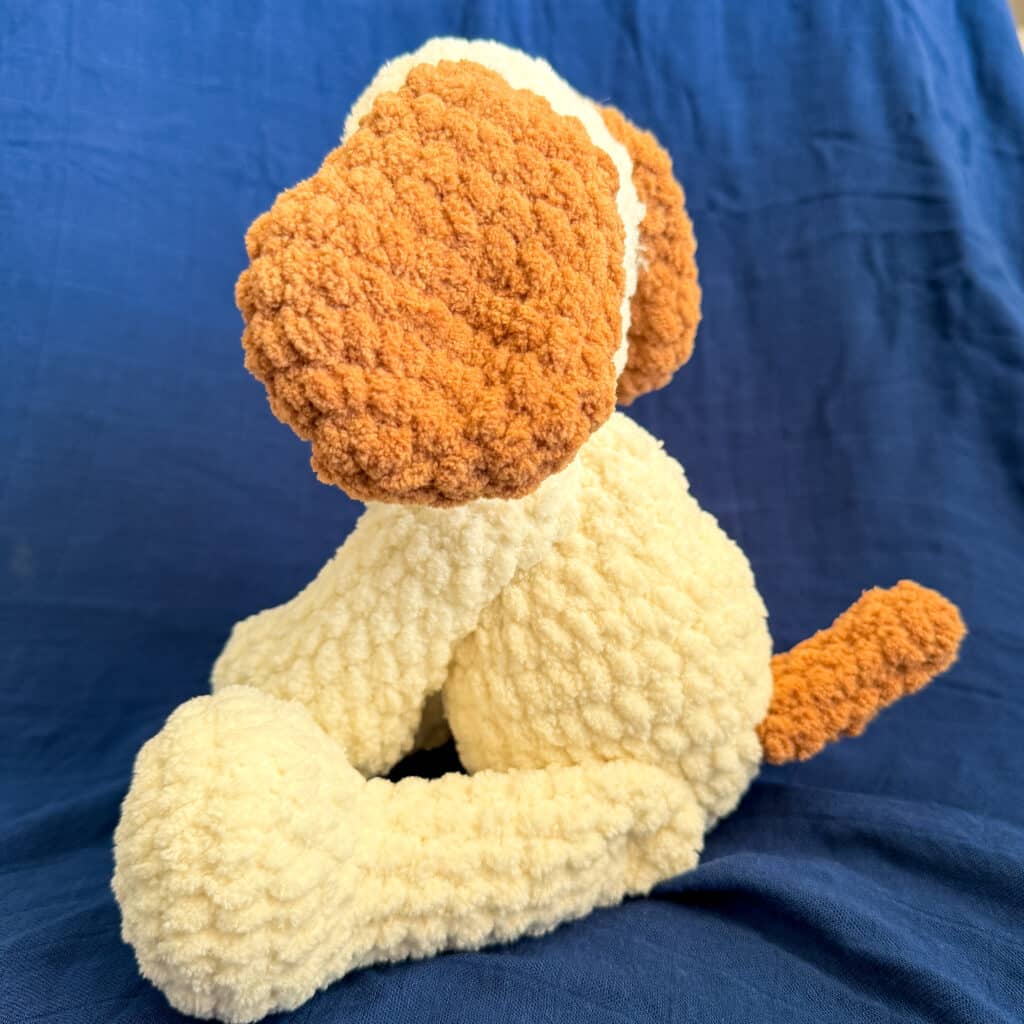
There is something undeniably charming about the stash-bin decision that leads to the perfect amigurumi project. For this long-legged puppy, the choice often comes down to that soft, plush pile of yarn that begs to be touched. I found myself drawn to a crisp Winter White for the main body, not just for its clean, classic look, but for how it highlights the texture of the chenille fiber. The contrast of a warm Caramel accent color for the ears and tail added a touch of intentionality, making the finished puppy feel like a curated piece rather than just a quick make. This specific yarn choice creates a cuddly, cloud-like finish that is perfect for a beginner looking to create a high-impact toy.
Yarn and Color Notes
The texture of this puppy relies heavily on the yarn choice. I used Premier Basix Chenille, a size 6 weight blanket yarn, which works up quickly while remaining incredibly soft. The plush nature of this fiber allows the stitches to hide beautifully, resulting in a smooth, professional finish. While the pattern is written for this specific yarn, you can substitute other size 6 blanket yarns like Bernat Blanket or Bernat Baby Blanket. Just keep in mind that even within the same weight category, different brands can work up differently. If you switch yarns, ensure your hook size still produces tight stitches to prevent stuffing from showing through.
Project Overview
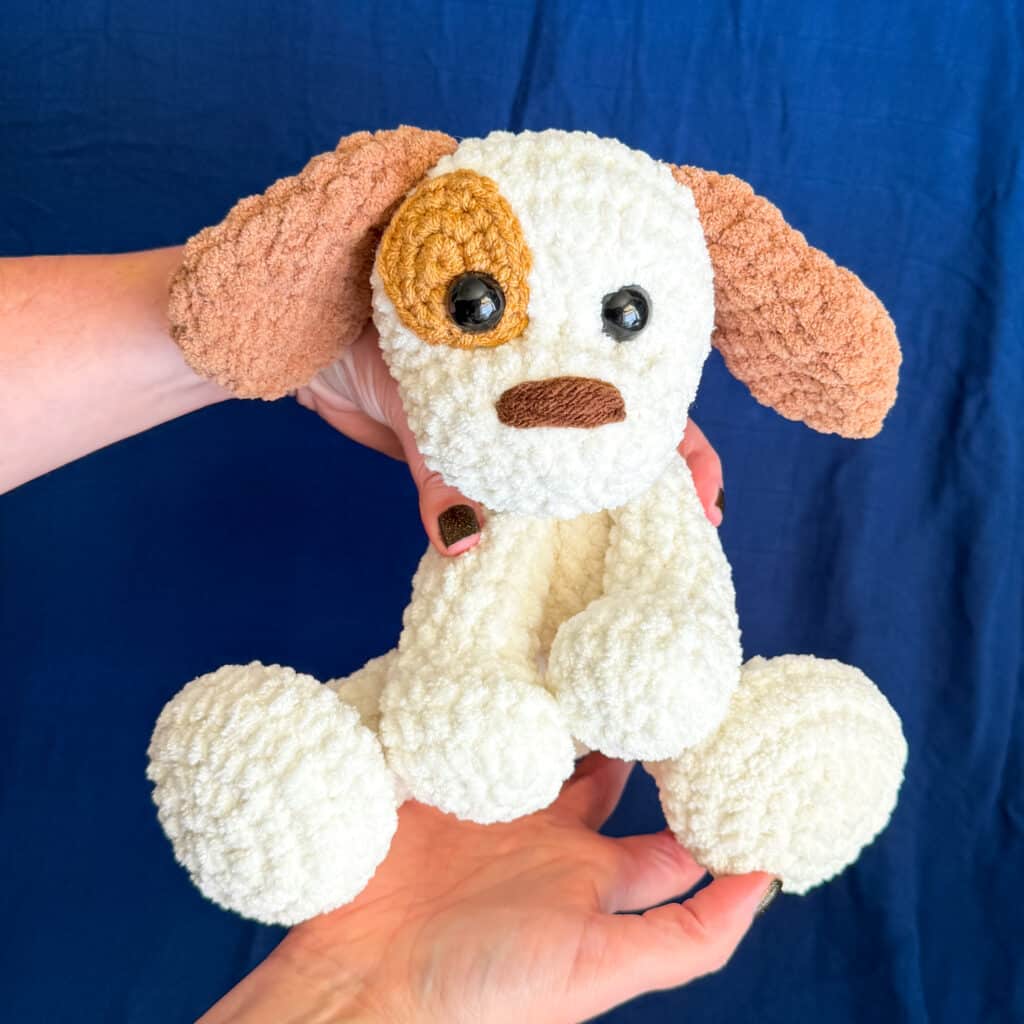
This Long-Legged Stuffy Puppy is a delightful amigurumi project designed for beginners. It features a traditional stuffy body with adorably long, movable arms and legs. The puppy stands approximately 10 inches tall when sitting, making it a substantial and huggable companion. This pattern is part of a “Mix & Make” series, meaning the head is compatible with other body styles, but this specific version focuses on the long-legged, movable limb design. The arms and legs are attached using a special method that allows them to wiggle, adding a playful element to the toy.
Materials
- Yarn: 170g Premier Basix Chenille in Main Color (e.g., Winter White)
- Accent Yarn: 45g Premier Basix Chenille in Accent Color (e.g., Caramel)
- Detail Yarn: Small amount of brown worsted-weight yarn for the nose and eye patch
- Stuffing: Polyester fiberfill
- Eyes: 15mm safety eyes (or embroidery thread for embroidered eyes)
- Crochet Hook: 4.5mm hook (or 5mm if using Bernat Blanket yarn)
- Notions: Tapestry needle, stitch marker
Gauge and Finished Size
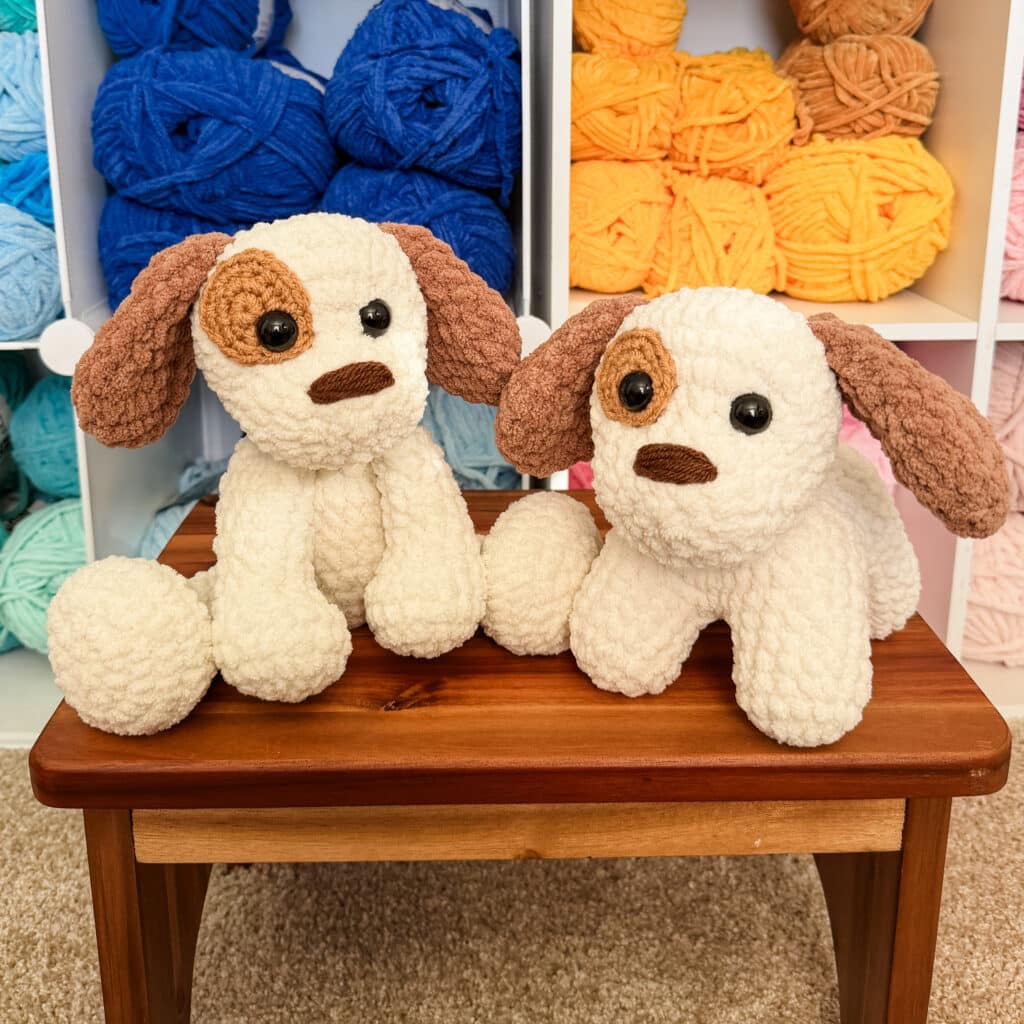
The finished puppy stands about 10 inches tall when sitting. Because this pattern uses plush blanket yarn, gauge is less critical than with standard cotton or acrylic yarns, provided you maintain tight stitches. The goal is to create a dense fabric that does not show stuffing. If your stitches are too loose, size down your hook. If they are too tight to work comfortably, you may size up slightly, but ensure the fabric remains firm.
Abbreviations
SC: Single Crochet
INC: Increase (2 SC in the same stitch)
INV DEC: Invisible Decrease (insert hook into the front loops of two adjacent stitches, yarn over, pull up a loop, yarn over, pull through all loops on hook)
FLO: Front Loop Only
Pattern Notes
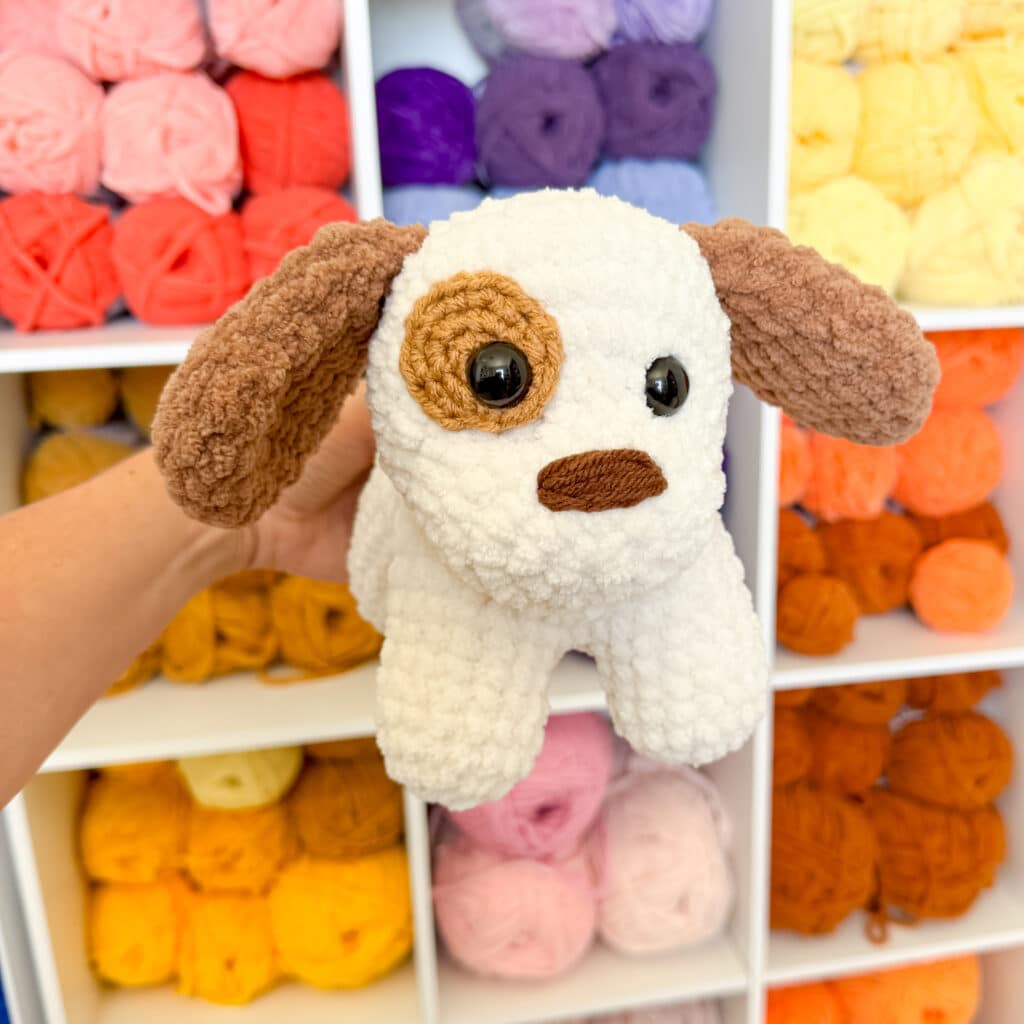
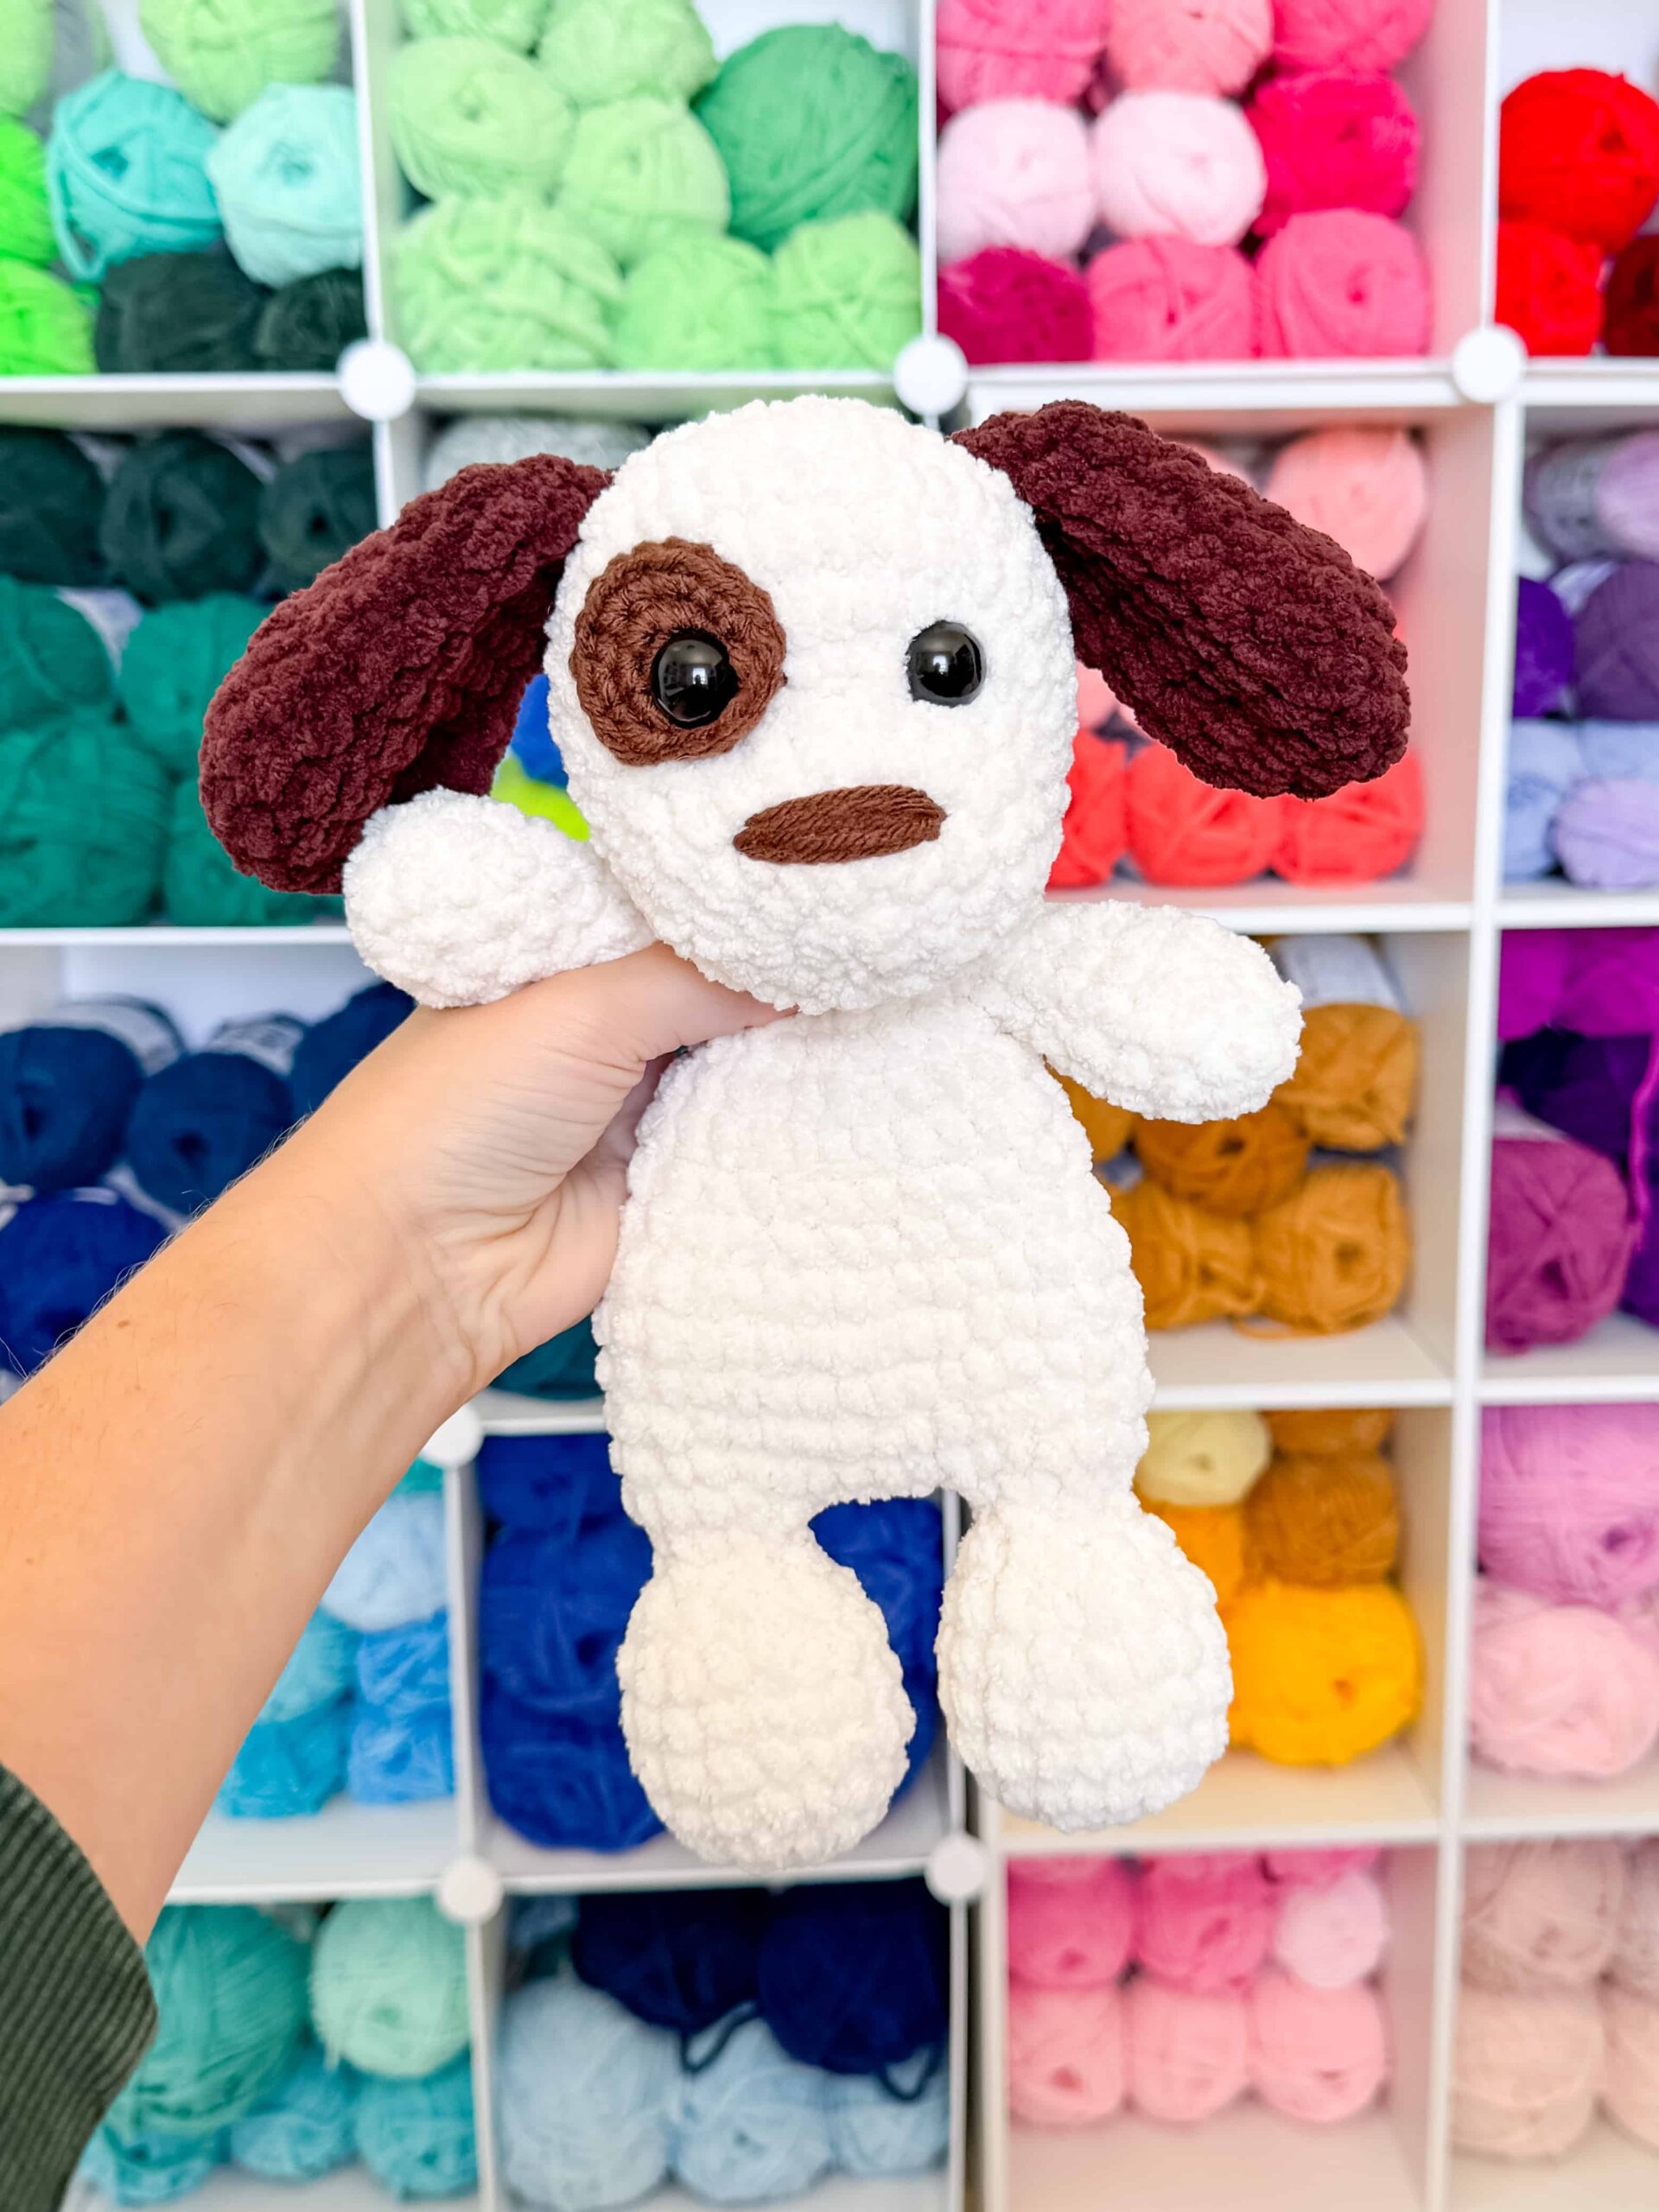
This pattern utilizes specific techniques to achieve the movable limb effect. The arms and legs are not sewn flat against the body; instead, they are attached in a way that allows them to move freely. The head is attached to a flat disc at the top of the body, which is then sewn to the head. You can choose to use safety eyes or embroider them for a safer toy for babies and toddlers. If embroidering, refer to the creator’s video tutorials for guidance. The nose is embroidered using brown worsted-weight yarn.
Pattern Instructions
Patch (Eye Patch)
With brown worsted-weight yarn and a 4mm hook:
Round 1: In a magic circle, SC 6.
Round 2: SC INC in each around. (12)
Round 3: SC in the first, INC in the next. (18)
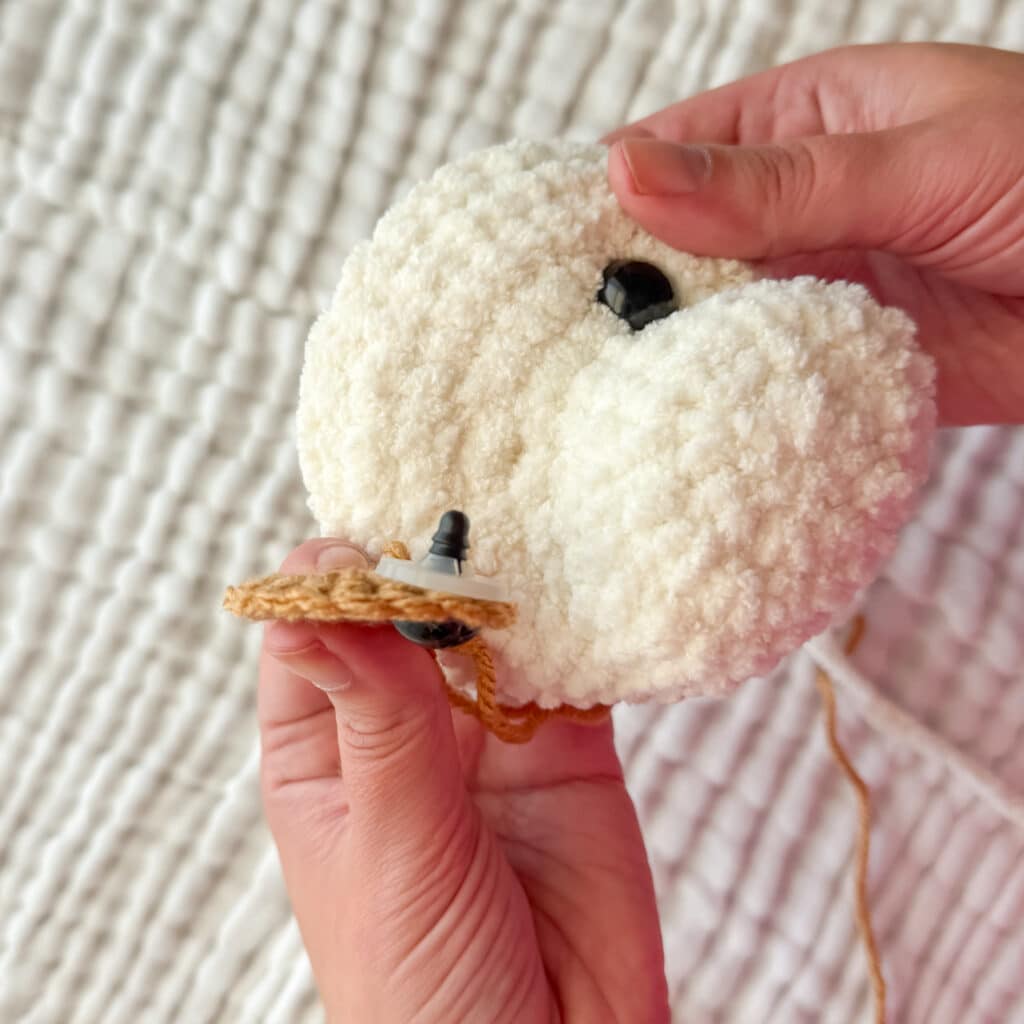
Fasten off and leave a long tail to sew onto the face. Insert the eye before you sew the patch on.
Head
Using Winter White:
Round 1: SC 8 in a magic ring. (8)
Round 2: INC in each around. (16)
Round 3: INC in the first 4, SC in the next 4, INC in the next 4, SC in the final 4. (24)
Rounds 4-5: SC in each around. (24)
Round 6: SC in the first 6, SC INC in the next 8, SC in the last 10. (32)
Round 7: SC in the first 6, *SC in the first, INC* 8x, SC in the last 10. (40)
Rounds 8-10: SC in each around. (40)
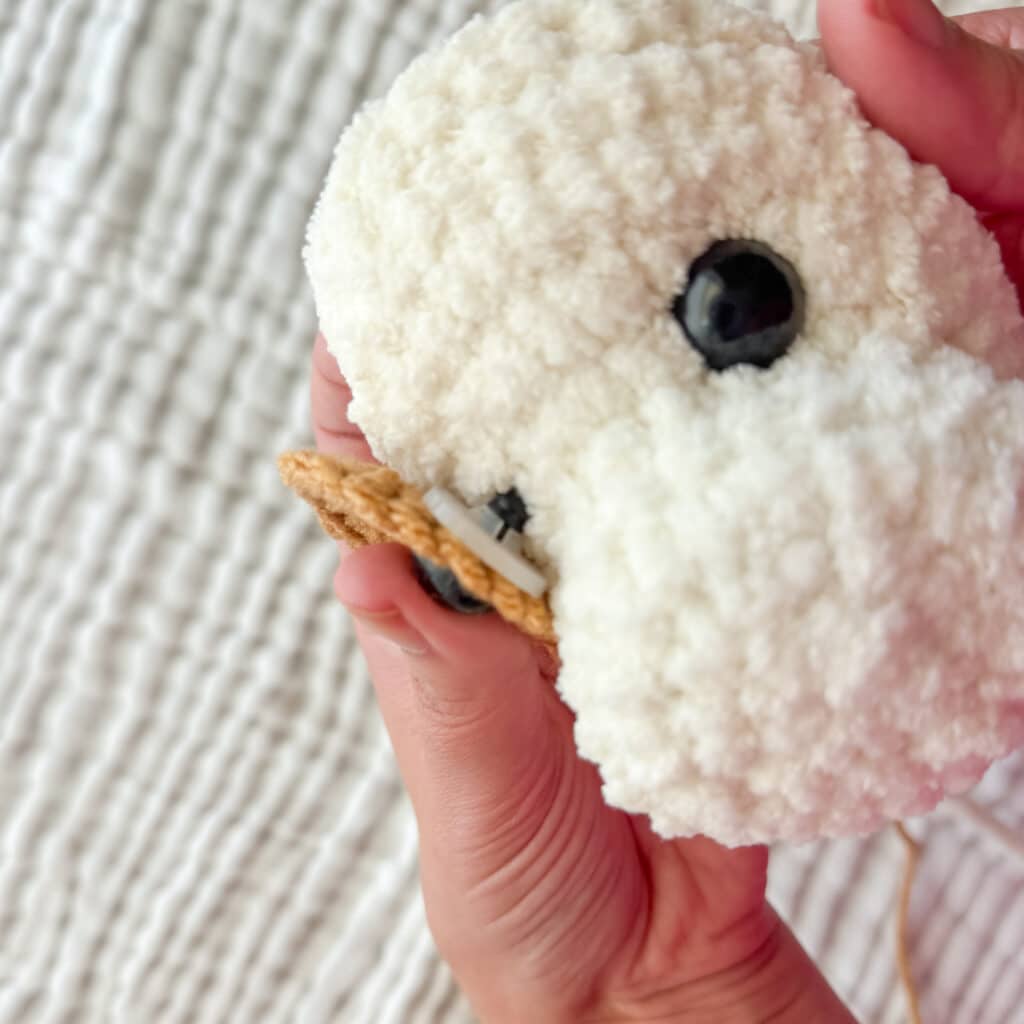
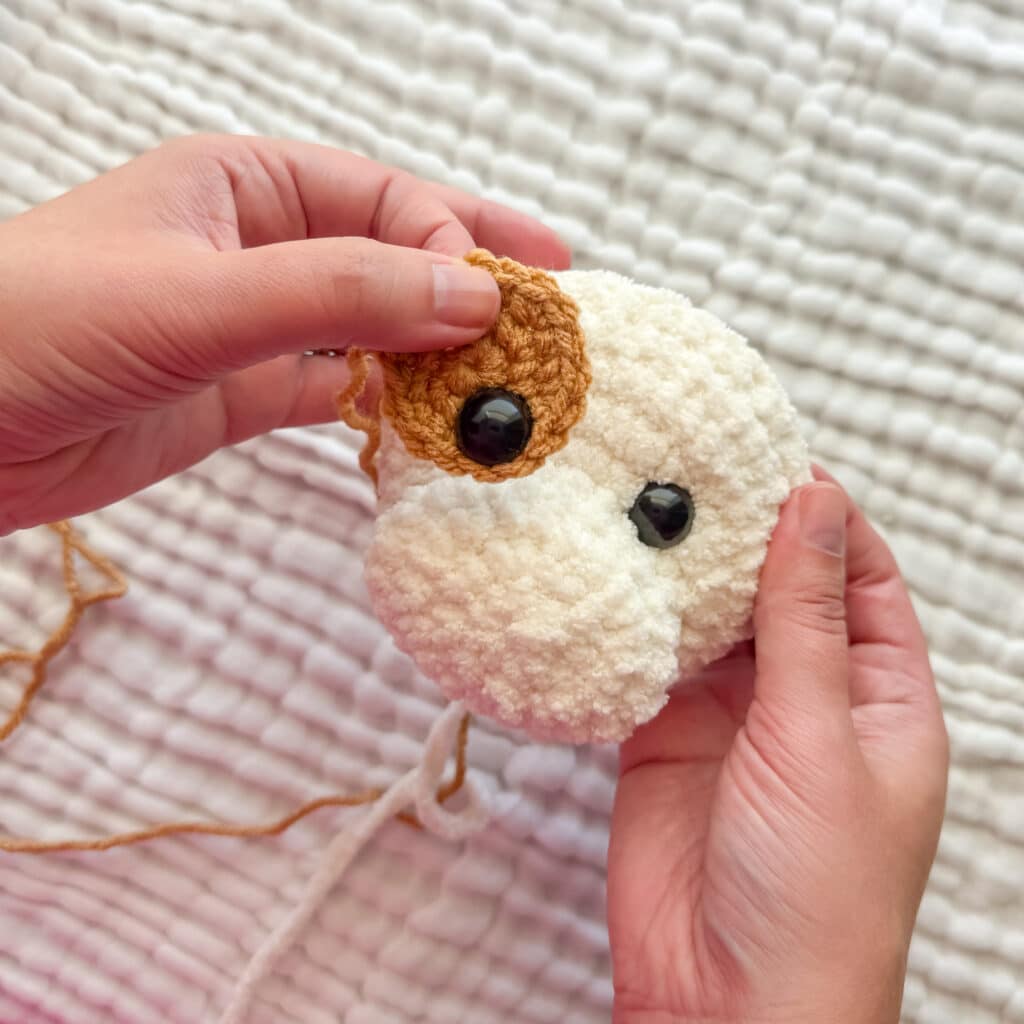
Eye Placement: Insert eyes between Round 5 and 6. Use the 8 INC stitches of Round 6 to help center them. There should be about 6 stitches between the eyes. If using the eye patch, sew it on now. You can use hot glue to pre-attach it for stability. You will see about 4-5 stitches because the eye patch covers some.
Round 11: SC in the first 3, INV DEC.
Round 12: SC in the first 2, INV DEC. Stuff here. Continue stuffing until the end.
Round 13: SC in the first, INV DEC.
Round 14: INV DEC.
Fasten off and weave in the end.
Nose
Embroider the nose with brown worsted-weight yarn around Round 3, between the eyes. Cover about 4-5 stitches for length.
Ears (Make 2)
Using Accent Color:
Round 1: In a magic circle, SC 8.
Round 2: SC INC in each around. (16)
Round 3: SC in the first, SC INC in the next. Repeat around. (24)
Rounds 4-5: SC in each around. (24)
Round 6: SC in the first, INV DEC in the next. Repeat around. (16)
Rounds 7-9: SC in each around. (16)
Round 10: INV DEC in each around. (8)
Fasten off and leave a long tail to attach to the head.
Stuffy Body
In Winter White:
Round 1: In a magic circle, SC 8.
Round 2: SC INC in each around. (16)
Round 3: SC in the first, SC INC in the next. Repeat around. (24)
Round 4: SC in the first 2, SC INC in the next. Repeat around. (32)
Rounds 5-8: SC in each around. (32)
Round 9: SC in the first 2, INV DEC in the next. Repeat around. (24)
Rounds 10-13: SC in each around. (24)
Round 14: SC in the first, INV DEC in the next. Repeat around. (16)
Round 15: SC in each around. (16)
Round 16: INV DEC in each around. (8)
From here, increase out to make the disc for the head attachment:
Round 17: In the front loop only, SC INC in each around. (16)
Round 18: SC in the first, SC INC in the next. Repeat around. (24)
Fasten off, leaving a long tail to attach the head with.
Arms (Make 2)
In Winter White:
Round 1: In a magic circle, SC 6.
Round 2: SC INC in each around. (12)
Round 3: SC in the first, SC INC in the next. Repeat around. (18)
Rounds 4-5: SC in each around. (18)
Round 6: SC in the next 6, INV DEC 6x. (12)
Begin to stuff here, and then continue to stuff as you go. I usually only stuff the bottom half.
Rounds 7-16: SC in each around. (12)
Fasten off. Flatten the top and whipstitch across to sew the remaining hole closed. Attach using the movable limb method around Rounds 15-16 of the body.
Legs (Make 2)
In Winter White:
Round 1: In a magic circle, SC 8.
Round 2: SC INC in each around. (16)
Round 3: SC in the first, SC INC in the next. Repeat around. (24)
Round 4: SC in the first two, SC INC in the next. Repeat around. (32)
Round 5: SC in each around. (32)
Round 6: SC in the first two, INV DEC in the next. Repeat around. (24)
Round 7: SC in the first 8, then INV DEC 8x. (16)
Round 8: SC in the first 8, then INV DEC 4x. (12)
Begin to stuff here, and then continue to stuff as you go. I usually only stuff the bottom half.
Rounds 9-18: SC in each around. (12)
Fasten off. Flatten the top and whipstitch across to sew the remaining hole closed. Attach using the movable limb method around Round 6 of the body.
Tail
Using Caramel:
Round 1: SC 6 in a magic circle.
Rounds 2-4: SC in each around.
Round 5: SC in the first, SC INC in the next. (9)
Round 6: SC in each around. (9)
Round 7: SC in the first, SC INC in the next. (12)
Fasten off and attach at the back around Rounds 4-6 of the body.
Assembly
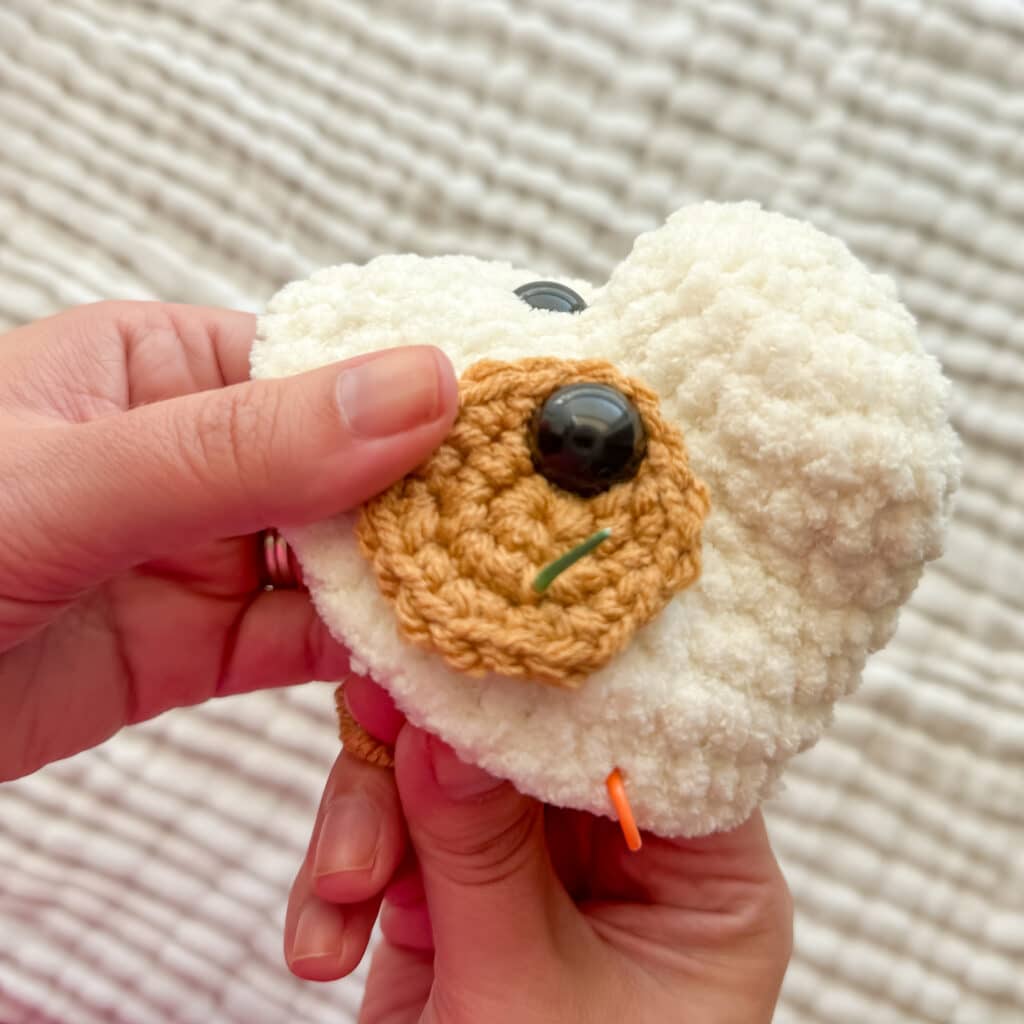
Attaching the Head: Pin the flat disc at the top of the body where you want it on the head. Try to center it, but I prefer mine slightly close to the nose so the head flops forward. As you sew, go through the front loop on the SC at the top of the disc. Pull tightly each time. Try to pull the disc out as you go so it lies flat against the head.
Attaching Limbs: Use the movable limb attachment method for the arms and legs. This involves sewing the limbs to the body in a way that allows them to rotate or wiggle. Refer to the creator’s video tutorials for the specific technique.
Final Details: Sew the ears to the top of the head. Embroider the nose between the eyes. If using safety eyes, insert them before sewing on the eye patch.
Tips
- Yarn Substitution: If you substitute yarn, remember that even size 6 yarns can work up differently. Test your gauge and ensure your stitches are tight.
- Hook Size: I use a 4.5mm hook for Premier Basix Chenille and a 5mm for Bernat Blanket. This is smaller than the label recommendation, but necessary for tight stitches in amigurumi.
- Stuffing: For the limbs, I usually only stuff the bottom half. This helps maintain the movable nature of the arms and legs.
- Eye Patch: If using an eye patch, you can use a tiny dot of hot glue to hold it in place while you sew it on.
FAQs
Can I make this puppy safe for a baby?
Yes. Instead of using safety eyes, you can embroider the eyes using the brown worsted-weight yarn or embroidery floss. This eliminates small parts that could be a choking hazard.
Why are my arms and legs not movable?
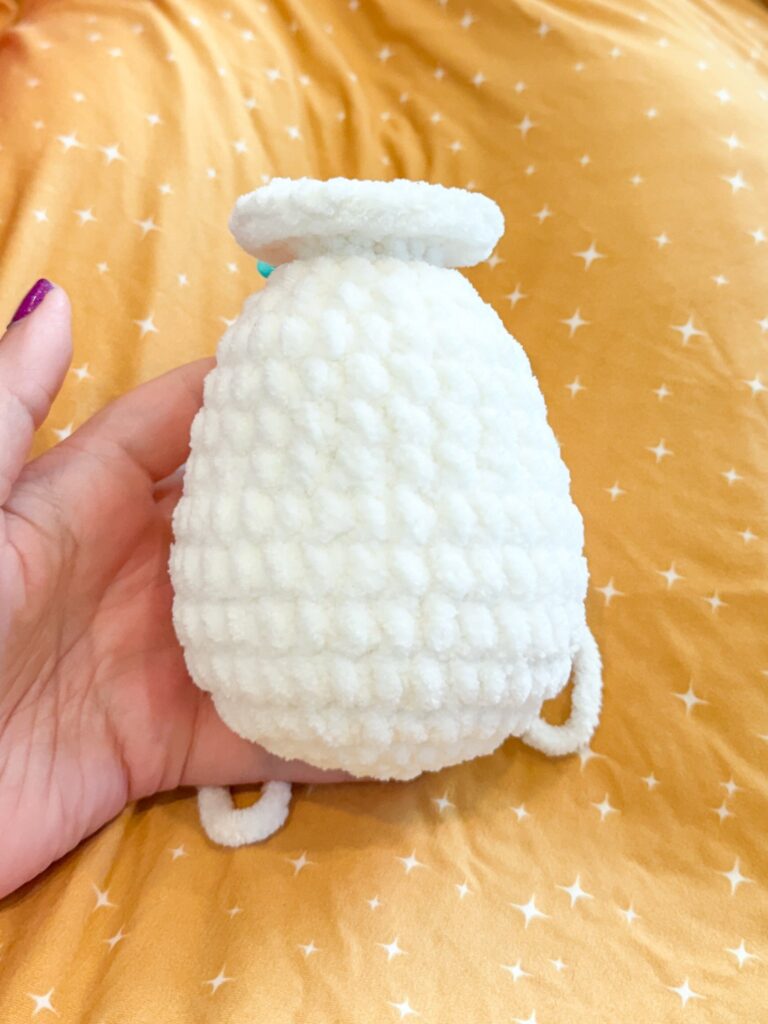
The movability comes from the specific attachment method. Ensure you are not sewing the limbs flat against the body. The creator provides video tutorials demonstrating the “favorite method” for attaching limbs to allow for movement.
What if I don’t have Premier Basix Chenille?
You can use other size 6 blanket yarns like Bernat Blanket or Cozy Cub. Just be aware that the stitch count and tension may vary slightly, so check your tension to ensure no stuffing shows through.
How do I center the eyes?

Insert the eyes between Round 5 and 6 of the head. Use the 8 increase stitches in Round 6 as a guide. There should be approximately 6 stitches between the eyes.
Why do I only stuff the bottom half of the limbs?
Stuffing only the bottom half helps keep the limbs flexible and movable. If you stuff them completely, they may become stiff and lose their cuddly, wiggly appearance.
Pin This Crochet Pattern!