It is completely normal to worry that your stitches might be too loose or that your tension will ruin the shape of an amigurumi project. Beginners often fear that using plush yarn will result in gaps that expose stuffing or make the toy look sloppy. However, this Mini Puppy Snuggler is designed to be forgiving and approachable. By using a hook size smaller than the yarn label recommends, you create tight, dense stitches that hide the yarn’s texture and ensure a sturdy, cuddly finish. This project proves that a little extra tension goes a long way in creating a professional-looking lovey.
Maker Notes
This Mini Puppy Snuggler has been a long time coming! The original Puppy Snuggler was released in 2023, followed by the Mini Giraffe, and almost instantly, makers started requesting a mini version of the puppy. While the pattern was delayed in favor of other designs like the Squishy Puppy, it is finally ready to share.
I used Premier Basix Chenille for this pattern because it is one of my favorites for its softness and stitch definition. However, you can substitute other yarns. Just keep in mind that even if yarns are labeled as the same weight, they can work up differently. The key to this pattern is achieving tight stitches to prevent stuffing from showing through. If you find the yarn too tight with the recommended hook, feel free to size up slightly until you can crochet comfortably while maintaining that necessary density.
Project Overview
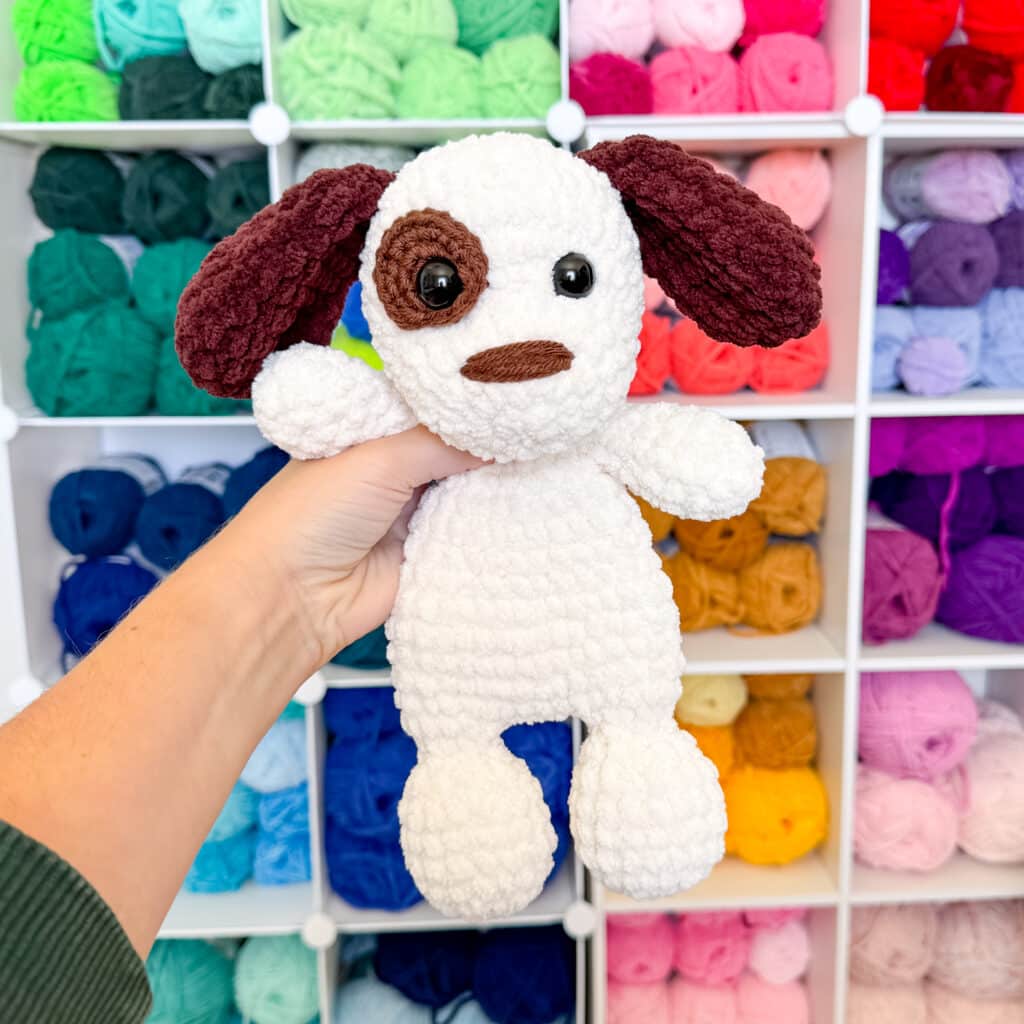
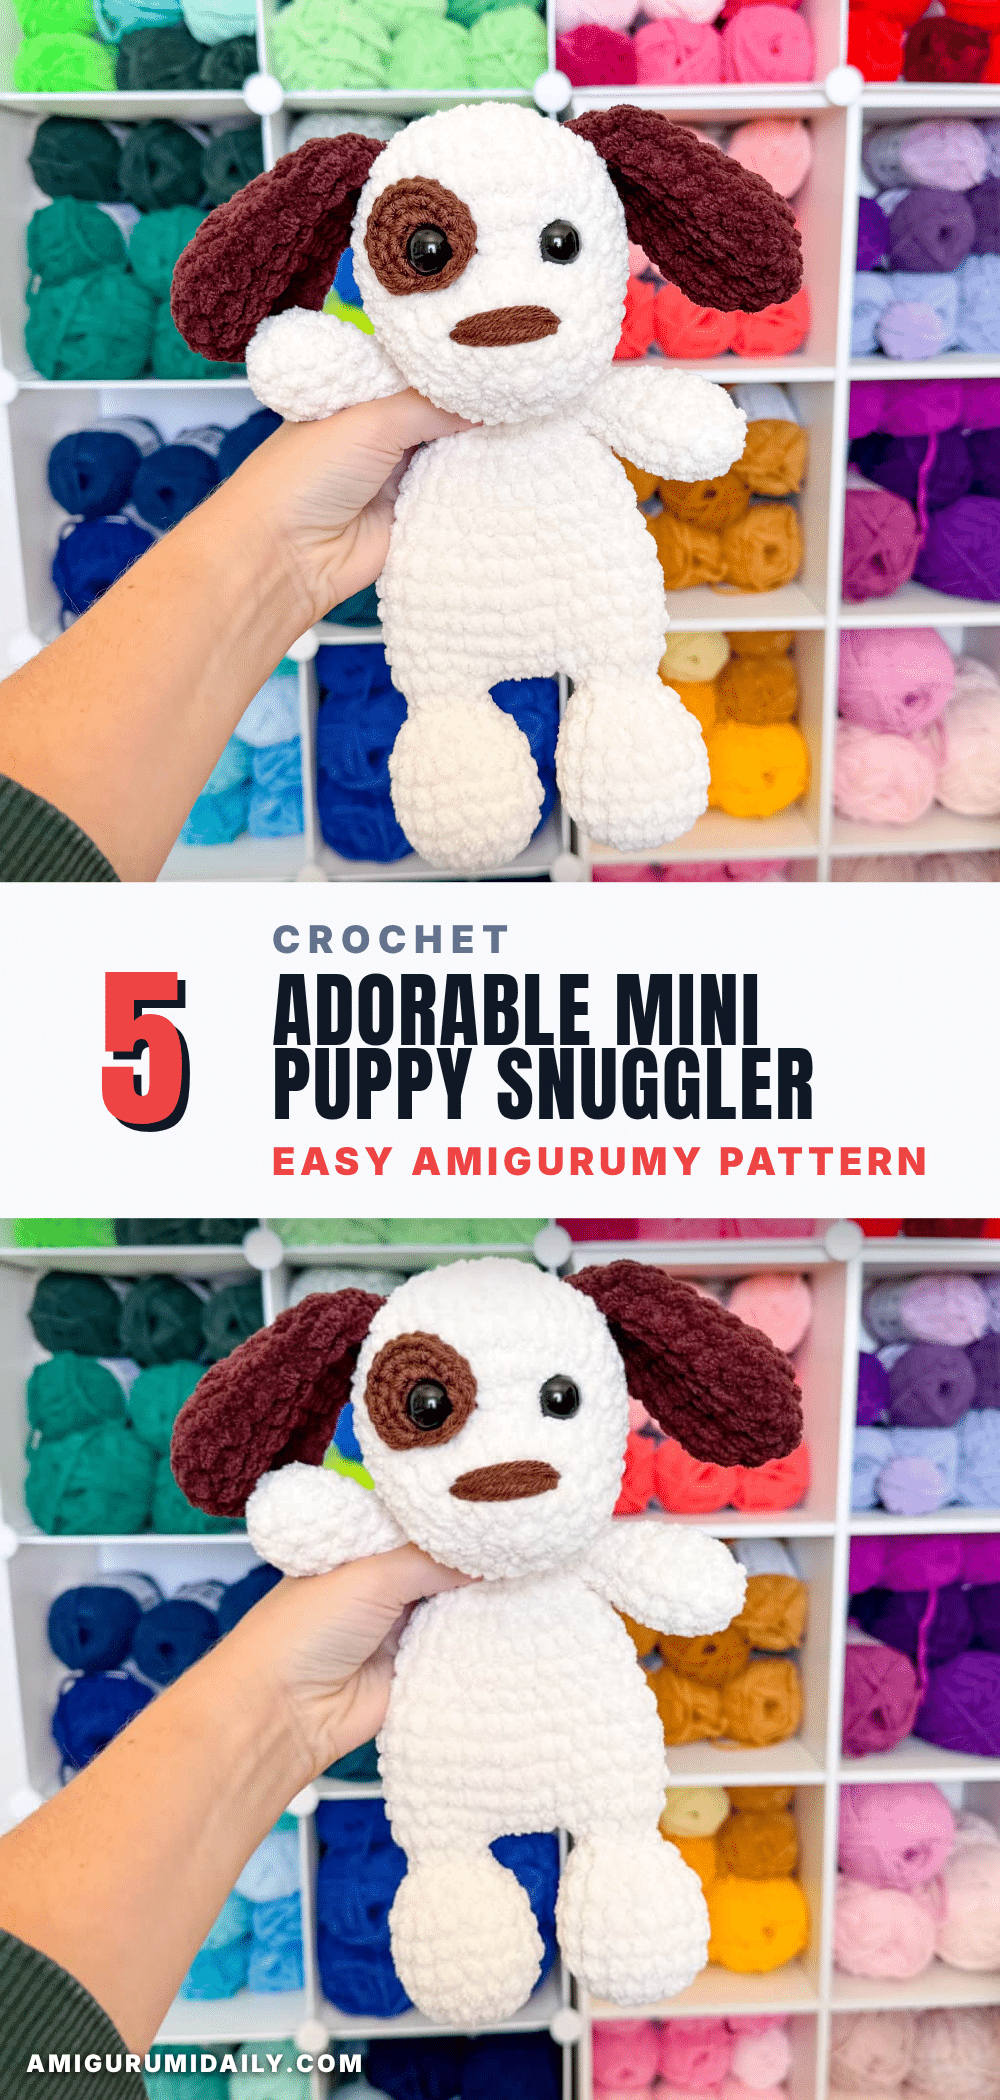
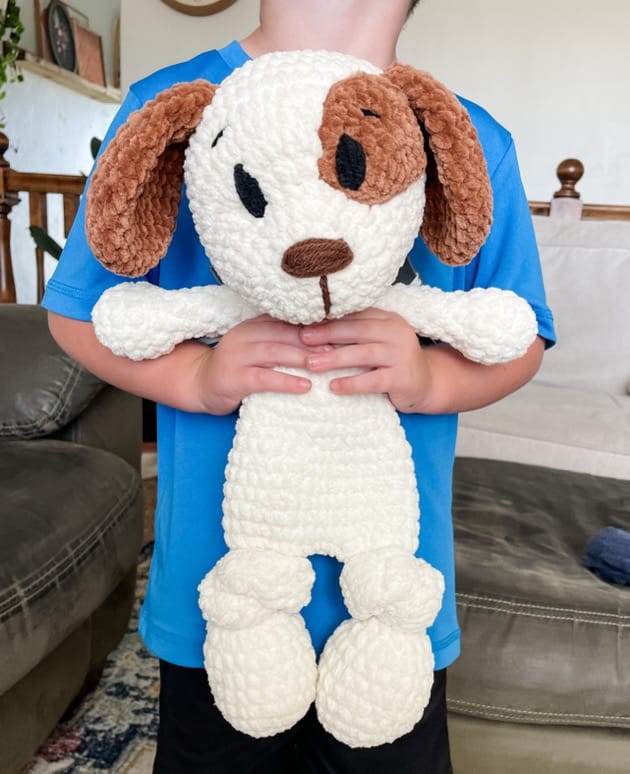
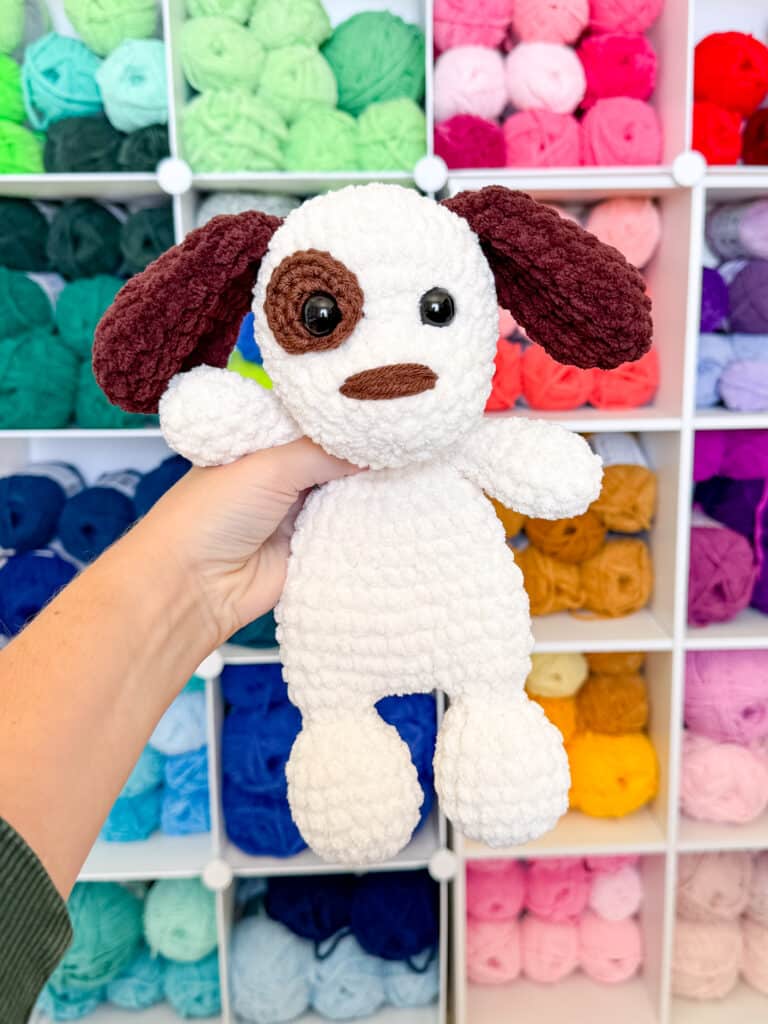
This free crochet puppy is extra cuddly and works up surprisingly quickly with plush yarn. Because the body is unstuffed, it serves as the perfect snuggle buddy or lovey. The puppy is made from the feet up, featuring knotted legs that attach seamlessly to the body. The head is designed to “flop” forward slightly, which is characteristic of this lovey/blanket form. You can use safety eyes or embroidered eyes to make it safe for babies and toddlers.
Materials
- Yarn (Main Color): 115g Premier Basix Chenille (I used Winter White). Suitable alternatives include Bernat Blanket, Bernat Baby Blanket, or Cozy Cub from Michaels.
- Yarn (Accent Color): 45g Premier Basix Chenille (I used Chocolate).
- Yarn (Details): Small amount of brown worsted weight yarn for the nose and eye patch.
- Stuffing: Standard amigurumi stuffing.
- Eyes: 15mm safety eyes (or embroidery floss for embroidered eyes).
- Hook: 4.5mm crochet hook (or a hook size that keeps stitches tight and feels comfortable). Note: If using Bernat Blanket yarn, a 5mm hook is recommended.
- Notions: Tapestry needle, stitch marker.
Gauge and Finished Size
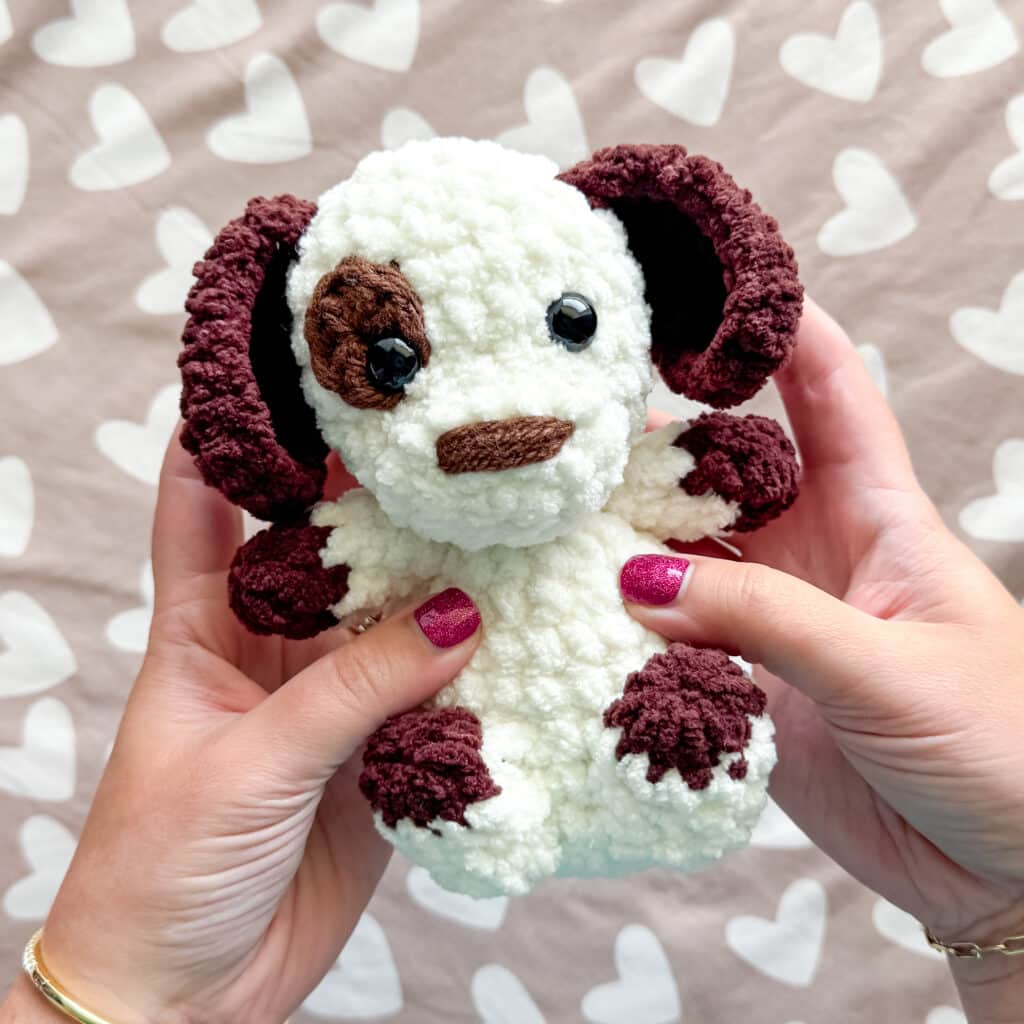
When made with the recommended yarn, this snuggler is approximately 13 inches tall. Because this is a plush yarn project, gauge is less critical than ensuring your stitches are tight enough to hide the stuffing.
Abbreviations
Note: Standard crochet abbreviations are used. The source pattern uses the following specific terms:
- SC: Single Crochet
- INC: Increase (2 SC in the same stitch)
- INV DEC: Invisible Decrease (insert hook under both front loops of next two stitches, yarn over, pull up loop, yarn over, pull through all 3 loops on hook)
- SC INC: Single Crochet Increase
Pattern Notes
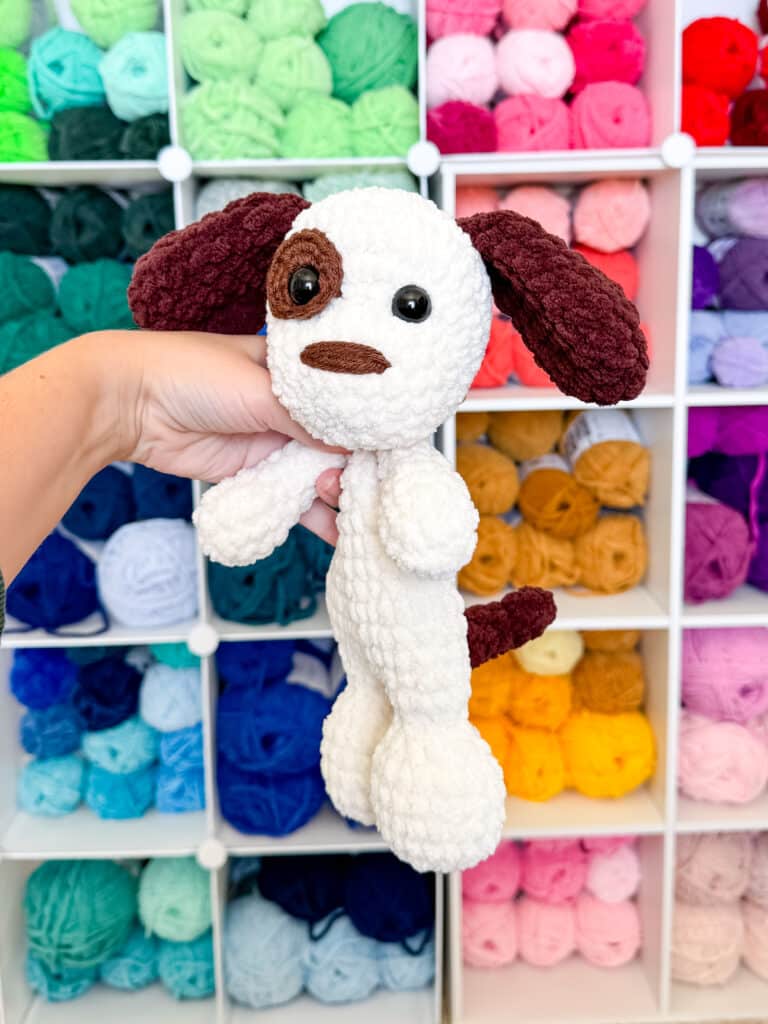
- Construction: This puppy is made from the feet up. You will make two feet, fastening off one, and then attaching them together from the second one.
- Body Shape: The body decreases and then increases into a flat disc at the top. This disc is used to sew on the head.
- Head Flop: Due to the nature of the pattern, the head will still “flop.” This is expected for the lovey/blanket form.
- Arm Attachment: Arms are attached using a long needle method.
- Ear Attachment: Ears are sewn to the head first, then the head is attached to the body.
- Safety vs. Embroidery: You can use safety eyes or embroider them for a safer option for babies/toddlers.
Pattern Instructions
Patch (Eye Patch)
Using brown worsted weight yarn and a 4mm hook:
- Round 1: In a magic circle, SC 6.
- Round 2: SC INC in each around. (12)
- Round 3: SC in the first, INC in the next. (18)
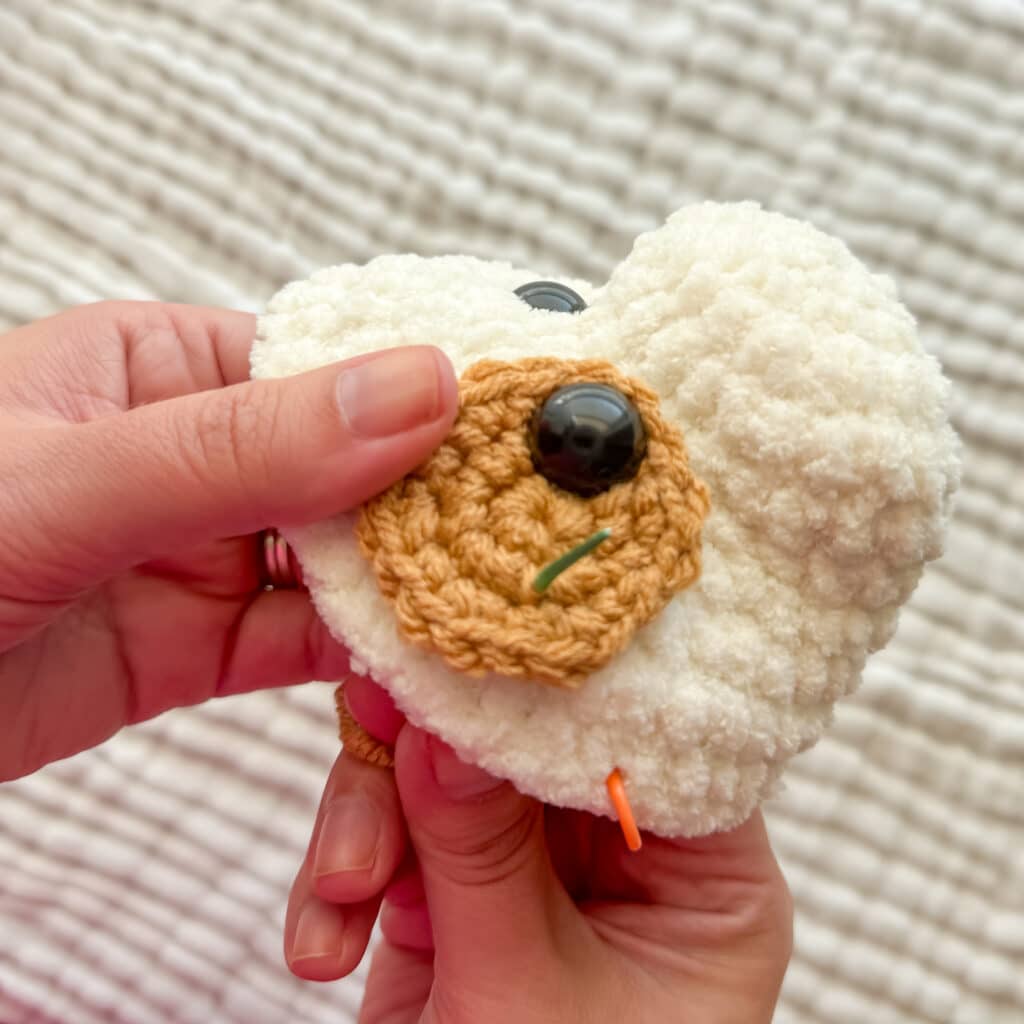
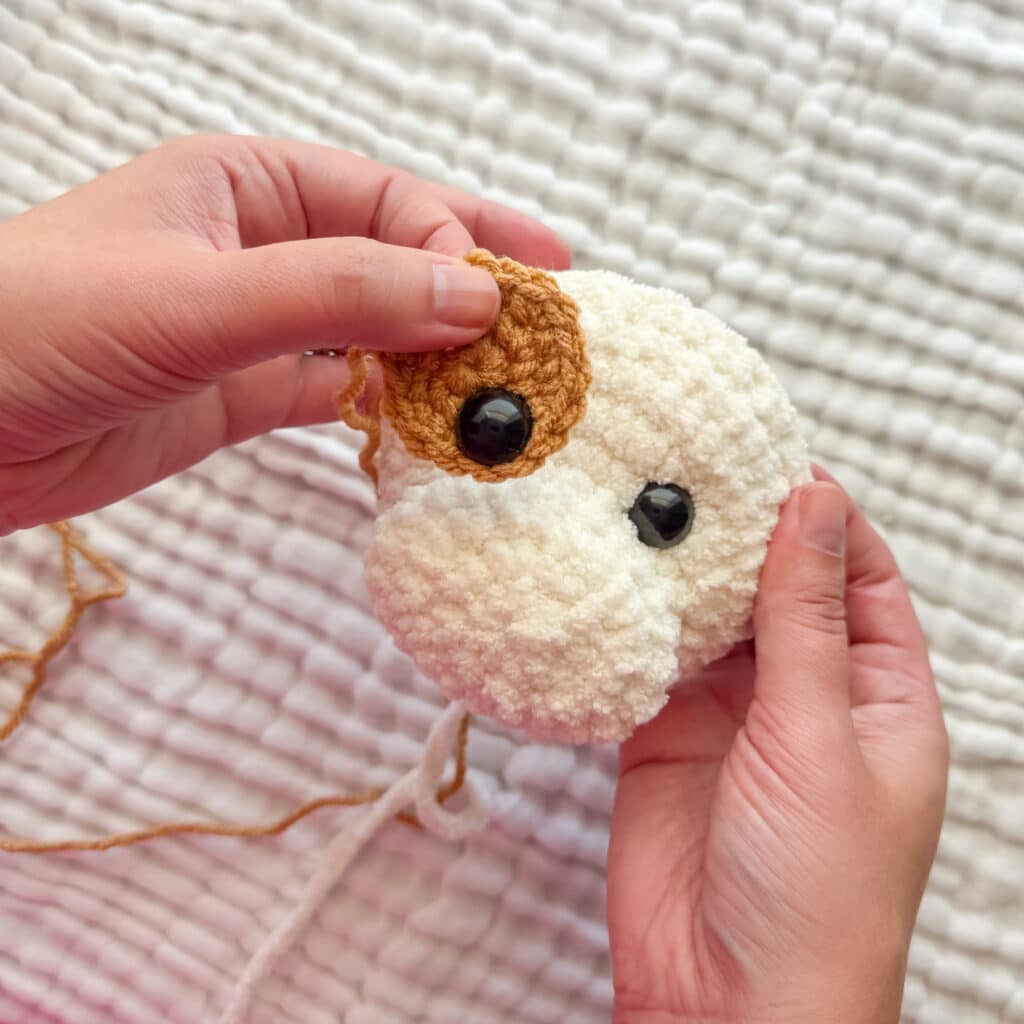
- Fasten off and leave a long tail to sew onto the face. Insert the eye before you sew the patch on.
Head
Using Main Color (Winter White):
- Round 1: SC 8 in a magic ring. (8)
- Round 2: INC in each around. (16)
- Round 3: INC in the first 4, SC in the next 4, INC in the next 4, SC in the final 4. (24)
- Rounds 4-5: SC in each around. (24)
- Round 6: SC in the first 6, SC INC in the next 8, SC in the last 10. (32)
- Round 7: SC in the first 6, *SC in the first, INC* 8x, SC in the last 10. (40)
- Rounds 8-10: SC in each around. (40)
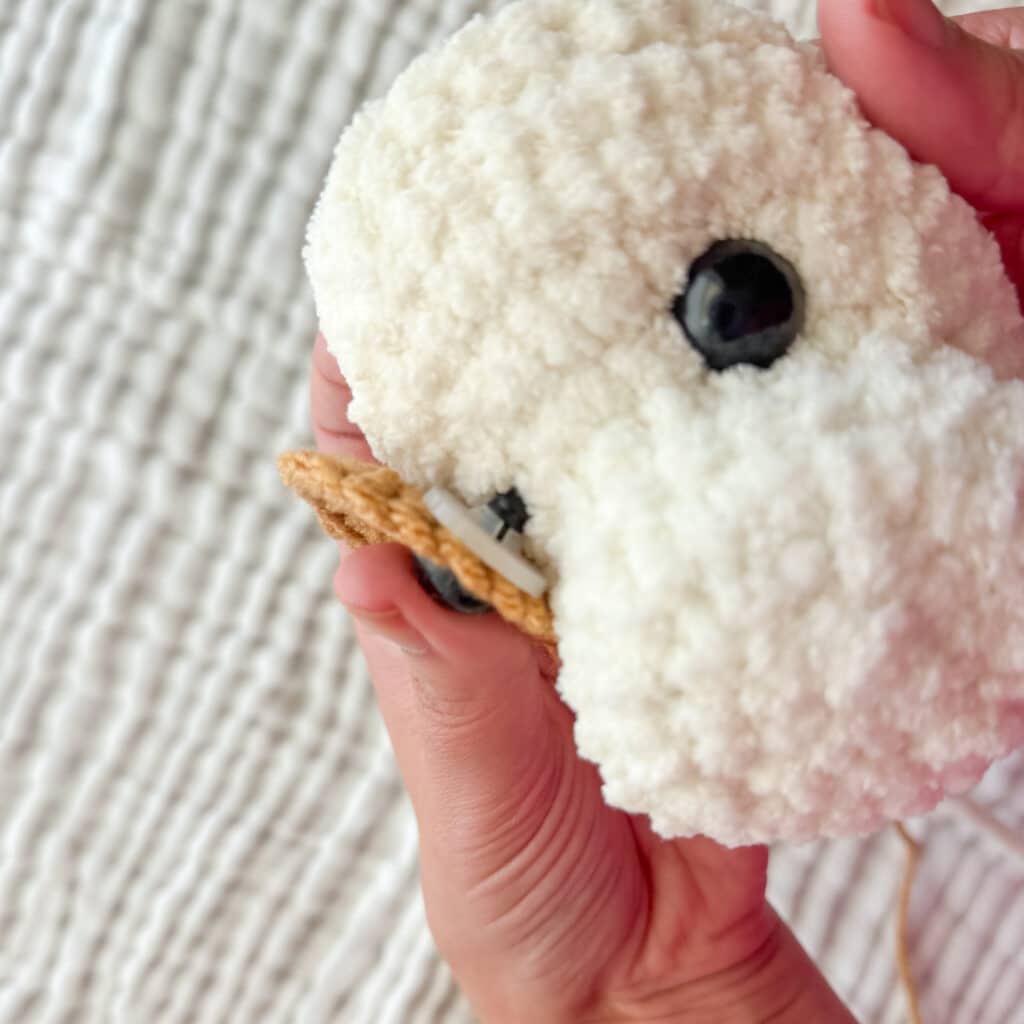
- Insert eyes between round 5 and 6, using the 8 INC of round 6 to help center them. There should be about 6 stitches between the eyes. If using the eye patch, sew it on now. You can use hot glue to pre-attach if you want it to stay in place while you sew it on. You will see about 4-5 stitches because the eye patch will cover some.
- Round 11: SC in the first 3, INV DEC.
- Round 12: SC in the first 2, INV DEC. Stuff here. Continue stuffing until the end.
- Round 13: SC in the first, INV DEC.
- Round 14: INV DEC. Fasten off and weave in the end.
Nose
Embroider the nose with worsted weight brown yarn around round 3 between the eyes. Cover about 4-5 stitches for length.
Ears (Make 2)
Using Accent Color (Chocolate):
- Round 1: In a magic circle, SC 8.
- Round 2: SC INC in each around. (16)
- Round 3: SC in the first, SC INC in the next. Repeat around. (24)
- Rounds 4-5: SC in each around. (24)
- Round 6: SC in the first, INV DEC in the next. Repeat around. (16)
- Rounds 7-9: SC in each around. (16)
- Round 10: INV DEC in each around. (8)
- Fasten off and leave a long tail to attach to the head.
Feet/Body
Using Main Color (Winter White):
- Round 1: In a magic circle, SC 6.
- Round 2: SC INC in each around. (12)
- Round 3: SC in the first, SC INC in the next. Repeat around. (18)
- Round 4: In the back loop only, SC in each around. (18)
- Rounds 5-7: SC in each around. (18)
- Round 8: SC in the first, INV DEC in the next. Repeat around. (12)
- Stuff the feet. Do not stuff past round 9.
- Round 9: INV DEC in each around. (6)
- Round 10: SC INC in each around. (12)
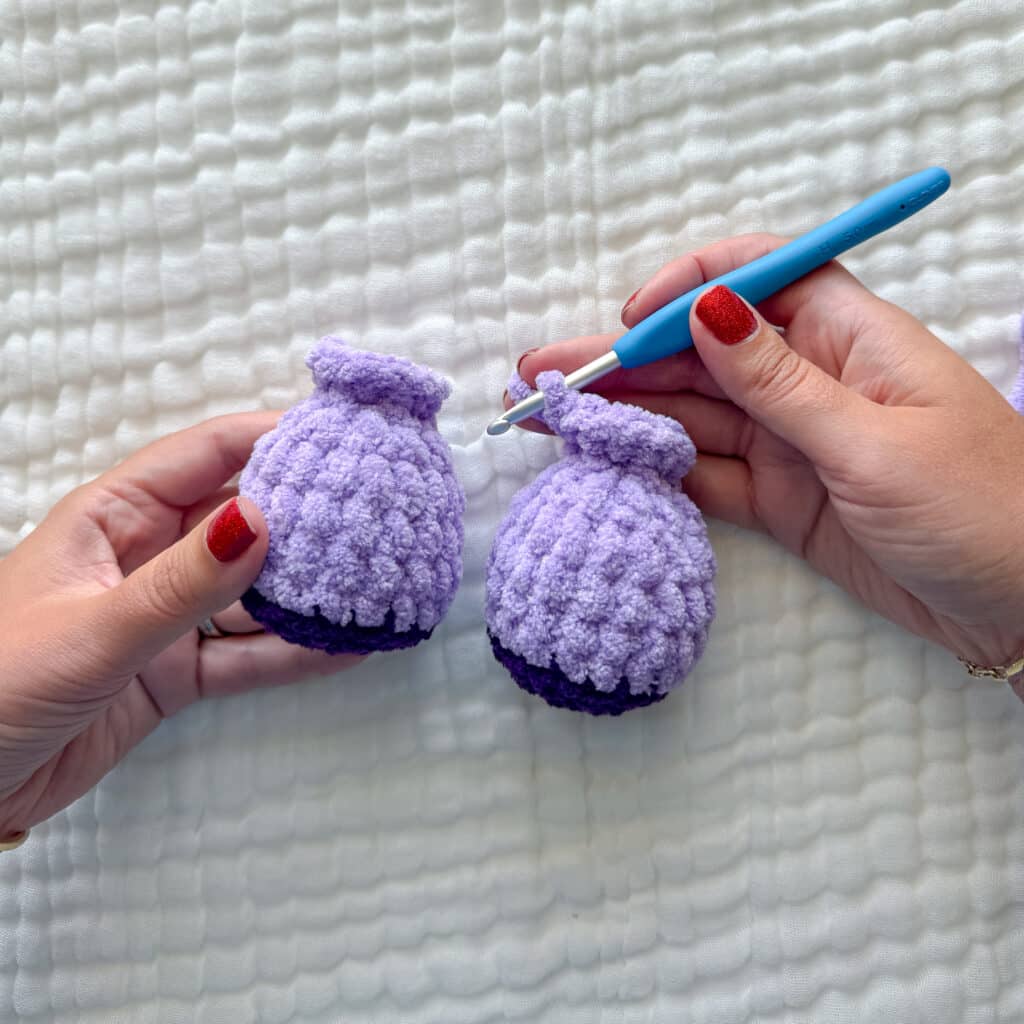
- Stop here and fasten off for the first foot.
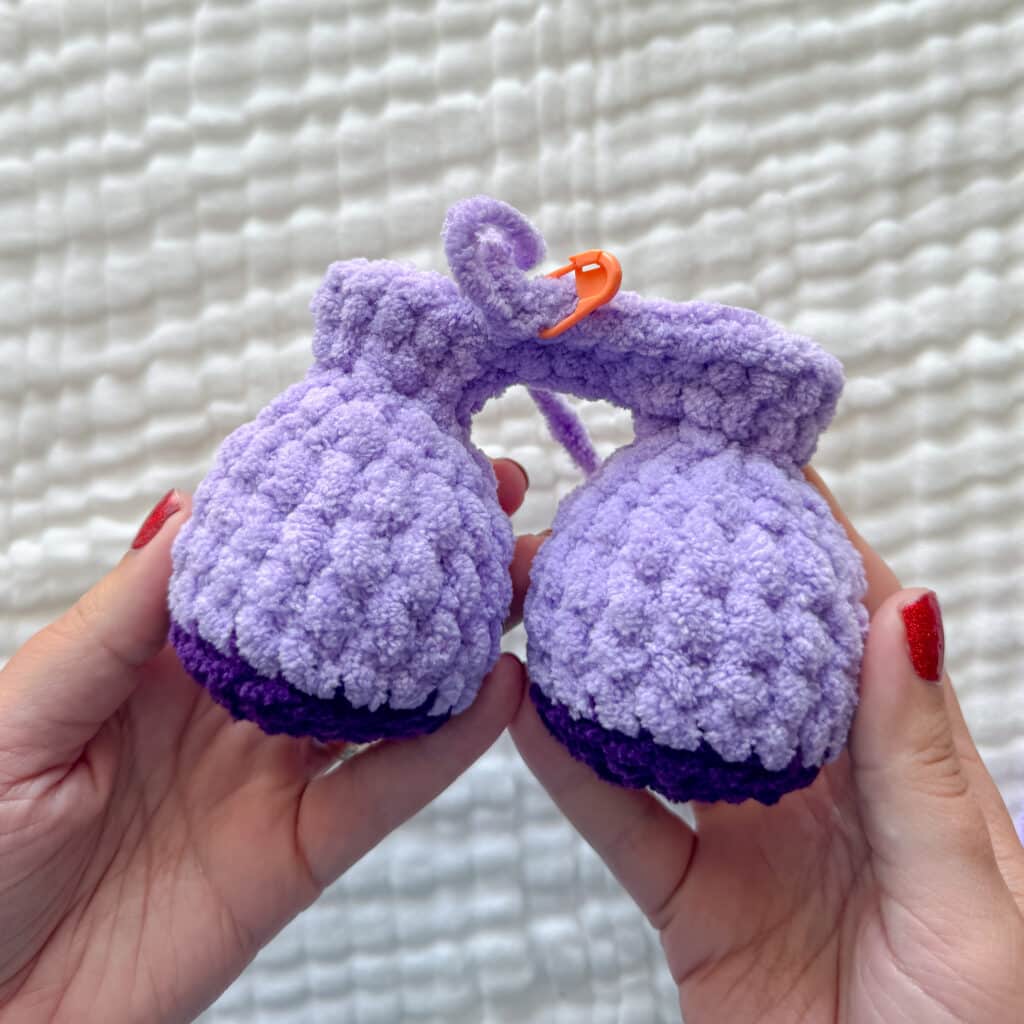
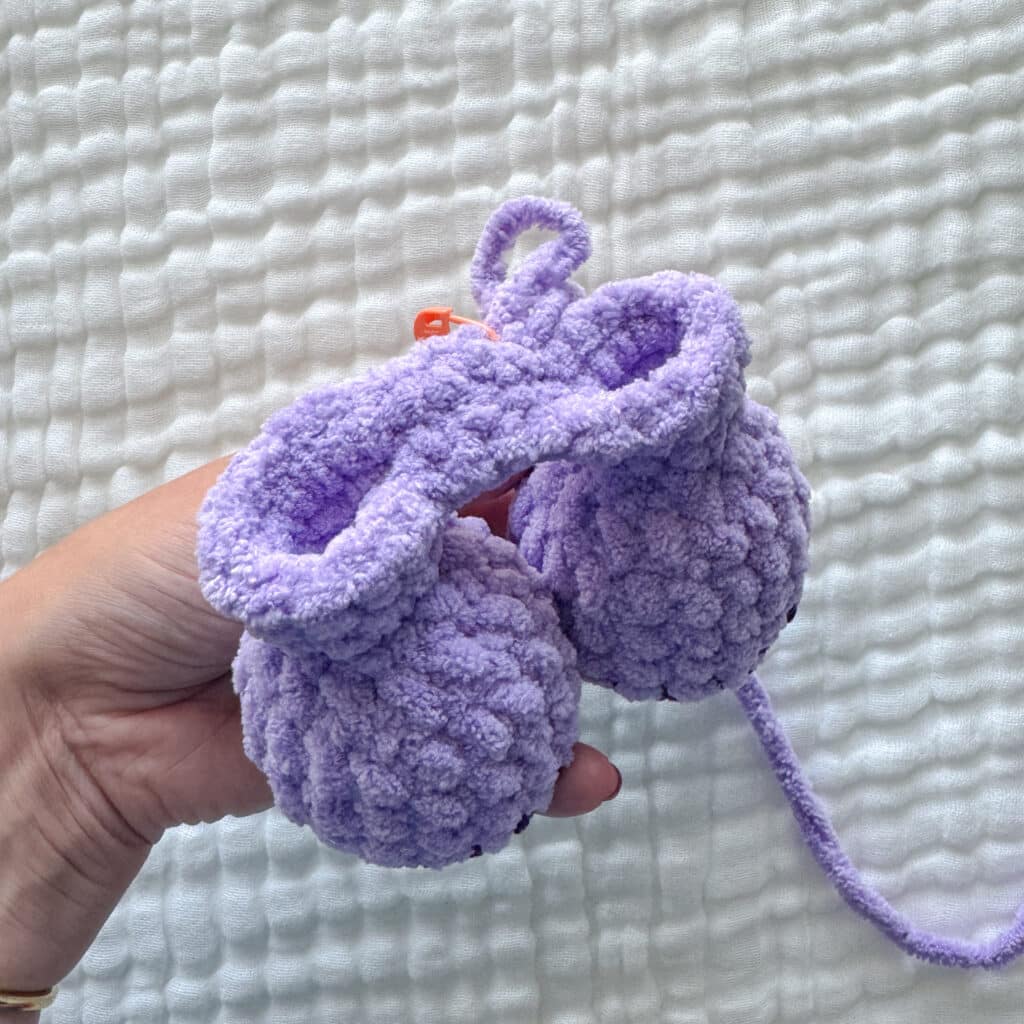
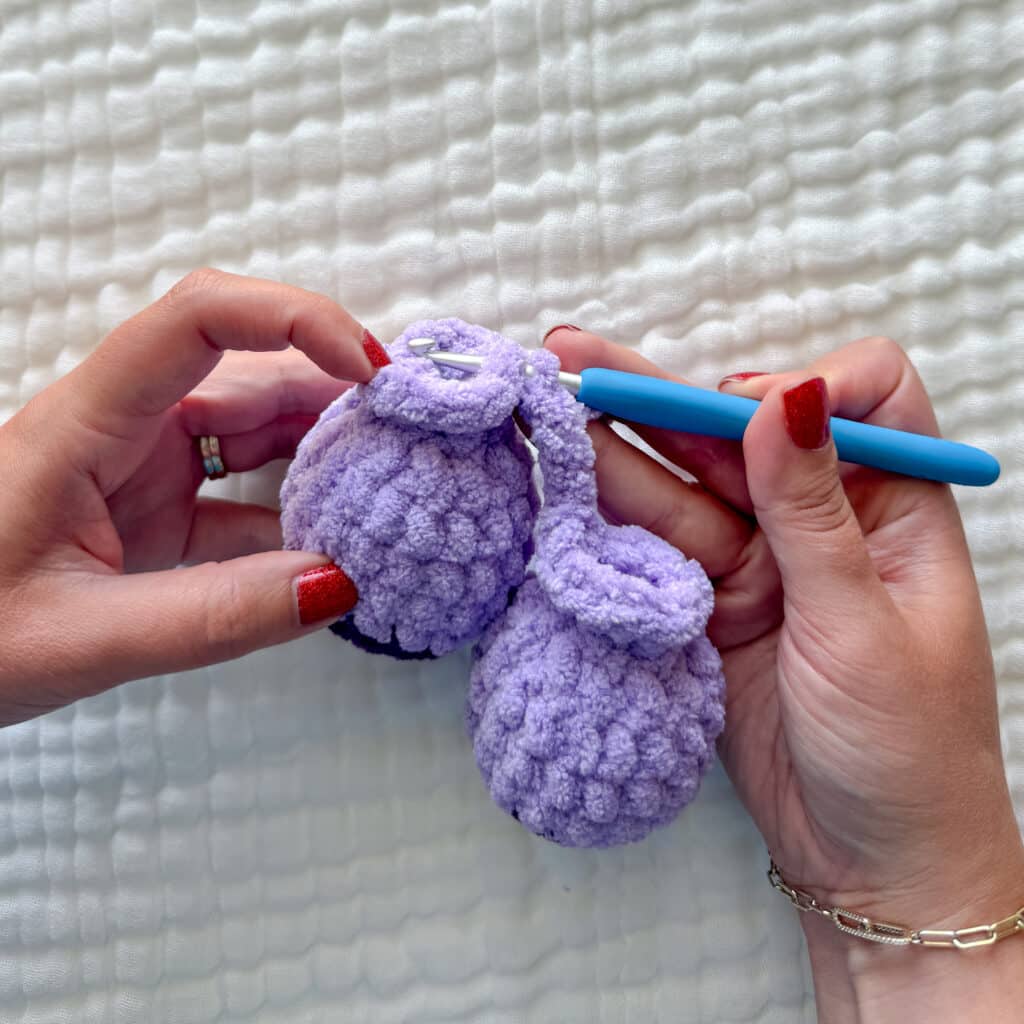
- On the second foot, chain 4 and slip stitch to the first leg where you fastened off.
- Round 11: Chain 1 and SC in each stitch around on the leg (12). SC in each chain across (4). SC in each stitch around the second leg (12). SC on the other side of the chain (4). Attach to the first SC with a slip stitch. (Total: 32)
Body (Continued)
- Rounds 12-16: SC in each around. (32)
- Round 17: SC in the first two, INV DEC in the next. Repeat around. (24)
- Rounds 18-20: SC in each around. (24)
- Round 21: SC in the first two, INV DEC in the next. Repeat around. (18)
- Round 22: SC in each around. (18)
- Round 23: SC in the first, INV DEC in the next. Repeat around. (12)
- Round 24: INV DEC in each around. (6)
- From here we are increasing the base we will sew on to the head.
- Round 25: SC INC in each around. (12)
- Round 26: SC in the first stitch, SC INC in the next. Repeat around. (18)
- Fasten off and leave a long tail to sew on.
Arms (Make 2)
Using Main Color:
- Round 1: In a magic circle, SC 6.
- Round 2: SC INC in each around. (12)
- Rounds 3-5: SC in each around. (12)
- Round 6: SC in the first, INV DEC in the next. Repeat around. (8)
- Rounds 7-11: SC in each around. (8)
- Fasten off and leave an extra long tail. Sew the opening closed.
Tail
Using Accent Color (Chocolate):
- Round 1: SC 6 in a magic circle.
- Rounds 2-4: SC in each around.
- Round 5: SC in the first, SC INC in the next. (9)
- Round 6: SC in each around. (9)
- Round 7: SC in the first, SC INC in the next. (12)
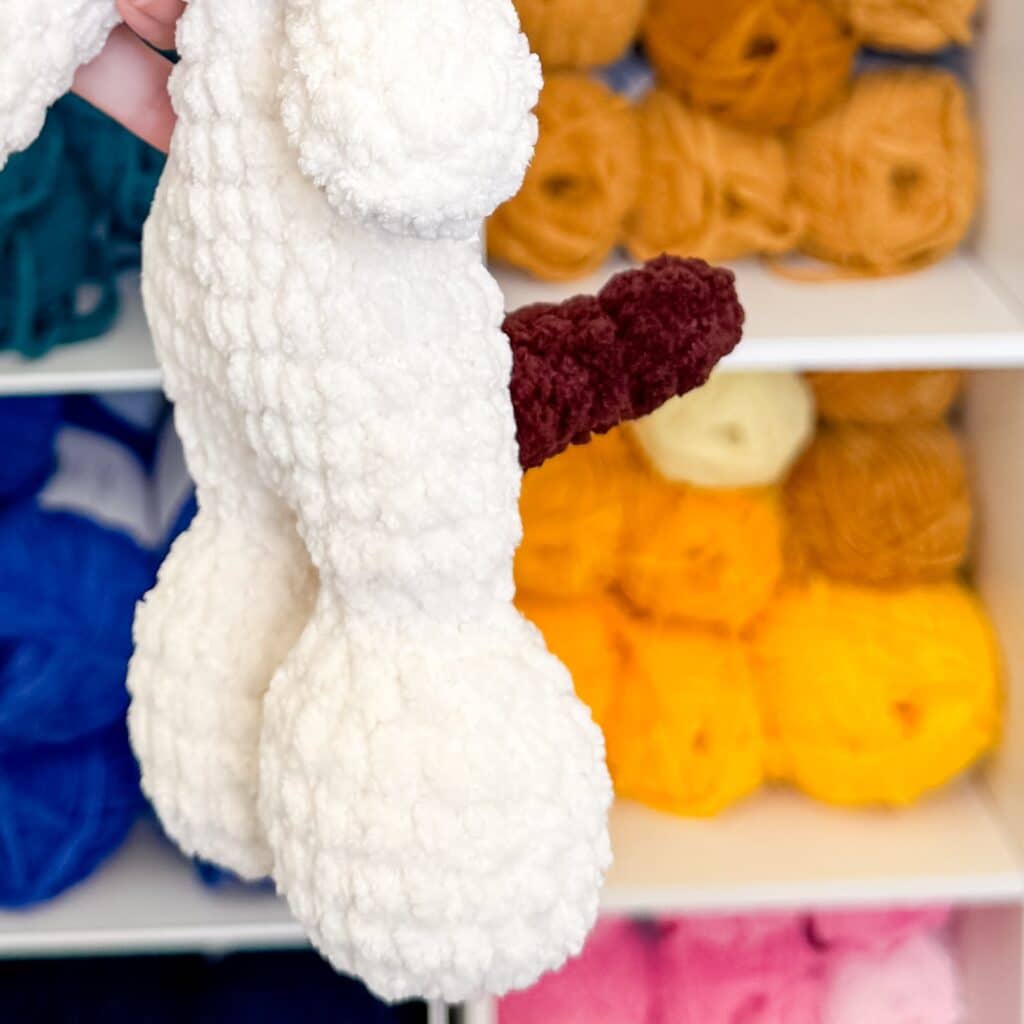
- Fasten off and attach at the back around rounds 13-15.
Assembly
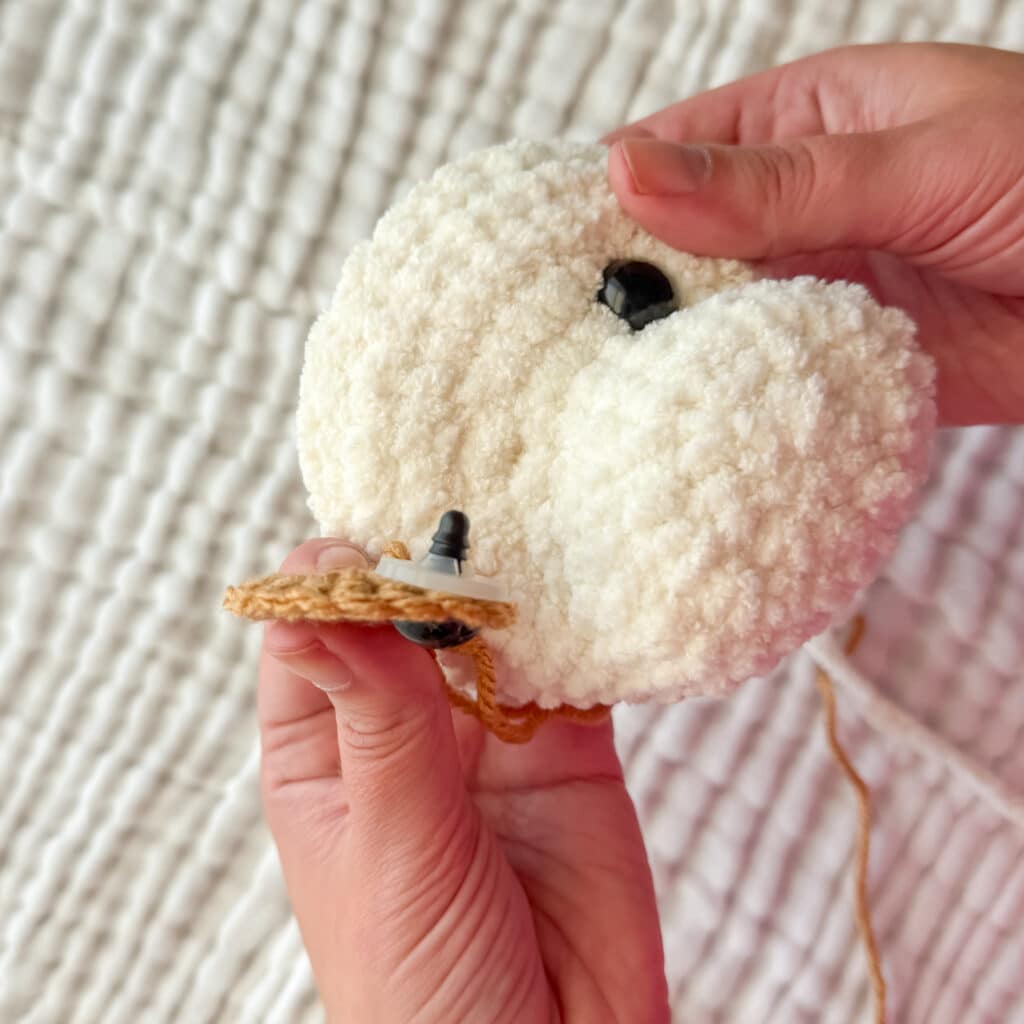
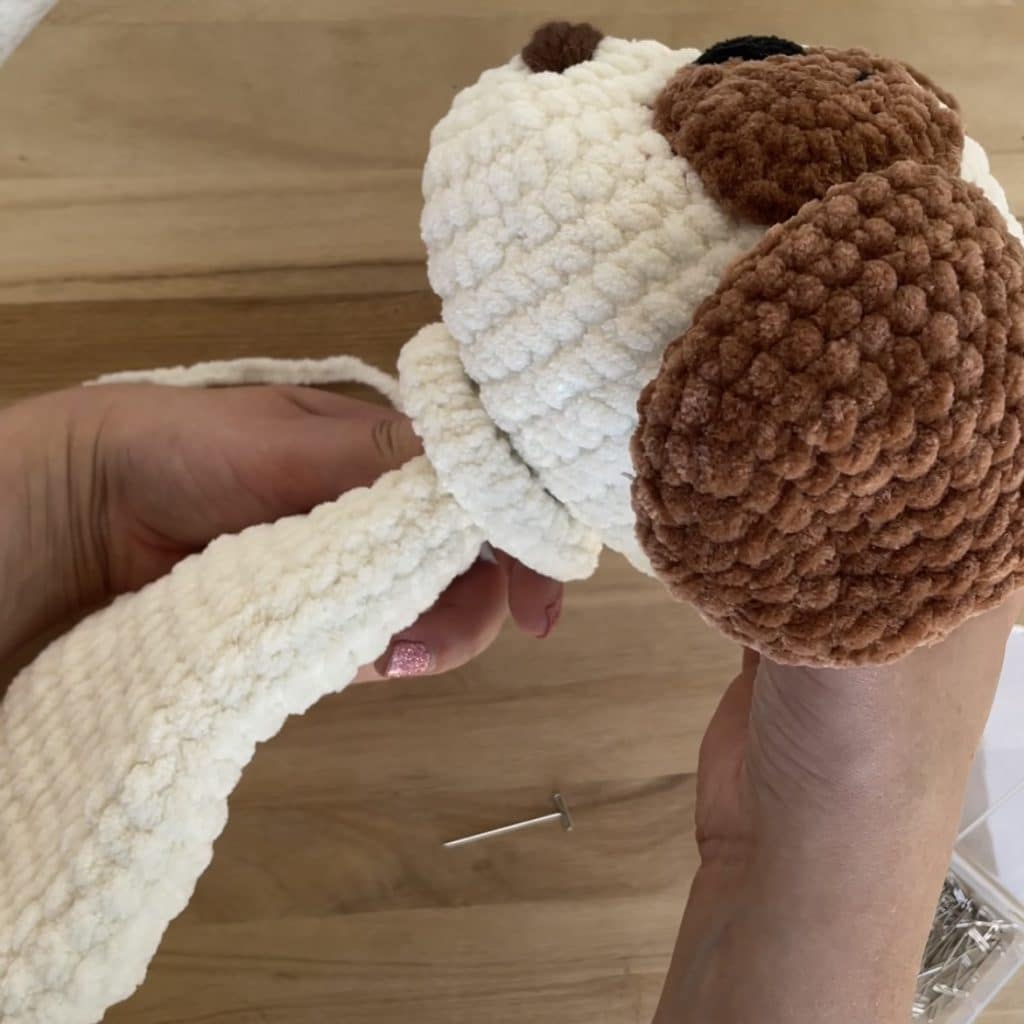
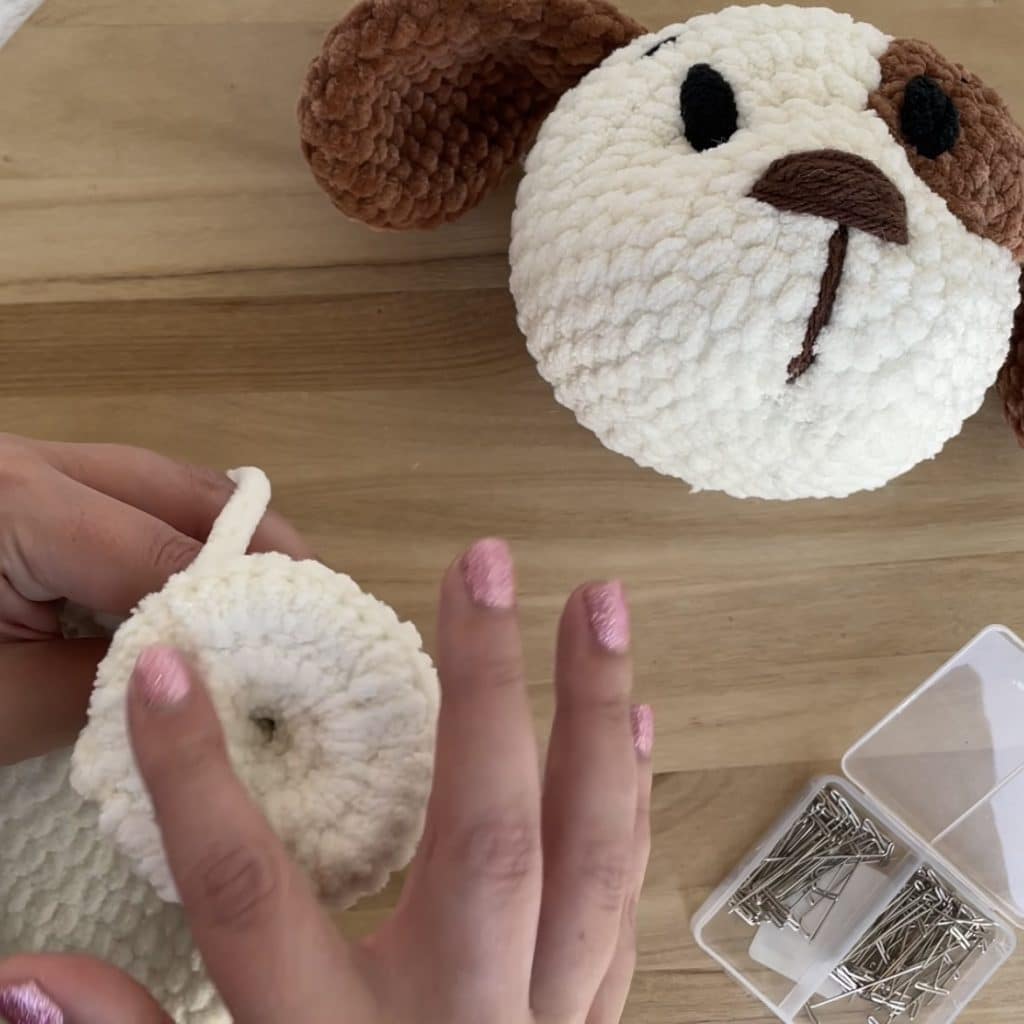
- Attach Head to Body: Pin the flat disc at the top of the body where you want it on the head. Try to center it as best you can. I prefer mine to be slightly close to the nose so that the head flops forward more than backwards. As you sew, go through the front loop on the SC at the top of the disc. Pull tightly each time. Try to pull the disc out as you go, so that it lies as flat to the head as you can.
- Attach Ears: Sew the ears to the head, then attach the head to the body (as described above).
- Attach Arms: Attach the arms with the long needle method on rows 24-25 just below the head.
- Finish: Weave in all ends securely.
Tips
- Tight Stitches: Use a hook size smaller than recommended to ensure tight stitches that hide stuffing.
- Eye Patch: If using an eye patch, sew it on before attaching the head. Hot glue can help pre-attach it.
- Stuffing: Do not stuff the feet past round 9 to maintain the knotted leg shape.
- Head Placement: Placing the head slightly closer to the nose creates the desired “floppy” look.
- Yarn Choice: Be aware that even within size 6 blanket yarns, brands work up differently. Premier Basix Chenille, Bernat Blanket, and Cozy Cub are suitable, but tension may vary.
FAQs
Can I use safety eyes for this pattern?
Yes, you can use 15mm safety eyes. However, because this is a snuggler/lovey, you may prefer to embroider the eyes for safety with babies and toddlers. If you embroider, you can do so at the very end of the project.
Why is my hook size different from the yarn label?
For plush yarns like Premier Basix Chenille, a 4.5mm hook is recommended even if the label suggests a larger size. This creates tight, dense stitches that prevent stuffing from showing through. If you find the stitches too tight, size up slightly until you are comfortable.
How do I attach the feet to the body?
You make the first foot and fasten off. On the second foot, after round 10, you chain 4 and slip stitch to the first leg where you fastened off. Then you continue crocheting around both legs to join them into the body.
Why does the head flop?
The head is designed to flop forward slightly. This is characteristic of the lovey/blanket form. When attaching the head, placing the disc slightly closer to the nose helps achieve this look.
What yarn can I substitute?

You can use other size 6 blanket yarns like Bernat Blanket, Bernat Baby Blanket, or Cozy Cub. Keep in mind that tension and stitch definition may vary between brands.
Pin This Crochet Pattern!