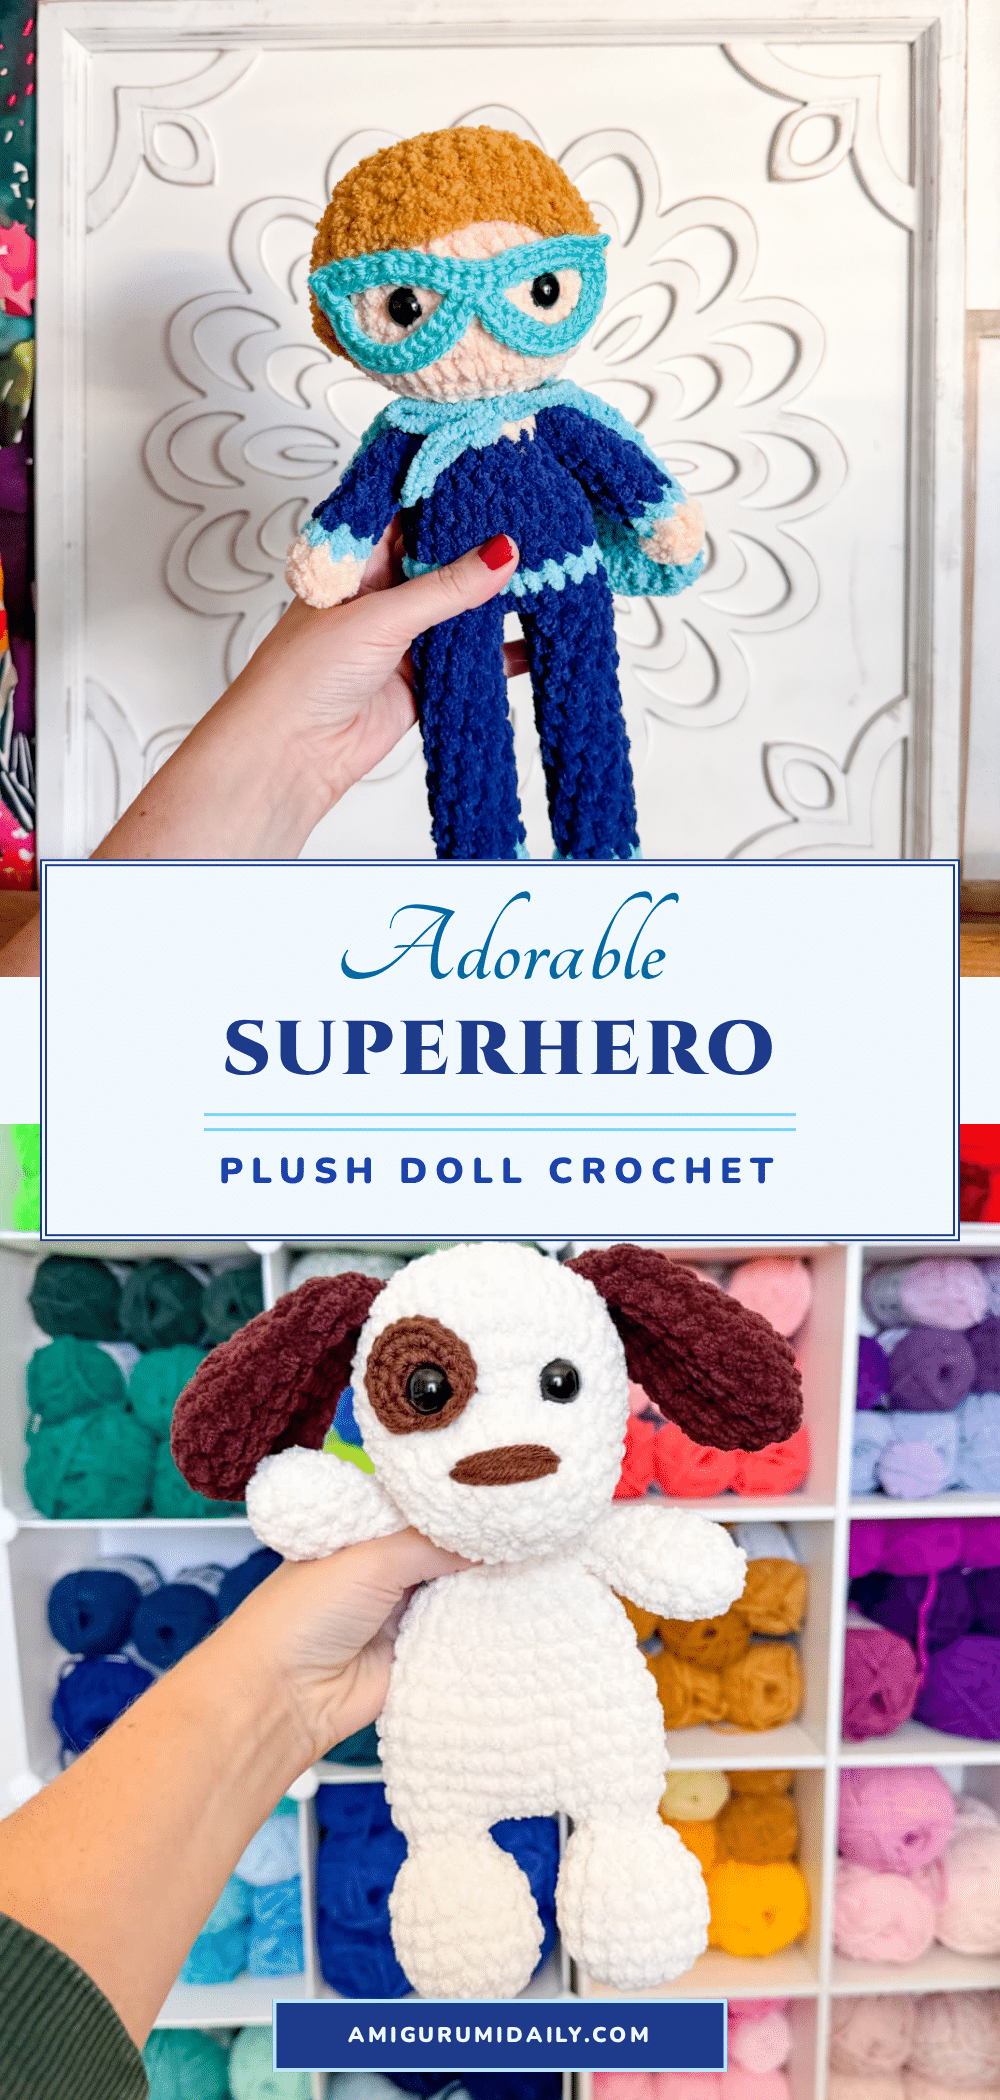
Yarn is draped across the table, the hook is warm in your hand, and the first round of magic circles is just beginning to take shape. There is a specific kind of magic in amigurumi when a flat piece of yarn transforms into a three-dimensional character that feels ready to leap off the page. This plush superhero doll is that moment of creation, where your stitches become a cuddly crime-fighter ready for adventure. It is a project that balances the technical satisfaction of seamless construction with the creative joy of colorwork and customization.
Why This Project Works
Most amigurumi patterns lean heavily into traditional characters, but this design fills a unique gap for makers who want to create something dynamic for play. The standout feature here is the removable cape, which adds a layer of interactive fun that keeps the doll engaging long after it is finished. The construction method—working the legs and body in one continuous piece—creates a sturdy, standing figure that holds its shape beautifully without requiring complex internal armatures. Additionally, the option to use embroidered eyes makes this pattern versatile enough for older children while remaining safe for toddlers, and the “wig” style hair allows for endless styling possibilities.
Project Overview
This standing superhero doll is crafted using a seamless construction method where the two legs are crocheted and then attached to form the base of the body. The body and head continue upward in one piece, allowing for easy stuffing and structural integrity. The arms are worked separately and attached at the end, while the hair is created as a wig and sewn onto the head. A neck strengthener is inserted to ensure the head remains stable and upright. The mask and cape can be left unattached for play props or secured for a permanent look.
Materials
- Yarn:
- 30g skin color
- 55g main color
- 40g accent color
- 30g hair color
- Small amount of worsted weight yarn in matching color (for mask)
- Hook Sizes:
- 4.5mm hook for plush yarn (or hook size that keeps stitches tight and feels comfortable)
- 3.75mm hook for worsted weight yarn
- Notions:
- 14mm safety eyes
- Tapestry Needle
- Polyfil stuffing
- Stitch marker
- Glue gun and glue sticks (for attaching the mask)
Gauge and Finished Size
Specific gauge measurements and finished dimensions are not provided in the source pattern. However, the pattern notes emphasize using a hook size smaller than recommended for the yarn weight to ensure tight stitches, which is critical for maintaining the shape of the amigurumi.
Abbreviations
The following abbreviations are used in this pattern:
- SC: Single Crochet
- INC: Increase (2 SC in the same stitch)
- DEC: Decrease (2 SC together)
- INV DEC: Invisible Decrease
- HDC: Half Double Crochet
- DC: Double Crochet
- SL ST: Slip Stitch
- MC: Main Color
- AC: Accent Color
Pattern Notes
This pattern is considered intermediate, though brave advanced beginners may also succeed. The pattern utilizes a “yarn over/yarn over” single crochet technique. For the skin-colored sections (body, head, and arms), you may opt for a “yarn under/yarn over” single crochet to keep stitches tighter, or size down half a hook size if preferred.
The yarn weight used is a size 6 blanket yarn (such as Premier Basix Chenille, Bernat Blanket, or Bernat Baby Blanket). These are generally interchangeable, but hook sizes may need adjustment based on the specific brand. For Premier Basix Chenille, a 4.5mm hook is used; for Bernat, a 5mm hook is recommended. Always aim for tight stitches to prevent stuffing from showing.
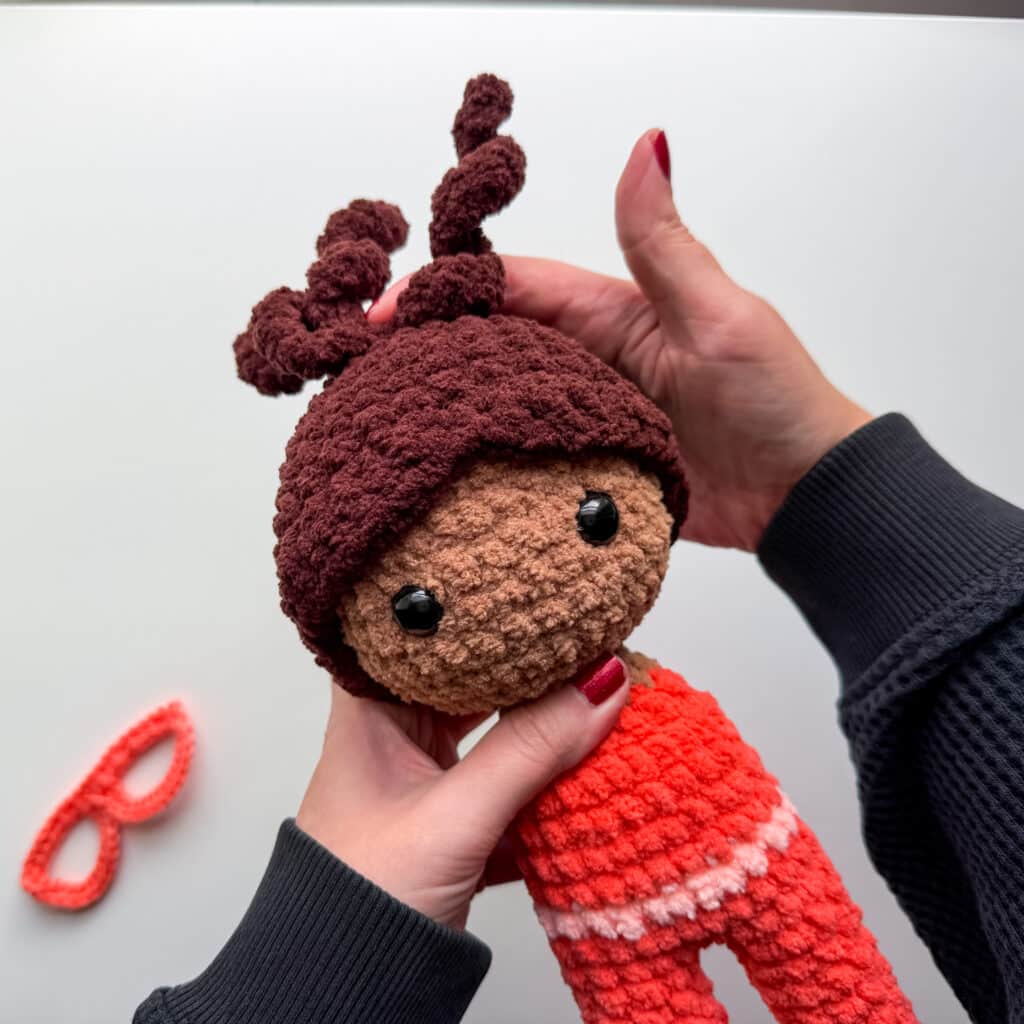
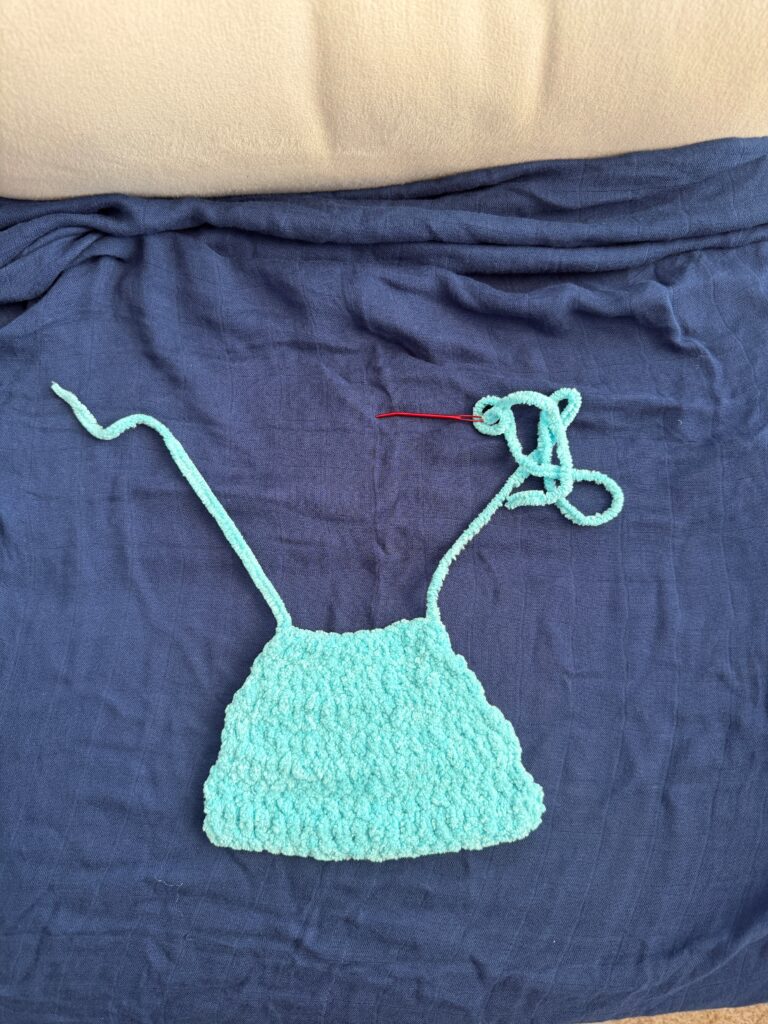
The mask is made first using worsted weight yarn and a 3.75mm hook, even though it is attached last. This allows you to use the mask to help position the eyes and hair correctly before final assembly.
Pattern Instructions
Mask
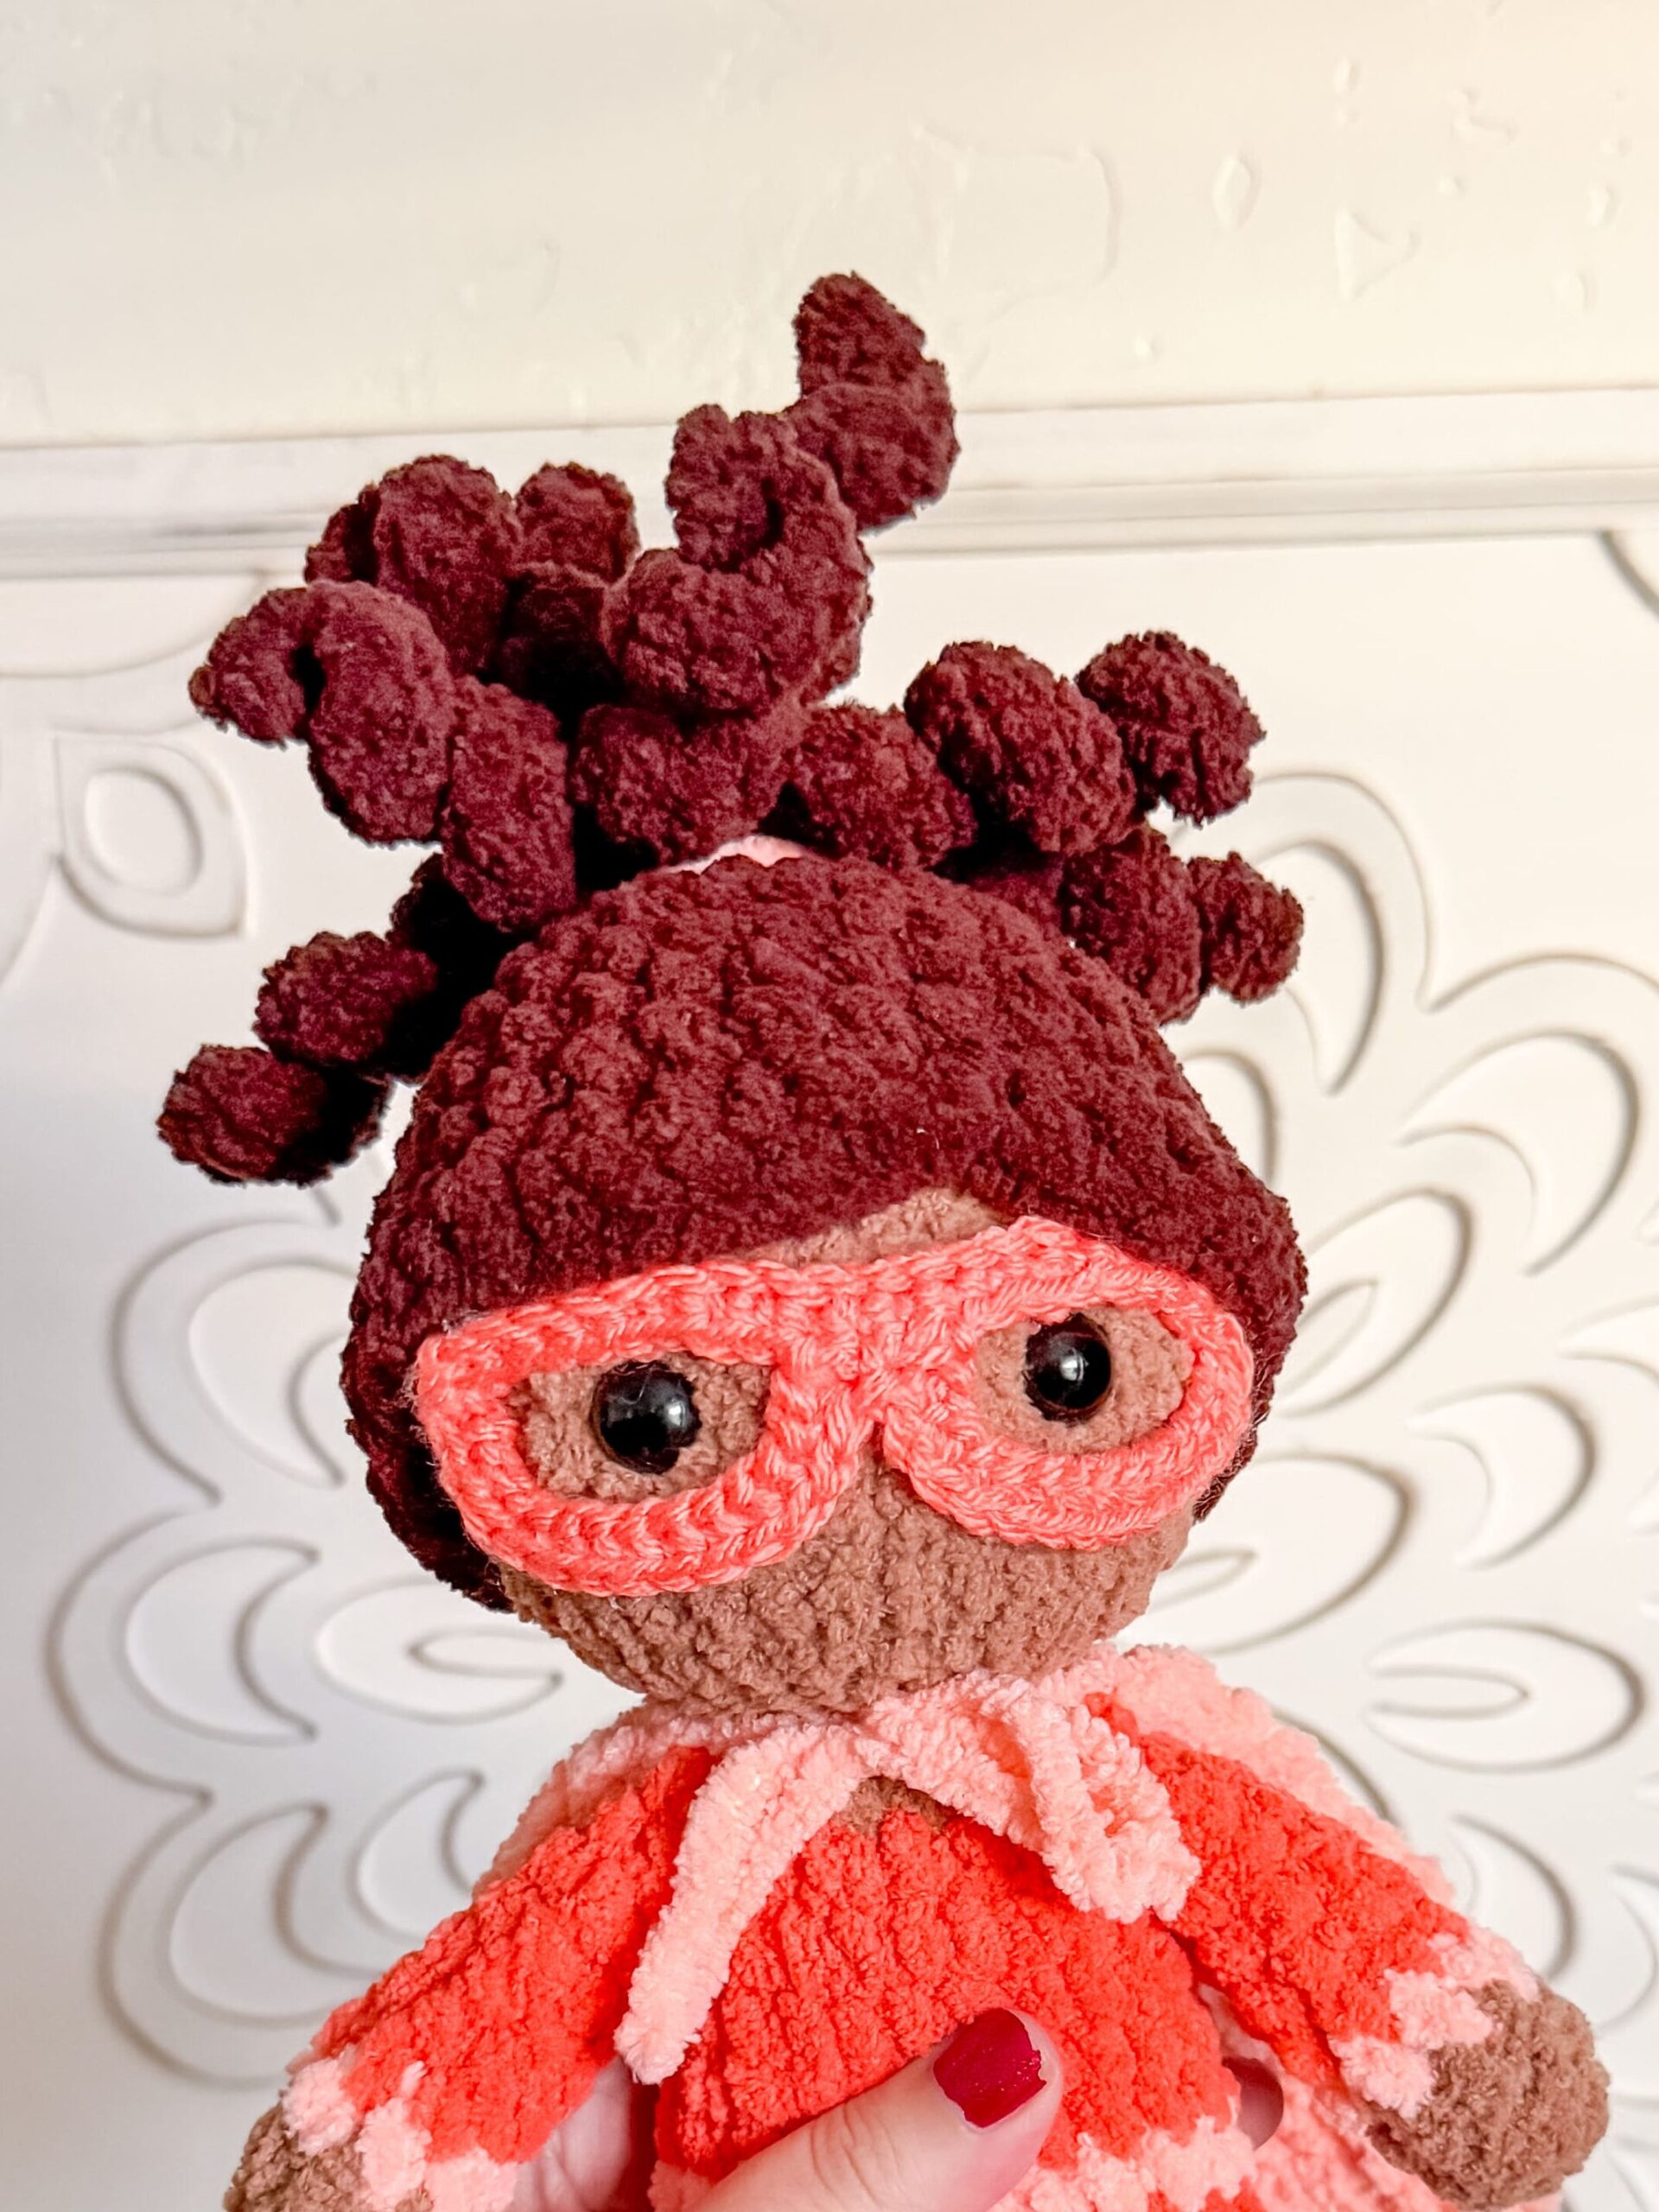
Using worsted weight yarn in the accent color and a 3.75mm hook:
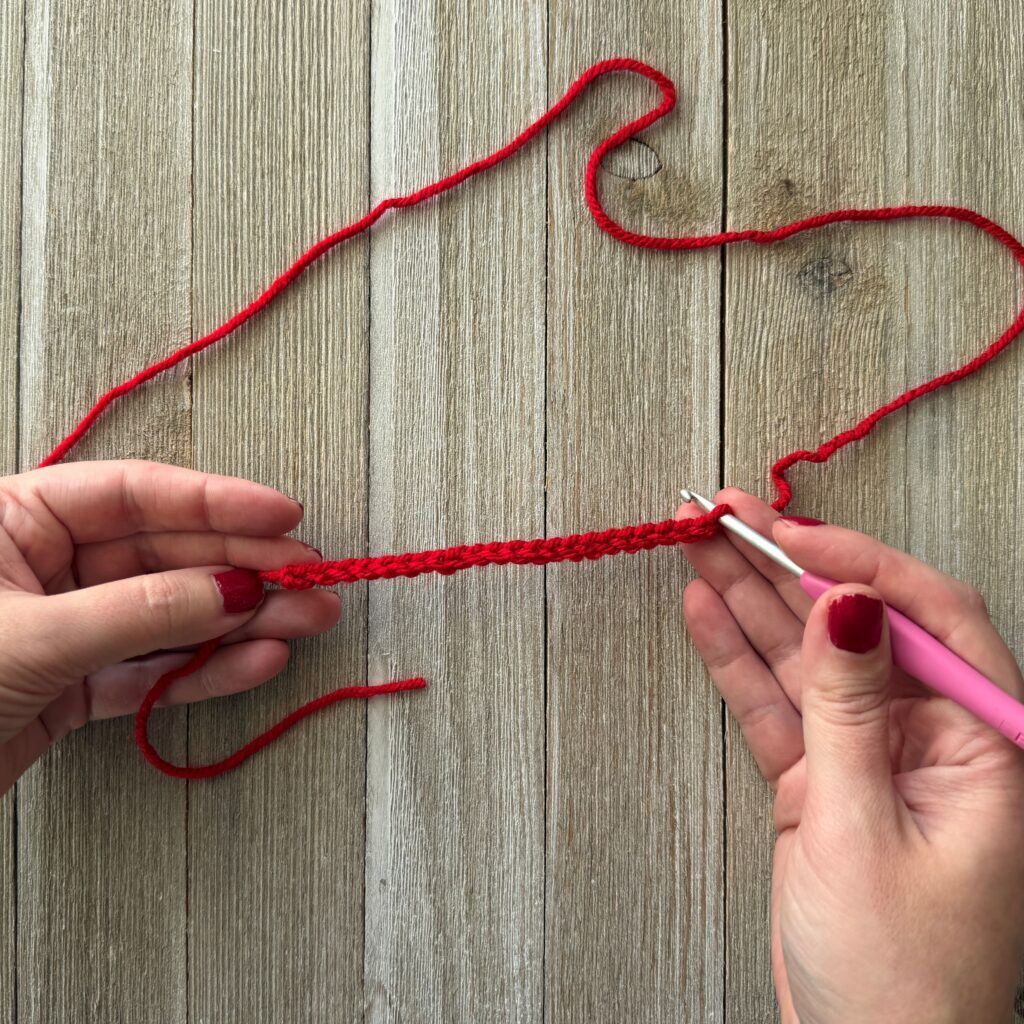
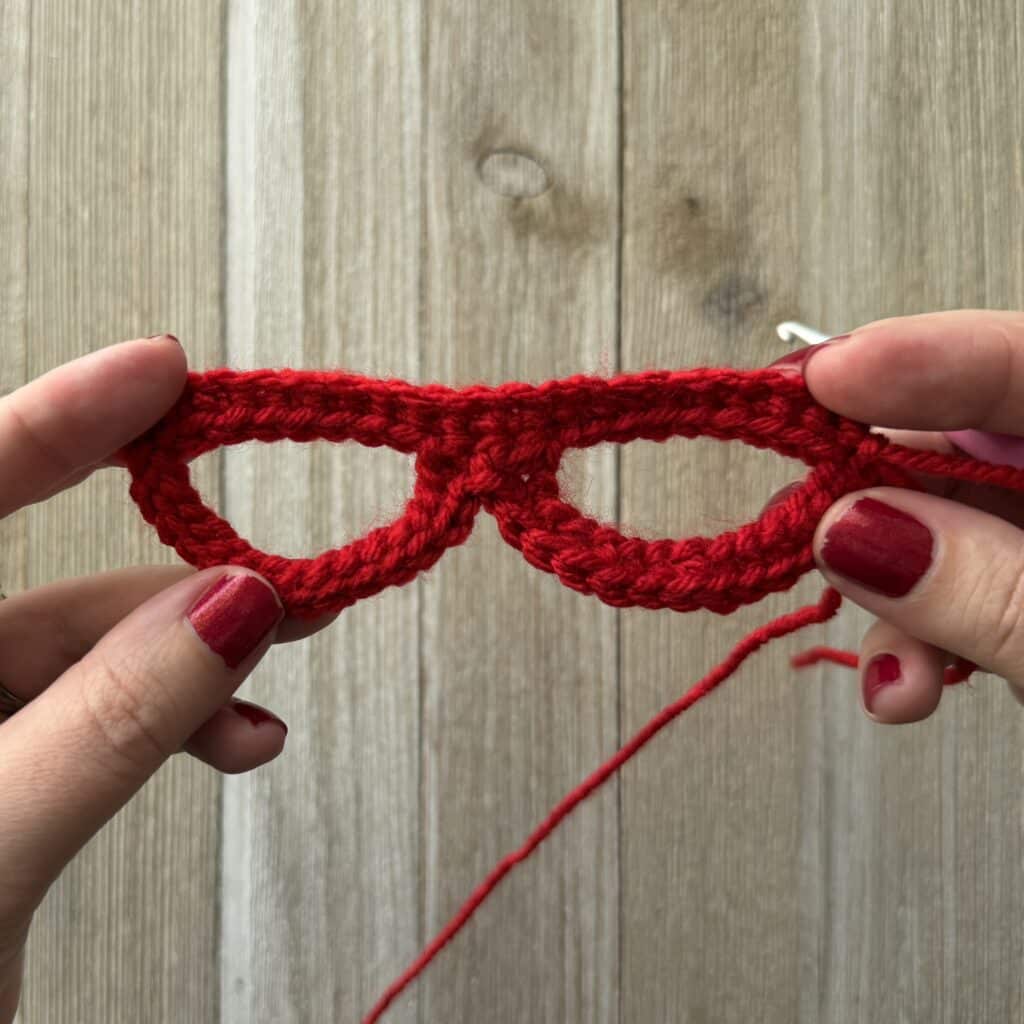
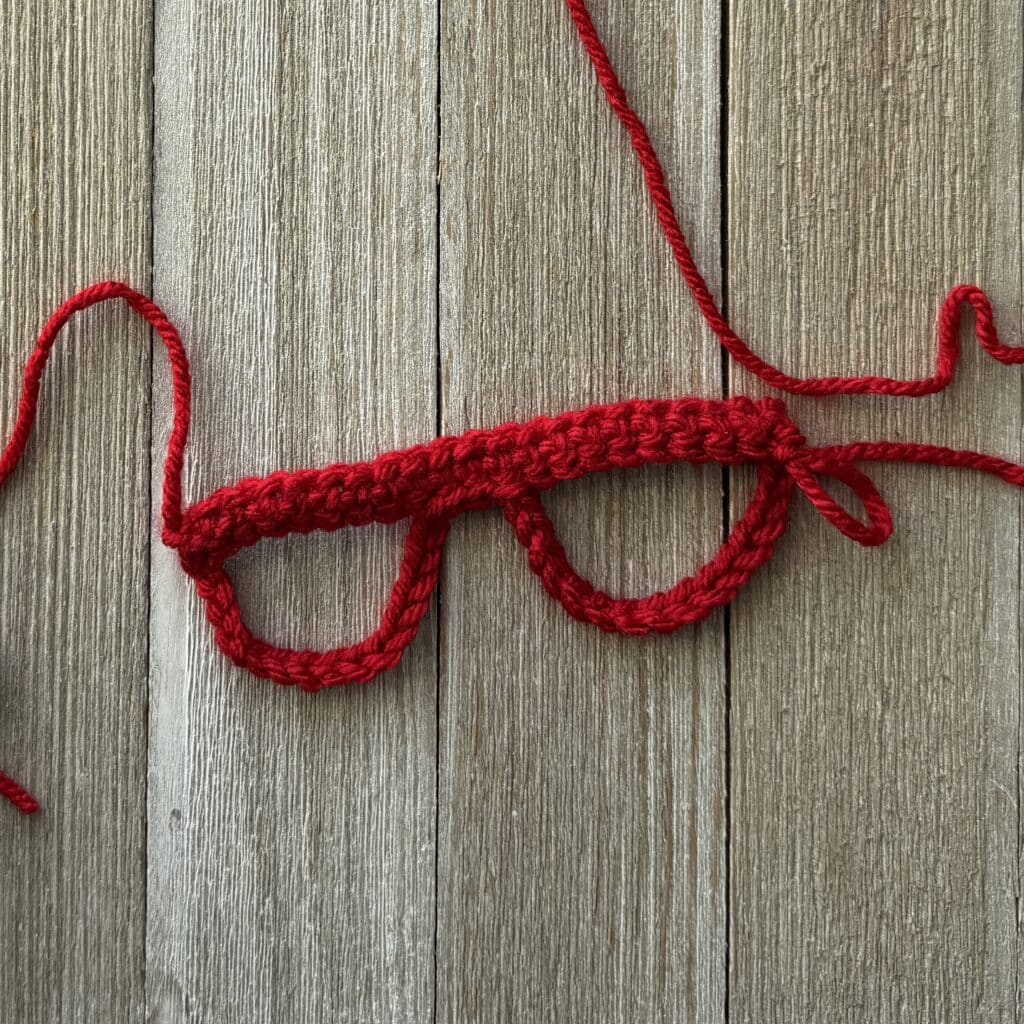
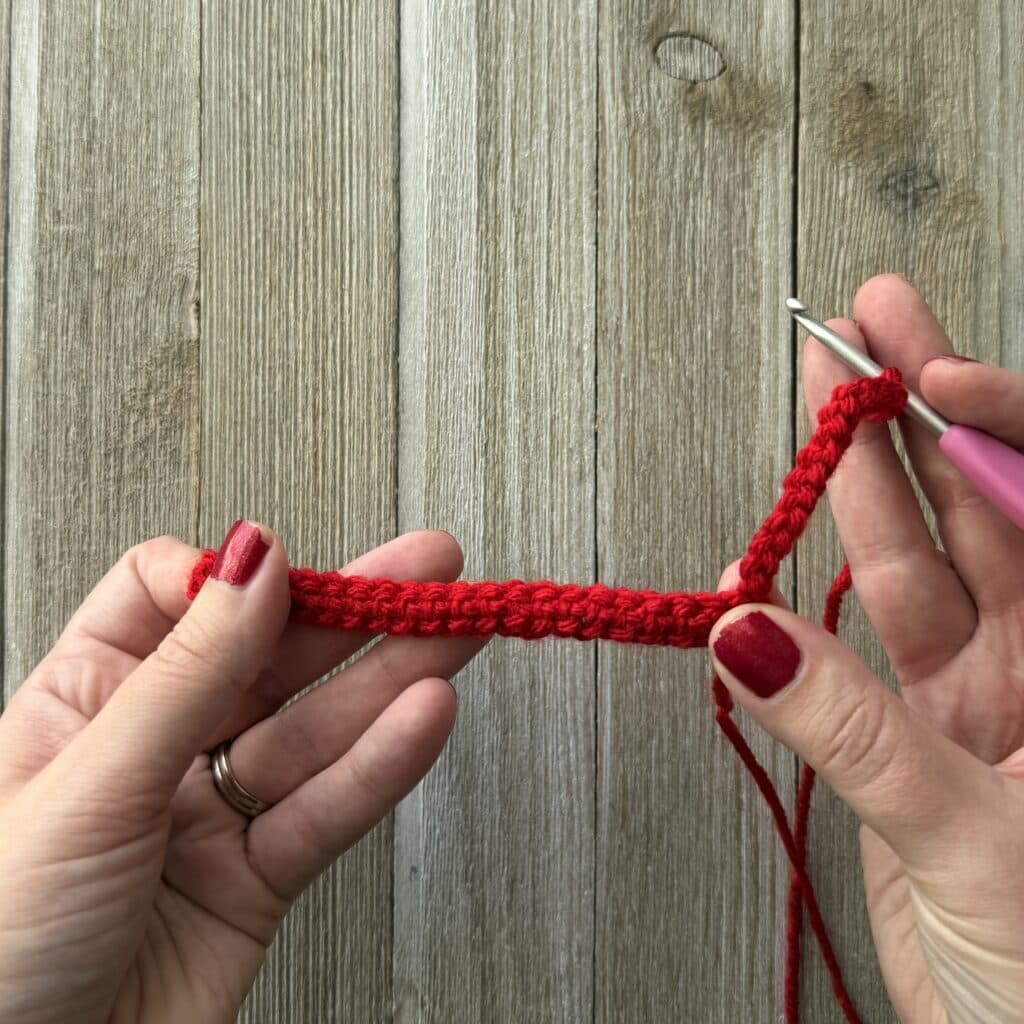
- Chain 22.
- SC in the 3rd chain from hook. SC in each across. Turn. (20 SC)
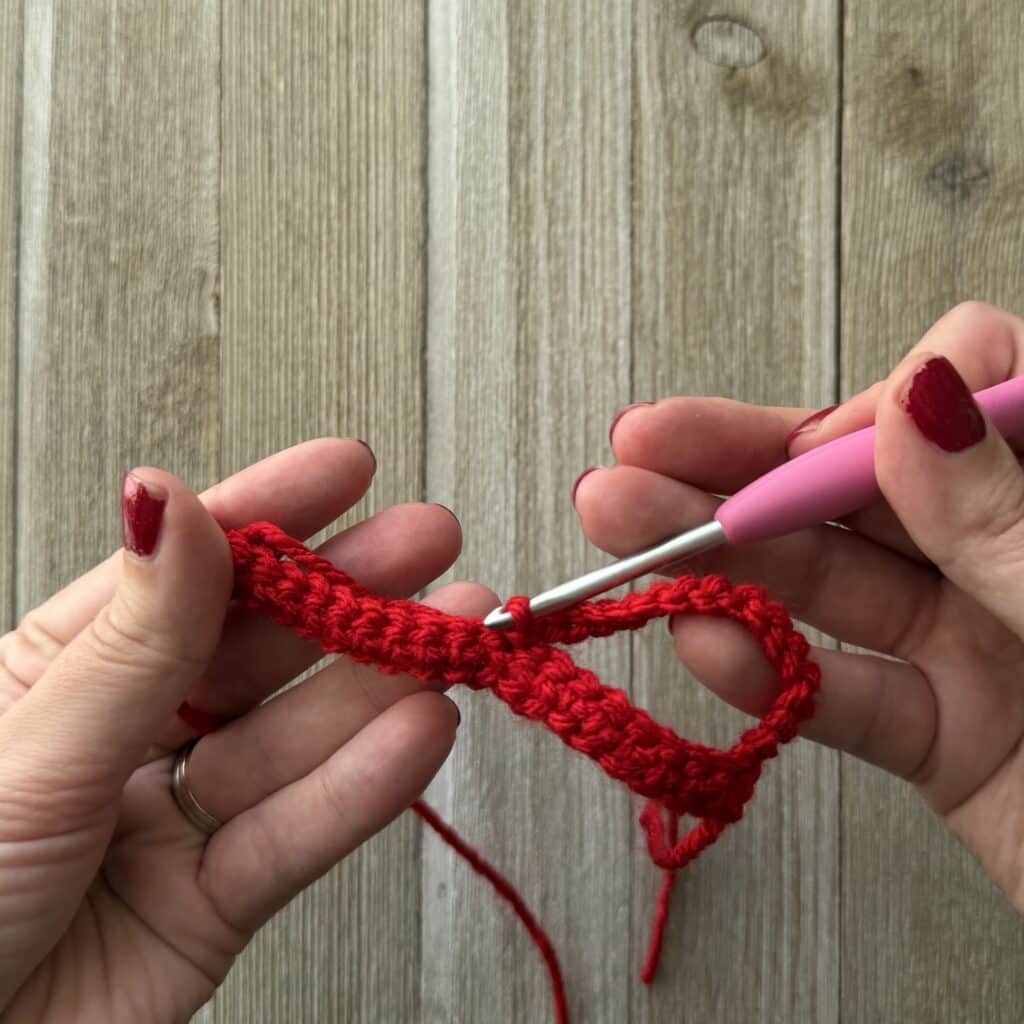
- Chain 15. Count 9 SC over.
- Slip stitch to that 9th SC. Slip stitch in the next 2.
- Chain 15 more and connect it with a slip stitch to the last SC.
- Chain 1 and turn. SC in the next 15 chains. Then slip stitch in the middle. SC in the last 15 chains and then slip stitch to the last SC.
Neck Strengthener
Using the Skin Color:
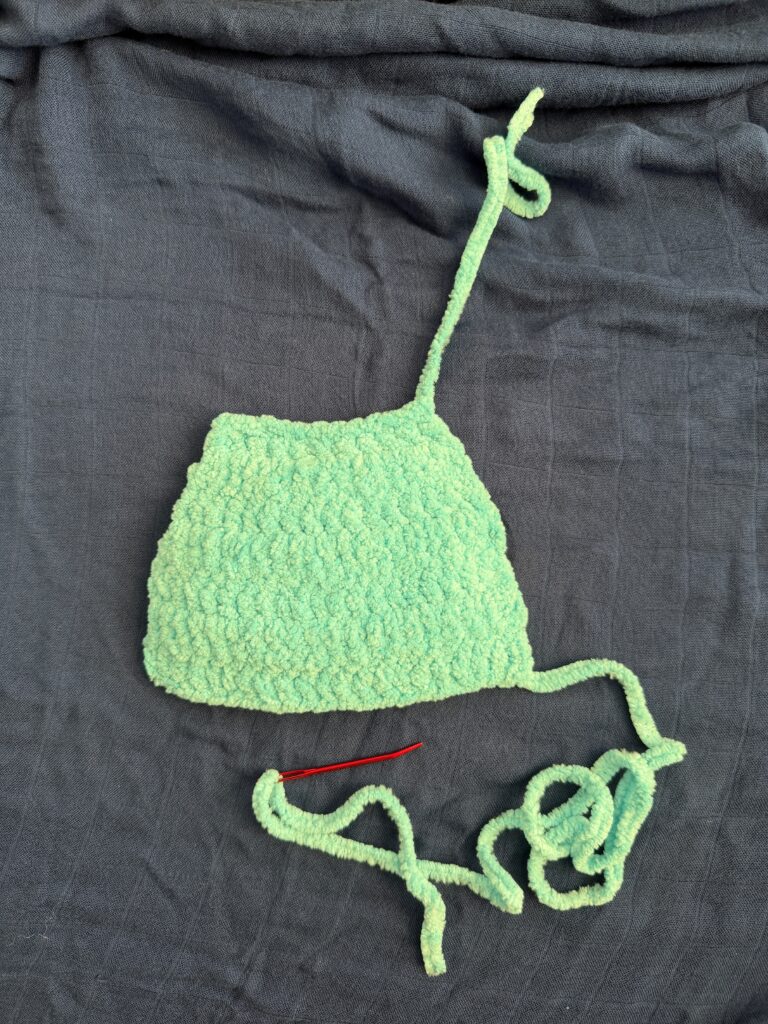
- In a magic circle, SC 7.
- SC in each around for a total of 7 rows.
- Fasten off and leave a long tail. You will need this before you stuff the head.
Legs (make 2)/Body
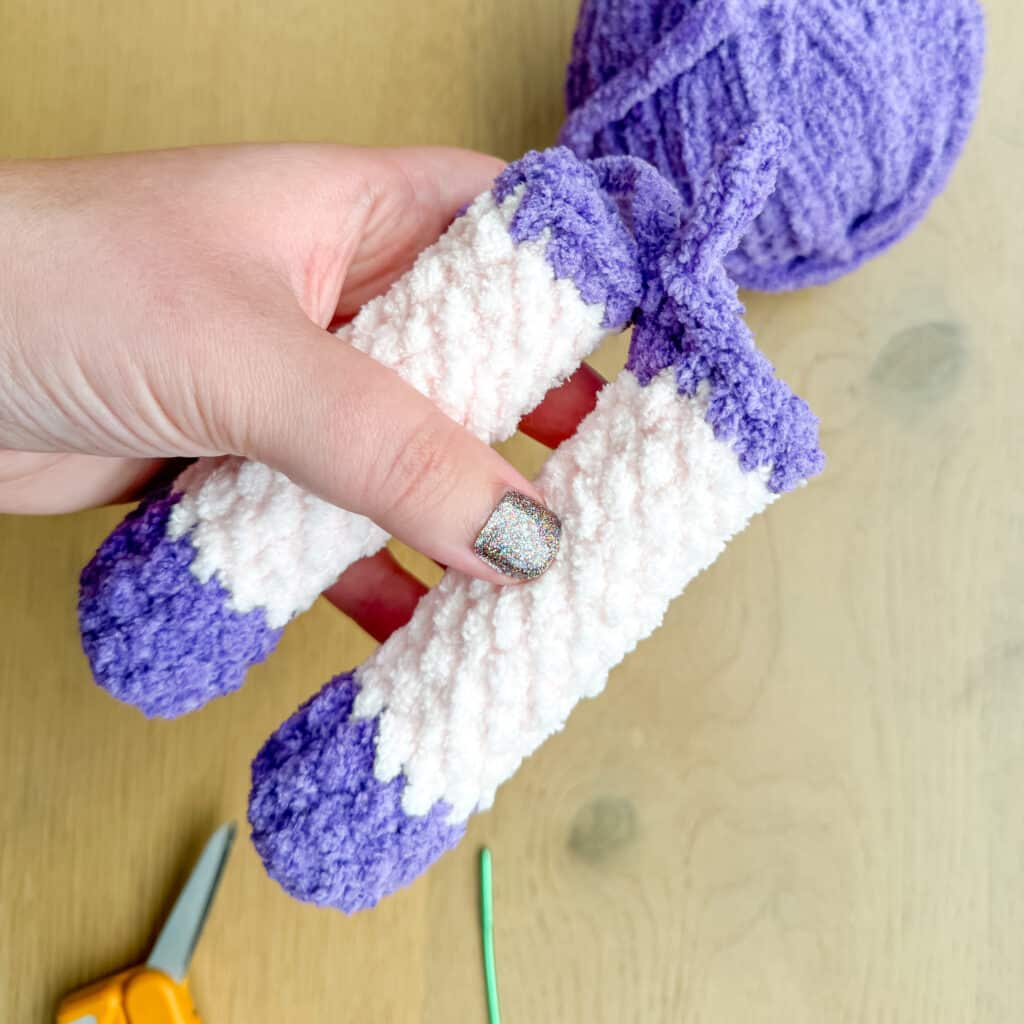
Starting with the legs and using the accent color:
- Round 1: 10 in a magic circle.
- Rounds 2-5: SC in each around. (10) *4 rounds*
- Change to body color.
- Rounds 6-15: SC in each around. (10) *8 rounds* (15 rounds total for each leg)
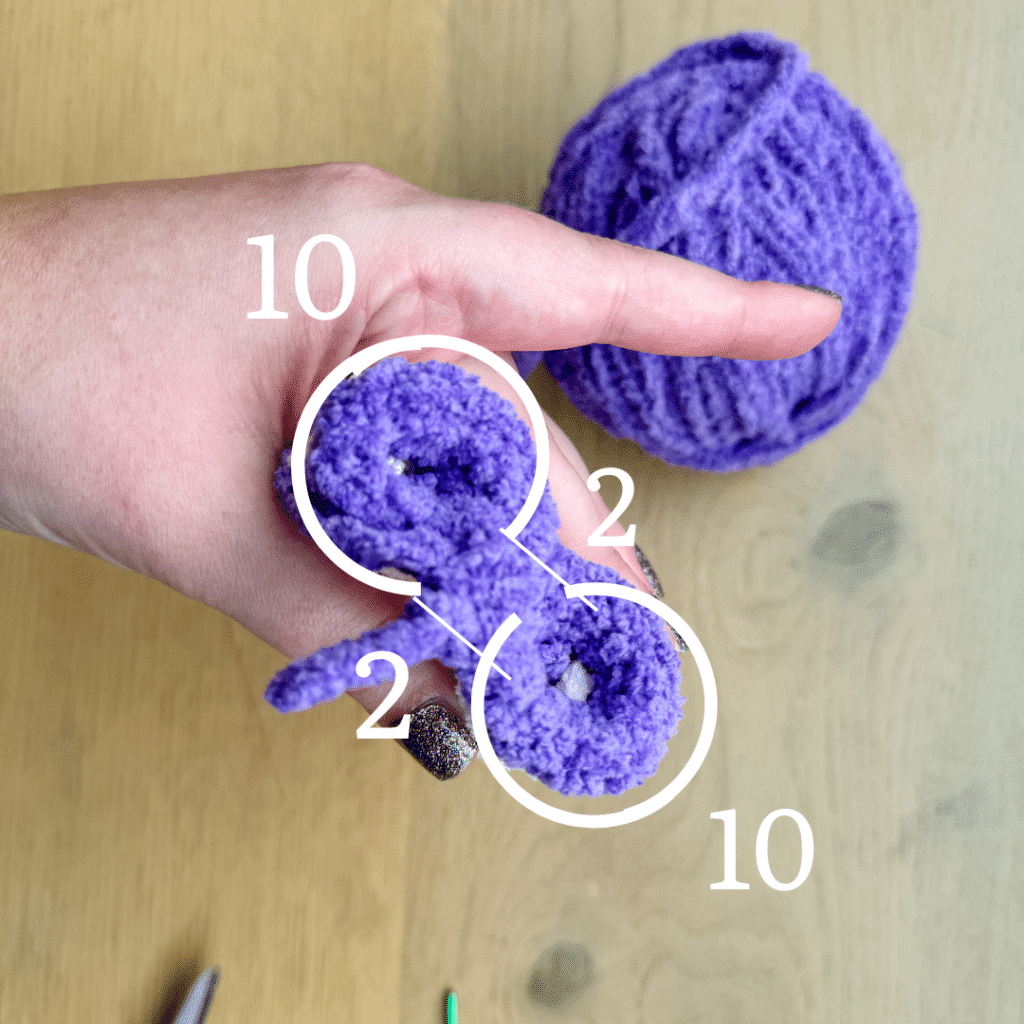
- Fasten off the first foot.
- On the second foot, chain 2 and slip stitch to the first leg where you fastened off.
- Round 16: SC in each stitch around the first leg (10). SC in each chain across. (2) SC in each stitch around the second leg. (10) SC on the other side of the chain. (2) Attach to the first SC with a slip stitch. (a total of 24)
Body (cont’d) to Head
- Rounds 17-18: SC in each around. (24) Change to accent color.
- Round 19: SC in each around. (24) Change back to main color.
- Rounds 20-22: SC in each around. (24)
- Round 23: SC in the first, INV DEC in the next. Repeat around. (16)
- Round 24: SC in each around. (16) Change to skin color in the next round. Make sure that you are changing color in the back, the opposite of what side the shoes and belt look the best. Begin to stuff here. Continue to stuff as you close.
- Round 25: SC in each around. (16) Begin to stuff the body here. Continue to stuff as you close.
- Round 26: INV DEC 8 times. (8)
- Round 27: SC in each around. (8)
- Round 28: In the front loop only, SC INC. (16)
- Round 29: SC in the first, SC INC in the next. Repeat around. (24)
- Round 30: SC in the first two stitches, SC INC in the next. Repeat around. (32)
- Rounds 31-35: SC in each around. (32) *5 rows* Insert the neck strengthener here. Attach the eyes between rounds 33 and 34, about 6 stitches apart. Stuff as you close.
- Round 36: SC in the first 2, INV DEC in the next. Repeat around. (24)
- Round 37: SC in each around. (24)
- Round 38: SC in the first. INV DEC in the next.. Repeat around. (16)
- Round 39: INV DEC 8 times. (8) Finish stuffing well here. Fasten off and sew the remaining hole closed.
Nose (optional)
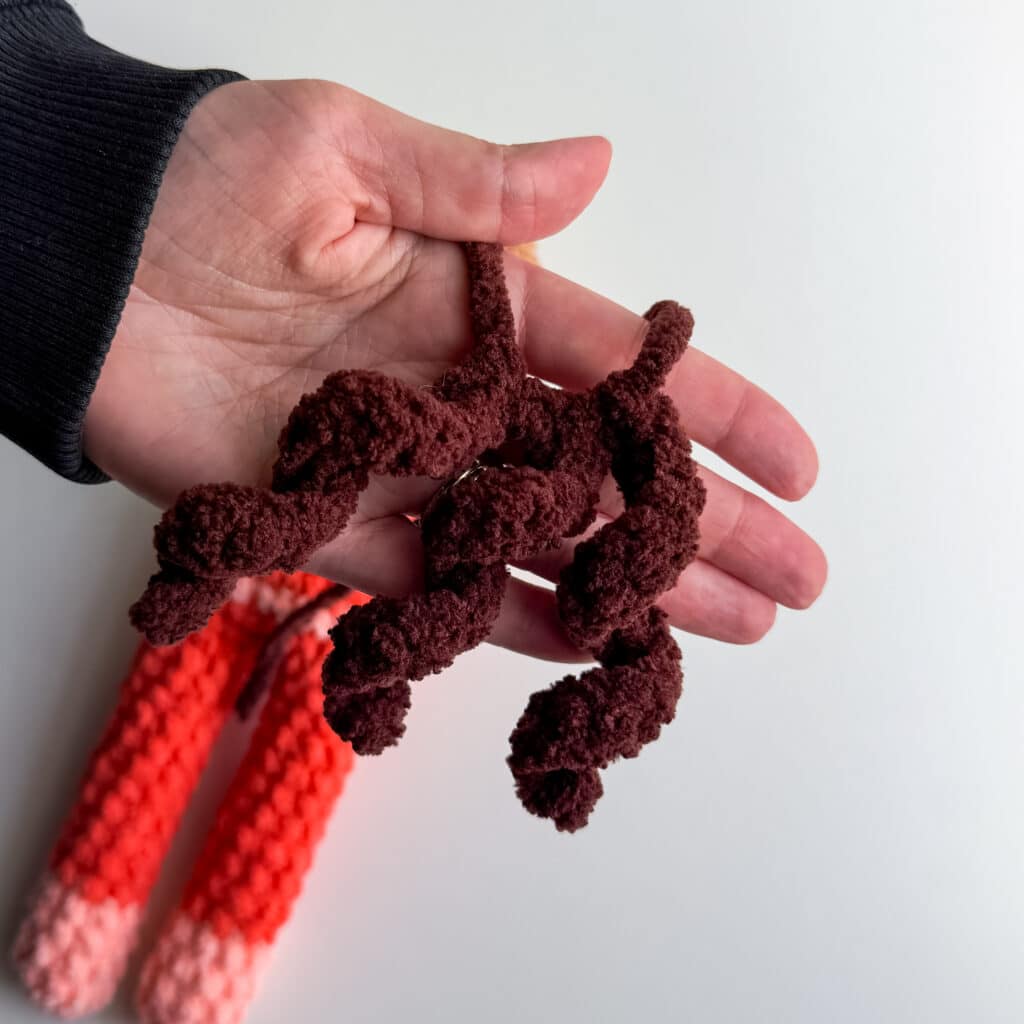
Embroider the nose with the skin color yarn, between the eyes, one round down. I only do two passes 2-3 stitches wide with this thick yarn.
Arms (make 2)
In skin color:
- Leave unstuffed
- Round 1: 8 SC in a magic circle. (8)
- Round 2: SC in each around. (8) Change to accent color
- Round 3: SC in each around. (8) Change to main color.
- Rounds 4-10: SC in each around. (8)
- Fasten off and leave a long tail to sew the arms on. Close the opening and sew them on between rounds 23 and 24.
Girl’s Hair
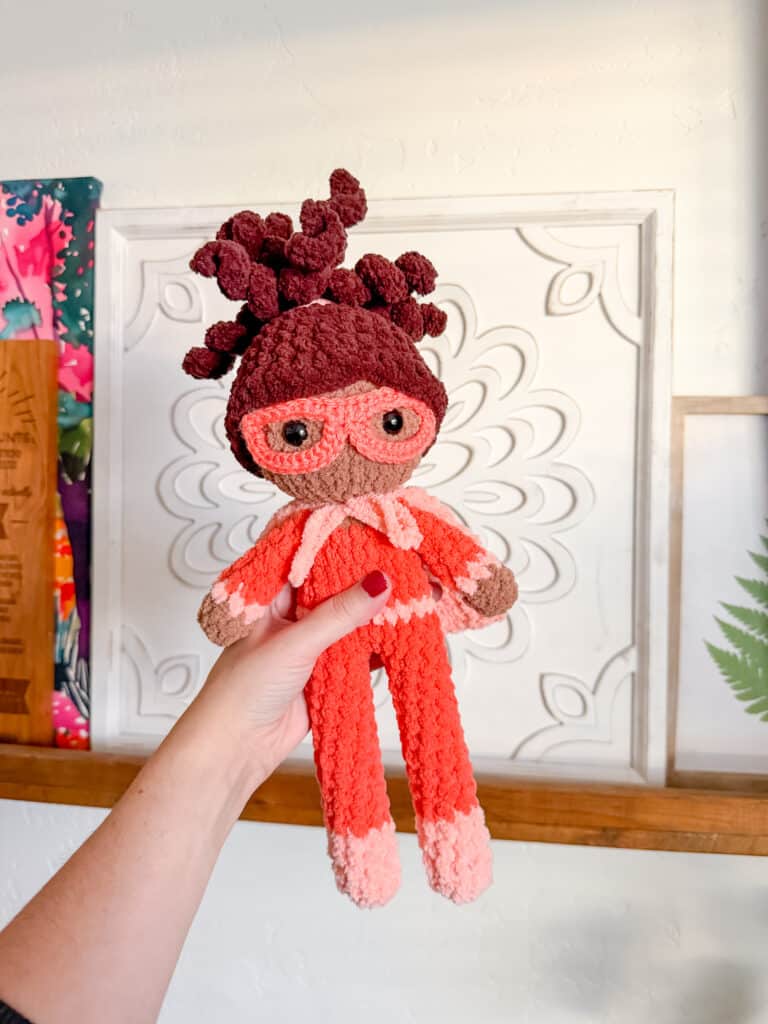
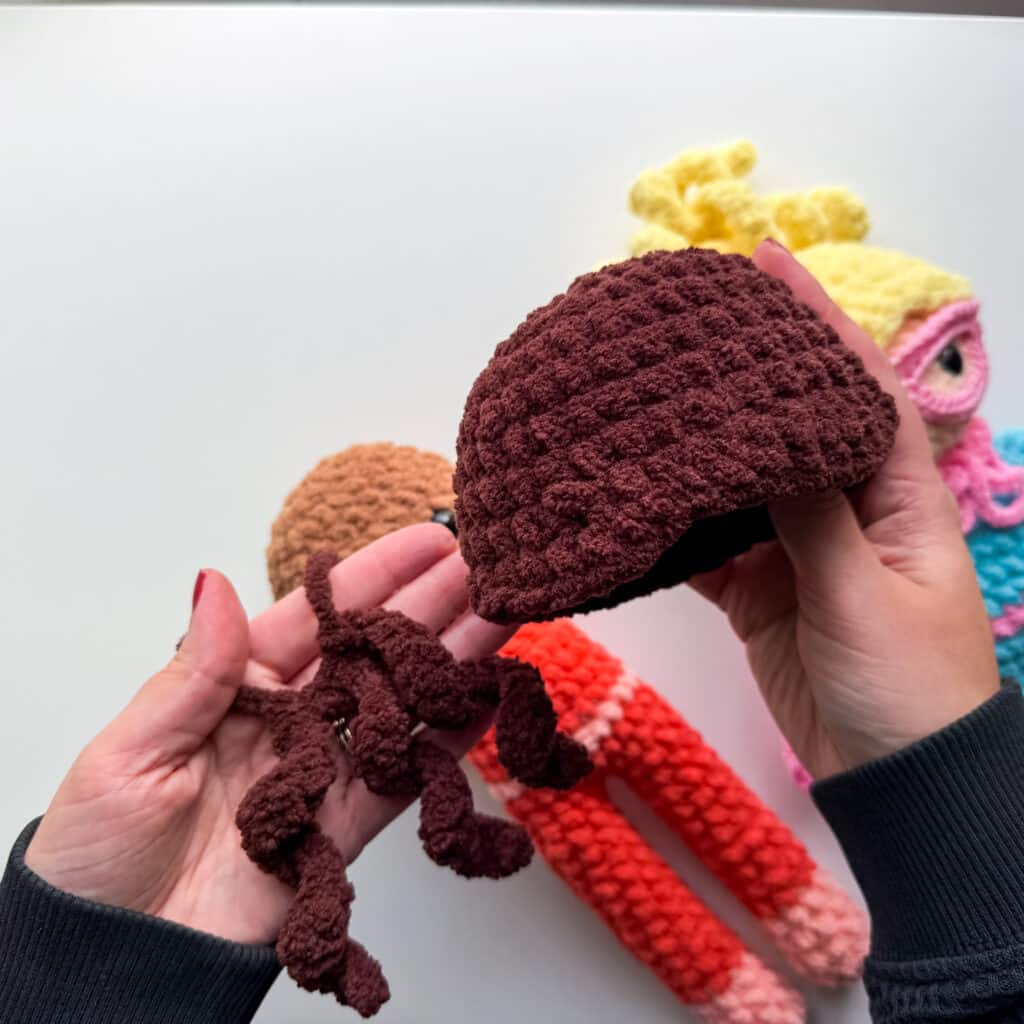
You may need to adjust your hook size here. Different types of yarn work up differently. Stretch the hair out as you try it on OR size up if it works up too tightly. If you need to, add one more row before you get to round 8.
- Round 1: In a magic circle, SC 8.
- Round 2: SC INC in each around. (16)
- Round 3: SC in the first, SC INC in the next. Repeat around. (24)
- Round 4: SC in the first 2, SC INC in the next. Repeat around. (32)
- Rounds 5-7: SC in each around. (32)
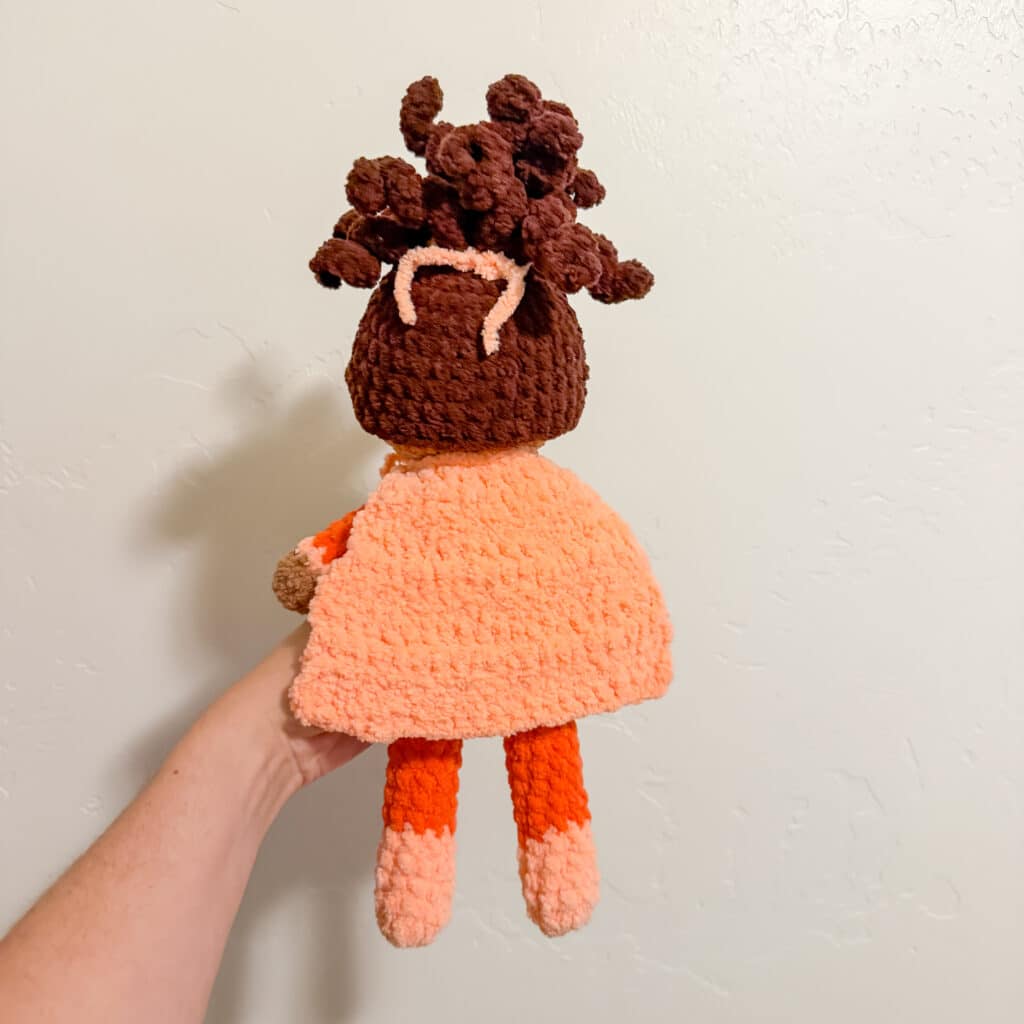
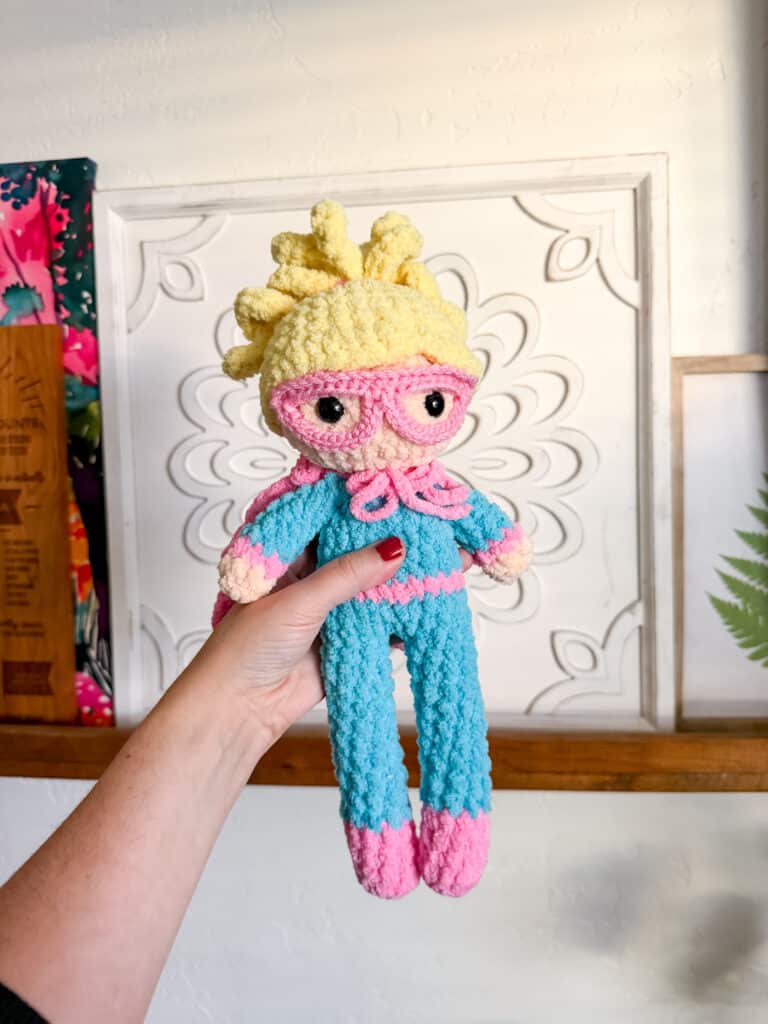
- Round 8: HDC, HDC INC, DC, DC INC, DC, DC INC, skip a stitch and slip stitch in the next. Skip a stitch and DC INC, DC , DC INC, HDC. SC in the remaining stitches. Fasten off and attach with the “part” on an angle. Note: I sometimes use a hot glue gun to glue the top so it doesn’t shift and then sew the bottom edge.
Pony Tail
- Leaving a small tail, chain 20 times. Turn and SL ST in each chain back to the top. Chain 20 again and repeat, until you have 3 tails. Fasten off and leave a tail.
- Then make four of these. Pull the tails of each set through the “hair wig” and sew them on in a circle. I place the cap on the head first to make sure I like the placement. I sewed them a couple rounds up from the center.
Boy’s Hair
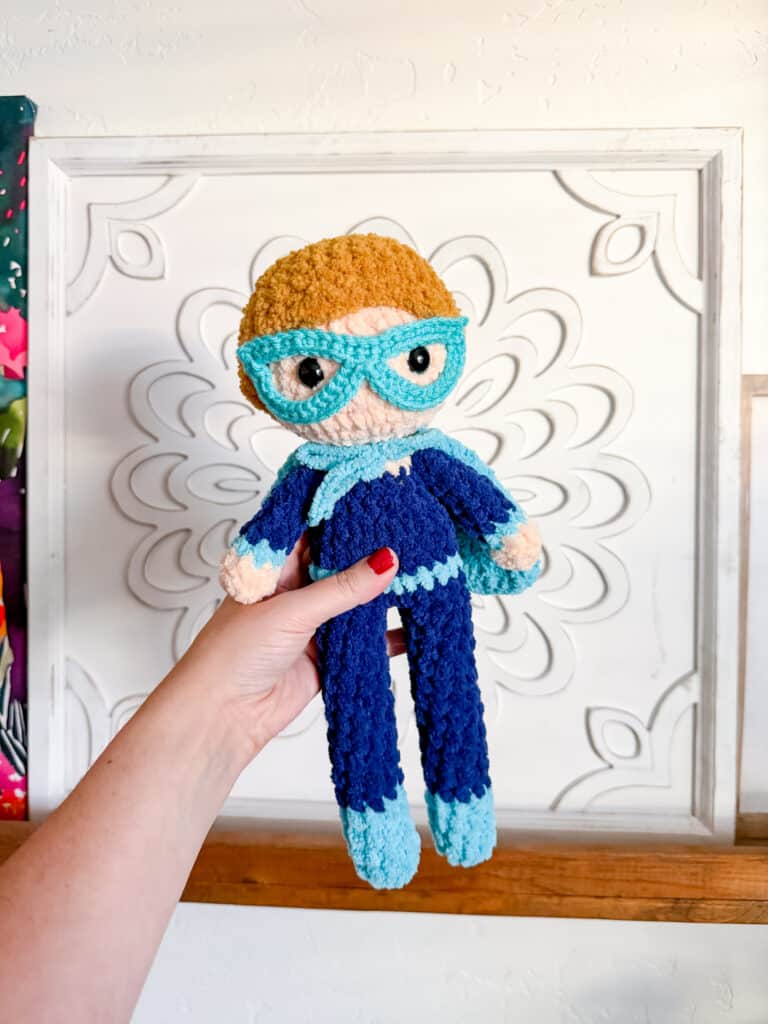
You may need to adjust your hook size here. Different types of yarn work up differently. Stretch the hair out as you try it on OR size up if it works up too tightly. If you need to, add one more row before you get to round 8.
- Round 1: In a magic circle, SC 8.
- Round 2: SC INC in each around. (16)
- Round 3: SC in the first, SC INC in the next. Repeat around. (24)
- Round 4: SC in the first 2, SC INC in the next. Repeat around. (32)
- Rounds 5-7: SC in each around. (32)
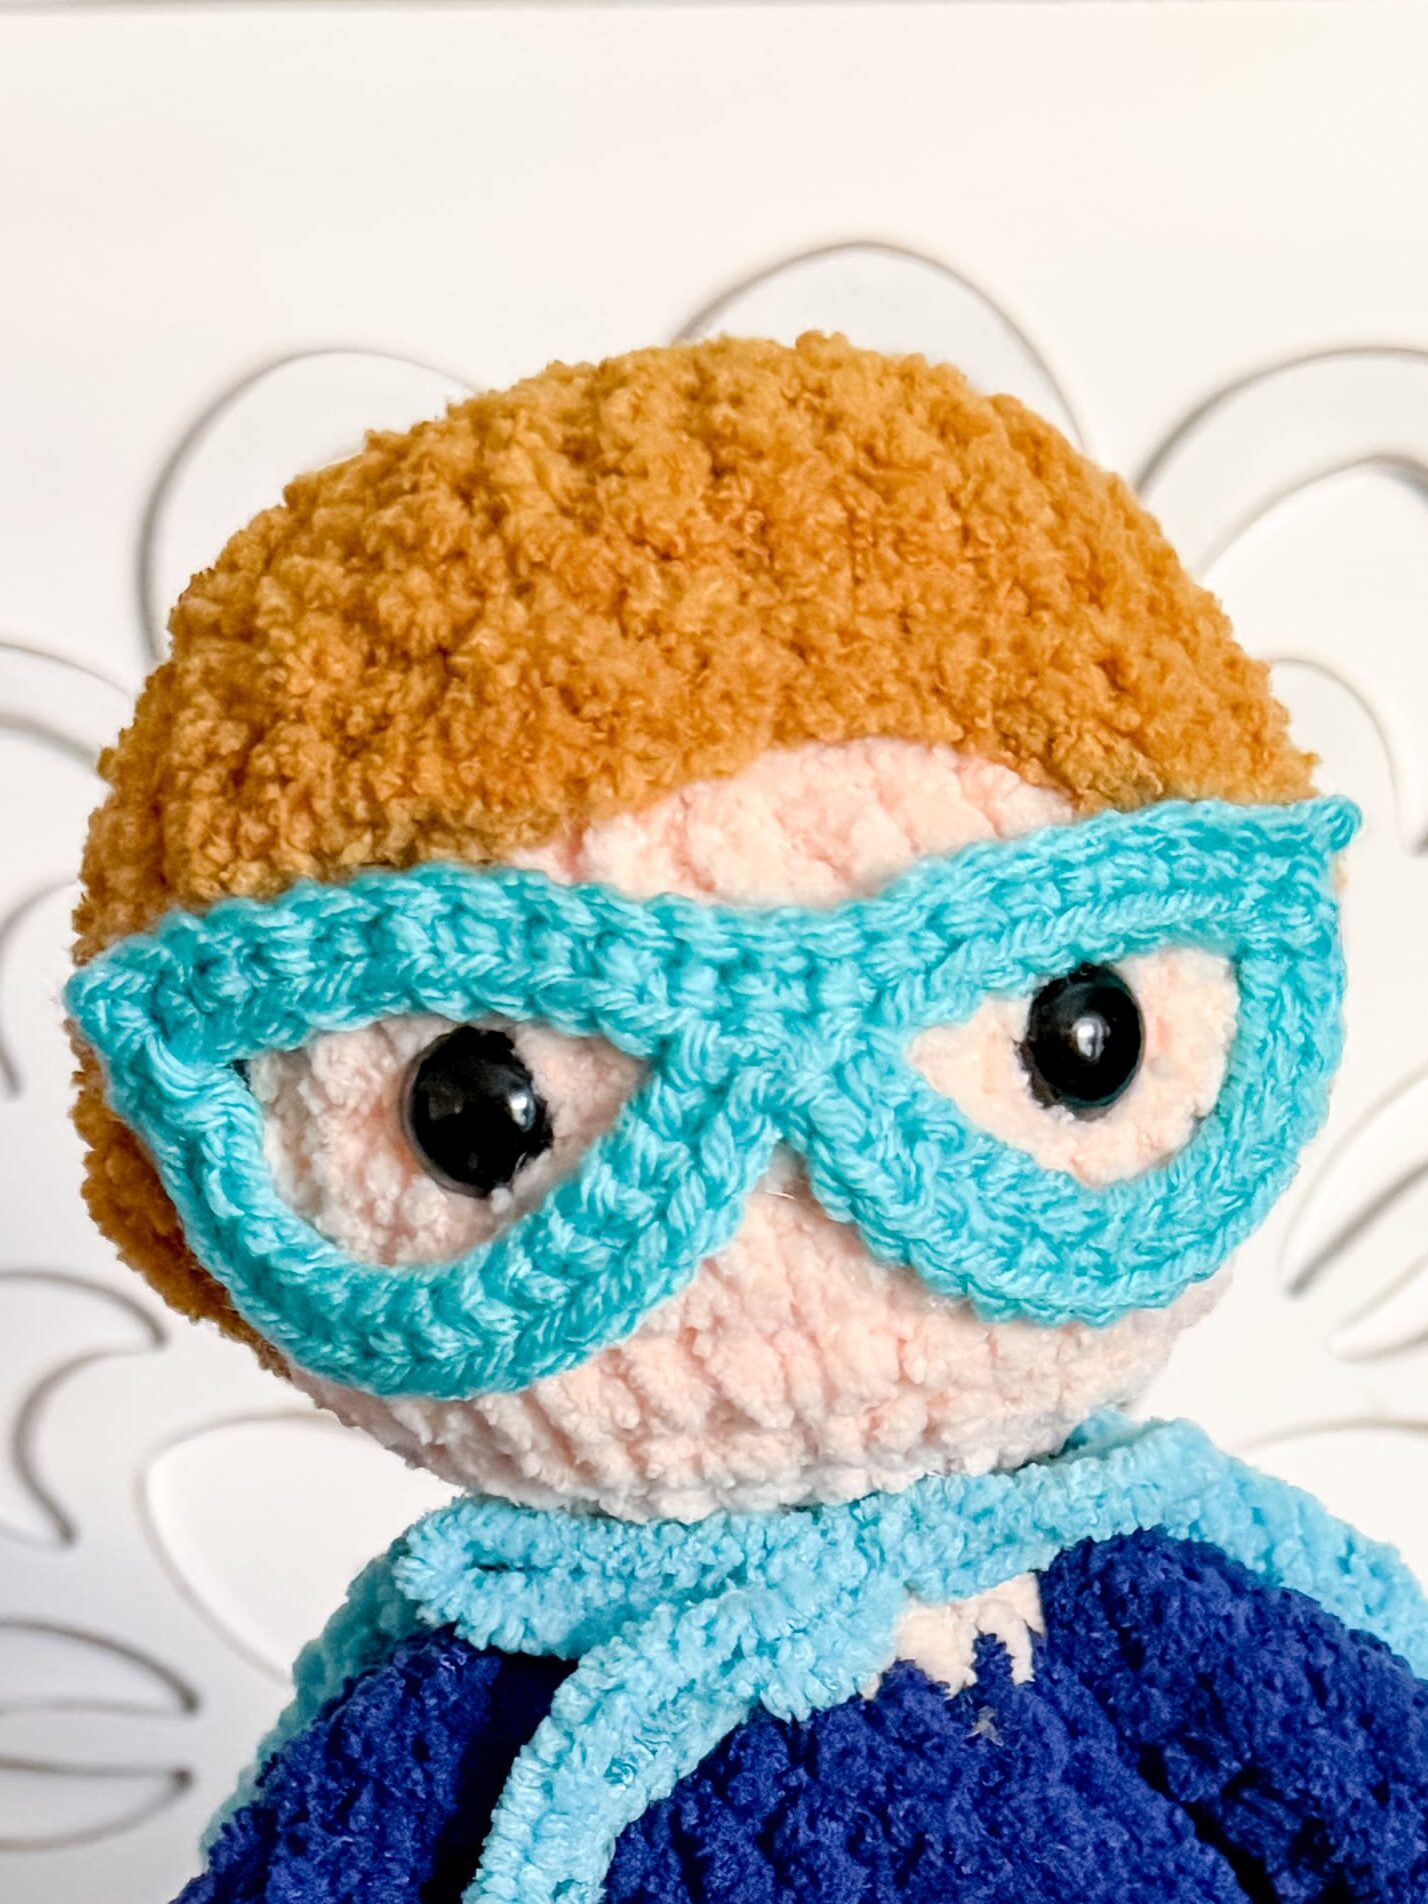
- Round 8: SC, SC INC, HDC, HDC INC, HDC, HDC INC, skip a stitch and slip stitch in the next. Skip a stitch and HDC INC, HDC , HDC INC, HDC. SC in the remaining stitches. Fasten off and attach with the “part” on an angle.
Assembly
Close the opening of the arms and sew them on between rounds 23 and 24 of the body. For the mask, attach it using a glue gun or by sewing it on securely.
Tips
- Stuffing: Stuff the legs as you go. It is easier to do it a little at a time, rather than stuffing at the very end.
- Color Changes: Make sure that you are changing color in the back, the opposite of what side the shoes and belt look the best.
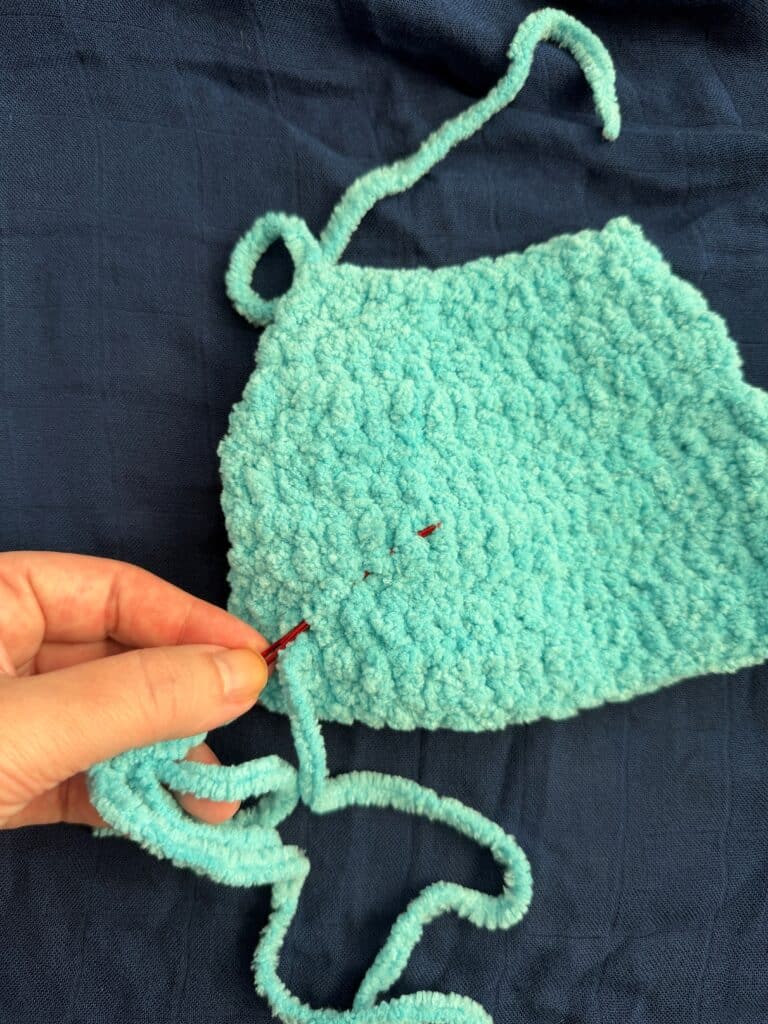
- Safety vs. Embroidery: You can use safety eyes or try out embroidered eyes so it would be safe for a baby/toddler.
- Stitch Tension: For skin-colored sections, using the yarn under/yarn over single crochet helps keep stitches extra tight. If you don’t like this method, you can size down half a hook size.
- Yarn Variations: Even though the label may say it is size 6, some materials and brands work up much differently. Keep that in mind as you are choosing your yarn.
- Hair Fit: You may need to adjust your hook size for the hair. Stretch the hair out as you try it on OR size up if it works up too tightly.
- Mask Stability: I sometimes use a hot glue gun to glue the top of the hair wig so it doesn’t shift and then sew the bottom edge.
- Placement: I place the cap on the head first to make sure I like the placement before sewing.
FAQs
Can I make this pattern for a toddler?
Yes. To make the doll safe for babies and toddlers, use embroidered eyes instead of safety eyes. The pattern includes links to embroidery tutorials to help you achieve this.
What type of yarn should I use?
The pattern is designed for size 6 blanket yarns like Premier Basix Chenille, Bernat Blanket, or Bernat Baby Blanket. These are generally interchangeable, but you may need to adjust your hook size depending on the brand to maintain tight stitches.
How do I attach the mask?
The mask can be attached using a glue gun for ease and stability, or you can sew it on. The pattern recommends making the mask first to help position the eyes and hair correctly.
Is the cape removable?
Yes, the cape is designed to be removable for extra fun play, or it can be attached to keep it as a permanent part of the superhero’s wardrobe.
How do I keep the head from flopping?

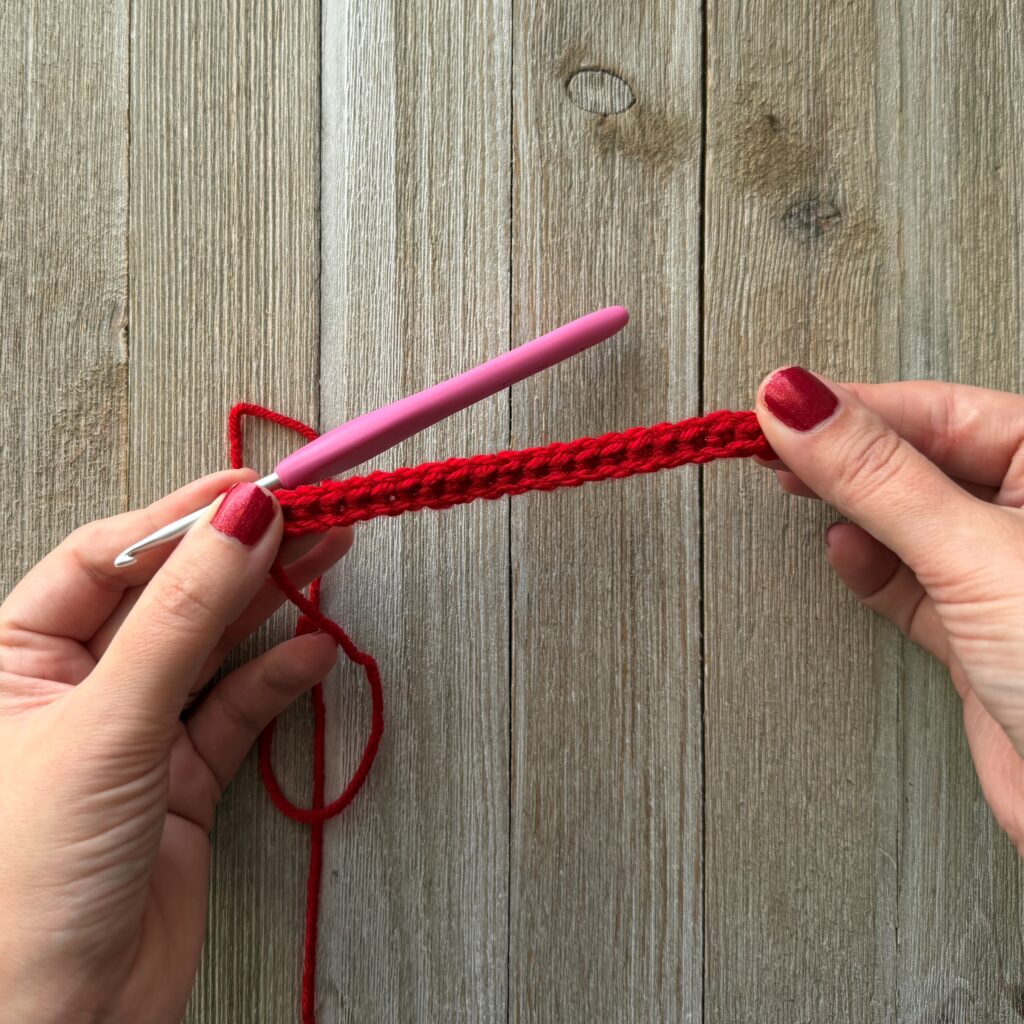
The pattern includes instructions for creating a neck strengthener using skin-colored yarn. This is inserted into the neck area before the head is fully closed to provide shape and stability.
Pin This Crochet Pattern!