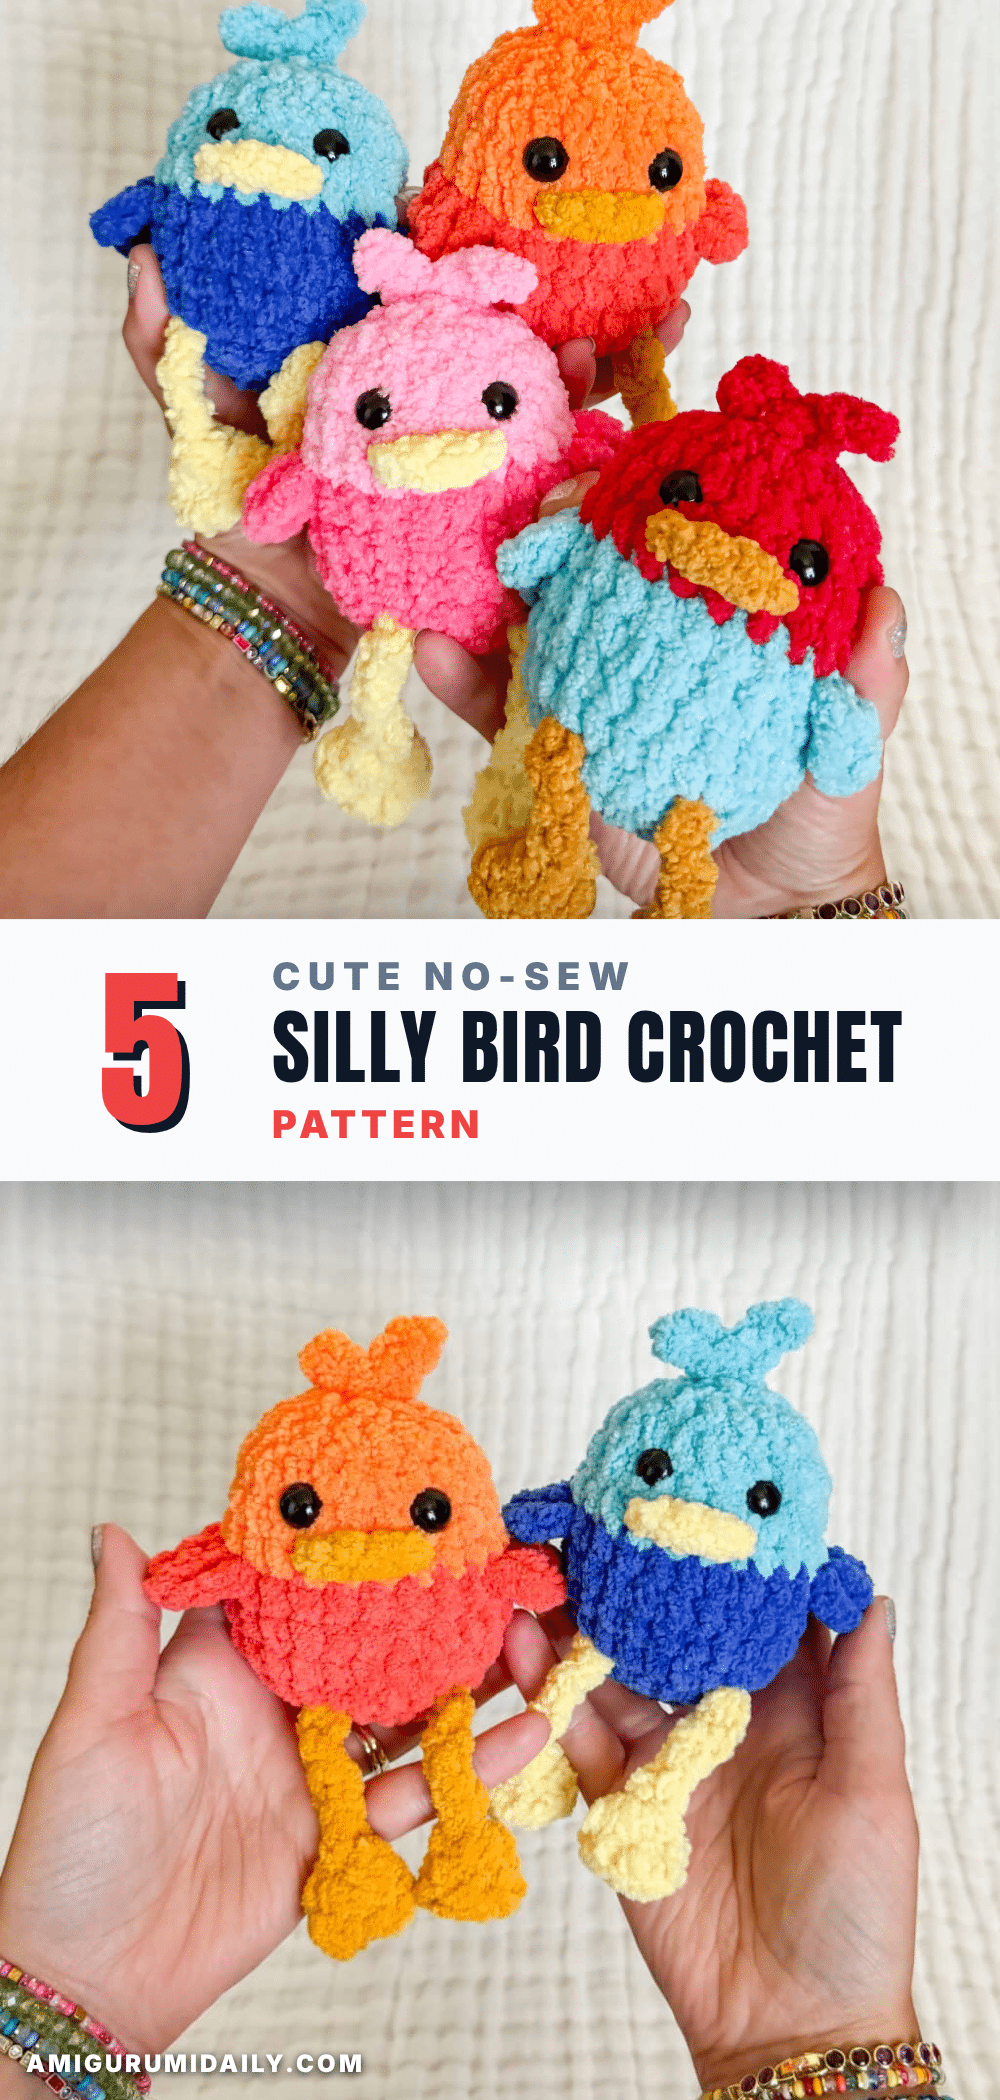
Looking for a quick, whimsical handmade gift that requires zero sewing? This No-Sew Silly Bird is the perfect solution for crafters who want to create adorable amigurumi without the hassle of attaching separate parts. Whether you are stocking a market table with cute, affordable toys or making a last-minute present for a child, these birds work up in under an hour. The soft, plush texture and dangling legs make them irresistible to kids and collectors alike, proving that sometimes the simplest projects are the most delightful.
Gift and Use Ideas
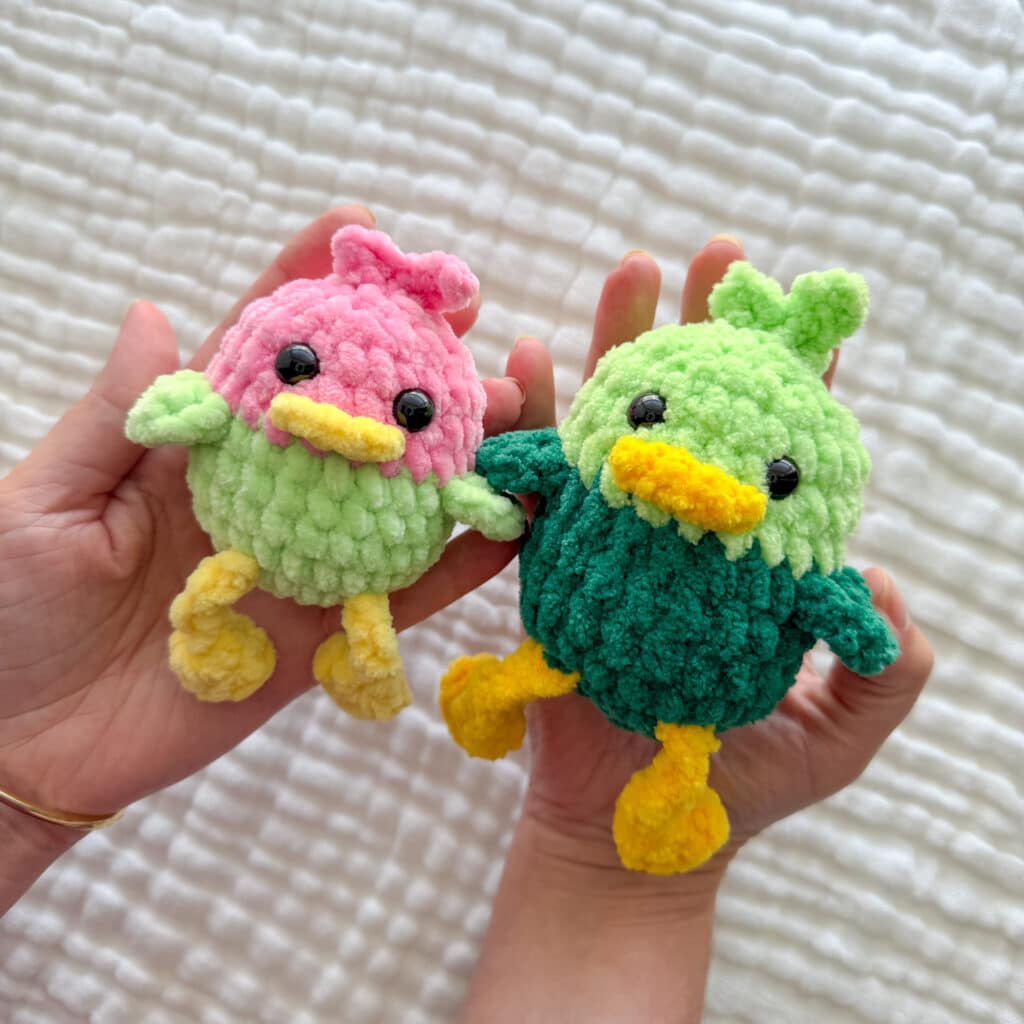
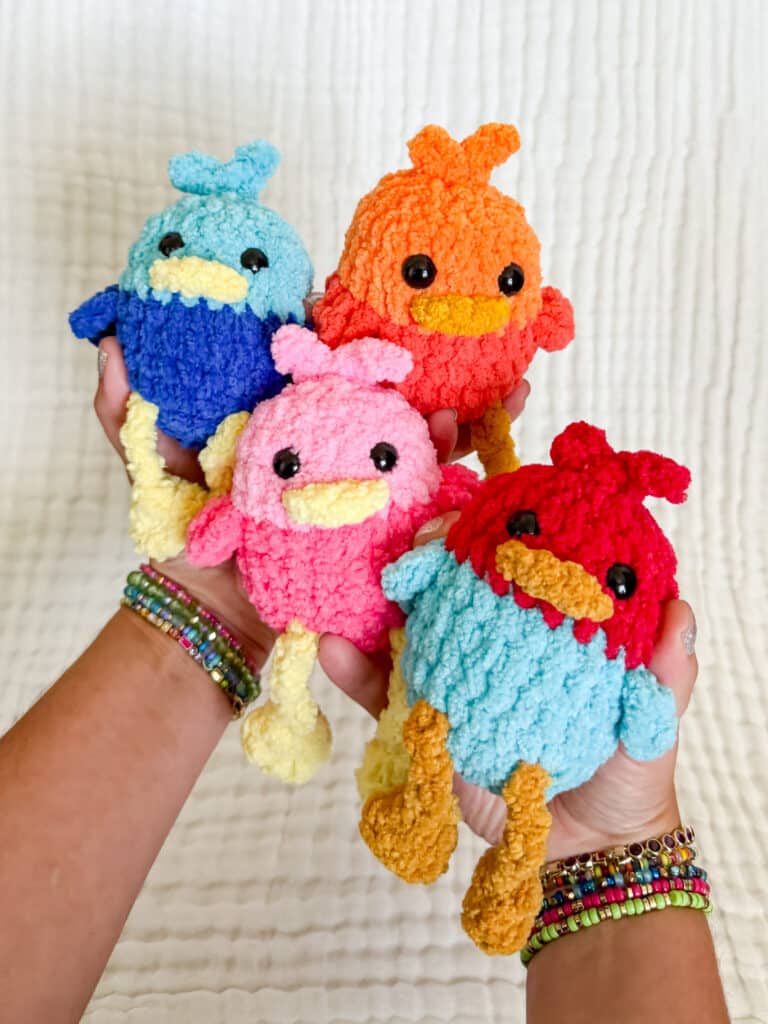
These little birds are designed to fit comfortably in the palm of your hand, making them ideal for small gift bags, party favors, or nursery decor. Because they are made with plush yarn, they have a satisfyingly squishy texture that is perfect for little hands. The “no-sew” construction means you can produce them rapidly, making them an excellent option for selling at craft fairs or creating a “flock” of different colors to match any theme. Their whimsical design, with legs that dangle just like a silly goose, adds a playful touch to any shelf or hook.
Project Overview
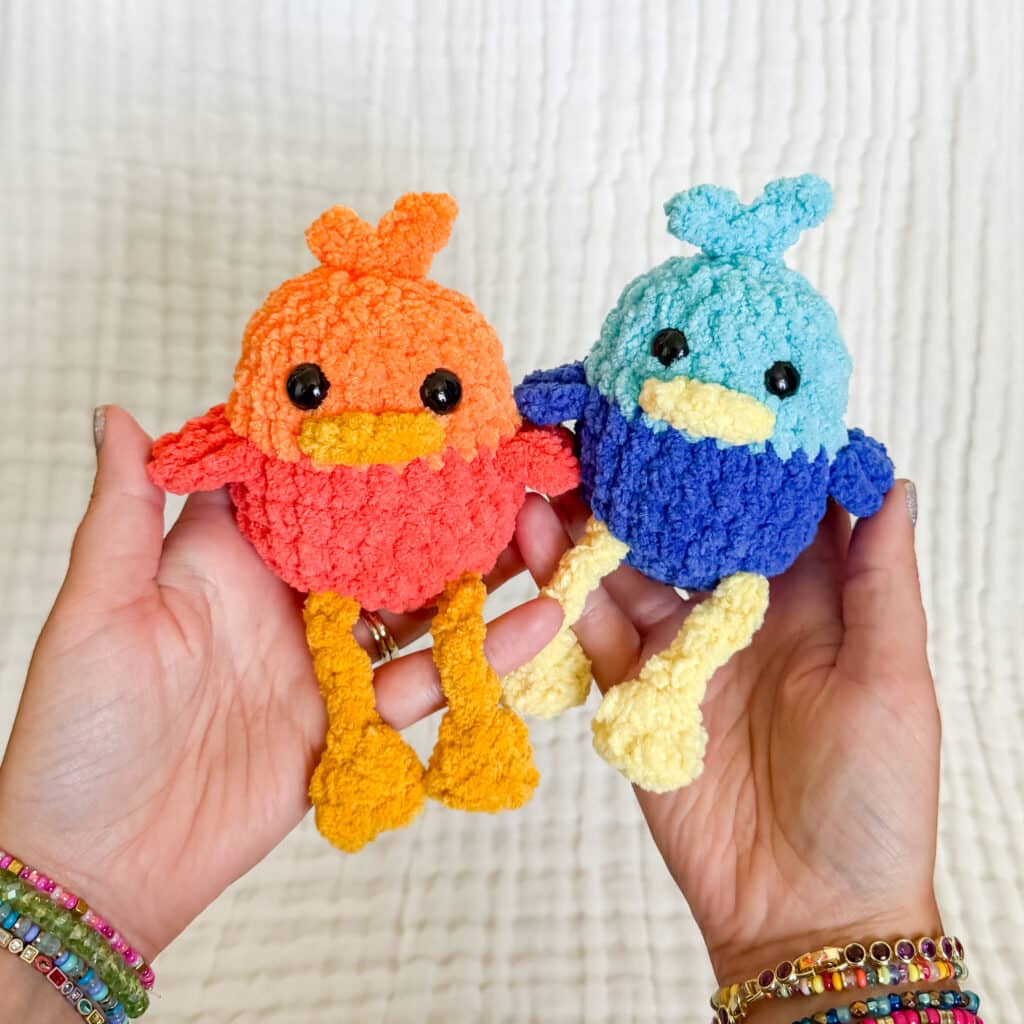
This amigurumi pattern is designed for speed and simplicity. The entire bird is worked in the round, with features like wings, a beak, and a feather tuft crocheted directly onto the body. This eliminates the need for sewing parts together, saving time and reducing the risk of loose ends. The pattern is suitable for crafters who want a quick win or those looking to expand their amigurumi collection with a fun, character-based piece.
Materials
- Bottom & Wing Color (A): 18g plush yarn (Size 6 weight). The author recommends Premier Basix Chenille, but Bernat Blanket or Bernat Baby Blanket also work well.
- Top Color (B): 15g plush yarn.
- Beak/Leg Color (C): Small amount of yarn.
- Eyes: 10.5mm safety eyes (or embroidery floss for embroidered eyes).
- Crochet Hook: Size 4.5mm (or a hook size that keeps stitches tight). Note: If using Bernat Blanket yarn, a 5mm hook is recommended.
- Notions: Tapestry needle, polyfil stuffing, and a stitch marker.
Gauge and Finished Size
There is no specific gauge required for this pattern, but it is crucial to maintain tight stitches to prevent stuffing from showing. The finished bird measures approximately 4 inches tall, not counting the legs. The legs are intentionally designed to dangle.
Pattern Notes
This project is incredibly fast; the author timed herself making one in 32 minutes after mastering the pattern. The plush yarn used (Size 6) works up quickly and creates a soft, squishy toy. While the label may indicate a larger hook size for the yarn, using a smaller hook (4.5mm for Premier Basix Chenille, 5mm for Bernat) is recommended to ensure tight stitches. If the stitches feel too tight, you may size up slightly, but the goal is to keep the fabric dense. Be aware that different brands of “blanket” or “chenille” style yarns can work up differently, so choose your yarn carefully.
Abbreviations
Standard US crochet abbreviations are used:
- SC: Single Crochet
- INC: Increase (2 SC in the same stitch)
- DEC: Decrease (2 SC together)
- INV DEC: Invisible Decrease
- TRC: Treble Crochet
- HDC: Half Double Crochet
- Ch: Chain
- Sl St: Slip Stitch
- FO: Fasten Off
Pattern Instructions
Body
Start with Color A.
Round 1: In a magic circle, SC 8.
Round 2: SC INC in each around. (16)
Round 3: SC in the first, SC INC in the next. Repeat around. (24)
Rounds 4-7: SC in each around. (24)
Change to Color B.
Rounds 8-10: SC in each around. (24)
Round 11: SC in the first, INV DEC in the next. Repeat around. (16)
Insert safety eyes between rounds 9 and 10, 4 stitches apart. Begin stuffing here.
Round 12: INV DEC in each around. (8)
Finish stuffing and finish off with a long tail. Sew hole closed with a whip stitch.
Wings
Using Color A.
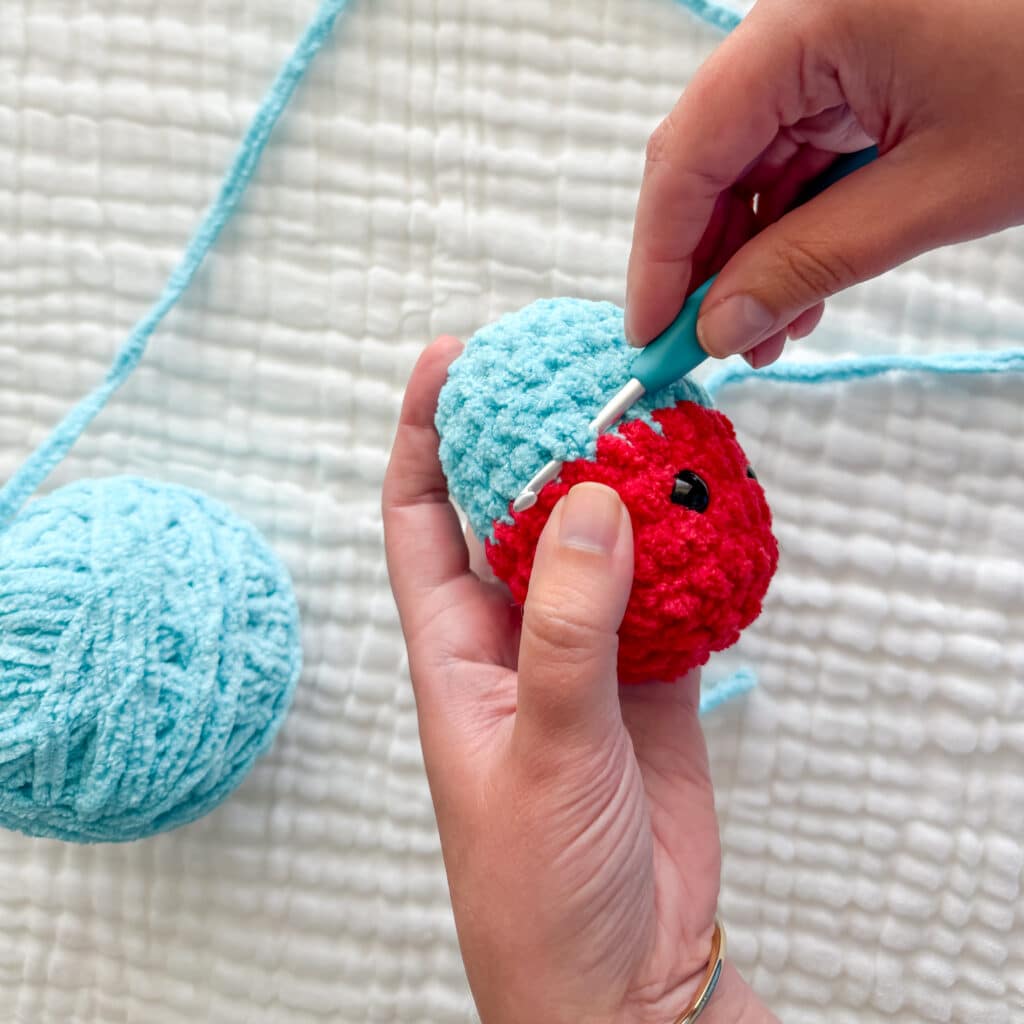
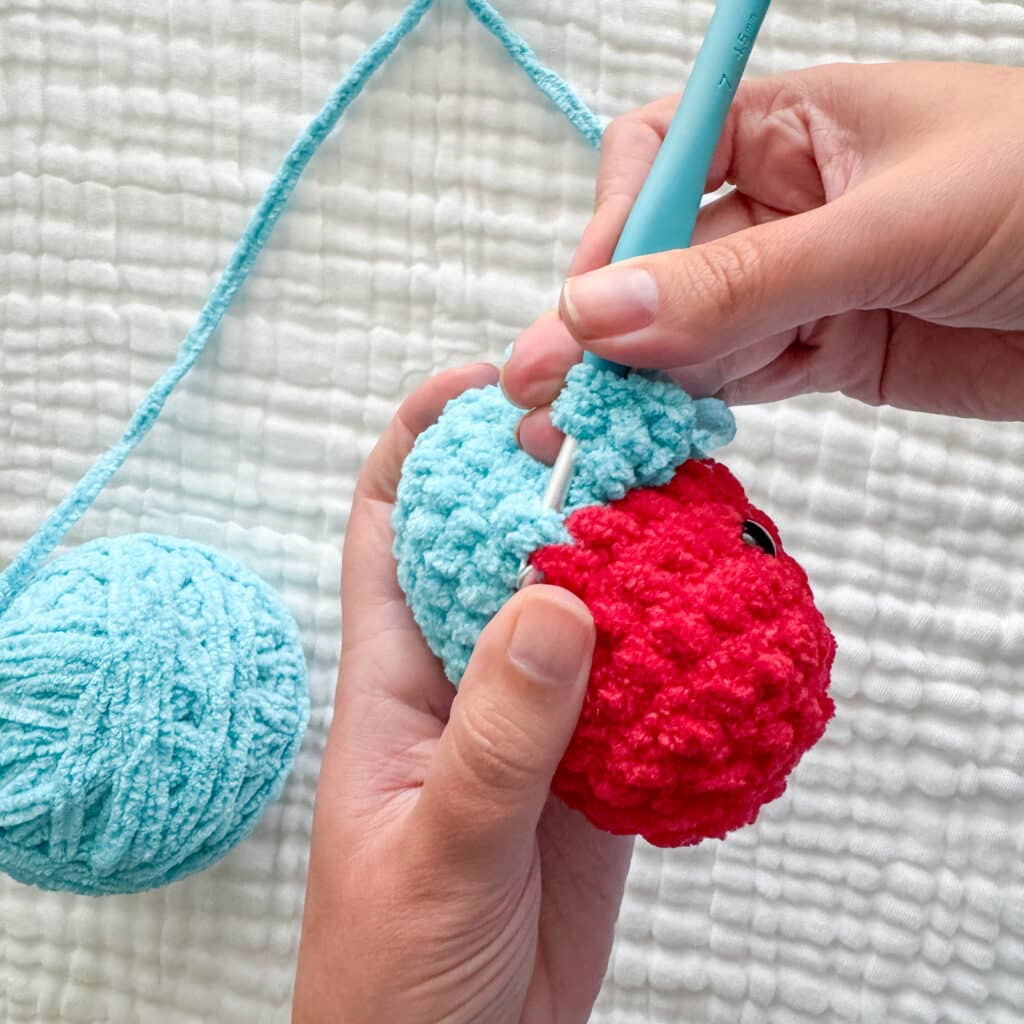
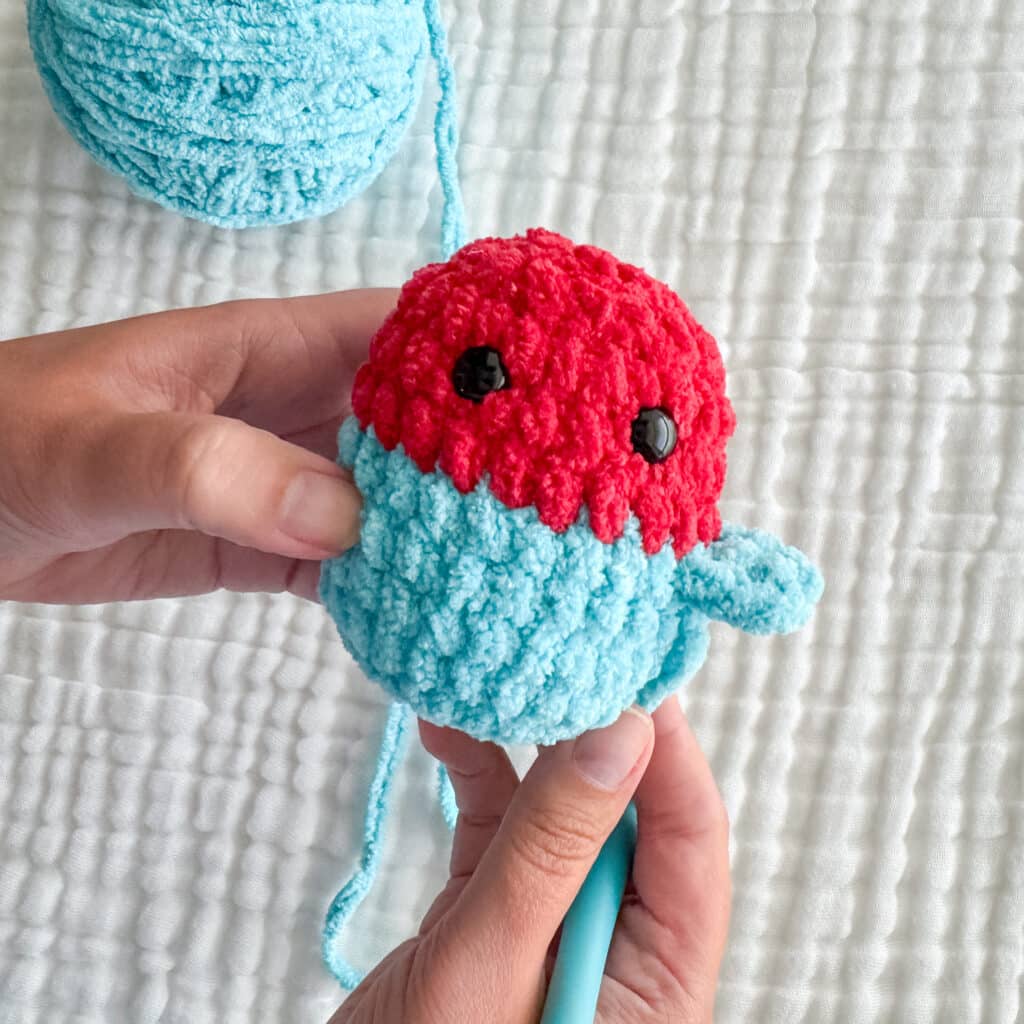
On round 7, two stitches from the eye, insert your hook around the post of that stitch. Pull up the yarn (leaving a small tail to tie off and weave in) and chain 3 times. TRC around the next two posts. Chain 3 and slip stitch to the next stitch over. Fasten off and weave the end near the first tail. Tie a knot and weave in the ends. Repeat on the other side.
Feather Tuft
Using Color B.
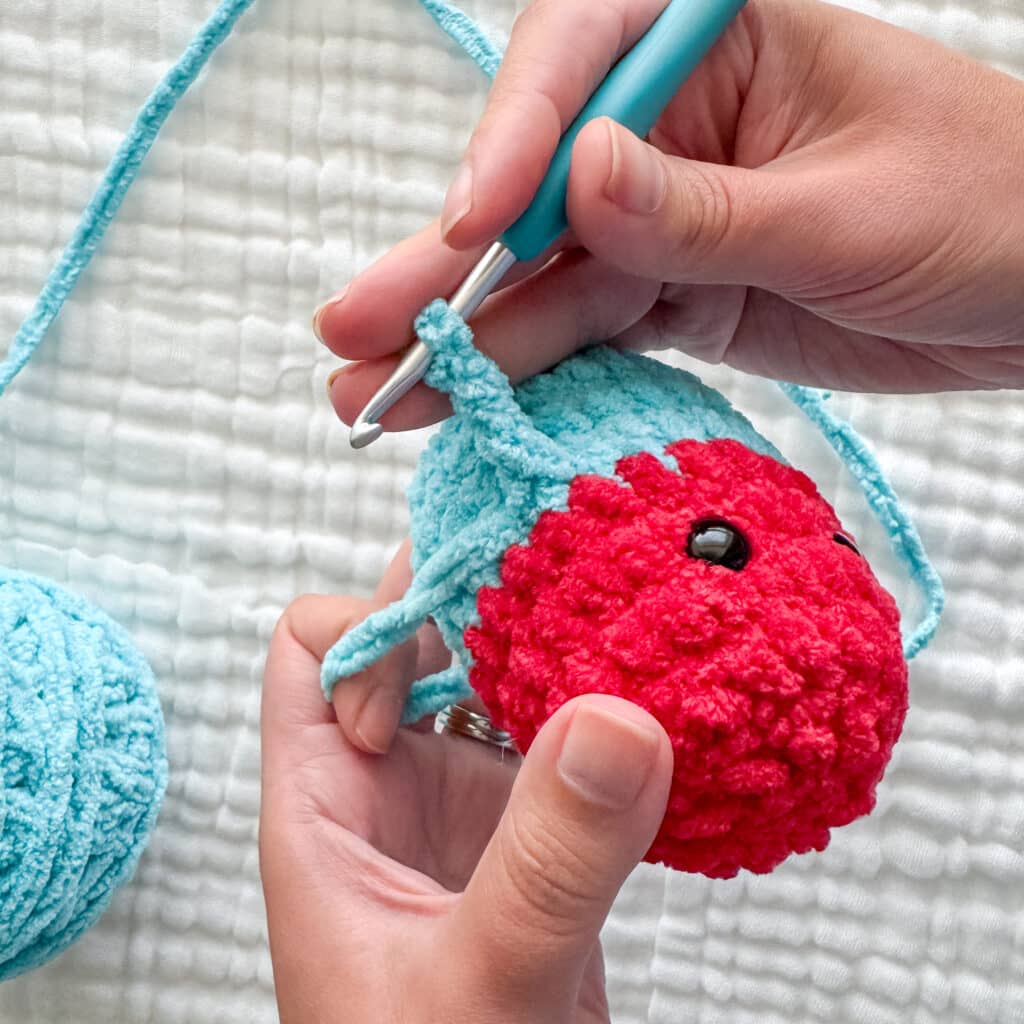
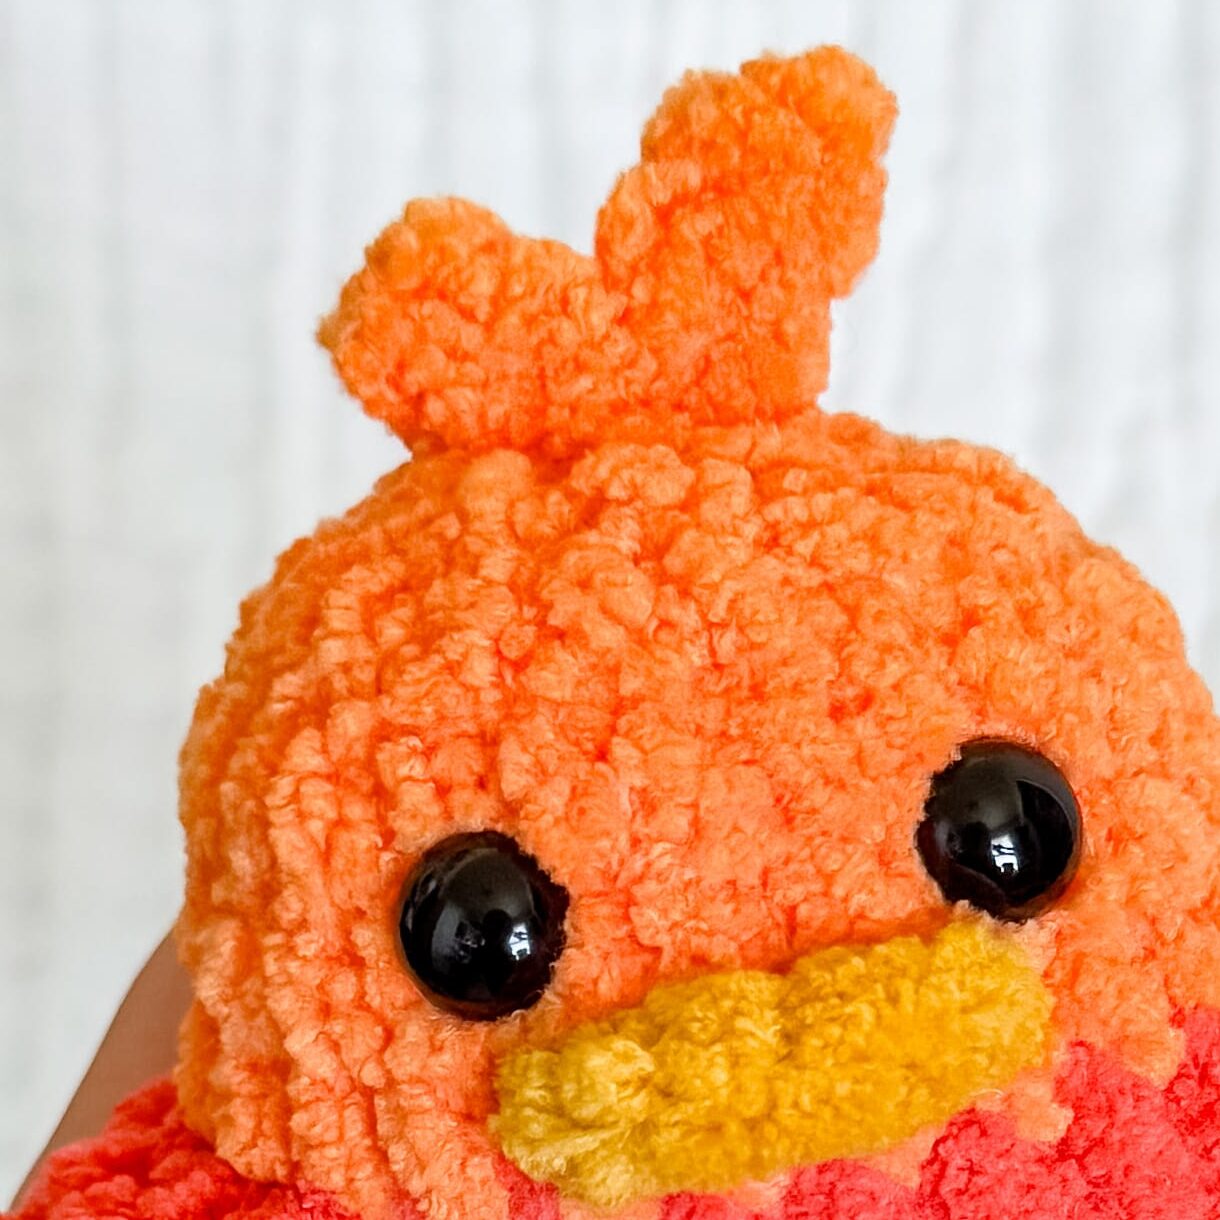
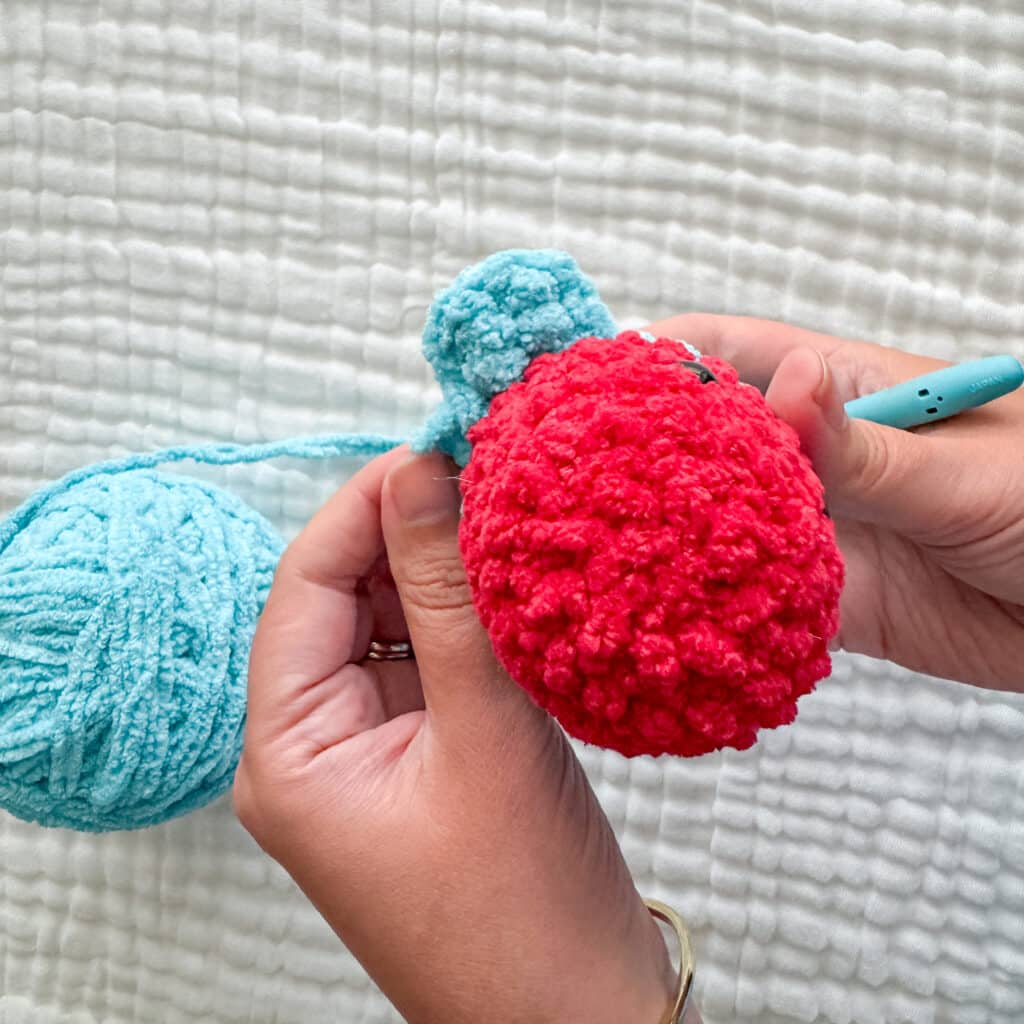
Centered between the eyes, on the top of the head, insert your hook and pull up your yarn, leaving a small tail (to tie off and weave in.) Chain 4 times. One stitch away from the hook, slip stitch in the remaining 3 stitches. Slip stitch to the head. Chain 3 times. One stitch away from the hook, slip stitch in the remaining 2 stitches. Fasten off and weave the end near the first tail. Tie a knot and weave in the ends.
Beak
Using Color C.
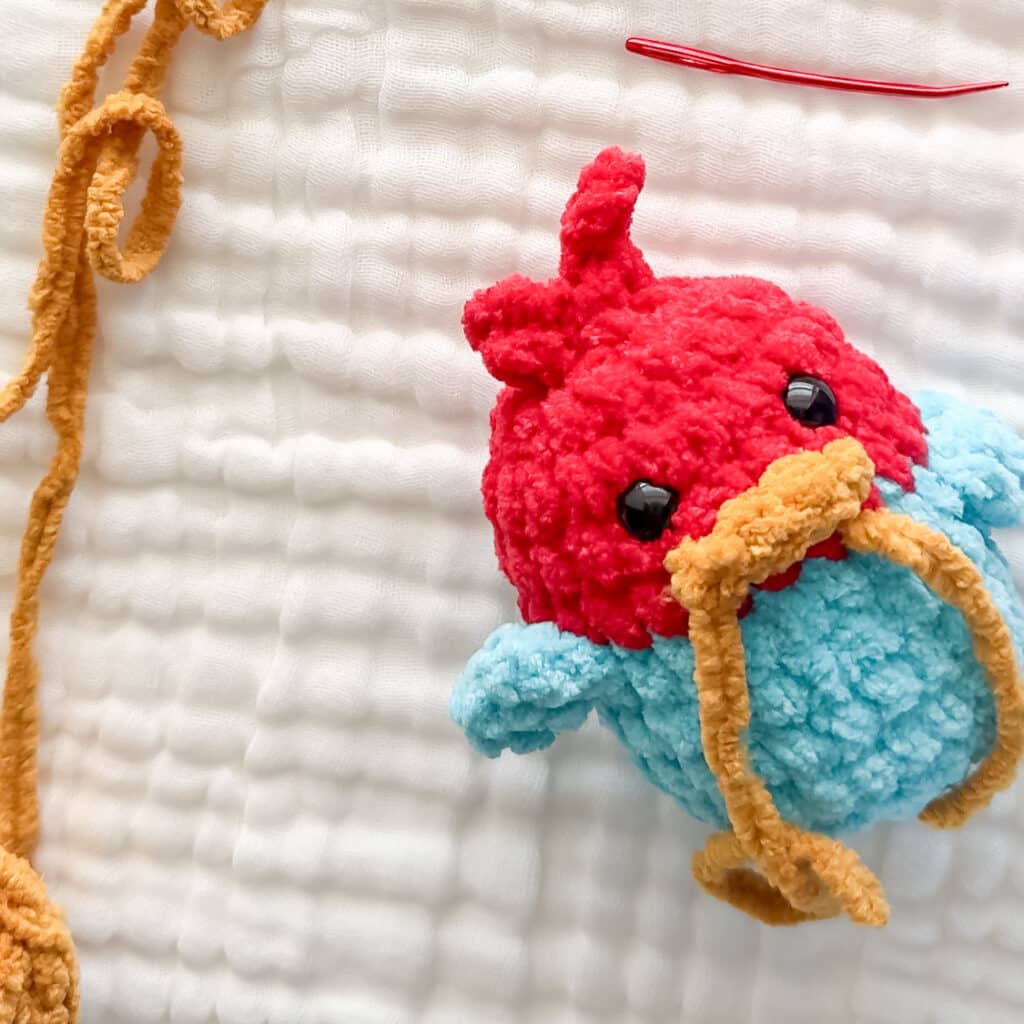
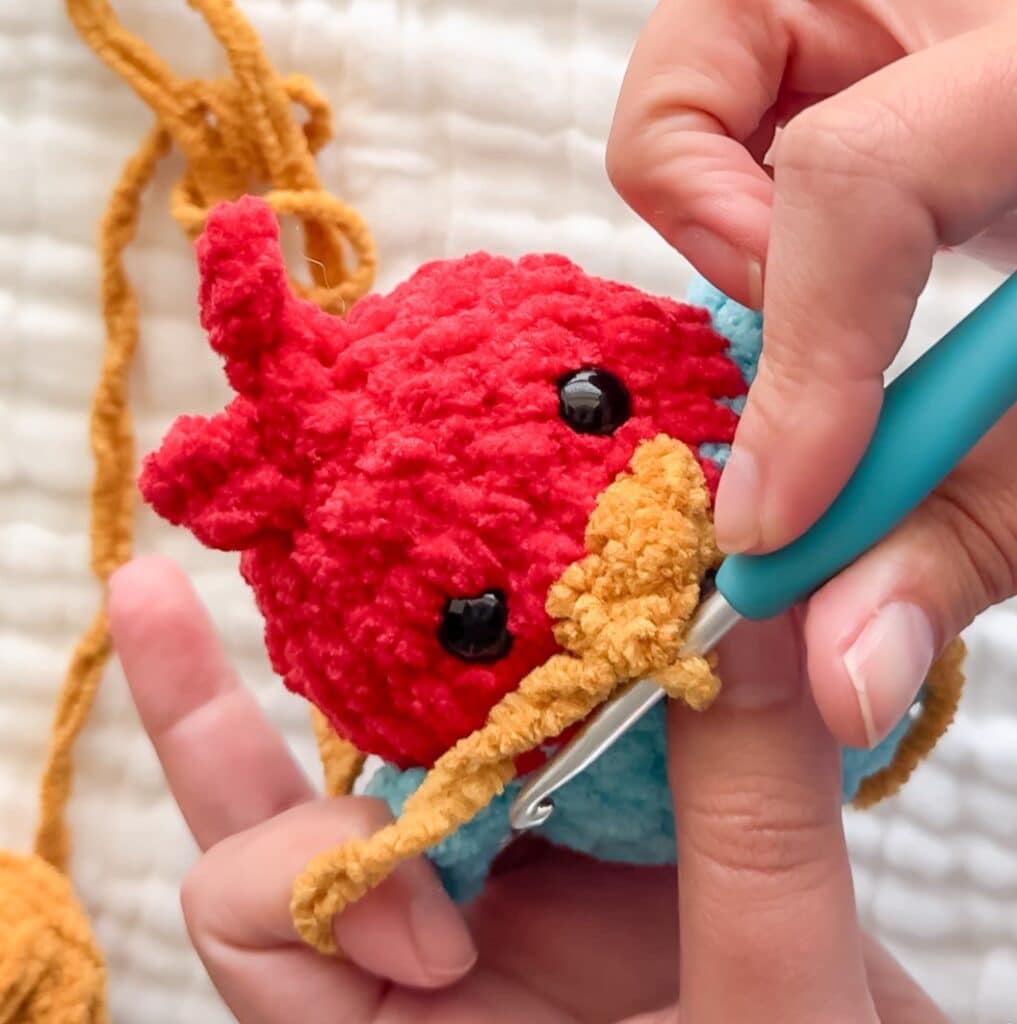
Right beneath the right eye, insert your hook and pull up your yarn, leaving a small tail (to tie off and weave in.) Chain once. HDC around the next two posts. Chain once and slip stitch in the next stitch. Fasten off and weave the end near the first tail. Tie a knot and weave in the ends.
Legs/Feet (Make 2)
Using Color C.
Note: The legs are intentionally dangly. The actual foot part is open, like a bell. The tail before you make your magic circle AND the one when you fasten off are both very important to the construction of the leg. The measurements provided in the video tutorial are likely more than you need, but it is better to have extra length.
See the author’s video tutorial for the specific leg construction steps.
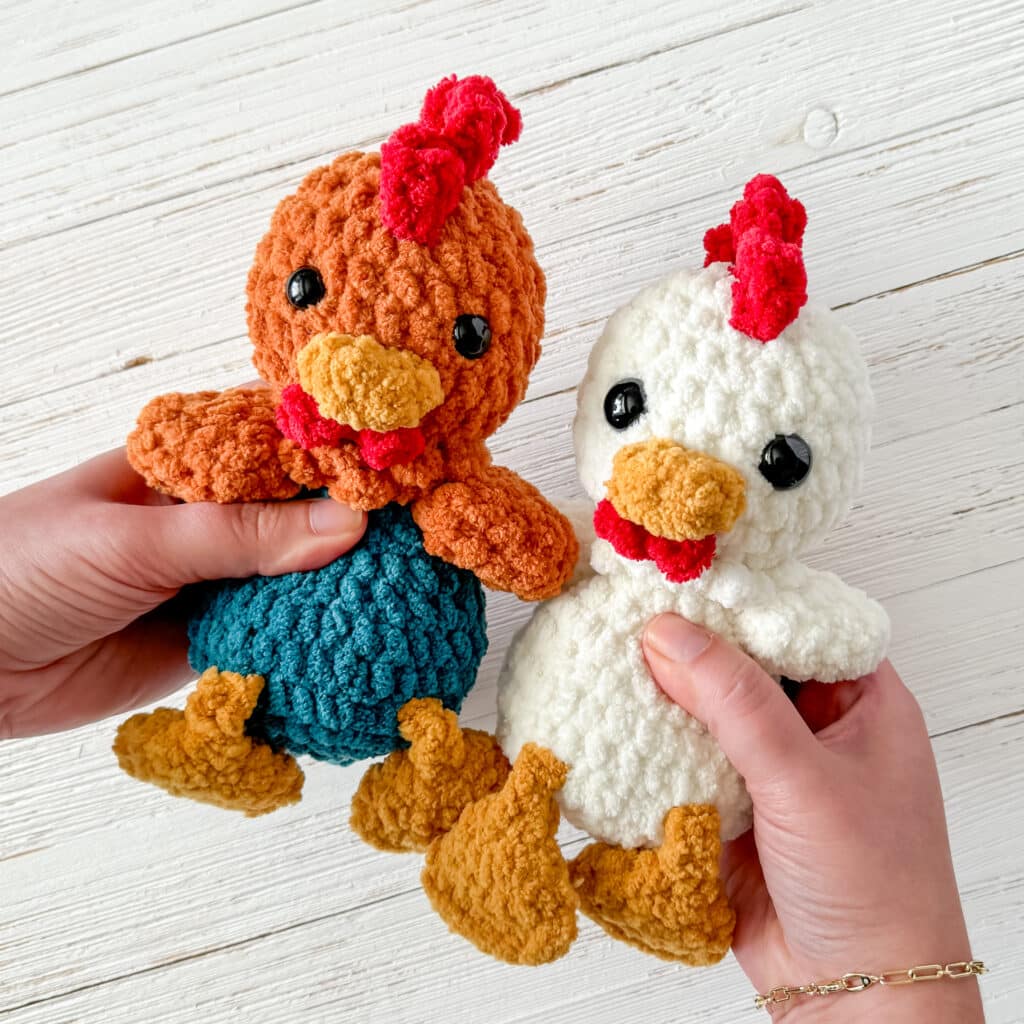
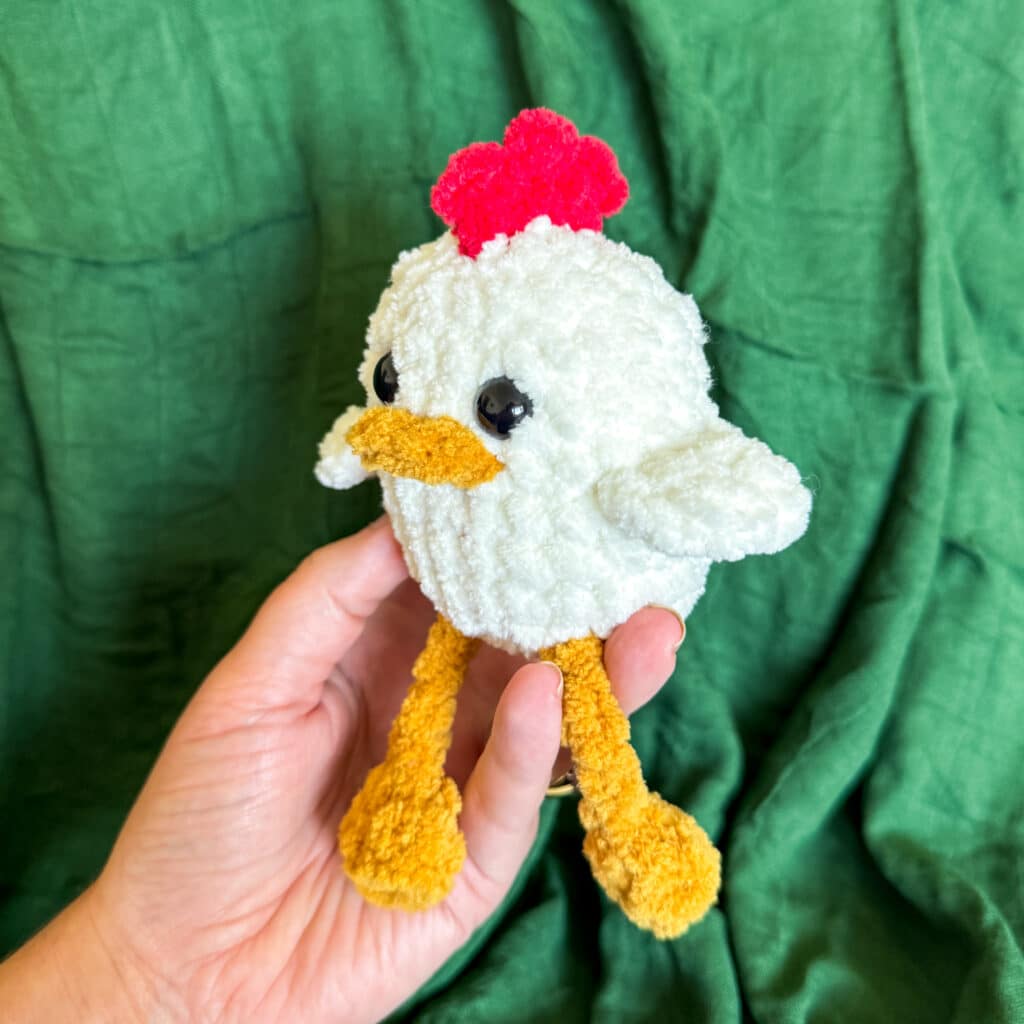
Silly Bird CHICKEN Mod
To make a chicken version, make the body in ALL white, with beak and legs in mustard. Then, follow the instructions below for the comb:
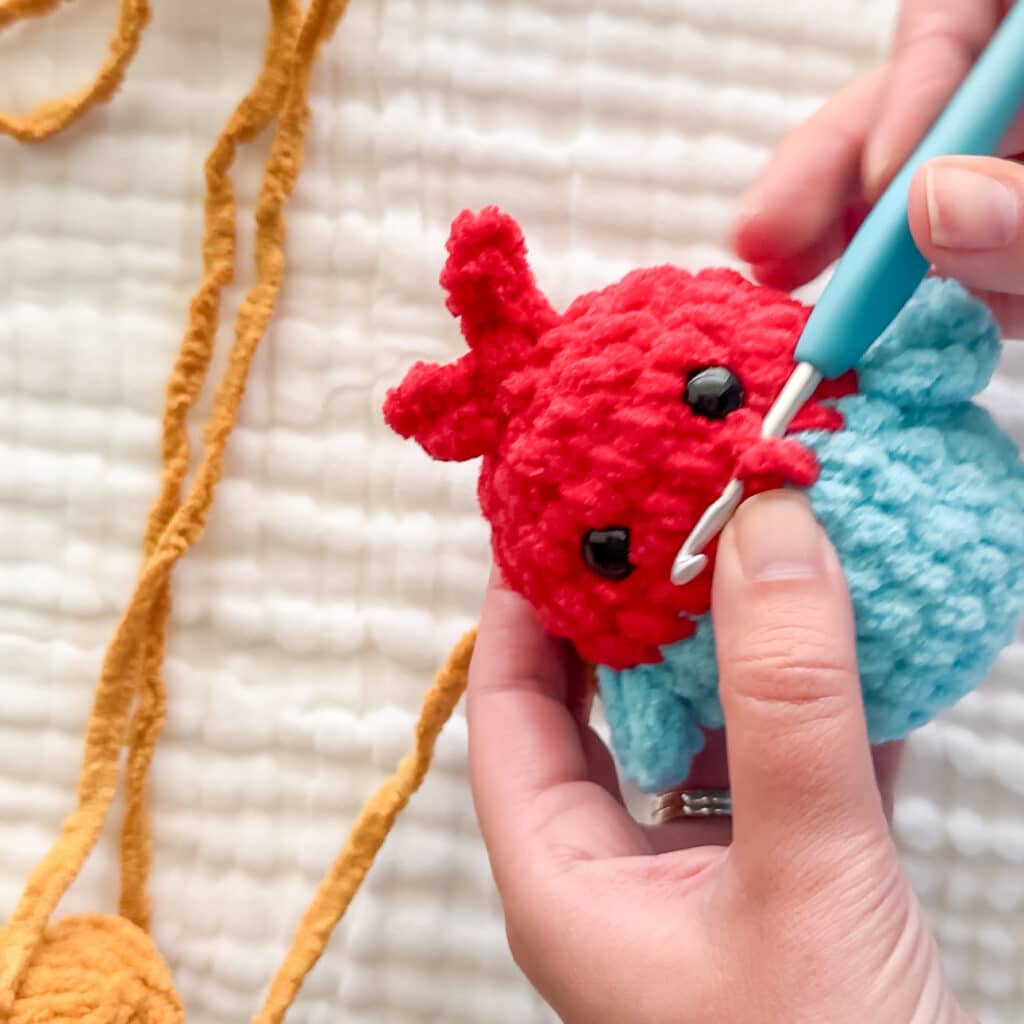
Using red: Centered between the eyes, on the top of the head, insert your hook and pull up your yarn, leaving a small tail (to tie off and weave in.) Chain 4 times. One stitch away from the hook, slip stitch in the remaining 3 stitches. Slip stitch to the head, going towards the back of the head. Chain 4 times. One stitch away from the hook, slip stitch in the remaining 3 stitches. Repeat one more time for a total of three “spikes.” Fasten off and weave the end near the first tail. Tie a knot and weave in the ends.
Assembly
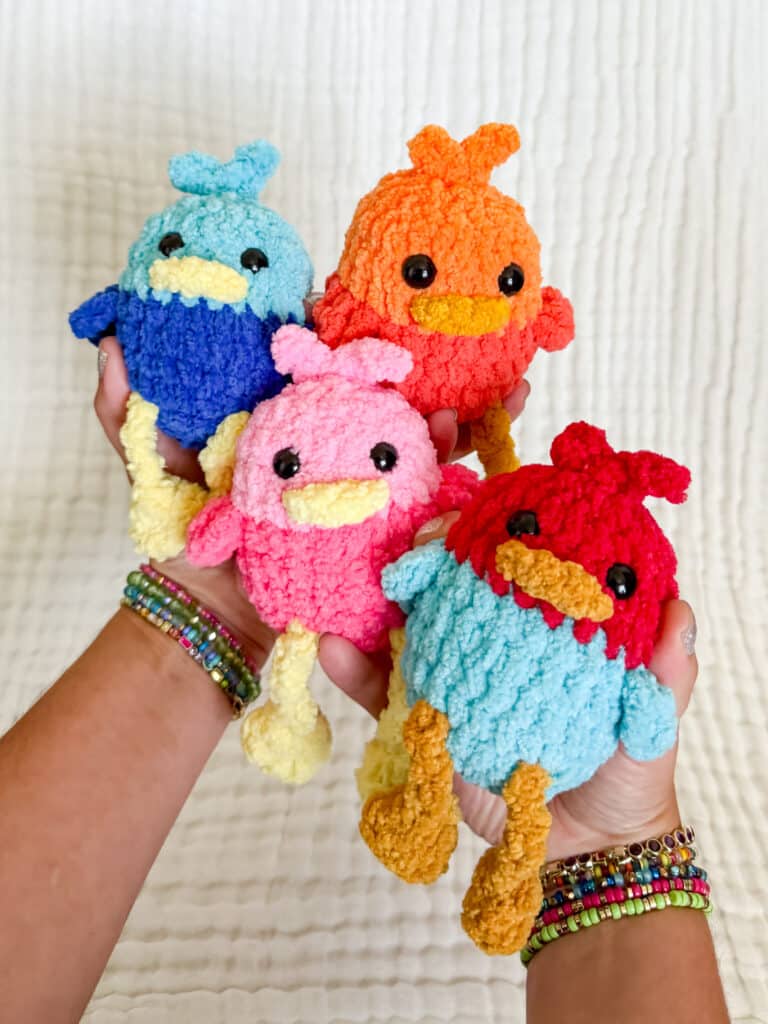
The only assembly required is sewing in the ends for the wings, beak, tuft, and legs using a tapestry needle. The body hole is closed with a whip stitch using the long tail left from Round 12. If using embroidered eyes instead of safety eyes, follow standard embroidery techniques to attach them securely.
Tips
- Yarn Selection: While many yarns are classified as the same weight, they can work up differently. The author recommends Premier Basix Chenille, Bernat Blanket, or Cozy Cub. Always check your tension.
- Hook Size: Use a hook size that keeps stitches tight. If the fabric is too tight to work comfortably, size up slightly, but ensure the holes between stitches are small enough to hide stuffing.
- Safety vs. Embroidery: For toys intended for babies or toddlers, consider embroidering the eyes instead of using safety eyes for added safety.
- Leg Length: When making the legs, err on the side of longer tails if you are unsure, as they can be trimmed later.
FAQs
What type of yarn is best for this pattern?
The pattern is designed for Size 6 plush/blanket yarn. Premier Basix Chenille, Bernat Blanket, and Bernat Baby Blanket are recommended. These yarns create a soft, squishy toy that works up quickly.
Do I need to sew the wings and beak on?
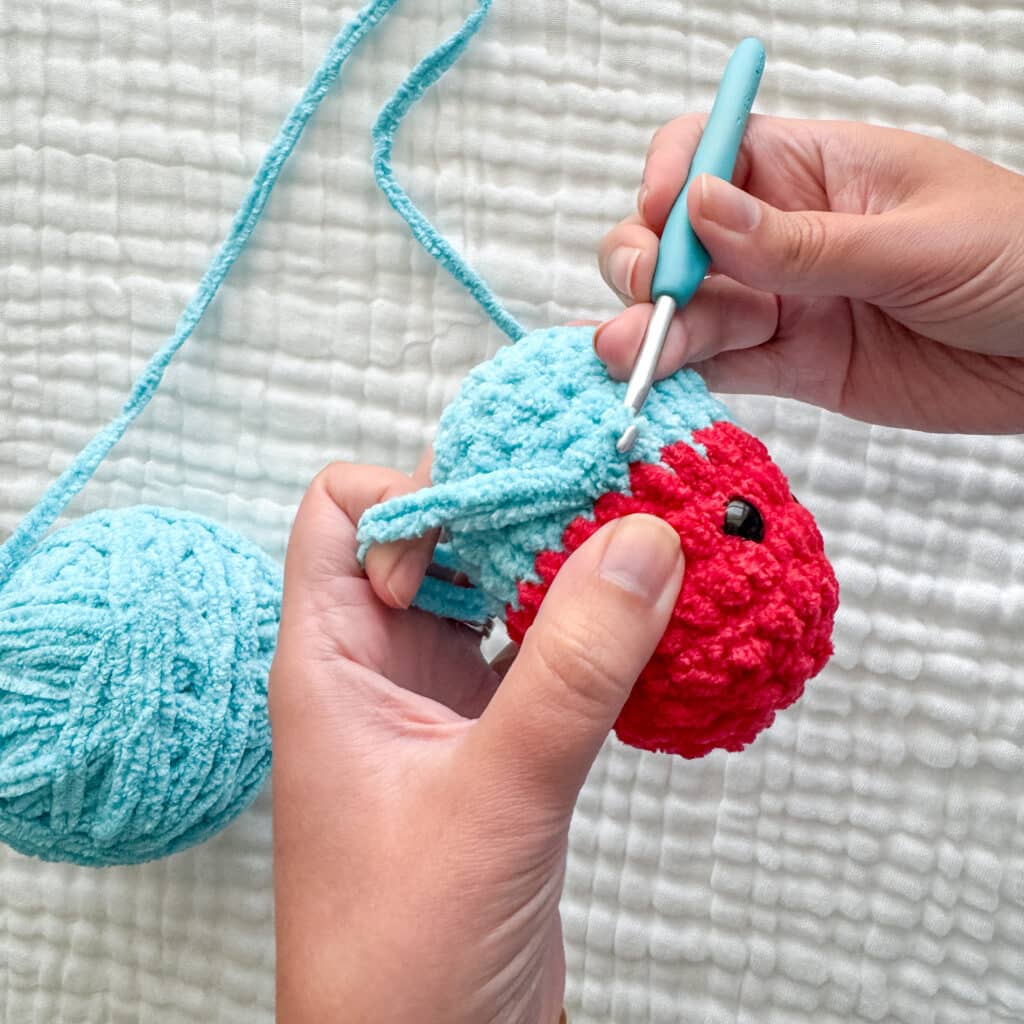
No, this is a no-sew pattern. The wings, beak, and tuft are crocheted directly onto the body of the bird. You only need a yarn needle to weave in the loose ends.
How big is the finished bird?
The bird fits in the palm of your hand and measures approximately 4 inches tall, not including the dangling legs.
Can I use this pattern for a baby toy?
Yes, but for safety with babies and toddlers, it is recommended to embroider the eyes rather than using plastic safety eyes. Ensure all yarn ends are securely woven in.
How long does it take to make one bird?

Once you are familiar with the pattern, it takes approximately 30-32 minutes to complete one bird. It is a very quick project.
Pin This Crochet Pattern!