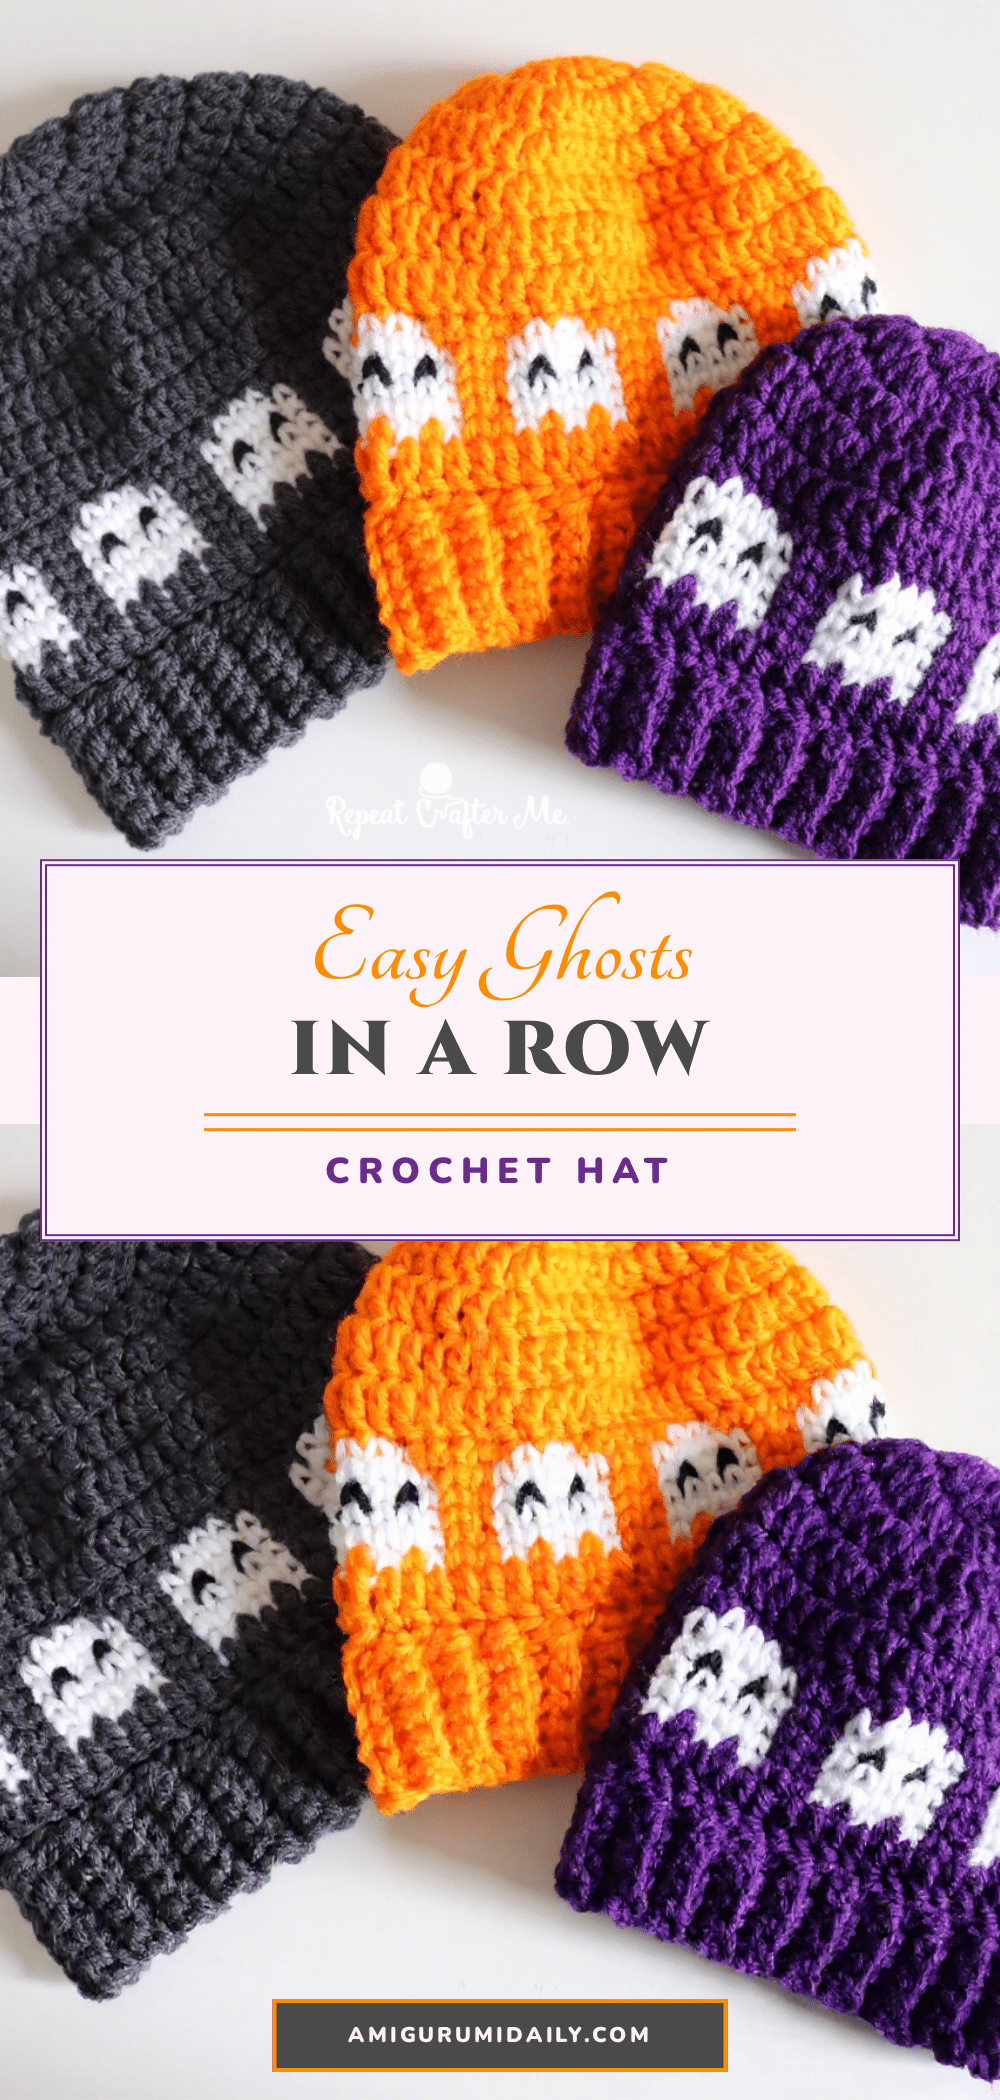
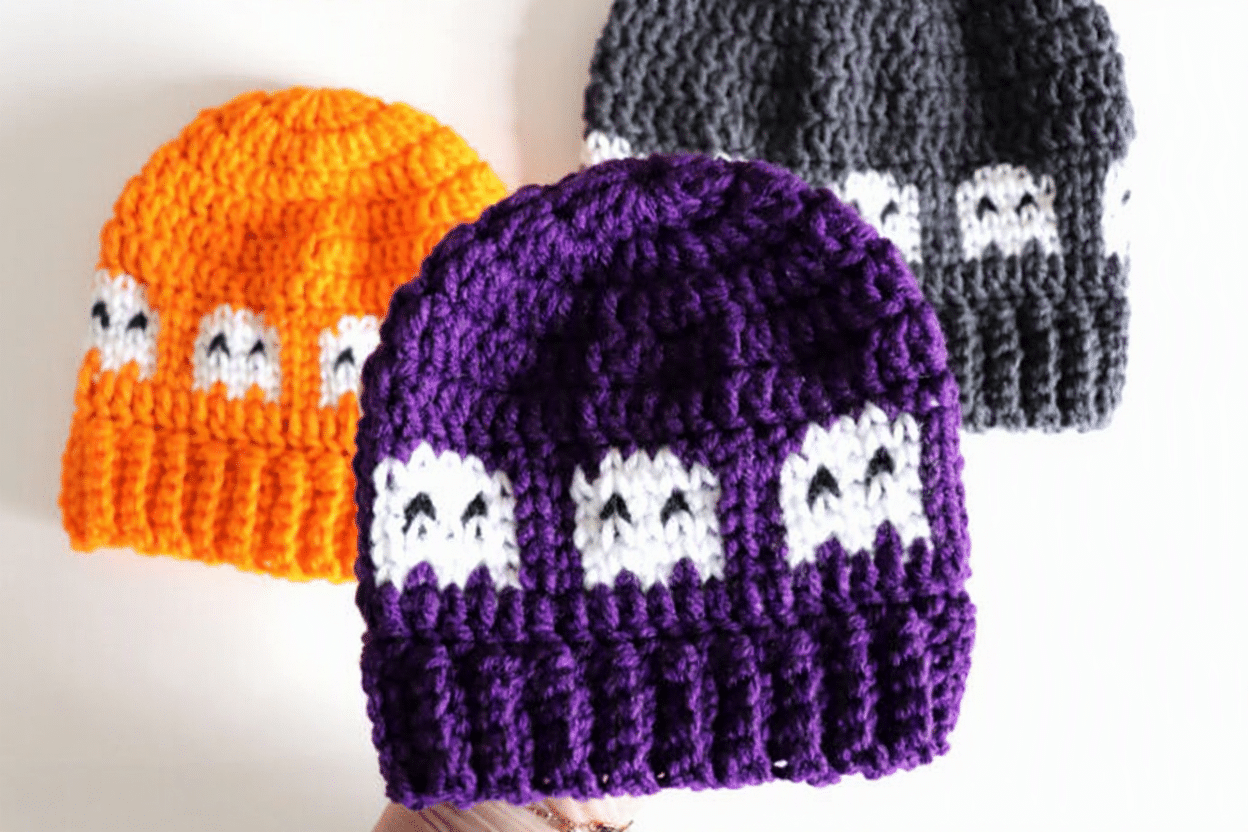
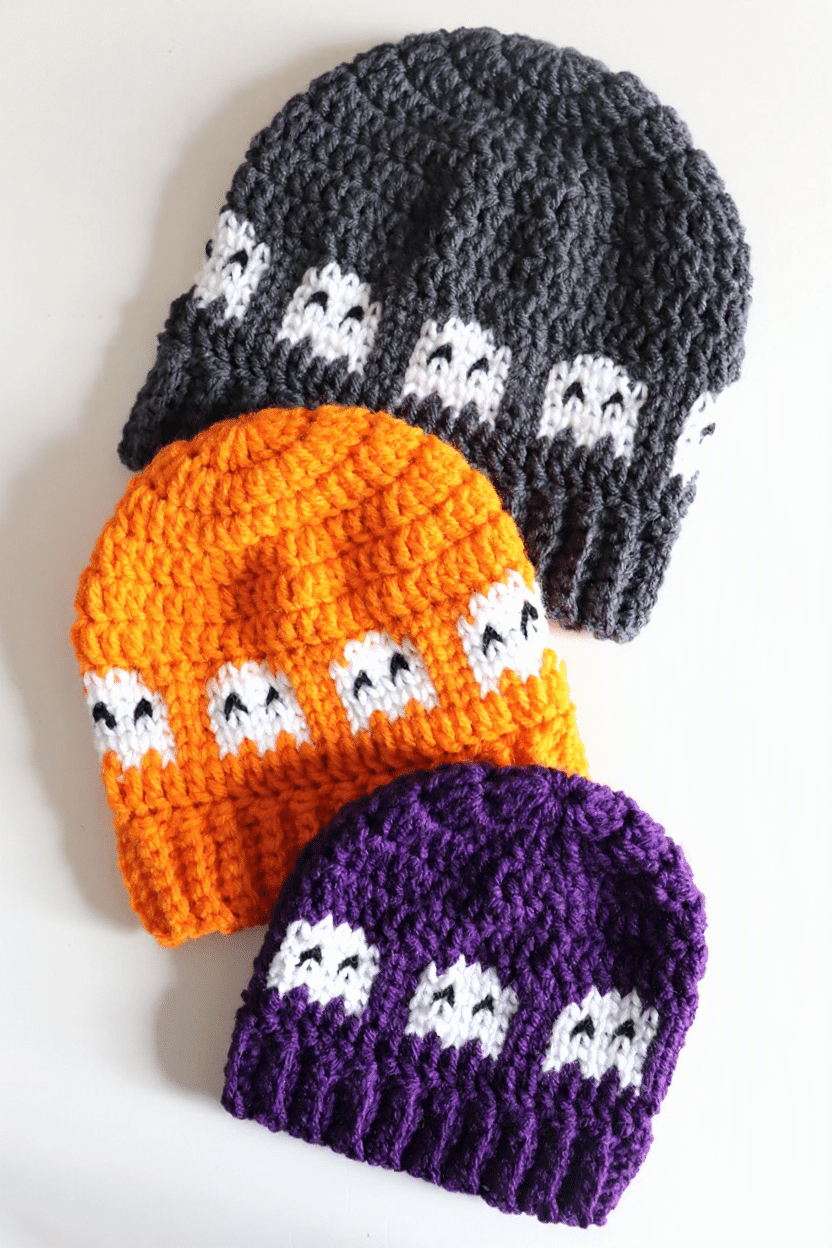
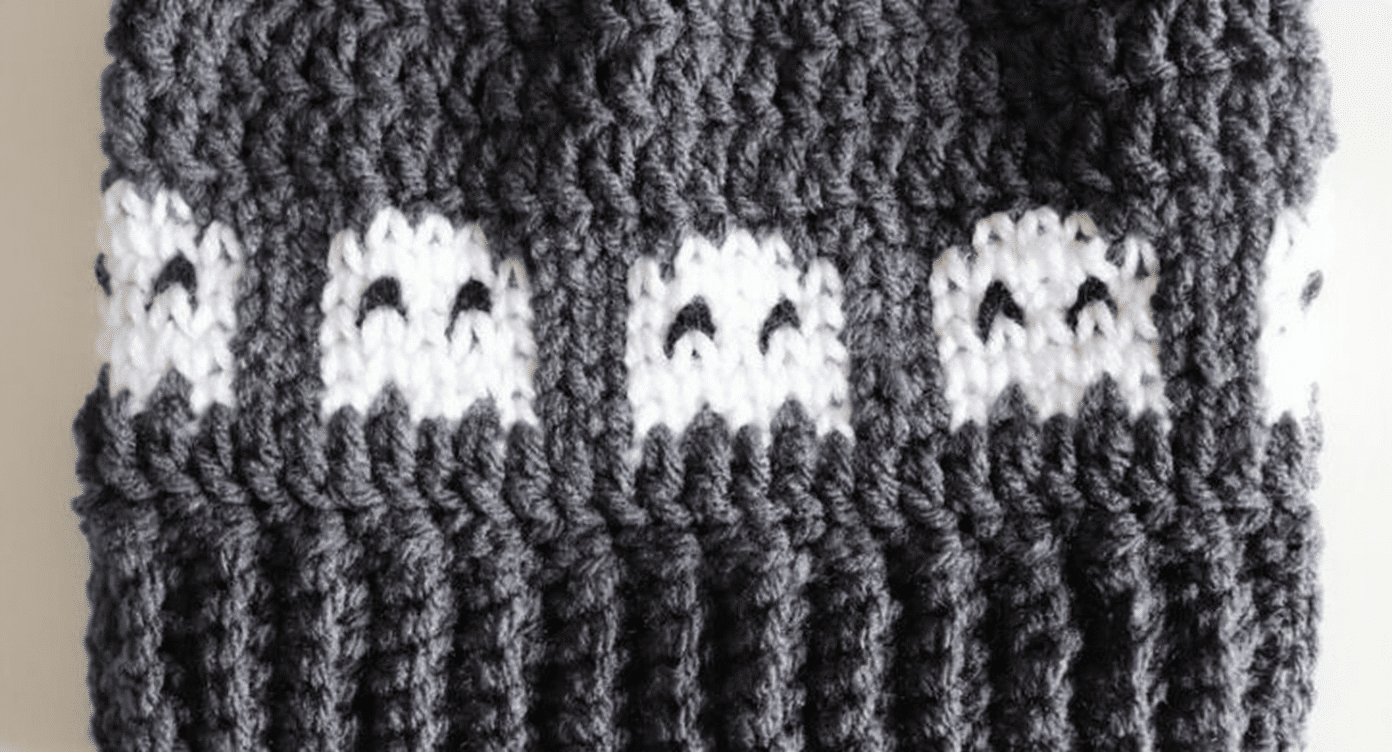
As the days grow shorter and the air turns crisp, it is time to bring the spookiest season into your crochet hook. The Ghosts in a Row Crochet Hat is a delightful addition to the “In a Row” collection, perfect for anyone looking to add a touch of whimsy to their Halloween wardrobe. This wearable project features a repeating ghost motif that wraps around the hat, creating a playful pattern that is both eye-catching and fun to make. Whether you are crafting for a trick-or-treater or treating yourself to a festive accessory, this pattern offers a straightforward approach to colorwork using a unique stitch technique.
Seasonal Styling Ideas
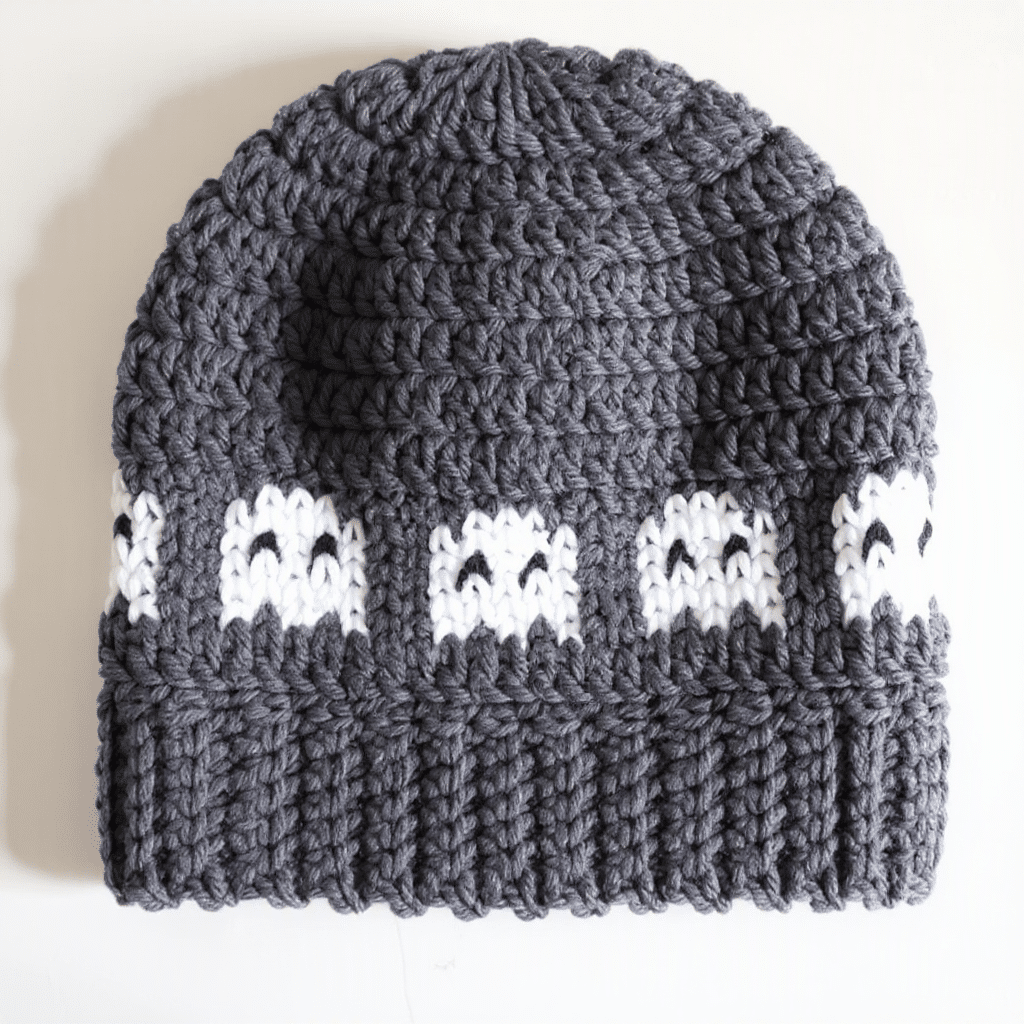
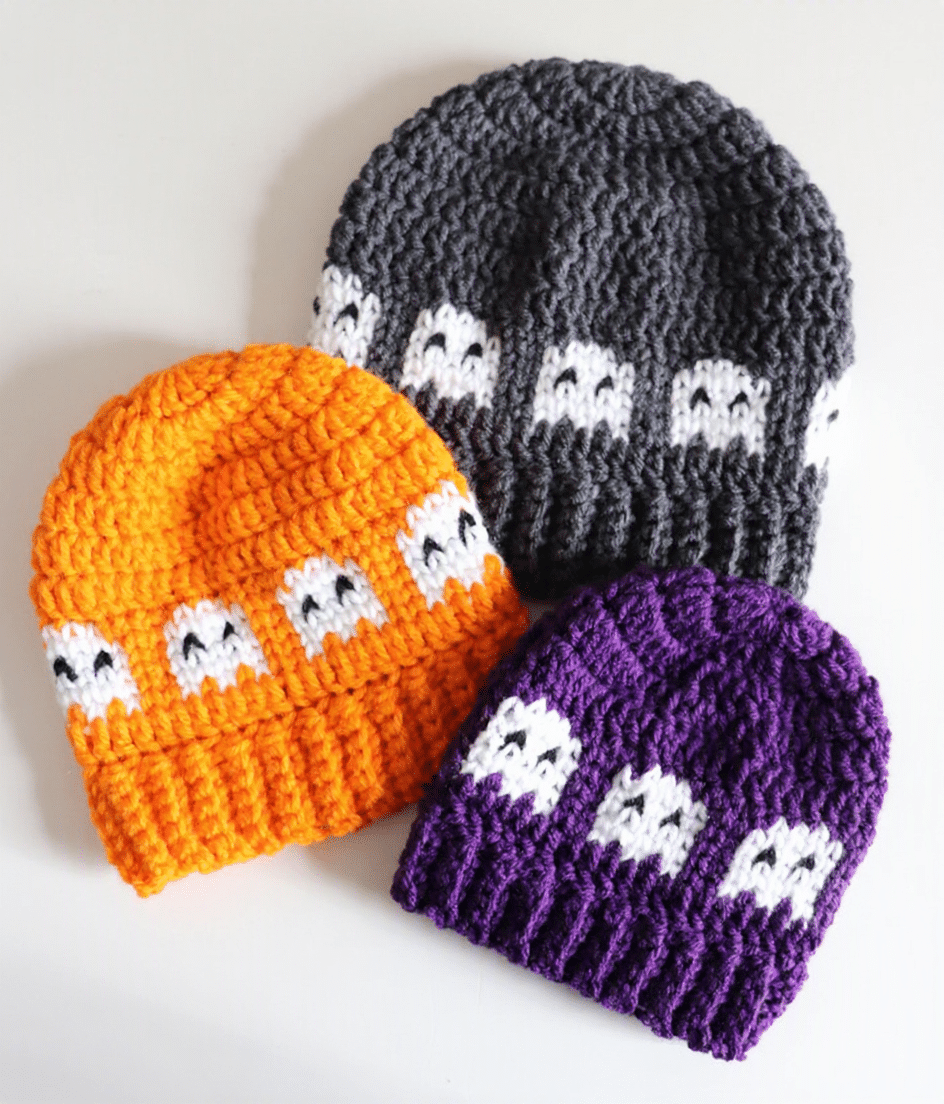
One of the best things about this hat is the versatility of the background color. The pattern is designed to let the white ghosts stand out, so choosing the right shade for the main body is key to setting the mood. The creator recommends using Red Heart Super Saver in classic Halloween shades like Dark Orchid, Pumpkin, or Charcoal. These colors provide a high contrast that makes the ghost shapes pop beautifully. For a more subtle look, you could try a deep navy or black background, while a bright orange offers a cheerful, festive vibe. You can also experiment with glow-in-the-dark yarn for the ghosts to create a hat that truly shines during evening trick-or-treating. This hat pairs perfectly with a simple black sweater and jeans for a casual Halloween party look, or it can be layered over a hoodie for a cozy, handmade gift for a child.
Project Overview
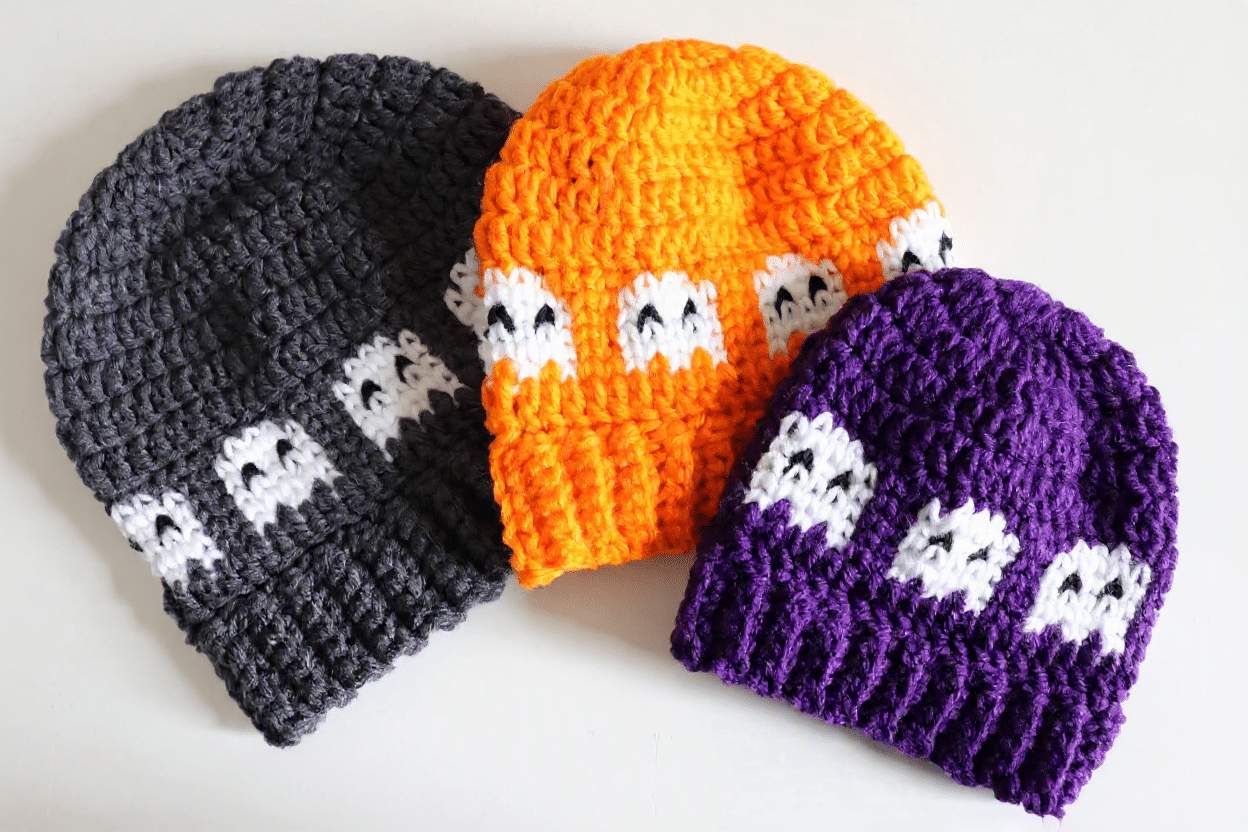
This hat is worked from the top down in rounds. The main body of the hat is constructed using standard double crochet (DC) stitches to create a smooth, expanding crown. The focal point of the design is a 6-round section dedicated to the ghost colorwork. This section utilizes the waistcoat stitch (also known as the knit-look stitch), which creates a textured, vertical appearance that helps the ghost shapes stack neatly and remain distinct. The hat finishes with a ribbed border worked directly onto the edge of the hat for a comfortable, stretchy fit.
Materials
- Yarn: Red Heart Super Saver worsted weight yarn. You will need one main color (Color A) for the hat background, white (Color B) for the ghosts, and a small amount of black (Color C) for the eyes. Suggested colors include Dark Orchid, Pumpkin, or Charcoal.
- Crochet Hook: Size H (5.0 mm) crochet hook, or hook needed to obtain desired size.
- Notions: Tapestry needle, scissors.
- Graphs: Free printable graphs for all sizes are available from the source, or you can save the images from the blog post.
Abbreviations
- CH = Chain
- DC = Double Crochet
- SC = Single Crochet
- WC SC = Waistcoat Single Crochet
- ST(S) = Stitch(es)
Pattern Notes
- Direction: This hat is worked from the top down.
- Stitch Usage: The main portion of the hat is crocheted in double crochet (DC). The waistcoat stitch is used only for the 6 rounds of ghost colorwork.
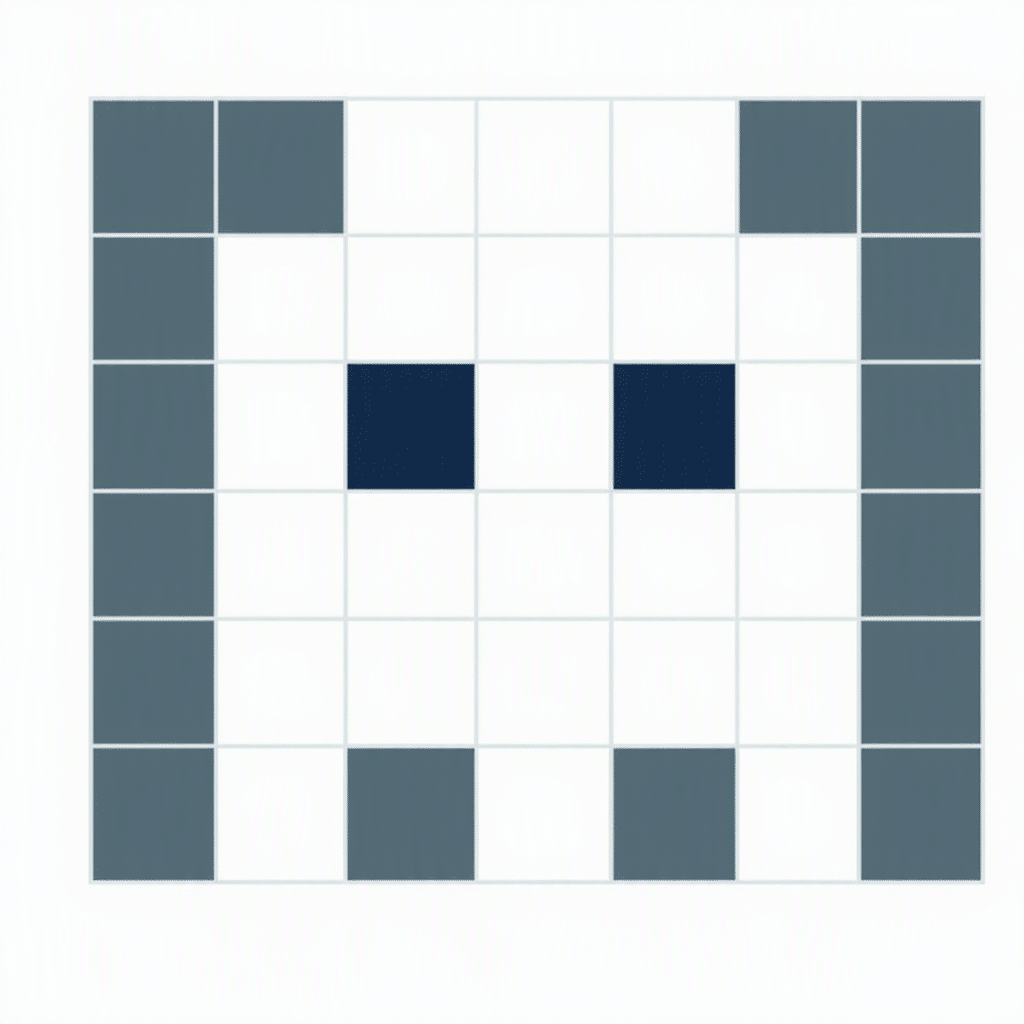
- Repeat: The ghost design has a 7-stitch repeat. Each size adds one additional 7-stitch repeat, which means one additional ghost per size.
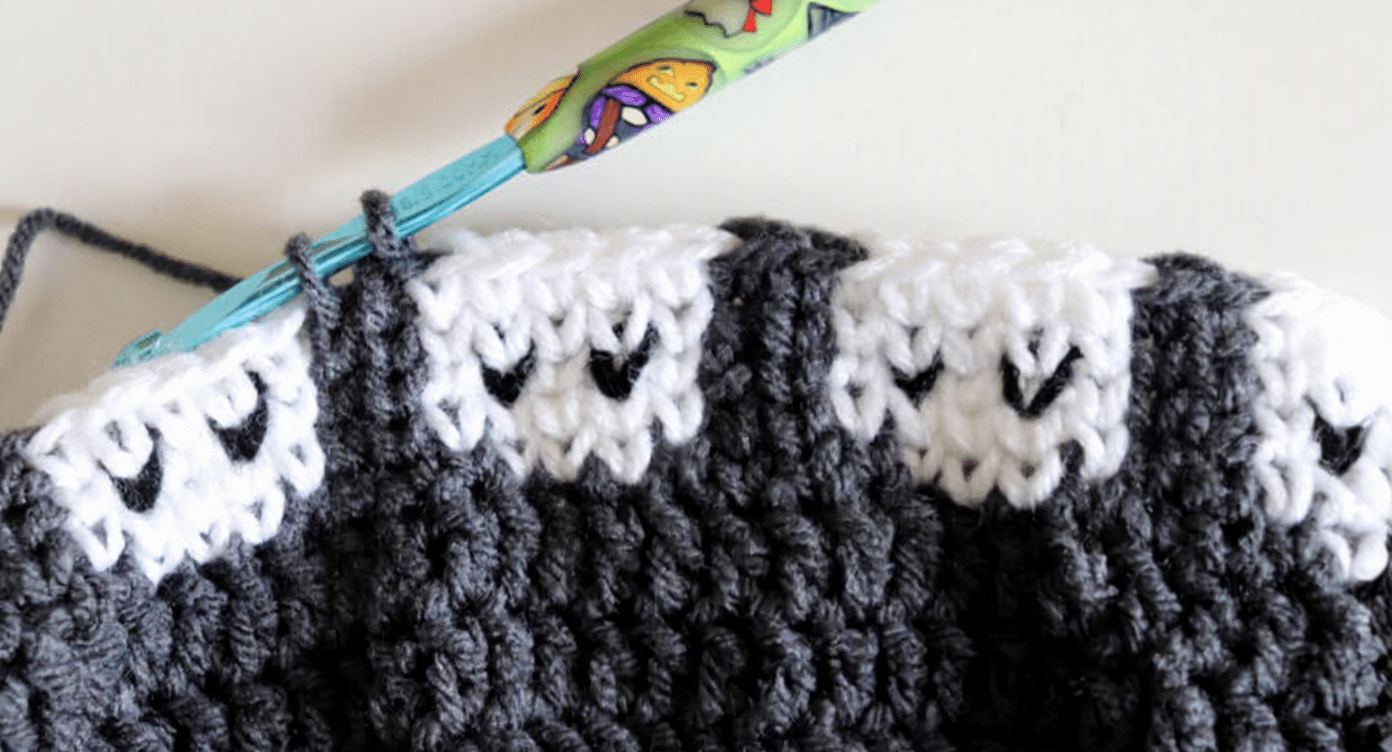
- Reading the Graph: Because the hat is worked from the top down, you will work the ghost graph from the top of the graph to the bottom. Begin with Row 6 and work downward: Row 6 → Row 5 → Row 4 → Row 3 → Row 2 → Row 1. This creates the rounded top of the ghost first and finishes with the three little points along the bottom.
- Color Key: Color A is the hat/background color, Color B is white, and Color C is black.
Special Stitches
Waistcoat (Knit-Look) Stitch
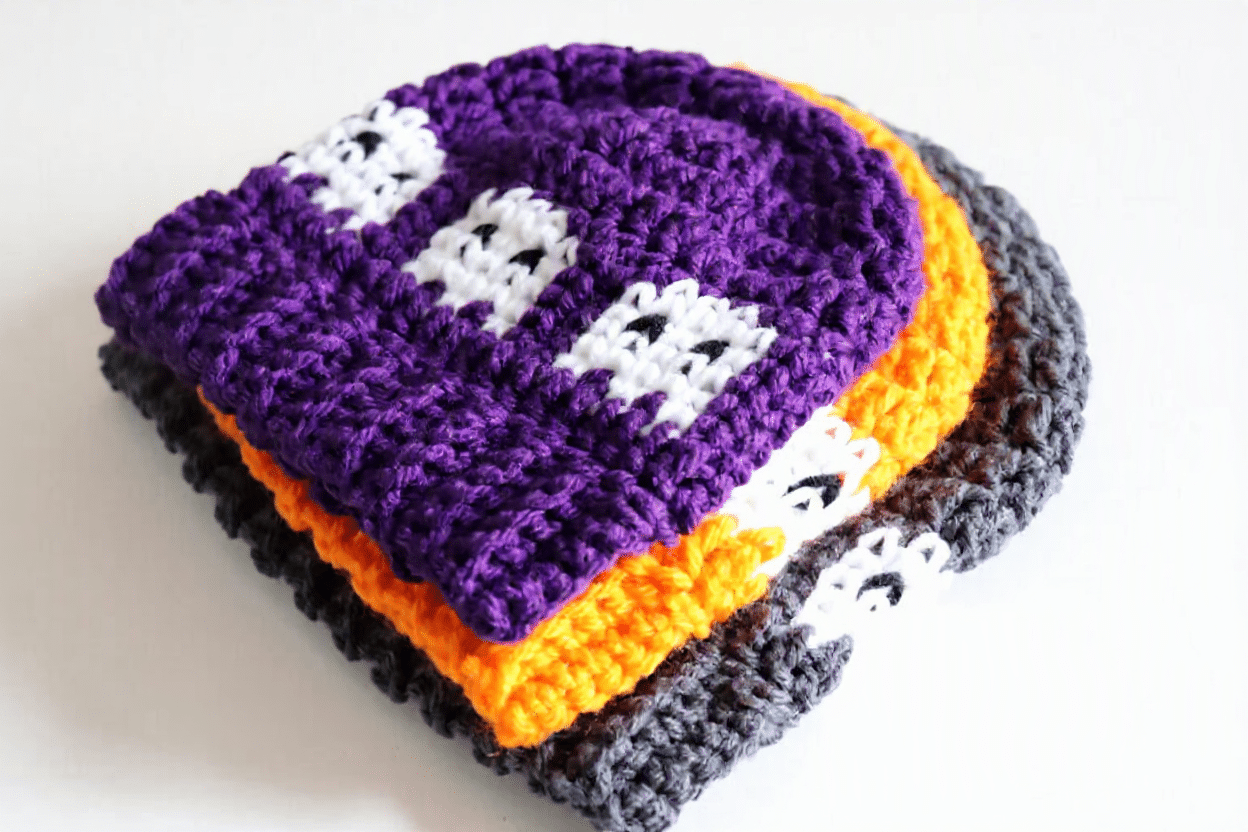
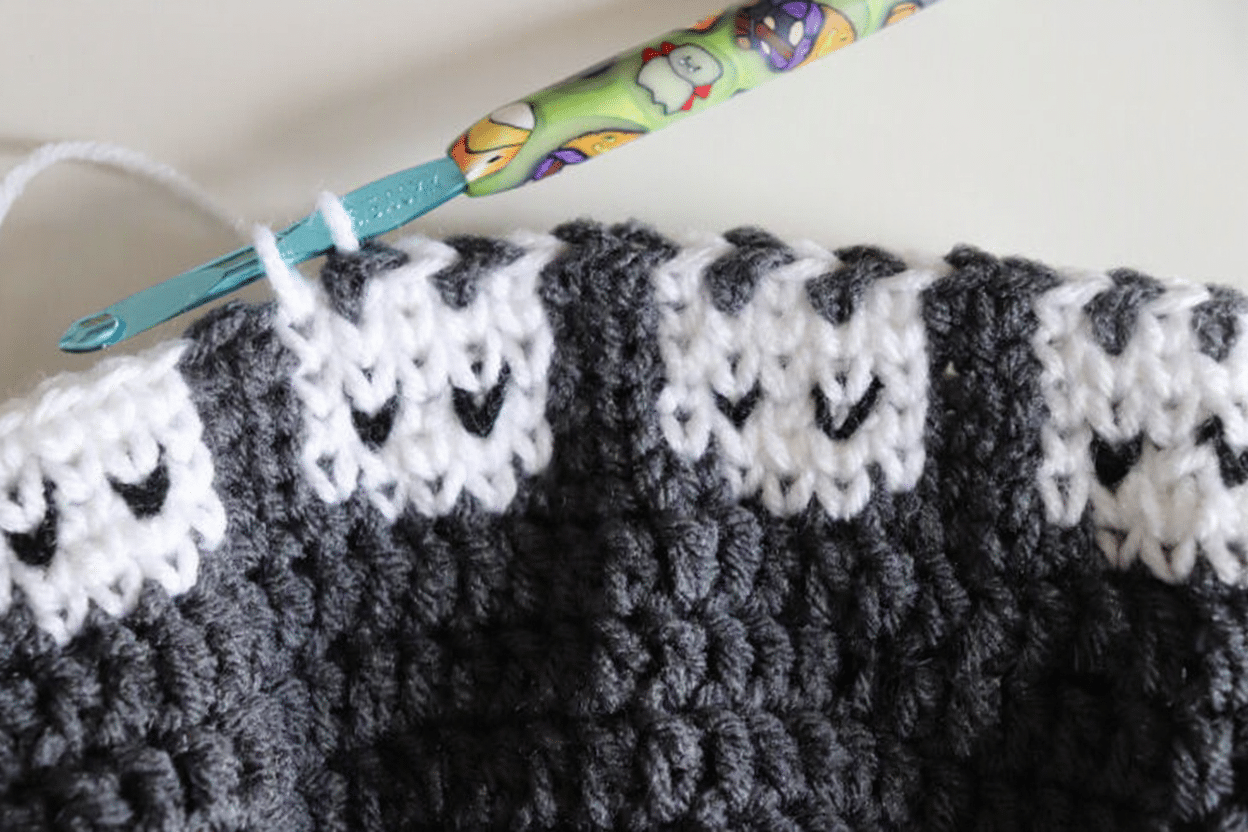
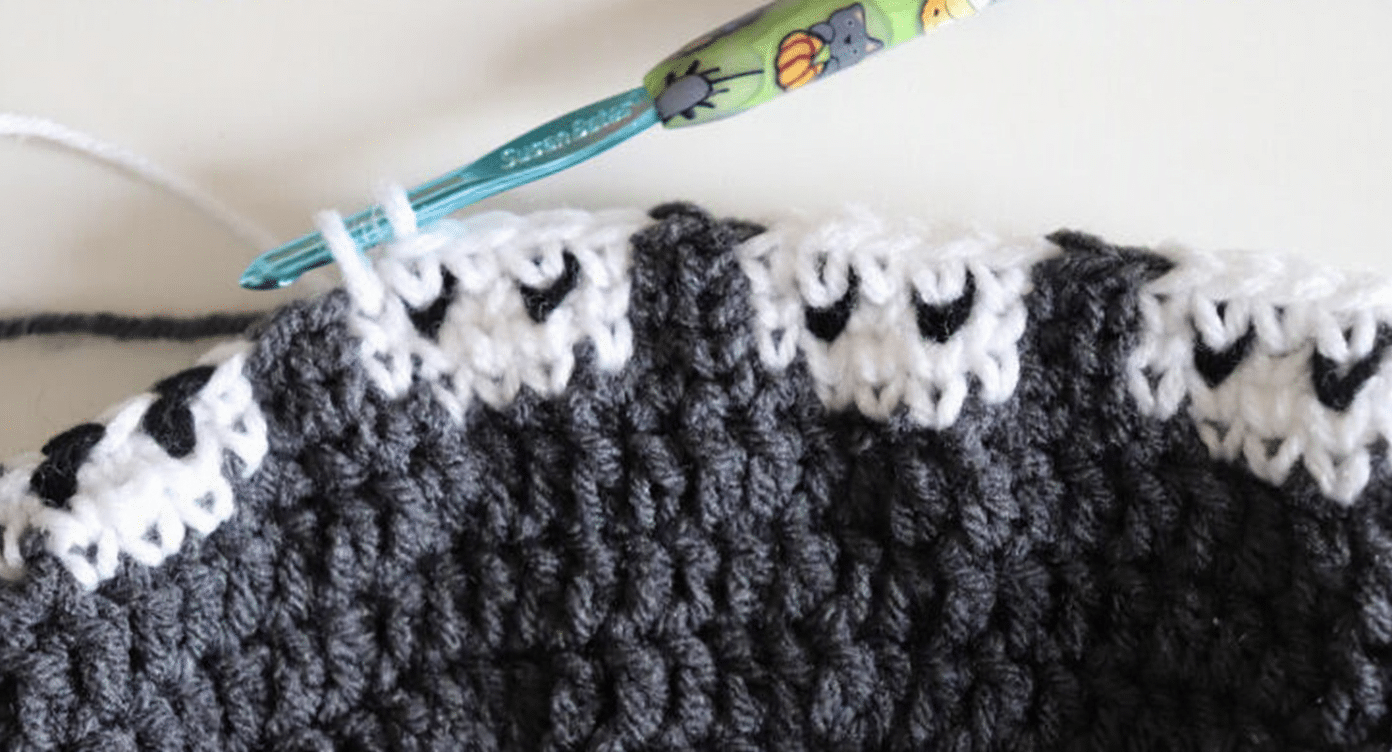
If you can make a single crochet, you can make the waistcoat stitch! The secret is all in where you insert your hook. Instead of crocheting into the tops of the stitches, insert your hook into the center post of the stitch — right in the middle of the “V” you see on the front. Complete the stitch just like a regular single crochet. This creates a smooth, knit-look stitch that works especially well for the ghost graph because the stitches stack neatly on top of one another, making the little ghost shapes easy to see.
Tip: Keep your tension a little loose when working the waistcoat stitch. If your stitches are too tight, it can be difficult to insert your hook into the center of the V.
Pattern Instructions
Choose your size below. Each size follows the same structure but varies in the number of increase rounds and the number of ghost repeats.
Baby — 42 stitches (6 ghosts)
- Round 1: Magic Ring, chain 1 and make 14 DC in ring, join, chain 2. (14 DC)
- Round 2: 2 DC in each stitch around, join, chain 2. (28 DC)
- Round 3: 2 DC in first stitch, DC in next 3 stitches; repeat around, join, chain 2. (35 DC)
- Round 4: 2 DC in first stitch, DC in next 4 stitches; repeat around, join, chain 2. (42 DC)
- Round 5: DC in each stitch around, join, chain 1. (42 DC)
- Round 6-11: Work 6 rounds of the Ghost Graph using waistcoat stitch.
- Round 12: DC in each stitch around, join (42 DC)
- Finish: Work ribbing (see Assembly section).
Toddler/Preschool — 49 stitches (7 ghosts)
- Round 1: Magic Ring, chain 1 and make 14 DC in ring, join, chain 2. (14 DC)
- Round 2: 2 DC in each stitch around, join, chain 2. (28 DC)
- Round 3: 2 DC in first stitch, DC in next 3 stitches; repeat around, join, chain 2. (35 DC)
- Round 4: 2 DC in first stitch, DC in next 4 stitches; repeat around, join, chain 2. (42 DC)
- Round 5: 2 DC in first stitch, DC in next 5 stitches; repeat around, join, chain 2. (49 DC)
- Round 6: DC in each stitch around, join, chain 1. (49 DC)
- Round 7-12: Work 6 rounds of the Ghost Graph using waistcoat stitch.
- Round 13: DC in each stitch around, join (49 DC)
- Finish: Work ribbing.
Child — 56 stitches (8 ghosts)
- Round 1: Magic Ring, chain 1 and make 14 DC in ring, join, chain 2. (14 DC)
- Round 2: 2 DC in each stitch around, join, chain 2. (28 DC)
- Round 3: 2 DC in first stitch, DC in next 3 stitches; repeat around, join, chain 2. (35 DC)
- Round 4: 2 DC in first stitch, DC in next 4 stitches; repeat around, join, chain 2. (42 DC)
- Round 5: 2 DC in first stitch, DC in next 5 stitches; repeat around, join, chain 2. (49 DC)
- Round 6: 2 DC in first stitch, DC in next 6 stitches; repeat around, join, chain 2. (56 DC)
- Round 7-8: DC in each stitch around, join, chain 1. (56 DC)
- Round 9-14: Work 6 rounds of the Ghost Graph using waistcoat stitch.
- Round 15: DC in each stitch around, join (56 DC)
- Finish: Work ribbing.
Teen — 63 stitches (9 ghosts)
- Round 1: Magic Ring, chain 1 and make 14 DC in ring, join, chain 2. (14 DC)
- Round 2: 2 DC in each stitch around, join, chain 2. (28 DC)
- Round 3: 2 DC in first stitch, DC in next 3 stitches; repeat around, join, chain 2. (35 DC)
- Round 4: 2 DC in first stitch, DC in next 4 stitches; repeat around, join, chain 2. (42 DC)
- Round 5: 2 DC in first stitch, DC in next 5 stitches; repeat around, join, chain 2. (49 DC)
- Round 6: 2 DC in first stitch, DC in next 6 stitches; repeat around, join, chain 2. (56 DC)
- Round 7: 2 DC in first stitch, DC in next 7 stitches; repeat around, join, chain 2. (63 DC)
- Round 8-9: DC in each stitch around, join, chain 1. (63 DC)
- Round 10-15: Work 6 rounds of the Ghost Graph using waistcoat stitch.
- Round 16: DC in each stitch around, join, chain 1. (63 DC)
- Finish: Work ribbing.
Adult — 70 stitches (10 ghosts)
- Round 1: Magic Ring, chain 1 and make 14 DC in ring, join, chain 2. (14 DC)
- Round 2: 2 DC in each stitch around, join, chain 2. (28 DC)
- Round 3: 2 DC in first stitch, DC in next 3 stitches; repeat around, join, chain 2. (35 DC)
- Round 4: 2 DC in first stitch, DC in next 4 stitches; repeat around, join, chain 2. (42 DC)
- Round 5: 2 DC in first stitch, DC in next 5 stitches; repeat around, join, chain 2. (49 DC)
- Round 6: 2 DC in first stitch, DC in next 6 stitches; repeat around, join, chain 2. (56 DC)
- Round 7: 2 DC in first stitch, DC in next 7 stitches; repeat around, join, chain 2. (63 DC)
- Round 8: 2 DC in first stitch, DC in next 8 stitches; repeat around, join, chain 2. (70 DC)
- Round 9-11: DC in each stitch around, join, chain 1. (70 DC)
- Round 12-17: Work 6 rounds of the Ghost Graph using waistcoat stitch.
- Round 18: DC in each stitch around, join, chain 1. (70 DC)
- Finish: Work ribbing.
Assembly
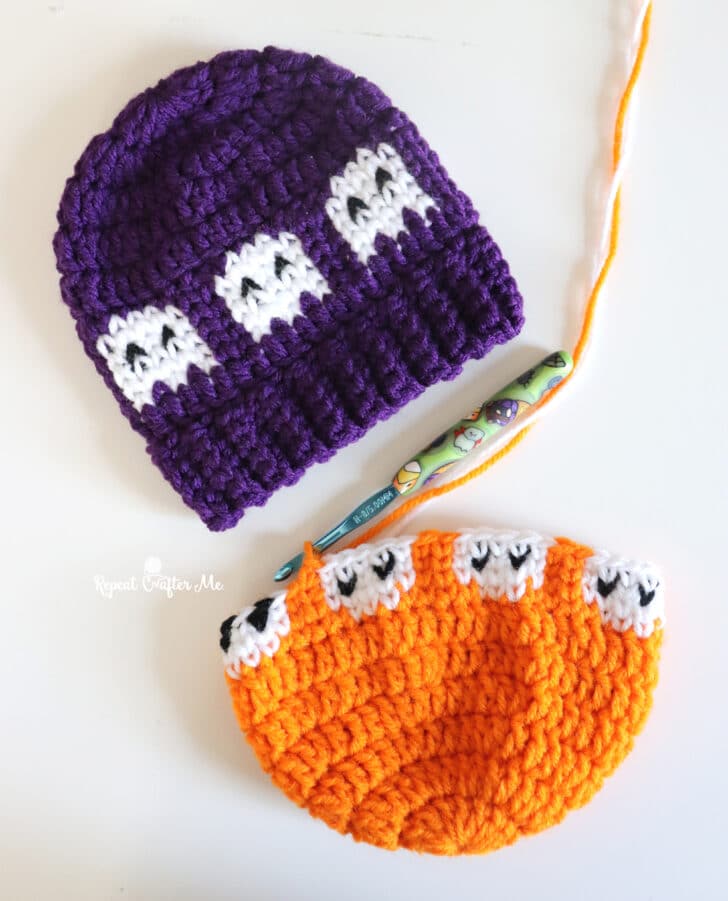
Finish the Hat with a Ribbed Border
Please be sure and watch the tutorial from Daisy Farm Crafts on how to make a single crochet ribbed border. I love this technique because you don’t need to sew the ribbing on separately; it is crocheted right onto the edge of the hat! It’s basically a chain 7 (or however long/short you want your ribbed border), SC in each chain until you get back to the hat edge, slip stitch in two stitches along the hat edge and then SC in the back loops of the ribbing and repeat. When you’ve finished the ribbed border along the edge of the hat you can slip stitch the seam together. Fasten off and weave in all ends.
Tips
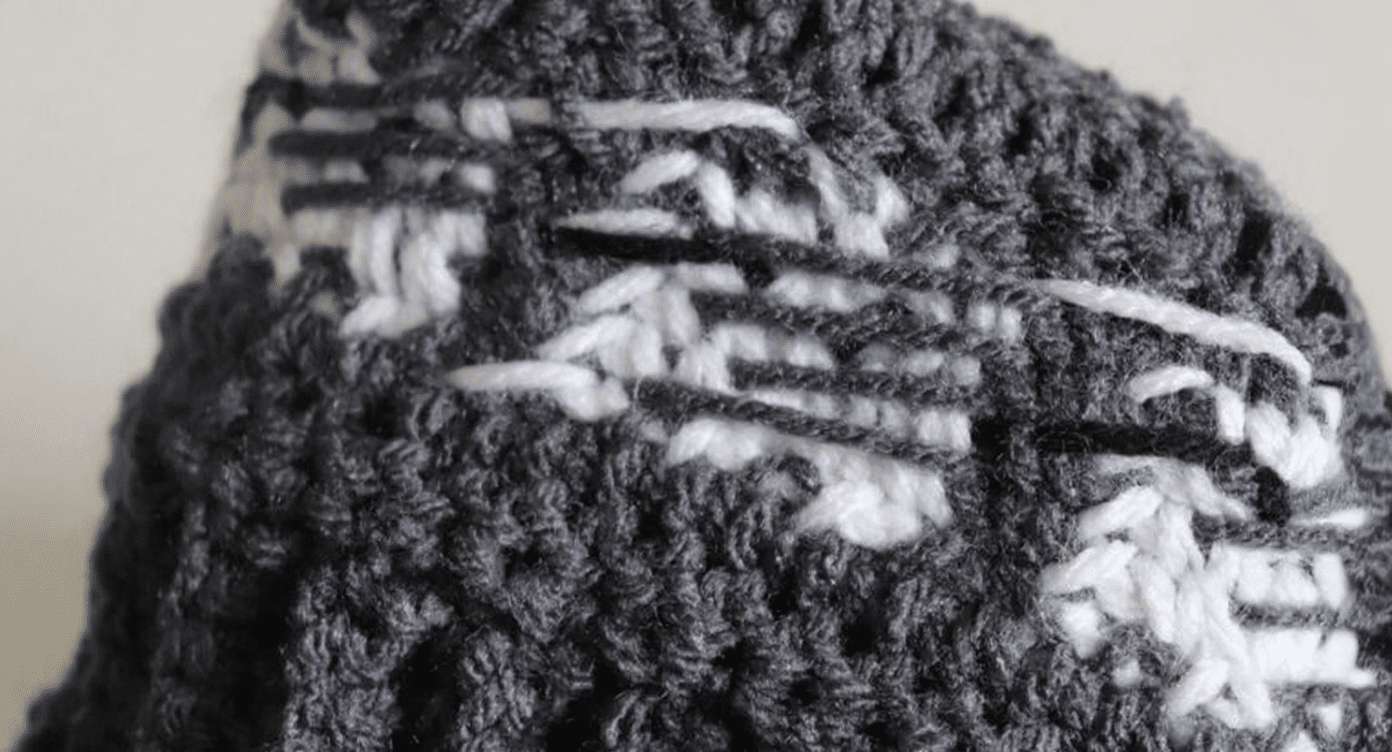
- Carrying Yarn: When working the ghost graph, the creator chose not to carry the unused yarn through the stitches. Because the ghosts are white and the background colors are much darker or brighter, carrying the background yarn inside the white stitches allowed some of that color to show through. Instead, carry (or “float”) the unused yarn loosely along the back of the work, picking it back up when it was needed for the next color change. Be careful not to pull your floats too tightly! You want them to lie loosely across the inside of the hat so they don’t cause the fabric to pucker or affect the stretch of the hat. The inside won’t look quite as tidy as the outside and that’s okay! The floats stay hidden inside the finished hat while keeping the white ghosts looking crisp and bright on the outside.
FAQs
How do I read the ghost graph?
Because the hat is worked from the top down, you must work the ghost graph from the top of the graph to the bottom. Start with Row 6 and work downward through Row 1. This ensures the rounded top of the ghost is formed first, followed by the body and feet.
What is the waistcoat stitch?
The waistcoat stitch is a textured stitch that looks like knitting. To make it, insert your hook into the center post of the stitch (the middle of the “V” on the front) rather than the top loops. Complete it like a single crochet. Keep your tension loose to make it easier to insert the hook.
How many ghosts are in each size?
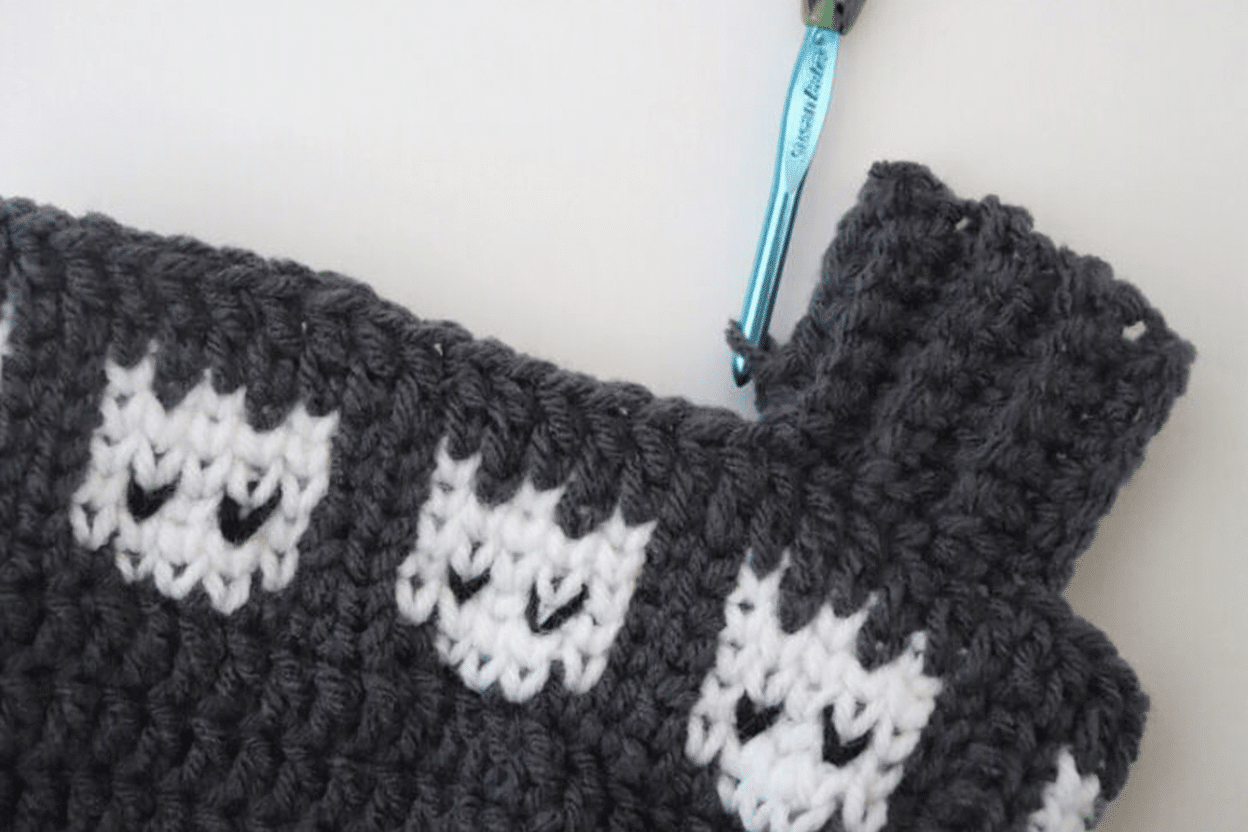
The design uses a 7-stitch repeat for each ghost. The Baby size (42 stitches) has 6 ghosts. The Toddler/Preschool size (49 stitches) has 7 ghosts. The Child size (56 stitches) has 8 ghosts. The Teen size (63 stitches) has 9 ghosts. The Adult size (70 stitches) has 10 ghosts.
Can I use a different yarn weight?
This pattern is written for worsted weight yarn (Category 4) using a Size H (5.0 mm) hook. Using a different weight will change the gauge and the final size of the hat. If you wish to use a different yarn, you may need to adjust your hook size and stitch counts.
Do I need to carry the yarn for the eyes?
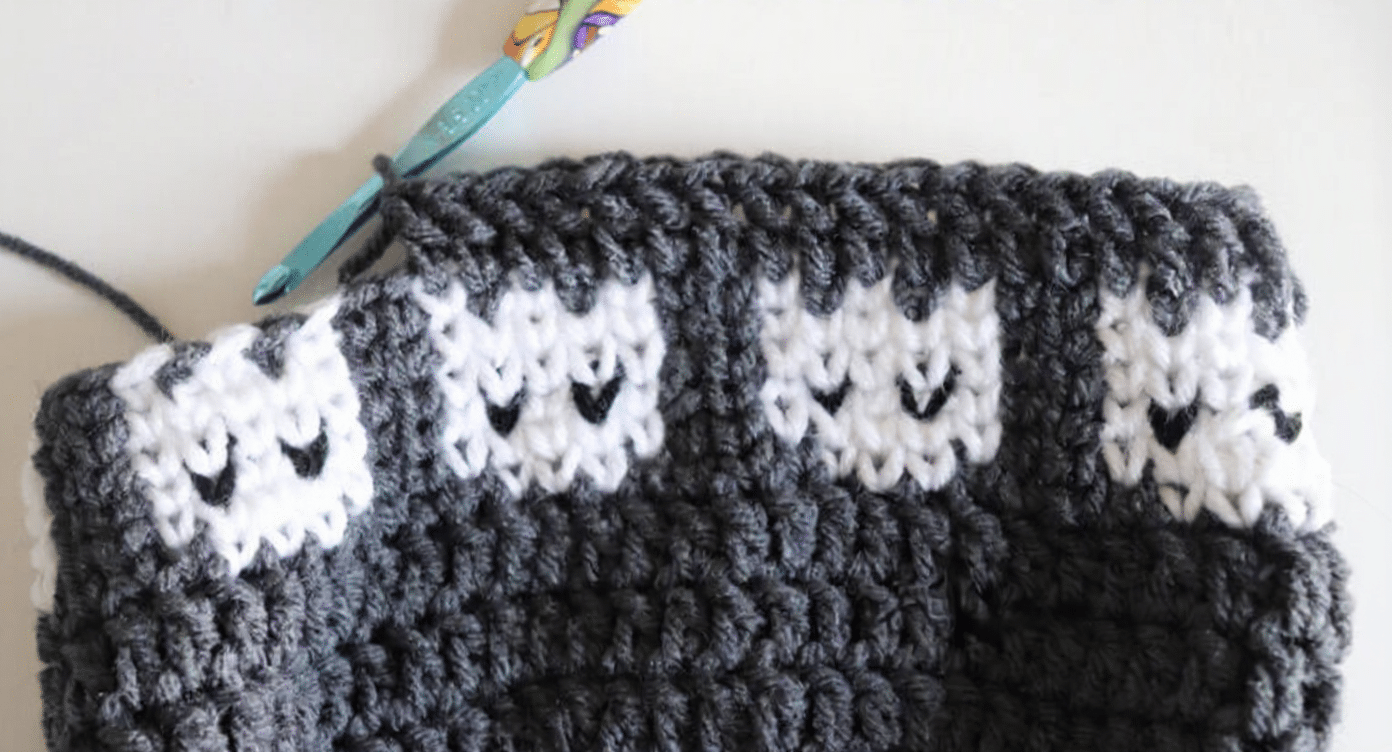
The pattern suggests floating the unused yarn loosely along the back of the work during the colorwork rounds. This prevents the background color from showing through the white ghosts. For the small black eyes, you can cut the yarn and weave in the ends, or float it if you prefer, ensuring it doesn’t pull the fabric.
Is this pattern suitable for beginners?
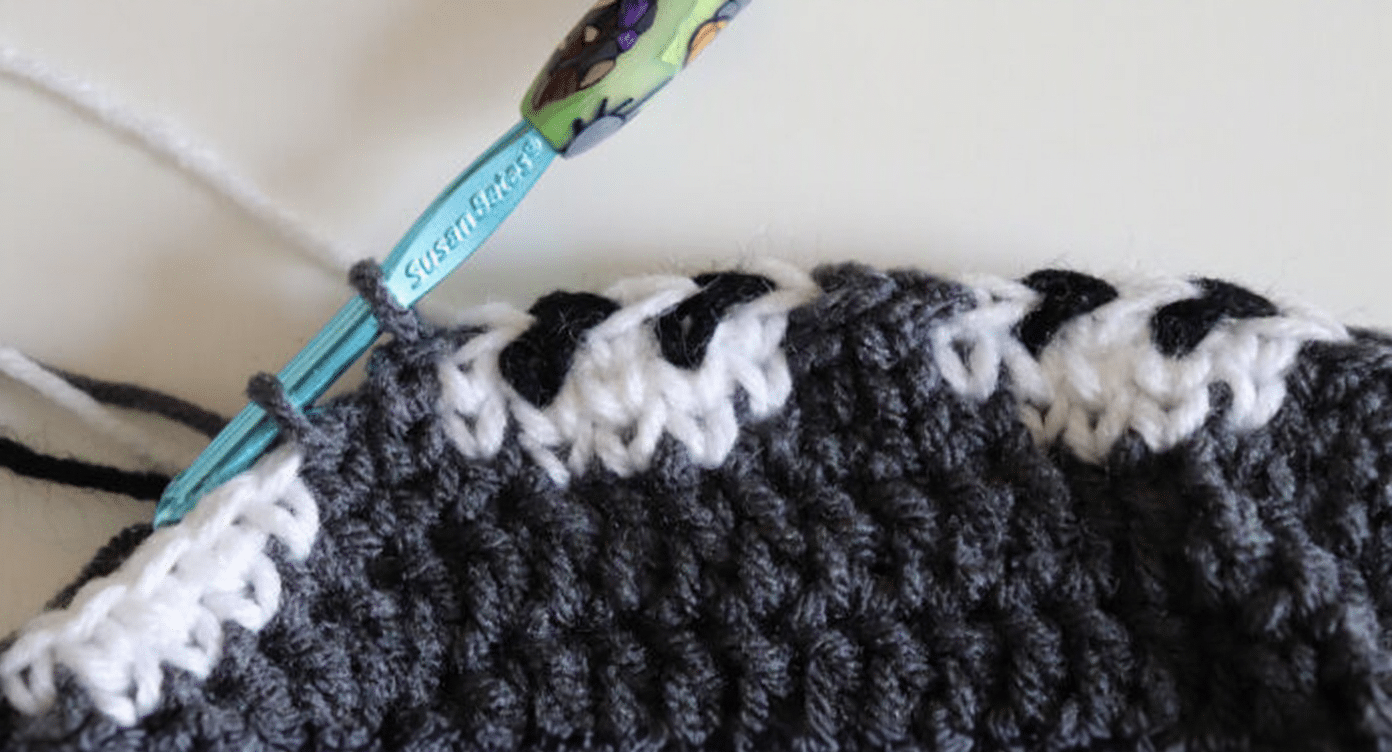
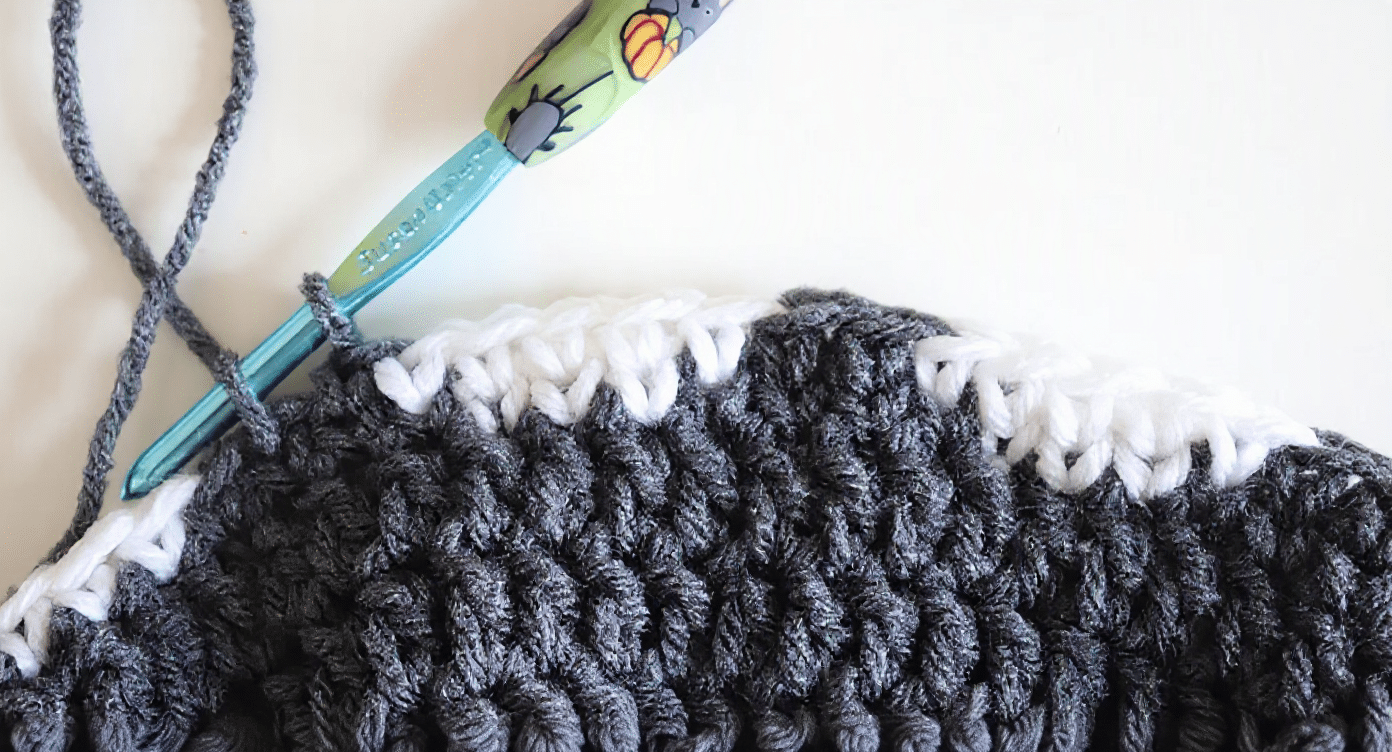
This pattern is best for crocheters who are comfortable with double crochet increases and basic colorwork. The waistcoat stitch is easy to learn if you know single crochet, but managing multiple colors and floats adds a layer of complexity. If you are new to colorwork, this is a great project to practice with, but you may want to watch the waistcoat stitch tutorial first.
Pin This Crochet Pattern!