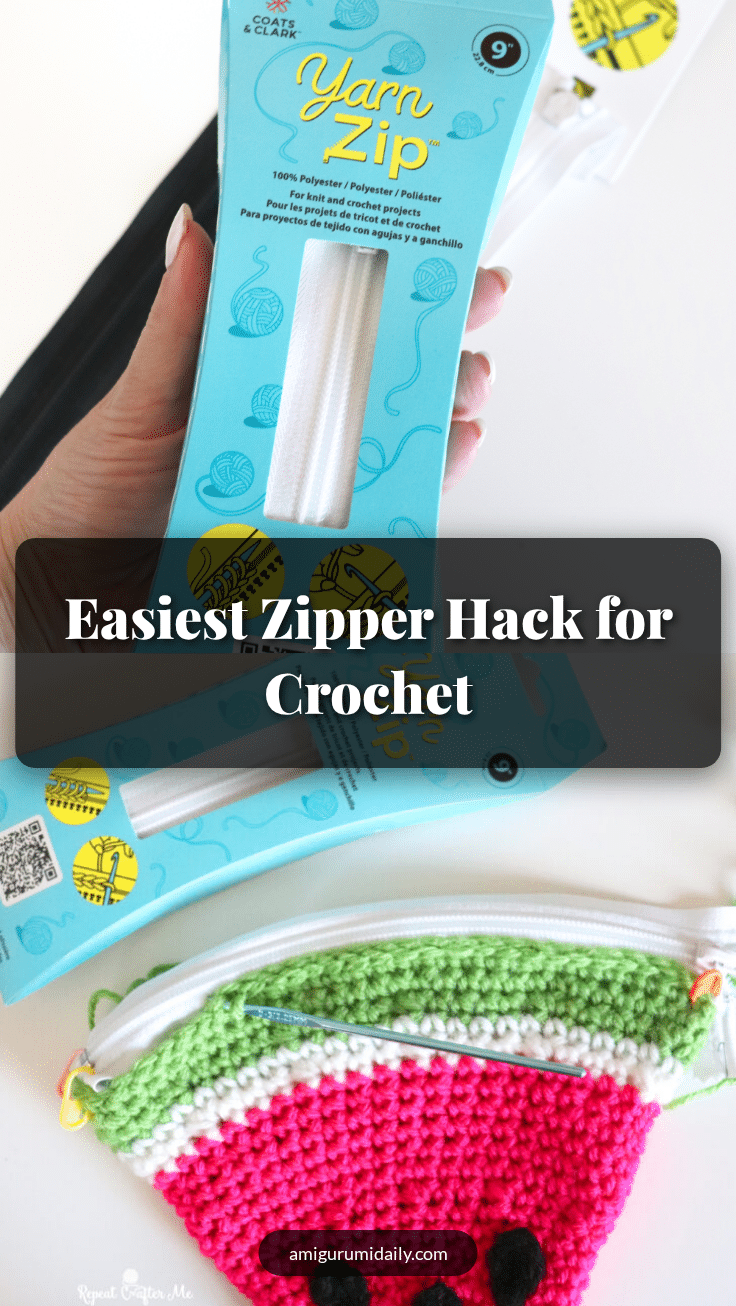
There is a specific kind of satisfaction in finishing a crochet project, but that joy can quickly turn into frustration when it comes time to add a closure. Wrestling with bulky zipper tapes and trying to hand-sew them neatly into soft fabric often feels like a battle against the yarn itself. The Yarn Zip changes that narrative entirely. It is a clever notion designed specifically for the fiber arts community, allowing you to integrate a functional closure without ever needing a sewing machine or fighting with traditional hardware. This tutorial explores how this innovative tool works and why it might just become your new favorite accessory for bags, pouches, and garments.
Yarn and Color Notes
When selecting yarn for a project that features a Yarn Zip, the goal is harmony. Because the zipper is attached by stitching directly through its woven channel using your project yarn, the visual continuity is key. I often reach for a stash bin decision that prioritizes texture and weight matching. If you are using a bulky wool for a cozy cardigan, choose a matching bulky yarn for the attachment stitching to ensure the zipper lies flat and doesn’t pucker the fabric. For smaller accessories like coin purses, a cotton or acrylic blend in a complementary shade works beautifully. The Yarn Zip itself comes in black and white, so you can choose a zipper color that either blends in seamlessly or provides a subtle contrast to your main yarn. The fiber content of your yarn should be comfortable to stitch with, as you will be working through the channel repeatedly; a smooth, non-fuzzy yarn often makes the stitching process even easier.
Project Overview
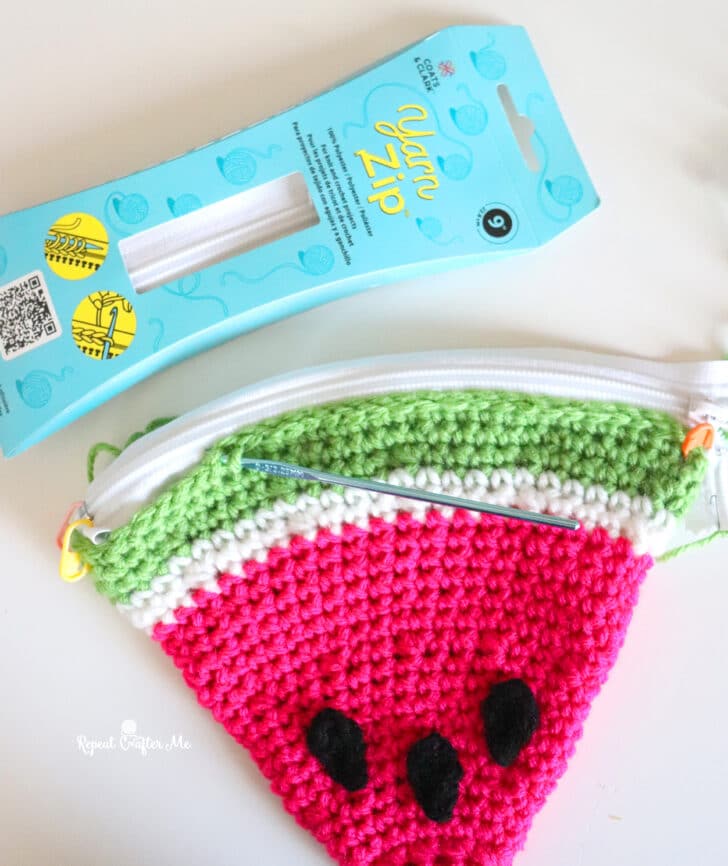
The Yarn Zip is not a traditional pattern but rather a specialized notion designed to simplify the finishing process for crochet and knit projects. It eliminates the need for sewing machines and reduces the physical strain of attaching zippers by hand. This tutorial covers the basics of what the product is, the available sizes, and the simple assembly method that makes it accessible to makers of all skill levels.
Materials
- Yarn Zip (available in 9-inch closed-end or 22-inch separating styles)
- Matching yarn (to stitch the zipper into your project)
- Smaller size crochet hook (Size 3.25mm or smaller) OR a tapestry needle
- Tapestry needle (if not using a crochet hook)
Gauge and Finished Size
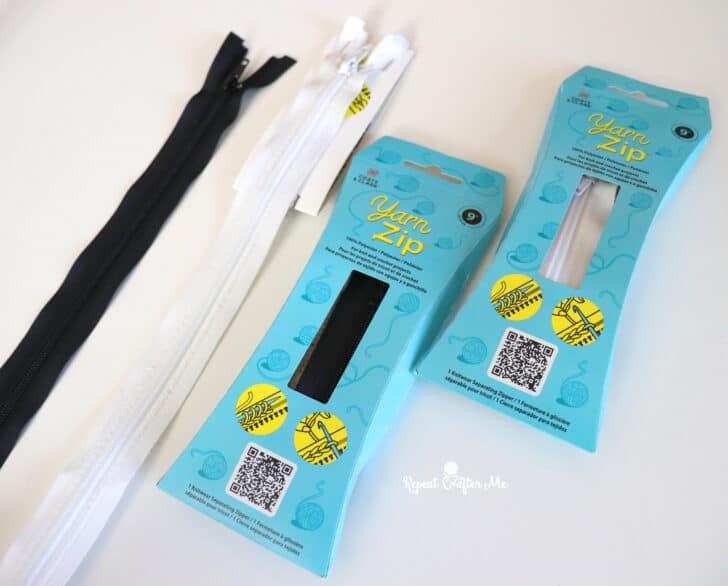
As the Yarn Zip is a pre-manufactured notion rather than a crocheted item, there are no specific gauge or finished size requirements for the zipper itself. However, the finished size of your project will depend on the size of the Yarn Zip you choose:
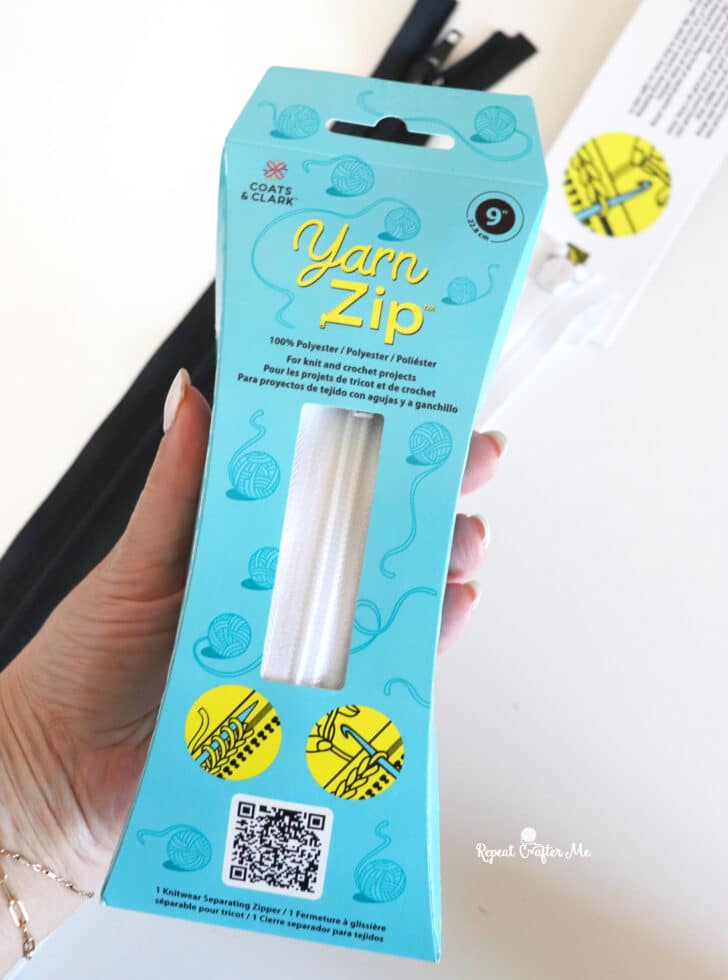
- 9-inch Closed-End Zipper: Ideal for pouches, coin purses, and notions bags.
- 22-inch Separating Zipper: Designed for sweaters, cardigans, jackets, and other wearable projects.
Abbreviations
Since this is a tutorial for a specific tool rather than a stitch-by-stitch pattern, standard crochet abbreviations are not required for the assembly process itself. However, you will be using basic stitching techniques to attach the zipper.
Pattern Notes
- The Yarn Zip is currently available in both black and white colors in both sizes.
- The Yarn Zip is currently 50% off, making it an excellent time to stock up for future projects.
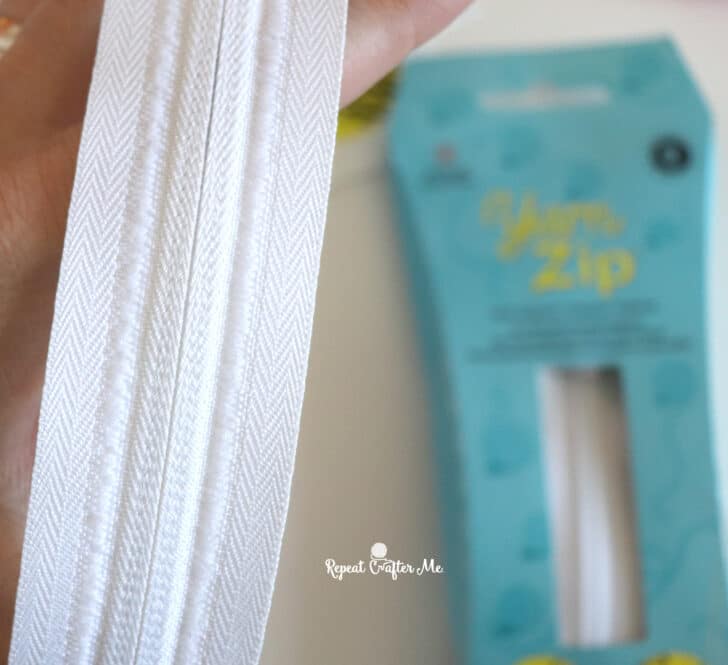
- The woven channel running alongside the zipper is designed to give your yarn a place to grip without puckering or distorting your stitches.
Assembly Instructions
Attaching the Yarn Zip is remarkably straightforward compared to traditional zipper installation. There is no complex sewing required.
- Position the Zipper: Align the Yarn Zip along the edge of your crochet or knit project where you want the closure.
- Select Your Tool: Use a smaller size crochet hook (Size 3.25mm or smaller) or a tapestry needle. Even thicker tapestry needles glide right through the channel, making the stitching process easy.
- Stitch Through: Using your matching yarn, simply crochet, knit, or stitch through the woven channel of the Yarn Zip and into your project fabric.
- Secure: Continue stitching along the length of the zipper until it is fully attached. The zipper becomes an integral part of your project.
Tips
- Use a Smaller Hook: To ensure tight, neat stitches that don’t distort the zipper channel, use a crochet hook smaller than the one used for the main project (Size 3.25mm or smaller).
- Needle Choice: If you prefer hand-stitching, a tapestry needle works well. The channel is loose enough that even thicker needles can pass through easily.
- Match Your Yarn: Using yarn that matches your project ensures the attachment stitches blend in, creating a professional-looking finish.
- No Sewing Machine: Remember that no sewing machine is required. This is a hand-worked attachment, keeping the entire project in the “yarn world.”
FAQs
What is a Yarn Zip?
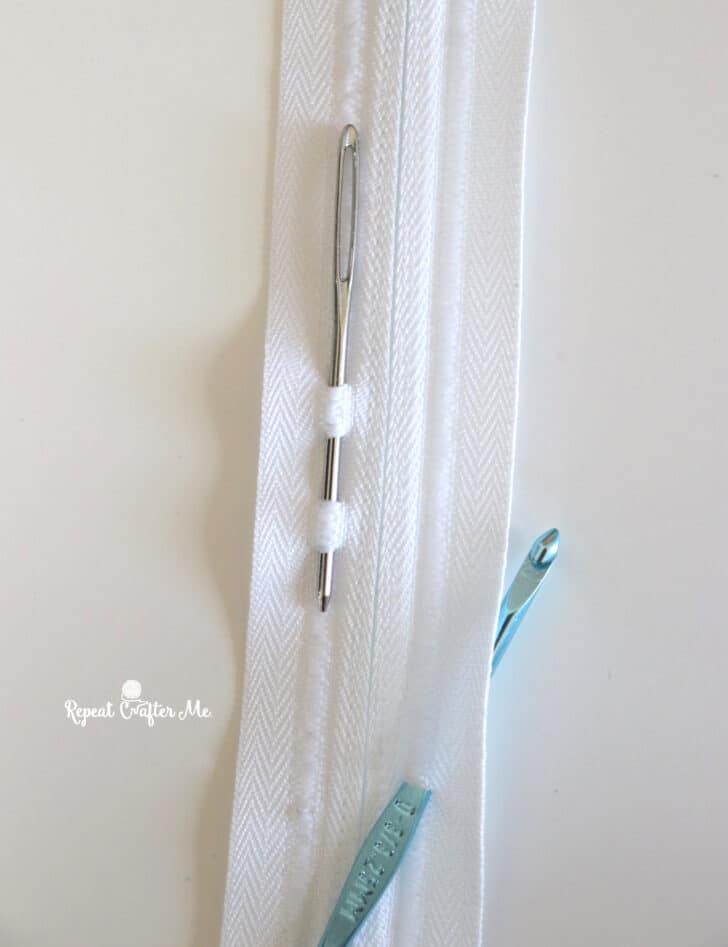
The Yarn Zip is a zipper designed specifically for crochet, knitting, and other yarn crafts. It features a loosely woven channel that allows you to attach it directly to your project using yarn, eliminating the need to sew through bulky traditional zipper tape.
What sizes are available?
There are two main styles available: a 9-inch Closed-End Zipper, which is perfect for accessories like pouches and coin purses, and a 22-inch Separating Zipper, which is ideal for wearable items like sweaters and cardigans.
Do I need a sewing machine to use the Yarn Zip?
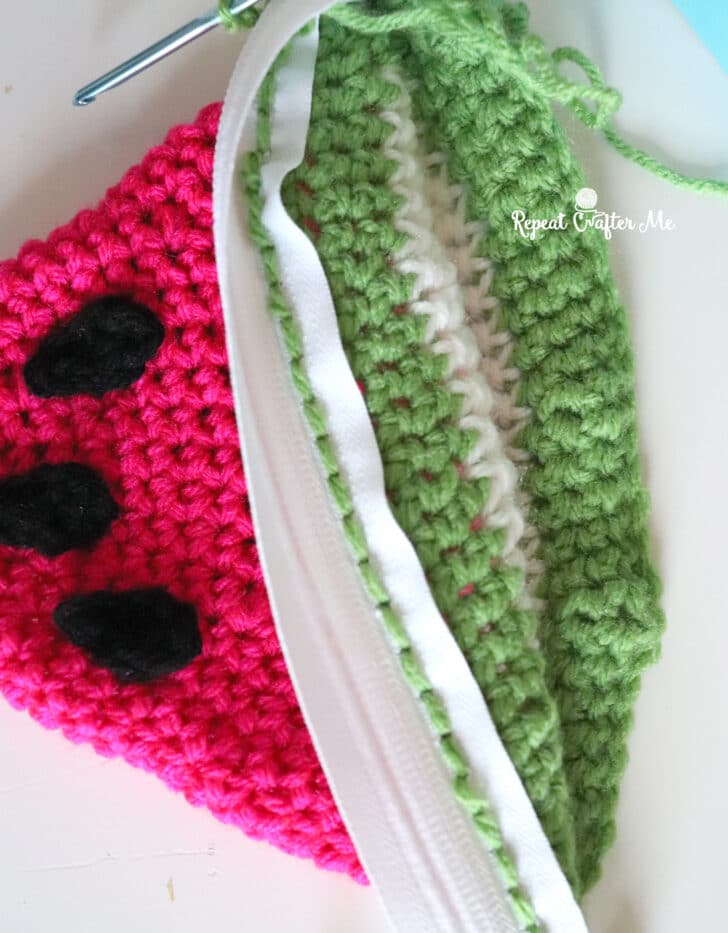
No. The Yarn Zip is designed to be attached by hand using a crochet hook or tapestry needle. You simply stitch through the channel with matching yarn.
What colors does the Yarn Zip come in?
The Yarn Zip is currently available in black and white in both available sizes.
Is the Yarn Zip suitable for beginners?
Yes. Because it removes the difficulty of hand-sewing traditional zippers and eliminates the need for a sewing machine, it is a great solution for beginners who want a professional-looking closure without advanced sewing skills.
Pin This Crochet Pattern!