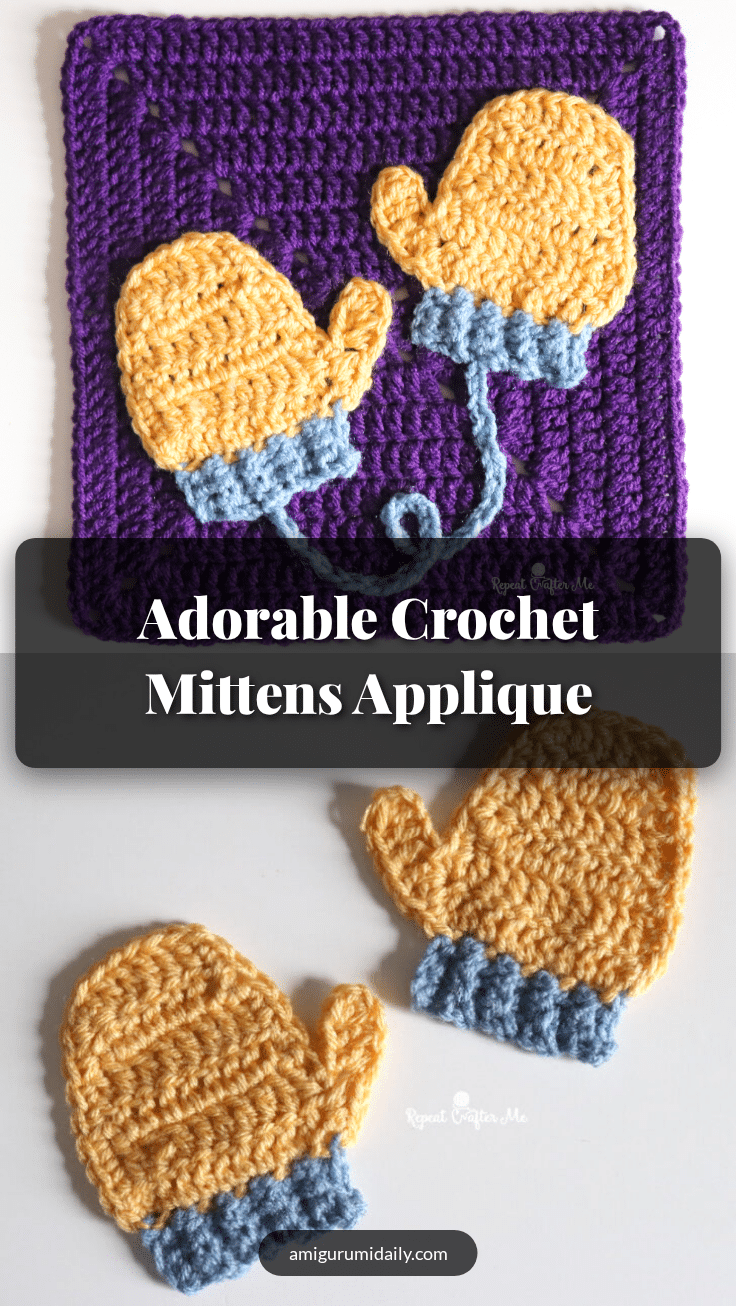
There is something undeniably cozy about handmade winter accessories, and these adorable crochet mittens applique are the perfect way to capture that feeling. Whether you are looking to add a charming accent to a winter blanket, create a unique gift for a friend, or simply add a touch of seasonal warmth to your home décor, this pattern delivers. It is a delightful project that works up quickly and offers endless possibilities for customization, making it an ideal choice for crocheters of all skill levels who want to create something useful and beautiful.
Our Touch: Gift and Use Ideas
While these mittens are designed as part of a larger square, their versatility extends far beyond the blanket. The structured shape of the applique makes it an excellent candidate for standalone projects. Consider adding a single mitten to a beanie for a playful accent, or create a matching pair to sew onto a canvas tote bag for holiday market shopping. They also make wonderful winter wall décor when mounted on a small frame or used as a unique pillow accent. The ability to mix and match yarn colors allows you to tailor the look to any room or recipient, ensuring your handmade gift feels personal and thoughtful.
Project Overview
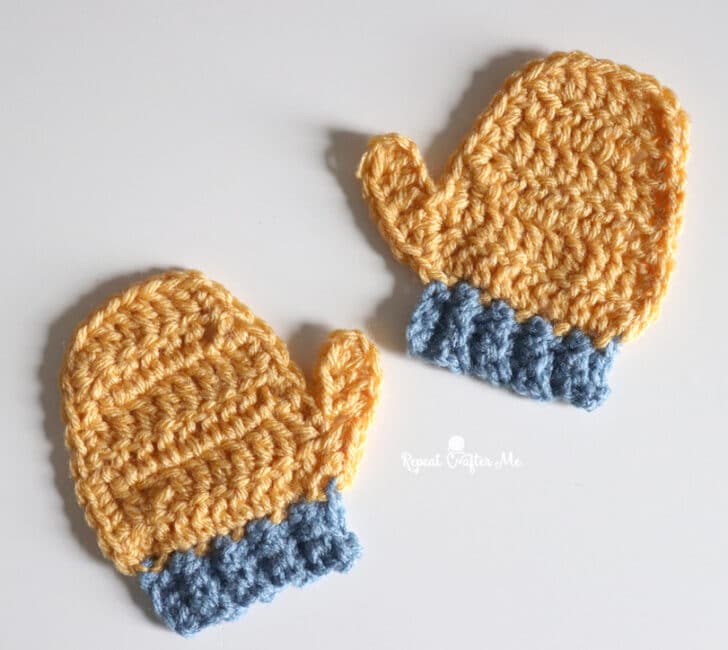
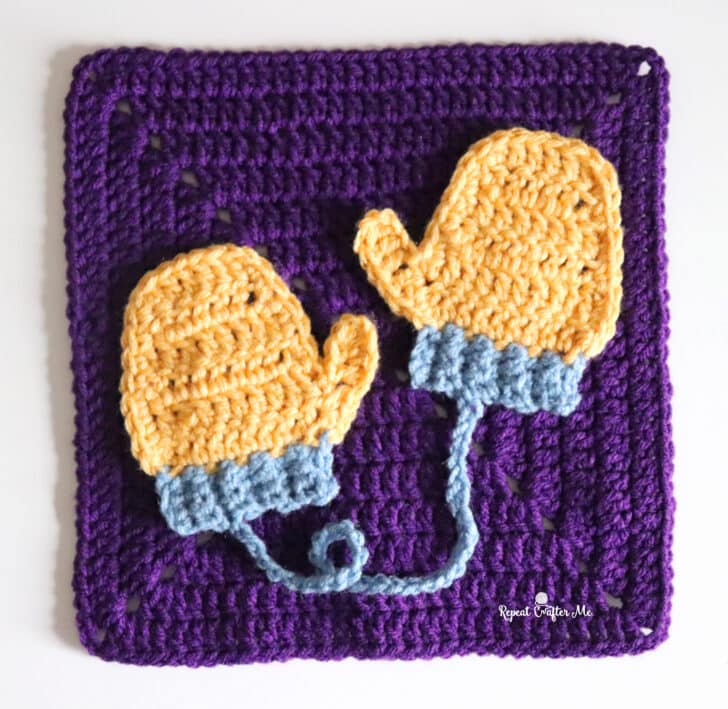
This pattern creates a pair of crochet mitten appliques that are designed to look like a proper pair, with thumbs placed on opposite sides. The project involves creating the mitten body using double crochet stitches, adding a ribbed cuff using single crochet in the back loops, and attaching a thumb. The instructions are broken down to make construction easy to follow, ensuring you can create a polished right-hand and left-hand mitten.
Materials
- Red Heart Super Saver Yarn in Cornmeal or Red Heart with Love in Cornsilk (or any color you’d like for the mittens)
- Red Heart Super Saver in Country Blue for the cuff
- Size H Crochet Hook
- Tapestry Needle
Gauge and Finished Size
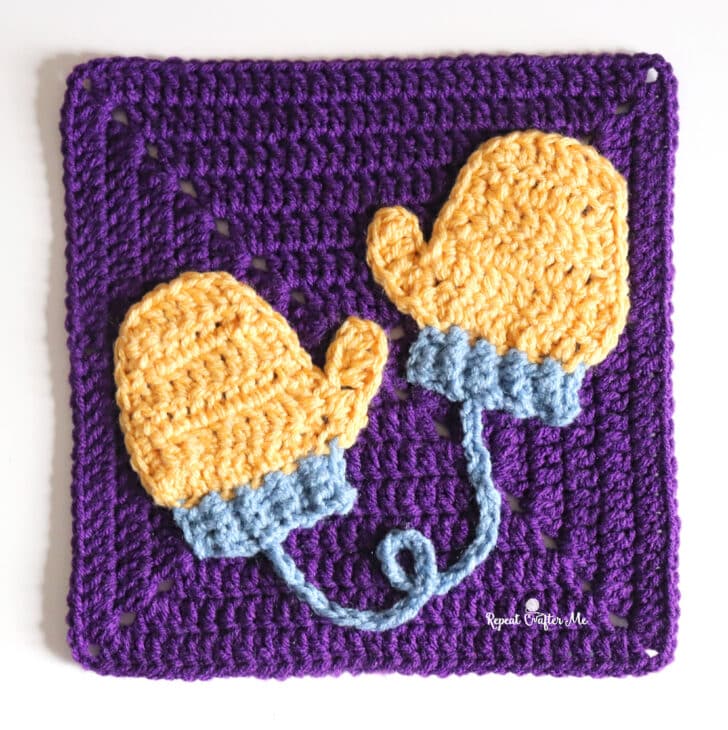
Each mitten is approximately 5 x 5 inches. Gauge is not strictly specified, but maintaining consistent tension will ensure the mittens fit well within your square or project.
Abbreviations
- ch: chain
- DC: double crochet
- DC dec: double crochet decrease
- HDC: half double crochet
- SC: single crochet
- BLO: back loop only
- sl st: slip stitch
- st(s): stitch(es)
Pattern Notes
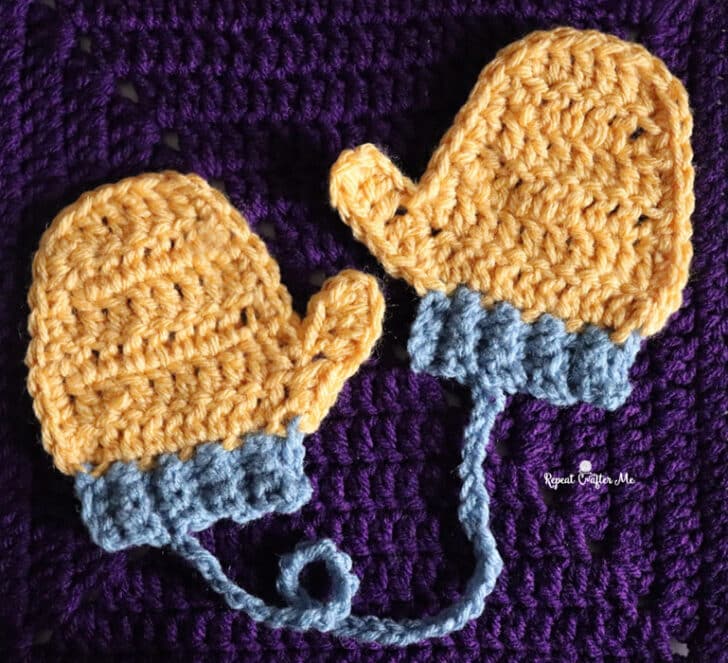
The right and left mittens are made similarly, but the thumbs are placed on opposite sides so they look like a proper pair. The instructions are designed to guide you through the construction step-by-step.
Pattern Instructions
Right Hand Mitten
With yellow yarn:
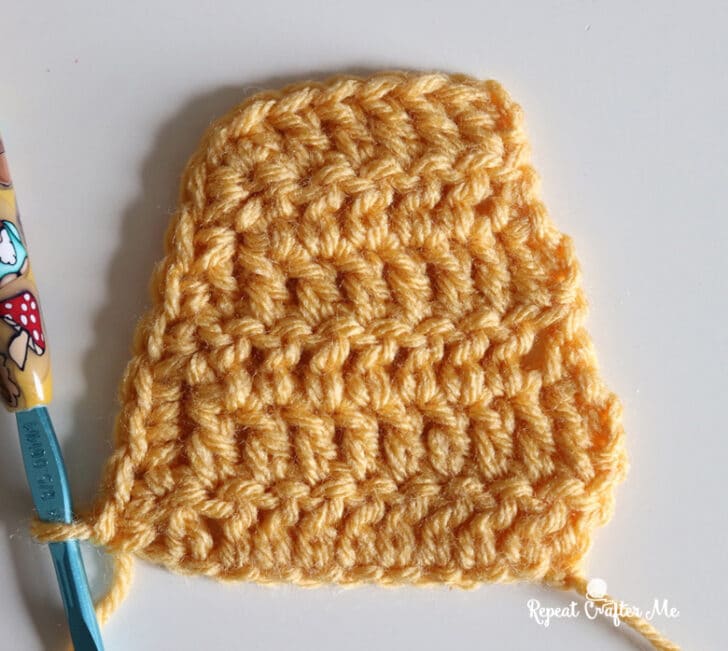
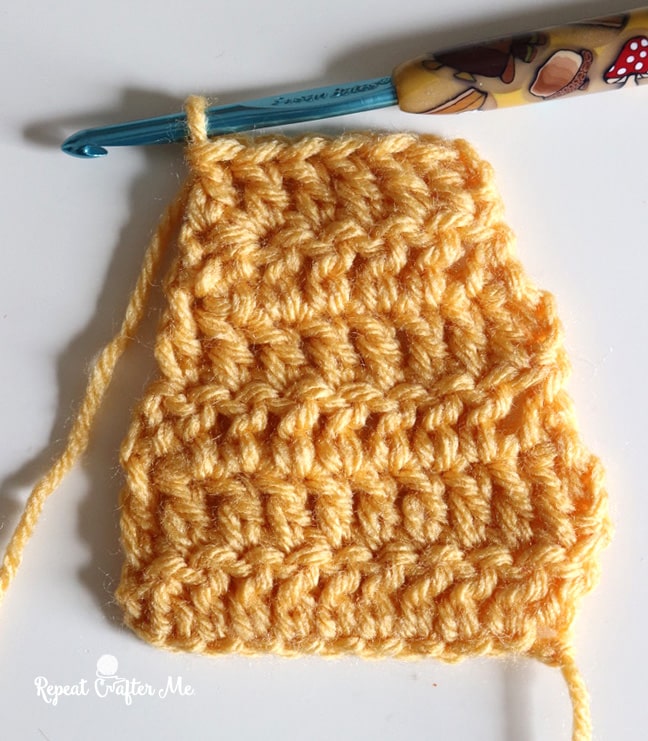
Rows 1-6:
- Row 1: Chain 12, DC in 3rd chain from hook and in each chain across. Chain 2, turn. (10 DC)
- Row 2: DC in each stitch across. Chain 2, turn. (10 DC)
- Row 3: DC decrease over first 2 stitches, DC in next 6 stitches, DC decrease over last 2 stitches. Chain 2, turn. (8 DC)
- Row 4: DC in each stitch across. Chain 2, turn. (8 DC)
- Row 5: DC decrease over first 2 stitches, DC in next 4 stitches, DC decrease over last 2 stitches. Chain 2, turn. (6 DC)
- Row 6: DC in each stitch across. Do not turn. (6 DC)
Edging + Right Thumb:
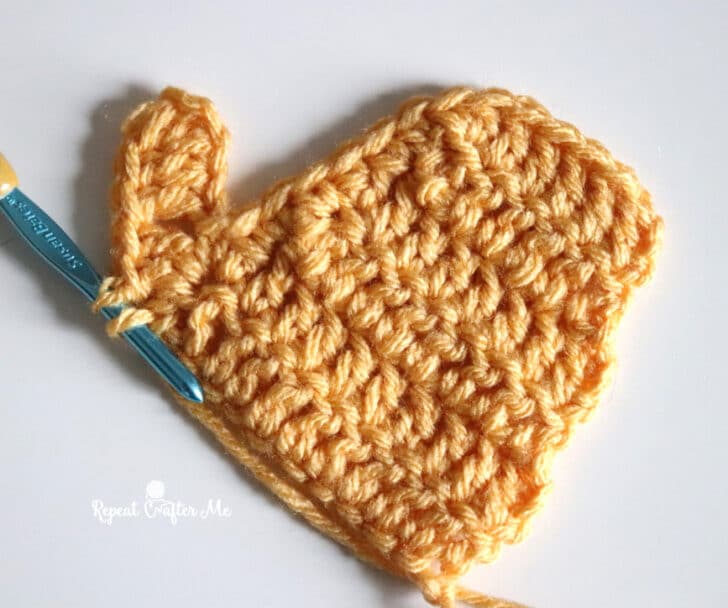
- Continuing with the same yarn, SC evenly down the first side of the mitten, working approximately 8 SC along the edge.
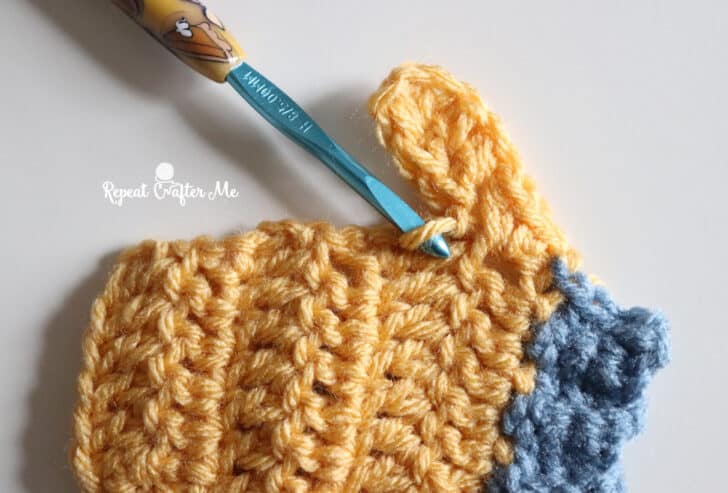
- Thumb: Chain 5. DC in 3rd chain from hook and DC in each of the next 2 chains. Work 2 DC into the same space along the mitten edge where the thumb chain began. Continue with 1 SC in the remaining space along the edge of the mitten. Fasten off.
Ribbed Cuff:
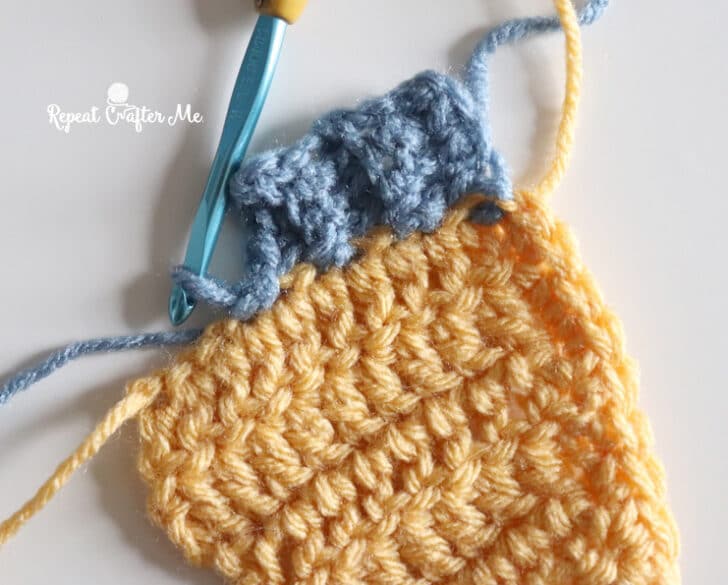
- Join blue yarn to one corner along the bottom edge of the mitten.
- Chain 4, SC in 2nd chain from hook and in next 2 chains. Slip stitch into the next 2 spaces along the bottom edge of the mitten. Turn.
- Row 2: SC in the back loops only of the 3 SC from the previous row. Chain 1, turn.
- Row 3: SC BLO in each of the 3 stitches. Slip stitch into the next 2 spaces along the bottom of the mitten. Turn.
- Repeat Rows 2–3 across the entire bottom edge of the mitten, creating a short ribbed cuff. Fasten off blue yarn.
Join yellow yarn at the bottom of the remaining unfinished side of the mitten. SC evenly up the side and join to the first stitch along the top edge. Fasten off, leaving a long tail for sewing the mitten onto the square.
Left Hand Mitten
Make the mitten body exactly the same as the Right Hand Mitten through Row 6.
Edging:
- SC evenly down the first side of the mitten. Do not make the thumb on this side.
- Work the ribbed cuff along the bottom edge following the same instructions above.
Left Thumb:
- Join yellow yarn at the bottom of the second side of the mitten. This time, we will add the thumb as we work our way up the edge.
- Work 2 SC + 1 HDC into the first space along the side of the mitten.
- Chain 6, DC in 3rd chain from hook. DC in next chain. DC decrease over the final 2 chains.
- Slip stitch back to the side of the mitten to secure the thumb.
- Continue SC evenly along the remaining edge of the mitten and join to the first stitch along the top. Fasten off, leaving a long tail for sewing.
Assembly
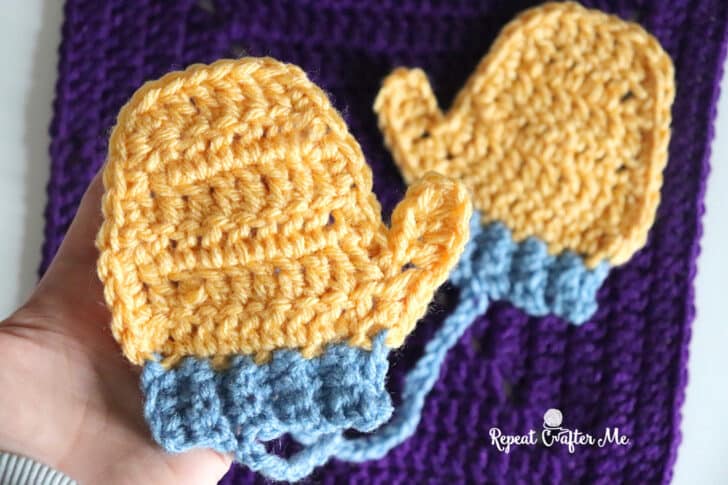
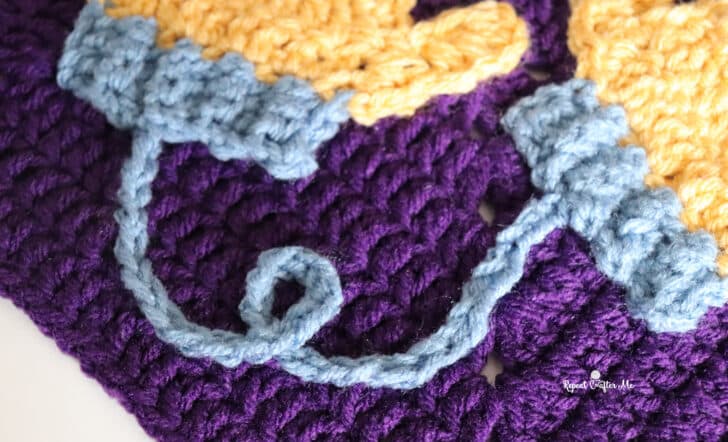
Arrange the two mittens on your crochet square with the thumbs facing toward one another. I positioned mine at slightly different angles to give them a more playful, natural look. Use the long yarn tails to stitch each mitten securely to the square.
For an extra cute detail, use your cuff-colored yarn to crochet a simple chain (about 36 chains) extending from the bottom of each mitten. Arrange the chains in a loose curve between the mittens and stitch them to the square in a few places to create the look of a classic mitten string.
Tips
There are also so many possibilities for color combinations. Make them match, mix up the cuff colors, or use your favorite winter shades to personalize your project.
FAQs
Can I use a different yarn weight?
While the pattern specifies Red Heart Super Saver or Red Heart with Love, you can use any worsted weight yarn. Keep in mind that using a different weight may alter the finished size of the mittens.
How do I attach the applique to a blanket?
Simply arrange the mittens on your square as desired and use the long yarn tails left at the end of each mitten to stitch them securely in place. You can also sew them onto a finished blanket.
Can I make just one mitten?
Absolutely! While the pattern creates a pair, you can follow the instructions for just the Right Hand Mitten to create a single applique for hats, bags, or other projects.
What is the best way to hide yarn ends?
Use a tapestry needle to weave in the ends along the edges of the mitten or through the back of the stitches to keep them secure and invisible.
Can I use this pattern for a different project?
Yes, the mitten applique can be used on hats, tote bags, pillows, or as winter wall décor. The instructions are designed to create a standalone piece that can be attached to various items.
Pin This Crochet Pattern!