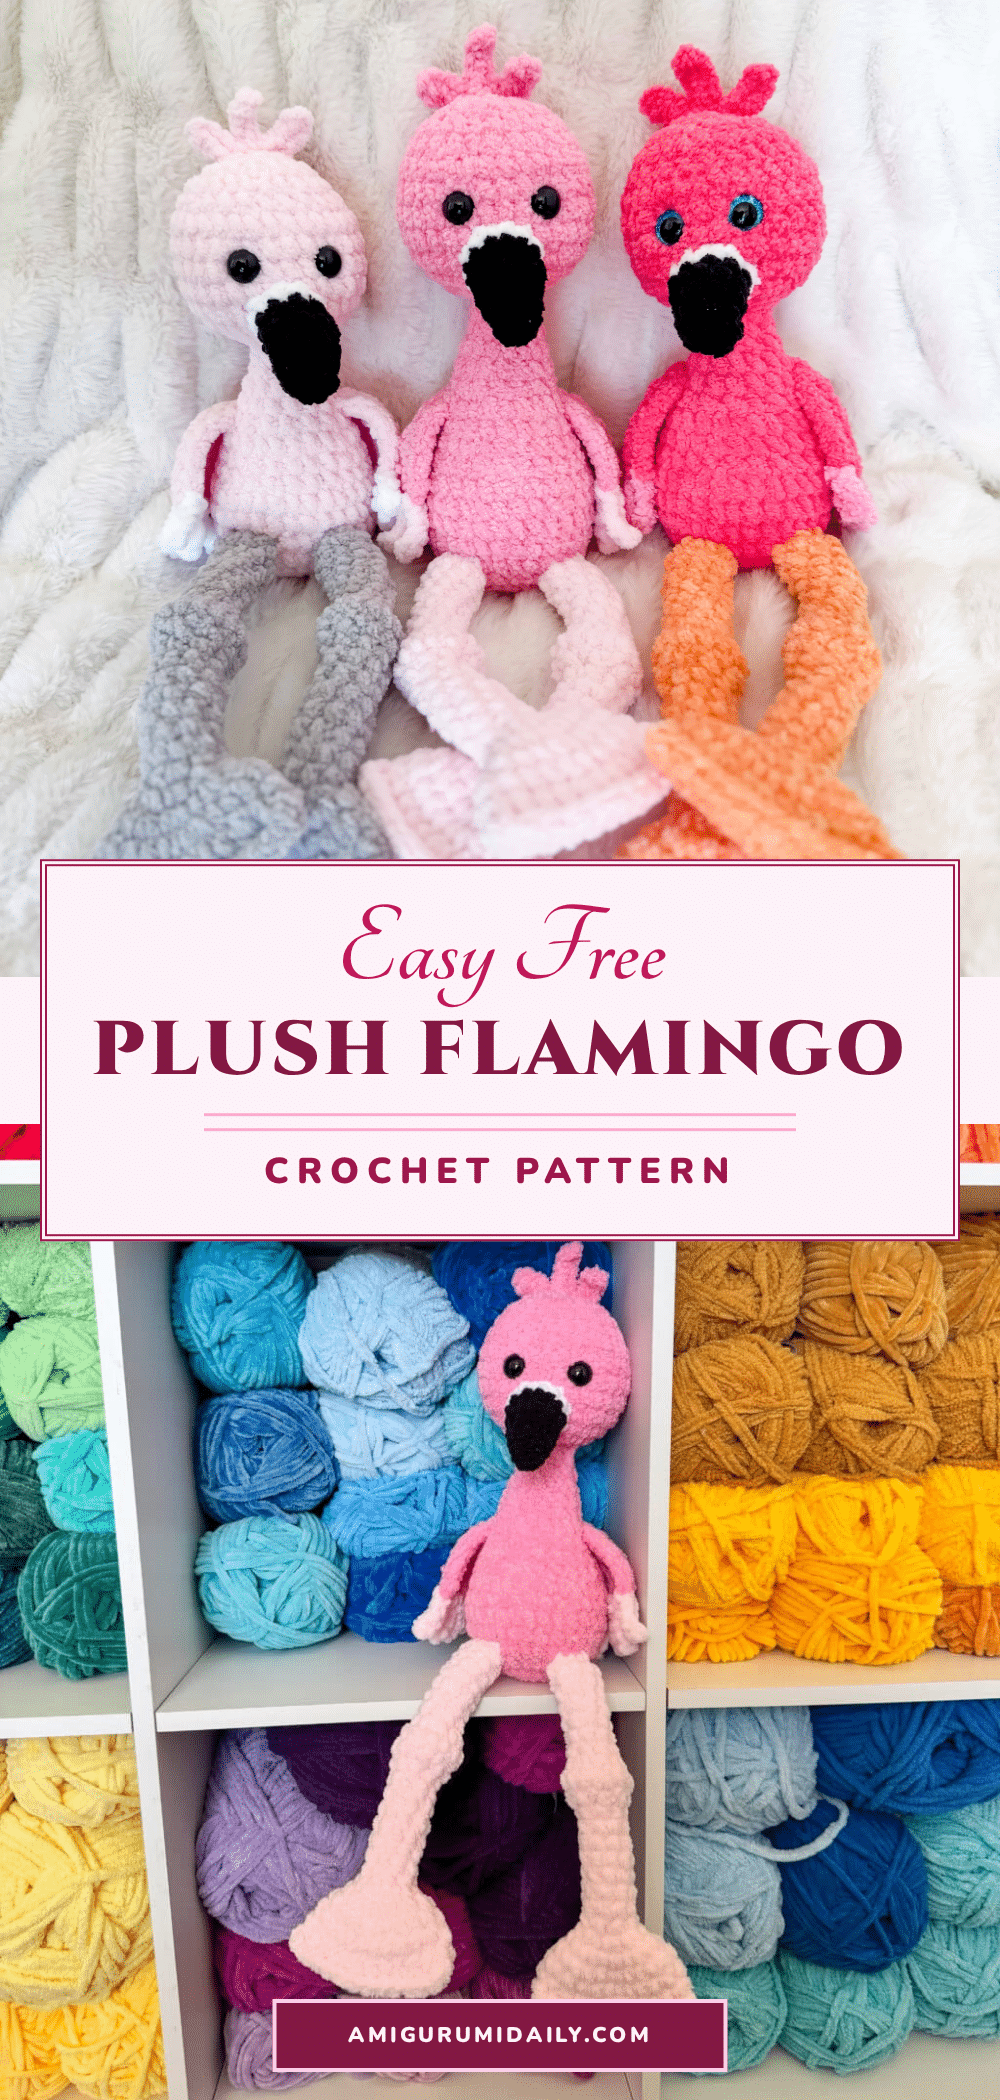
There is something undeniably satisfying about holding a finished amigurumi that is both sturdy and delightfully squishy. This plush flamingo brings a burst of cheerful energy to any shelf or nursery, looking perfectly tidy with its distinct shape and soft texture. It is the kind of project that invites a squeeze, making it an ideal gift for a baby shower or a fun, quick win for a crocheter looking to add a pop of color to their home.
Why the Finished Piece Stands Out
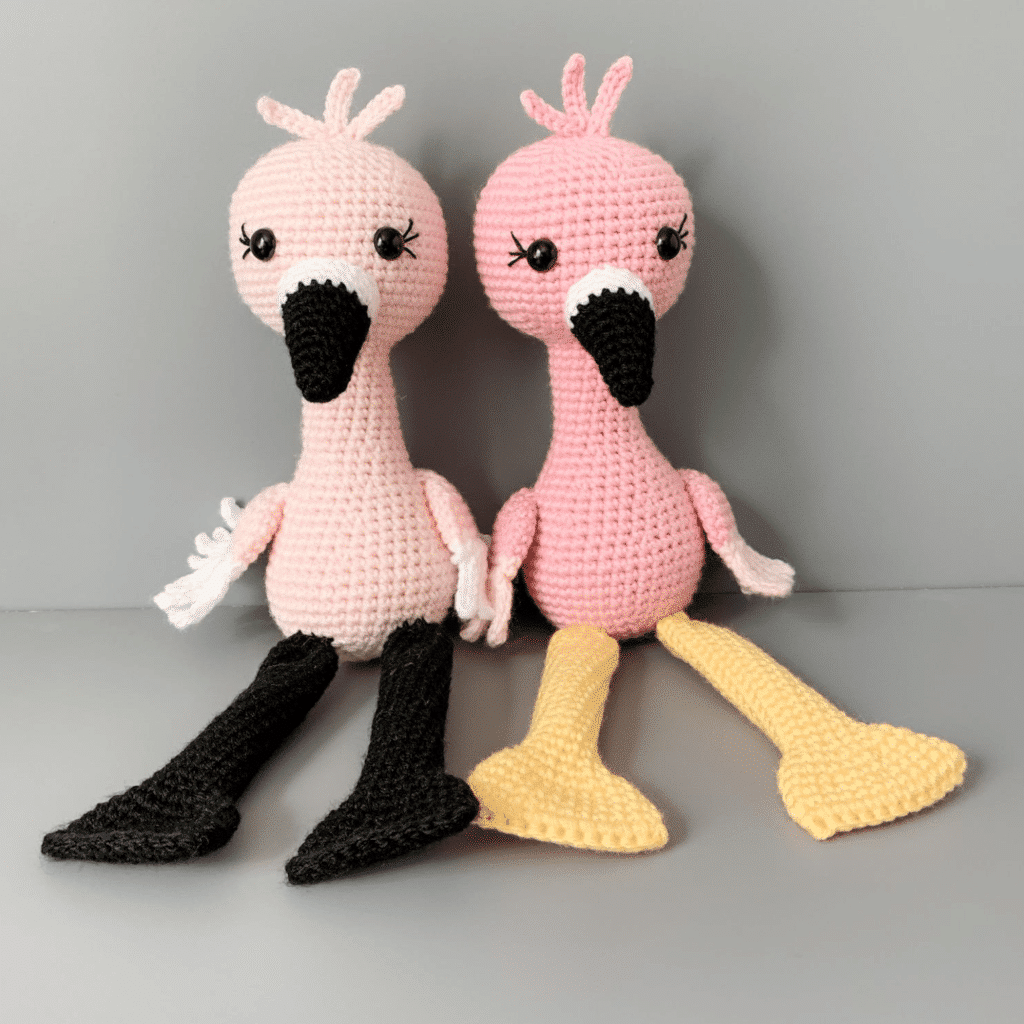
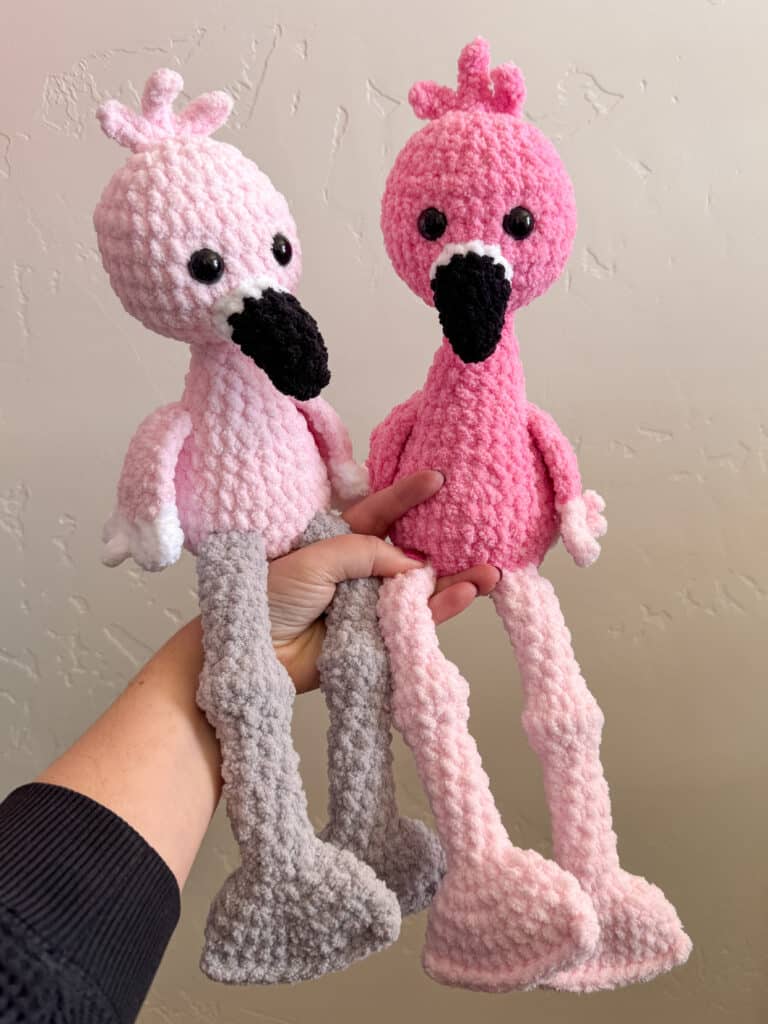
What makes this flamingo particularly special is the choice of yarn. By using soft, squishy blanket yarns like Bernat Baby Blanket or Premier Basix Chenille, the finished toy has a plush, huggable quality that differs from traditional cotton amigurumi. The texture is inviting, and the long, slender legs combined with the feathery wings give it a playful, lifelike posture. Whether you stick to classic pink or experiment with unexpected color combinations like gray and apricot, the result is a charming character that stands out for its personality and comfort.
Project Overview
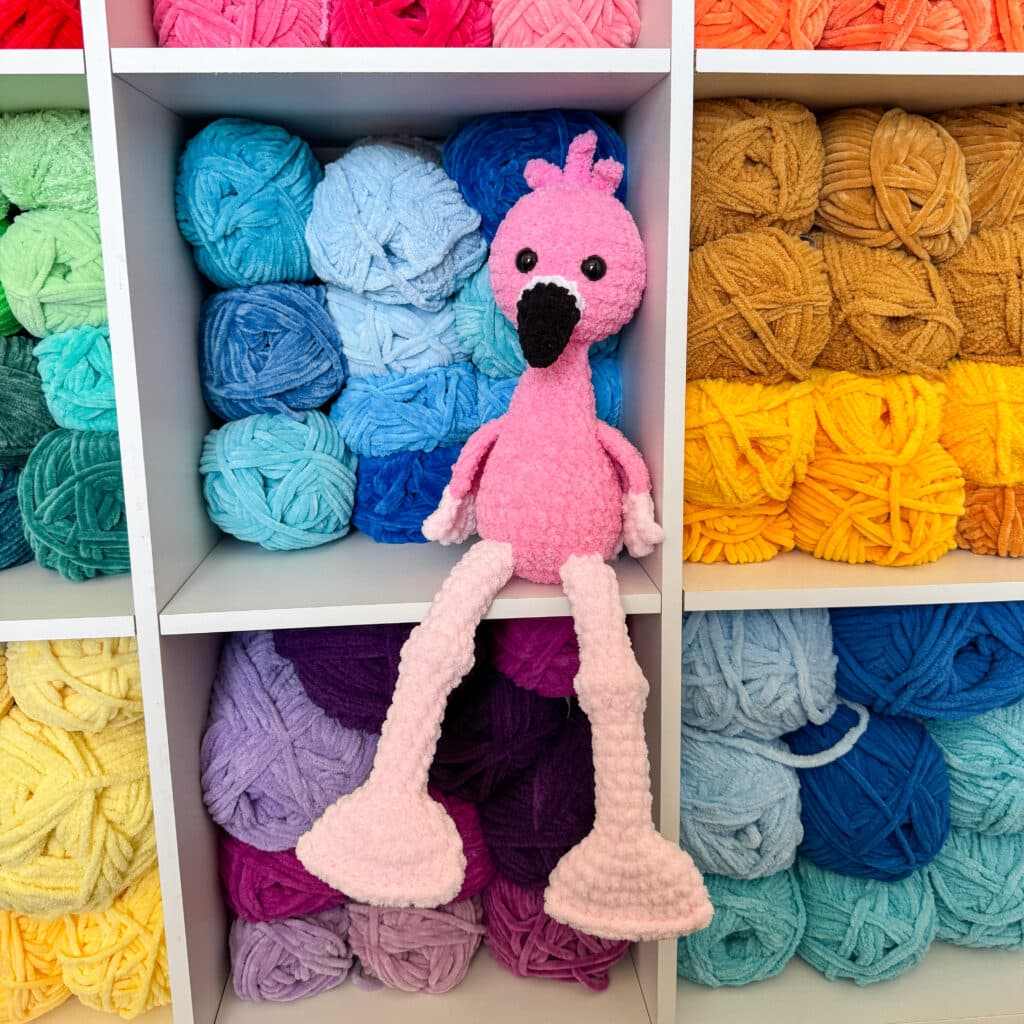
This free plush flamingo crochet pattern is a beginner-friendly amigurumi project. It is based on the original Friendly Flamingo design but utilizes soft blanket yarn to create an extra huggable feel. The project involves simple shaping and a moderate amount of sewing to assemble the various components, including the long legs, feathery wings, and distinct head. It serves as a great introduction to amigurumi for new makers while remaining a satisfying make for experienced crocheters.
Materials
- Main Color (Body): 85g Bernat Baby Blanket in Baby Pink (or similar size 6 weight blanket yarn)
- Leg Color: 60g Premier Basix Chenille in Bubblegum (or similar size 6 weight)
- Accent Color (Wings/Feathers): 20g (or similar size 6 weight)
- Beak Color: Small amount of plush yarn in black
- Beak Detail: Small amount of plush yarn in white
- Eyes: 15mm Safety eyes (or embroidery floss for embroidered eyes)
- Stuffing: Standard poly-fil stuffing
- Neck Strengthener: Small amount of yarn or wire (optional, for head stability)
- Tools: 4.5mm crochet hook (or hook size that keeps stitches tight), tapestry needle, stitch marker
Note on Yarn: The pattern uses size 6 weight blanket yarns. Commonly used interchangeable brands include Premier Basix Chenille, Bernat Blanket, and Bernat Baby Blanket. For Big Twist Posh yarn, a 4mm hook is recommended. Please note that yarn brands can vary in thickness, so choose your hook size to ensure tight stitches.
Gauge and Finished Size
Specific gauge measurements are not provided in the source pattern. However, it is crucial to maintain tight stitches to prevent stuffing from showing. Use a hook size smaller than recommended for your yarn if necessary to achieve a dense fabric.
Abbreviations
- SC: Single Crochet
- INC: Increase (2 SC in the same stitch)
- INV DEC: Invisible Decrease
- Chain: Chain
- Slip Stitch: Slip Stitch
Pattern Notes
- Stitch Tension: Tight stitches are essential for amigurumi to hide stuffing. If the fabric is too loose, size down your hook.
- Stuffing: Stuff the body firmly before closing the final rounds, as it becomes difficult to add stuffing later.
- Head Stability: A neck strengthener is inserted into the body before attaching the head to keep the head round and stable.
- Wing Shape: Wings are worked in a “U” or rainbow shape. If you experience bunching or curling, try relaxing your tension or using a slightly larger hook.
- Safety Eyes: You may use safety eyes or embroider them. Embroidered eyes are safer for babies and toddlers.
Pattern Instructions
Neck Strengthener
In a magic circle, SC 7. SC in each around for a total of 7 rows. Fasten off and leave a long tail. You will need this before you stuff the head.
Body/Head
With main color:
- Round 1: In a magic circle, SC 8.
- Round 2: SC INC in each around. (16)
- Round 3: SC in the first, SC INC in the next. Repeat around. (24)
- Round 4: SC in the first 2, SC INC in the next. Repeat around. (32)
- Rounds 5-8: SC in each around. (32) *4 rounds*
- Round 9: SC in the first 2, INV DEC in the next. Repeat around. (24)
- Rounds 10-11: SC in each around. (24) *2 rounds*
- Round 12: SC in the first, INV DEC in the next. Repeat around. (16). Begin to stuff here.
- Rounds 13-14: SC in each around. (16) *2 rounds*
- Round 15: INV DEC in each around. (8)
- Rounds 16-18: SC in each around. (8) *3 rounds*. Make sure you stuff as well as you can; it will be very hard to stuff the body from here on out.
- Round 19: In the front loop only, SC INC in each around. (16)
- Round 20: SC in the first, SC INC in the next. Repeat around. (24)
- Round 21: SC in the first 2, SC INC in the next. Repeat around. (32). Insert the neck strengthener here.
- Rounds 22-26: SC in each around. (32) *5 rounds*. Insert eyes between rounds 24-25.
- Round 27: SC in the first 2, INV DEC in the next. Repeat around. (24)
- Round 28: SC in each around. (24). Begin to stuff the head here, continue to stuff until you close.
- Round 29: SC in the first, INV DEC in the next. Repeat around. (16)
- Round 30: INV DEC in each around. (8). Fasten off and weave in the end.
Beak
Beginning in black:
- Round 1: In a magic circle, SC 6.
- Round 2: SC in each around. (6)
- Round 3: SC in the first, SC INC in the next. Repeat around. (9)
- Rounds 4-5: SC in each around. (9)
- Round 6: Change to white. SC in the first 2, SC INC in the next. Repeat around. (12). Fasten off and leave a long tail to sew on.
Tuft of Hair
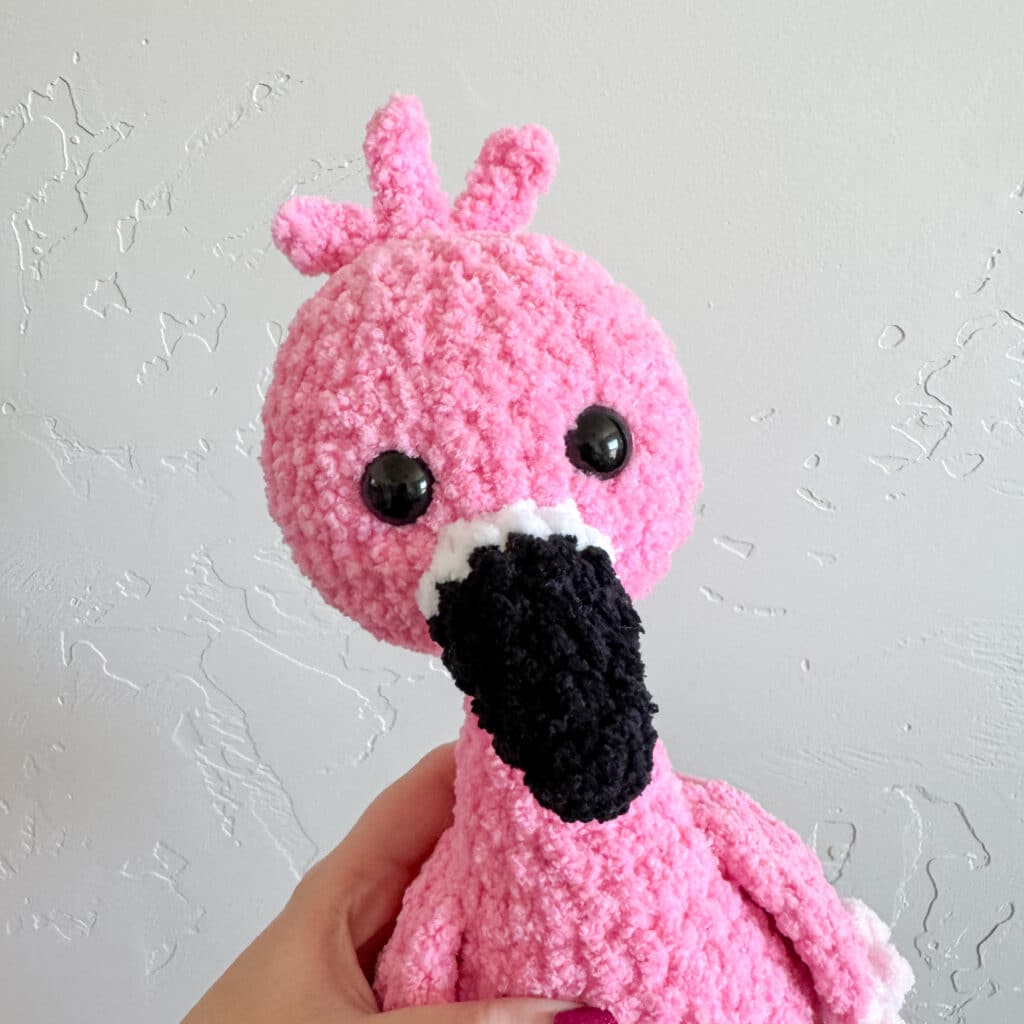
Chain 5, turn and SC in the 4 chains back toward the beginning. Chain 5 again, turn and SC in the remaining 4. Repeat for a total of 3. Fasten off and sew in the center of the head.
Wings (make 2)
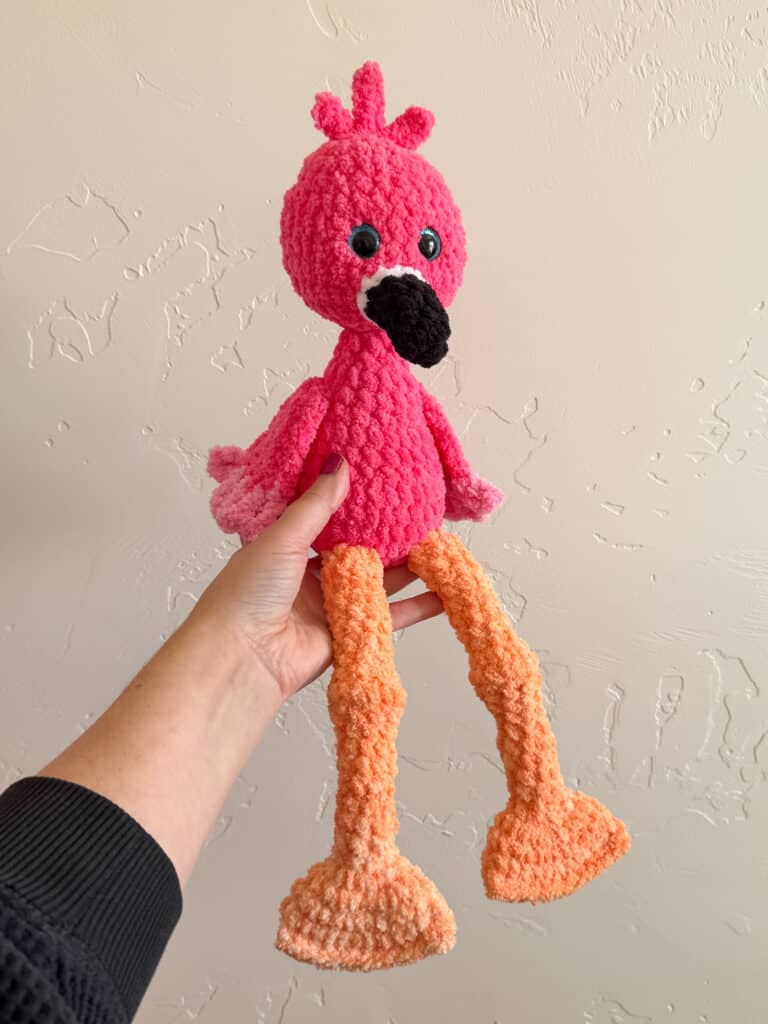
When making your first chain, leave a long enough tail that you can weave it in, about 5 inches.
- Row 1: Chain 6.
- Row 2: Turn, and in the second chain from the hook, SC. SC in the remaining 4 chains. (a total of 5 SC)
- Row 3: Chain 1 and turn. SC 5 across. SC 3x in the gap between the rows. Then in the other side of the chains, SC 5x. (13)
- Row 4: Chain 1 and turn. SC in the first 5. (INC, SC, INC) in the next 3 stitches. SC in the remaining 5. (15)
- Row 5: Chain 1 and turn. SC 7 across. SC INC. SC in the remaining 7. (16). Fasten off and leave a really long tail (about 12 inches). Weave in the tail from starting the chains and trim the end. Weave the 12 inch tail up to the top of the wing. This is what you will use to sew the wing onto the body.
Wing Feathers
Attach the feather color to the side of the wing. Chain 7x. Slip stitch to the wing, so that the chains make a loop. Chain 7 more times and slip stitch near the last slip stitch. Now you will have two loops. Continue across the entire bottom of the wing, for a total of 5 loops. Fasten off and weave the end through the bottom stitches. Tie off and weave the remaining ends through. Trim the ends.
Legs (make 2)
*These legs are not stuffed.* Leaving a long tail (about 8 inches.) This is what you will use to sew the leg onto the body.
- Round 1: SC 8 in magic circle. (8)
- Rounds 2-9: SC in each around. (8) *8 rounds*
- Round 10: SC INC in each around. (16)
- Round 11: SC in each around. (16)
- Round 12: INV DEC in each around. (8)
- Rounds 13-20: SC in each around. (8) *8 rounds*
- Round 21: SC INC in each around. (16)
- Round 22: SC in the first, SC INC in the next. Repeat around. (24)
- Rounds 23-24: SC in each around. (24) *2 rounds*
- Round 25: SC in the first 12 and follow the rest of the instructions below. Flatten the end of the feet, like a sandwich. Take your hook and go through both sides of the foot-through two layers. SC as normal. Repeat, going through each stitch across. This seals off the foot. Fasten off and weave in the end.
Tail Feathers
The feathers will be attached to the back. You can center them by using the two wings. On round five, you will attach the accent color by going around the post of one of the stitches. Chain 7 times. Then you will attach it with a slip stitch around the post of the next stitch over on the flamingo. You will repeat this for a total of 7 loops. Fasten off and weave in the ends.
Right above those feathers, you will use the main body color for another row of feathers. Start just outside the first feather of the bottom row. Follow the pattern for the first row, but this row will have 9 total loops.
Assembly
- Beak: Sew the beak on rounds 21-23 of the head, centered between the eyes.
- Wings: Attach the wings on either side of the body, right around rounds 10-11.
- Legs: Attach the legs to round 5 of the body.
- Tail Feathers: Attach the tail feathers to the back of the body, centered between the wings.
Tips
- If you are experiencing bunching or curling in the wings, try relaxing your tension or going up a hook size.
- Make sure you stuff the body as well as you can before closing the final rounds; it will be very hard to stuff the body from the neck opening.
- Use a neck strengthener to ensure the head stays round and doesn’t flop over.
FAQs
Can I make this flamingo safe for a baby?
Yes. Instead of using 15mm safety eyes, you can embroider the eyes using black plush yarn or embroidery floss. This eliminates any small parts that could be a choking hazard.
What hook size should I use?
The pattern recommends a 4.5mm hook for standard size 6 blanket yarns like Bernat Baby Blanket. If you are using Big Twist Posh, a 4mm hook is recommended. Always aim for tight stitches to prevent stuffing from showing.
How do I make the head stay round?
The pattern includes instructions for a “Neck Strengthener.” This small crocheted piece is inserted into the body before the head is attached, providing structure to keep the head upright and round.
Why are my wings curling?
The wings are worked in a “U” shape. If they are curling or bunching, your tension might be too tight. Try relaxing your tension or using a slightly larger hook to help the wings lay flatter.
Can I use different colors?
Absolutely. While the pattern suggests pink for the body and bubblegum for the legs, you can use any color combination you like. The accent color for the wings and feathers can also be customized.
Pin This Crochet Pattern!