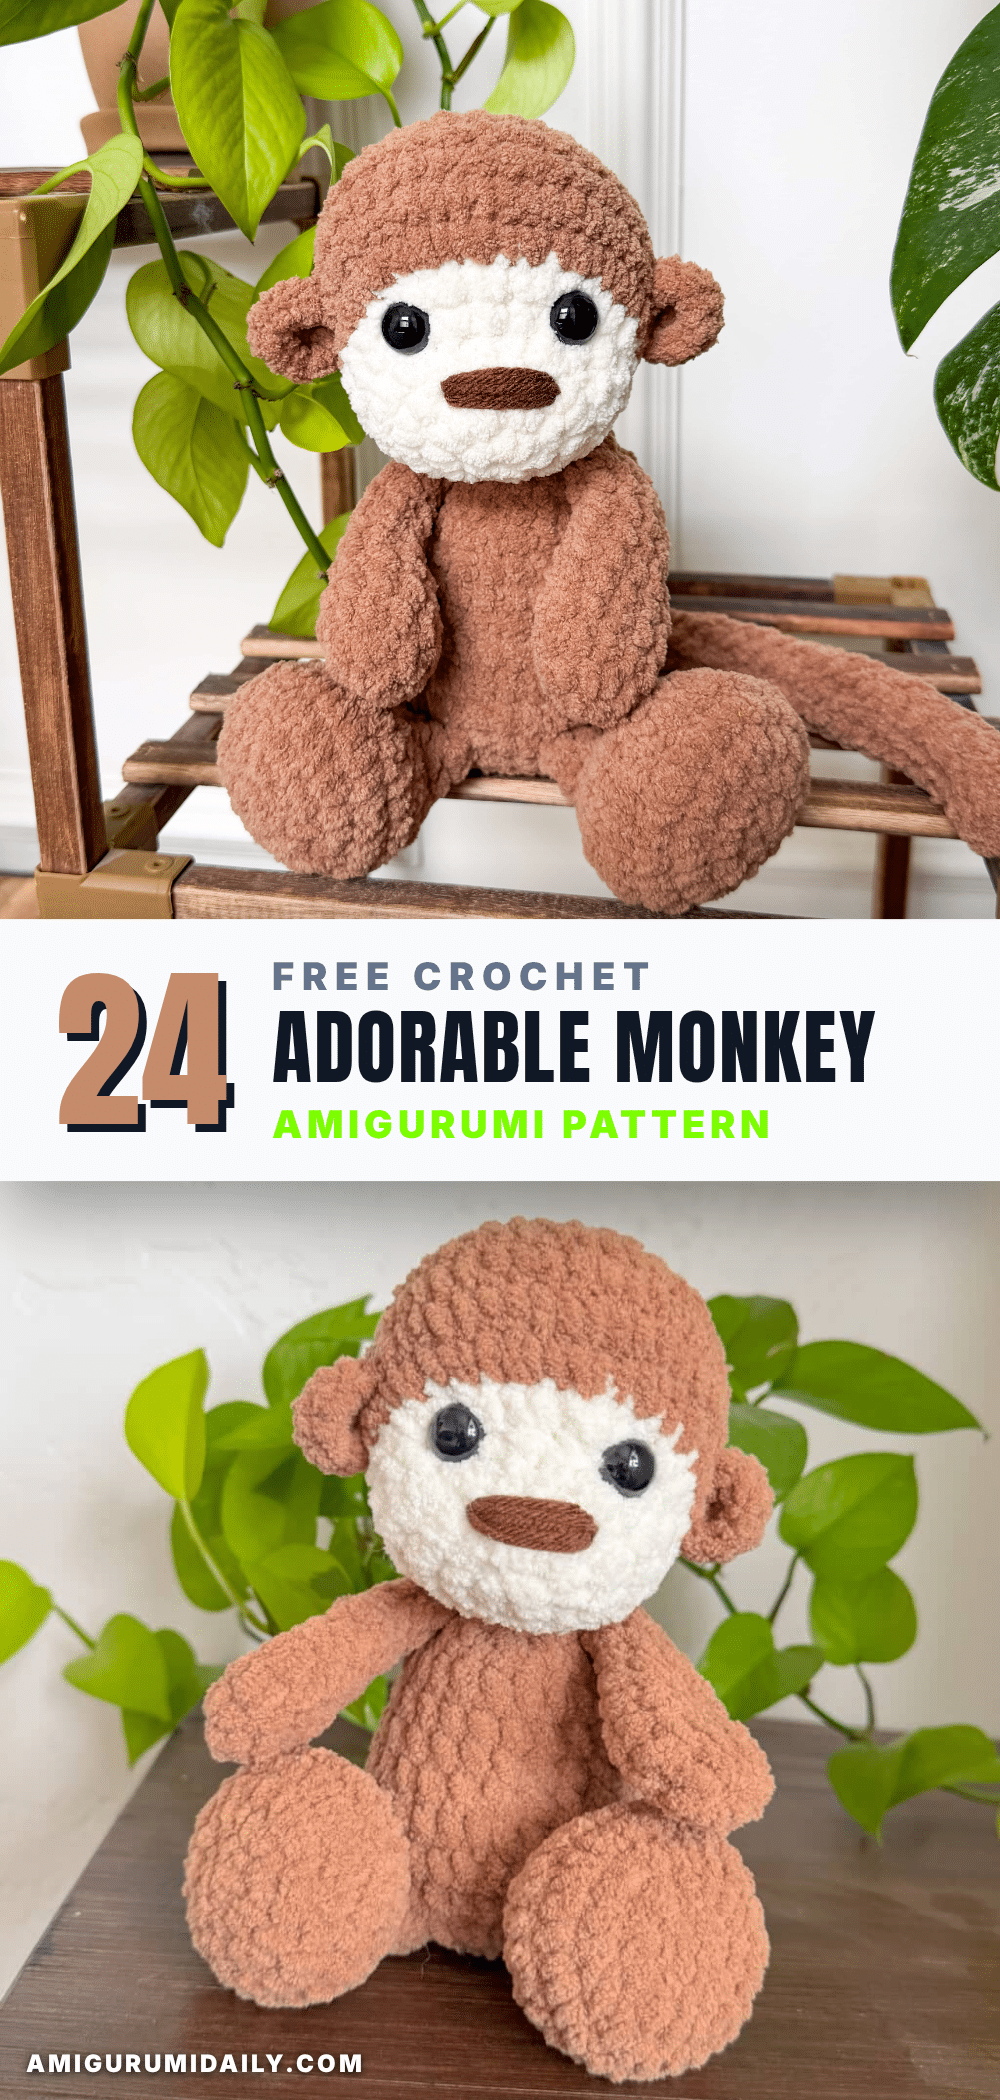
Have you ever finished a round of amigurumi only to realize you forgot to place your stitch marker, leaving you wondering where the round actually began? It is a classic beginner mistake that can send any crocheter into a mild panic. But with this adorable monkey crochet pattern, the stakes are delightfully low. Because the pattern uses plush chenille yarn, minor tension inconsistencies or a misplaced marker are easily hidden within the soft, fuzzy texture. This project is designed to be forgiving, allowing you to focus on the joy of creating a cuddly companion rather than stressing over perfection.
Maker Notes
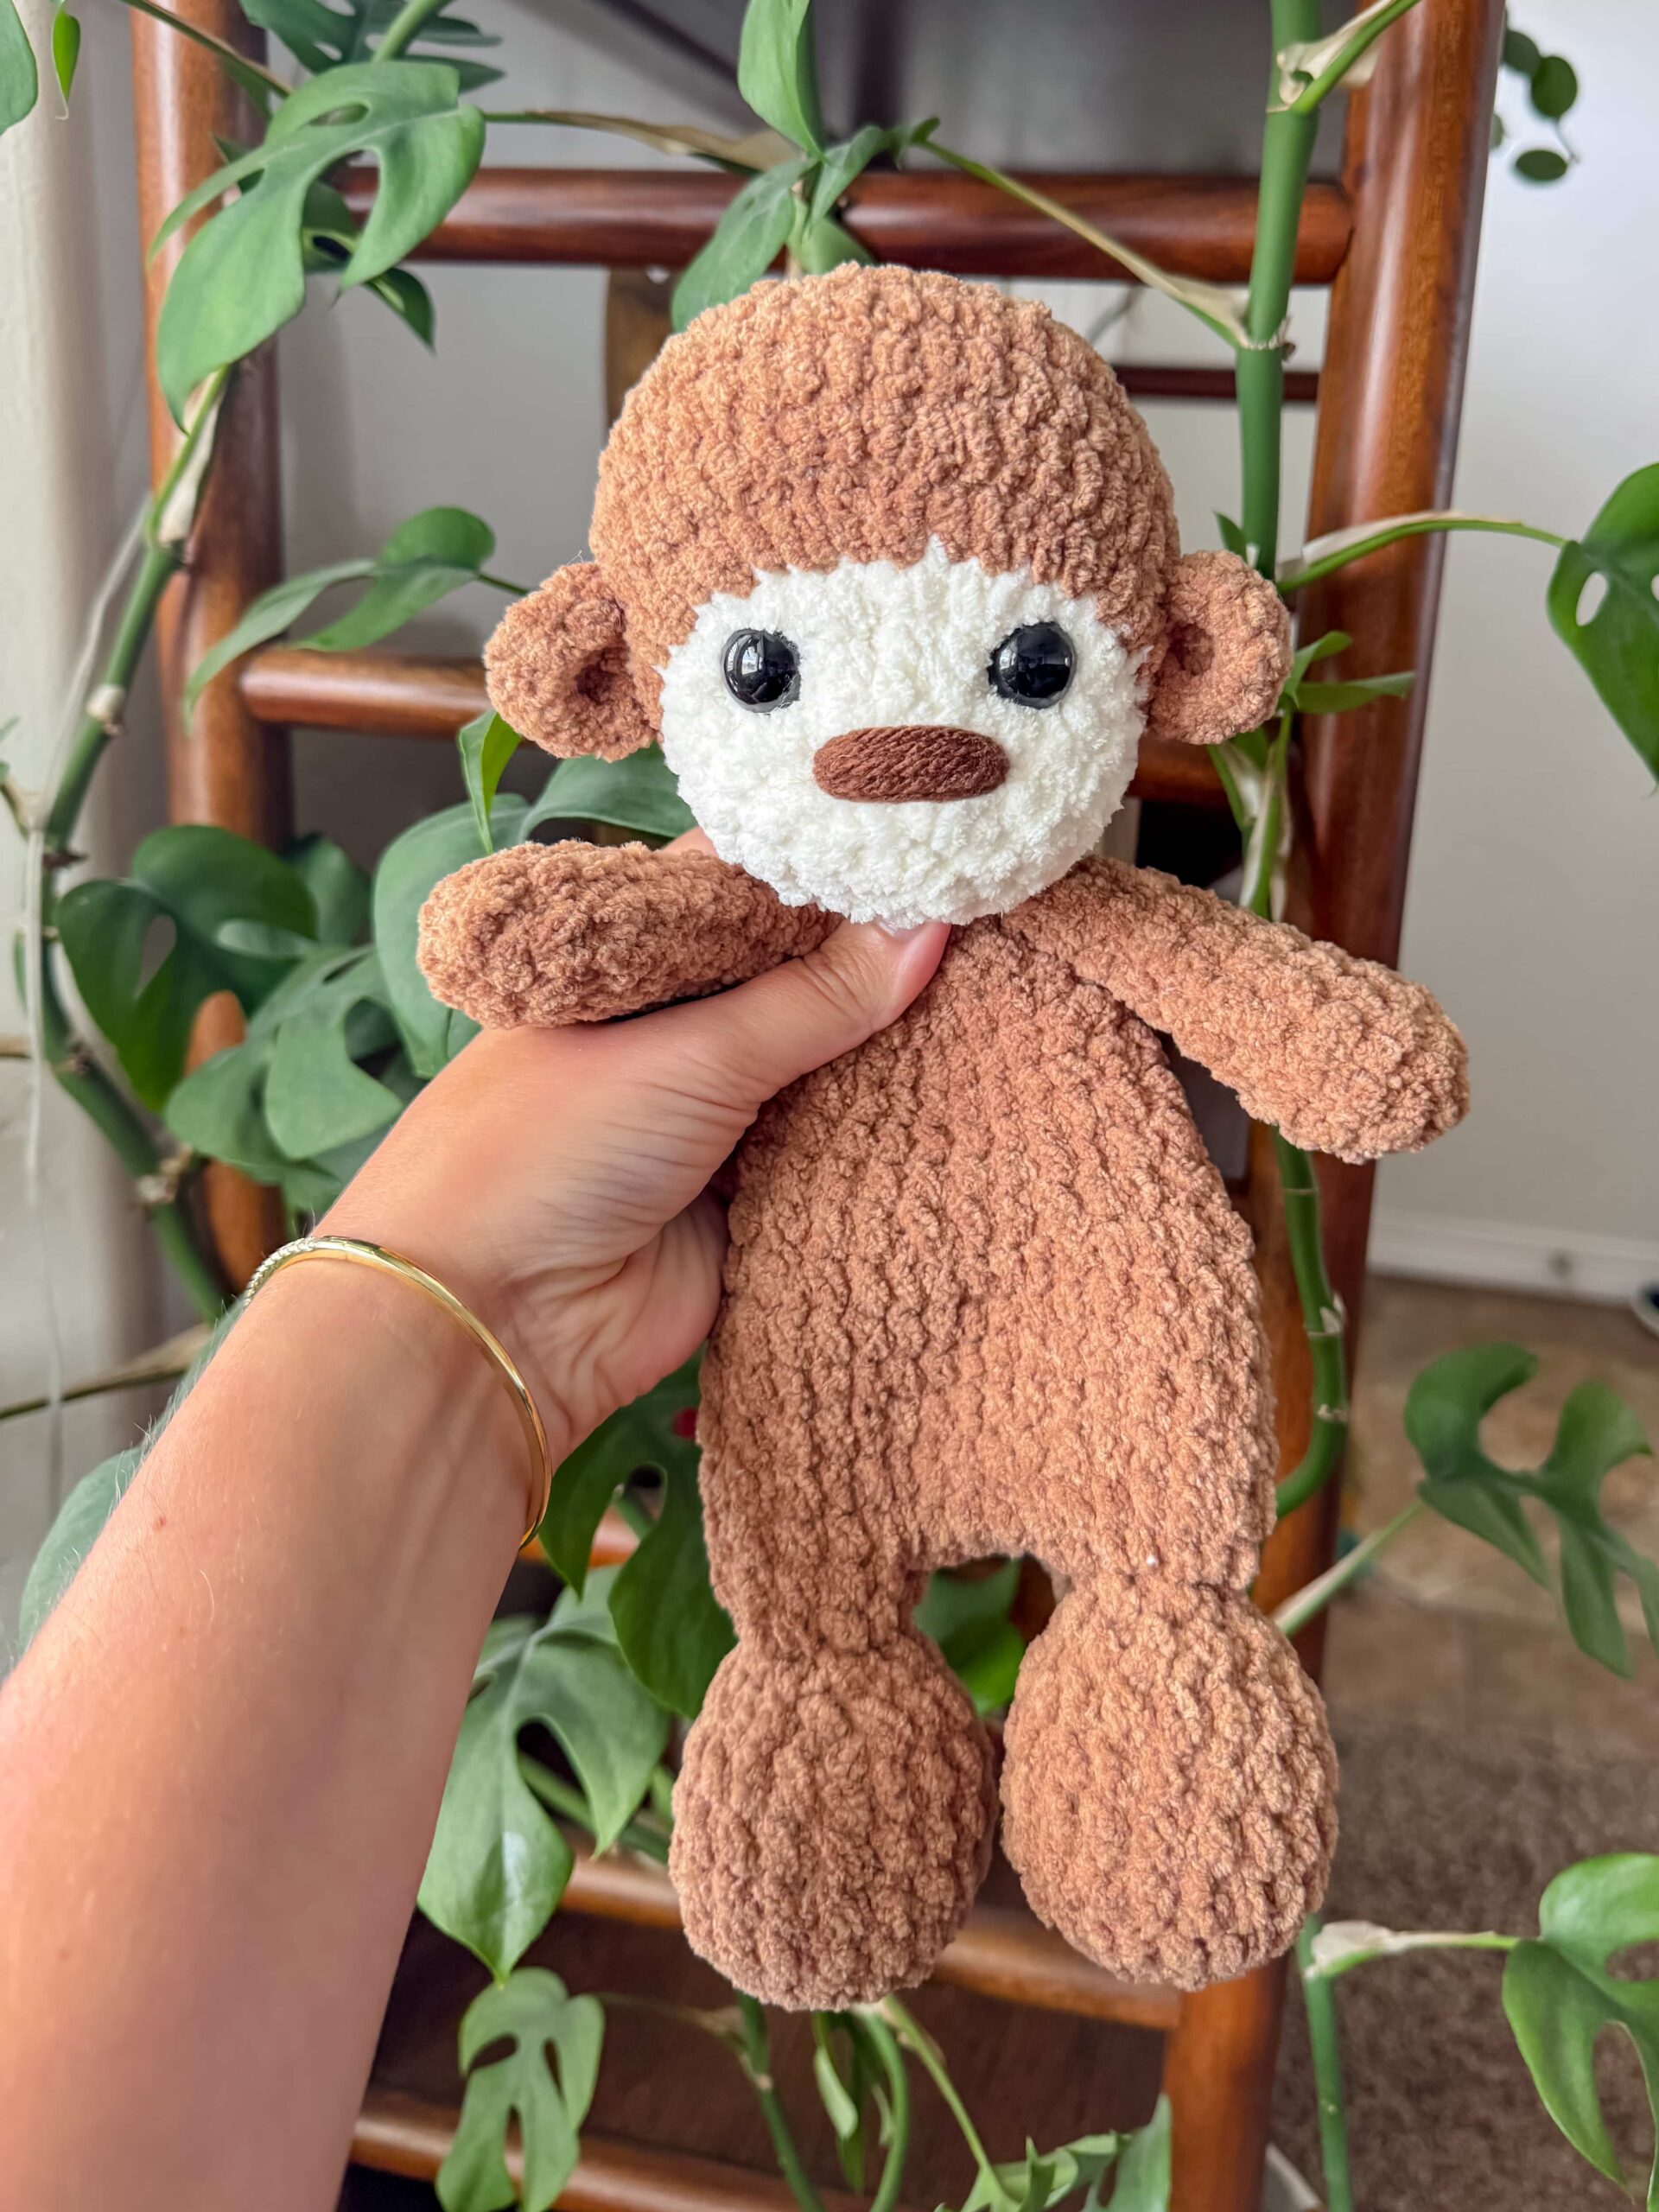
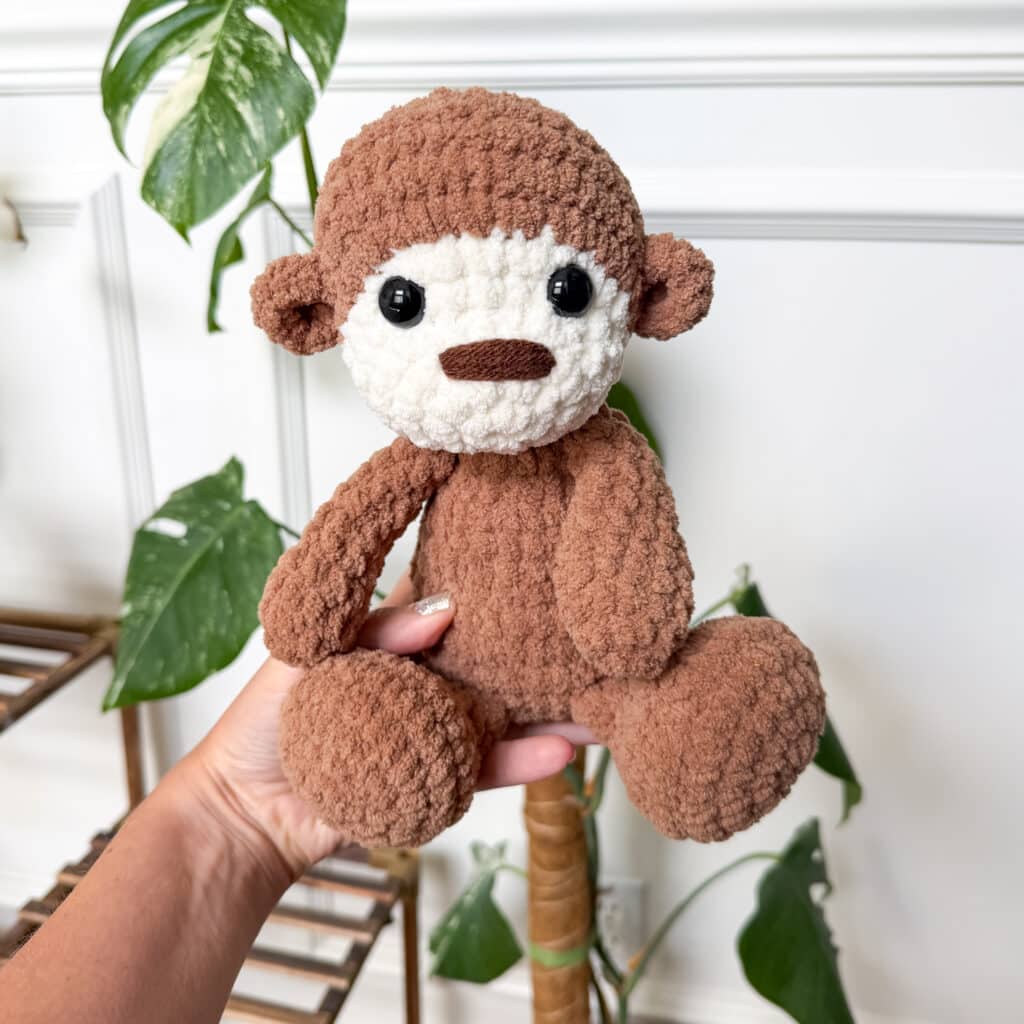
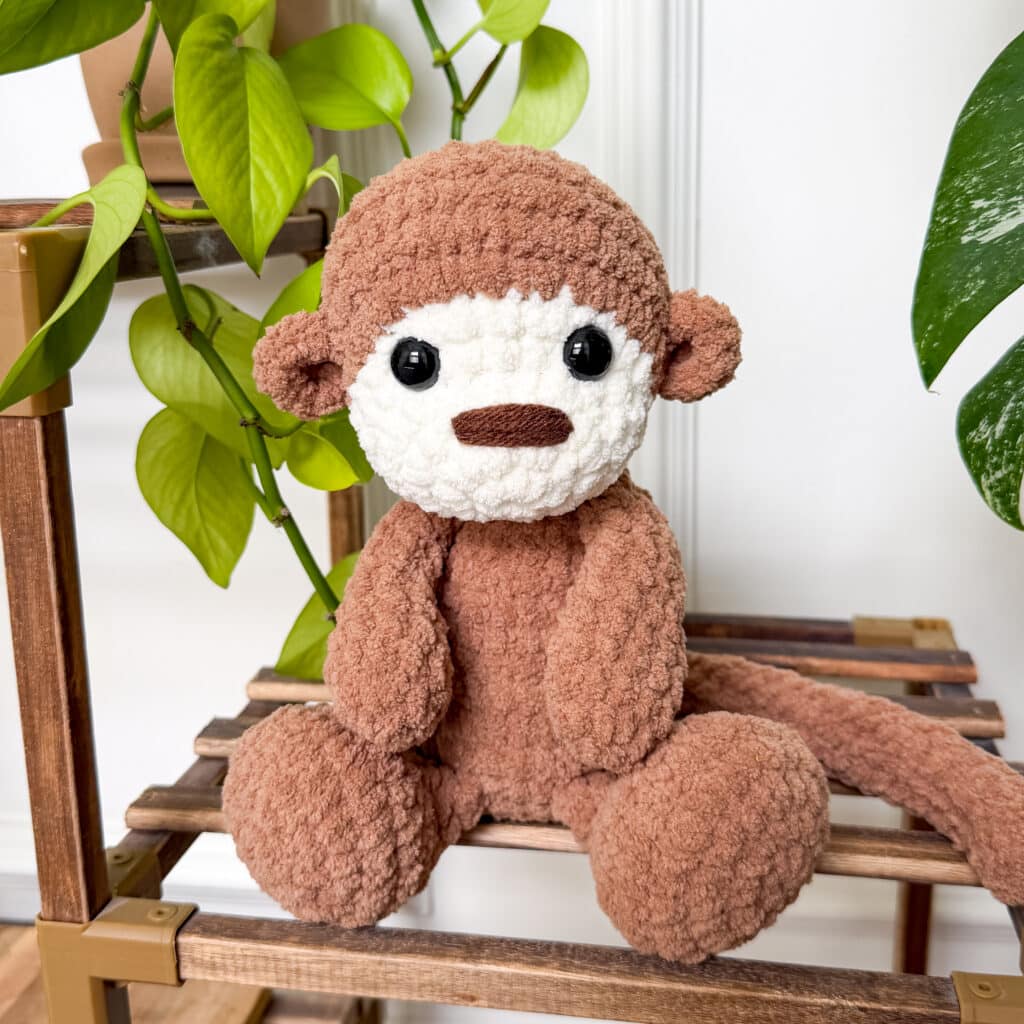
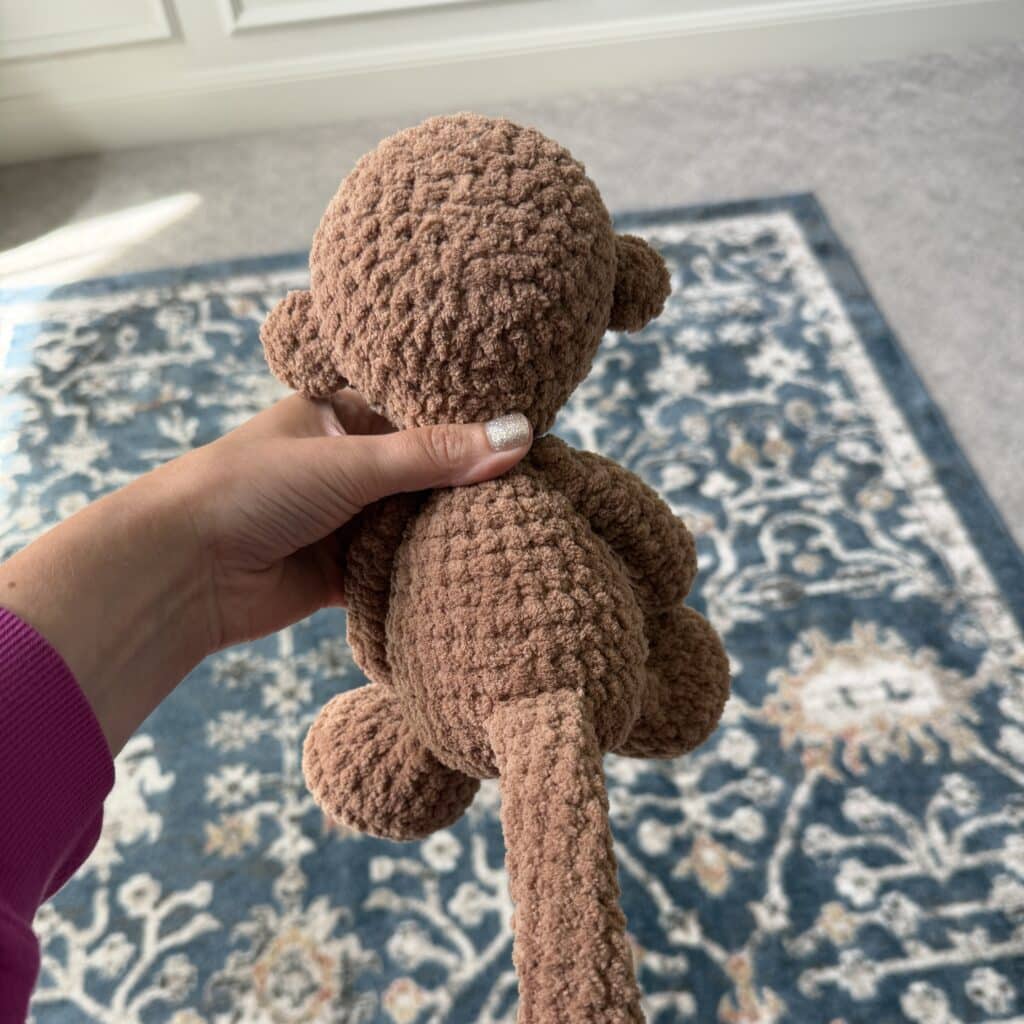
This plush monkey is part of an “Around the World” crochet journey, specifically inspired by South America. The design features a traditional stuffy silhouette with a defined body and adorably long limbs. I chose Premier Basix Chenille for this project because it creates an incredibly soft, cuddly finish that works up quickly compared to traditional cotton or acrylic yarns. While the pattern calls for specific plush yarns, you can substitute other size 6 blanket yarns like Bernat Blanket or Cozy Cub. Just remember that even within the same weight category, different brands can behave differently, so always check your gauge. The resulting monkey sits about 9 to 10 inches tall, making it the perfect size for a child’s bed or a cozy shelf display.
Project Overview
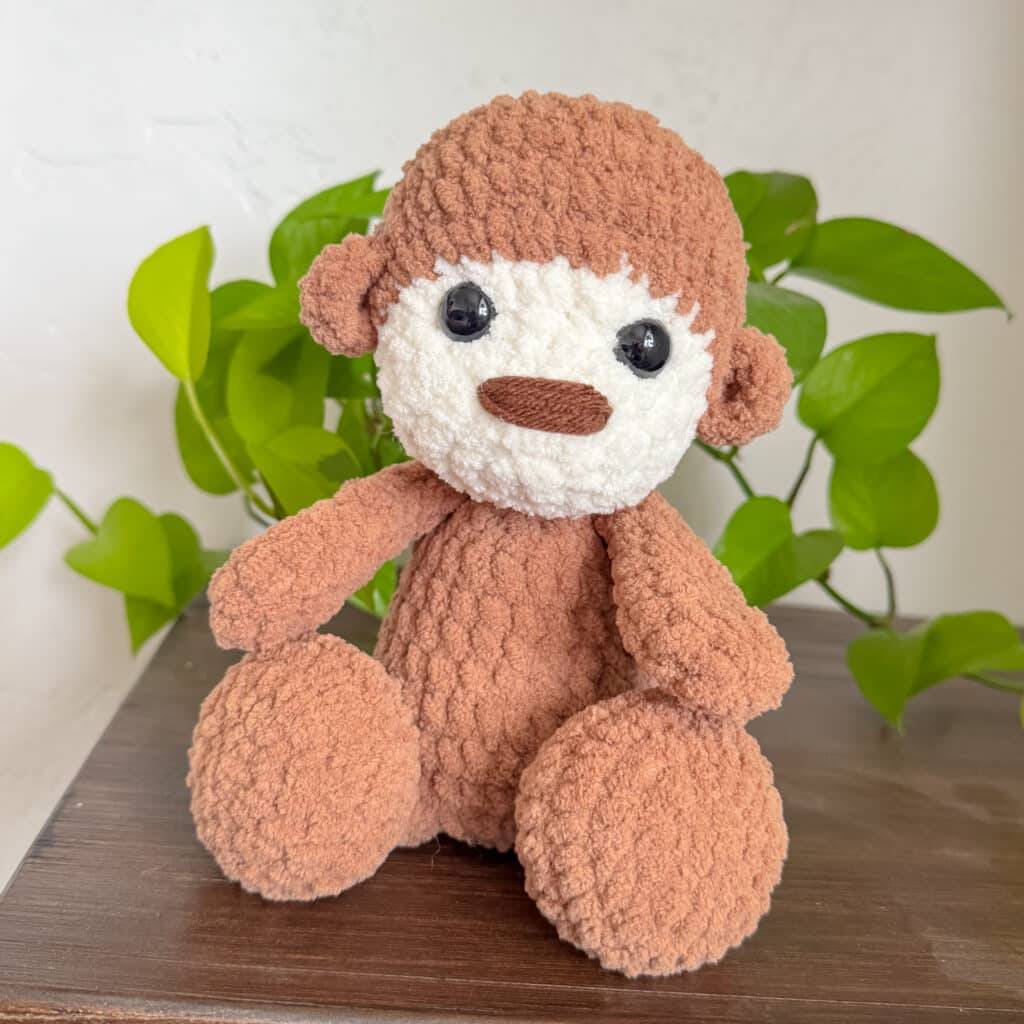
This amigurumi monkey features a two-tone color scheme using Winter White for the face and Caramel for the body, limbs, and ears. It includes movable arms, a long tail, and a unique flat disc at the base of the head for a secure, flat attachment. The pattern is suitable for beginners who are comfortable with basic single crochet increases and decreases, as well as the invisible decrease (INV DEC).
Materials
- Yarn: 30g Premier Basix Chenille in Winter White
- Yarn: 150g Premier Basix Chenille in Caramel (or body color)
- Yarn: Small amount of worsted weight brown yarn (for nose)
- Stuffing: Standard amigurumi stuffing
- Eyes: 15mm safety eyes (or embroidery floss for embroidered eyes)
- Hook: 4.5mm crochet hook (or hook size that keeps stitches tight)
- Notions: Tapestry needle, stitch marker
Gauge and Finished Size
Because plush yarns vary significantly by brand, specific gauge measurements are not provided. Instead, focus on maintaining tight stitches to prevent stuffing from showing. The finished monkey sits approximately 9 inches tall (with the tail) to 10 inches tall (chubby body style).
Abbreviations
- SC: Single Crochet
- INC: Increase (2 SC in the same stitch)
- INV DEC: Invisible Decrease (insert hook under both front loops of adjacent stitches, yarn over, pull up a loop, yarn over, pull through all loops on hook)
- SC INC: Single Crochet Increase
Pattern Notes
- Yarn Choice: The pattern is written for size 6 blanket yarns like Premier Basix Chenille, Bernat Blanket, or Cozy Cub. If using Bernat Blanket, a 5mm hook is recommended. For Premier Basix Chenille, a 4.5mm hook is used. Always aim for tight stitches.
- Safety vs. Embroidery: You may use 15mm safety eyes or embroider them. Embroidered eyes are recommended for babies and toddlers for safety.
- Face Shaping: The pattern includes a technique to indent the eyes using yarn for a more expressive look.
Pattern Instructions
Head (Using Winter White)
Round 1: SC 8 in a magic ring (8)
Round 2: INC in each around. (16)
Round 3: INC in the first 4. SC in the next 4. INC in the next 4. SC in the final 4. (24)
Round 4-5: SC in each around. (24)
Round 6: SC in the first 6. SC INC in the next 8. SC in the last 10. (32)
Change to caramel color.
Round 7: SC in the first 6. *SC in the first, INC* 8x. SC in the last 10. (40)
Rounds 8-10: SC in each around. (40) *3 rounds*
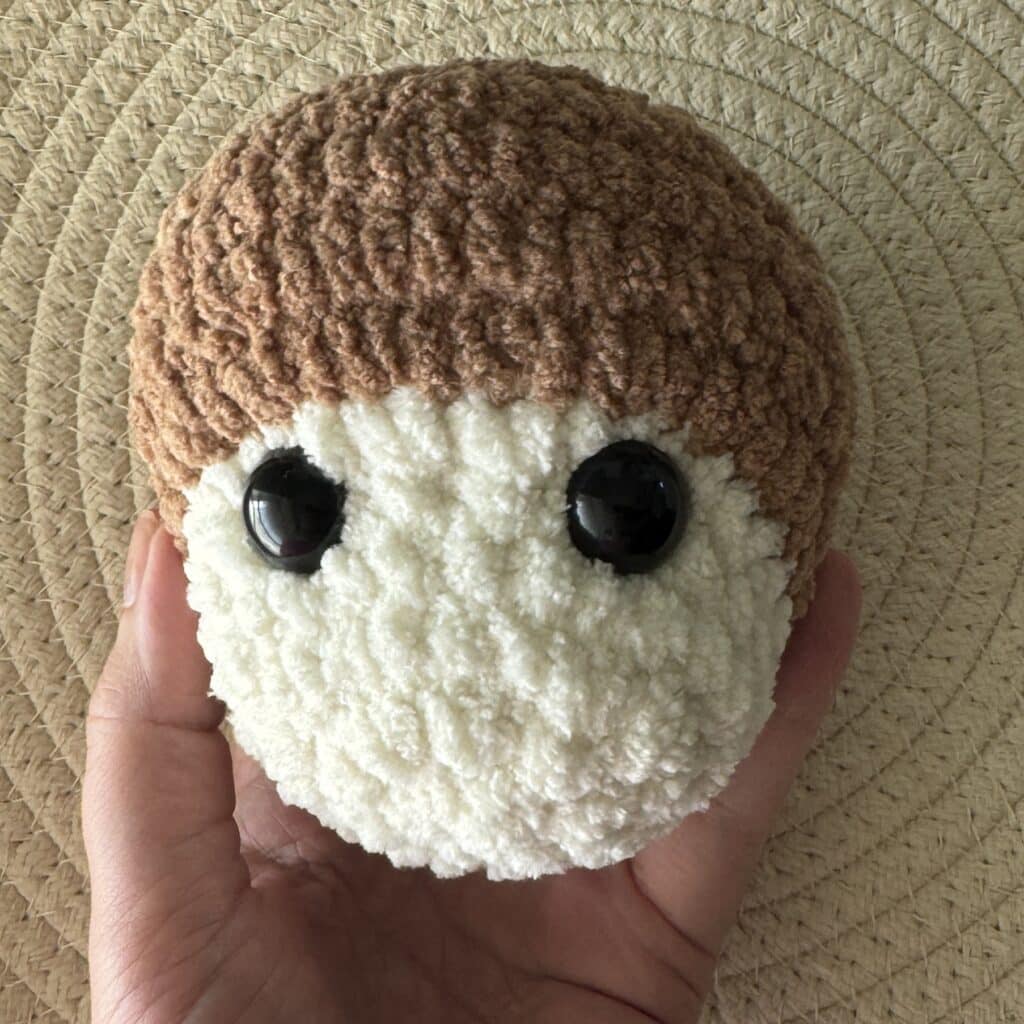
Insert eyes between round 5 and 6, using the 8 INC of round 6 to help center them. There should be about 6 stitches between the eyes.
Round 11: SC in the first 3, INV DEC (32)
Round 12: SC in the first 2, INV DEC (24)
Stuff here.
Round 13: SC in the first, INV DEC (16)
Round 14: INV DEC around (8)
Fasten off, close the circle and weave in the end.
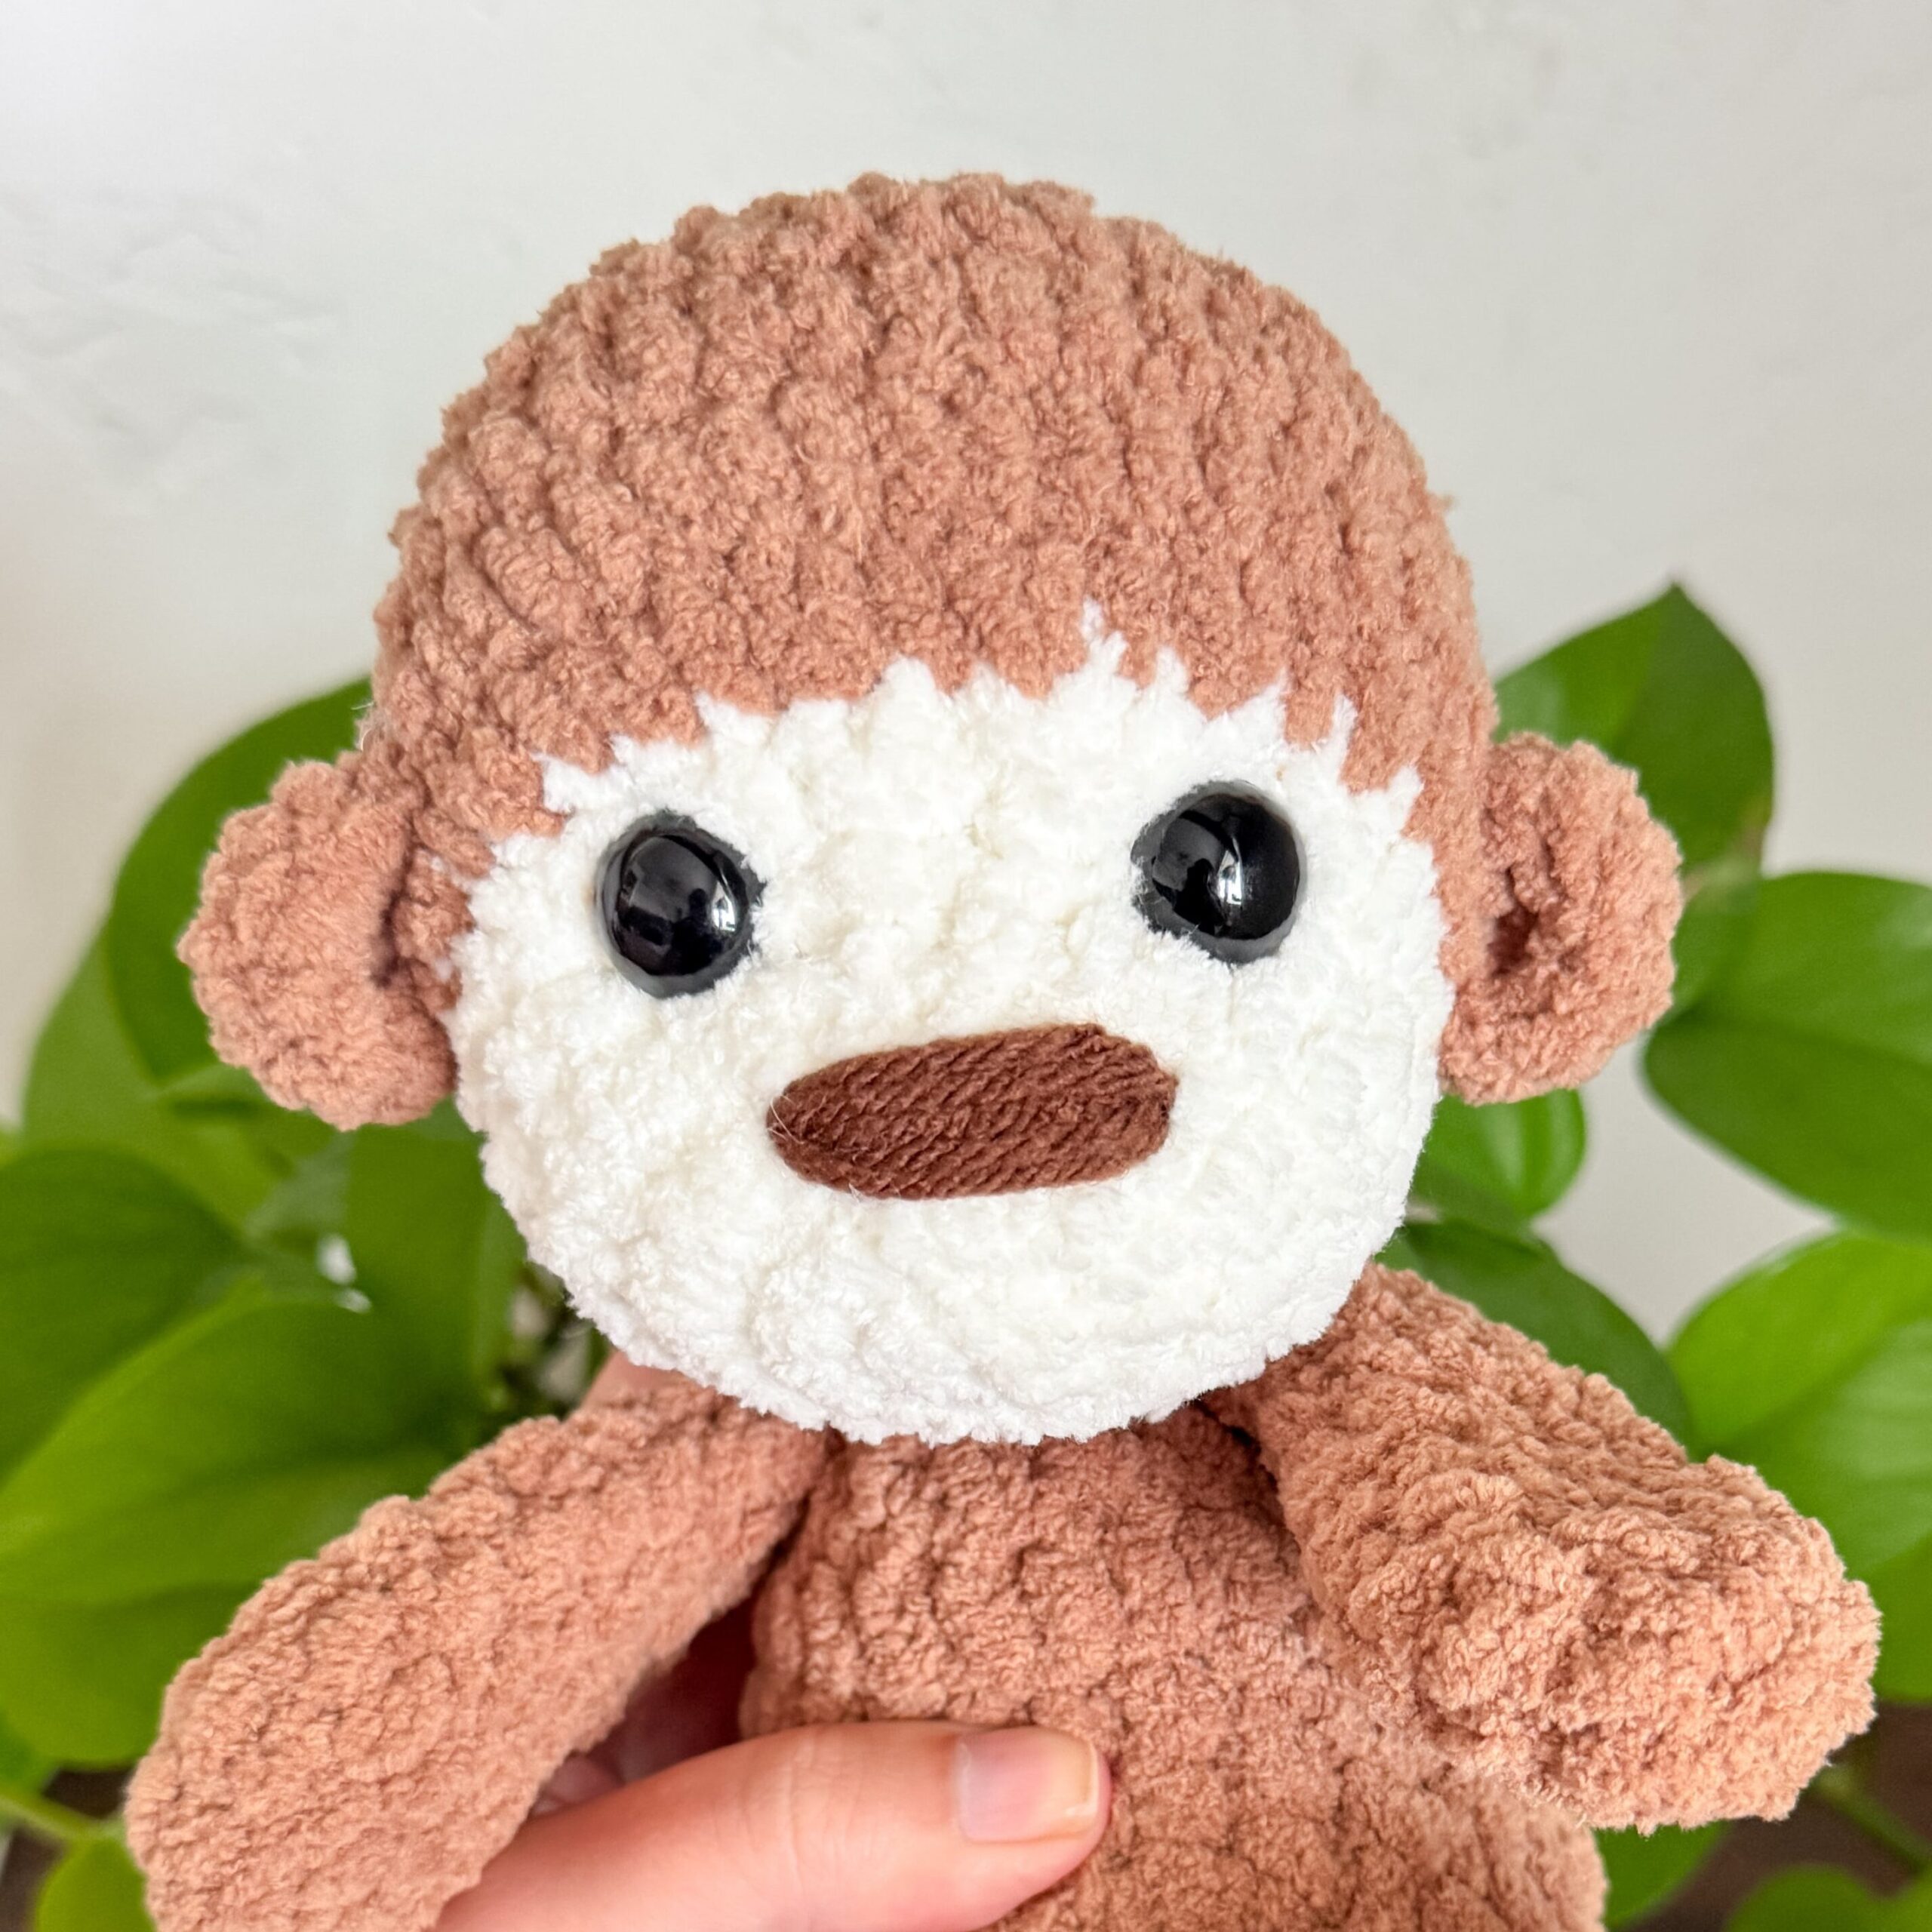
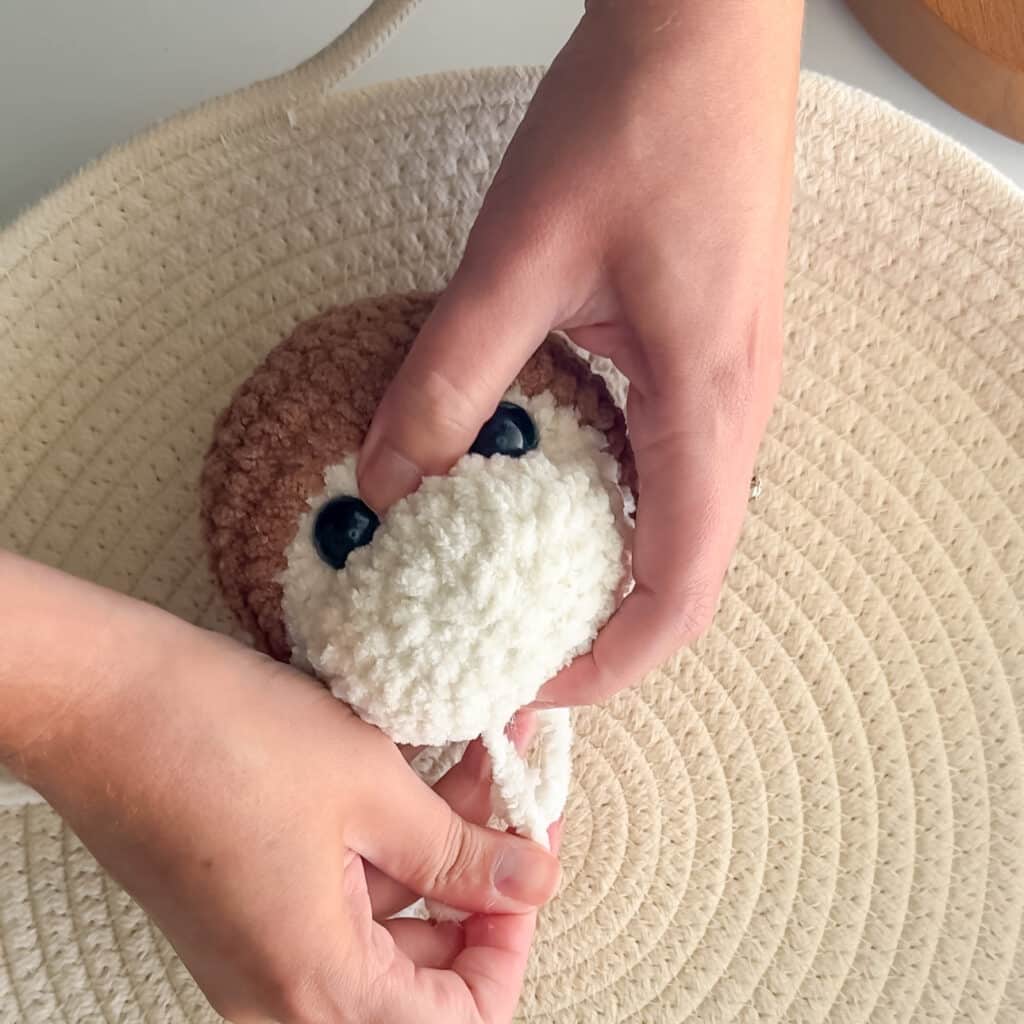
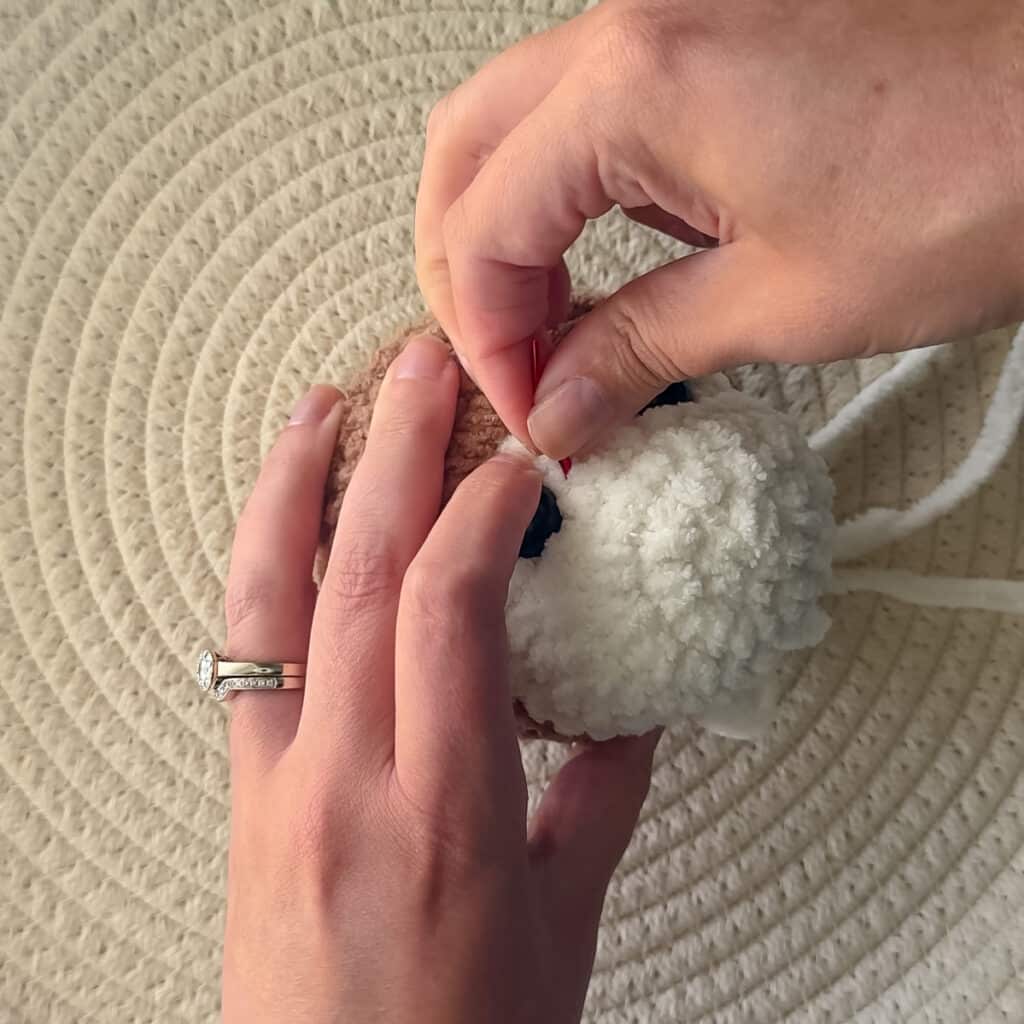
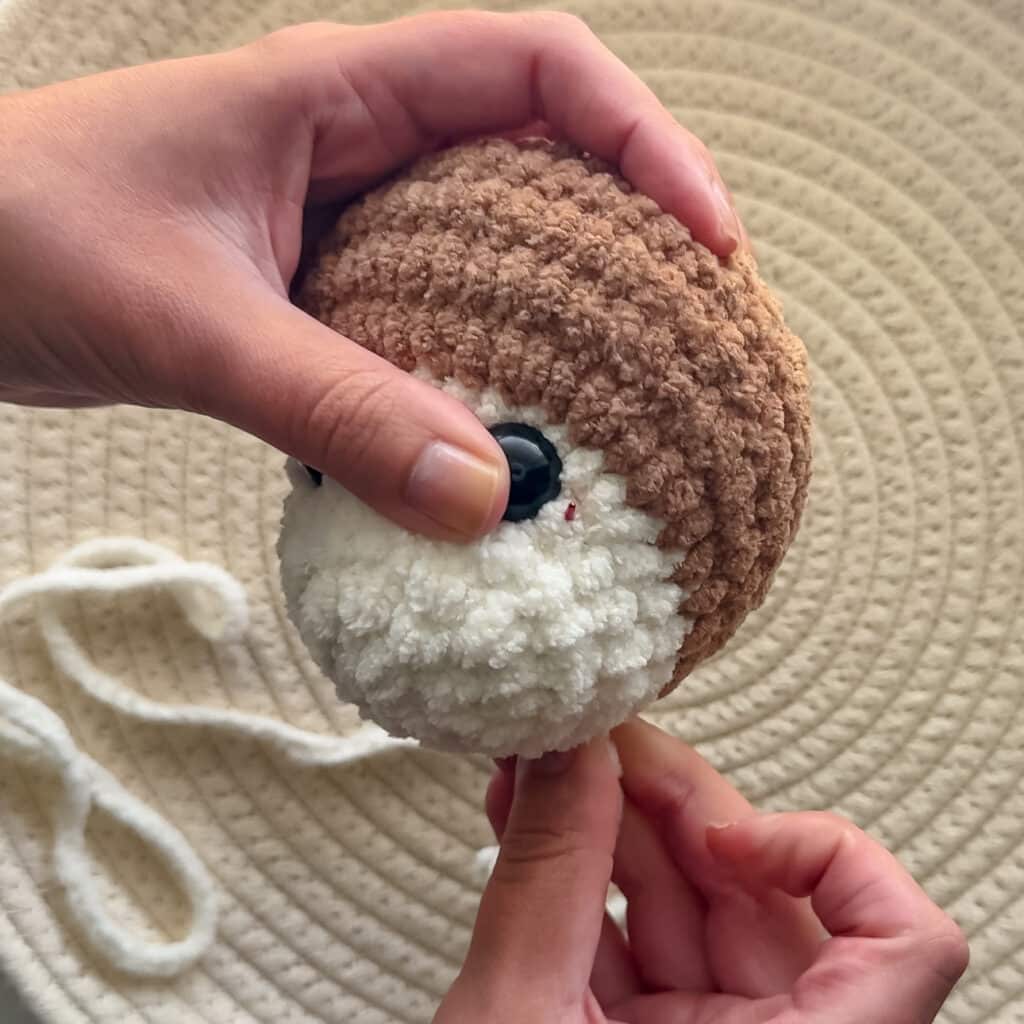
Face Details: Embroider the nose with worsted weight brown yarn around round 3 between the eyes, covering about 4-5 stitches for length. To shape the eyes, use a long piece of winter white yarn. From the bottom of the head, come up close to the eye, go underneath the eye, and return to the original insert point. Pull both ends to create an indent. Repeat on the other eye.
Ears (Make 2, Using Caramel)
SC 6 in a magic ring. Do not close. Chain 1 and turn. SC in each of the 6 SC back. Fasten off.
Attach: Sew on round 8 of the head, with the top of the ear level with the top of the eyes.
Body (Using Caramel)
Round 1: In a magic circle, SC 8.
Round 2: SC INC in each around. (16)
Round 3: SC in the first, SC INC in the next. Repeat around. (24)
Round 4: SC in the first 2, SC INC in the next. Repeat around. (32)
Round 5-8: SC in each around. (32) *4 rows*
Round 9: SC in the first 2, INV DEC in the next. Repeat around. (24)
Rounds 10-13: SC in each around. (24) *4 rows*
Round 14: SC in the first, INV DEC in the next. Repeat around. (16)
Round 15: SC in each around. (16)
Round 16: INV DEC in each around. (8)
Round 17: In the front loop only, SC INC in each around. (16)
Round 18: SC in the first, SC INC in the next. Repeat around. (24)
Fasten off, leaving a long tail to attach the head with.
Arms (Make 2, Using Caramel)
Round 1: In a magic ring, SC 6.
Round 2: SC INC in each around. (12)
Round 3-4: SC in each around. (12)
Round 5: INV DEC in the first. SC in the next 4. INV DEC. SC in the remaining 4. (10)
Round 6: SC in each around. (10)
Round 7: INV DEC in the first. SC in the next 3. INV DEC. SC in the remaining 3. (8)
Rounds 8-11: SC in each around.
Fasten off and leave an extra-long tail. Sew the opening closed.
Legs (Make 2)
Round 1: In a magic ring, SC 7.
Round 2: SC INC in each around. (14)
Round 3: SC in the first, SC INC in the next. Repeat around. (21)
Round 4: SC in the first two, SC INC in the next. Repeat around (28)
Round 5: SC in each around. (28)
Round 6: SC in the first two, INV DEC in the next. Repeat around. (21)
Round 7: SC in the first 7, then INV DEC 7x. (14)
Round 8: SC in the first 7, then INV DEC 3X. Take the stitch marker out, decrease one more time and put the stitch marker there. (10)
Stuff the foot here and continue stuffing (only about halfway up).
Rounds 9-10: SC in each around. (10)
Fasten off and leave a long tail to sew on.
Tail
SC 6 in a magic ring.
Rounds 2-25: SC in each stitch around.
Attach the tail around rounds 5-6 of the body.
Assembly
Head to Body: Pin the flat disc at the top of the body to the head where you want it attached. Center it as best as you can; for a forward-flopping look, place it slightly closer to the nose. As you sew, go through the front loop of the SC at the top of the disc. Pull tightly each time, trying to pull the disc out so it lies flat against the head.
Arms: Attach the arms to the body between rounds 13-14. Using the method for plush yarn, the arms will be movable.
Legs: Flatten the opening of the leg and attach these facing the front of the body on round 4, with about 4 stitches between them. You may need to do one additional SC to reach the side of the foot to flatten it correctly.
Tips
- Tension is Key: Plush yarn can be loose. Ensure your stitches are tight to hide the stuffing. If the stitches are too tight to work comfortably, size up your hook slightly.
- Eye Safety: For infants or toddlers, embroider the eyes instead of using safety eyes.
- Yarn Substitutions: If using Bernat Blanket yarn, use a 5mm hook. If using Premier Basix Chenille, use a 4.5mm hook.
FAQs
Can I use a different yarn?
Yes, you can substitute other size 6 blanket yarns like Bernat Blanket or Cozy Cub. However, keep in mind that different brands work up differently, so you may need to adjust your hook size to maintain tight stitches.
How do I attach the head securely?
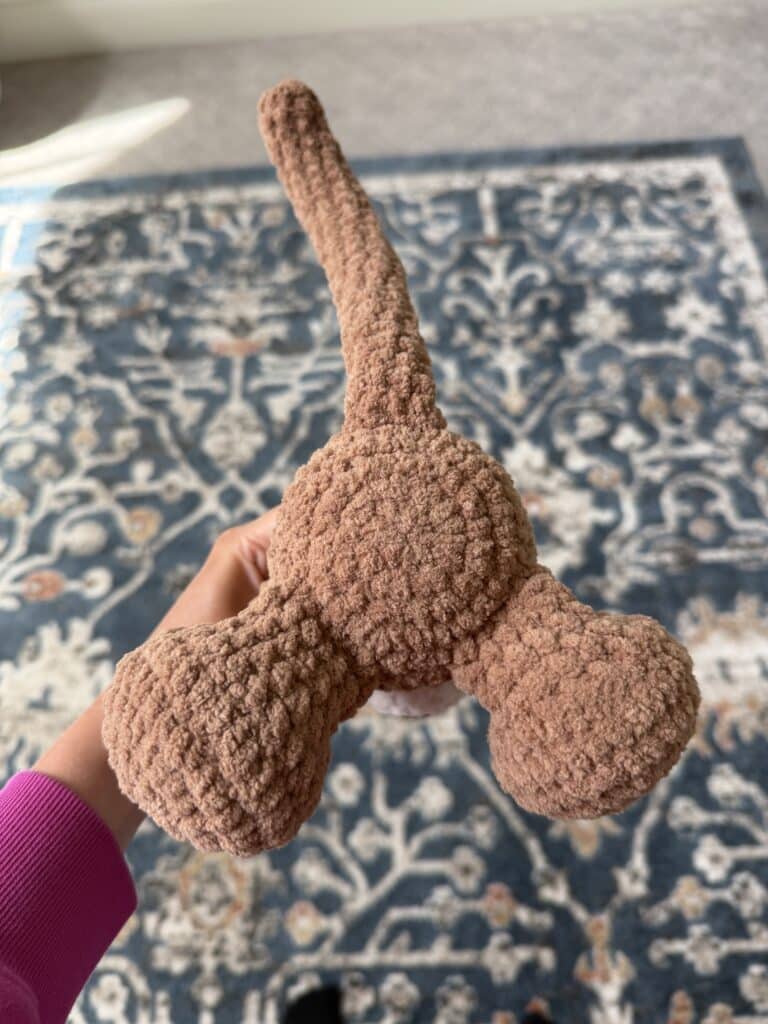
The body includes a flat disc at the top. Sew through the front loops of this disc while pulling the yarn tight to ensure the head sits flat and secure against the body.
Are the arms movable?
Yes, if you use the specific attachment method for plush yarn described in the assembly section, the arms will be movable.
How do I make the eyes indented?
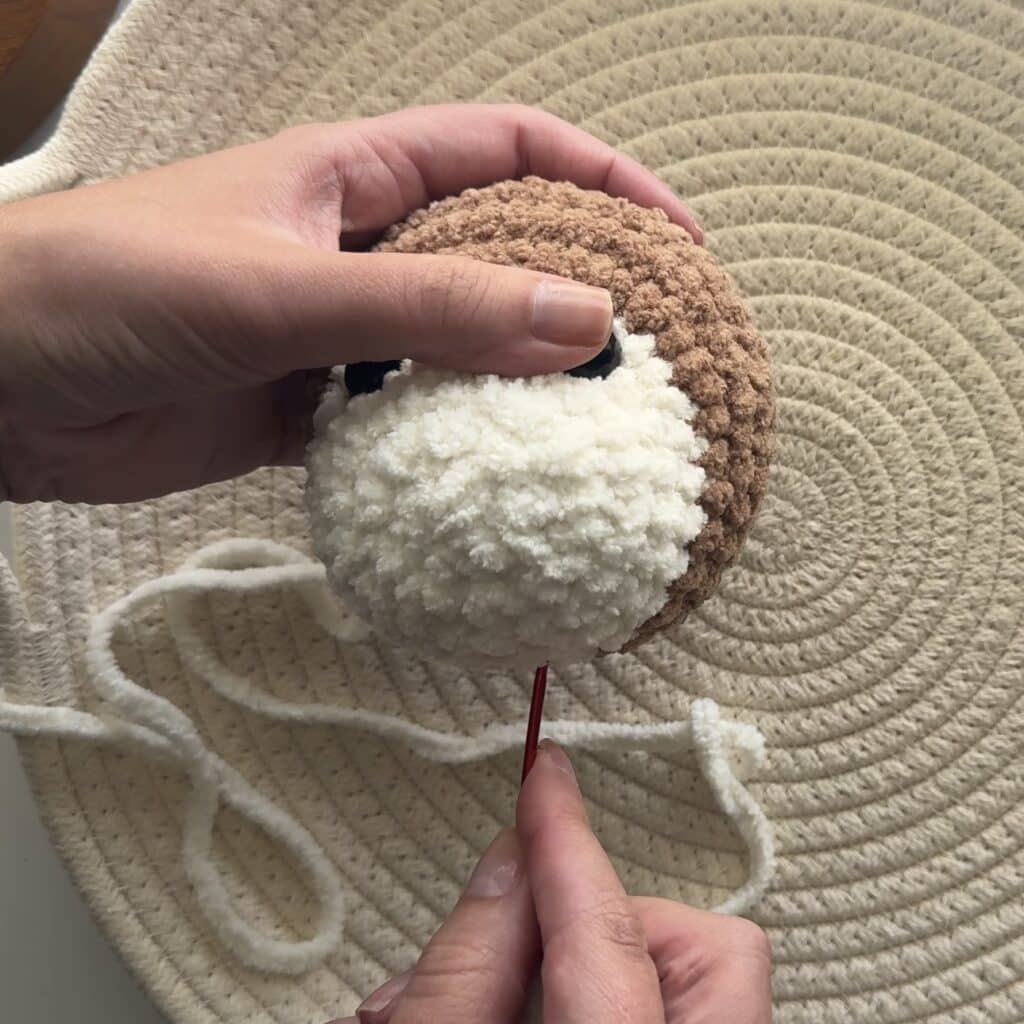
Use a long piece of yarn from the bottom of the head, go under the eye, and return to the start point. Pulling both ends creates a natural indent for the eyes.
Is this pattern safe for babies?

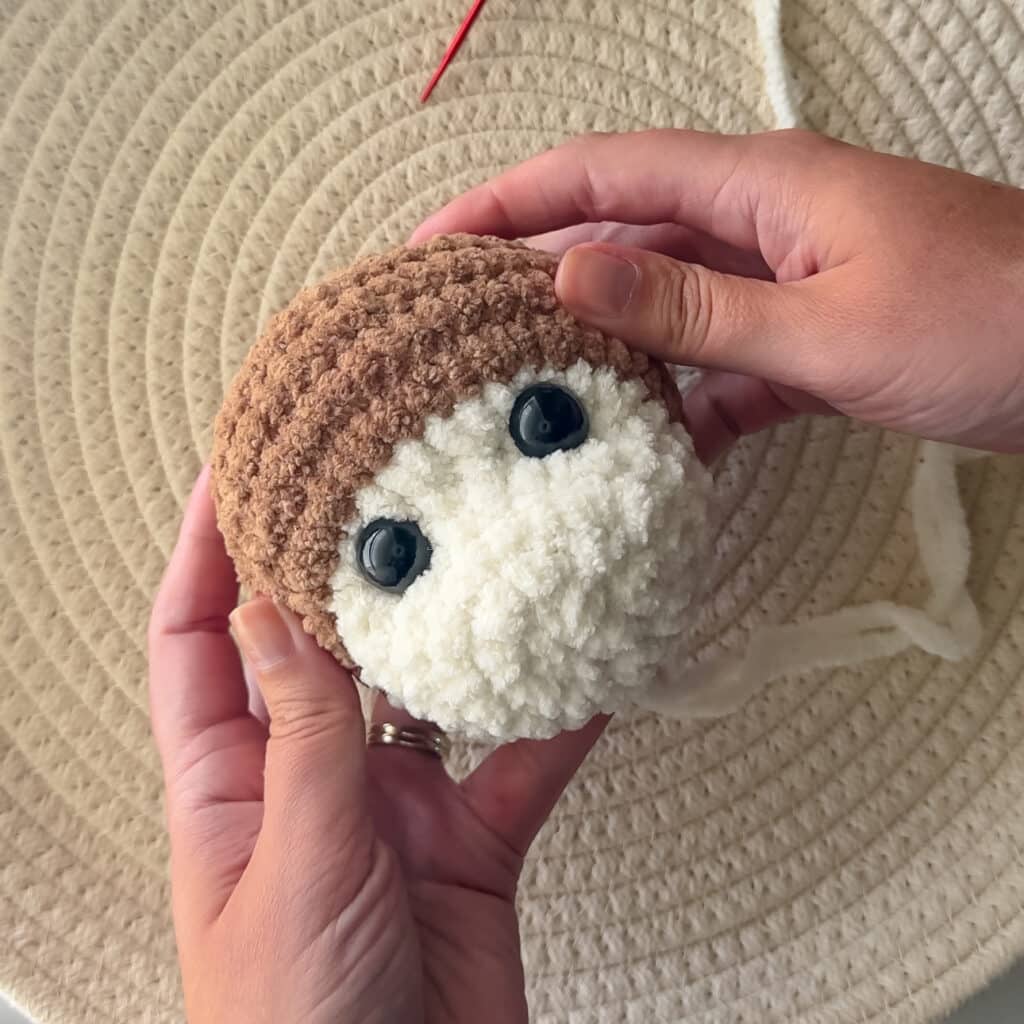
If you use embroidered eyes and secure all ends tightly, it is safer for babies. Avoid safety eyes for very young children.
Pin This Crochet Pattern!