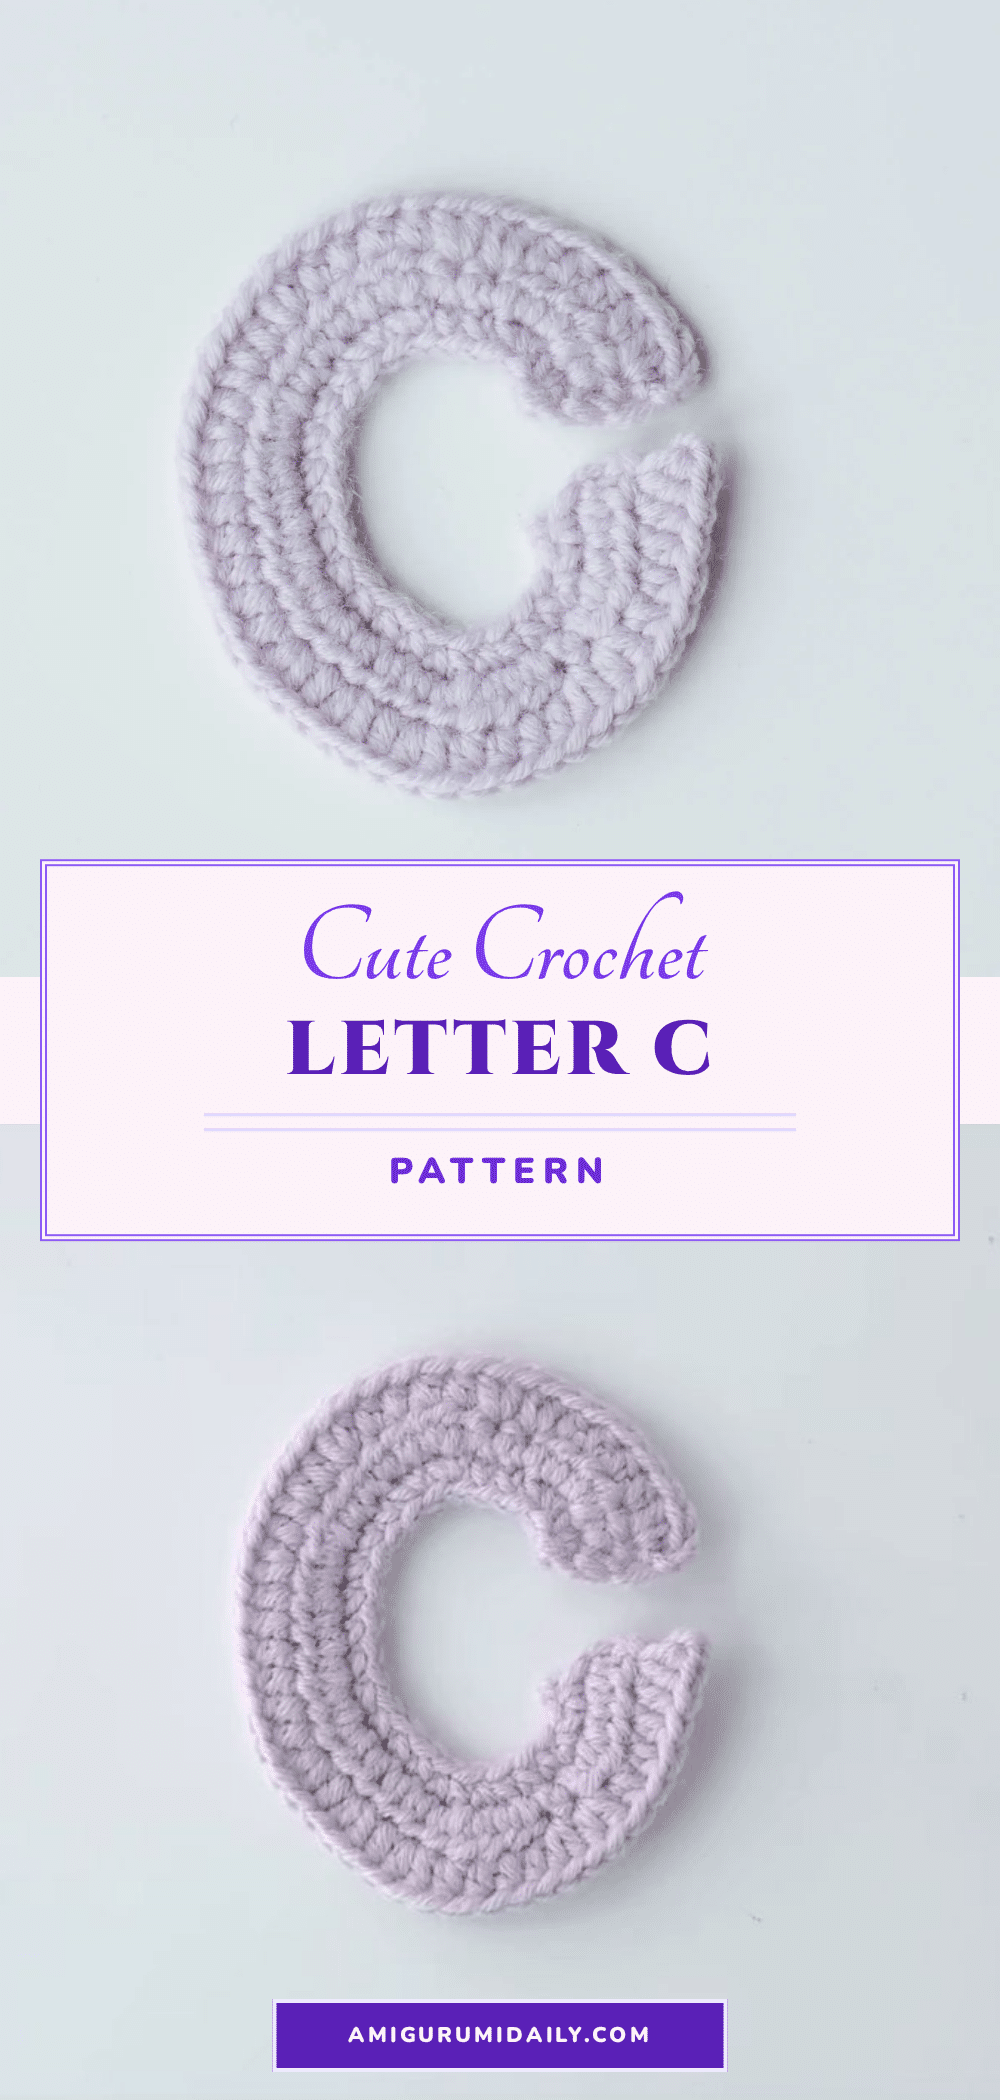
There is something deeply satisfying about the rhythm of shaping a letter, watching the fabric grow row by row as the curve begins to take form. This chunky crochet letter C applique pattern invites you to slow down and appreciate the texture of the stitches, particularly the way the half double crochet builds up a sturdy, dimensional edge. It is a project that rewards attention to detail, from the initial foundation chain to the final slip stitch that seals the shape. With a skill level that balances beginner accessibility with a touch of structural challenge, this piece is perfect for adding a personalized, tactile element to your home decor or garment projects.
Our Touch: Texture and Stitch Notes
What makes this letter C stand out is the interplay between the tight single crochet foundation and the taller half double crochet rows that follow. The “behind the vertical bar” technique used in the chain foundation creates a distinct, raised ridge that gives the applique a professional, structured look right from the start. When you transition into the half double crochet rows, you will notice the fabric gains body and thickness, making it ideal for items that need a bit of weight, like hat brims or bag accents. The light purple cotton yarn suggested in the source provides a soft matte finish that highlights these stitch definitions beautifully, but the true magic lies in how the increases are distributed to create that smooth, inviting curve of the C.
Project Overview
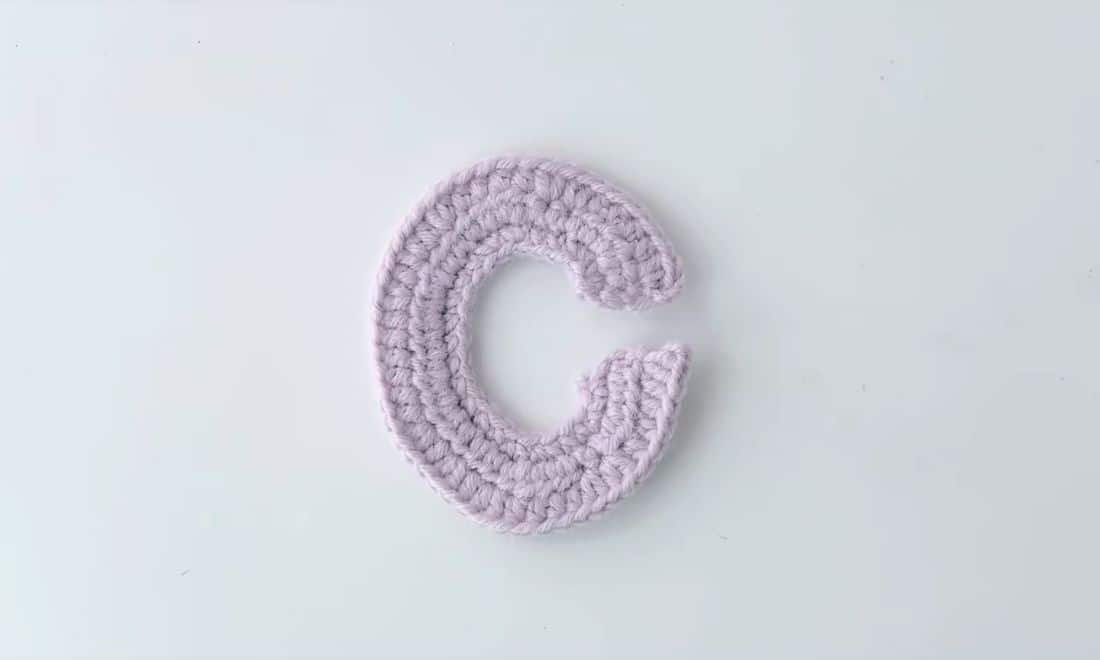
This pattern provides instructions for creating a crochet letter C applique. It is designed to be beginner-friendly, allowing you to complete the piece in approximately 15 minutes using basic stitches. The pattern is written in US crochet terms and includes a video tutorial for additional visual guidance. While the source categorizes the skill level as “difficult level: easy,” the step-by-step nature of the instructions makes it accessible for crocheters looking to practice shaping and increasing.
Materials
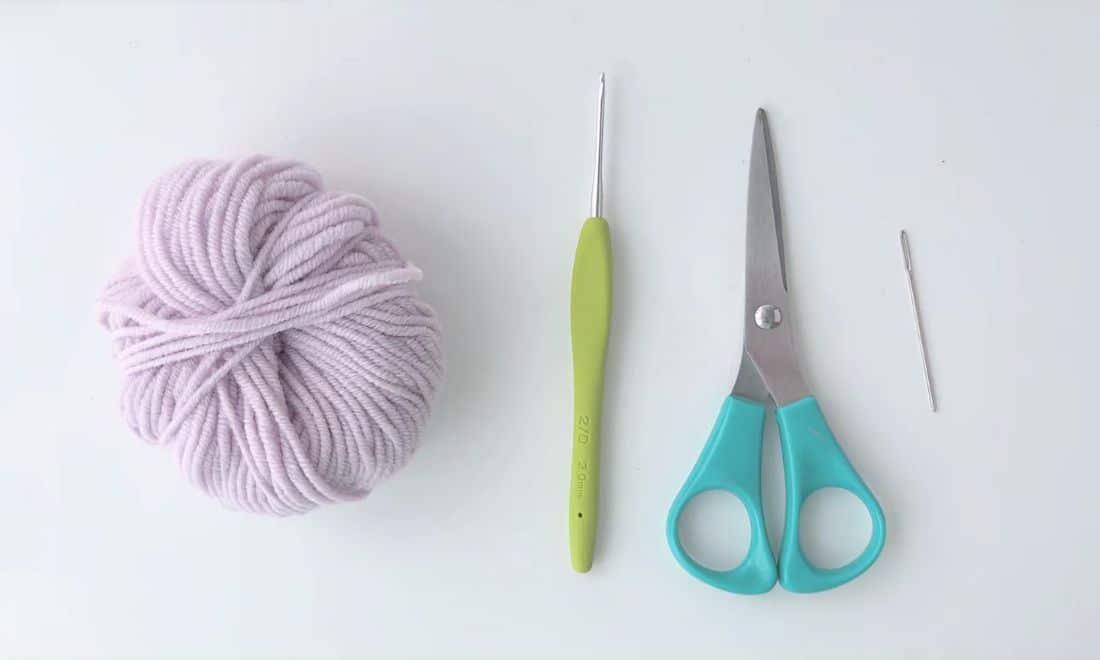
- Yarn: Light purple cotton yarn (or any color of your choice)
- Crochet Hook: 2.0 mm
- Notions: Scissors, Darning needle
Gauge and Finished Size
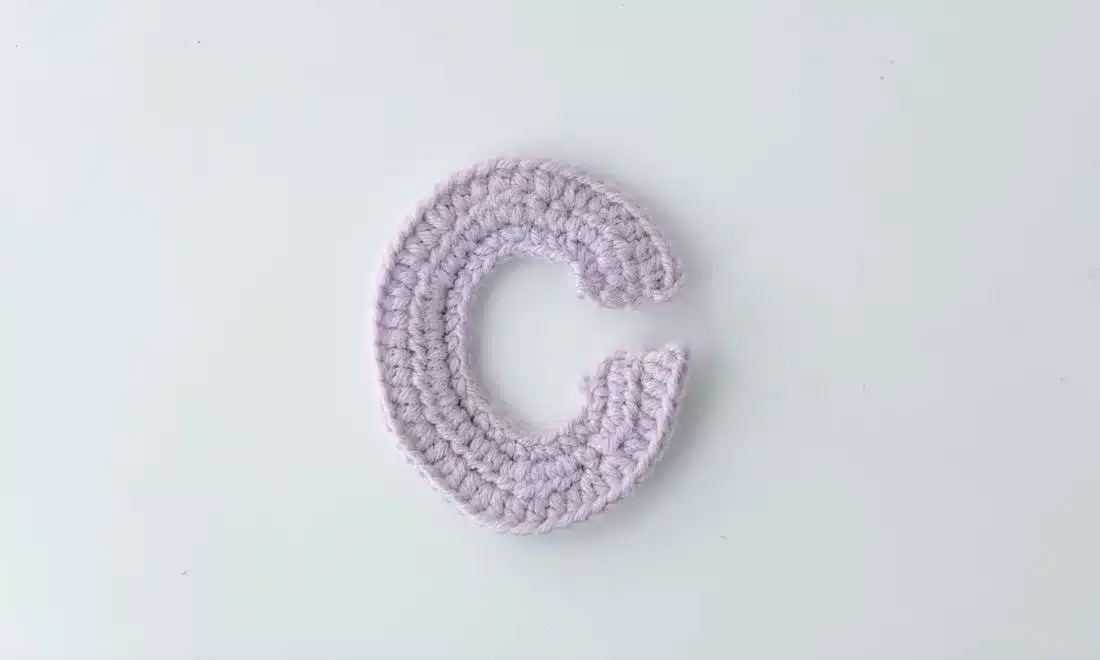
Specific gauge measurements and finished dimensions are not provided in the source pattern. The size of the letter will depend on your individual tension and the specific weight of the cotton yarn used.
Abbreviations
This pattern uses standard US crochet terminology:
- ch: chain stitch
- sc: single crochet
- ss: slip stitch
- hdc: half double crochet
Pattern Notes
- This pattern is written in US crochet terms.
- A video tutorial is available for additional guidance if you prefer visual learning.
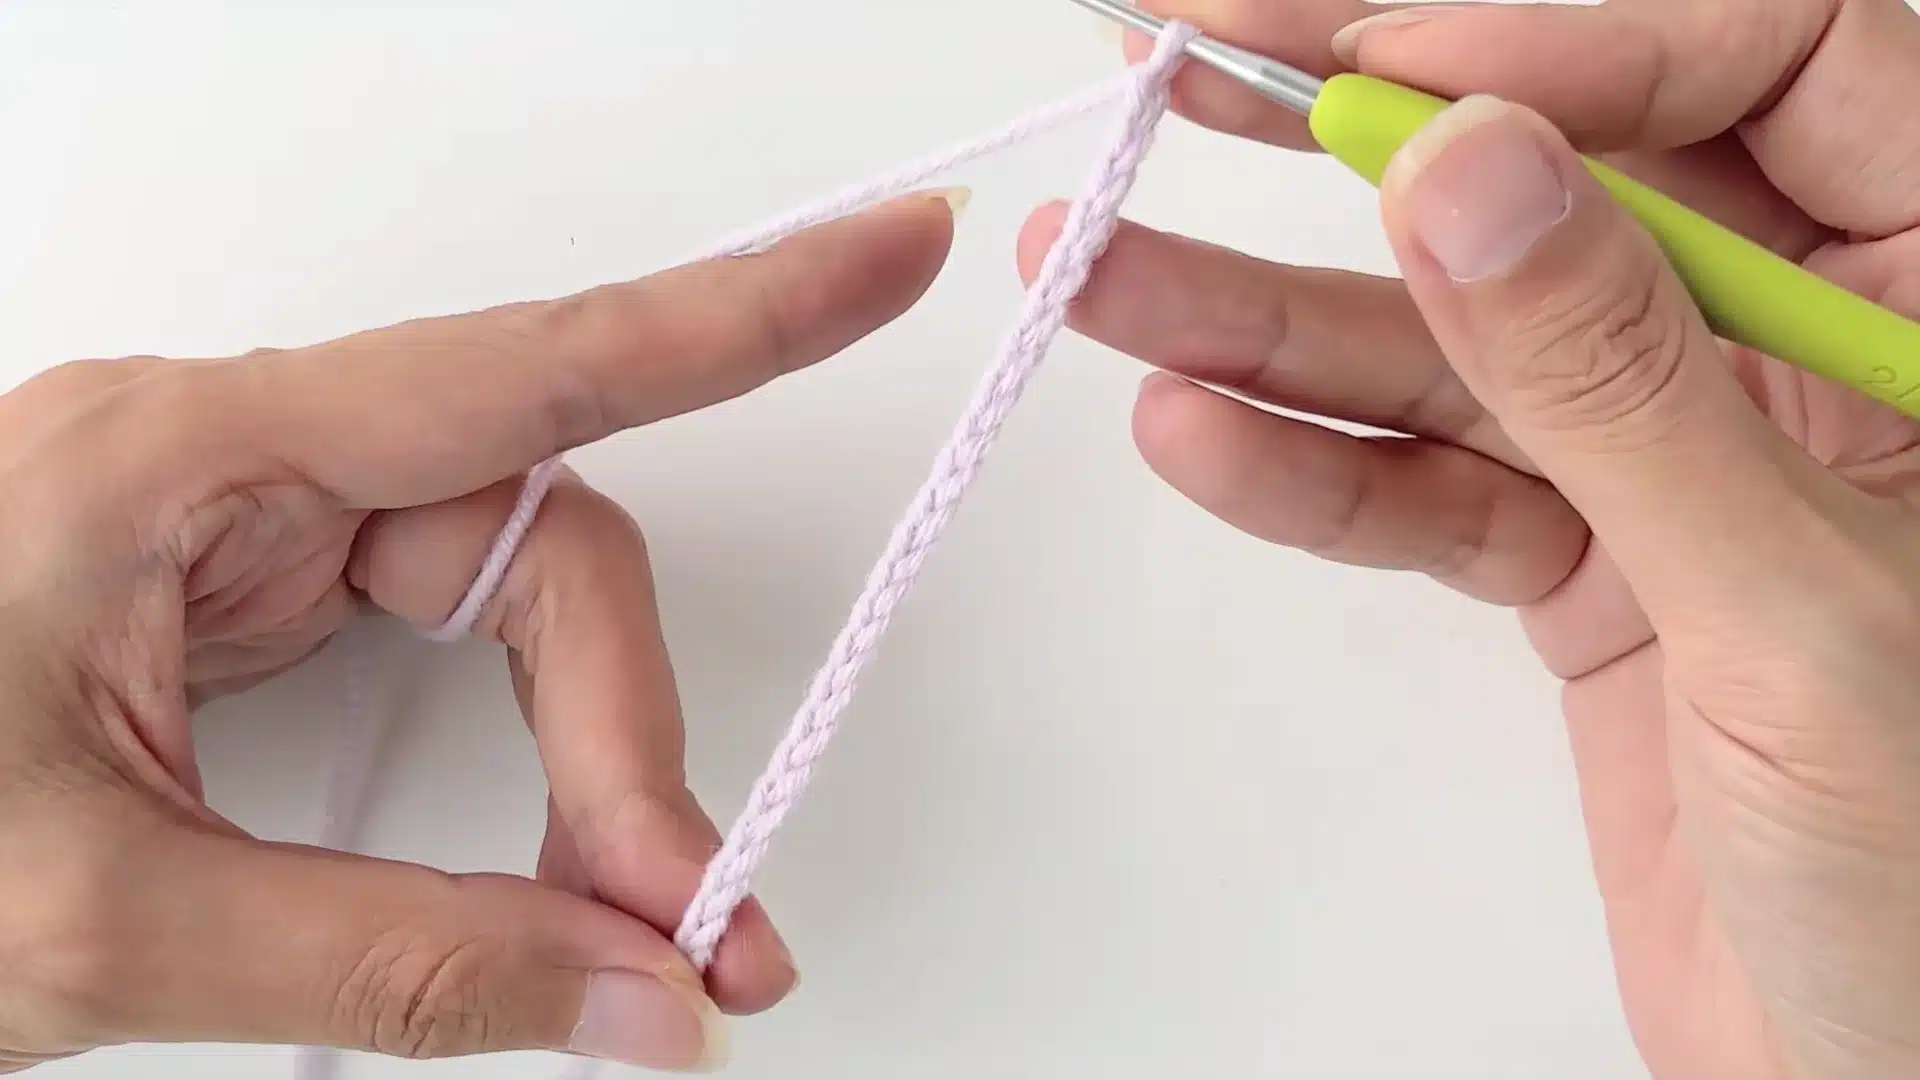
- Important Technique: In all chain stitches, work behind the vertical bar. This creates a specific edge structure that is crucial for the final look of the applique.
Pattern Instructions
Step 1: Foundation Chain
Begin by creating the base of the letter. Remember to work behind the vertical bar in the chain stitches.
- Start with a foundation chain: 23 ch.
- Working into the 2nd stitch from the hook, follow this sequence:
- (2 sc in next st) * 2 times
- 2 sc
- (2 sc in next st) * 2 times
- 10 sc
- (2 sc in next st) * 2 times
- 2 sc
- (2 sc in next st) * 2 times
Step 2: First Row
Turn your work and begin the shaping with half double crochet and single crochet combinations.
- Chain 2, then work the following across:
- 2 hdc
- 2 hdc in one st
- 1 hdc
- 2 sc
- 1 hdc
- 2 hdc in one st
- 4 hdc
- (2 hdc in one st) * 2 times
- 2 hdc
- (2 hdc in one st) * 2 times
- 4 hdc
- 2 hdc in one st
- 1 hdc
- 2 sc
- 1 hdc
- 2 hdc in one st
- 2 hdc
Step 3: Second Row
Turn your work again to complete the curve of the letter C.
- Chain 2, then work the following across:
- 2 hdc in one st
- 4 hdc
- (2 hdc in one st) * 2 times
- 4 hdc
- 2 hdc in one st
- (1 hdc, 2 hdc in one st) * 2 times
- 6 hdc
- (2 hdc in one st, 1 hdc) * 2 times
- 2 hdc in one st
- 4 hdc
- (2 hdc in one st) * 2 times
- 4 hdc
- 2 hdc in one st
- Chain 1 to finish.
Assembly
The pattern instructions conclude with the completion of the applique. To finish:
- Weave in all loose ends using a darning needle.
- Block the applique lightly if needed to even out the stitches.
- Sew the letter C onto your chosen project, such as a hat, blanket, or pillow.
Tips
- Color Customization: You can make this applique with other colors or even multi-color yarns to create your own letters that match your decoration project more perfectly.
- Stitch Consistency: Pay close attention to the “behind the vertical bar” instruction in the foundation chain. This small detail significantly impacts the neatness of the final edge.
- Practice: If you are new to working behind the vertical bar, practice on a small scrap piece of yarn first to get the tension right.
FAQs
Is this pattern suitable for beginners?
Yes, the pattern is described as beginner-friendly and can be completed in about 15 minutes using basic stitches like single crochet and half double crochet.
What type of yarn works best for this applique?
The source suggests light purple cotton yarn, but any yarn weight that works with a 2.0 mm hook will work. Cotton is recommended for its stitch definition and durability.
Can I use this pattern to make other letters?
While this specific pattern is for the letter C, the principles of chaining and increasing can be adapted. The source mentions that patterns for other letters are available if you wish to create a full alphabet collection.
Why do I need to work behind the vertical bar in the chain?
Working behind the vertical bar creates a raised, structured edge that prevents the foundation from looking flat or loose. It adds a professional finish to the applique.
Do I need to join the ends of the rows?
The pattern instructions do not specify joining with a slip stitch at the end of rows, but you should weave in your ends securely when you finish the final row to prevent unraveling.
Pin This Crochet Pattern!