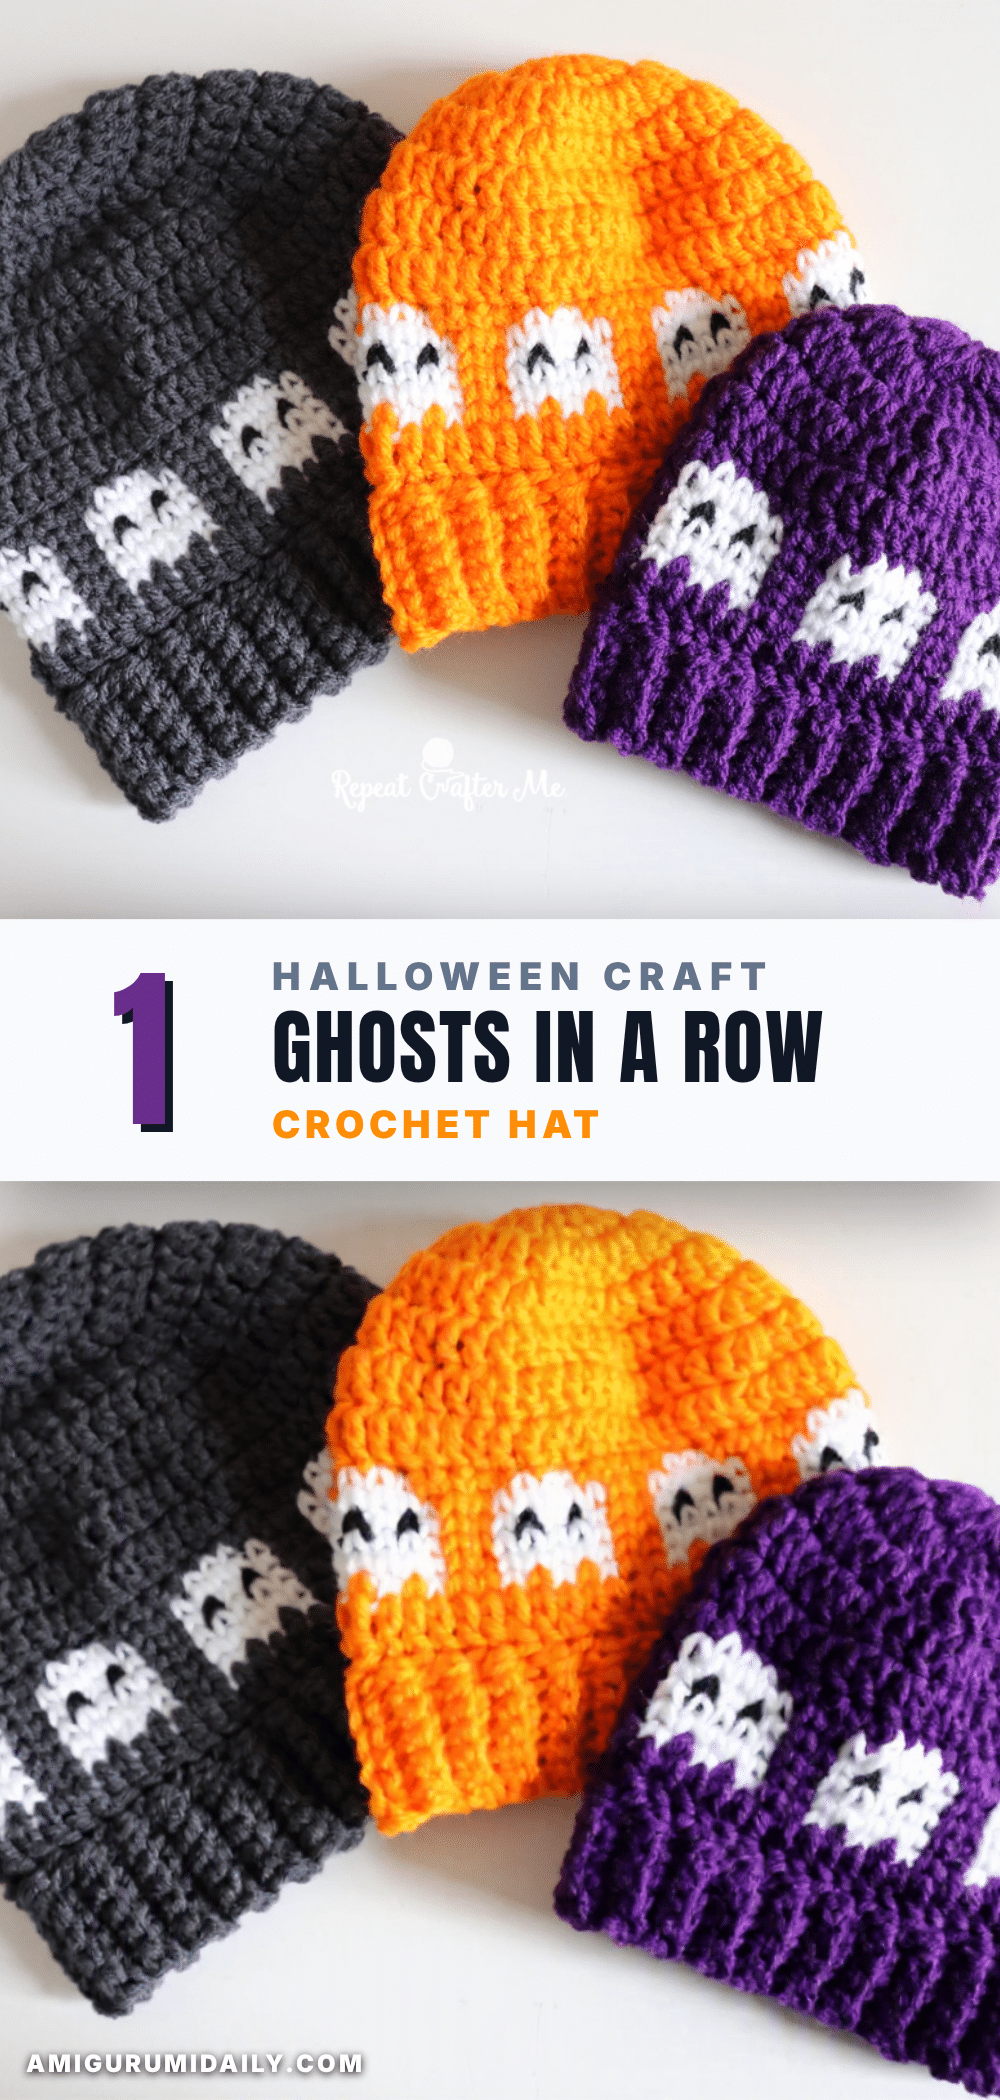
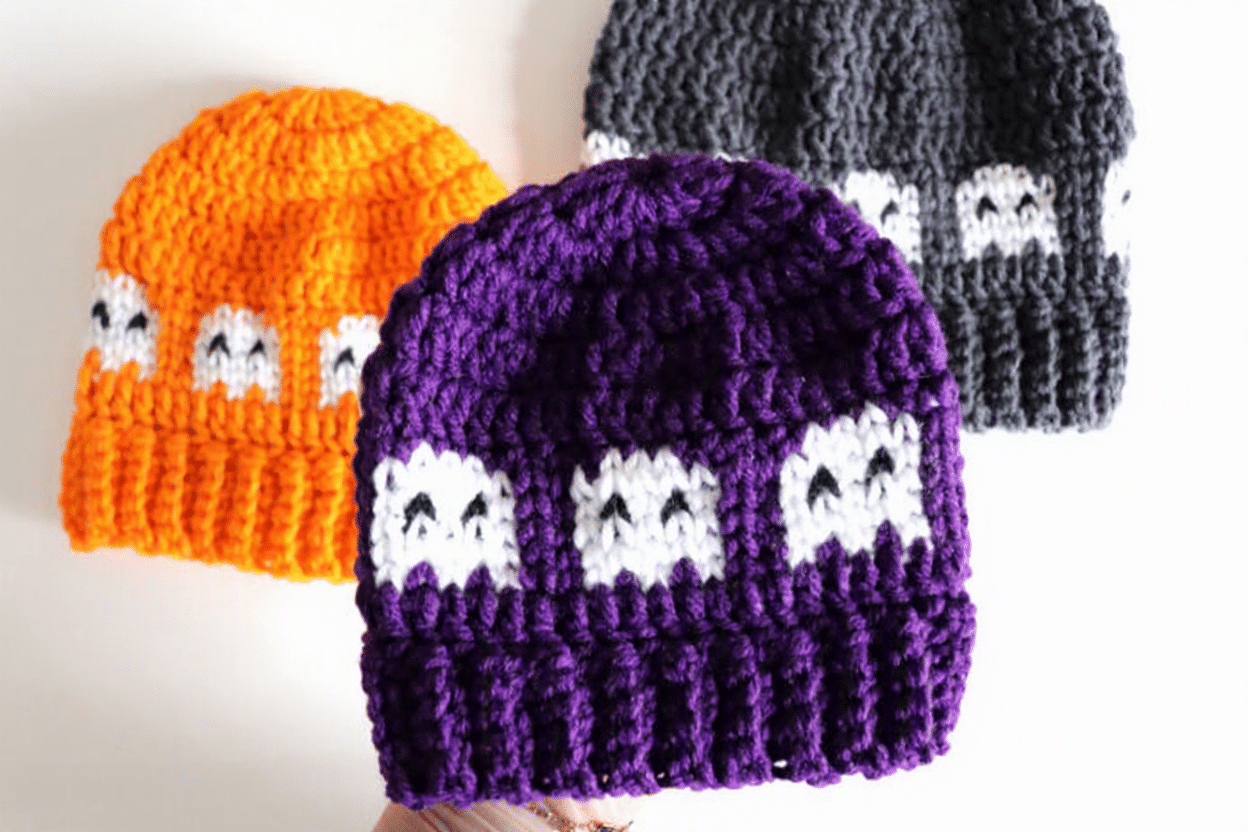
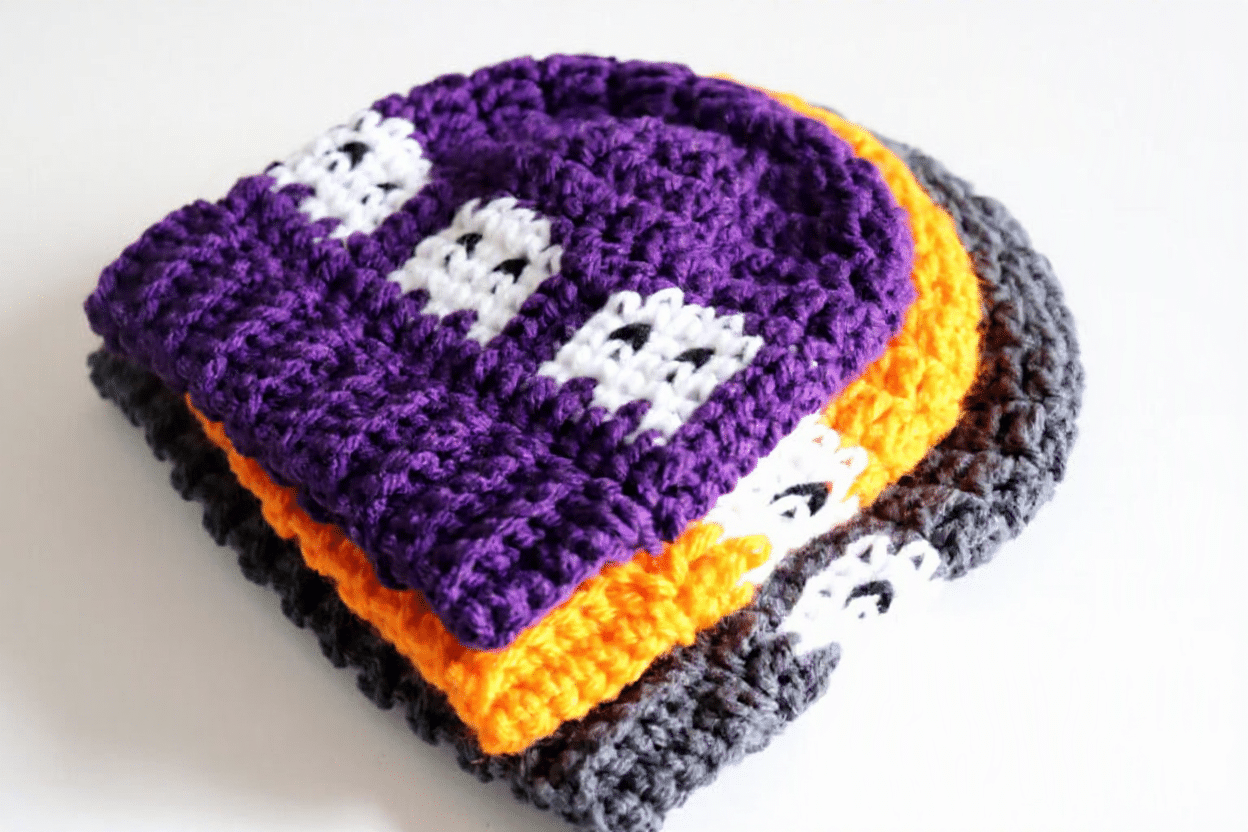
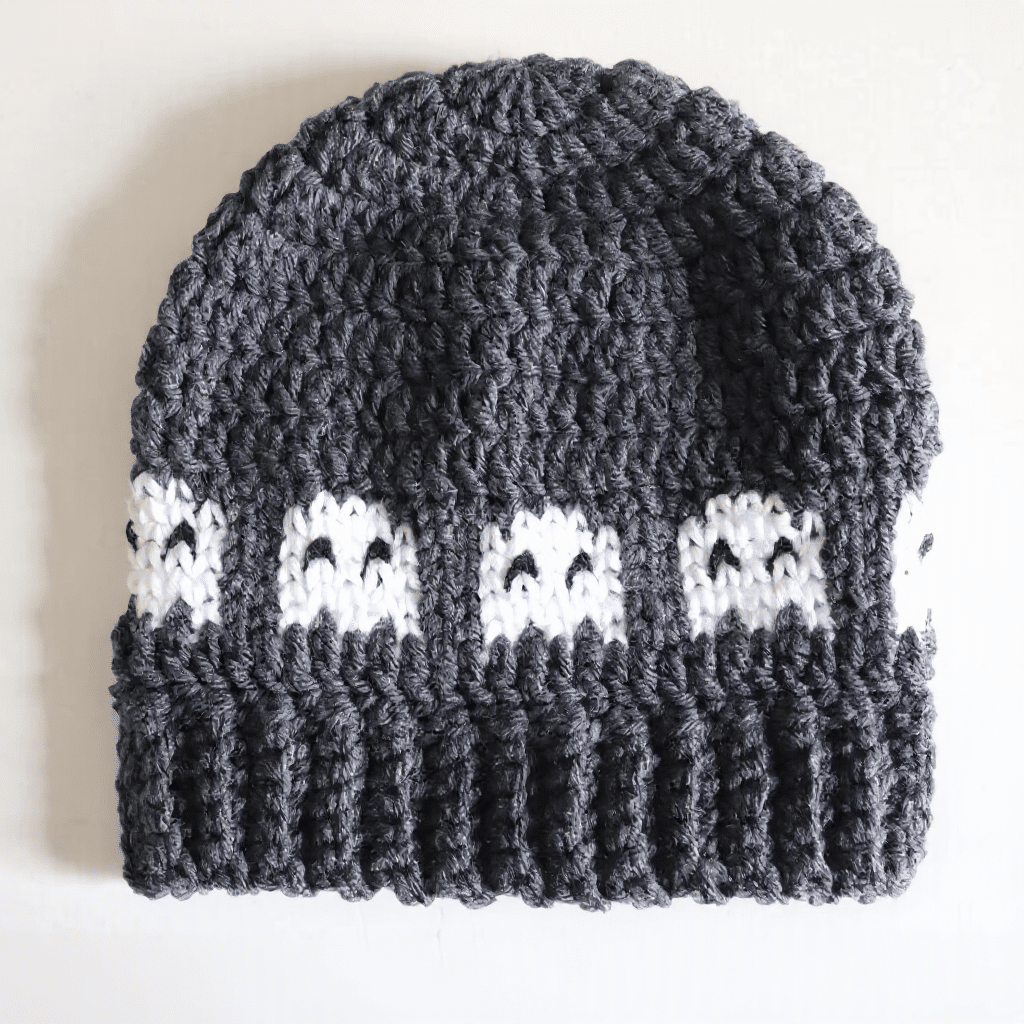
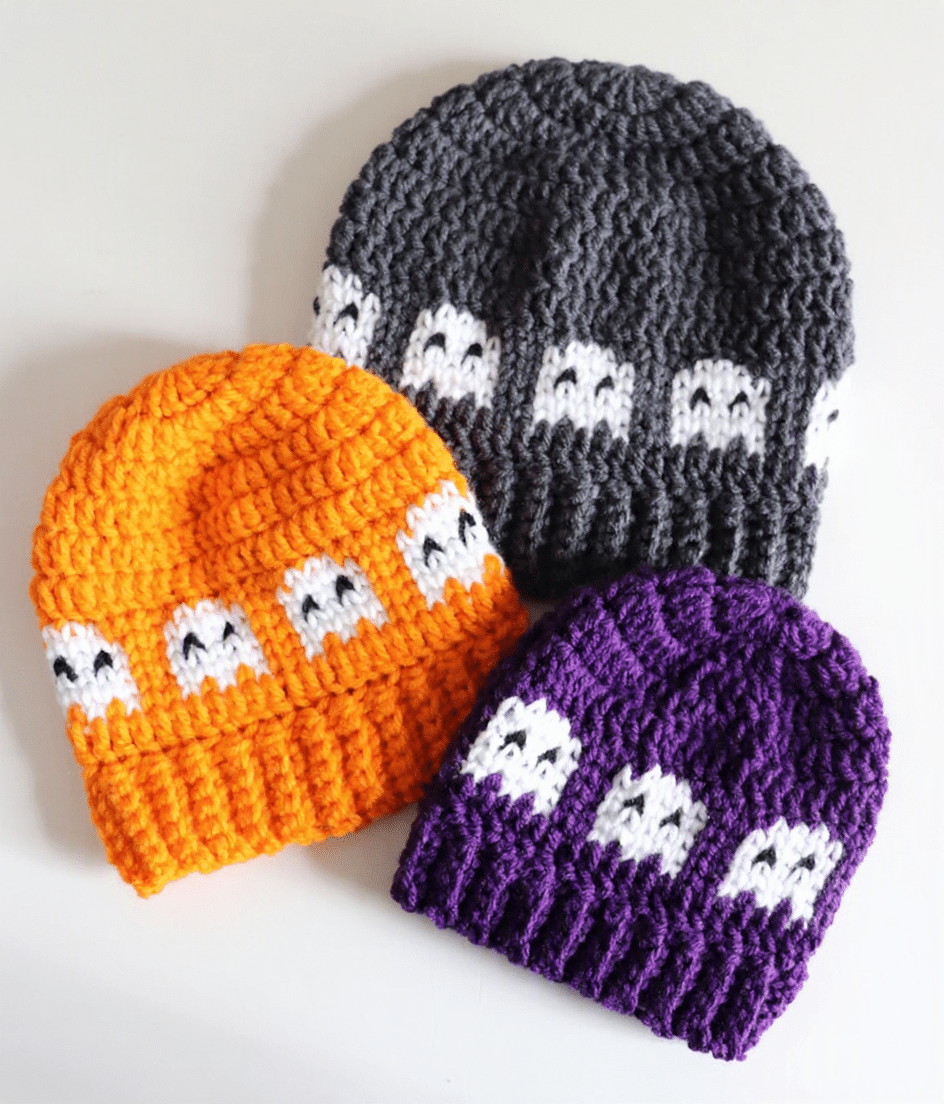
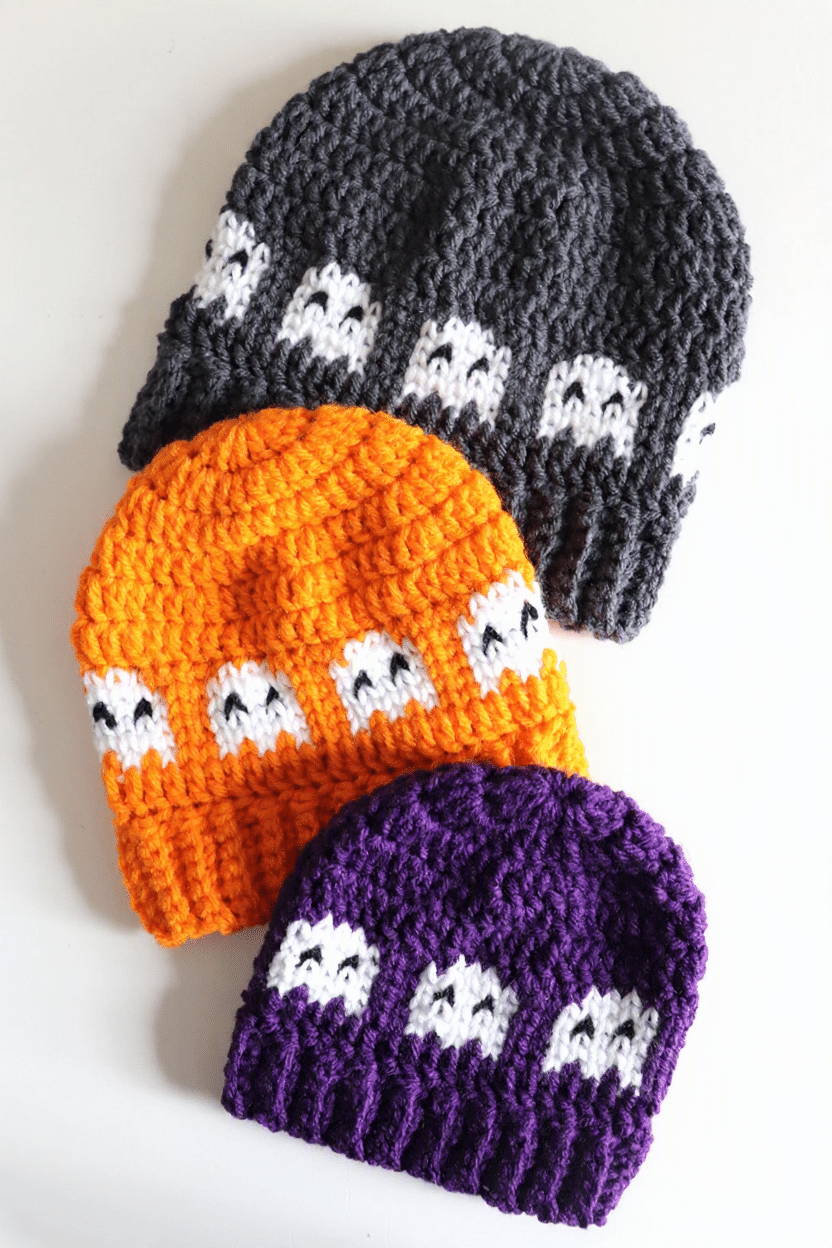
As the leaves turn and the air gets crisp, it is the perfect time to hook up a festive accessory for the season. The Ghosts in a Row Crochet Hat brings a playful touch to your Halloween wardrobe with a repeating design that is both spooky and sweet. This wearable project is worked from the top down, allowing for a comfortable fit, and features a unique waistcoat stitch technique that creates a smooth, knit-like texture perfect for colorwork. Whether you are making a gift for a little one or a cozy treat for yourself, this pattern offers multiple sizes to ensure a perfect fit for everyone.
Seasonal Styling Ideas
While the classic combination of white ghosts against a dark background is undeniably charming, this pattern is incredibly versatile for seasonal styling. The source suggests using Red Heart Super Saver in shades like Dark Orchid, Pumpkin, or Charcoal to capture the traditional Halloween spirit. However, the clean white bodies of the ghosts allow them to pop against almost any background hue. For a softer, autumnal look, try pairing the ghosts with a warm beige or soft grey background. If you are feeling adventurous, the creator notes that this design could easily be adapted for a Pac-Man theme or even a glow-in-the-dark version using specialty yarns. The ribbed border adds a finished, professional look that pairs well with fall scarves and jackets, making it a practical and stylish addition to your cold-weather rotation.
Project Overview
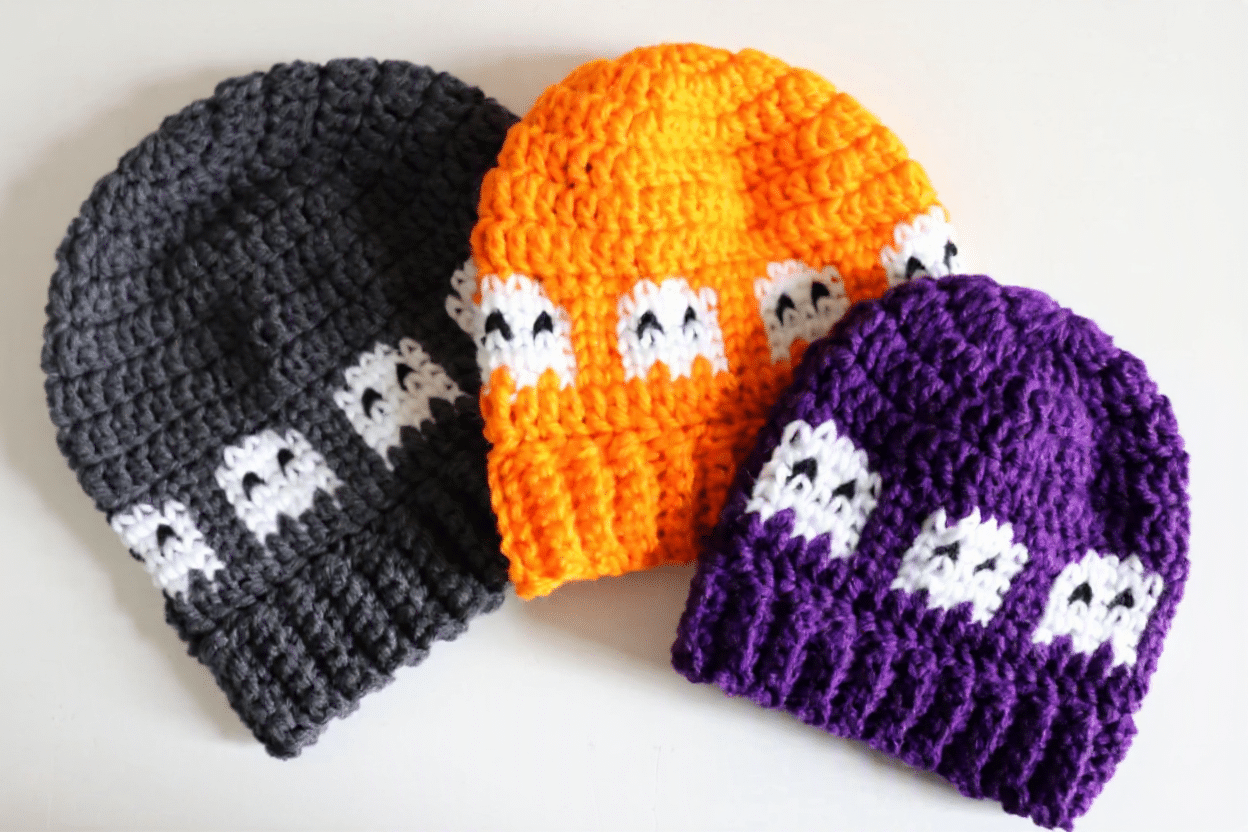
This hat is designed to be worked from the top down using double crochet for the crown and a waistcoat stitch for the ghost colorwork section. The design relies on a 7-stitch repeat, meaning each size adds one additional ghost to the row. The pattern includes instructions for five sizes, ranging from Baby to Adult, ensuring you can make a matching set for the whole family. The project utilizes a simple ribbed border technique that is crocheted directly onto the hat edge, eliminating the need for separate sewing.
Materials
- Red Heart Super Saver worsted weight yarn (or similar worsted weight yarn)
- Colors needed:
- Color A: Background color (e.g., Dark Orchid, Pumpkin, Charcoal)
- Color B: White (for ghost bodies)
- Color C: Black (small amount for eyes)
- Size H (5.0 mm) crochet hook, or hook needed to obtain desired size
- Tapestry needle
- Scissors
Gauge and Finished Size
Specific gauge measurements and finished circumference dimensions are not provided in the source pattern. The hat sizes are determined by the stitch counts listed in the pattern instructions below. It is recommended to use the hook size that allows you to achieve the stitch counts specified for your desired size.
Abbreviations
- CH = Chain
- DC = Double Crochet
- SC = Single Crochet
- WC SC = Waistcoat Single Crochet
- ST(S) = Stitch(es)
Pattern Notes
- Construction: This hat is worked from the top down.
- Stitch Usage: The main portion of the hat is crocheted in double crochet (DC). The waistcoat stitch is used only for the 6 rounds of ghost colorwork.
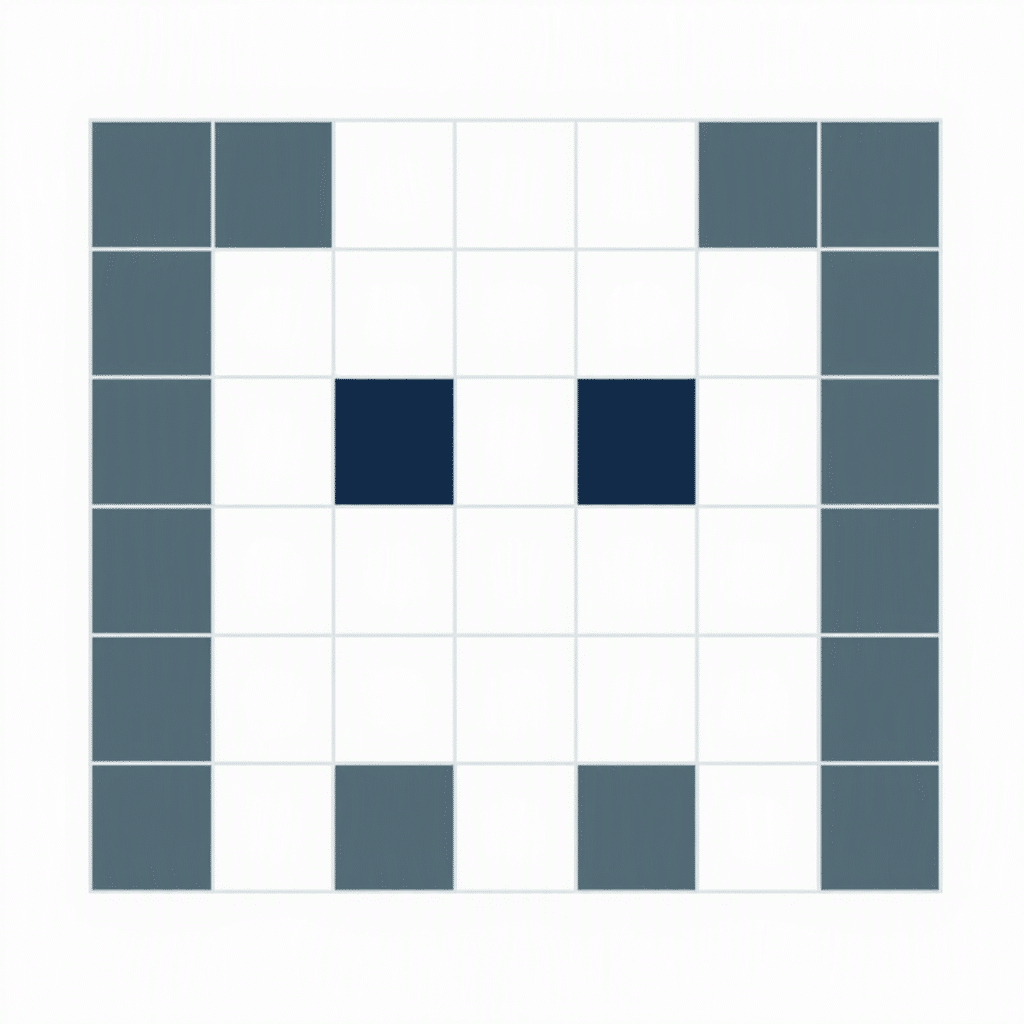
- Repeat: The ghost design has a 7-stitch repeat. Each size adds one additional 7-stitch repeat, which means one additional ghost per size.
- Reading the Graph: Because the hat is worked from the top down, you will work the ghost graph from the top of the graph to the bottom. Begin with Row 6 and work downward: Row 6 → Row 5 → Row 4 → Row 3 → Row 2 → Row 1. This creates the rounded top of the ghost first and finishes with the three little points along the bottom.
Waistcoat (Knit-Look) Stitch
If you can make a single crochet, you can make the waistcoat stitch! The secret is all in where you insert your hook. Instead of crocheting into the tops of the stitches, insert your hook into the center post of the stitch — right in the middle of the “V” you see on the front. Complete the stitch just like a regular single crochet. This creates a smooth, knit-look stitch that works especially well for the ghost graph because the stitches stack neatly on top of one another, making the little ghost shapes easy to see.
Tip: Keep your tension a little loose when working the waistcoat stitch. If your stitches are too tight, it can be difficult to insert your hook into the center of the V.
Pattern Instructions
Color Key:
Color A: Hat/background color
Color B: White
Color C: Black
Baby — 42 stitches (6 ghosts)
- Round 1: Magic Ring, chain 1 and make 14 DC in ring, join, chain 2. (14 DC)
- Round 2: 2 DC in each stitch around, join, chain 2. (28 DC)
- Round 3: 2 DC in first stitch, DC in next 3 stitches; repeat around, join, chain 2. (35 DC)
- Round 4: 2 DC in first stitch, DC in next 4 stitches; repeat around, join, chain 2. (42 DC)
- Round 5: DC in each stitch around, join, chain 1. (42 DC)
- Round 6-11: Work 6 rounds of the Ghost Graph using waistcoat stitch.
- Round 12: DC in each stitch around, join (42 DC)
- Work ribbing.
Toddler/Preschool — 49 stitches (7 ghosts)
- Round 1: Magic Ring, chain 1 and make 14 DC in ring, join, chain 2. (14 DC)
- Round 2: 2 DC in each stitch around, join, chain 2. (28 DC)
- Round 3: 2 DC in first stitch, DC in next 3 stitches; repeat around, join, chain 2. (35 DC)
- Round 4: 2 DC in first stitch, DC in next 4 stitches; repeat around, join, chain 2. (42 DC)
- Round 5: 2 DC in first stitch, DC in next 5 stitches; repeat around, join, chain 2. (49 DC)
- Round 6: DC in each stitch around, join, chain 1. (49 DC)
- Round 7-12: Work 6 rounds of the Ghost Graph using waistcoat stitch.
- Round 13: DC in each stitch around, join (49 DC)
- Work ribbing.
Child — 56 stitches (8 ghosts)
- Round 1: Magic Ring, chain 1 and make 14 DC in ring, join, chain 2. (14 DC)
- Round 2: 2 DC in each stitch around, join, chain 2. (28 DC)
- Round 3: 2 DC in first stitch, DC in next 3 stitches; repeat around, join, chain 2. (35 DC)
- Round 4: 2 DC in first stitch, DC in next 4 stitches; repeat around, join, chain 2. (42 DC)
- Round 5: 2 DC in first stitch, DC in next 5 stitches; repeat around, join, chain 2. (49 DC)
- Round 6: 2 DC in first stitch, DC in next 6 stitches; repeat around, join, chain 2. (56 DC)
- Round 7-8: DC in each stitch around, join, chain 1. (56 DC)
- Round 9-14: Work 6 rounds of the Ghost Graph using waistcoat stitch.
- Round 15: DC in each stitch around, join (56 DC)
- Work ribbing.
Teen — 63 stitches (9 ghosts)
- Round 1: Magic Ring, chain 1 and make 14 DC in ring, join, chain 2. (14 DC)
- Round 2: 2 DC in each stitch around, join, chain 2. (28 DC)
- Round 3: 2 DC in first stitch, DC in next 3 stitches; repeat around, join, chain 2. (35 DC)
- Round 4: 2 DC in first stitch, DC in next 4 stitches; repeat around, join, chain 2. (42 DC)
- Round 5: 2 DC in first stitch, DC in next 5 stitches; repeat around, join, chain 2. (49 DC)
- Round 6: 2 DC in first stitch, DC in next 6 stitches; repeat around, join, chain 2. (56 DC)
- Round 7: 2 DC in first stitch, DC in next 7 stitches; repeat around, join, chain 2. (63 DC)
- Round 8-9: DC in each stitch around, join, chain 1. (63 DC)
- Round 10 -15: Work 6 rounds of the Ghost Graph using waistcoat stitch.
- Round 16: DC in each stitch around, join, chain 1. (63 DC)
- Work ribbing.
Adult — 70 stitches (10 ghosts)
- Round 1: Magic Ring, chain 1 and make 14 DC in ring, join, chain 2. (14 DC)
- Round 2: 2 DC in each stitch around, join, chain 2. (28 DC)
- Round 3: 2 DC in first stitch, DC in next 3 stitches; repeat around, join, chain 2. (35 DC)
- Round 4: 2 DC in first stitch, DC in next 4 stitches; repeat around, join, chain 2. (42 DC)
- Round 5: 2 DC in first stitch, DC in next 5 stitches; repeat around, join, chain 2. (49 DC)
- Round 6: 2 DC in first stitch, DC in next 6 stitches; repeat around, join, chain 2. (56 DC)
- Round 7: 2 DC in first stitch, DC in next 7 stitches; repeat around, join, chain 2. (63 DC)
- Round 8: 2 DC in first stitch, DC in next 8 stitches; repeat around, join, chain 2. (70 DC)
- Round 9-11: DC in each stitch around, join, chain 1. (70 DC)
- Round 12-17: Work 6 rounds of the Ghost Graph using waistcoat stitch.
- Round 18: DC in each stitch around, join, chain 1. (70 DC)
- Work ribbing.
Assembly
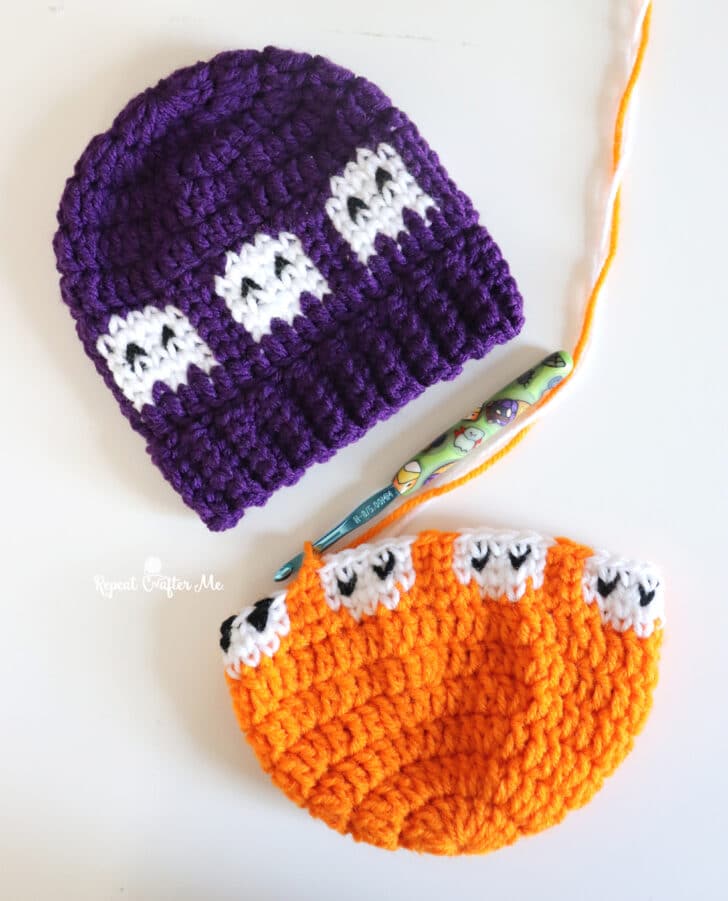
Finish the Hat with a Ribbed Border: Please be sure and watch the tutorial from Daisy Farm Crafts on how to make a single crochet ribbed border. I love this technique because you don’t need to sew the ribbing on separately, it is crochet right onto the edge of the hat! It’s basically a chain 7 (or however long/short your want your ribbed border), SC in each chain until you get back to the hat edge, slip stitch in two stitches along the hat edge and then SC in the back loops of the ribbing and repeat. She has a VERY easy tutorial to follow and you can use this border on many different projects. When you’ve finished the ribbed border along the edge of the hat you can slip stitch the seam together. Fasten off and weave in all ends.
Tips
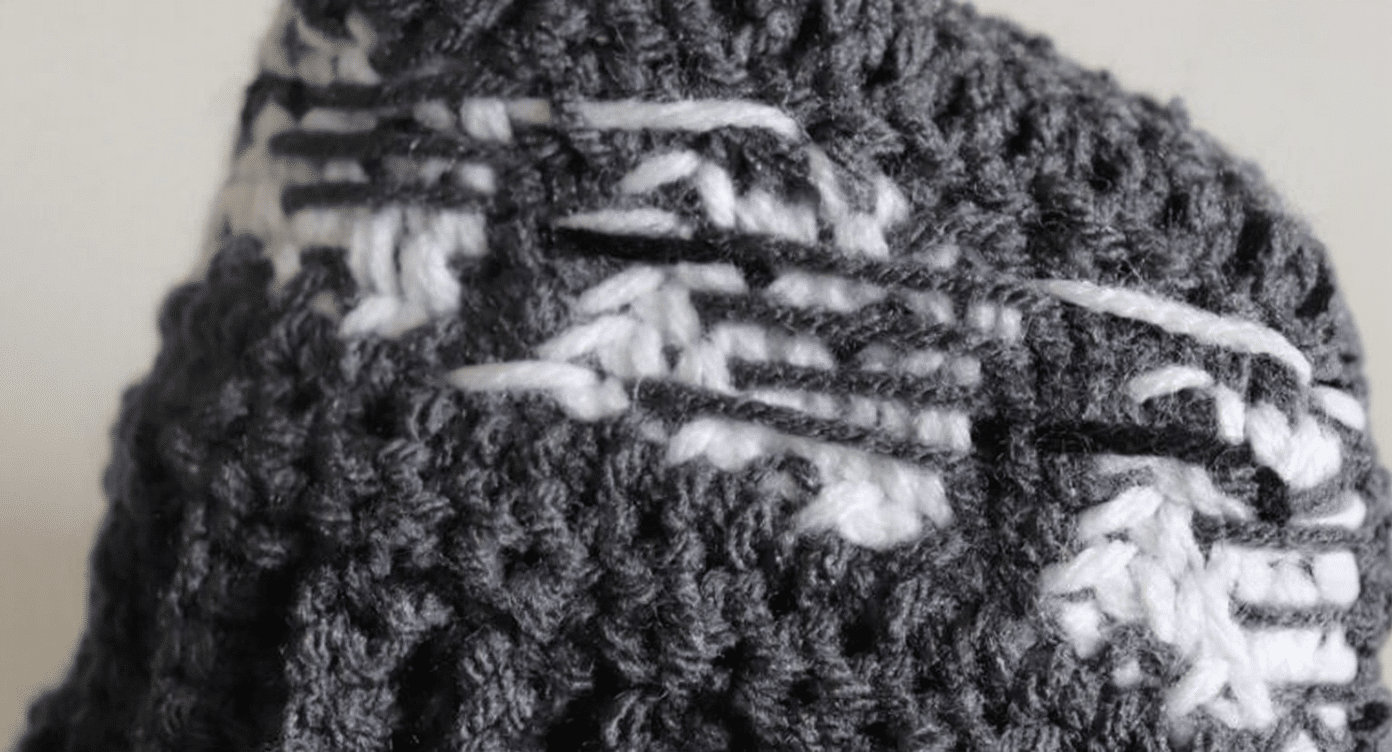
Carrying Your Yarn: When working the ghost graph, I chose not to carry the unused yarn through the stitches. Because the ghosts are white and the background colors are much darker or brighter, I found that carrying the background yarn inside the white stitches allowed some of that color to show through. Instead, I carried (or “floated”) the unused yarn loosely along the back of the work, picking it back up when it was needed for the next color change. Be careful not to pull your floats too tightly! You want them to lie loosely across the inside of the hat so they don’t cause the fabric to pucker or affect the stretch of the hat. The inside won’t look quite as tidy as the outside and that’s okay! The floats stay hidden inside the finished hat while keeping the white ghosts looking crisp and bright on the outside.
FAQs
How do I know which size to make?
The pattern provides five sizes based on stitch counts: Baby (42 stitches), Toddler/Preschool (49 stitches), Child (56 stitches), Teen (63 stitches), and Adult (70 stitches). Since gauge is not specified, measure the head circumference of the recipient and compare it to the stitch counts to determine the best fit.
What is the waistcoat stitch?
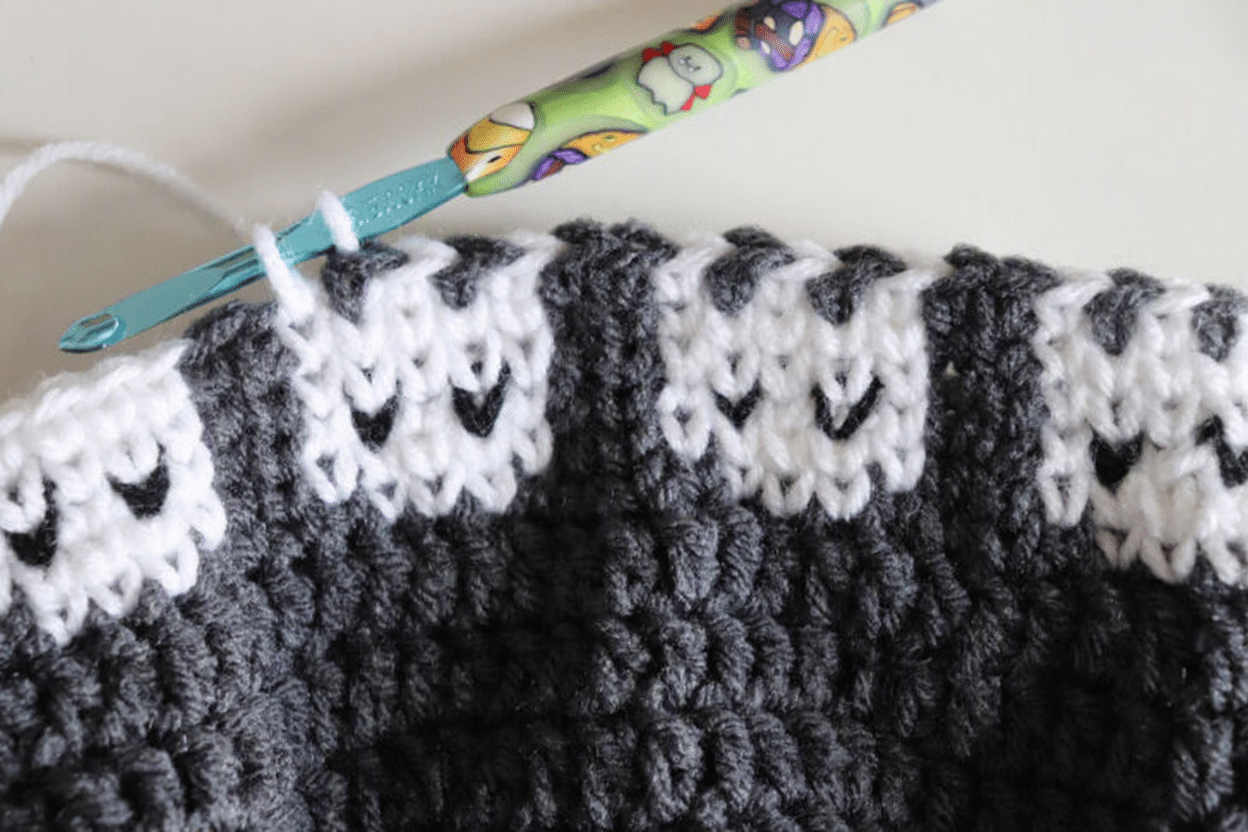
The waistcoat stitch, also known as the knit-look stitch, is worked by inserting your hook into the center post of the stitch below (the “V” of the previous row) rather than into the top loops. This creates a smooth, vertical texture that resembles knitting.
Do I need to carry the yarn for the ghost eyes?
For the black eyes, you will need to cut the yarn or weave in ends as the eyes are small details. The pattern advises floating the background color yarn loosely along the back of the work during the white ghost rounds to prevent color show-through, but for the black eyes, standard color change techniques apply.
Can I use a different yarn?
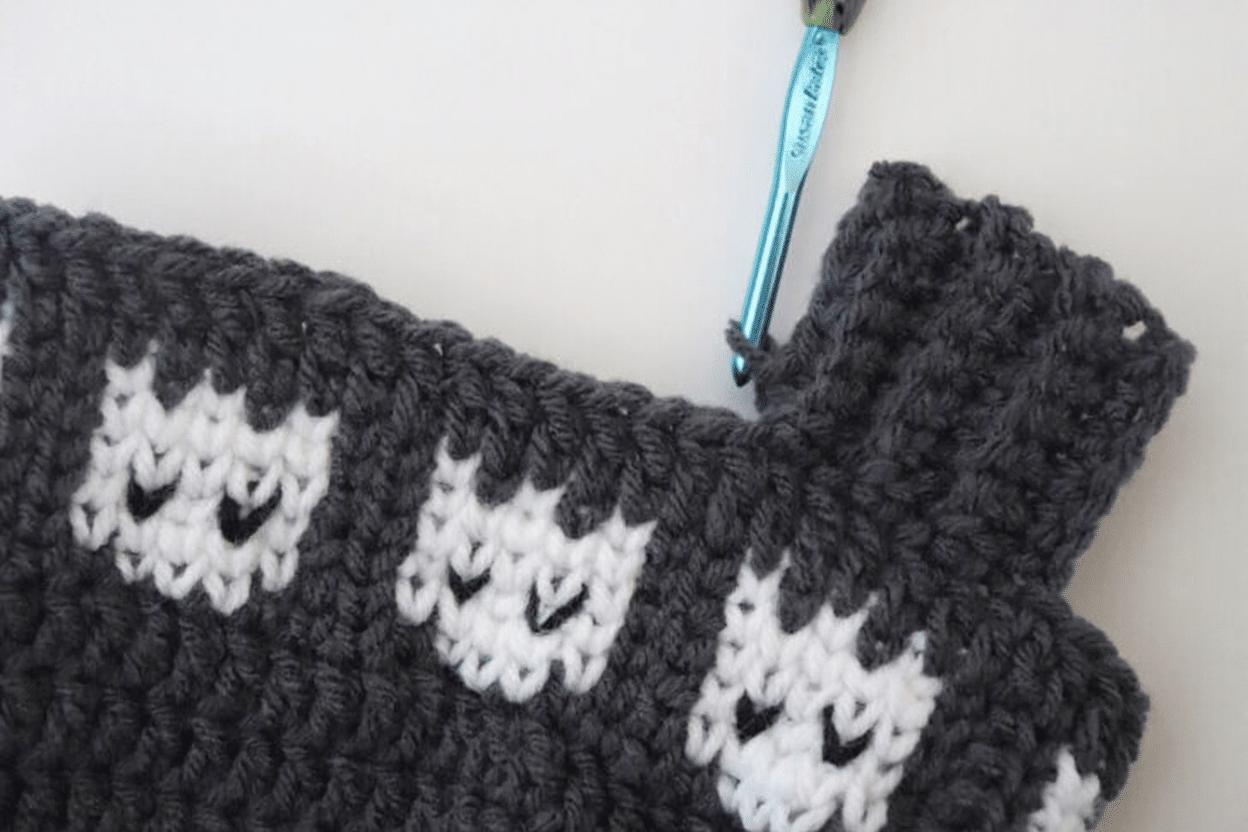
Yes, you can use any worsted weight yarn. The source recommends Red Heart Super Saver for its durability and color variety, but any brand in the same weight category will work.
How do I read the ghost graph?
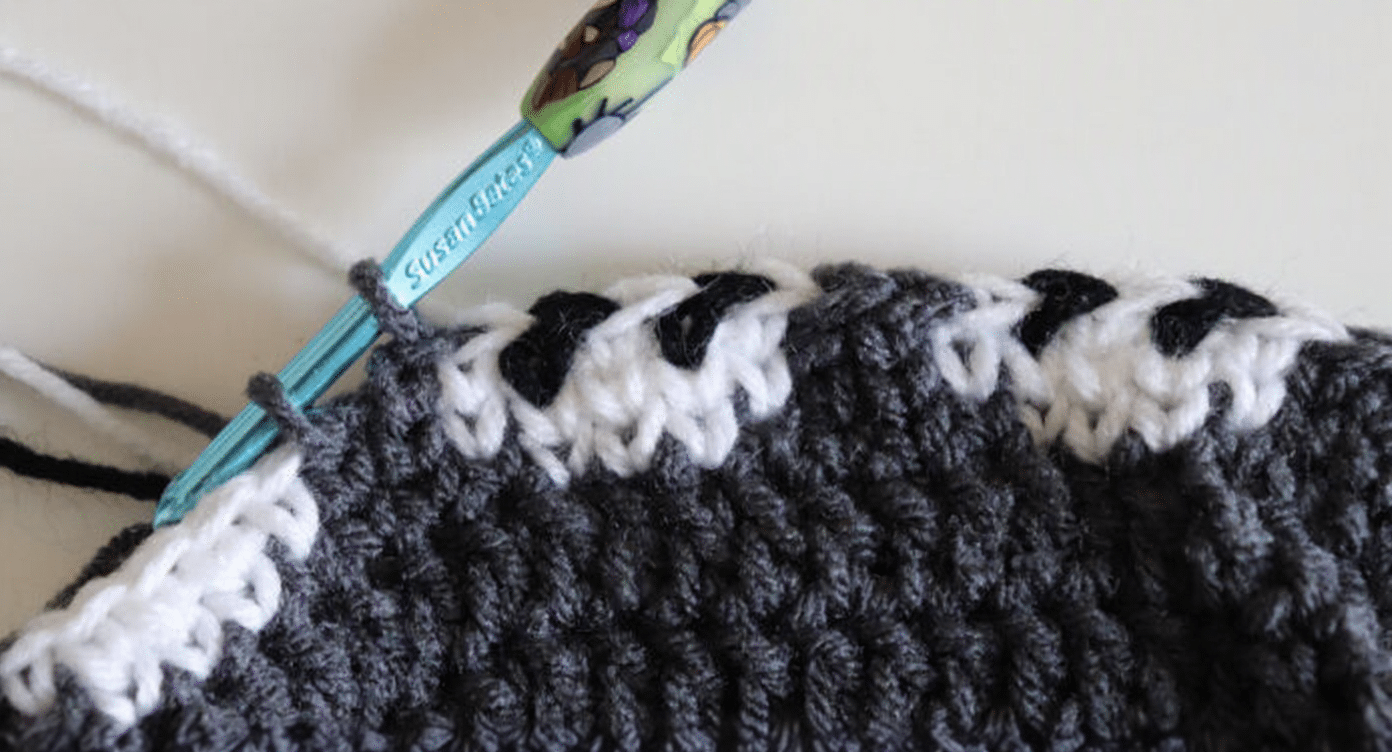
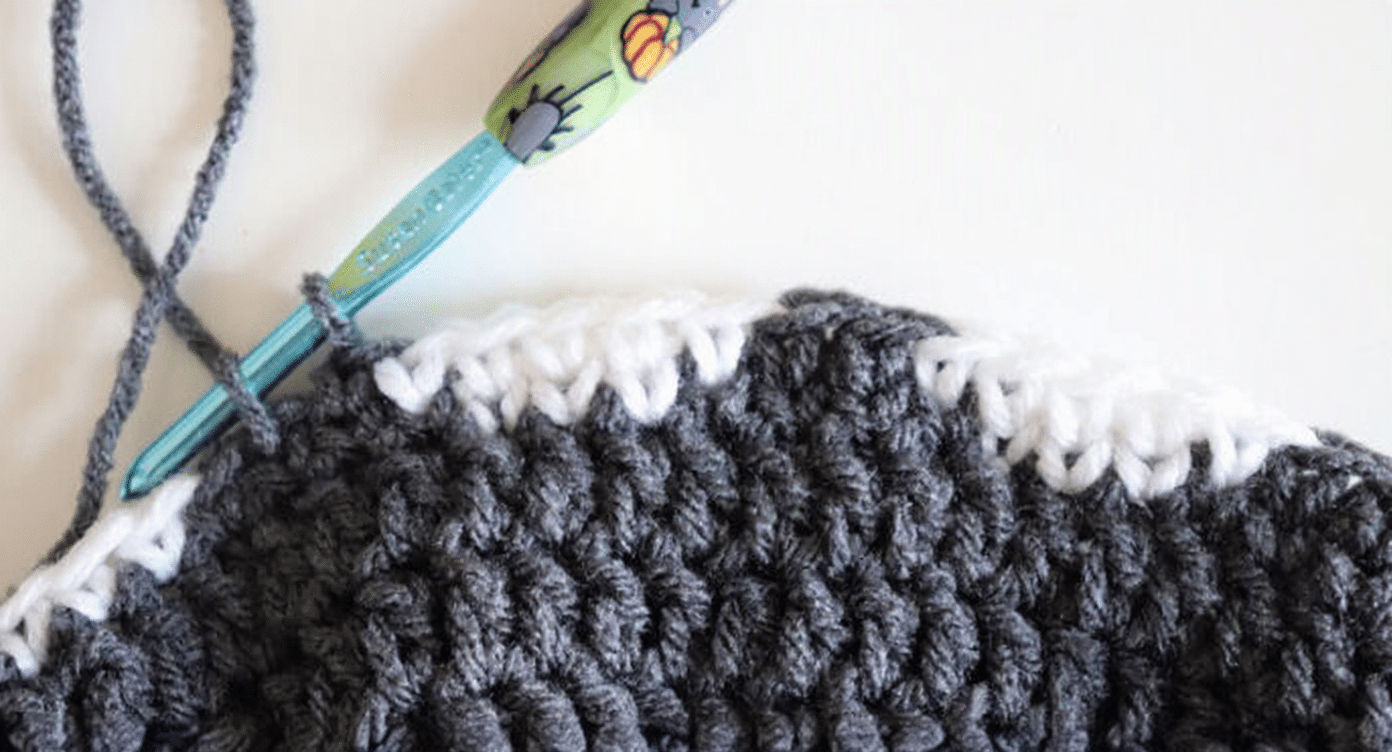
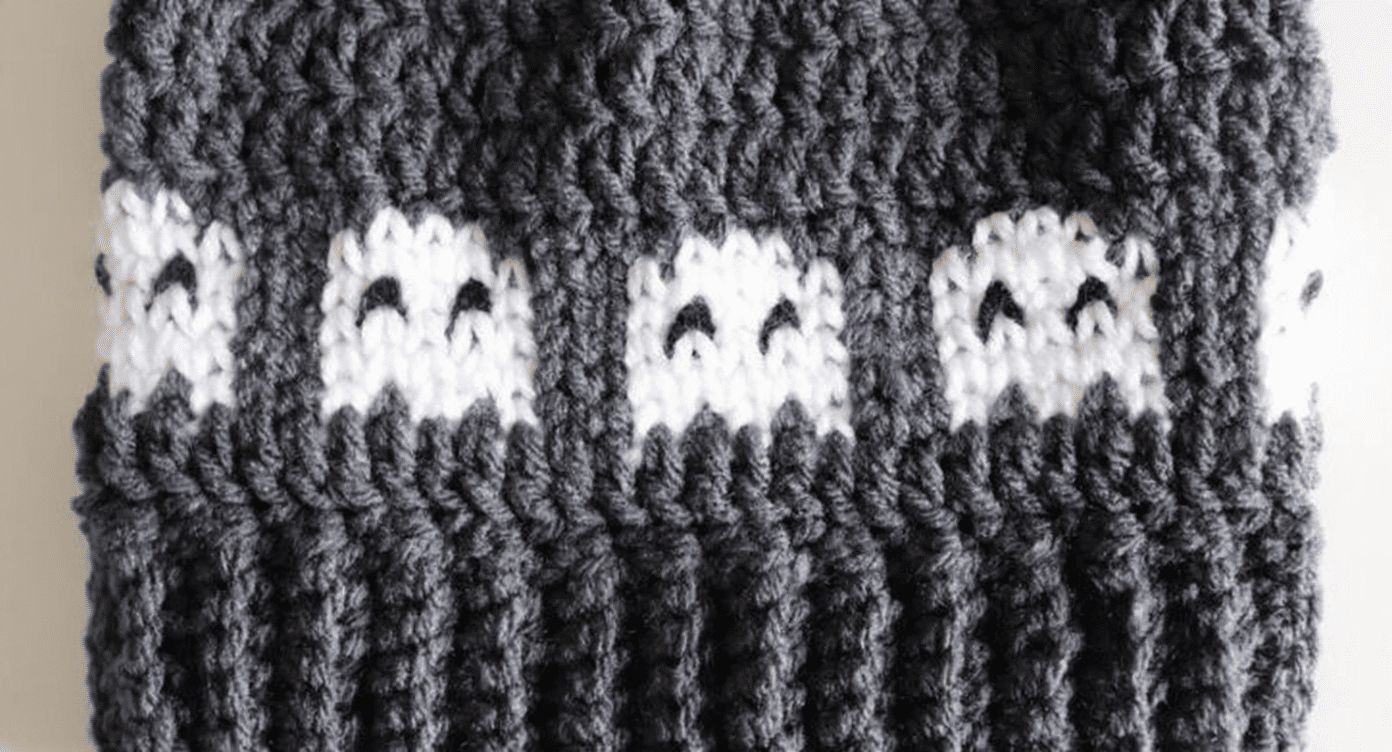
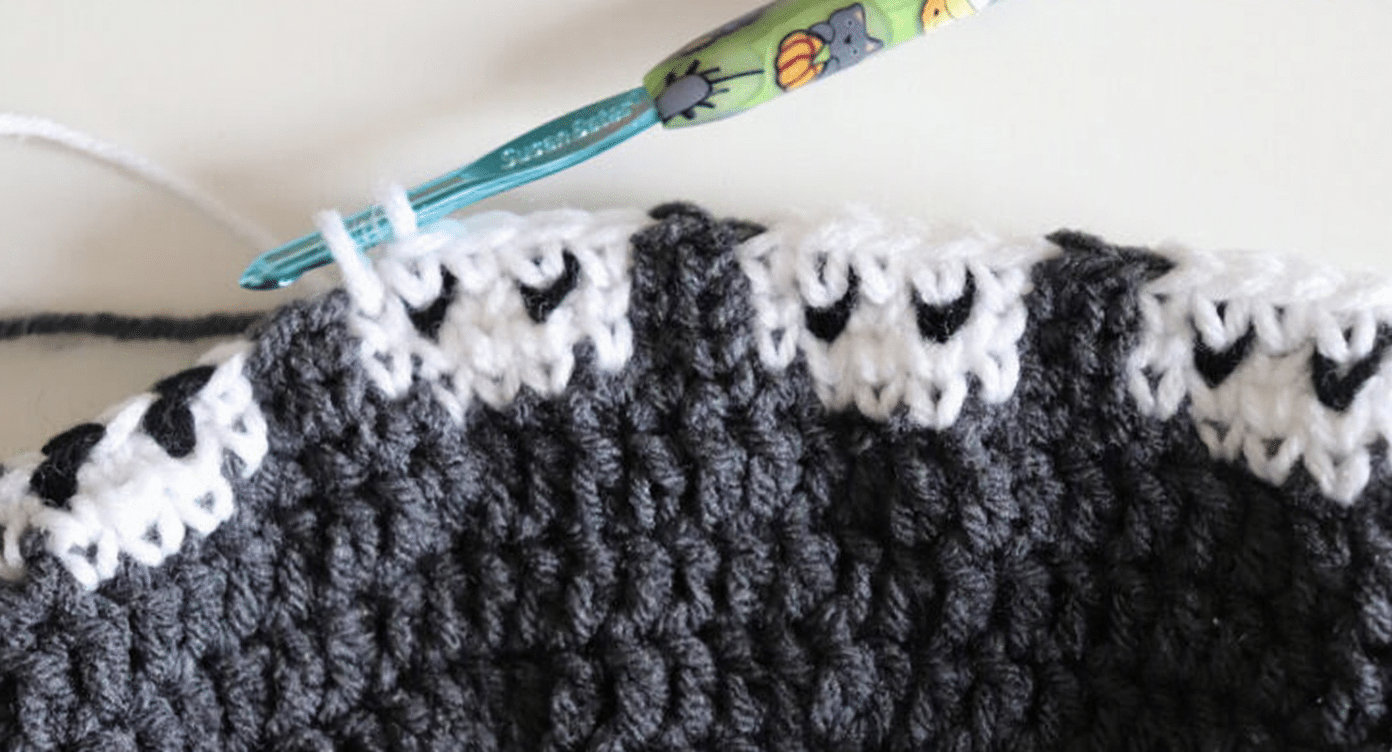
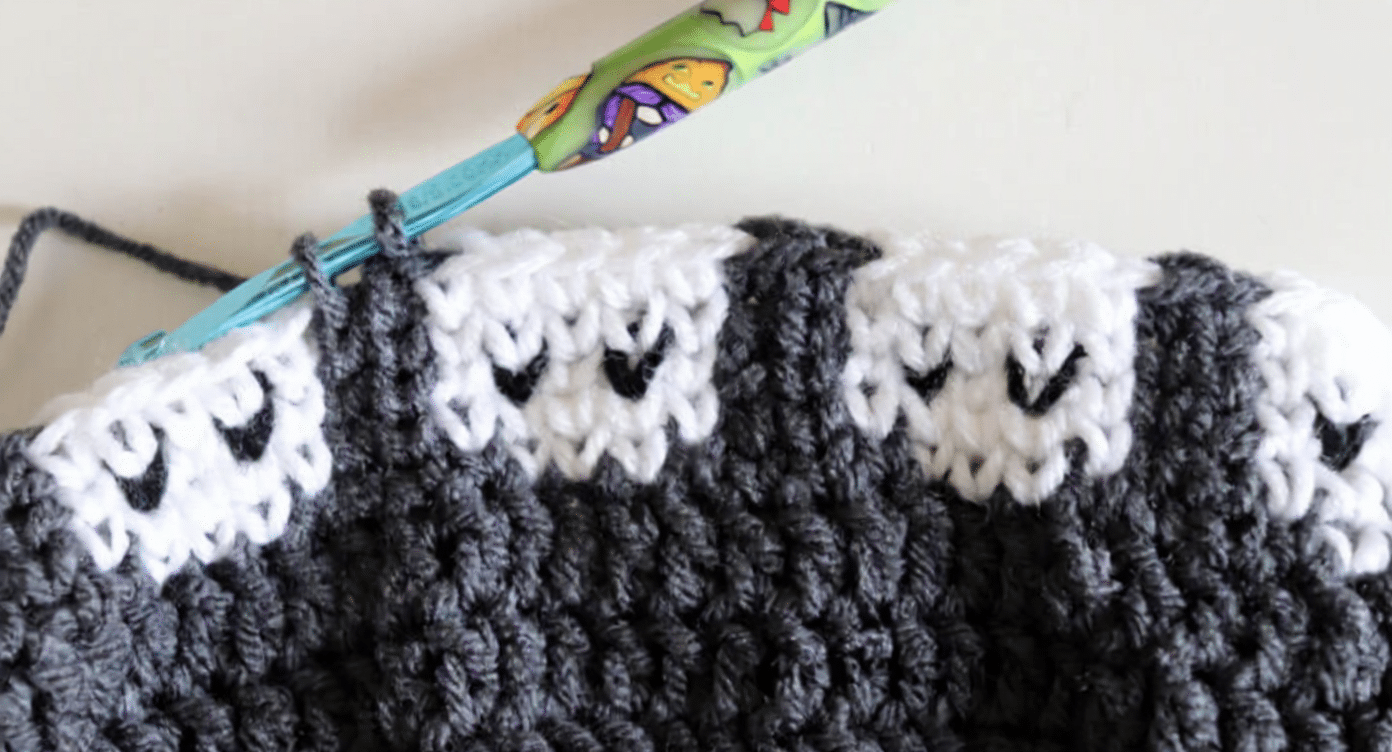
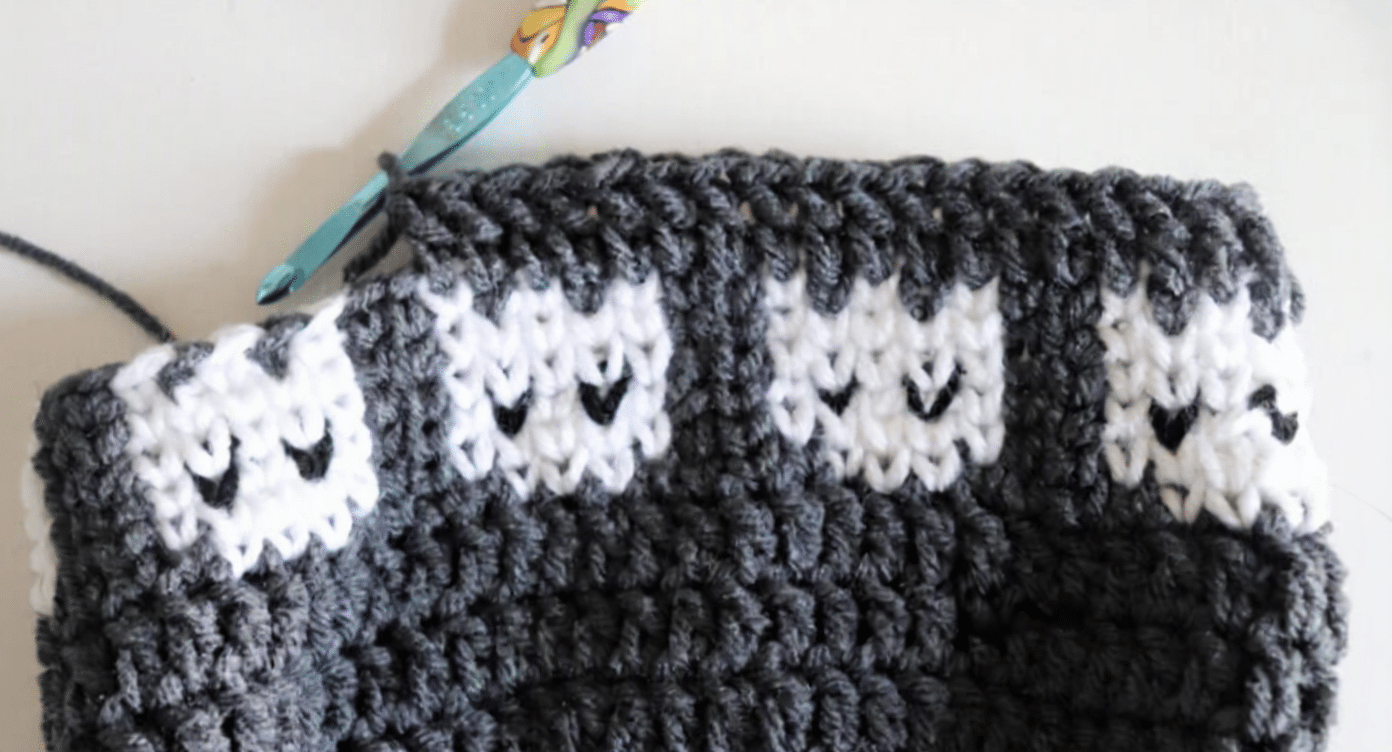
Because the hat is worked from the top down, you must read the graph from the top row to the bottom row. Start with Row 6 of the graph and work down to Row 1. This ensures the rounded top of the ghost is formed first, followed by the body and feet.
If you enjoy making wearable accessories, you might also like exploring these Halloween pumpkin bouquets or checking out our easy bat patterns for more festive crafting ideas.
Pin This Crochet Pattern!