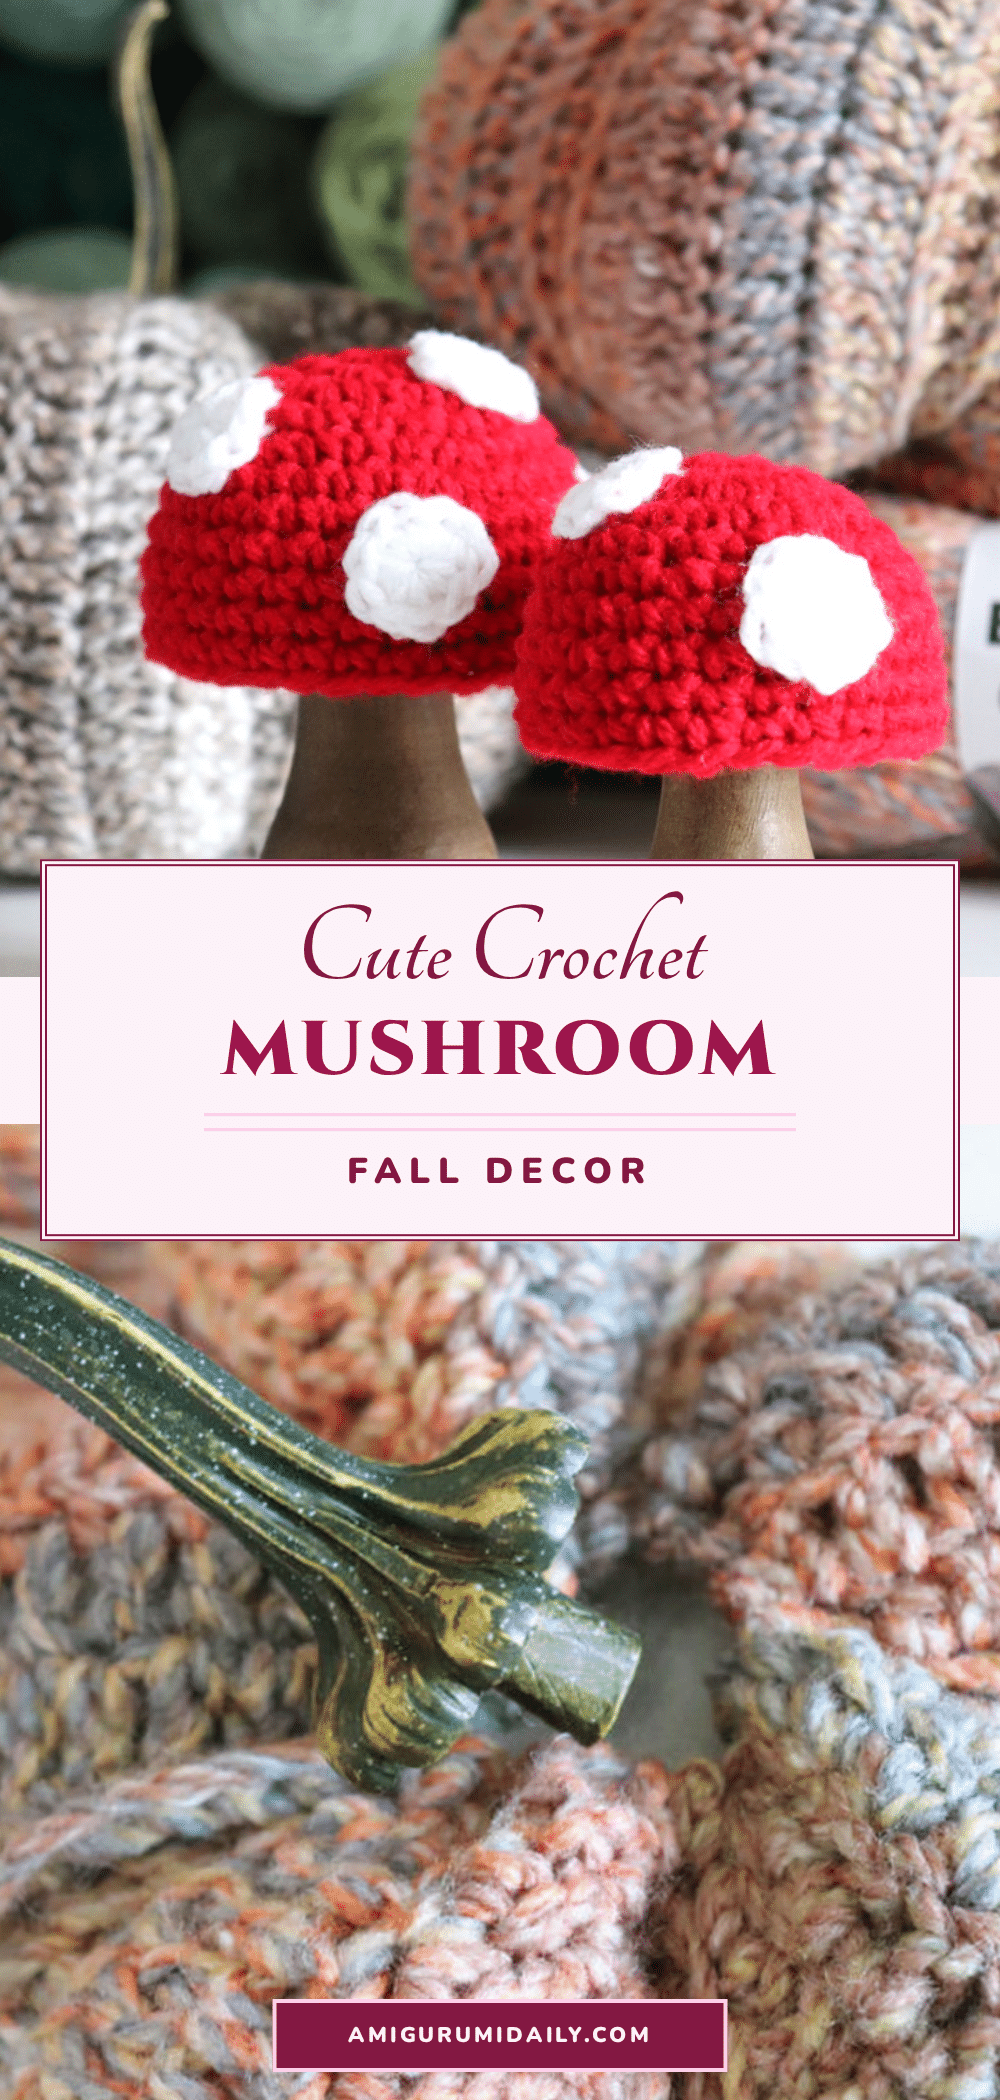
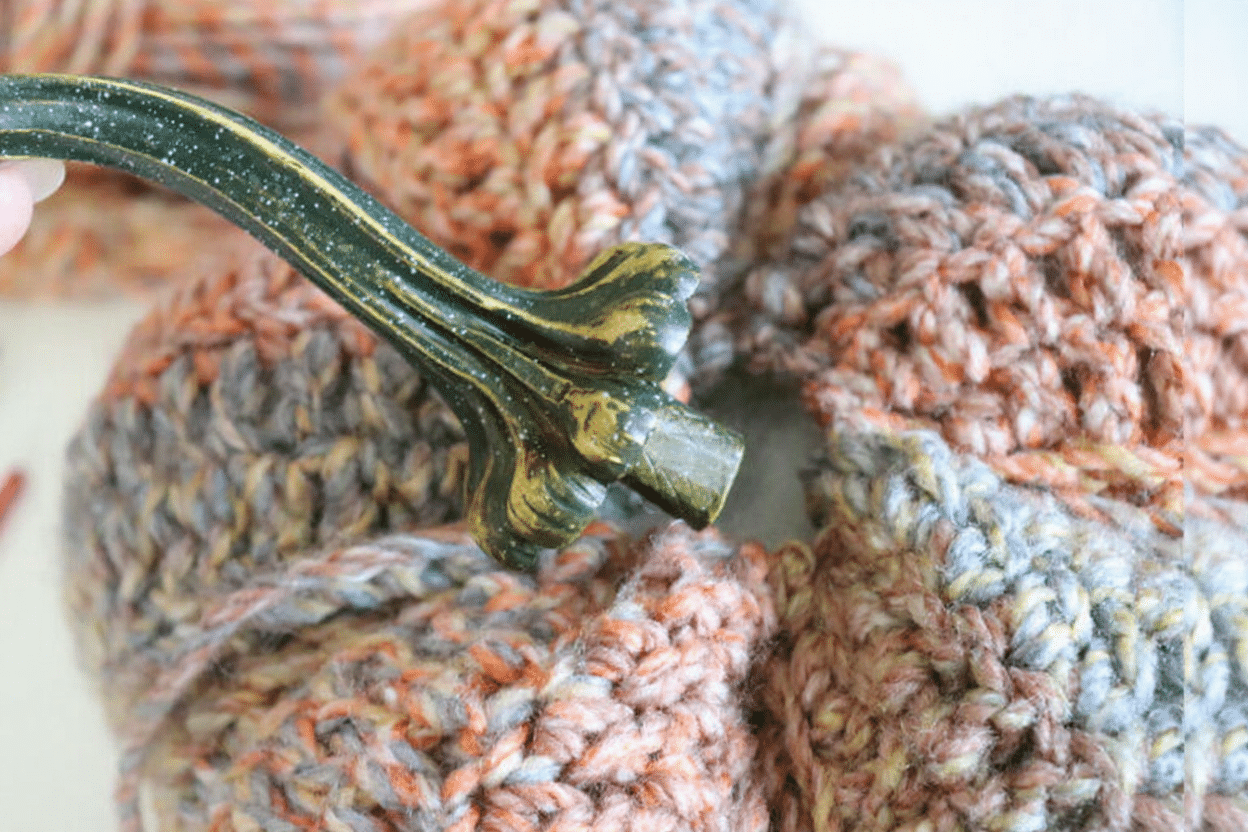
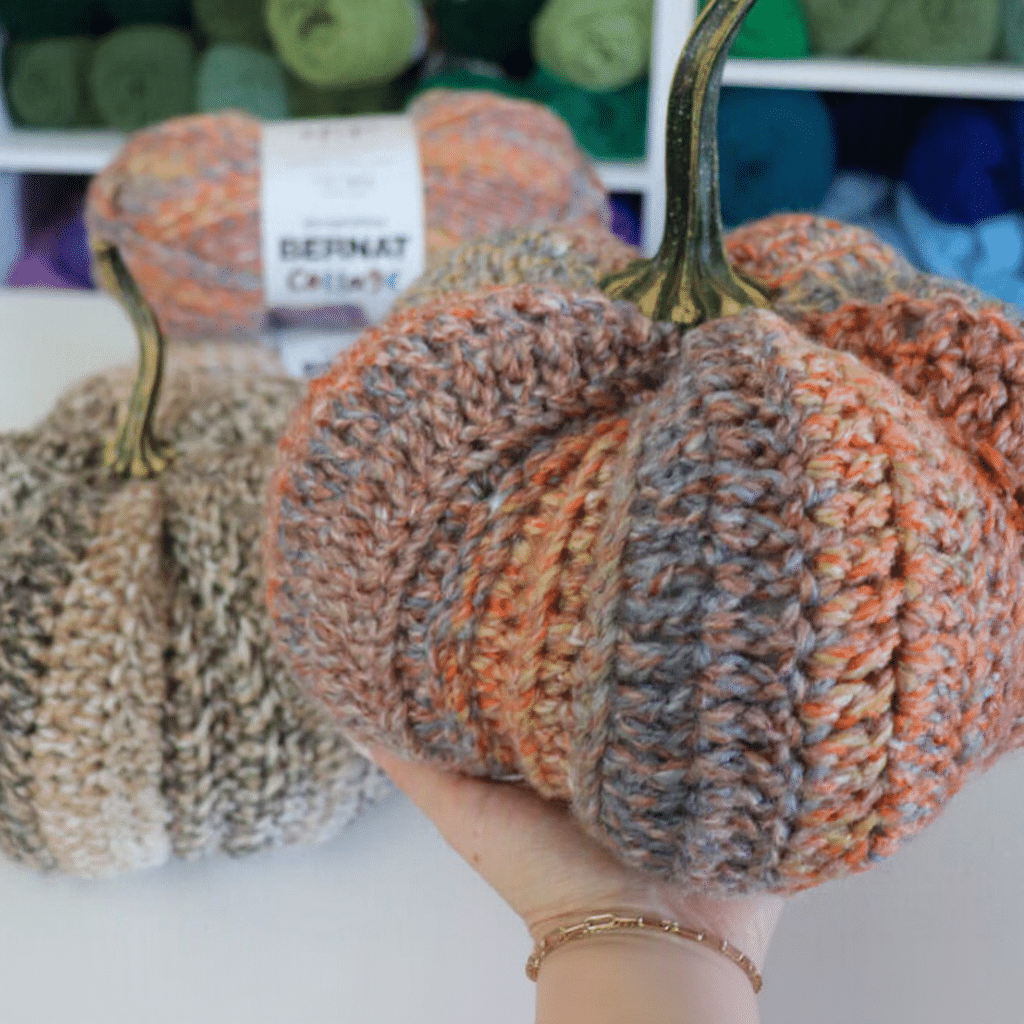
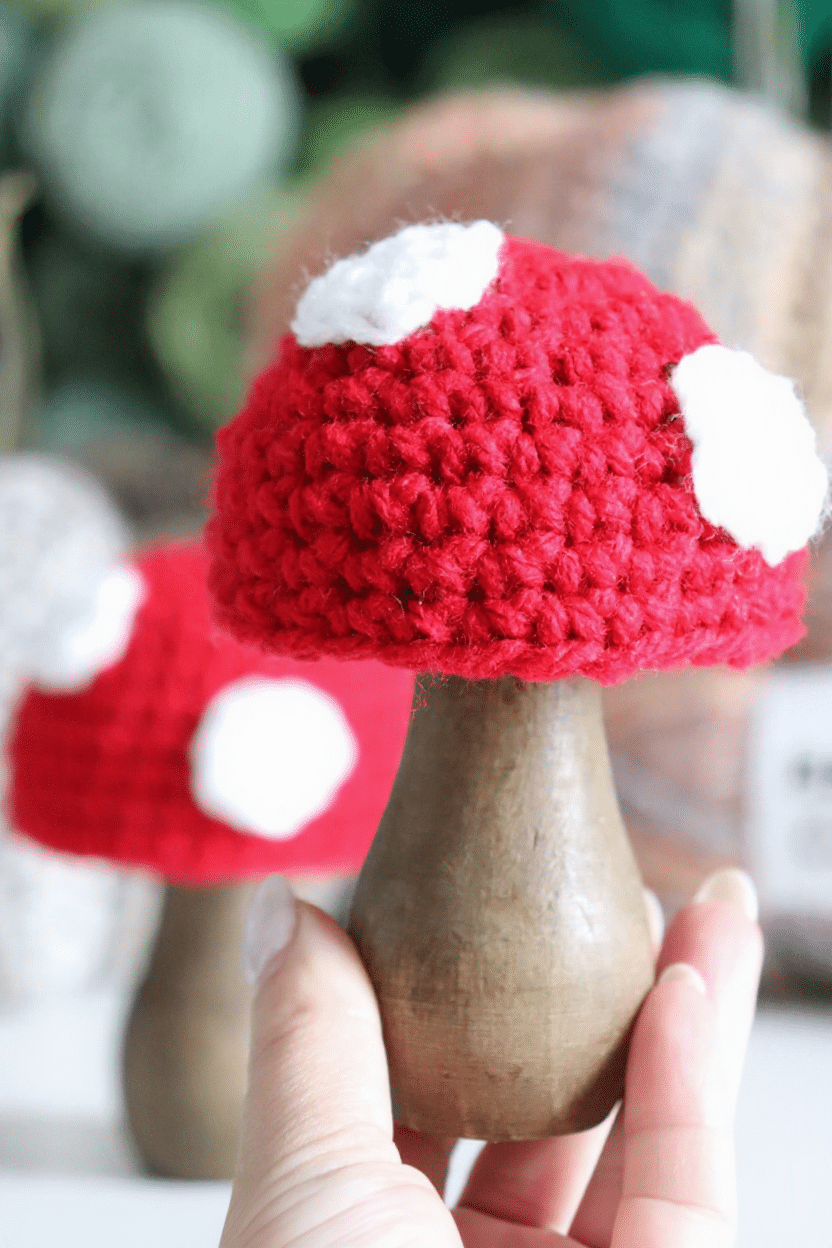
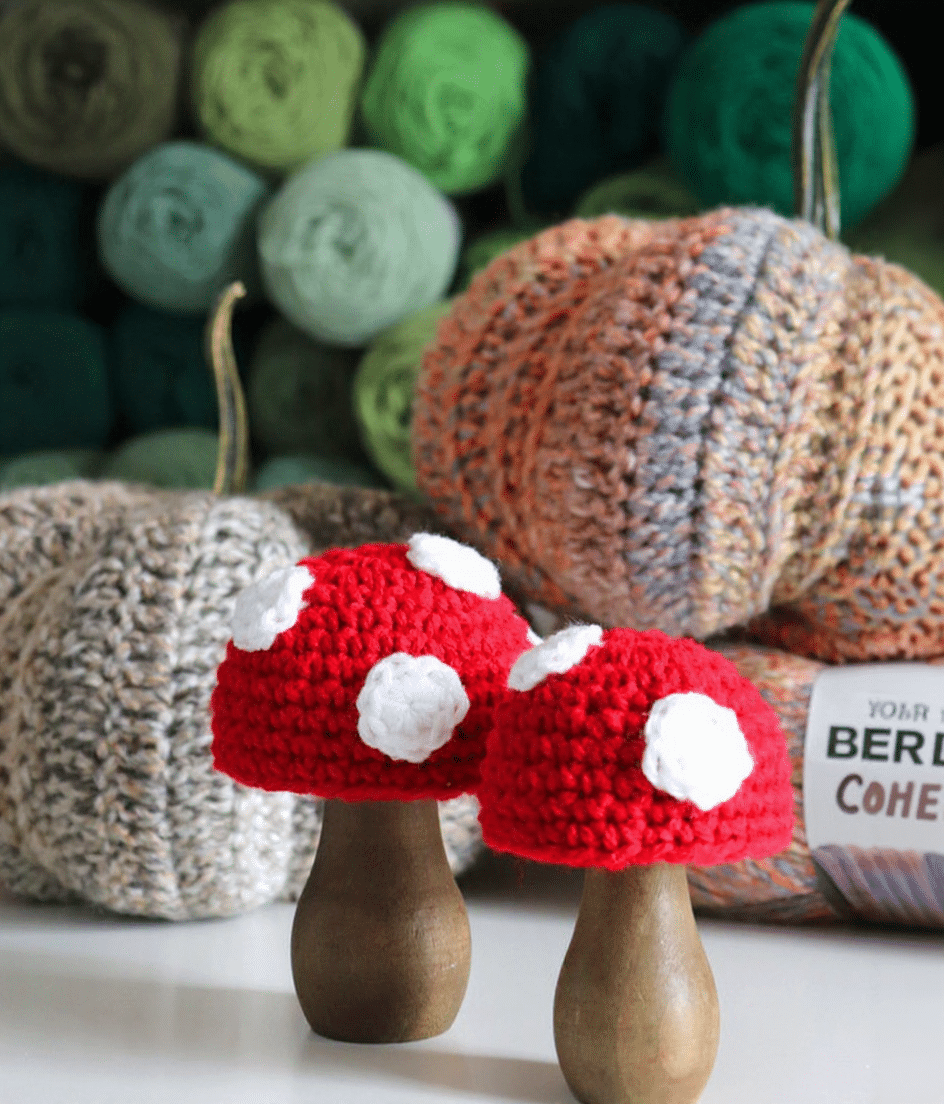
There is something undeniably cozy about bringing the outdoors in when the air turns crisp and the leaves begin to change. This season, I stumbled upon a delightful way to blend handmade charm with rustic decor: crochet mushroom covers for faux pumpkin stems. It started with a search for finishing touches for a Bernat Cottage pumpkin, but it evolved into a whole woodland-inspired collection. By slipping these little red-and-white caps over unfinished wood mushrooms, you get a sturdy, realistic-looking piece that requires minimal shaping but maximum personality. It’s the perfect project for makers who love the look of amigurumi without the heavy stuffing and structuring.
Seasonal Styling Ideas
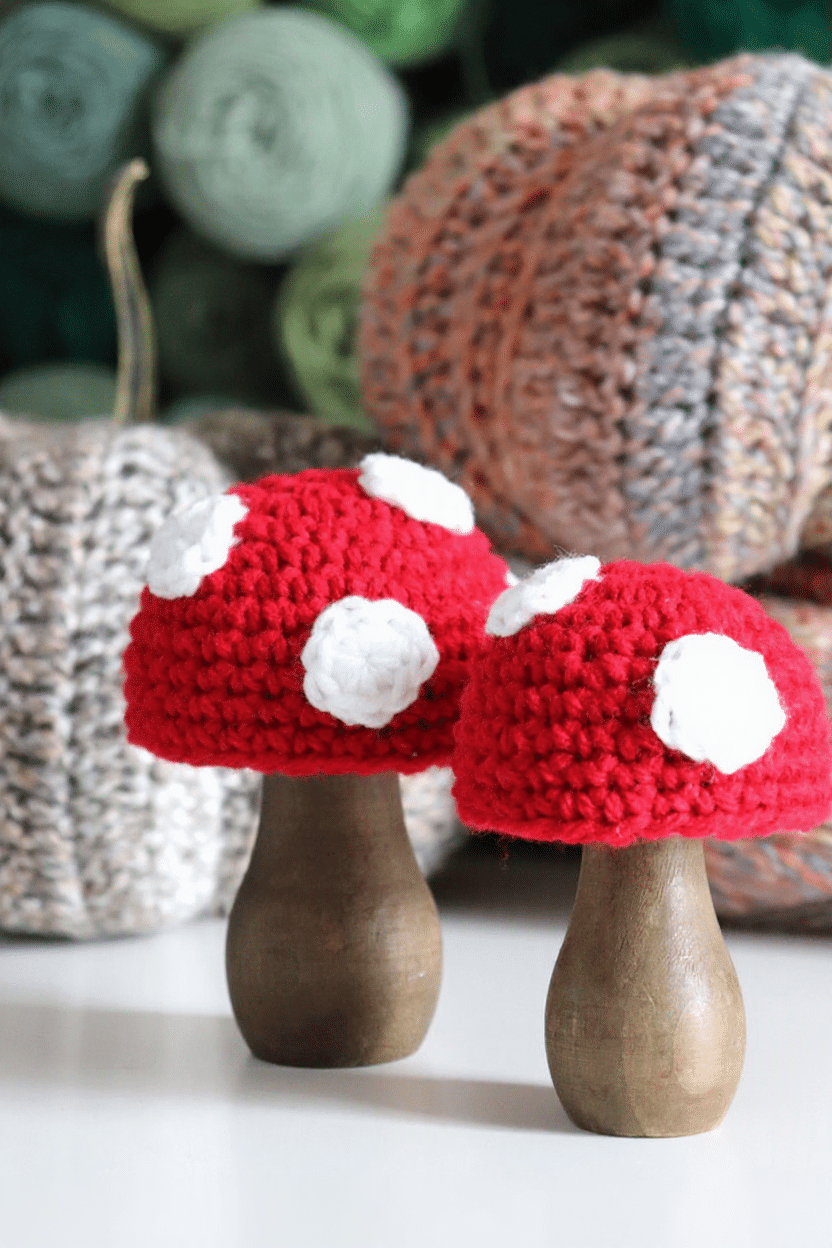
While these mushroom covers are designed to slip over wooden bases, their appeal extends far beyond a single display. The natural wood base provides a sturdy foundation that keeps the crochet cap upright and stable, making them ideal for mantels, bookshelves, or entryway tables. Because the caps are removable, you can mix and match sizes to create varying heights in your vignette. I love the contrast of the soft, textured yarn against the smooth, unfinished wood. While the classic red and white combination screams autumn, these covers are versatile enough to be made in pastel hues for spring fairy gardens, or in deep greens and browns for a woodland Christmas theme. They add a touch of whimsy to fall decor without feeling overly thematic, allowing them to sit comfortably alongside pumpkins, dried florals, and neutral textiles.
Project Overview
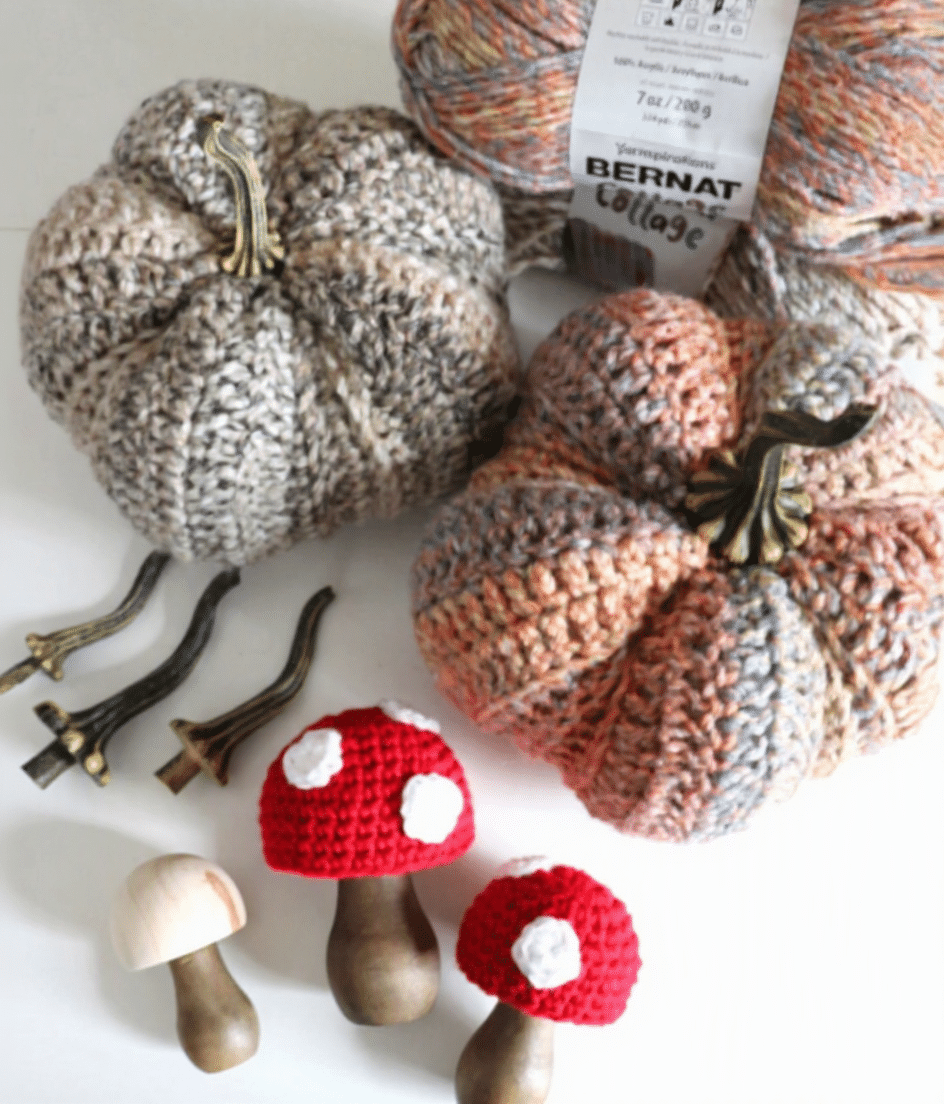
This project involves creating two sizes of mushroom caps using worsted weight yarn in red and white. The caps are worked in continuous rounds to form a dome shape, then finished with scattered white spots for that classic toadstool look. The finished covers are designed to slip over unfinished wooden mushroom forms, which are available online. This method allows you to create a collection of varying sizes quickly, as the wooden base handles the structural integrity.
Materials
- Worsted Weight Yarn in Red
- Worsted Weight Yarn in White
- Size H Crochet Hook
- Tapestry Needle
- Unfinished Wood Mushrooms (various sizes)
Gauge and Finished Size
Gauge is not strictly critical for this project as the caps are designed to stretch over wooden forms. However, maintaining consistent tension will ensure the spots lie flat and the cap fits snugly. The pattern provides instructions for a Large Mushroom Cover and a Small Mushroom Cover to create variety in your display.
Abbreviations
The following abbreviations are used in this pattern:
- SC: Single Crochet
- ch: Chain
- st(s): stitch(es)
- Join: Slip stitch to join
Pattern Notes
- Work in continuous rounds unless otherwise specified. Join with a slip stitch at the end of each round and chain 1 to begin the next.
- Stitch counts are provided in parentheses at the end of each round.
- The wooden mushroom bases are not included in the pattern but can be found at craft retailers or online marketplaces.
Pattern Instructions
Large Mushroom Cover
With red yarn:
Round 1: Make a magic ring, ch 1 and work 10 SC into ring. Join to first SC, ch 1. (10)
Round 2: 2 SC in first st, SC in next st. Repeat around. Join, ch 1. (15)
Round 3: 2 SC in first st, SC in next 2 sts. Repeat around. Join, ch 1. (20)
Round 4: SC in each st around. Join, ch 1. (20)
Round 5: 2 SC in first st, SC in next 3 sts. Repeat around. Join, ch 1. (25)
Round 6: 2 SC in first st, SC in next 4 sts. Repeat around. Join, ch 1. (30)
Rounds 7–11: SC in each st around. Join and ch 1 after each round.
Fasten off and weave in ends.
Small Mushroom Cover
With red yarn:
Round 1: Make a magic ring, ch 1 and work 10 SC into ring. Join to first SC, ch 1. (10)
Round 2: Work 2 SC in each st around. Join, ch 1. (20)
Rounds 3–4: SC in each st around. Join, ch 1. (20)
Round 5: 2 SC in first st, SC in next 3 sts. Repeat around. Join, ch 1. (25)
Rounds 6–9: SC in each st around. Join and ch 1 after each round.
Fasten off and weave in ends.
Mushroom Spots
With white yarn:
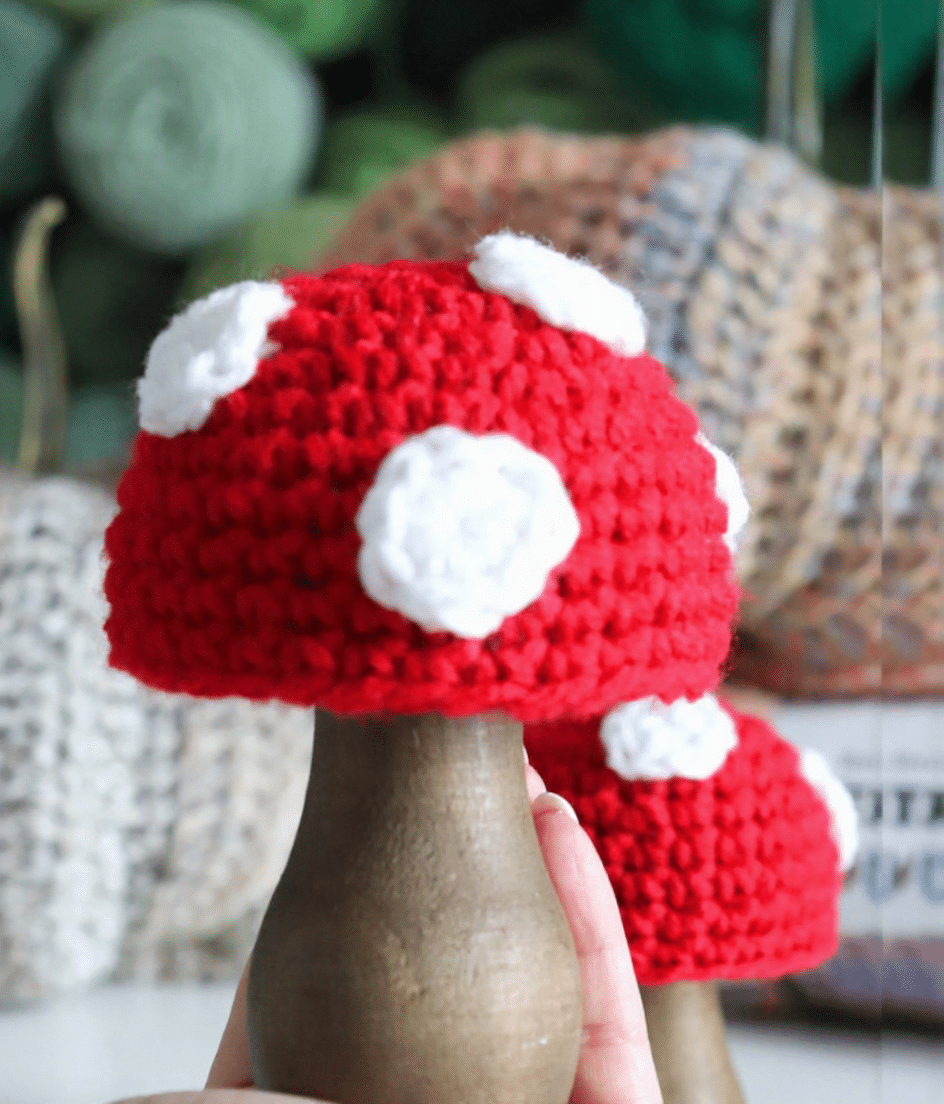
Make a magic ring, ch 1 and work 10 SC into ring. Join to first SC and fasten off.
Make several spots for each mushroom and stitch them randomly around the red mushroom cap. Note: I actually like that the spots aren’t perfectly uniform. Different placement gives each mushroom its own personality.
Assembly
Once your mushroom cap is complete and the white spots are sewn on, simply slip the cap over the top of your unfinished wooden mushroom. The friction of the yarn against the wood should hold it in place. If needed, a small dot of hot glue inside the cap can secure it, though typically the fit is snug enough on its own.
Tips
- Yarn Choice: Worsted weight yarn provides a nice balance of drape and structure. It is thick enough to cover the wood base easily but soft enough to look like a natural mushroom cap.
- Spot Placement: Don’t be afraid to vary the size and placement of your white spots. Some mushrooms might have large, bold spots, while others have tiny, scattered dots. This variation makes your collection look organic and handmade.
- Supporting Handmade: Many of the wooden bases used for these projects come from small, handmade businesses. Supporting these artisans adds a layer of community to your decor project.
FAQs
What size hook should I use?
A size H crochet hook is recommended for worsted weight yarn to achieve the right density for the mushroom cap. Using a hook that is too large may result in a loose fit, while one that is too small may make the cap too tight for the wooden base.
Can I use a different yarn weight?
While worsted weight is standard, you can use DK or bulky yarn. If you change the weight, adjust your hook size accordingly and note that the stitch counts and round numbers may need to be modified to fit your specific wooden base.
How do I keep the spots from falling off?
Use a tapestry needle to weave the ends of the white yarn securely into the red cap. Weaving in multiple directions ensures the spots stay in place even if the mushroom is handled frequently.
Are these suitable for beginners?
Yes, this pattern uses only single crochet stitches and basic increases, making it perfect for beginners. The focus is on shaping a simple dome, which is a fundamental skill in crochet.
Can I make these without the wooden base?
You can, but the wooden base provides a sturdy, realistic shape without the need for stuffing and complex shaping. If you want to make a standalone crochet mushroom, you would need to add stuffing and shape the stem separately, which is a more advanced project.
For more seasonal inspiration, check out this adorable crochet Halloween pumpkin bouquet to complement your new mushroom decor. If you enjoy creating woodland creatures, you might also like this adorable free bear in sweater crochet pattern for a cozy autumn friend.
Pin This Crochet Pattern!