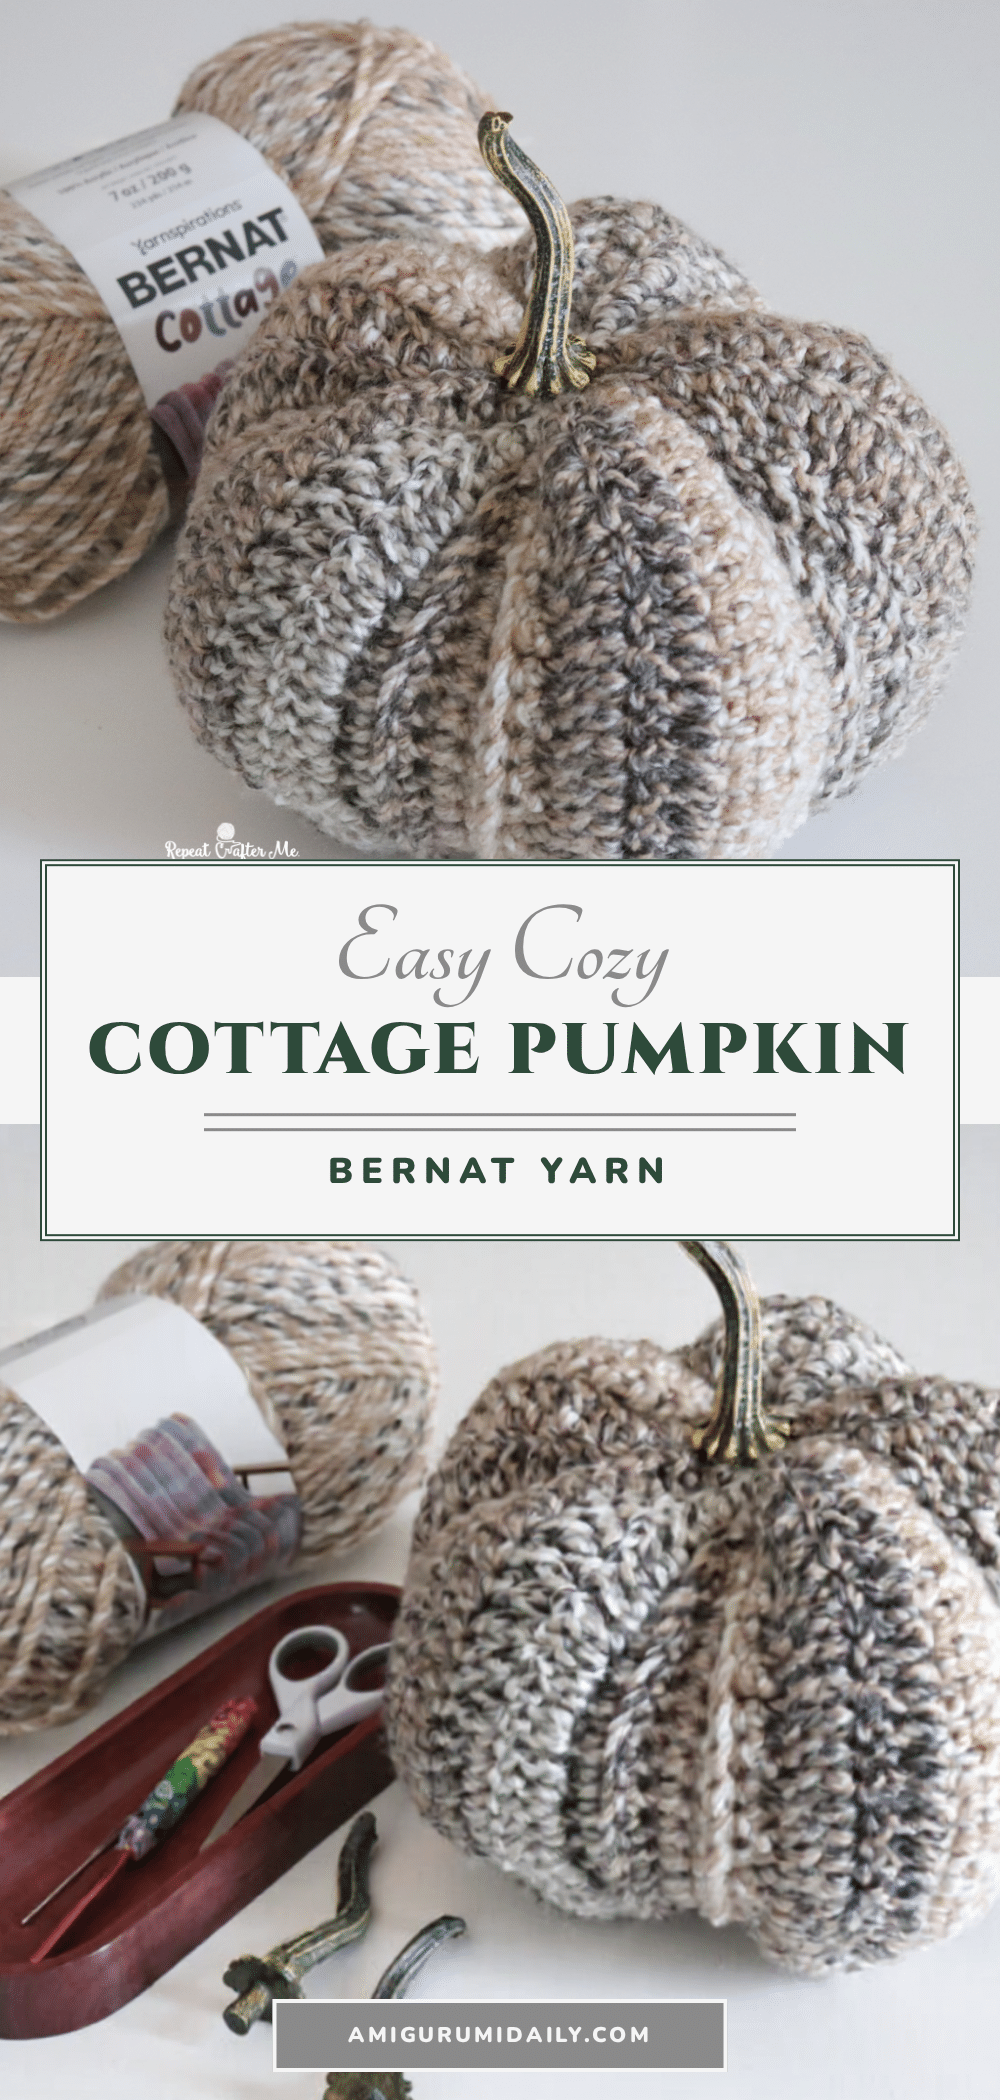
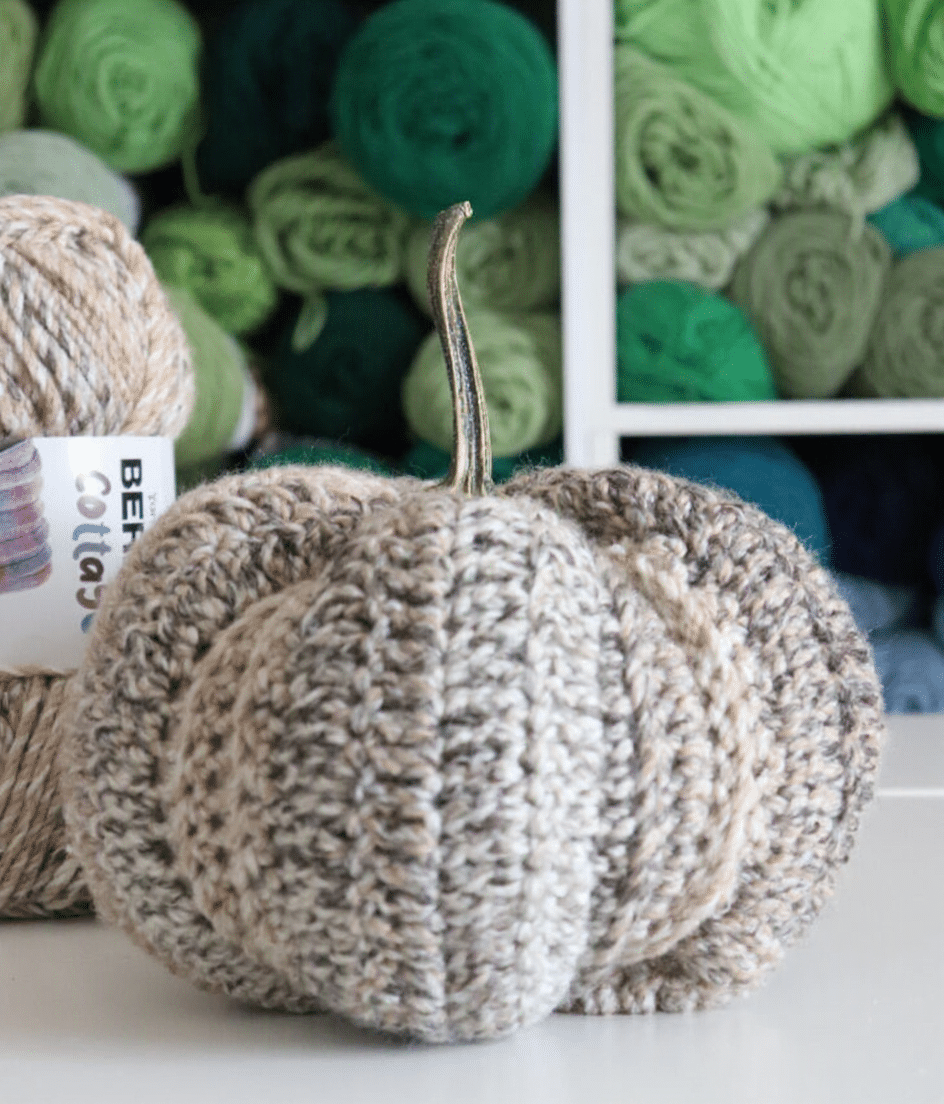
There is something deeply satisfying about the rhythm of crochet, especially when the project is as tactile and rewarding as this Bernat Cottage Pumpkin. Picture a quiet evening, a small batch of soft yarn, and the gentle click of your hook counting stitches. As you work through the alternating rows of single and double crochet, you are not just making a pattern; you are creating a cozy autumn ritual. The repetitive nature of the ridges allows your mind to wander while your hands stay busy, resulting in a beautiful, dimensional piece that captures the essence of the season.
Small Details That Make It Better
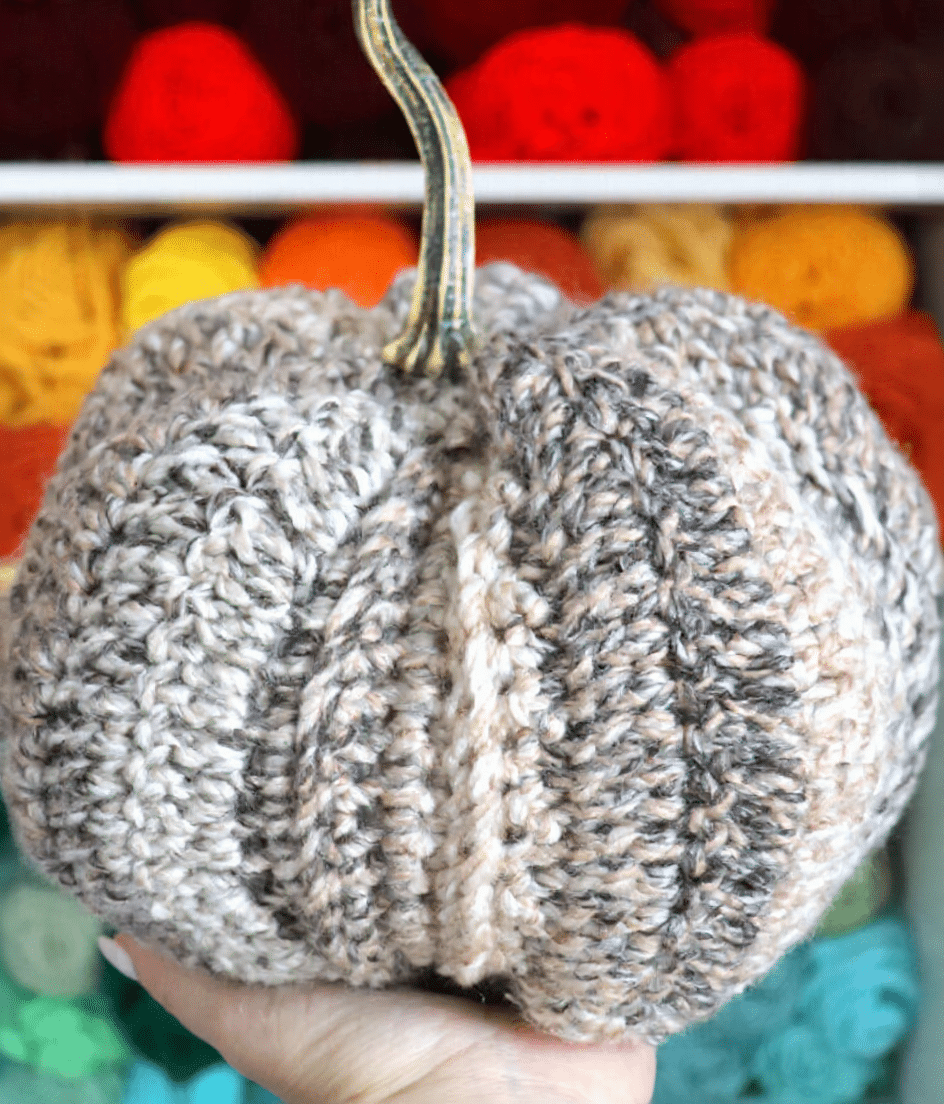
While the construction of this pumpkin is surprisingly simple, the magic lies in the texture. The Bernat Cottage yarn is a #5 bulky weight with a soft, marled finish that highlights the raised ridges beautifully. Because the yarn features color transitions, no two pumpkins will look exactly alike. You might choose a soft neutral like “Almond” for a rustic, farmhouse look, or opt for brighter oranges, pinks, and purples to create a vibrant fall collection. The chunky weight of the yarn works up quickly, making this an ideal stashbuster project that yields a large, statement piece without requiring hours of labor. The final result is a plush, squishy decoration that feels as good as it looks.
Project Overview
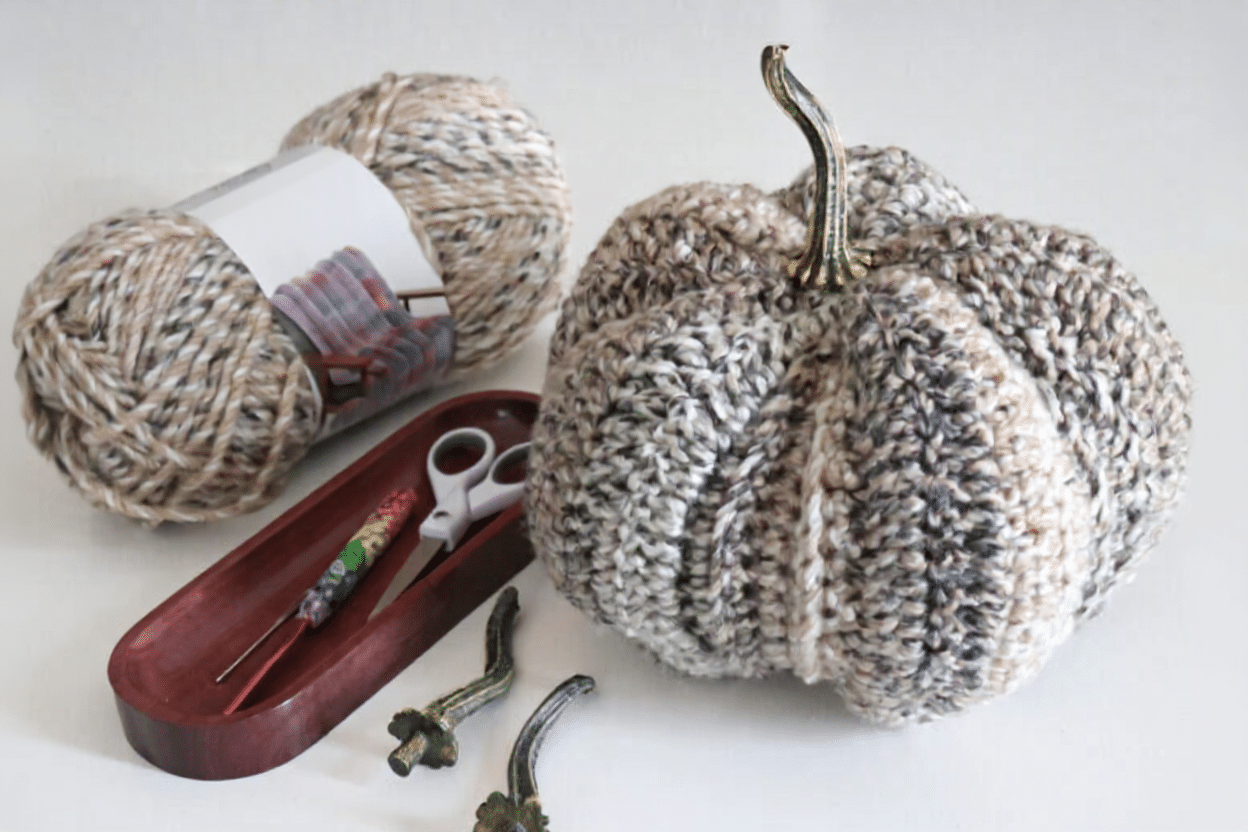
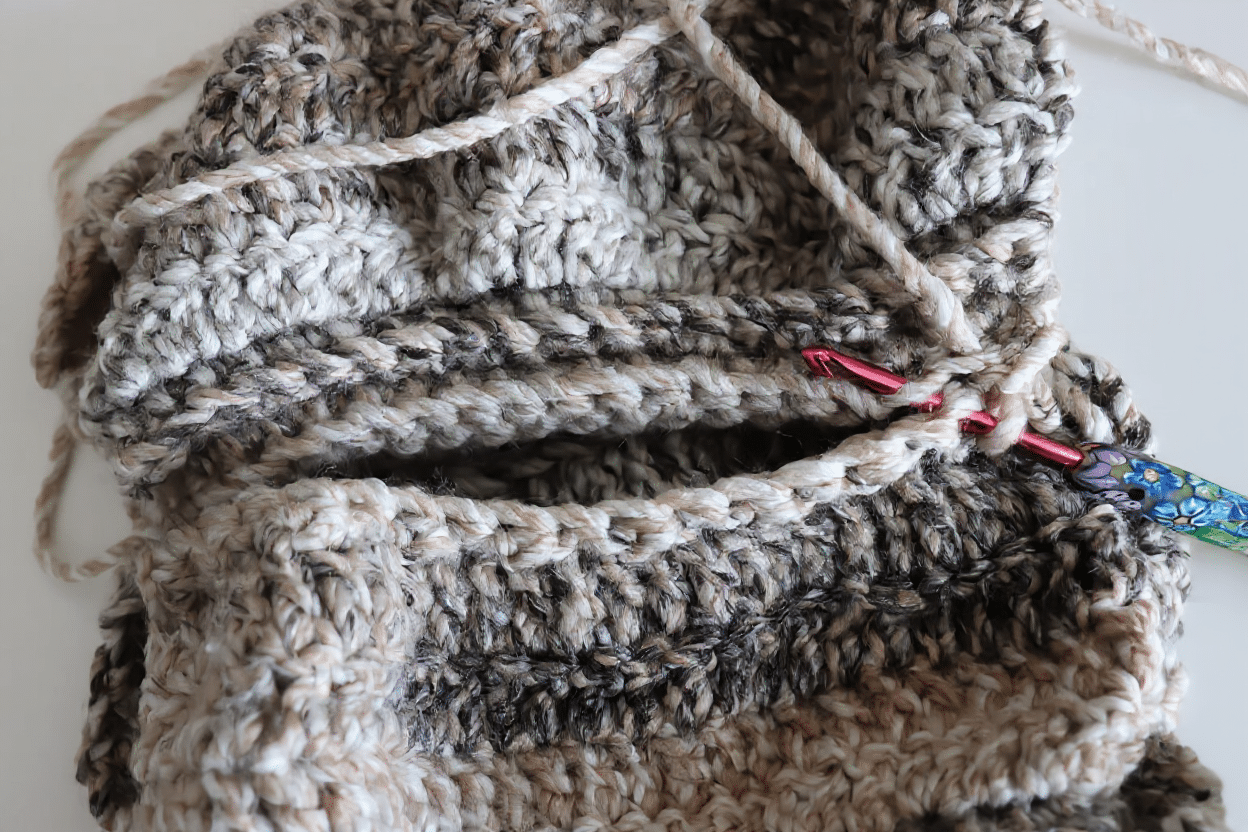
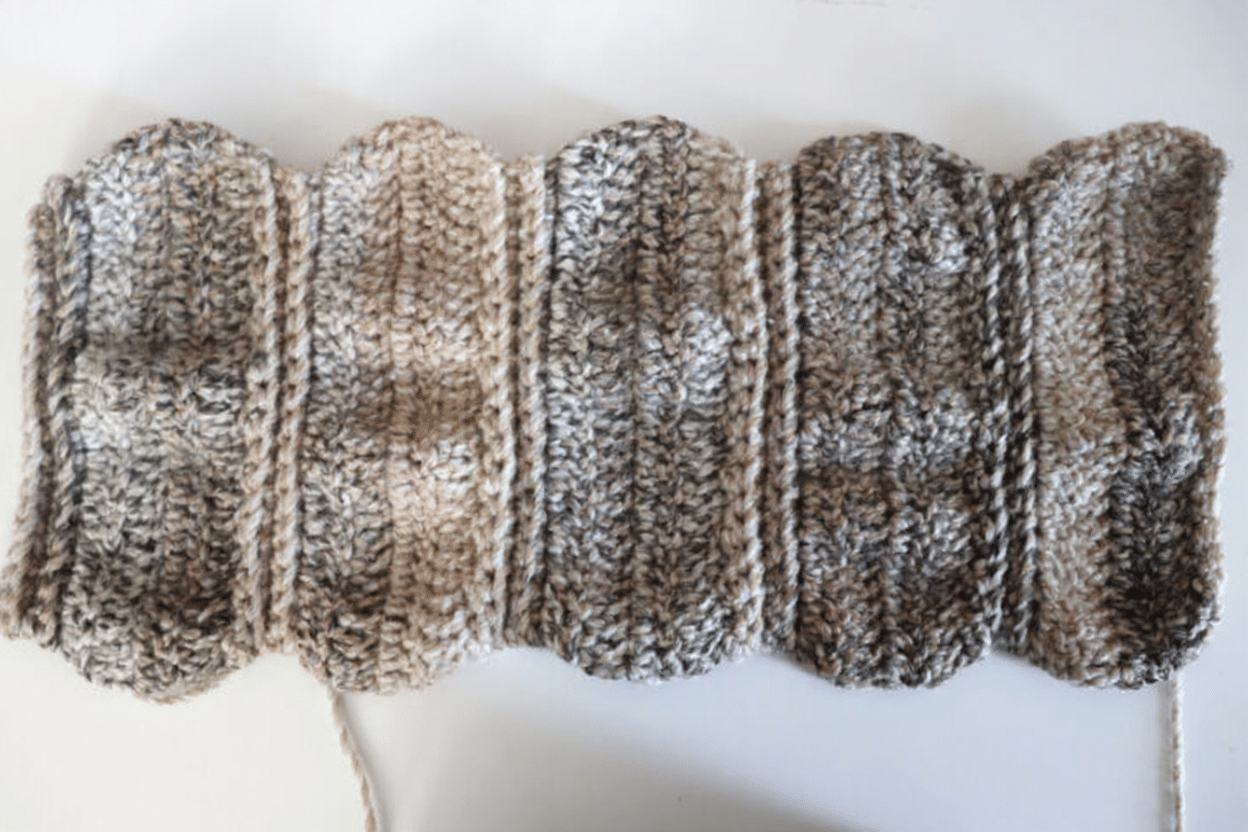
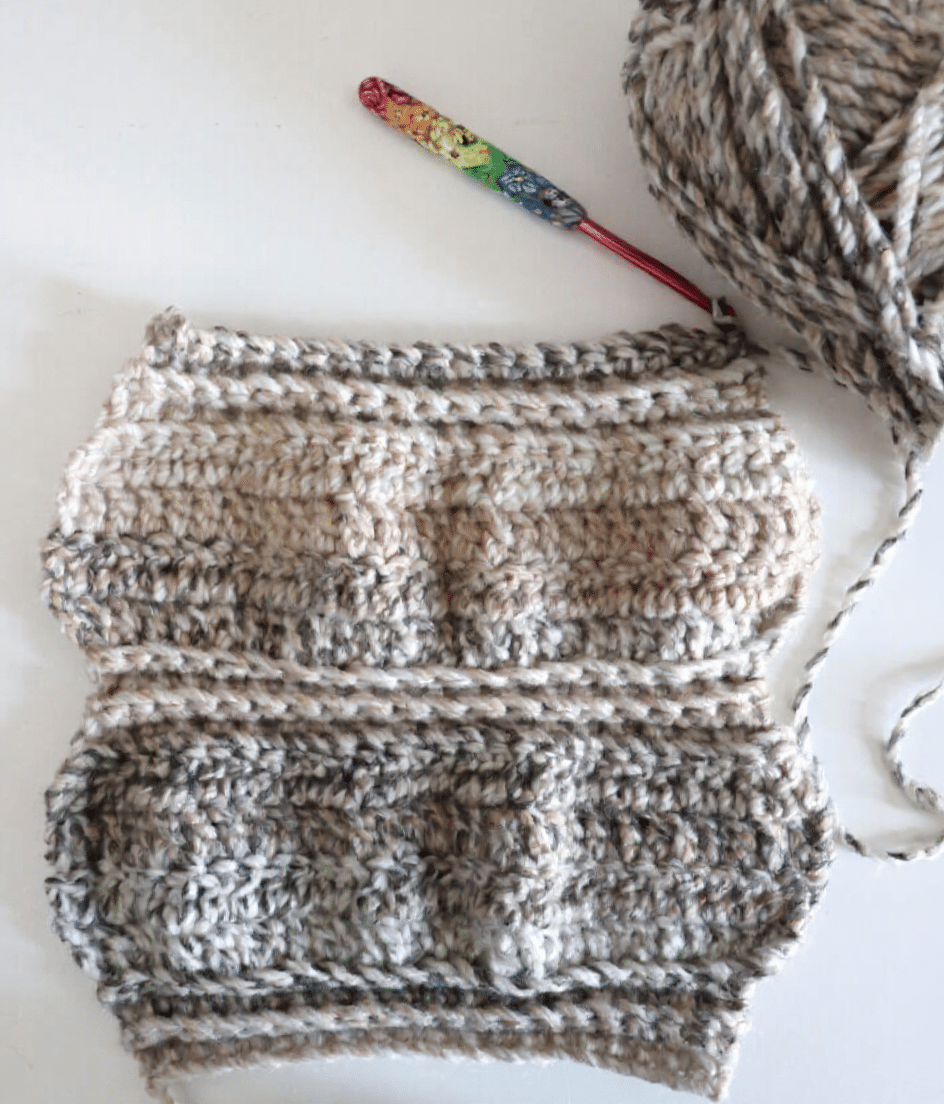
This amigurumi pumpkin is crocheted flat in one long strip. The design uses alternating sections of back-loop single crochet and wider double crochet sections to create the signature raised pumpkin ridges. As you crochet, the piece will naturally begin to ripple and puff, which is exactly the desired effect. Once the strip is complete, the ends are joined to form a tube, and the top and bottom are cinched closed to create the classic pumpkin shape.
Materials
- Yarn: Bernat Cottage Yarn – 1 skein. (The author used color Almond, but other shades are available).
- Hook: Size I (5.5 mm) crochet hook.
- Stuffing: Poly-fil fiber stuffing.
- Tools: Tapestry needle, scissors.
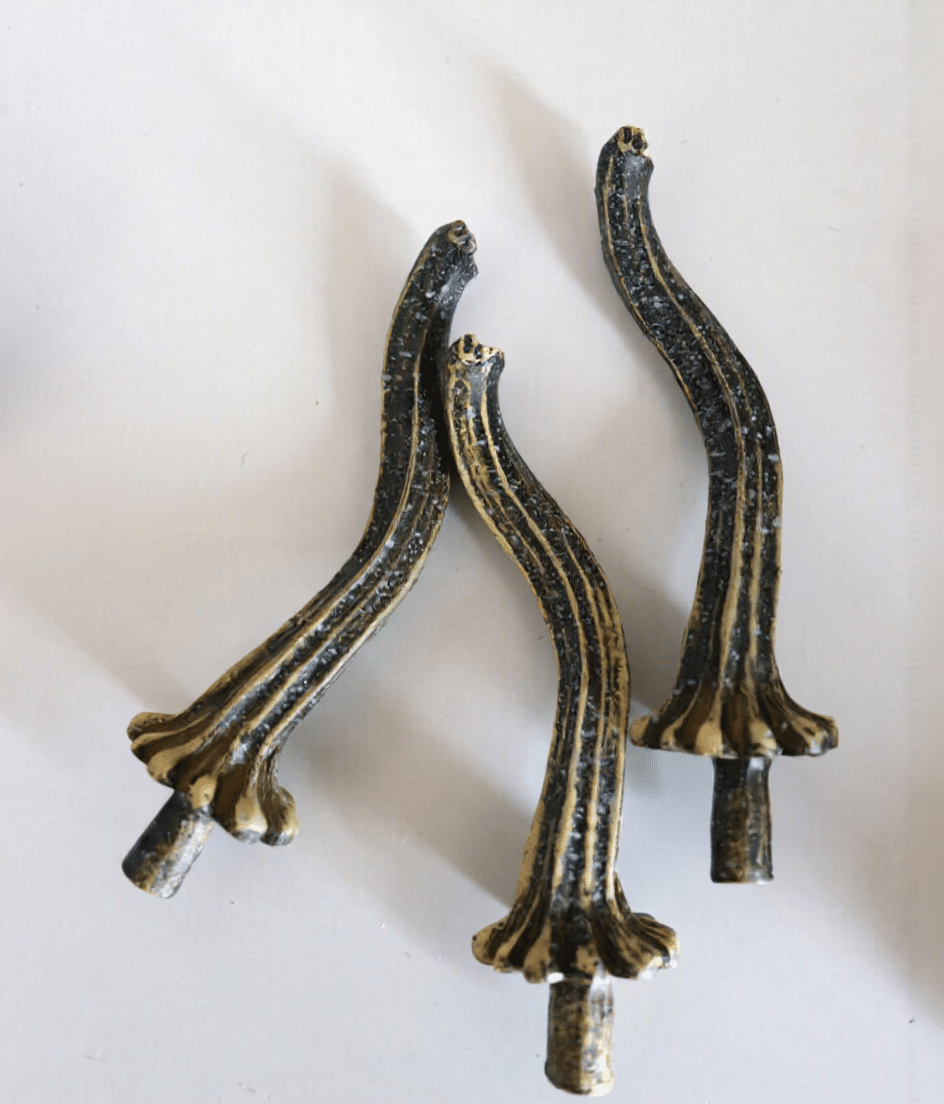
- Stem: Faux pumpkin stem (secured with hot glue or E6000).
Gauge and Finished Size
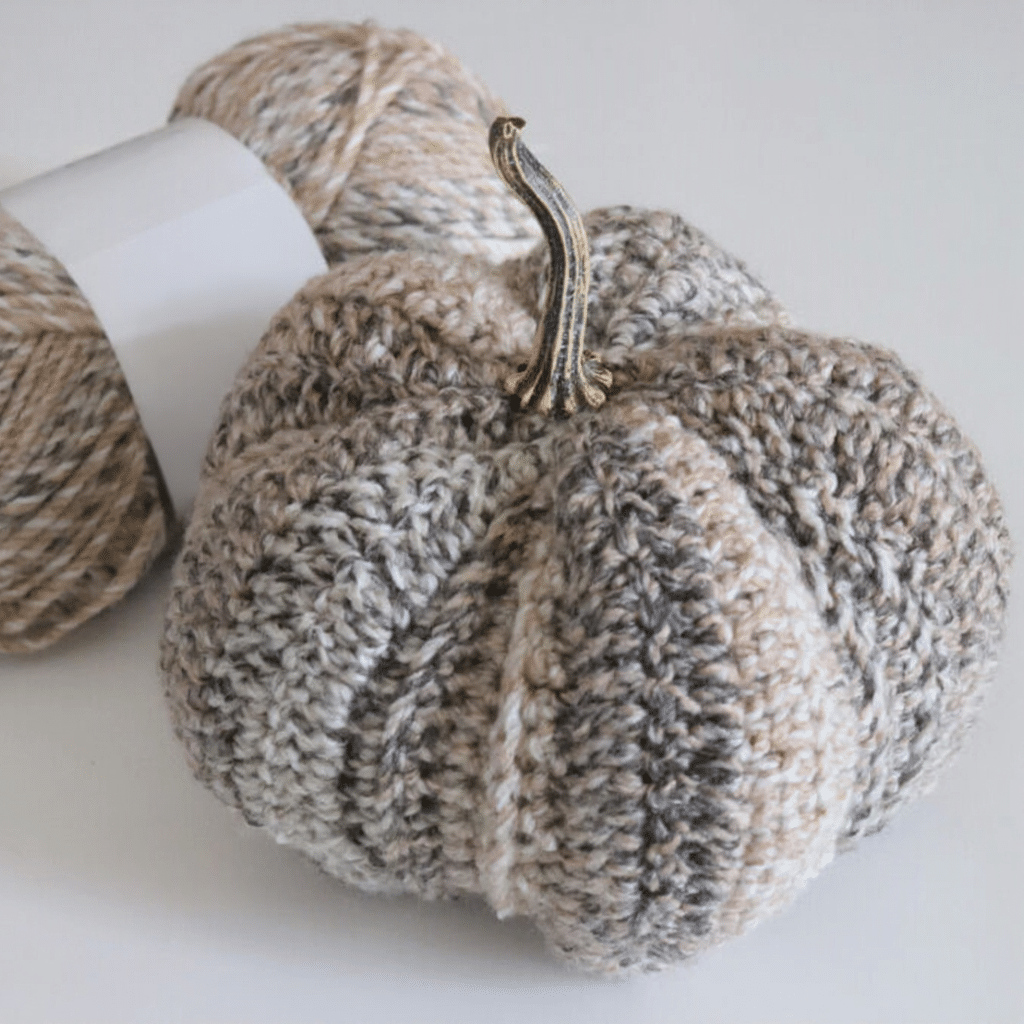
Finished Size: Approximately 8 inches tall (not including stem) x 11 inches wide x 28 inches round.
Pattern Notes
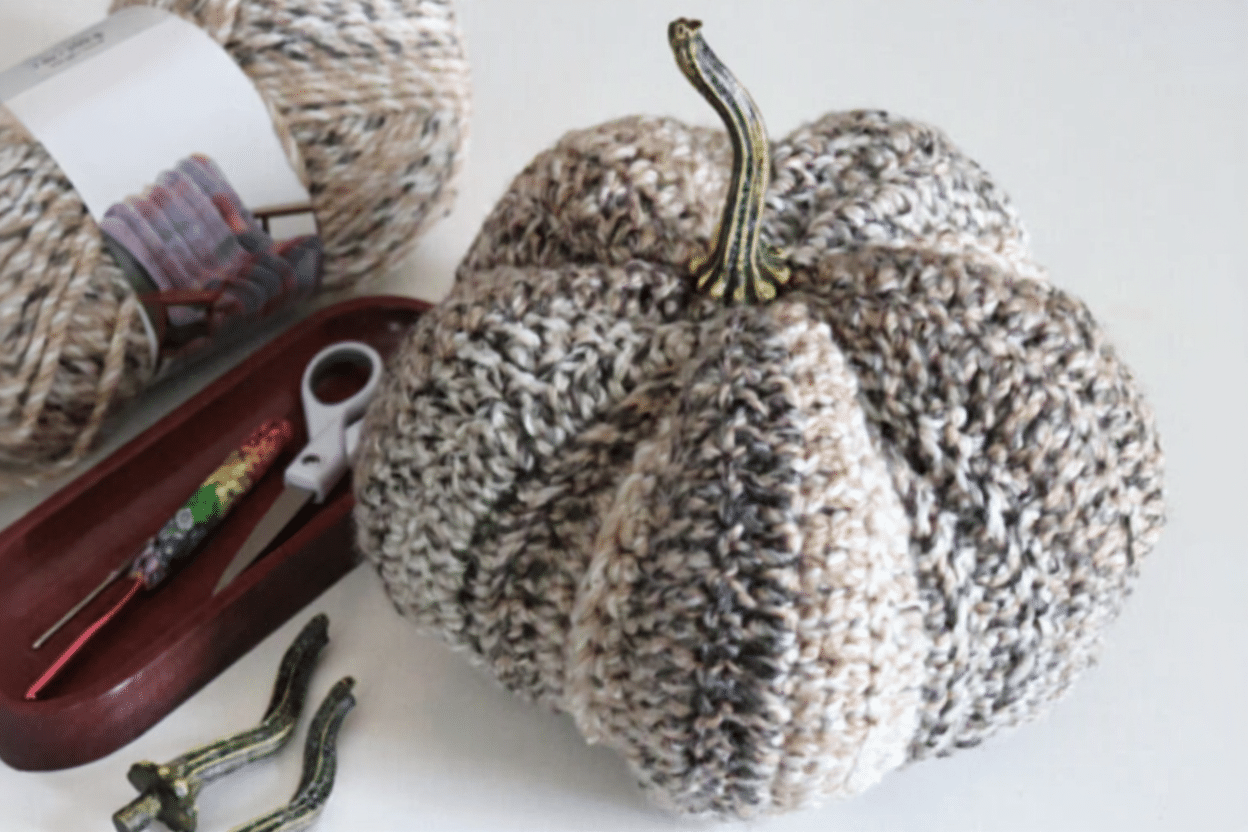
This pattern is designed for makers who enjoy textured projects. The key to the pumpkin’s shape is the tension used when cinching the ends. Do not be afraid to pull the yarn firmly while gathering the top and bottom; the tighter you gather the openings, the more defined those five pumpkin sections will become. This technique ensures the ridges pop and the pumpkin holds its round, plump form.
Pattern Instructions
Foundation
Chain 21, SC in second chain from hook and in each chain across. Chain 1, turn. (20 SC)
Rows 2-4
Working in back loops only, SC in each stitch across. Chain 1, turn. (20 SC)
At the end of Row 4, chain 2 and turn.
Row 5
Working in back loops only, *2 DC in first stitch, DC in next stitch; repeat from * across. Chain 2, turn. (30 DC)
Rows 6-8
Working in both loops, DC in each stitch across. Chain 2, turn. (30 DC)
At the end of Row 8, chain 1 and turn.
Row 9
Working in back loops only, *SC Decrease, SC in next stitch; repeat from * across. Chain 1, turn. (20 SC)
Rows 10-12
Working in back loops only, SC in each stitch across. Chain 1, turn. (20 SC)
At the end of Row 12, chain 2 and turn.
Repeat Rows 5-12
Repeat Rows 5-12 three more times for the Pumpkin Ridges.
Rows 37-40
Repeat Rows 5-8. (30 DC)
At the end of Row 40, chain 1 and turn.
Row 41
Repeat Row 9. (20 SC)
You now have five raised pumpkin sections.
Assembly
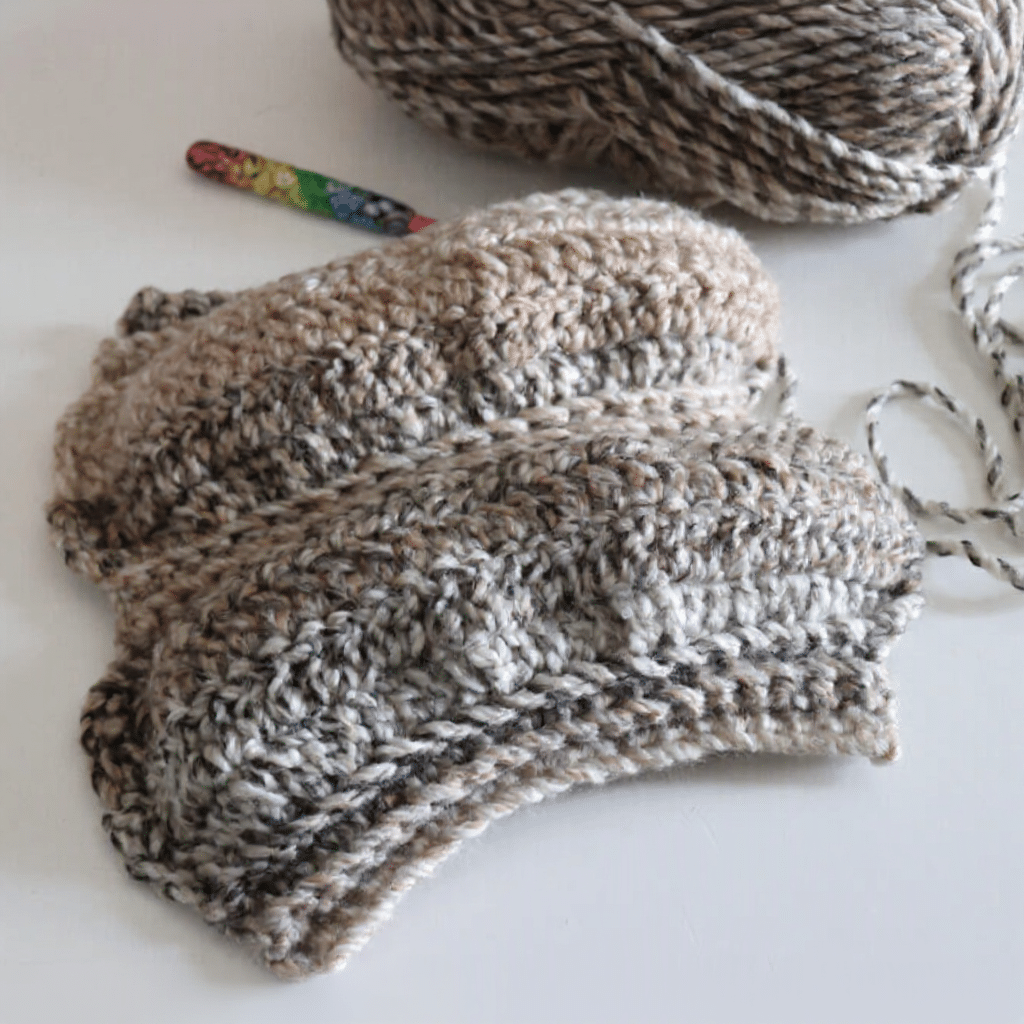
Joining
Do not fasten off. Bring the two edges of the crocheted strip together. The final row has 20 stitches, matching the 20 stitches at the beginning of the piece. Slip stitch the final row to Row 1 to form a tube. Be sure you are joining to the stitches of Row 1 and not into the original foundation chain. Fasten off, leaving a long tail for finishing.
Closing the Bottom
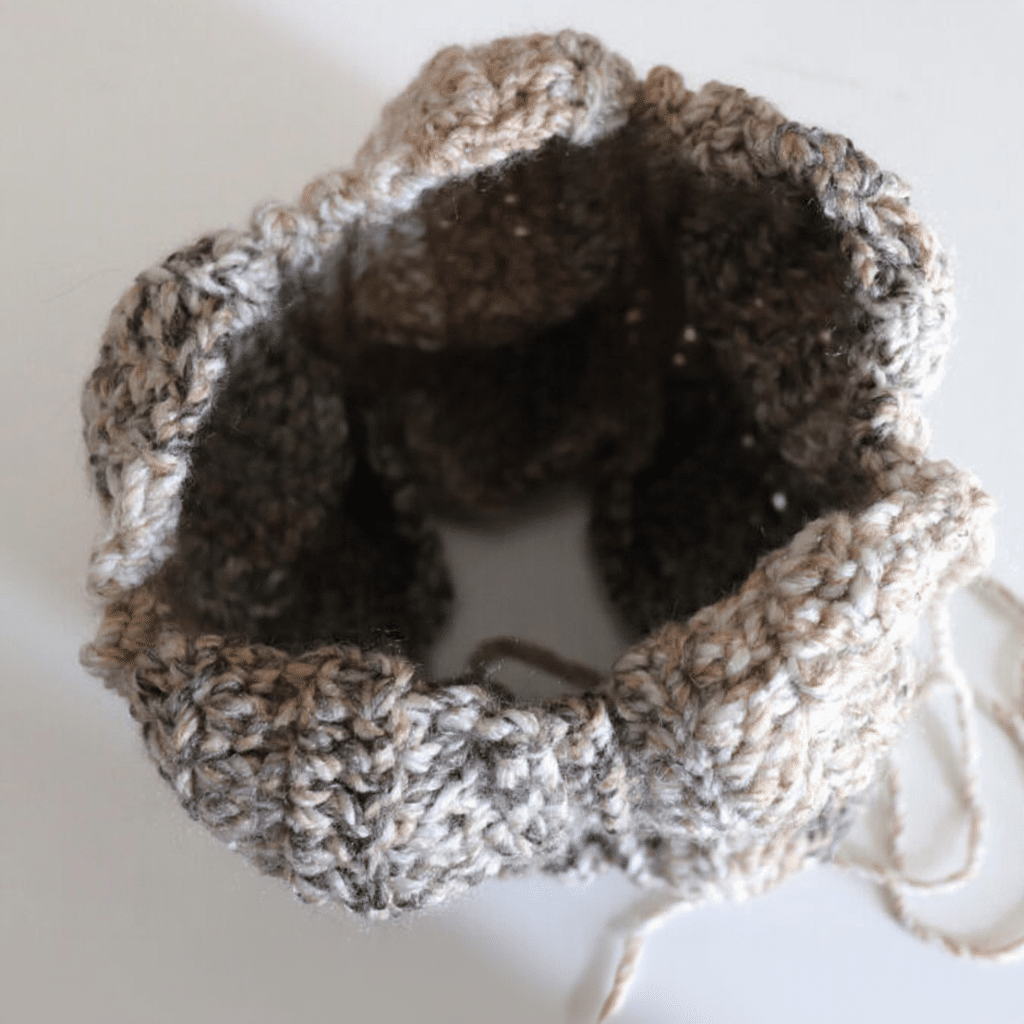
Once you have slip stitched the two ends of your pumpkin strip together, fasten off, leaving a long tail for sewing. You will cinch both the bottom and top of the pumpkin closed, working one end at a time.
Start with the end closest to your yarn tail. This will become the bottom of the pumpkin. Thread the yarn tail onto a tapestry needle. It is easiest to cinch the opening closed in two steps:
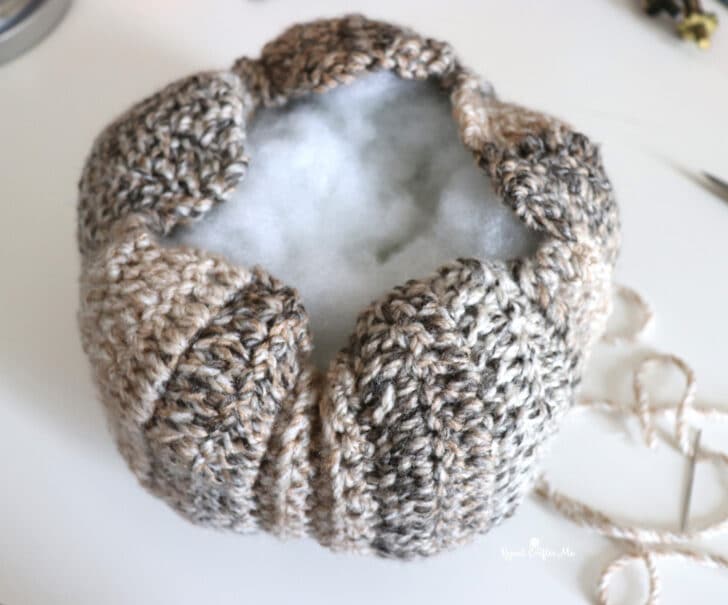
- First, sew through the recessed single crochet sections. Work your needle under about two stitches of one SC section, then reach behind the raised section and work under about two stitches of the next SC section. Continue around the entire opening. Pull the yarn firmly to begin drawing the center closed.
- Next, work around the opening again, this time catching the edges of the raised pumpkin sections. Pull firmly as you go until the opening is completely cinched closed.
Secure the yarn, but do not cut it yet.
Stuffing & Closing the Top
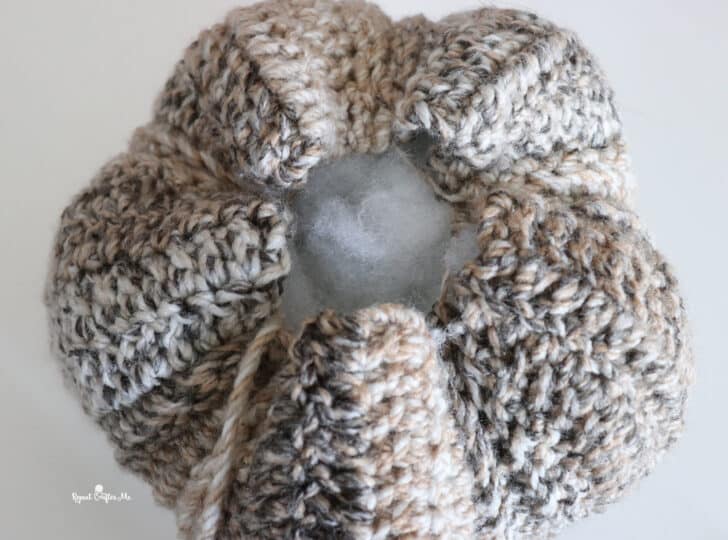
Stuff the pumpkin generously with poly-fil. Be sure to push stuffing out into each of the five raised pumpkin sections so they stay full and rounded. Bring your long strand of yarn up through the center of the stuffed pumpkin and out through the top opening. If your remaining yarn tail isn’t long enough, simply attach a new long strand of yarn.
Repeat the same two-step cinching process on the top: first gather the recessed single crochet sections, then gather the raised sections.
Before pulling the top completely closed, add your faux pumpkin stem. Position the stem in the center and secure it with hot glue or E6000. Once the stem is in place, pull the remaining stitches tightly around it to close the opening. Secure your yarn and weave in the end.
Tips
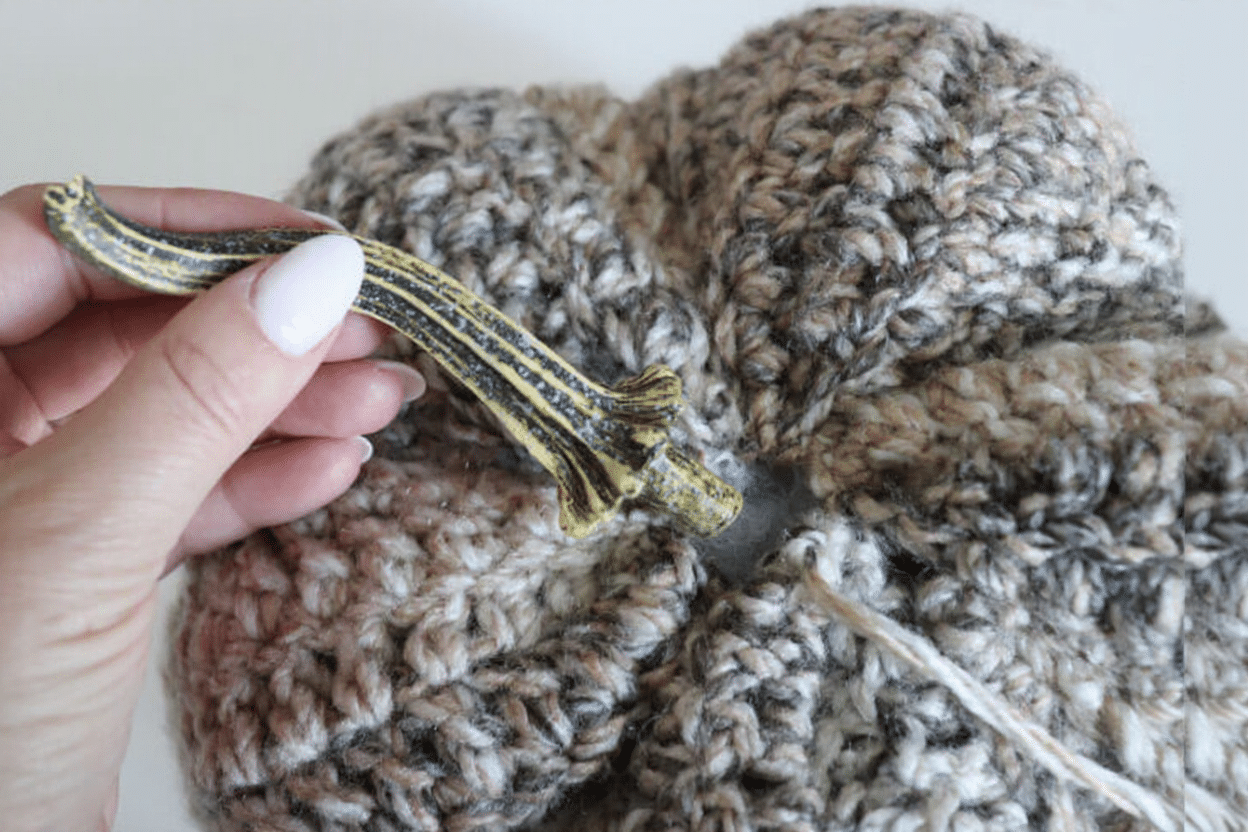
Stem Sourcing: The author sourced faux pumpkin stems from a small business called Your Heart’s Content (available on Amazon and Instagram @your.hearts.content). Supporting small makers adds a special touch to your decor.
Color Play: Bernat Cottage comes in a mix of soft neutrals, warm oranges, pinks, purples, and blues. Consider making a few pumpkins in different colorways to create a pretty little fall collection for your mantel or table.
FAQs
What yarn is best for this pumpkin?
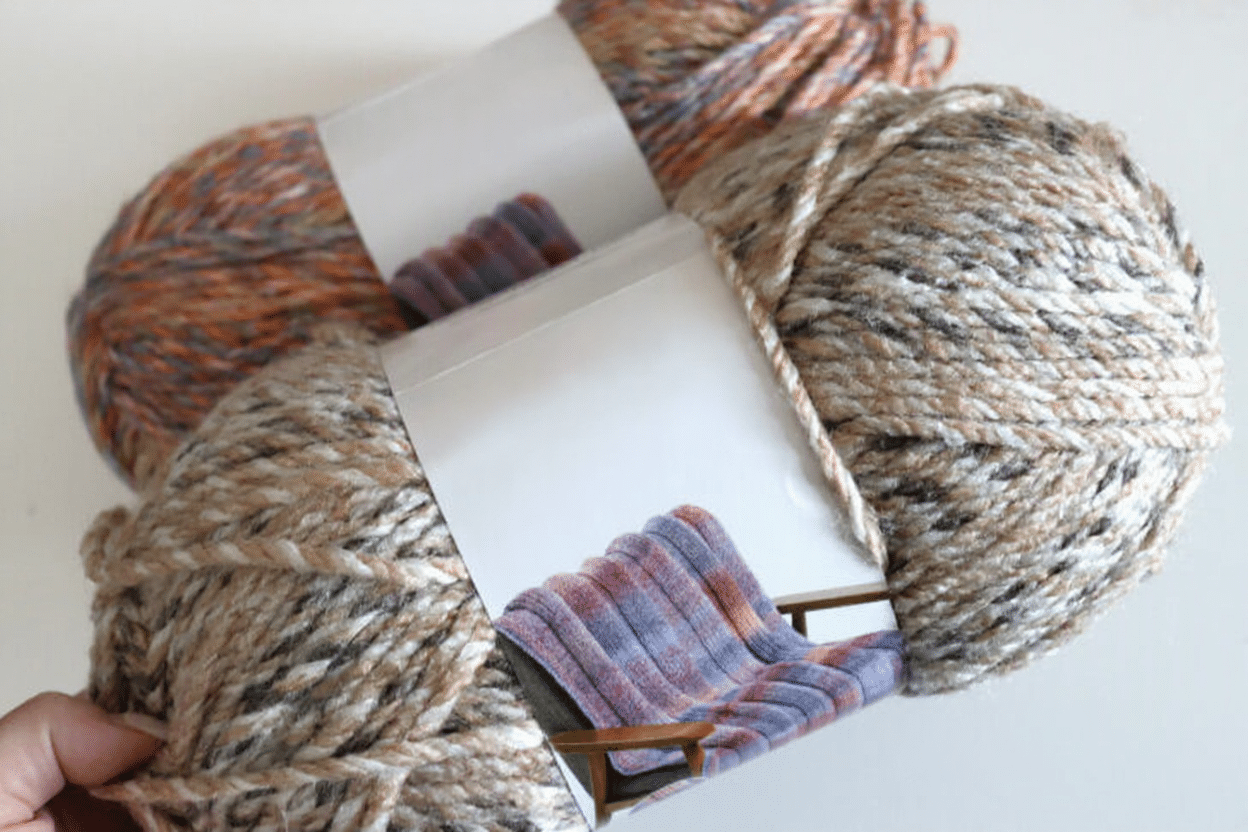
The pattern specifically calls for Bernat Cottage Yarn, a #5 bulky weight 100% acrylic yarn. Its soft, marled texture and color transitions are essential for highlighting the raised ridges of the pumpkin.
How do I make the pumpkin ridges more defined?
The definition comes from the assembly. When cinching the top and bottom closed, pull the yarn firmly. The tighter you gather the openings, the more pronounced the five pumpkin sections will become.
Can I use a different hook size?
It is recommended to use a Size I (5.5 mm) hook to match the bulky weight of the Bernat Cottage yarn. Using a different hook size may alter the gauge and the final dimensions of the pumpkin.
How do I attach the stem securely?
Position the faux stem in the center of the top opening and secure it with hot glue or E6000 adhesive before pulling the final stitches completely tight around it.
Is this pattern suitable for beginners?
Yes, the construction is surprisingly simple. It involves basic single crochet and double crochet stitches worked in a flat strip, followed by a straightforward assembly process. It is a great project for those who want a quick, decorative win.
Pin This Crochet Pattern!