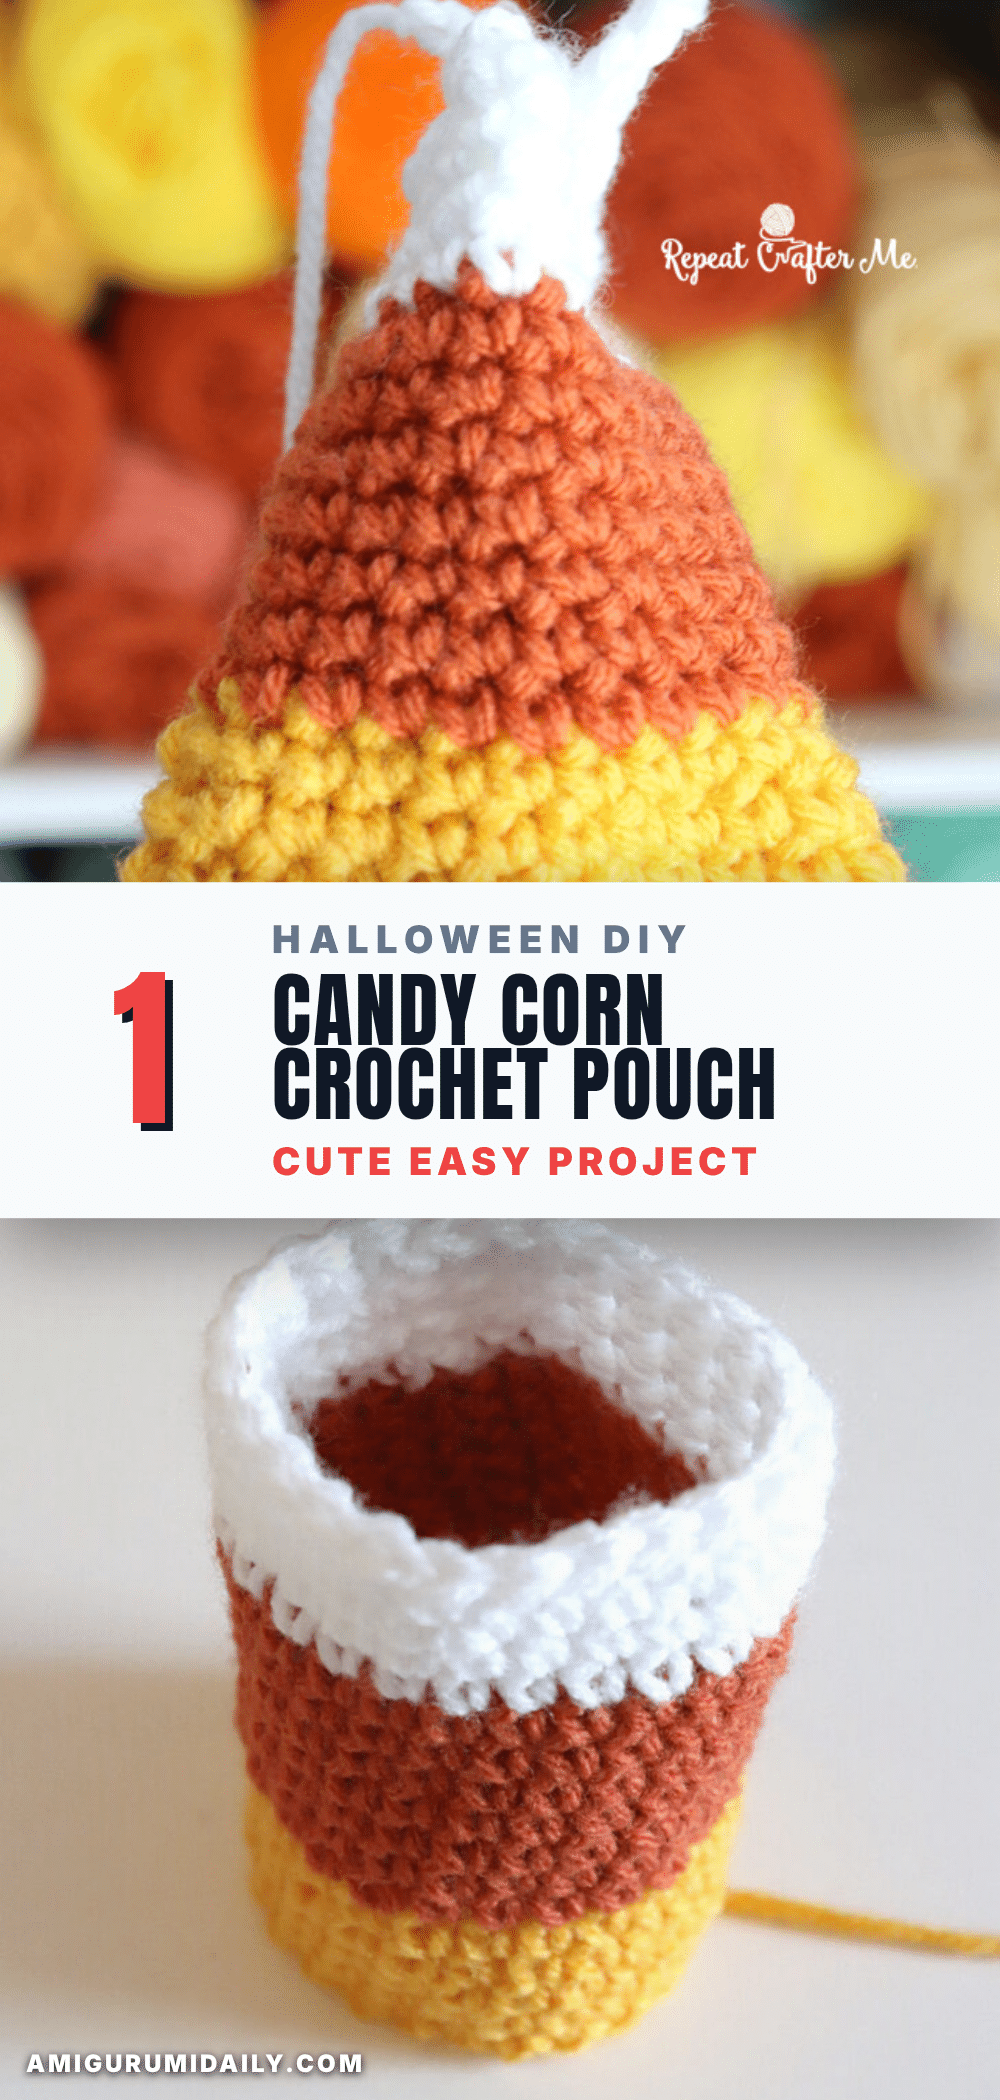
It is completely normal to feel a spike of anxiety when you join a chain into a ring for the first time. You worry about twisting the foundation, miscounting stitches, or creating a hole that won’t close properly. This worry often stops beginners from trying amigurumi, but this Easy Crochet Candy Corn Treat Pouch is the perfect antidote to those fears. Because the pattern relies on a simple tube of single crochet with no complex decreases or shaping, you can focus on the rhythm of the stitch rather than the pressure of perfection. Even if your tension isn’t perfectly even, the final pinch-and-sew assembly hides minor inconsistencies beautifully, resulting in a charming Halloween treat holder that looks far more clever than it actually is to make.
Maker Notes
There is something undeniably satisfying about transforming a basic cylinder into a recognizable character or object with just a few strategic folds. This candy corn pouch relies on that magic trick of geometry: by pinching the top in the opposite direction of the bottom seam, the flat tube instantly gains dimension. I love using Red Heart Super Saver for this project because its durability holds up well to being stuffed with heavy treats, and the color transitions are crisp. While the classic yellow, orange, and white palette is iconic for Halloween, this simple tube structure makes it easy to stash-bust leftover yarn from other projects. Whether you are filling it with mini chocolate bars for classroom exchanges or turning it into a plushie for a desk companion, the texture of the single crochet provides a sturdy, tactile finish that invites handling.
Project Overview
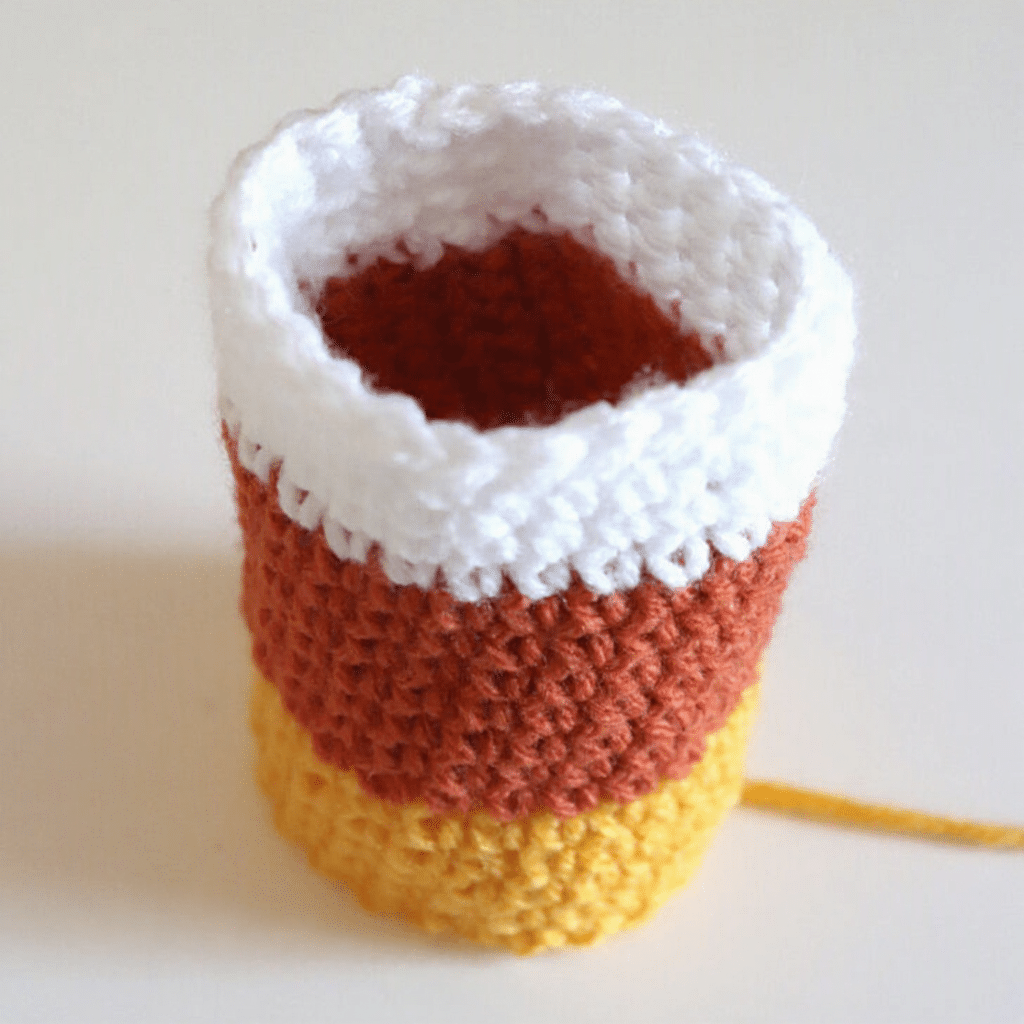
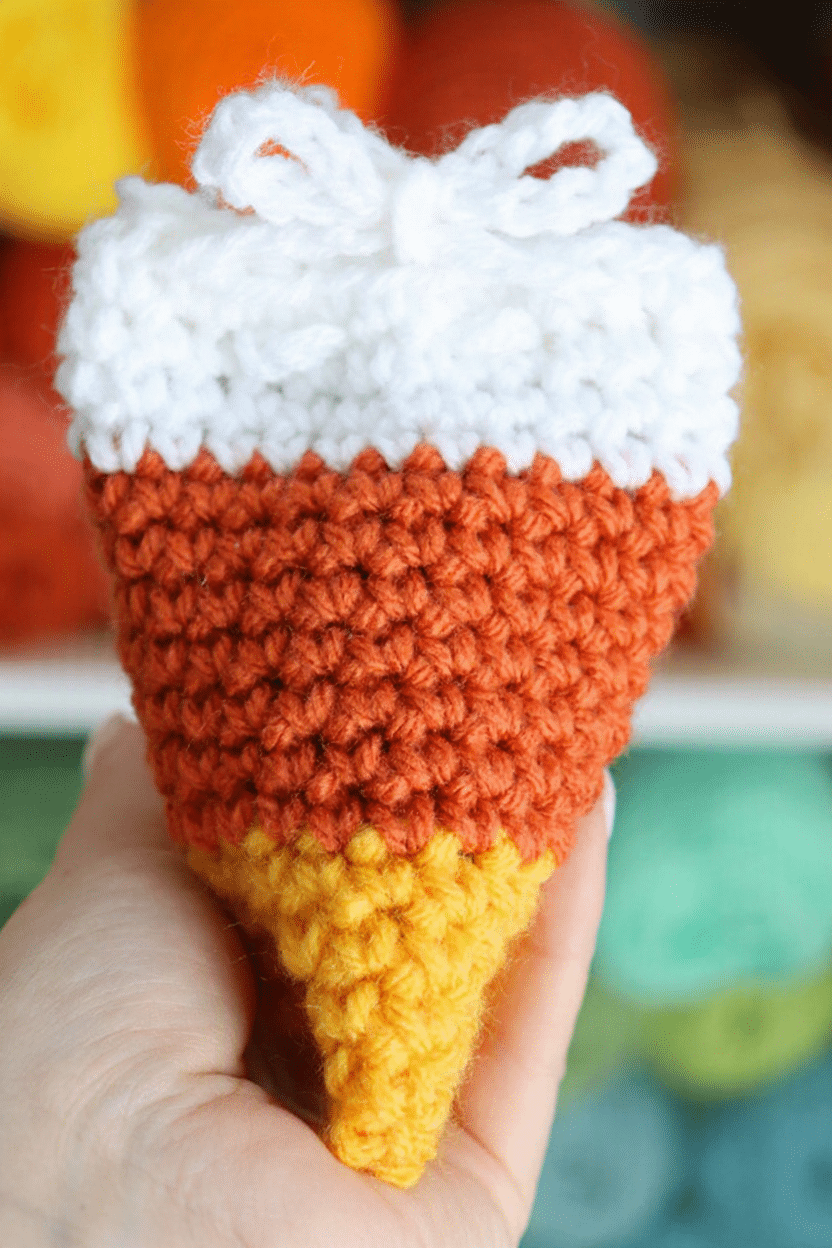
This amigurumi project creates a festive treat pouch shaped like a piece of candy corn. It is designed for beginners who can single crochet in the round. The project consists of a simple tube worked in three colors, which is then assembled by flattening and stitching the bottom, and pinching the top to create the candy corn silhouette. It serves as a functional container for small treats or can be stuffed and closed to create a plush toy.
Materials
- Red Heart Super Saver Yarn in Saffron (Yellow)
- Red Heart Super Saver Yarn in Carrot (Orange)
- Red Heart Super Saver Yarn in White
- Size H (5.0 mm) crochet hook
- Tapestry needle
- Mini-size candy or other small treats
Gauge and Finished Size
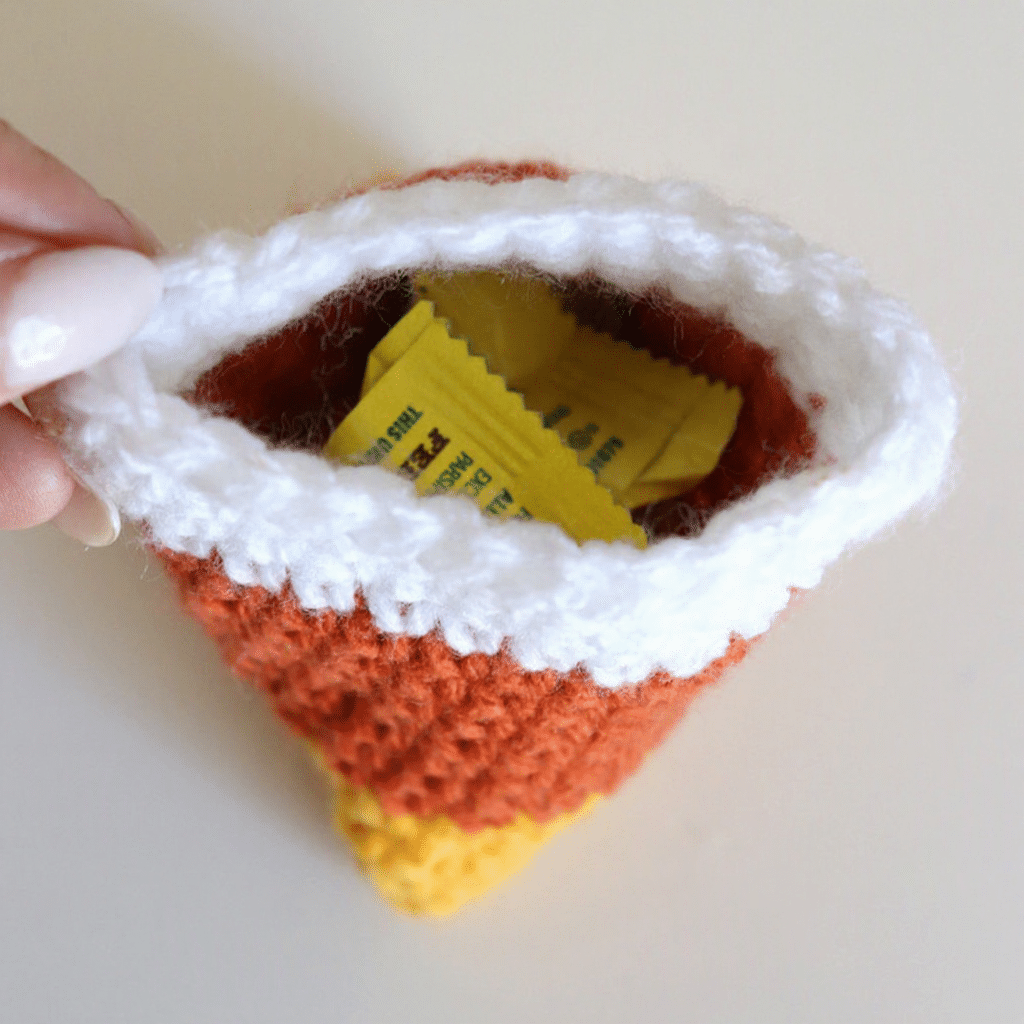
Finished Size: Approx 5 inches tall x 4 inches wide.
Note: Gauge is not specified in the source pattern. The finished size is achieved by following the stitch counts and round numbers provided.
Abbreviations
- Ch = Chain
- SC = Single Crochet
- St(s) = Stitch(es)
Pattern Notes
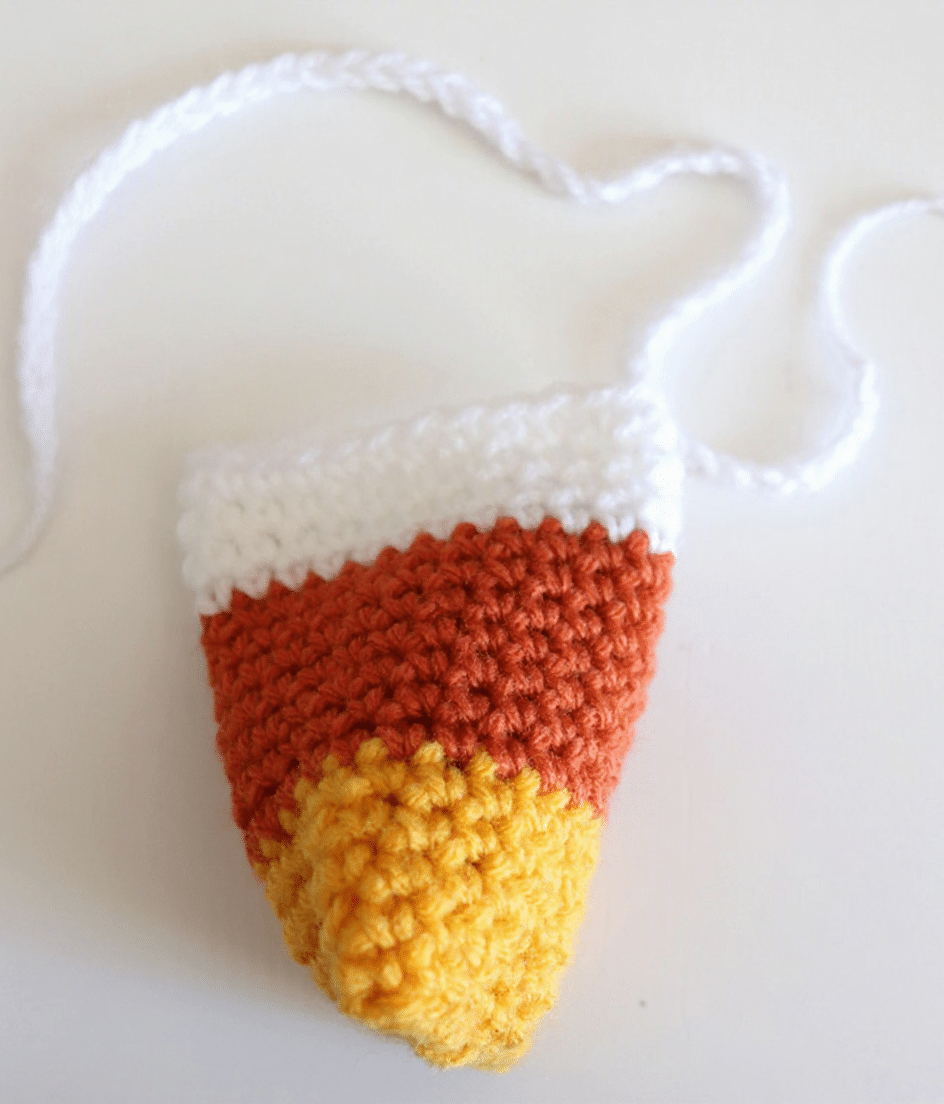
- Important: Leave a long starting tail when you begin the first chain. You will use this tail later to sew the bottom of the pouch closed.
- Work in continuous rounds unless otherwise stated, joining with a slip stitch at the end of each round.
- Be careful not to twist your foundation chain when joining the first round.
Pattern Instructions
Candy Corn Pouch
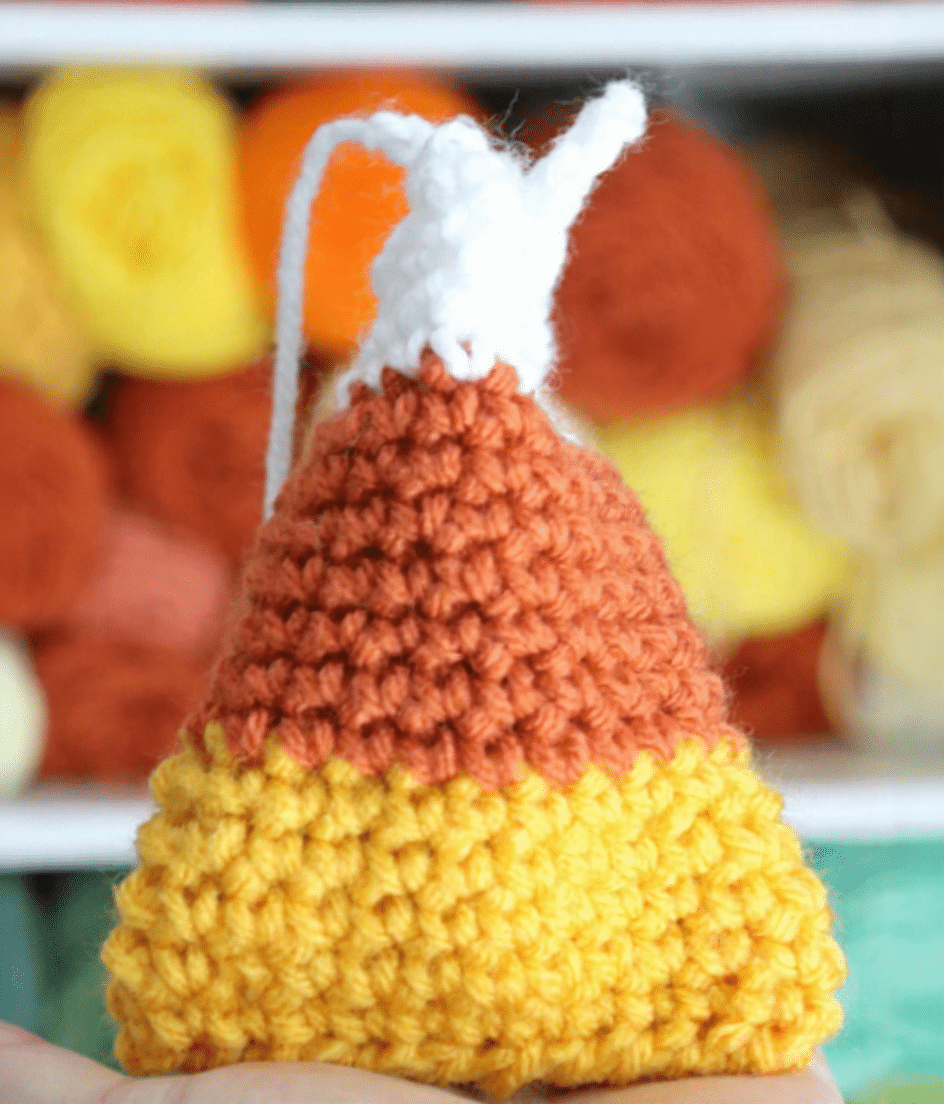
Starting with Saffron Yellow:
Round 1: Ch 24. Being careful not to twist your chain, join with a slip stitch to the first ch to form a ring. Ch 1. (24 sts)
Rounds 2–5: SC in each st around. Join with a slip stitch to first SC. Ch 1. (24 SC)
At the end of Round 5, join Carrot Orange yarn and fasten off Saffron.
Rounds 6–12: With Carrot, SC in each st around. Join with a slip stitch to first SC. Ch 1. (24 SC)
At the end of Round 12, join White yarn and fasten off Carrot.
Rounds 13–16: With White, SC in each st around. Join with a slip stitch to first SC. Ch 1. (24 SC)
Fasten off and weave in the White yarn end. You should now have a simple crocheted tube with 5 rounds of yellow, 7 rounds of orange and 4 rounds of white.
Assembly
Creating the Candy Corn Shape
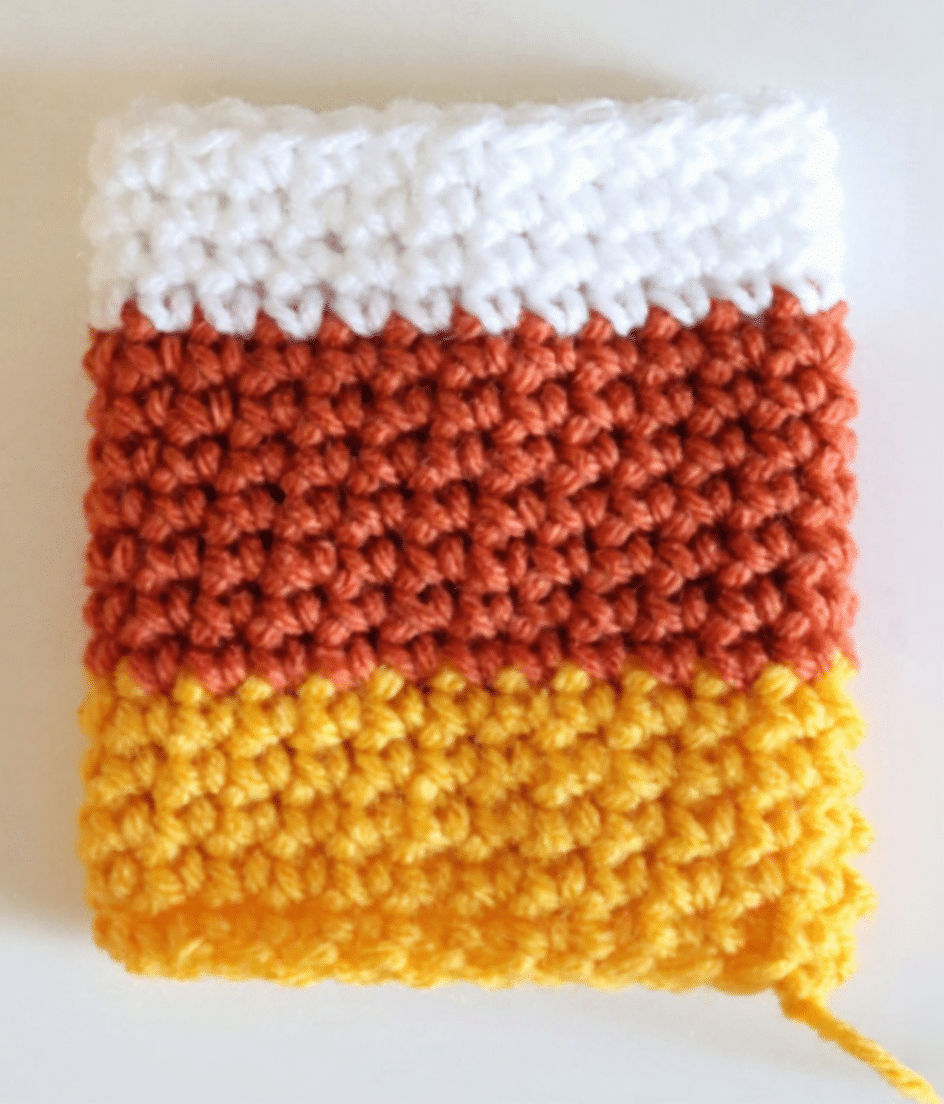
Here’s where our little tube turns into a candy corn!
- First, flatten the yellow end of the tube so the two sides are directly on top of one another.
- Using the long Saffron tail you left at the beginning, stitch straight across the bottom to completely close the opening. Fasten off and weave in the end.
- Now open the pouch and fill it with mini candy or treats.
- For the top tie, use White yarn to: Ch 55. Fasten off, leaving the chain as one long cord.
- Now for the important part: pinch the white opening closed in the opposite direction from the yellow seam. In other words, if you lay the pouch down with the yellow seam running from side to side, rotate the top pinch 90 degrees so it runs front to back. That opposite-direction closure is what transforms the simple tube into the dimensional candy corn shape!
- Weave your Ch-55 cord in and out through several stitches around the white opening. Pull the cord snug to gather the top closed, then tie the ends into a bow. Your Candy Corn Treat Pouch is finished!
Tips
- Fill It With More Than Candy! Of course candy is the obvious choice, but you could tuck all kinds of little Halloween surprises inside. Stickers, erasers, small toys, gift cards or other tiny treats would all work.
- Make a Plushie Instead: And you don’t even have to make it a pouch! Fill the candy corn with Poly-Fil instead, pinch the white section in the same direction shown above, and stitch it completely closed to turn it into a little Candy Corn Plushie. You could even add a cute face to the front before filling it. Two safety eyes and a stitched smile would make an adorable little candy corn character.
FAQs
Can I use a different yarn weight for this pattern?
This pattern is written for worsted weight yarn (Red Heart Super Saver). If you use a different weight, your finished size will vary. For a smaller pouch, try a lighter yarn with a smaller hook; for a larger version, use a bulky yarn.
How do I prevent the top from gaping open?
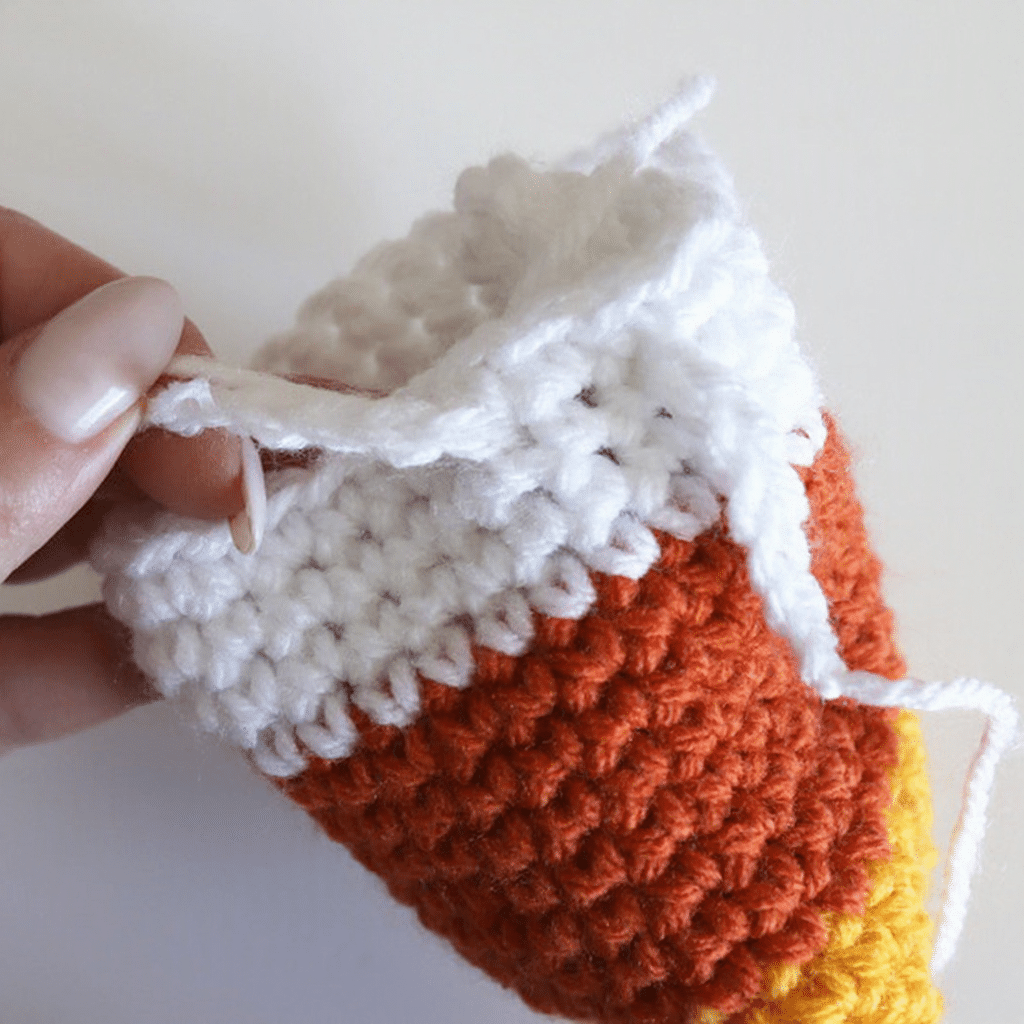
The key is the pinch direction. Ensure you pinch the white top in the opposite direction of the yellow bottom seam. When you weave the drawstring through and pull it tight, this twist creates the structural integrity that keeps the pouch closed securely.
Can I make this without the drawstring?
Yes. If you prefer a simpler closure, you can simply pinch the top closed and whip stitch it shut with the White yarn tail, or use a button and loop for a decorative closure instead of the long chain cord.
Is this pattern suitable for absolute beginners?
Yes. The only skills required are chaining, joining a ring, and single crocheting in the round. There are no increases, decreases, or complex stitch patterns involved.
How many treats will this hold?
Based on the finished size of approximately 5 inches tall by 4 inches wide, this pouch is designed to hold a generous amount of mini-size candies, such as mini Reese’s cups, mini Snickers, or small chocolate bars.
If you enjoy making simple, functional amigurumi, you might also like our Adorable Crochet Halloween Pumpkin Bouquet for seasonal decor, or check out our Easy Crochet Halloween Bat Pattern for more spooky stash-busting ideas.
Pin This Crochet Pattern!