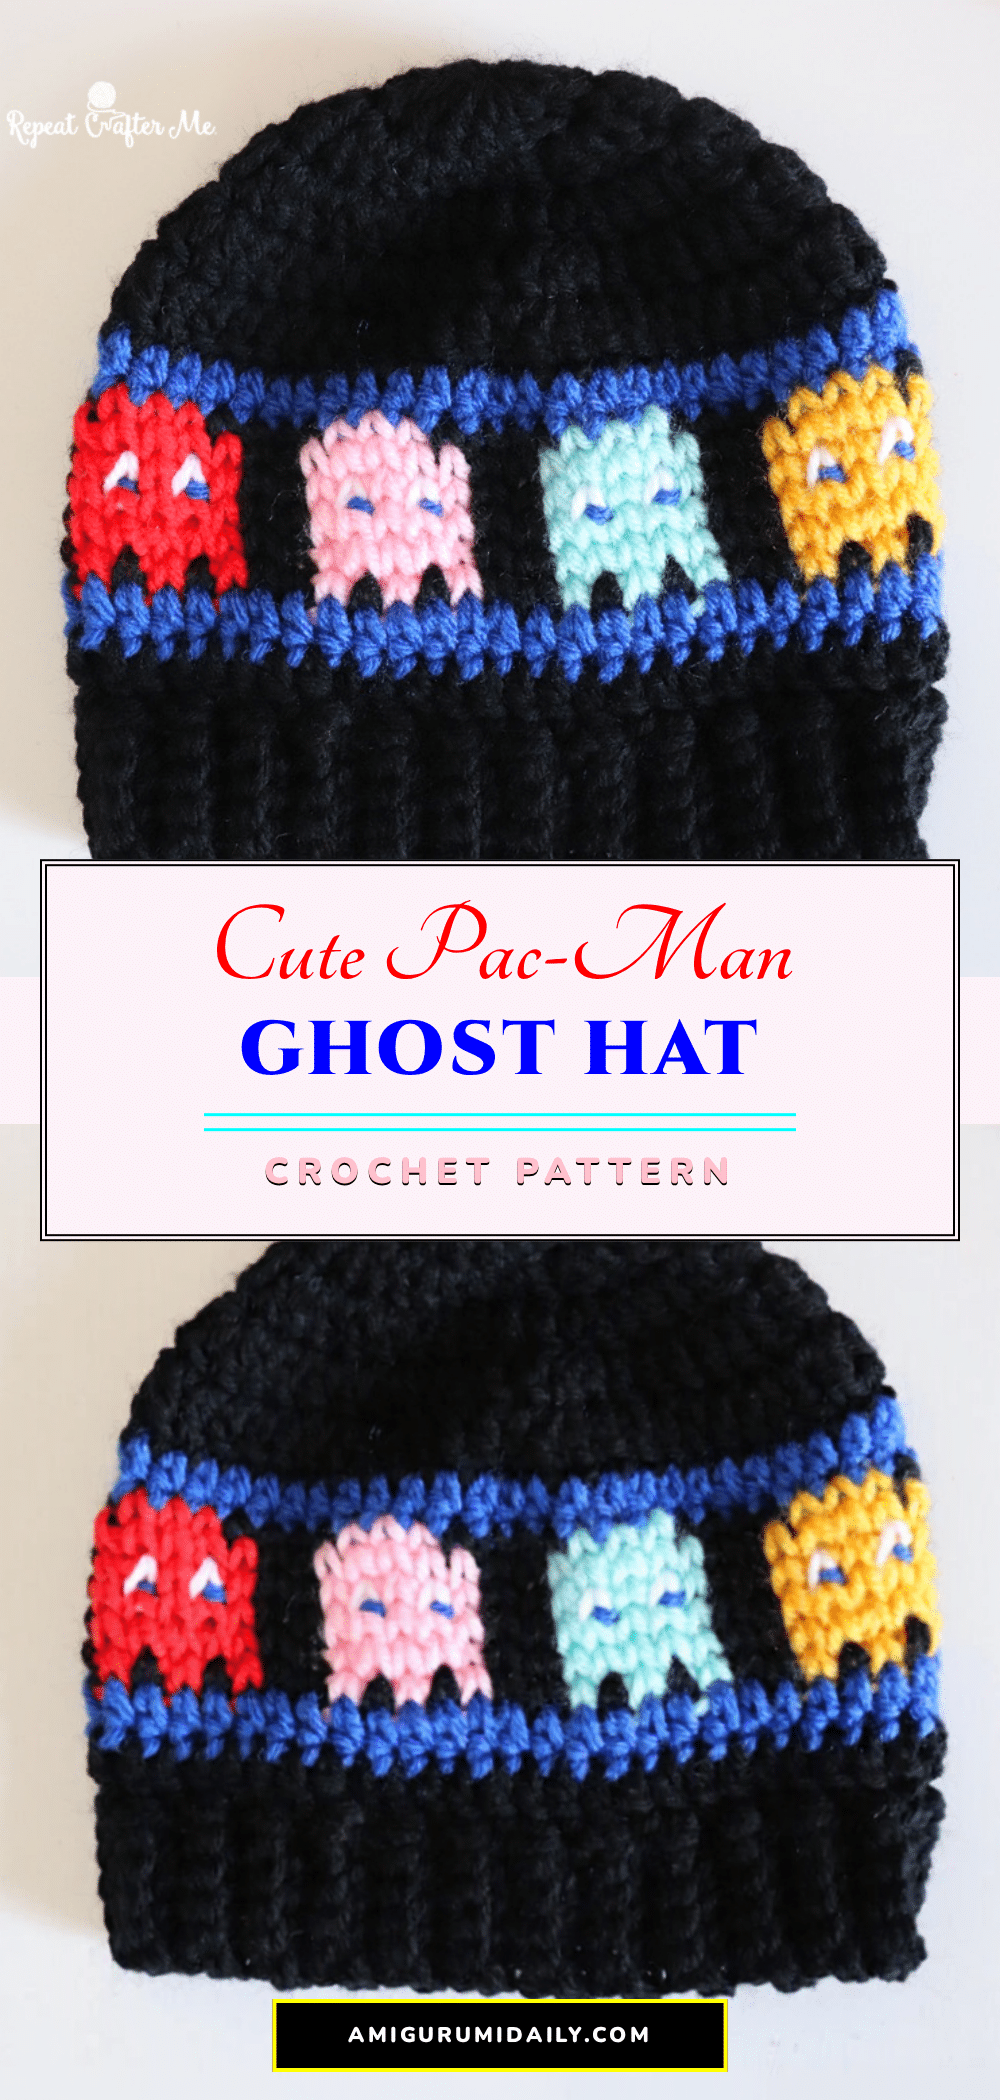
There is something undeniably satisfying about the rhythmic progression of a top-down hat, watching the rounds expand stitch by stitch until the crown fits perfectly. This Pac-Man Ghost Crochet Hat captures that joy through its unique waistcoat stitch texture, which mimics the look of vintage knitting while providing the perfect canvas for pixelated colorwork. The pattern relies on precise row-by-row graph reading and careful tension management to ensure the four ghosts—Blinky, Pinky, Inky, and Clyde—stand out clearly against the maze-like background. By focusing on the structure of the rounds and the specific placement of the join, this wearable project offers a rewarding challenge that results in a nostalgic and stylish accessory.
Texture and Stitch Notes
The defining feature of this hat is the waistcoat stitch, which creates a smooth, knit-like texture ideal for pixel art. Unlike standard single crochet, the waistcoat stitch requires you to insert your hook into the center post of the stitch—the middle of the “V” on the front of the work. This technique locks the color changes in place, preventing gaps and ensuring the pixelated ghosts look crisp. Because this stitch can be slightly more restrictive than standard crochet, maintaining a loose tension is essential. If your stitches are too tight, you will struggle to insert the hook into the post, and the hat may lose its necessary stretch. This texture transforms simple yarn into a graphic design, making the color changes pop with a retro arcade charm.
Project Overview
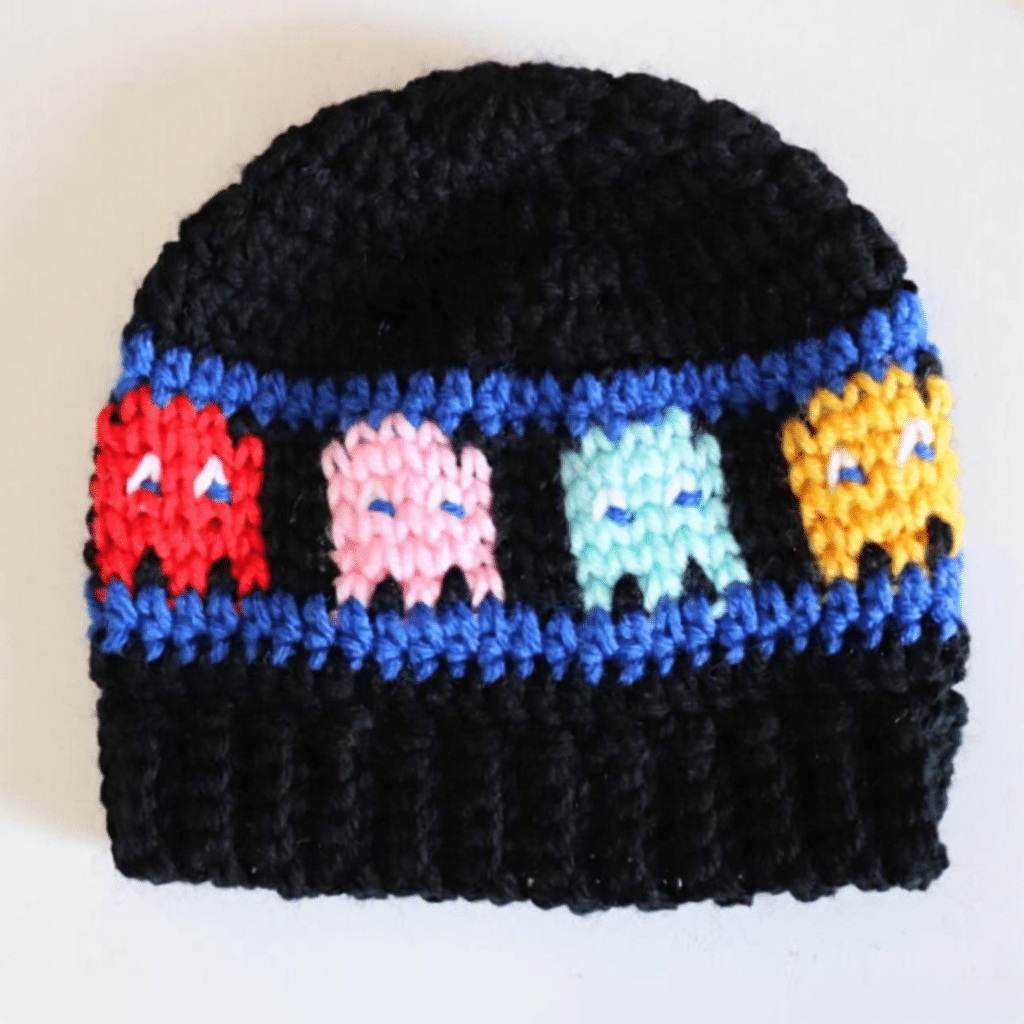
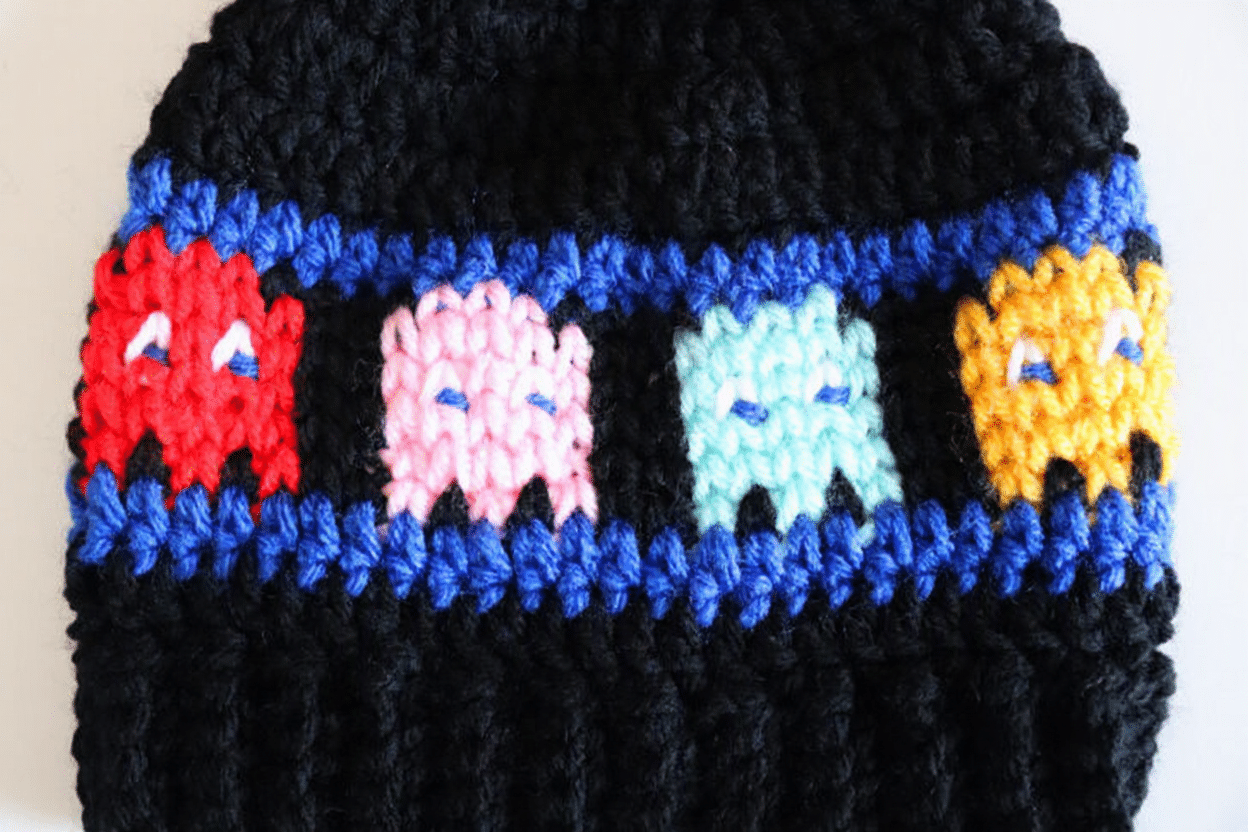
This wearable hat features a top-down construction with a ribbed brim. The design centers four distinct ghosts across the front of the hat, surrounded by black background stitches and blue “maze” rounds above and below the colorwork panel. The pattern uses a 7-stitch sizing progression, allowing for sizes from Baby to Adult. The ghost panel remains a constant 28 stitches wide (7 stitches per ghost), with the background stitches adjusting to accommodate the different head sizes.
Materials
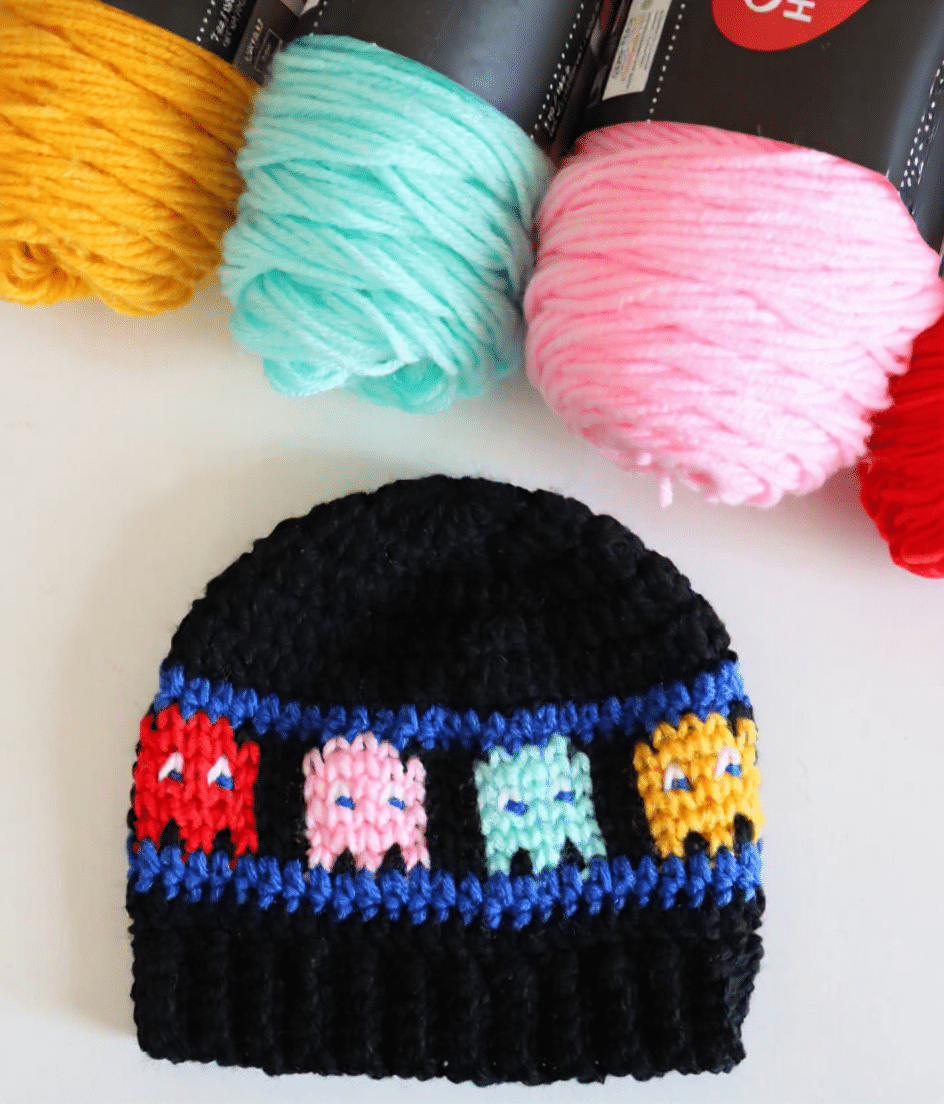
- Red Heart Super Saver worsted weight yarn (or favorite worsted weight substitute)
- Black – Background
- Royal Blue – Pac-Man maze stripes and pupils
- Hot Red – Blinky
- Petal Pink – Pinky
- Minty – Inky
- Saffron – Clyde
- White – Eyes
- Size H (5.0 mm) crochet hook
- Tapestry needle
- Scissors
Abbreviations
- CH = Chain
- DC = Double Crochet
- SC = Single Crochet
- WC SC = Waistcoat Single Crochet
- ST(S) = Stitch(es)
- HDC = Half Double Crochet
Pattern Notes
Waistcoat (Knit-Look) Stitch
This hat is worked from the top down. The main portion of the hat is crocheted in double crochet (DC or HDC) as specified in the pattern. The waistcoat stitch is used only for the 6 rounds of pixel colorwork. If you can make a single crochet, you can make the waistcoat stitch! Instead of crocheting into the tops of the stitches, insert your hook into the center post of the stitch — right in the middle of the “V” you see on the front. Complete the stitch just like a regular single crochet. This creates the smooth, knit-look texture that works so well for pixel-style colorwork.
Tip: Keep your tension a little loose. If your stitches are too tight, it can be difficult to insert your hook into the center of the V.
Hat Sizes
The hat uses the same 7-stitch sizing progression as the original Ghosts in a Row Hat:
- Baby: 42 stitches
- Toddler/Preschool: 49 stitches
- Child: 56 stitches
- Teen: 63 stitches
- Adult: 70 stitches
The Pac-Man ghost panel itself is always 28 stitches wide — 7 stitches for each of the four ghosts. Instead of adding more ghosts for the larger sizes, you will add background stitches before and after the 28-stitch panel so Blinky, Pinky, Inky and Clyde stay grouped together across the front of the hat.
Centering the Ghost Panel
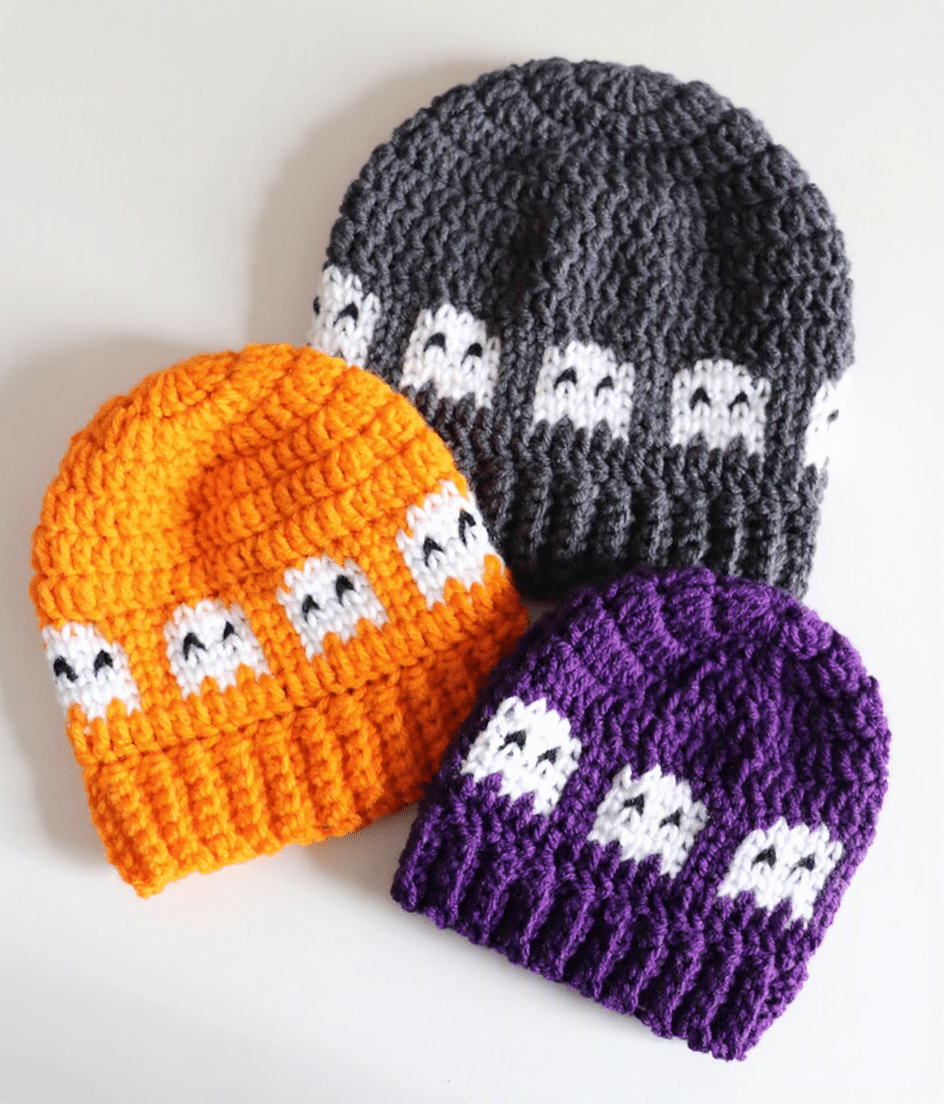
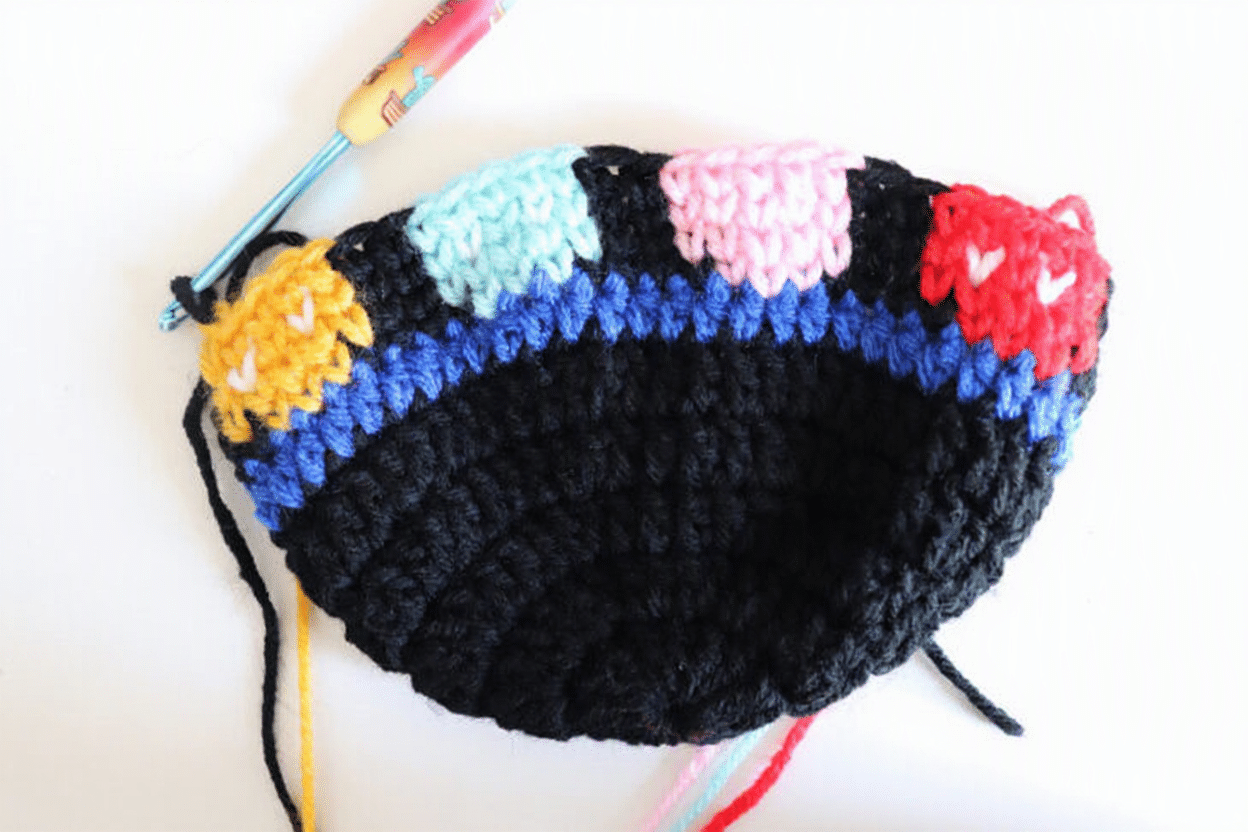
Important: Your beginning-of-round join should be positioned at the center back of the hat. This allows the background stitches at the beginning and end of each round to center the four ghosts across the front. For the 49-stitch sample shown here, I worked 10 background stitches, the 28-stitch ghost panel, then 11 background stitches.
Carrying Your Yarn
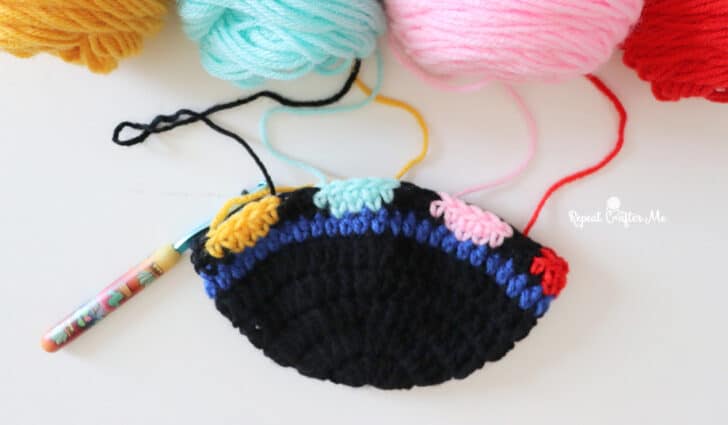
I recommend using a separate strand or small ball of yarn for each ghost rather than carrying all four colors around the hat. I also chose not to carry the darker yarn through the lighter stitches. Instead, float the unused yarn loosely along the back of the work and pick it back up when needed. Be careful not to pull your floats too tightly or the hat may pucker and lose some of its stretch.
Crochet Hat Pattern
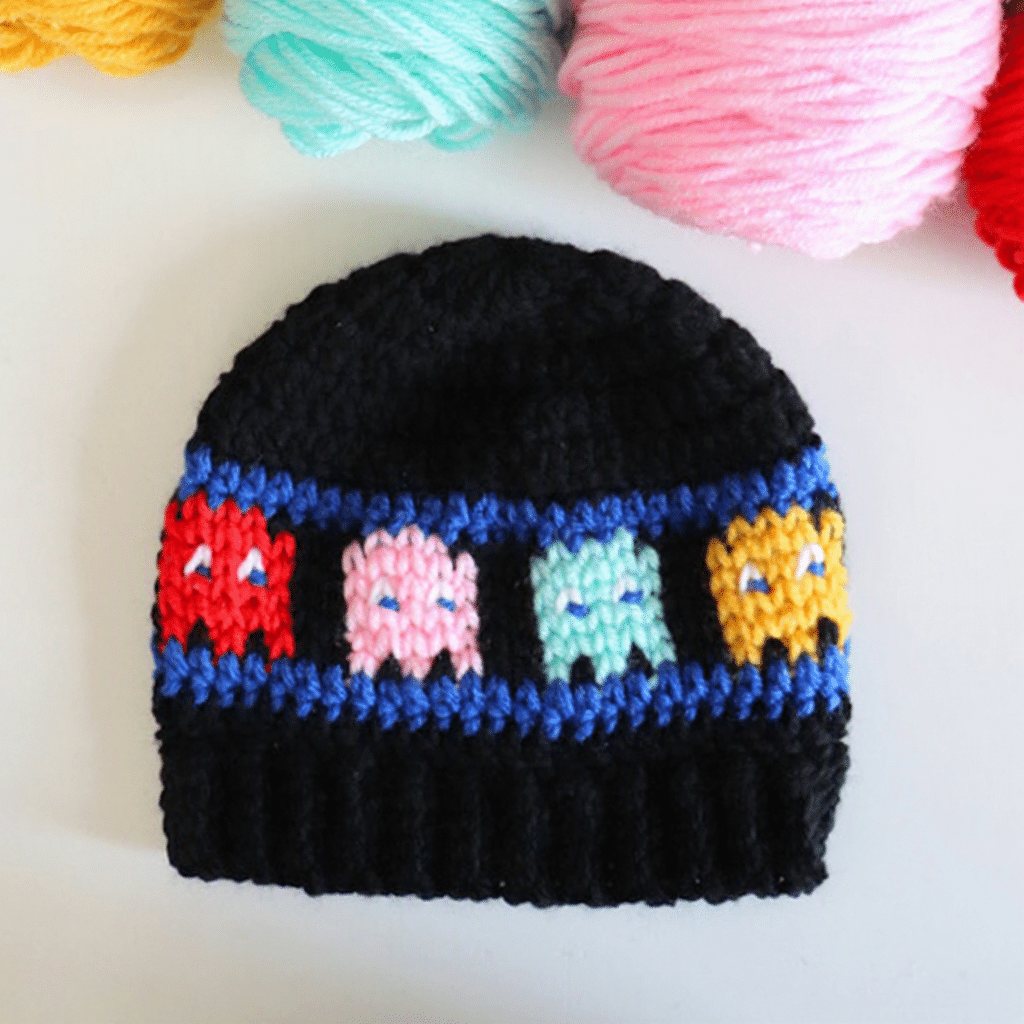
Baby — 42 stitches
- Round 1: Magic Ring, chain 1 and make 14 DC in ring, join, chain 2. (14 DC)
- Round 2: 2 DC in each stitch around, join, chain 2. (28 DC)
- Round 3: 2 DC in first stitch, DC in next 3 stitches; repeat around, join, chain 2. (35 DC)
- Round 4: 2 DC in first stitch, DC in next 4 stitches; repeat around, (42 DC) join in blue yarn, chain 1
- Round 5: HDC in each stitch around, join in black yarn, chain 1. (42 HDC)
- Rounds 6–11: Using waistcoat stitch, WC SC in next 7 stitches with Black, work the corresponding row of the 28-stitch Ghost Graph, WC SC in next 7 stitches with Black, join. Continue working the graph from Row 6 down through Row 1. join in blue yarn, chain 1
- Round 12: HDC in each stitch around, join (42 HDC)
- Work ribbing with black yarn.
Toddler/Preschool — 49 stitches
- Round 1: Magic Ring, chain 1 and make 14 DC in ring, join, chain 2. (14 DC)
- Round 2: 2 DC in each stitch around, join, chain 2. (28 DC)
- Round 3: 2 DC in first stitch, DC in next 3 stitches; repeat around, join, chain 2. (35 DC)
- Round 4: 2 DC in first stitch, DC in next 4 stitches; repeat around, join, chain 2. (42 DC)
- Round 5: 2 DC in first stitch, DC in next 5 stitches; repeat around, (49 DC) join in blue yarn, chain 1
- Round 6: HDC in each stitch around, join in black yarn, chain 1. (49 HDC)
- Rounds 7–12: Using waistcoat stitch, WC SC in next 10 stitches with Black, work the corresponding row of the 28-stitch Ghost Graph, WC SC in next 11 stitches with Black, join. Continue working the graph from Row 6 down through Row 1. join in blue yarn, chain 1
- Round 13: HDC in each stitch around, join in black yarn, chain 2 (49 HDC)
- Round 14: DC in each stitch around (49 DC)
- Work ribbing with black yarn.
Child — 56 stitches
- Round 1: Magic Ring, chain 1 and make 14 DC in ring, join, chain 2. (14 DC)
- Round 2: 2 DC in each stitch around, join, chain 2. (28 DC)
- Round 3: 2 DC in first stitch, DC in next 3 stitches; repeat around, join, chain 2. (35 DC)
- Round 4: 2 DC in first stitch, DC in next 4 stitches; repeat around, join, chain 2. (42 DC)
- Round 5: 2 DC in first stitch, DC in next 5 stitches; repeat around, join, chain 2. (49 DC)
- Round 6: 2 DC in first stitch, DC in next 6 stitches; repeat around, join, chain 2. (56 DC)
- Round 7: DC in each stitch around, join, chain 1. (56 DC) Join in blue yarn.
- Round 8: HDC in each stitch around, join in black yarn, chain 1. (56 HDC)
- Rounds 9–14: Using waistcoat stitch, WC SC in next 14 stitches with Black, work the corresponding row of the 28-stitch Ghost Graph, WC SC in next 14 stitches with Black, join. Continue working the graph from Row 6 down through Row 1. Join in blue yarn, chain 1.
- Round 15: HDC in each stitch around, join in black yarn, chain 2. (56 HDC)
- Round 16: DC in each stitch around, join. (56 DC)
- Work ribbing with black yarn.
Teen — 63 stitches
- Round 1: Magic Ring, chain 1 and make 14 DC in ring, join, chain 2. (14 DC)
- Round 2: 2 DC in each stitch around, join, chain 2. (28 DC)
- Round 3: 2 DC in first stitch, DC in next 3 stitches; repeat around, join, chain 2. (35 DC)
- Round 4: 2 DC in first stitch, DC in next 4 stitches; repeat around, join, chain 2. (42 DC)
- Round 5: 2 DC in first stitch, DC in next 5 stitches; repeat around, join, chain 2. (49 DC)
- Round 6: 2 DC in first stitch, DC in next 6 stitches; repeat around, join, chain 2. (56 DC)
- Round 7: 2 DC in first stitch, DC in next 7 stitches; repeat around, join, chain 2. (63 DC)
- Round 8: DC in each stitch around, join, chain 1. (63 DC) Join in blue yarn.
- Round 9: HDC in each stitch around, join in black yarn, chain 1. (63 HDC)
- Rounds 10–15: Using waistcoat stitch, WC SC in next 17 stitches with Black, work the corresponding row of the 28-stitch Ghost Graph, WC SC in next 18 stitches with Black, join. Continue working the graph from Row 6 down through Row 1. Join in blue yarn, chain 1.
- Round 16: HDC in each stitch around, join in black yarn, chain 2. (63 HDC)
- Round 17: DC in each stitch around, join. (63 DC)
- Work ribbing with black yarn.
Adult — 70 stitches
- Round 1: Magic Ring, chain 1 and make 14 DC in ring, join, chain 2. (14 DC)
- Round 2: 2 DC in each stitch around, join, chain 2. (28 DC)
- Round 3: 2 DC in first stitch, DC in next 3 stitches; repeat around, join, chain 2. (35 DC)
- Round 4: 2 DC in first stitch, DC in next 4 stitches; repeat around, join, chain 2. (42 DC)
- Round 5: 2 DC in first stitch, DC in next 5 stitches; repeat around, join, chain 2. (49 DC)
- Round 6: 2 DC in first stitch, DC in next 6 stitches; repeat around, join, chain 2. (56 DC)
- Round 7: 2 DC in first stitch, DC in next 7 stitches; repeat around, join, chain 2. (63 DC)
- Round 8: 2 DC in first stitch, DC in next 8 stitches; repeat around, join, chain 2. (70 DC)
- Rounds 9–10: DC in each stitch around, join, chain 2. (70 DC) Join in blue yarn, chain 1.
- Round 11: HDC in each stitch around, join in black yarn, chain 1. (70 HDC)
- Rounds 12–17: Using waistcoat stitch, WC SC in next 21 stitches with Black, work the corresponding row of the 28-stitch Ghost Graph, WC SC in next 21 stitches with Black, join. Continue working the graph from Row 6 down through Row 1. Join in blue yarn, chain 1.
- Round 18: HDC in each stitch around, join in black yarn, chain 2. (70 HDC)
- Round 19: DC in each stitch around, join. (70 DC)
- Work ribbing with black yarn.
Assembly
Finish the Hat with a Ribbed Border
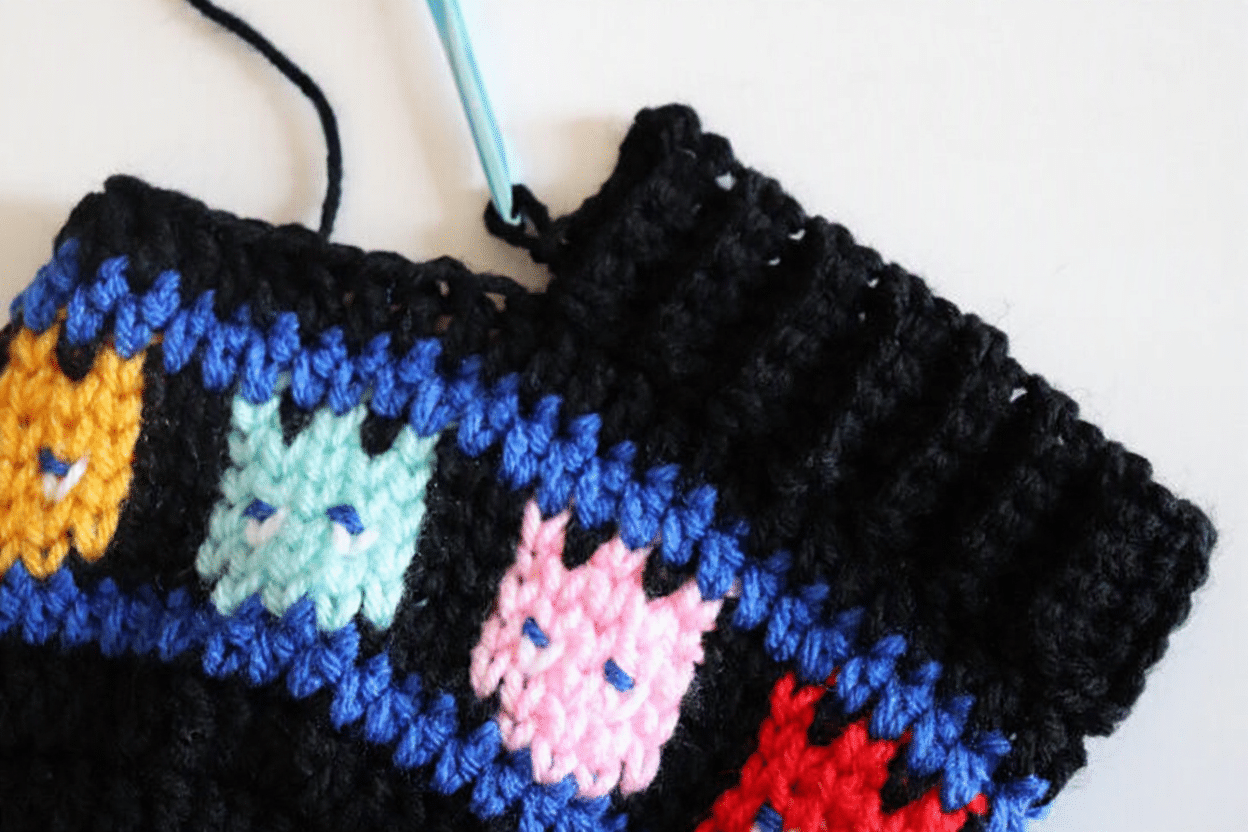
Please be sure and watch THIS TUTORIAL from my friend Daisy Farm Crafts on how to make a single crochet ribbed border. I love this technique because you don’t need to sew the ribbing on separately, it is crochet right onto the edge of the hat! It’s basically a chain 7 (or however long/short your want your ribbed border), SC in each chain until you get back to the hat edge, slip stitch in two stitches along the hat edge and then SC in the back loops of the ribbing and repeat. She has a VERY easy tutorial to follow and you can use this border on many different projects.
When you’ve finished the ribbed border along the edge of the hat you can slip stitch the seam together.
Fasten off and weave in all ends.
Tips
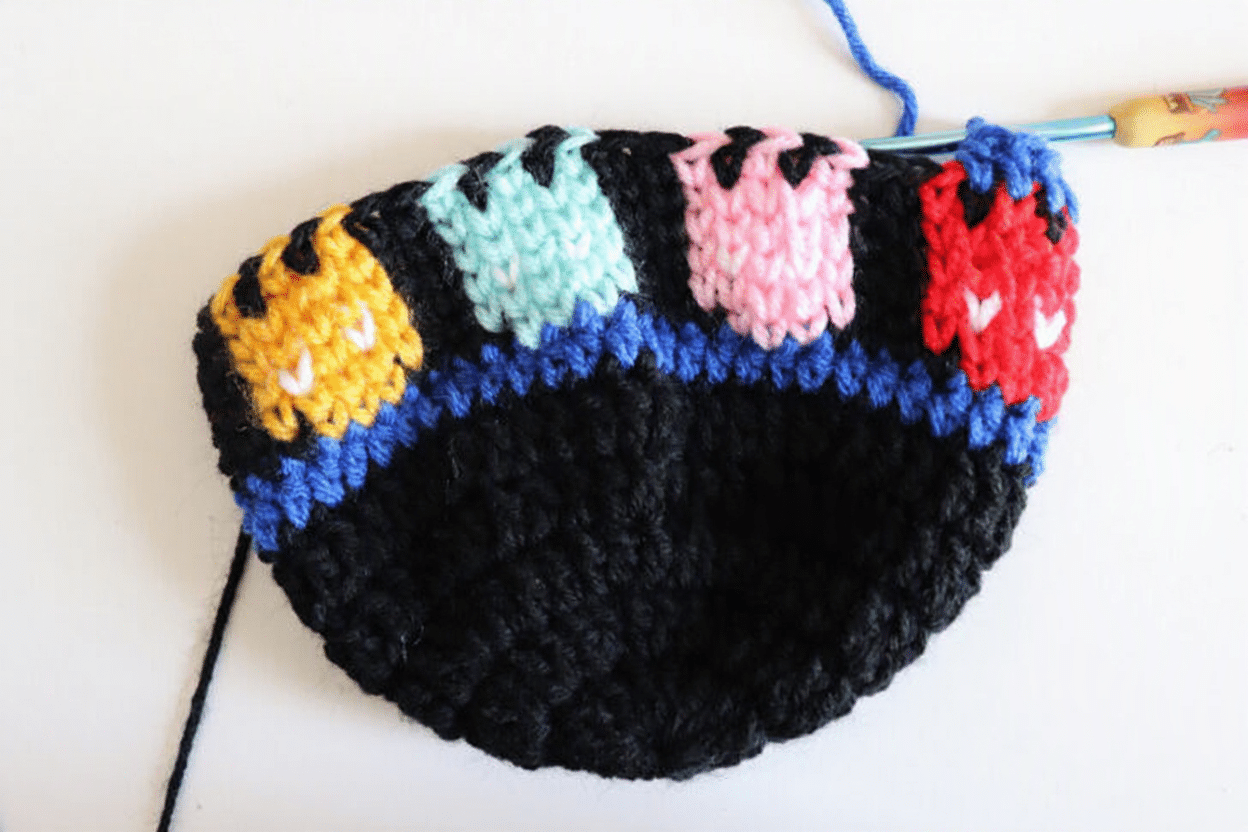
- Tension is Key: Keep your tension a little loose when working the waistcoat stitch. If your stitches are too tight, it can be difficult to insert your hook into the center of the V.
- Yarn Management: Use a separate strand or small ball of yarn for each ghost rather than carrying all four colors around the hat. Float the unused yarn loosely along the back of the work and pick it back up when needed. Be careful not to pull your floats too tightly or the hat may pucker and lose some of its stretch.
- Join Placement: Always position your beginning-of-round join at the center back of the hat to ensure the ghost panel remains centered on the front.
FAQs
Can I use a different yarn brand?
Yes, feel free to substitute your favorite worsted weight colors for the four ghosts and the background yarn. Just ensure the weight matches the hook size recommended for your gauge.
How do I center the ghosts correctly?
The key is the placement of your join. Place your slip stitch join at the center back of the hat. The pattern instructions specify the number of background stitches to work before and after the 28-stitch ghost panel to ensure symmetry.
What is the waistcoat stitch?
The waistcoat stitch is worked by inserting your hook into the center post of the stitch (the middle of the “V” on the front) rather than into the top loops. This creates a smooth, knit-like texture that is perfect for pixel art.
Do I need to carry yarn across the back?
It is recommended to use separate strands for each ghost color and float the unused yarn loosely along the back rather than carrying it across long distances. This prevents puckering and makes it easier to manage the multiple colors.
How do I add the pupils?
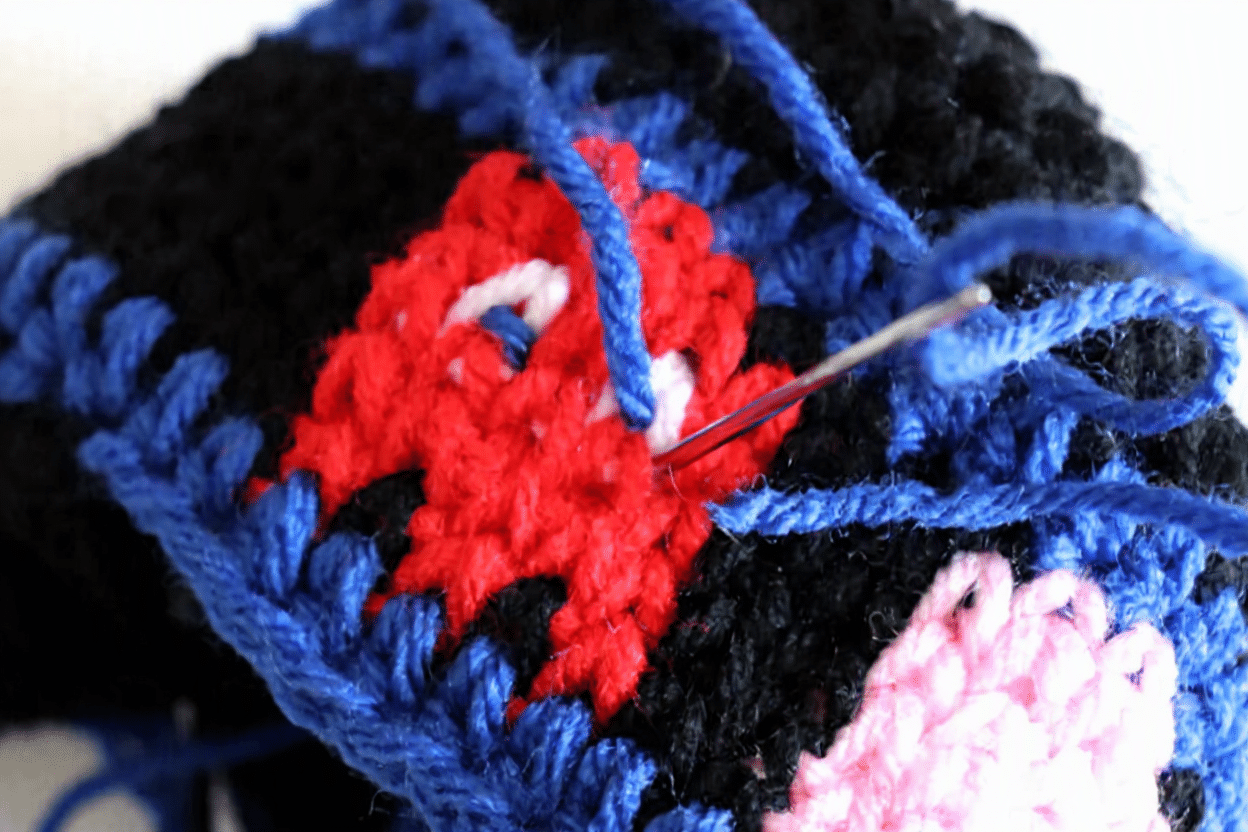
The white eye stitches are crocheted directly into the graph. After completing the hat, use a tiny bit of blue yarn to stitch over the white stitches to create the pupils.
For more creative wearable ideas, check out this adorable crochet Halloween pumpkin bouquet or explore these cute crochet letter S applique designs for personalized gifts.
Pin This Crochet Pattern!