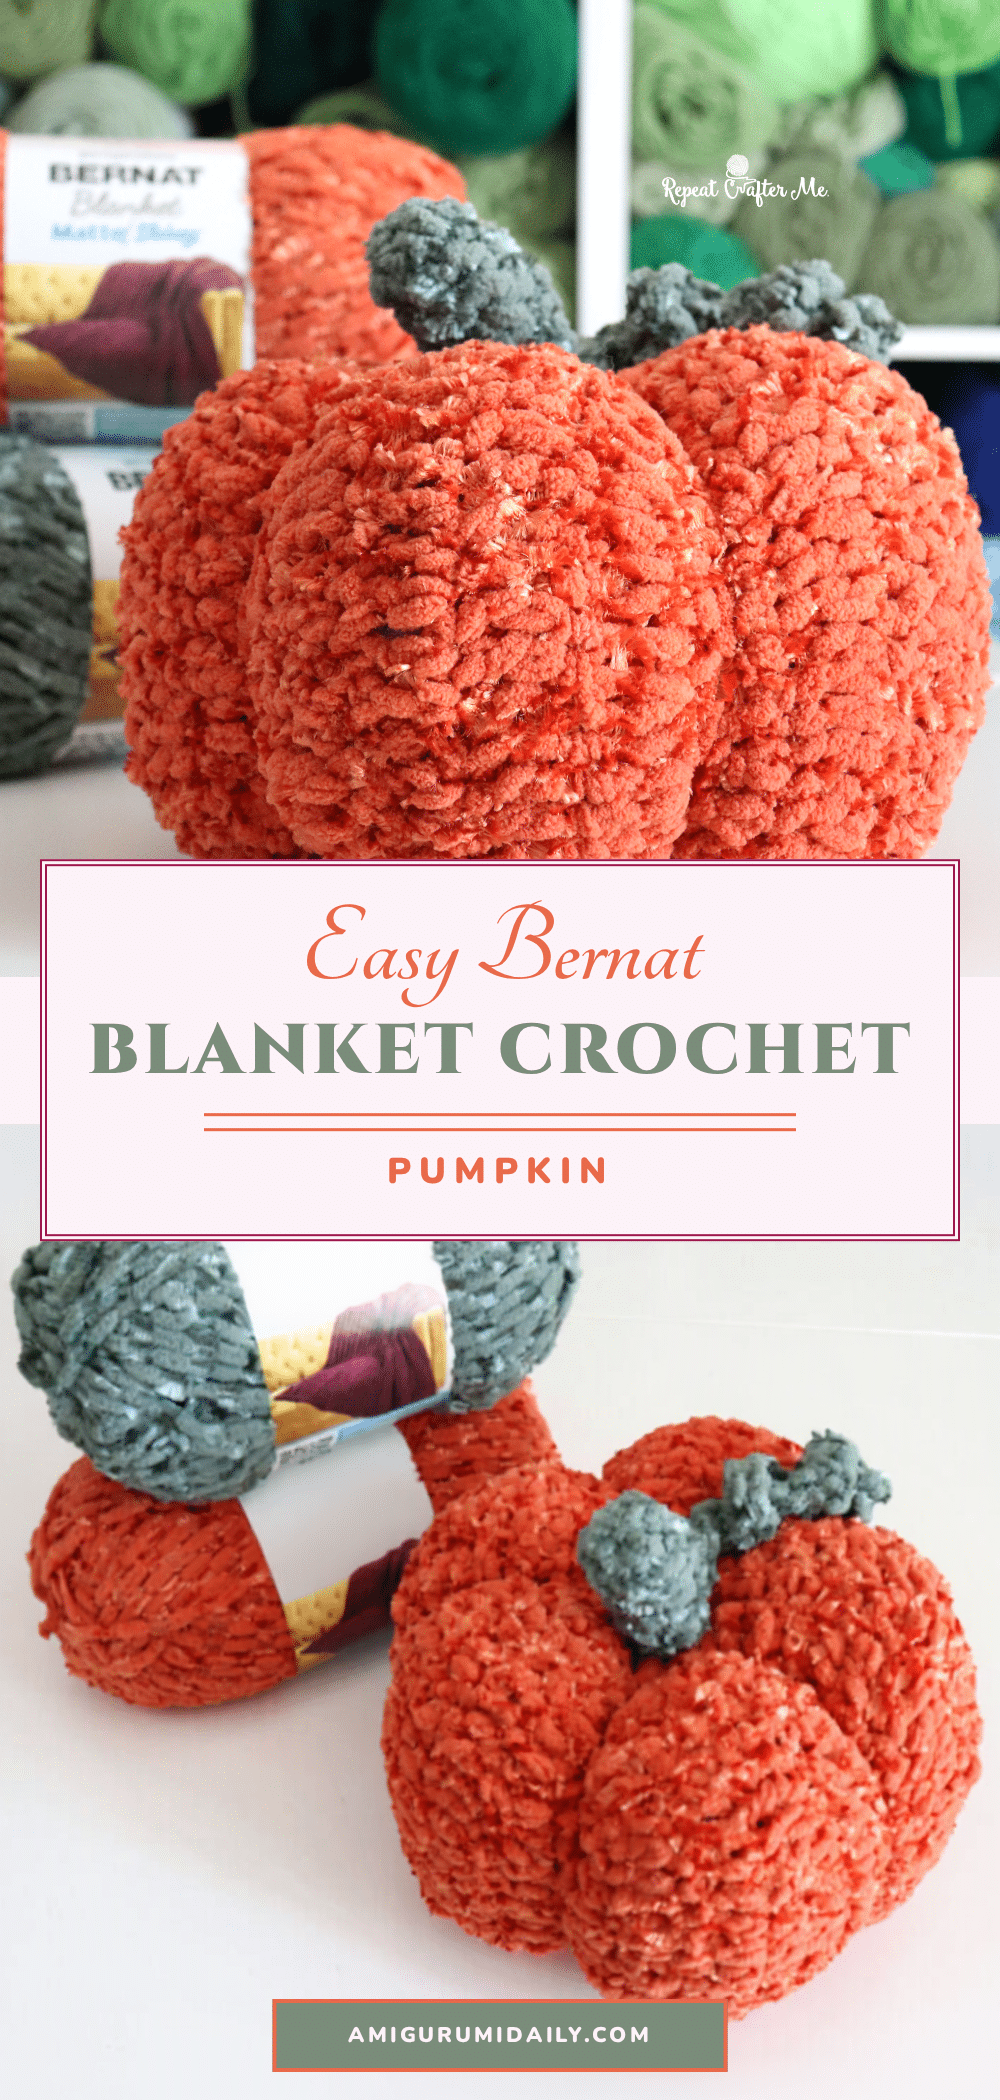
Have you ever started a crochet project only to realize your stitches are disappearing into the yarn? It is a common worry for beginners, especially when working with textured or novelty fibers. You might worry that you are missing a stitch or that the pattern is too complex to follow. This Bernat Blanket Pumpkin is the perfect antidote to that anxiety. Because the yarn is super bulky and the construction relies on simple, repetitive rows rather than intricate stitch patterns, you can actually see your progress clearly. It is forgiving, fast, and designed to give you that satisfying “I made this” feeling without the stress of counting tiny stitches.
Maker Notes
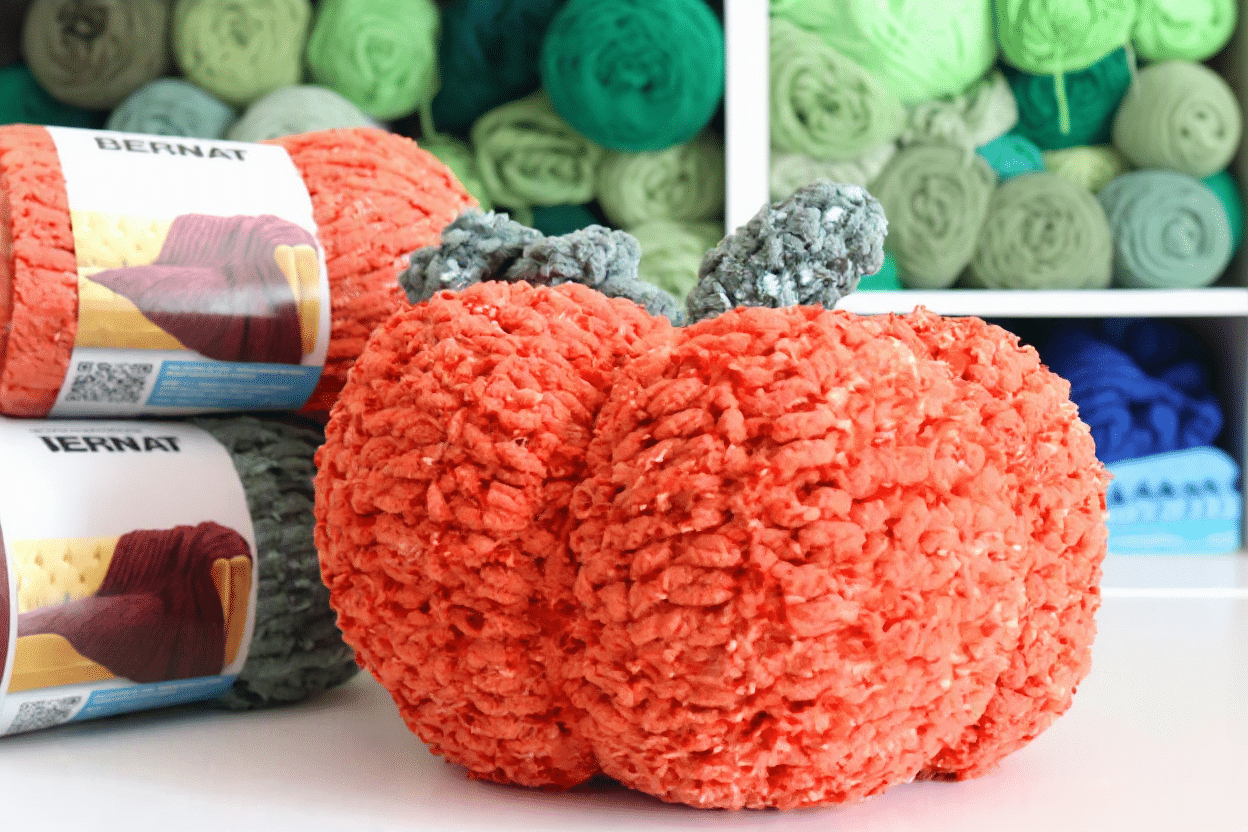
There is something undeniably cozy about bringing fall decor into your home, and this pumpkin captures that spirit perfectly. I chose the Bernat Blanket Matte & Shiny yarn because it offers the plush, squishy feel of traditional chenille but adds a subtle luster that catches the light beautifully. This texture difference is key; it gives the pumpkin a premium look while remaining soft enough to double as a throw pillow. Unlike traditional amigurumi that might use plastic safety eyes or stiff stuffing, this version is entirely soft and huggable. The stem and curly vine are also crocheted, meaning there are no hard parts to worry about—just pure, tactile comfort. It is substantial enough to anchor a coffee table or couch, yet light enough to toss around easily.
Project Overview
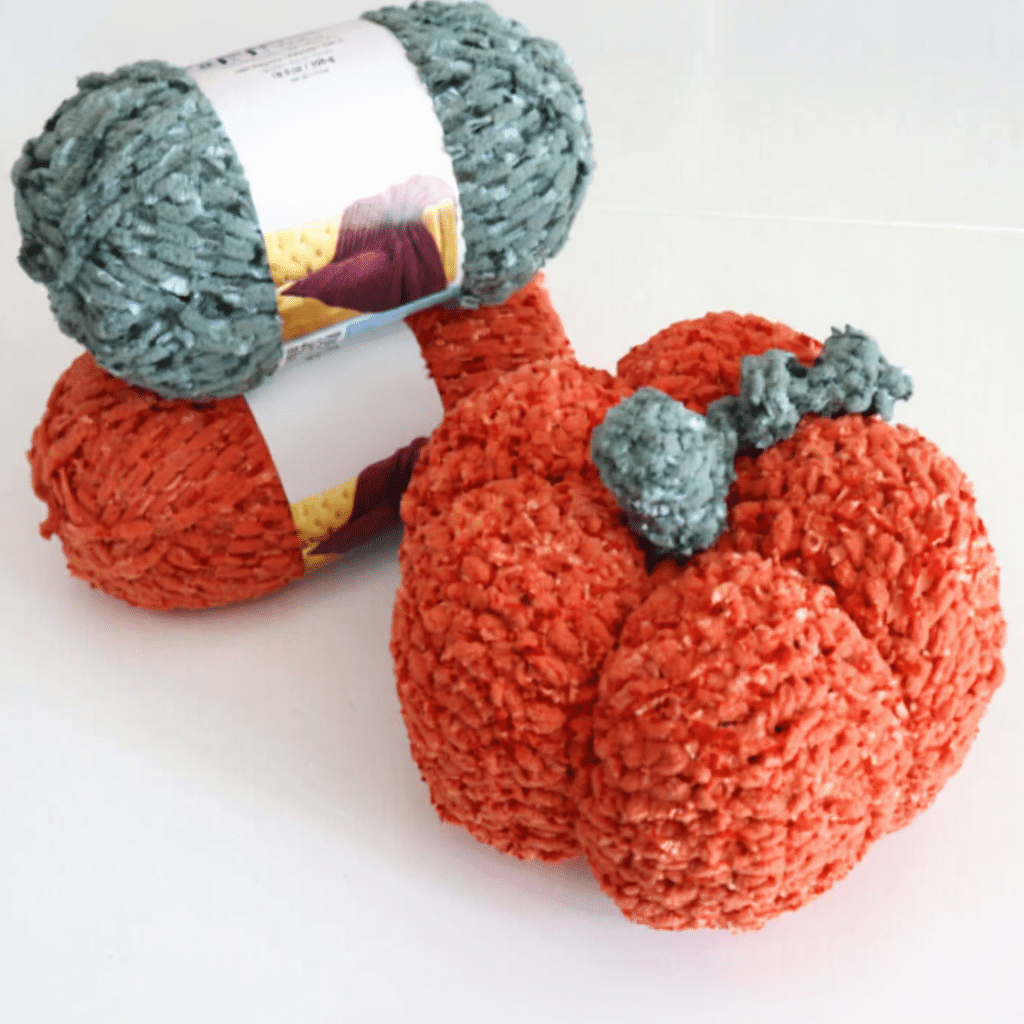
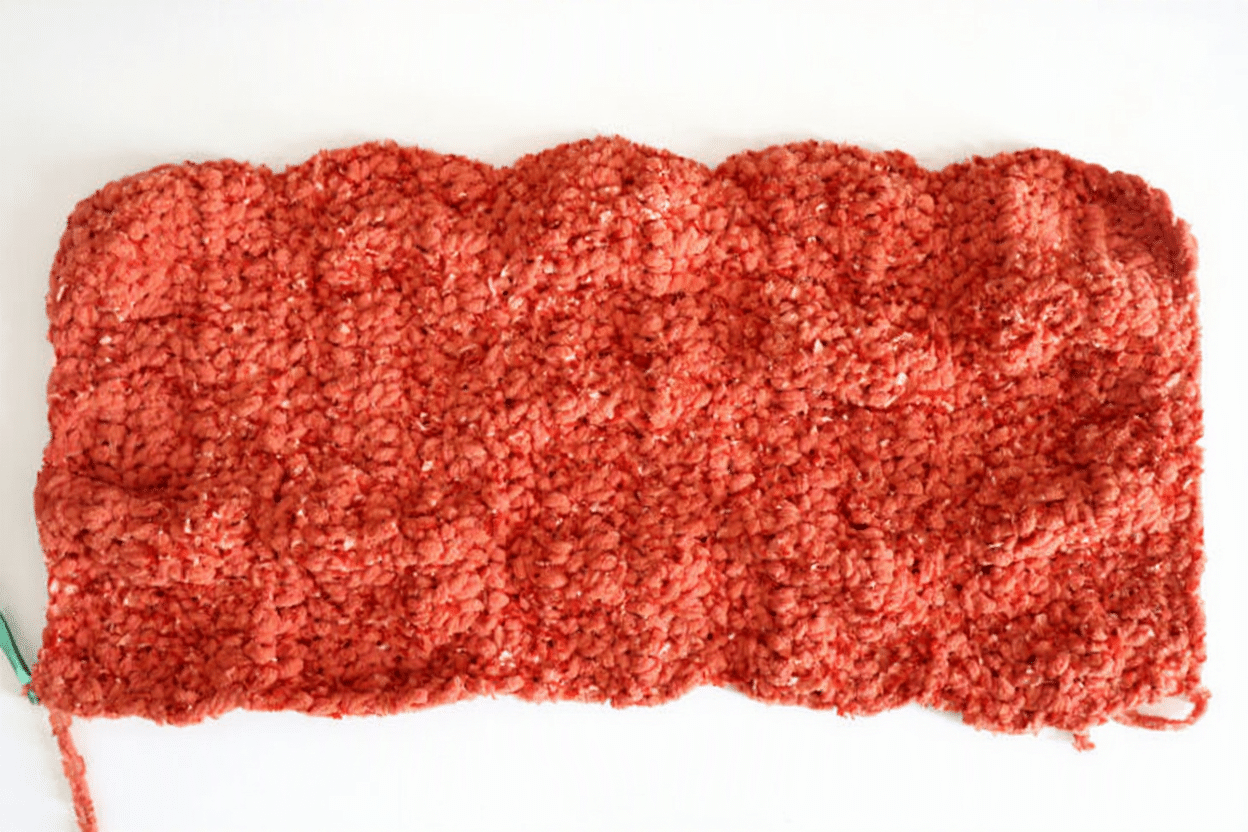
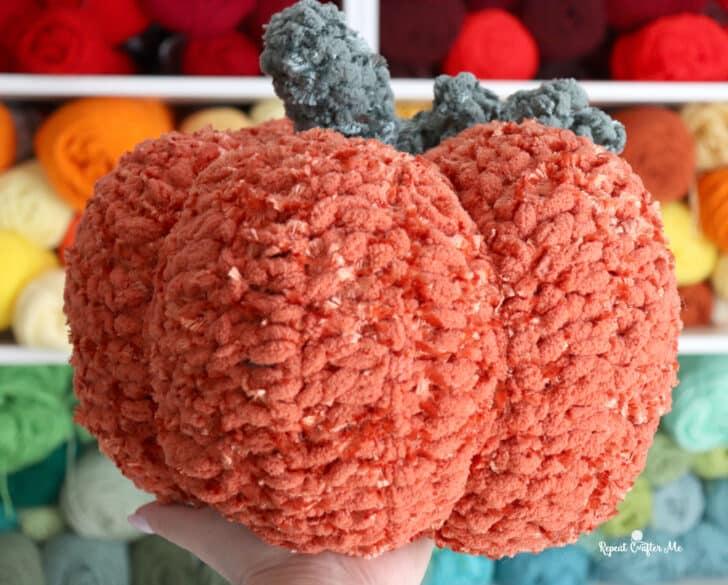
This amigurumi pumpkin is constructed by crocheting a long, ridged strip that is then sewn into a tube. The unique shape comes from alternating sections of double crochet increases with single crochet decreases, creating five distinct raised ridges. The pattern includes instructions for a soft stem and a naturally curling vine, all made from the same chunky yarn family. It is an excellent project for beginners who want to create a large, impactful home decor piece quickly.
Materials
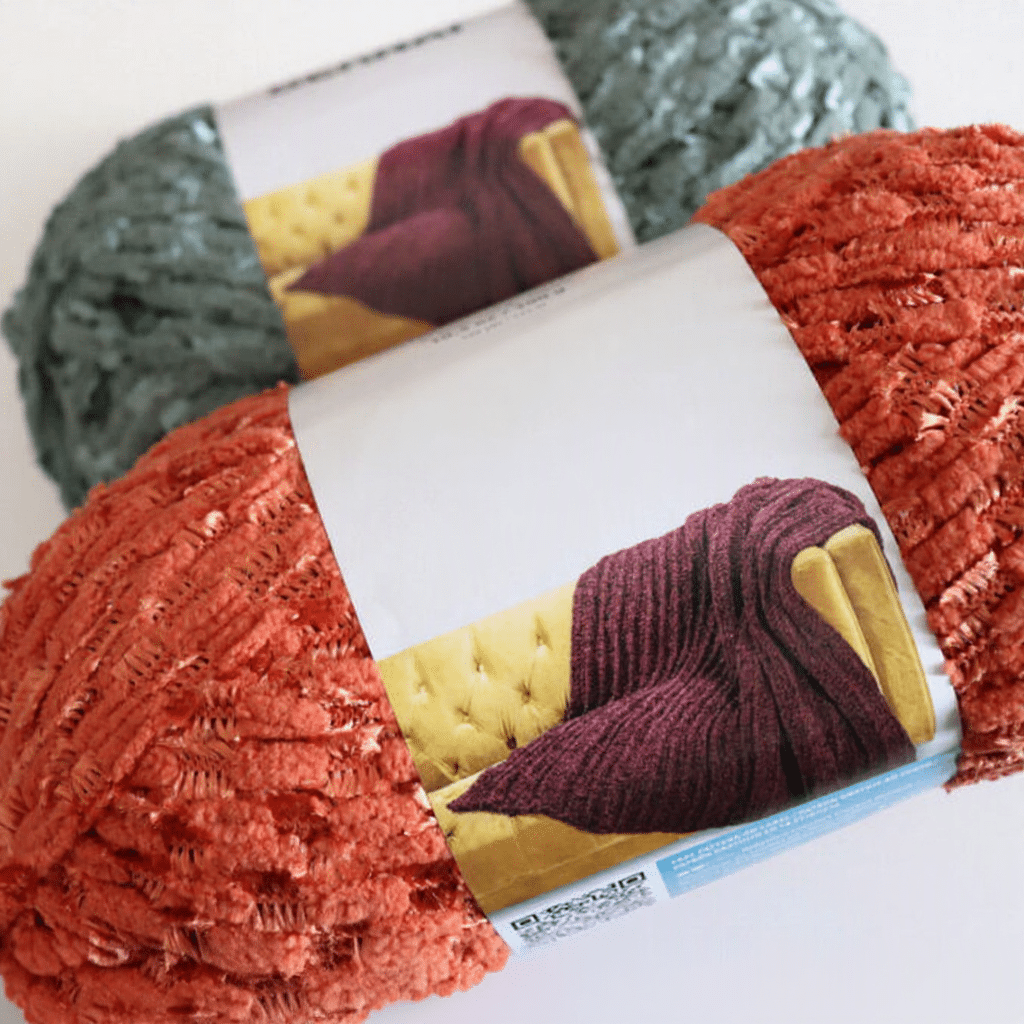
- Yarn: Bernat Blanket Matte & Shiny in Orange Leaf Luster (Approximately 223 g / 140 yards, or about ¾ of one 300 g ball)
- Yarn: Bernat Blanket Matte & Shiny in Smoky Green Luster (Small amount for stem and vine)
- Hook: Size K-10.5 (6.5 mm) crochet hook
- Stuffing: Polyester fiberfill
- Tools: Tapestry needle, Scissors
Gauge and Finished Size
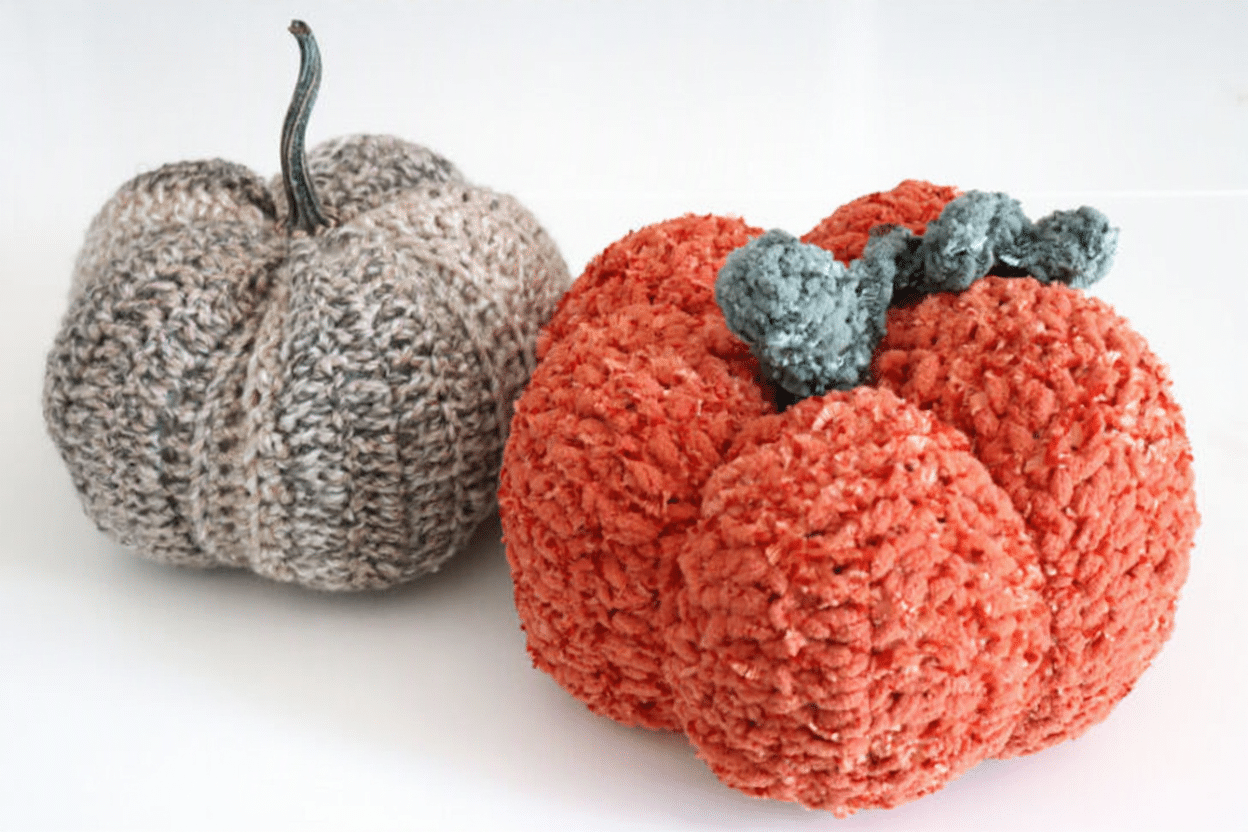
There is no specific gauge required for this pattern, as the size is determined by the chain and row counts. The finished pumpkin measures approximately 10 inches tall by 12 inches wide, with a circumference of approximately 32 inches. Please note that the final size may vary depending on your tension and how firmly you stuff the pumpkin.
Abbreviations
- SC: Single Crochet
- DC: Double Crochet
- Ch: Chain
- Turn: Turn your work
- Magic ring: A method for starting projects in the round
Pattern Instructions
Crochet Pumpkin Body
Using Orange Leaf Luster:
- Row 1: Chain 21, SC in second chain from hook and in each chain across. Ch 1, turn. (20 SC)
- Row 2: SC in each stitch across. Ch 2, turn. (20 SC)
- Row 3: *2 DC in next stitch, DC in next stitch; repeat from * across. Ch 2, turn. (30 DC)
- Rows 4–6: DC in each stitch across. Ch 2, turn. (30 DC)
- Row 7: At the end of Row 6, ch 1 and turn. *SC Decrease over the next 2 stitches, SC in next stitch; repeat from * across. Ch 1, turn. (20 SC)
- Row 8: SC in each stitch across. Ch 2, turn. (20 SC)
Continue Making Pumpkin Ridges: Repeat Rows 3–8 three more times. You will now have four raised pumpkin sections.
For the fifth and final pumpkin section:
- Rows 27–30: Repeat Rows 3–6. (30 DC)
- Row 31: Repeat Row 7. (20 SC)
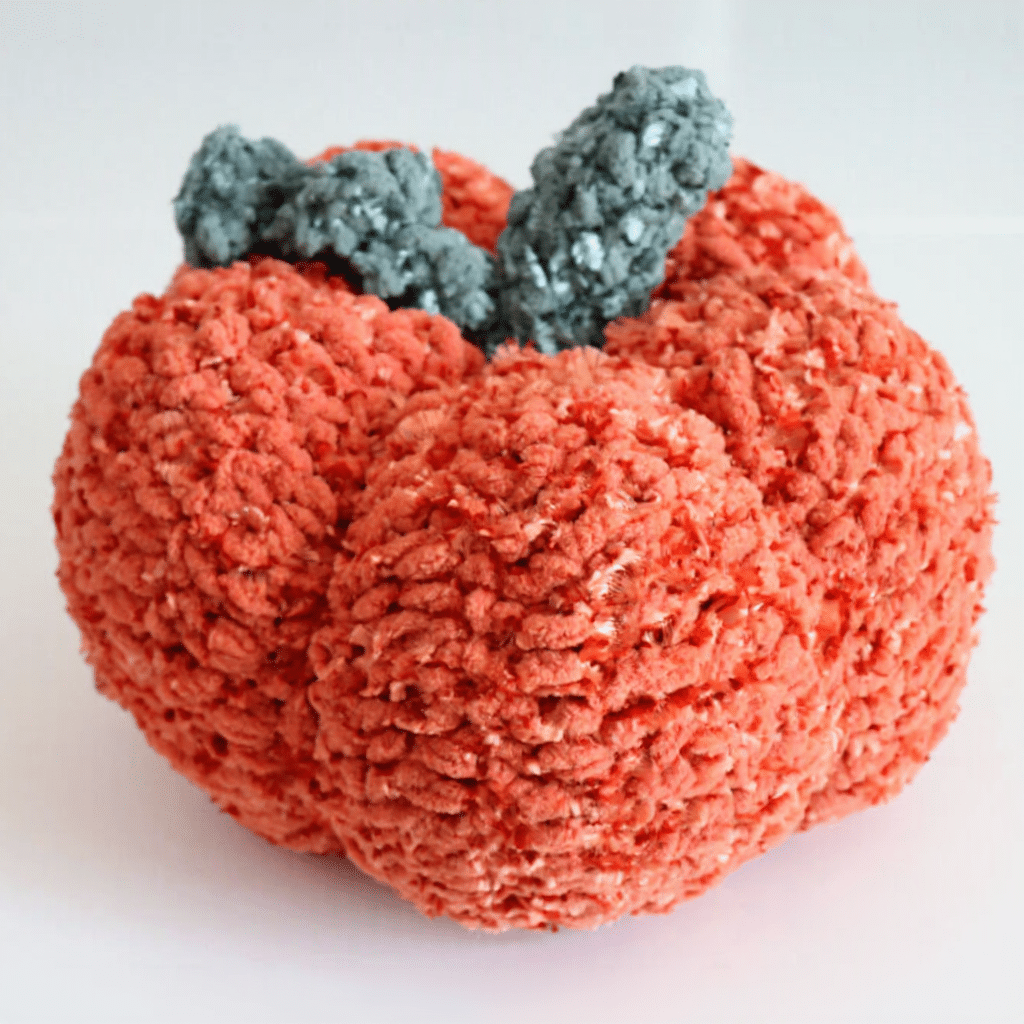
Fasten off, leaving a VERY long tail for assembly. Your finished strip should have five large raised sections, with narrower single crochet sections between them.
Crochet Pumpkin Stem
Using Smoky Green Luster:
- Create a Magic ring. Ch 1 and work 6 SC into ring. Join to first SC, ch 1. (6 SC)
- Rounds 2–5: SC in each stitch around. Join, ch 1. (6 SC)
- Round 6: *2 SC in next stitch, SC in each of next 2 stitches; repeat from * around. Join, ch 1. (8 SC)
- Round 7: SC in each stitch around. (8 SC)
Fasten off, leaving a tail for sewing. You can also work continuously in rounds if you prefer.
Crochet Curly Vine
Using Smoky Green Luster:
- Chain 13, Work 2 SC in second chain from hook and in each chain across. (24 SC)
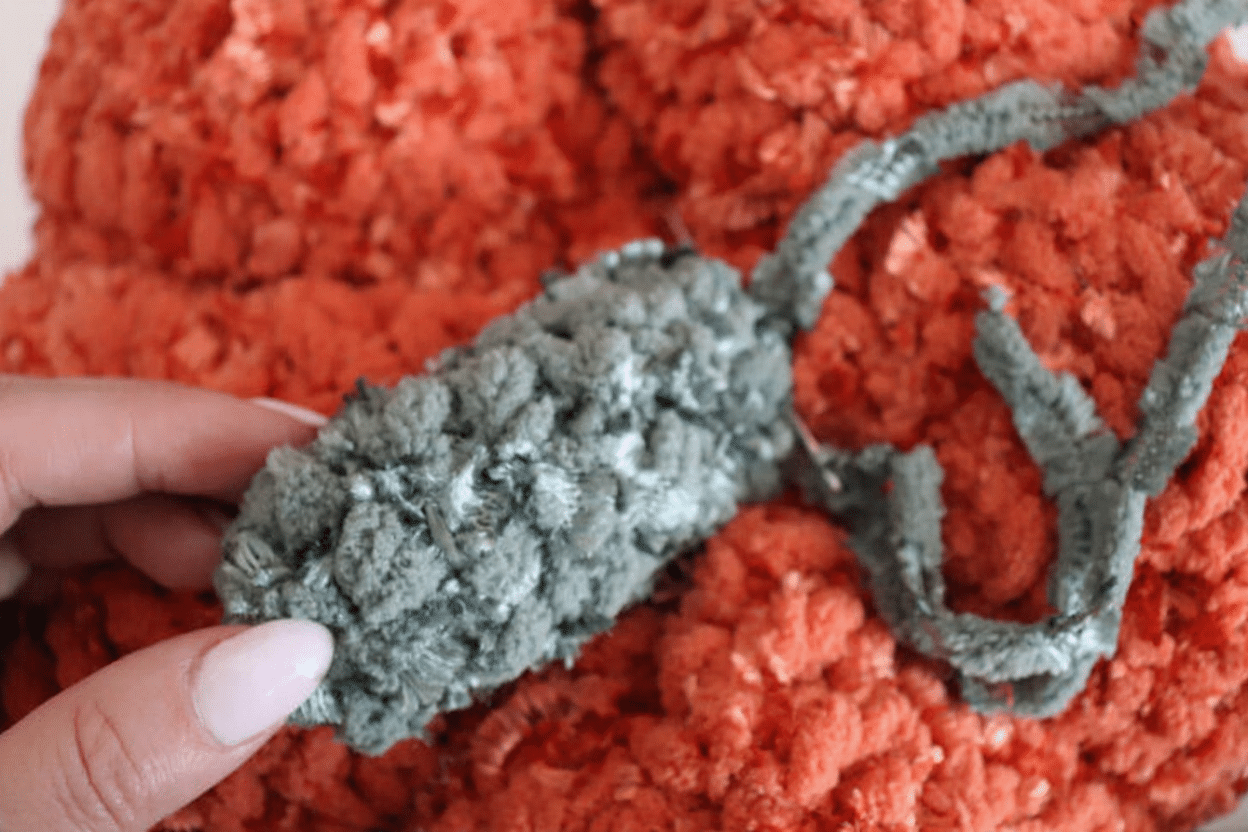
The piece will naturally curl into a little coil as you crochet. Fasten off, leaving a tail for sewing.
Assembly
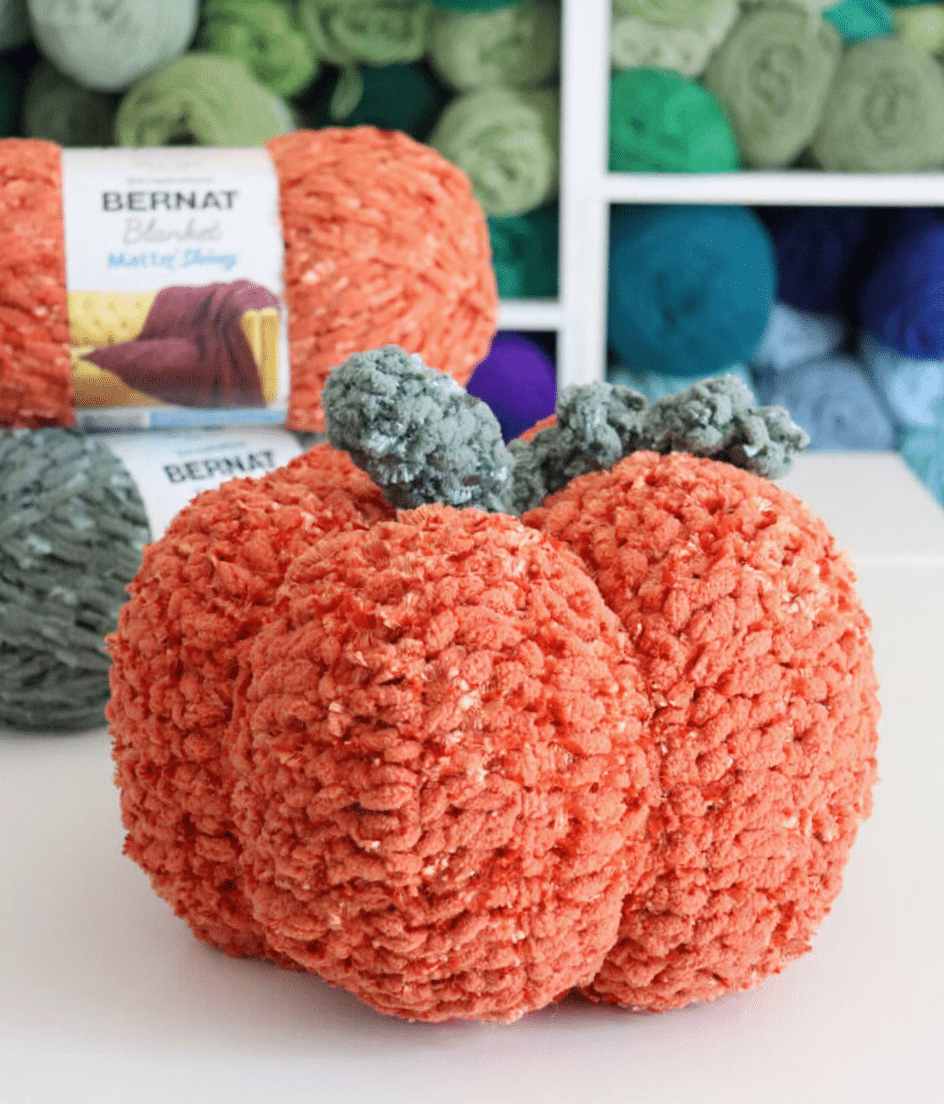
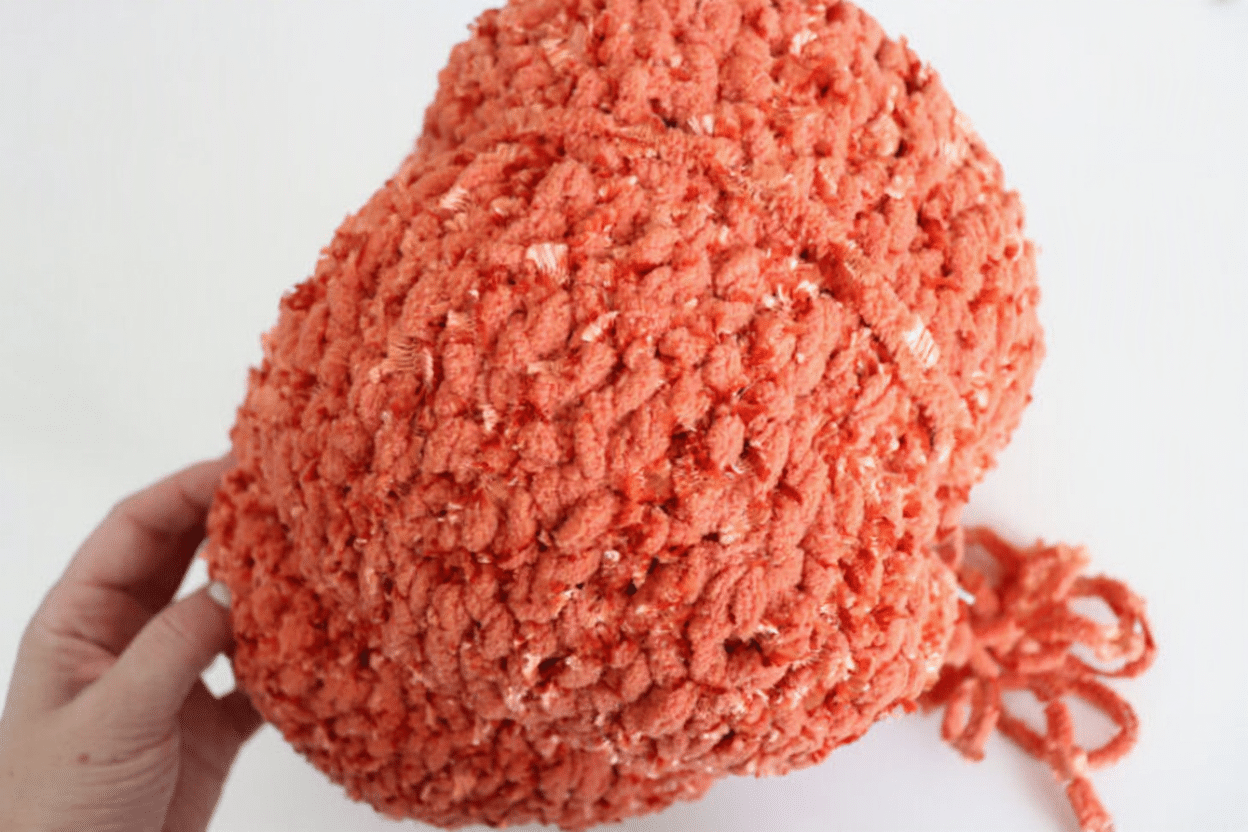
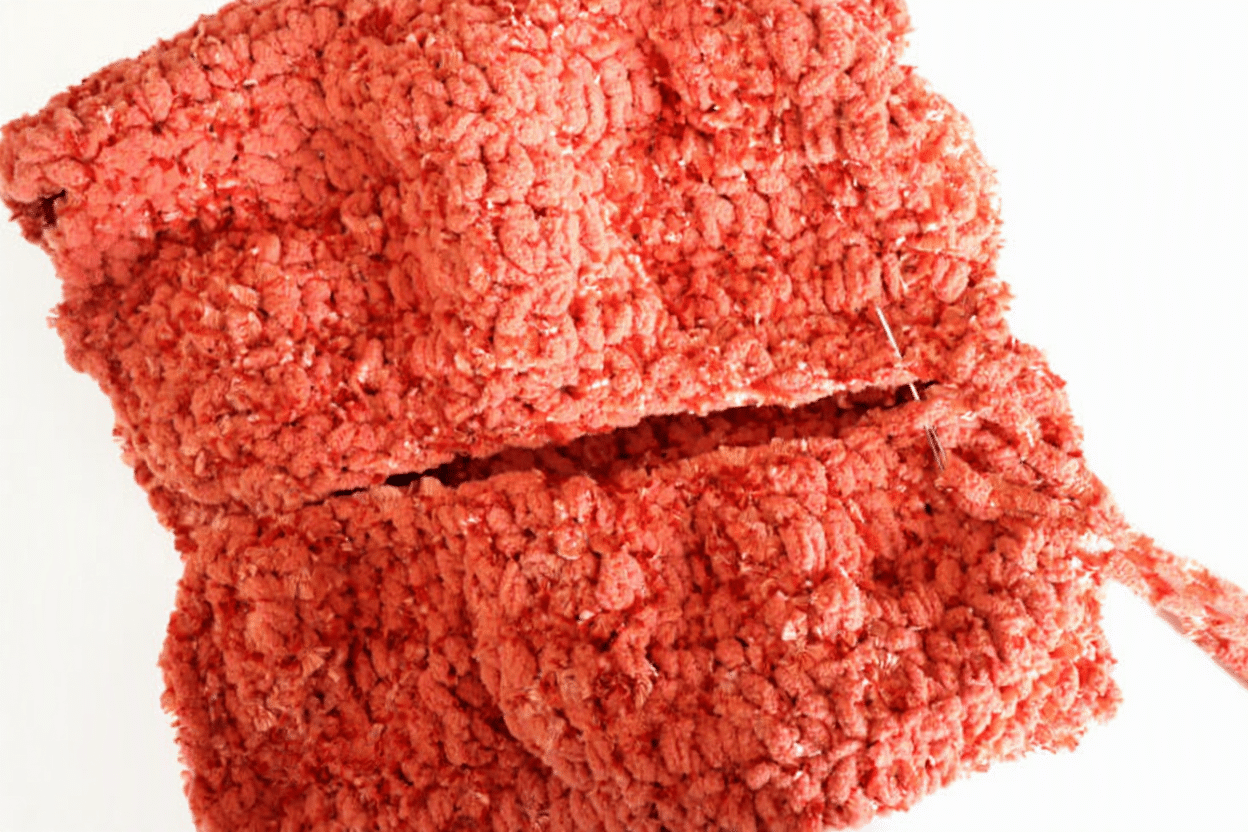
Forming the Tube: Thread your VERY long yarn tail onto your tapestry needle and stitch the two short ends of the pumpkin strip together to form a tube. I chose to sew this join rather than slip stitch it, as it creates a flatter, less noticeable seam with the thick Matte & Shiny yarn. Do not cut your yarn; keep that long strand attached.
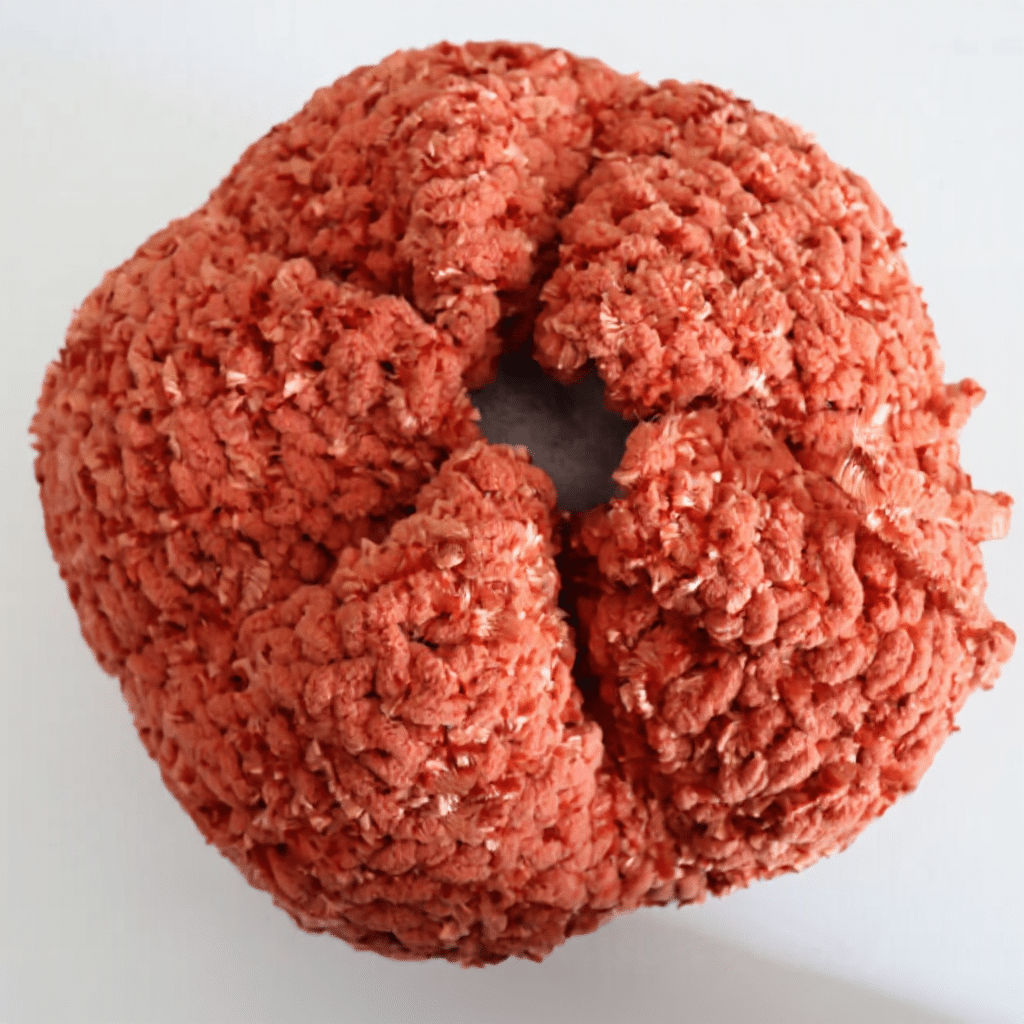
Cinching the Bottom: It is easiest to close the opening in two passes. First, sew around the recessed single crochet sections, catching approximately two stitches from each section as you work around the opening. Pull firmly to begin bringing the center together. Go around once more, this time catching the edges of the five raised pumpkin sections. Pull tightly until the bottom opening is completely closed. Secure your yarn, but keep that long strand attached.
Stuffing: Stuff the pumpkin generously with fiberfill, making sure to push stuffing into each of the five raised sections. Bring your long strand of yarn straight up through the center of the pumpkin and out through the top. Repeat the same two-step process (sewing recessed sections first, then raised sections) to cinch the top closed.
Defining the Pumpkin Ridges: To make the ridges stand out, use the same long strand of yarn. Bring it from the center top of the pumpkin down over one of the recessed SC sections around the outside. Bring the yarn back up through the center of the pumpkin and pull tightly. This pulls that indentation inward and gives the neighboring sections more definition. Repeat around the pumpkin for each of the five SC indentations. Once happy with the shape, secure your yarn and weave in the end.
Attaching Stem and Vine: Lightly stuff the stem with fiberfill and stitch it securely to the center top of the pumpkin. Stitch one end of the curly vine to the base of the pumpkin stem and position the curl so it falls over one of the recessed pumpkin sections.
Tips
The VERY long yarn tail used for assembly is crucial. If you run out of tail at any point during the cinching process, simply attach another long strand in the same color to continue.
FAQs
Why did you choose to sew the ends together instead of slip stitching?
With thick, textured yarns like Bernat Blanket Matte & Shiny, slip stitching can sometimes create a bulky or uneven seam. Sewing the ends together with a tapestry needle allows for a flatter, more professional-looking join that blends seamlessly with the rest of the pumpkin.
Can I use a different yarn weight?
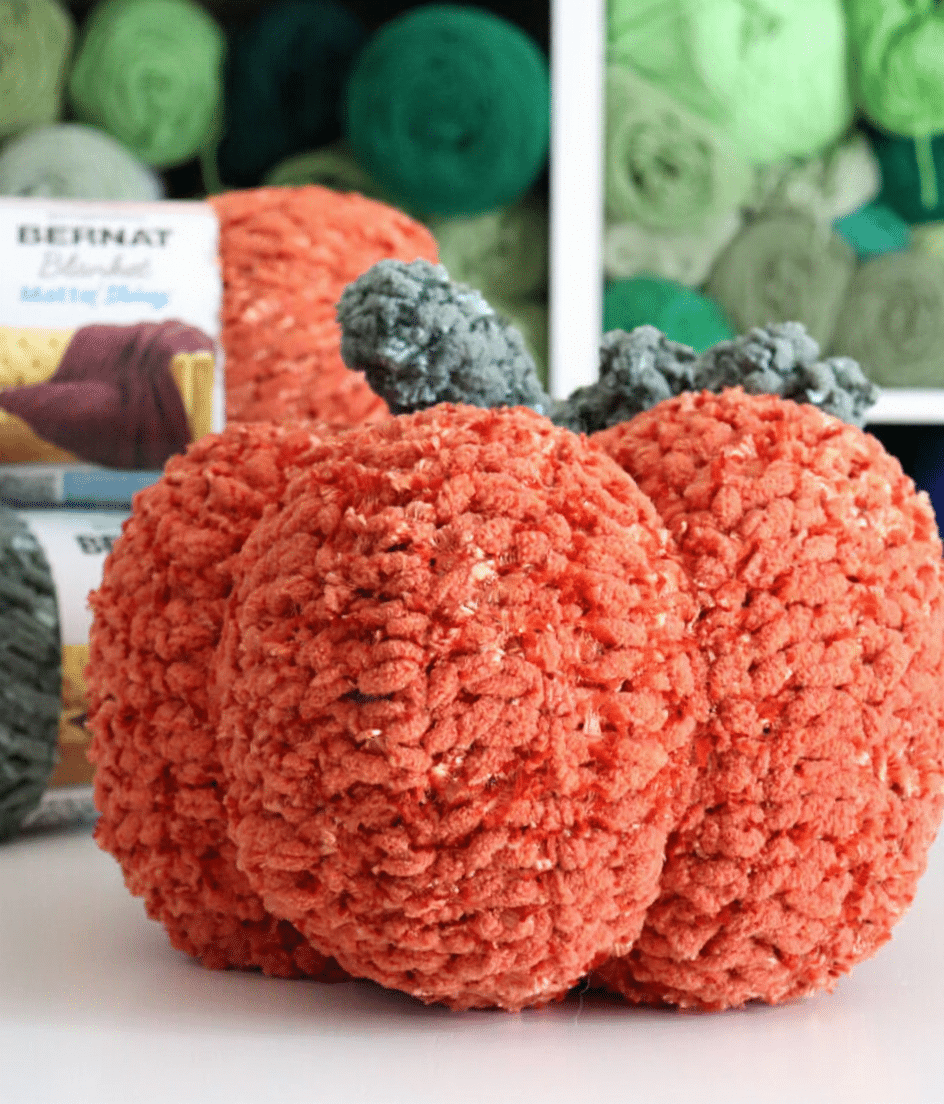
This pattern is designed specifically for #6 Super Bulky yarn. Using a thinner yarn will result in a much smaller pumpkin and require more time to achieve the same size. If you use a different weight, you will need to adjust the chain and row counts significantly.
How do I make the pumpkin stand up on its own?
Generous stuffing is key. Ensure you pack fiberfill firmly into the bottom and top cinches, as well as into the raised ridges. This provides the structural integrity needed for the pumpkin to sit upright on a table or shelf.
Is this pumpkin safe for children?
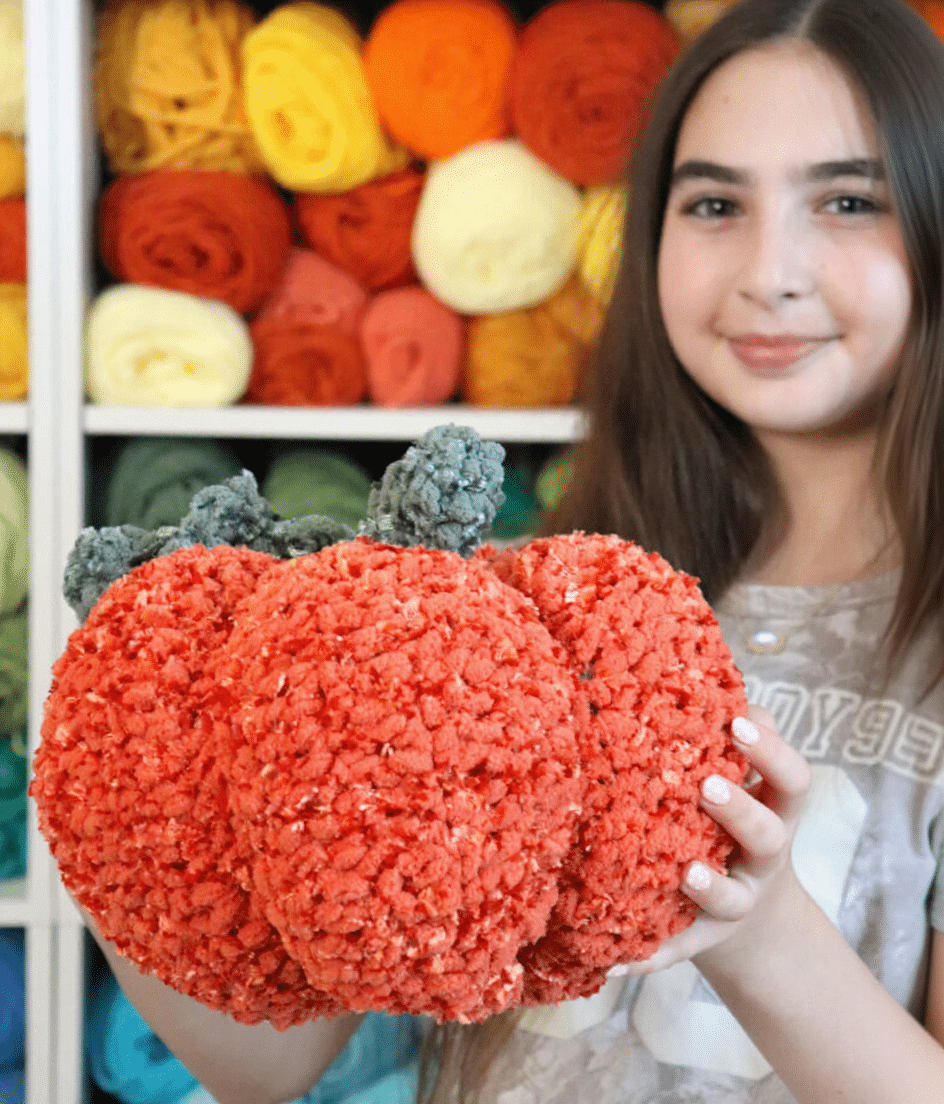
Yes, this is a great option for children because it contains no hard plastic parts like safety eyes or noses. The entire piece, including the stem and vine, is soft fabric and stuffing, making it a safe plush toy.
Can I use this pumpkin as a pillow?
Absolutely. At approximately 12 inches wide, it is substantial enough to function as a decorative throw pillow. The soft, squishy texture of the Matte & Shiny yarn makes it very comfortable to lean against.
If you enjoy creating seasonal decor, you might also like exploring our Halloween pumpkin bouquet for a different take on autumn crafting. For more festive ideas, check out our easy crochet bat pattern to complete your spooky display.
Pin This Crochet Pattern!